REVIEW – I love home automation, especially when a gadget makes something more accessible or useful. SwitchBot’s new blind openers are just such a beast. Since some of the window coverings in my sunroom are cumbersome to access, I jumped at the opportunity to have a look at these useful little robots. How well do they function? Read on, intrepid gadgeteer!
What is it?
The SwitchBot Blind Tilt is a small, solar-powered, motorized robot with an internal battery that attaches to a window blind wand to remotely open and close the slats using a smartphone or automation app.
Hardware specs
- Model W2701600
- Material: white ABS, UV-resistant coating
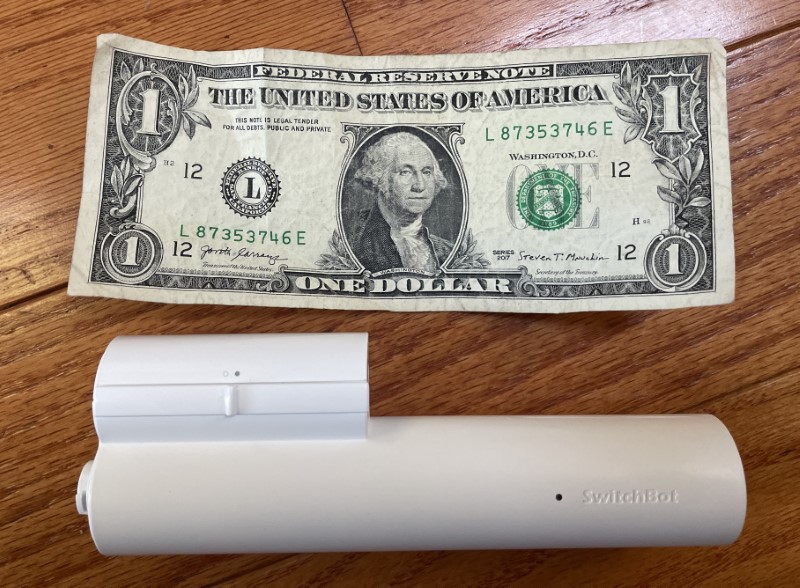
- Dimensions: 48.8 x 29.2 x 144.2mm (1.9 x 1.1 x 5.7 inches)
- Weight: 130g (4.6oz)
- Power: DC 5-volts at 1 Amp, 2000mAh lithium battery
- Battery life: Approximately 10 months (potentially unlimited using solar panel)
- Operating temperature: -10° to 45°C (14° to 113°F)
- Operating humidity: 10% to 95% RH
- Torque: ≤ 1 kg-cm (0.87 in-lbs)
- Network Communications: Bluetooth 5.0
- System Requirements: iOS 11.0 and above or Android OS 5.0 and above
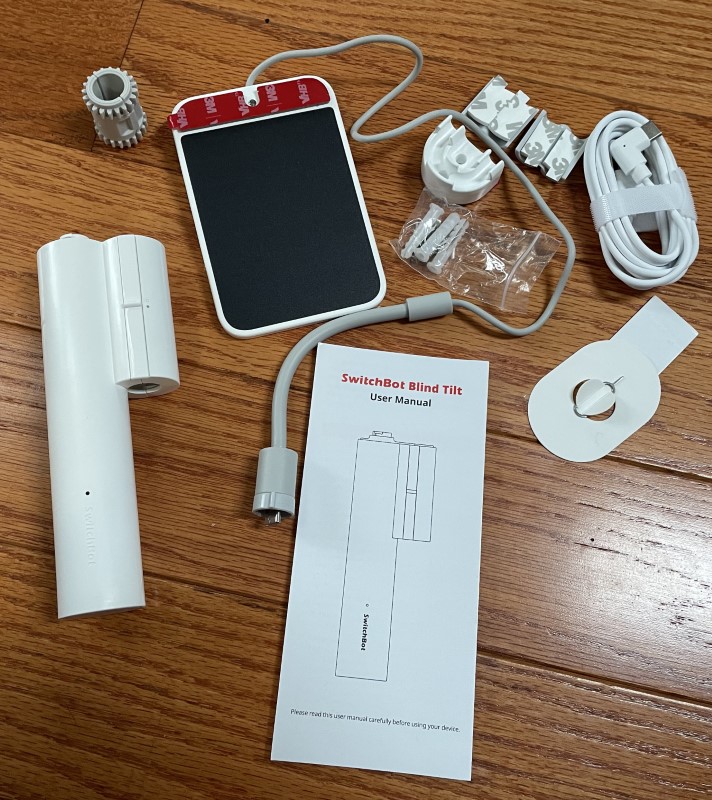
What’s in the box?
- Switch Blind Tilt robot
- Solar panel
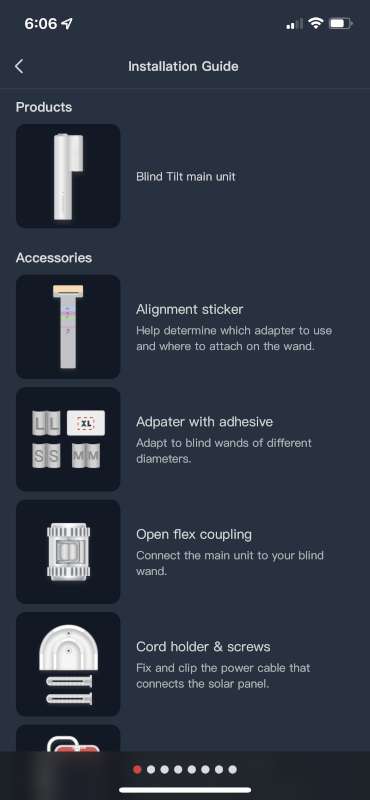
- Open flex coupling
- Cord holder
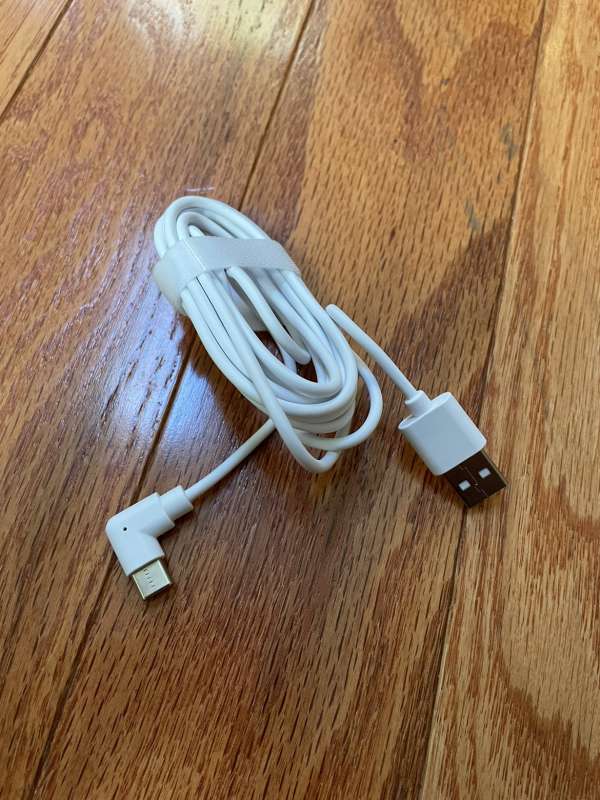
- USB-A to USB-C power cable
- Reset tool (same as a SIM card eject pin)
- Small, medium, large, and extra large blind rod diameter adapters with adhesive
- Self-tapping mounting screws and drywall anchors (two each)
- Alignment and measurement sticker
- User manual
Design and features
I was very excited to receive the new SwitchBot Blind Tilts! Most of the packaging is cardboard, with a few small plastic bags to keep items contained. I’ll be recycling it all.

The SwitchBot Blind Tilt robots are smaller than I imagined.
The manual is very well written with great illustrations.
With all battery-powered gadgets, starting with a fully charged battery is the way to go. SwitchBot includes a USB-A to USB-C cable to make this easy. I was also able to charge them using a USB-C to USB-C cable (not included).
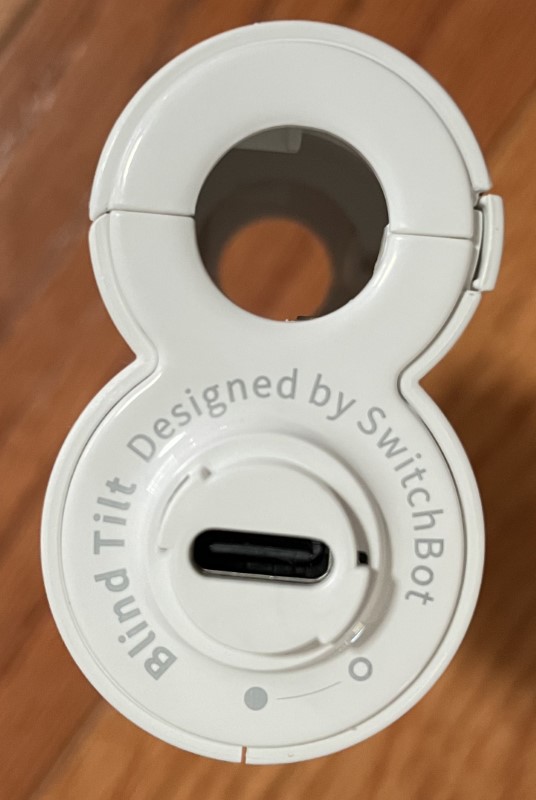
The USB-C socket rests atop the robot’s body.
Once the SwitchBot Blind Tilt was fully charged, the assembly of the parts can commence. It’s not a difficult process but takes some preparation. SwitchBot wisely included what’s needed, but if you opt into the wall anchor route, you’ll need to provide a screwdriver.
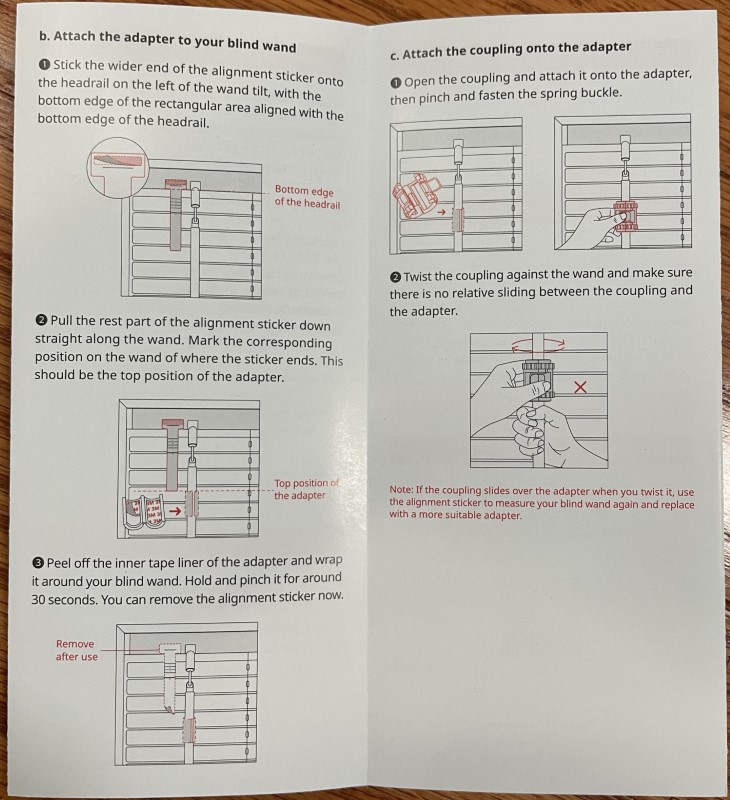
Because rod diameters vary, four different sizes of adapters are included. To determine the correct one, This tool is used for measurement.
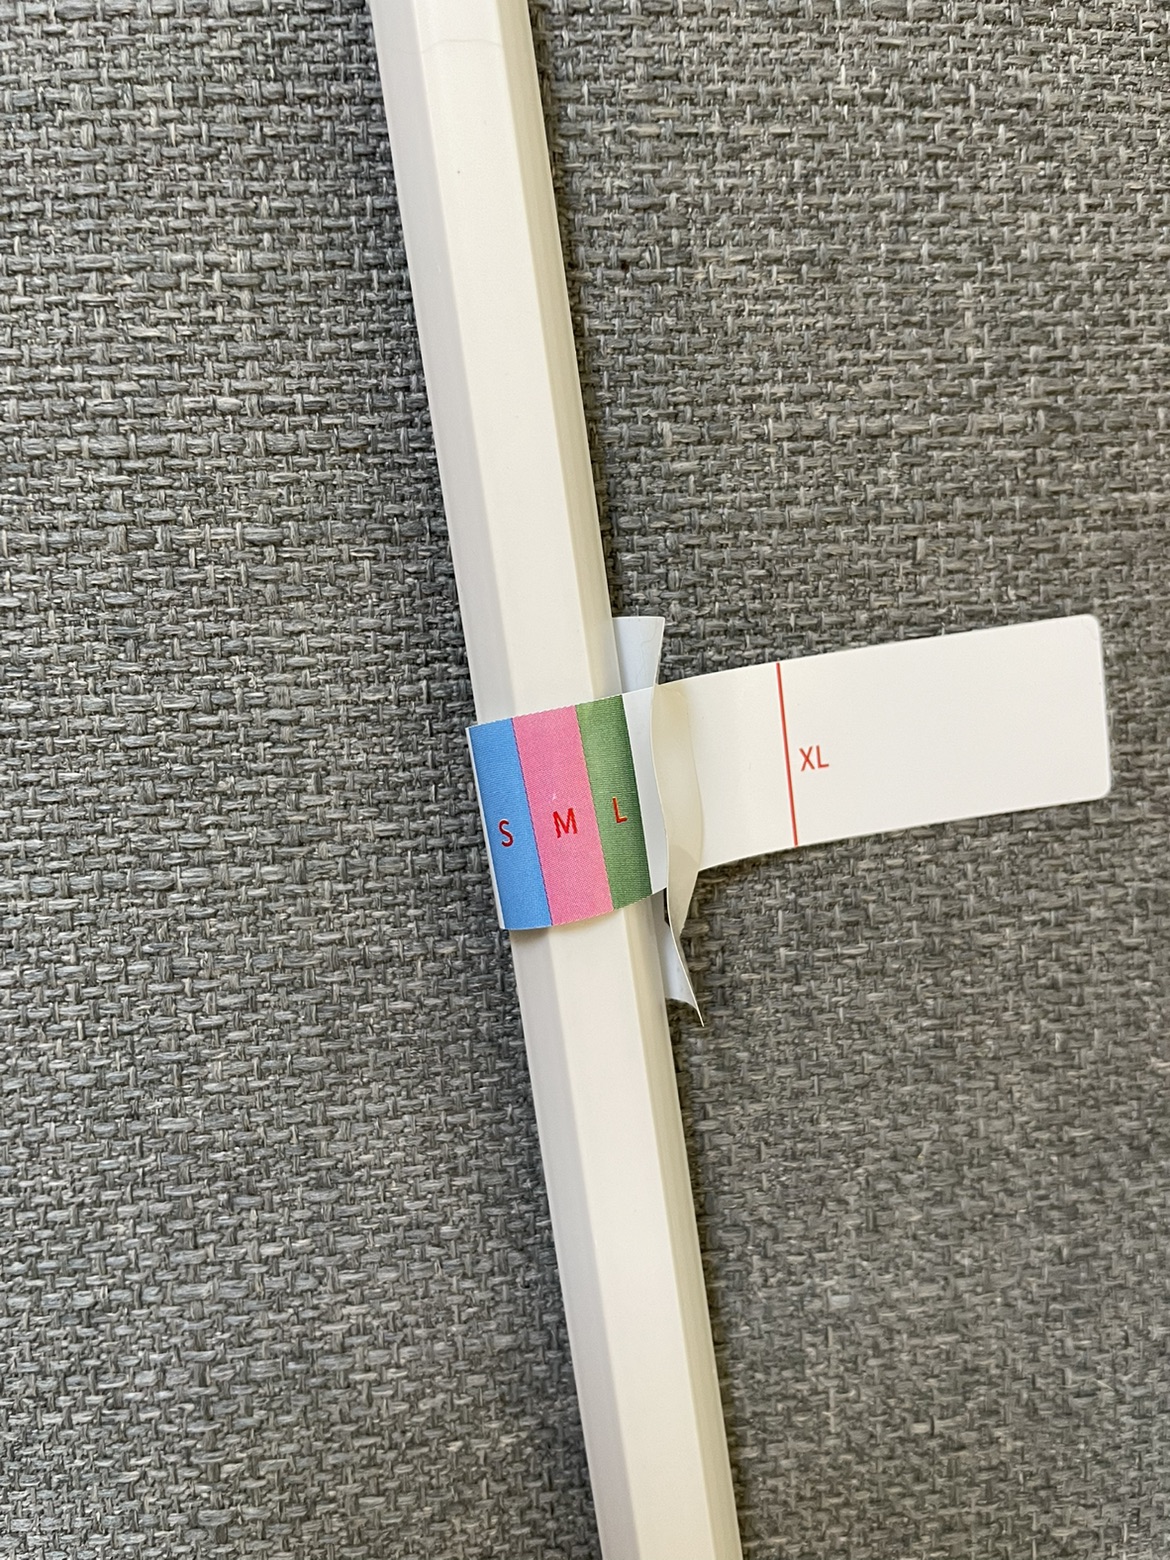
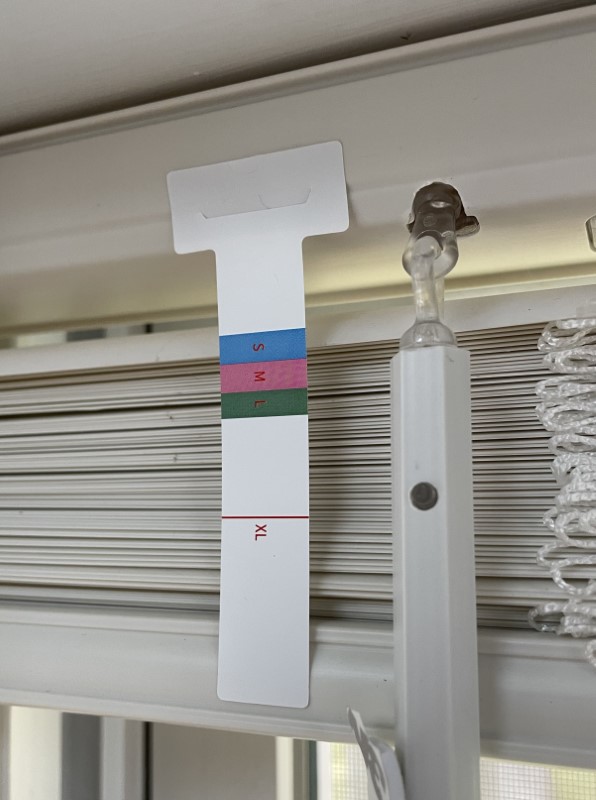
Before applying, the correct location needs to be determined. The same tool used to measure the rod does double duty and sticks to the upper blind housing with its bottom edge marking the top edge of where the gear flex coupling is to be attached.
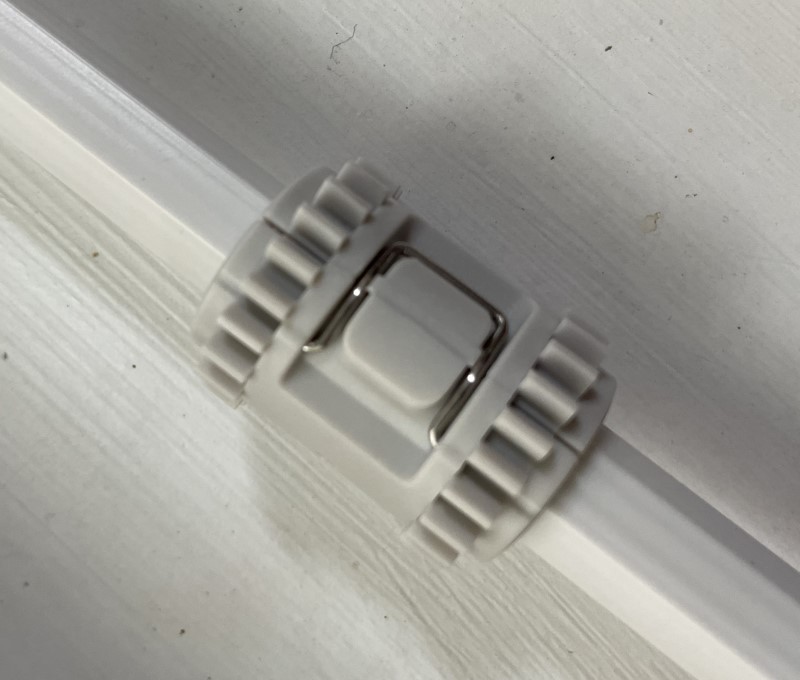
In my case, I only needed to use the foam backing adhesive set from one of the adapters. It fills the gap between the rod and the interior diameter of the flex coupling. The flex coupling opens for easy installation. The adhesive (or adapter) is placed on the blind’s open/close rod and the flex coupling is closed and latched around it.
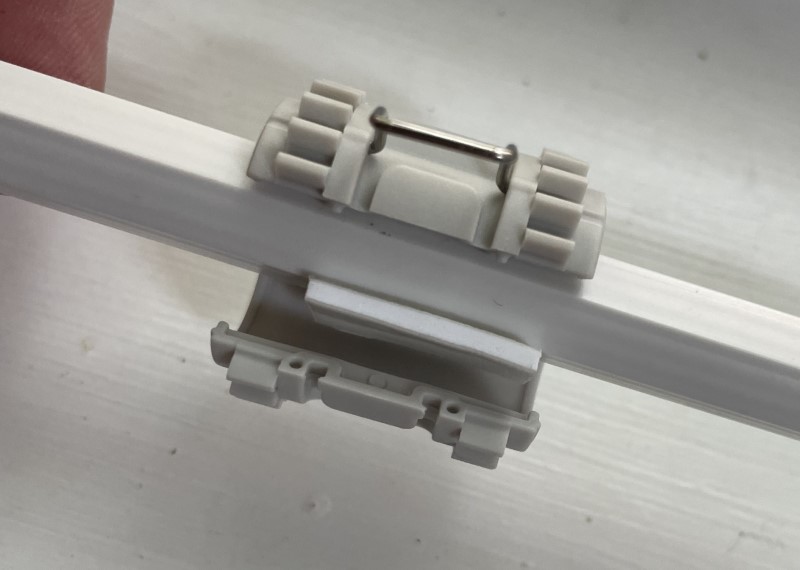
Once the flex coupling latch is closed, it shouldn’t slip.
At this point, the solar panel should be attached. The USB-C connector locks in place and is very solid.
From here, the robot’s door is opened and is then clamped around the flex coupling. Gears in the robot’s body engage with the teeth and the door latches securely closed.
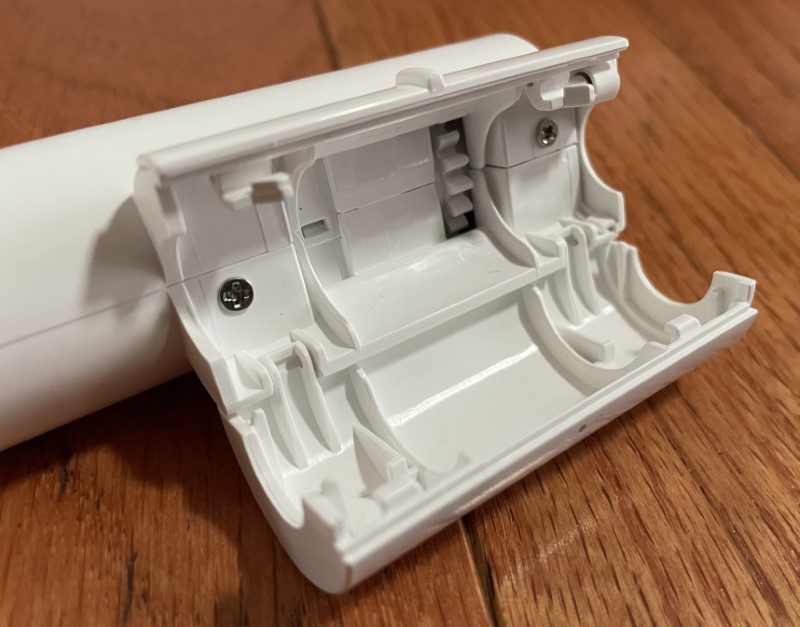
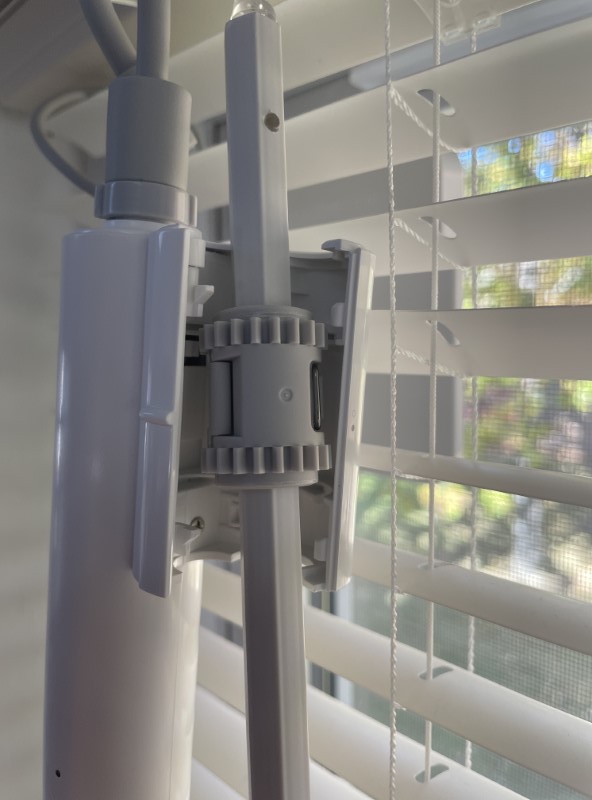
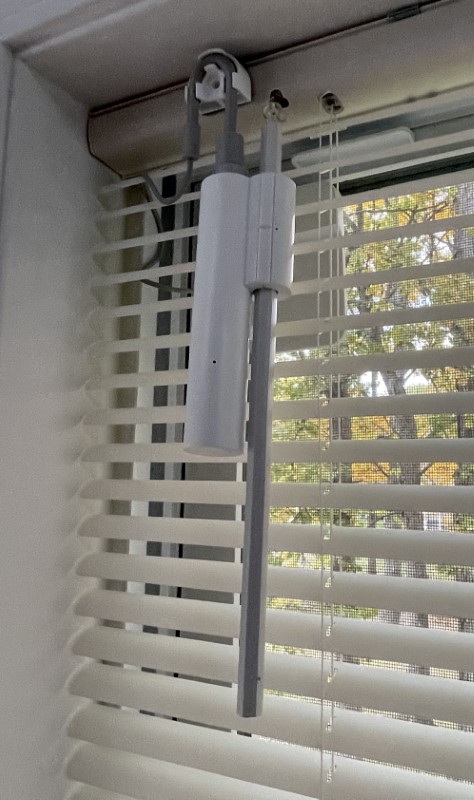
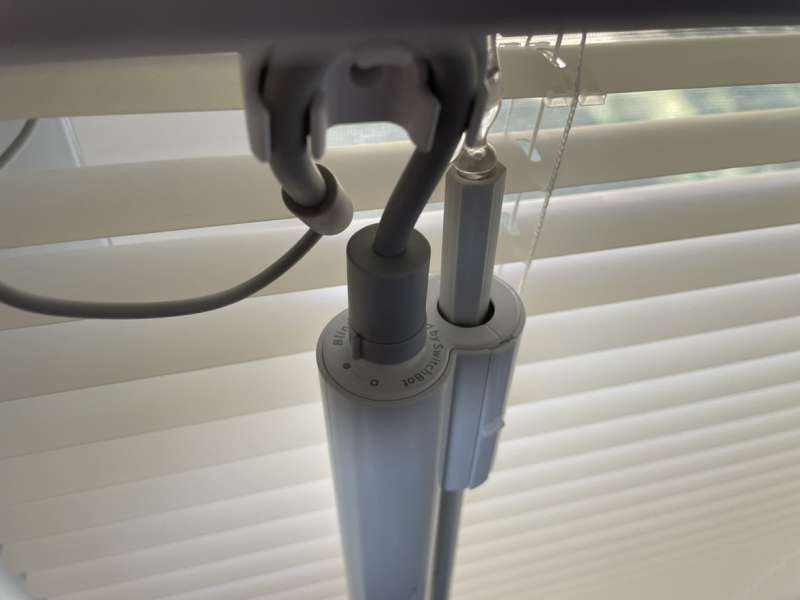
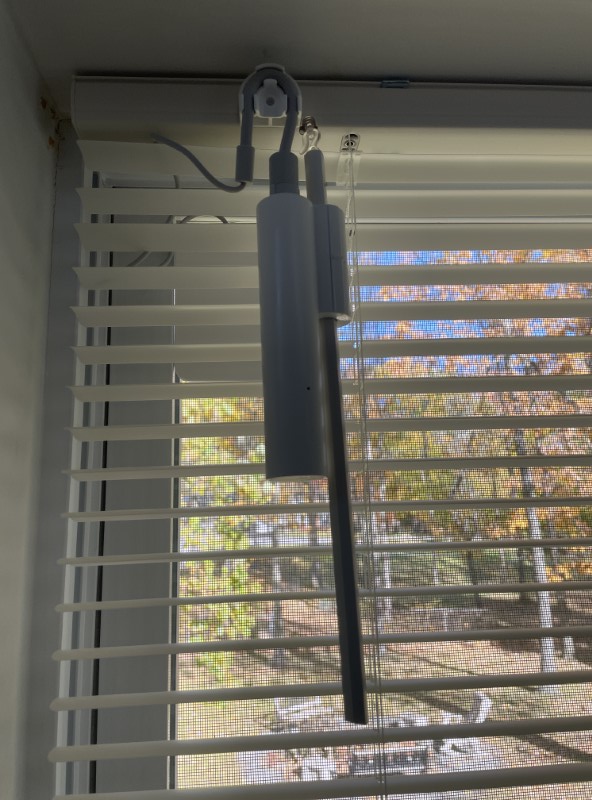
Ta-daaa! The Blind Tilt is attached to the rod.
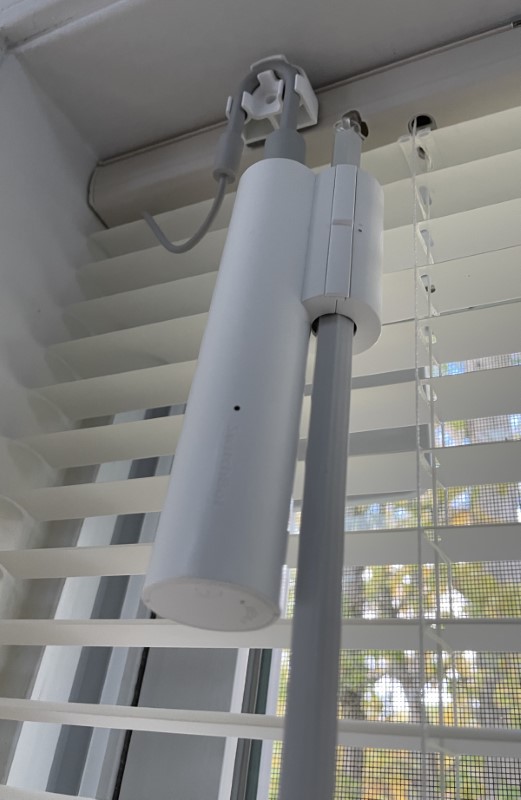
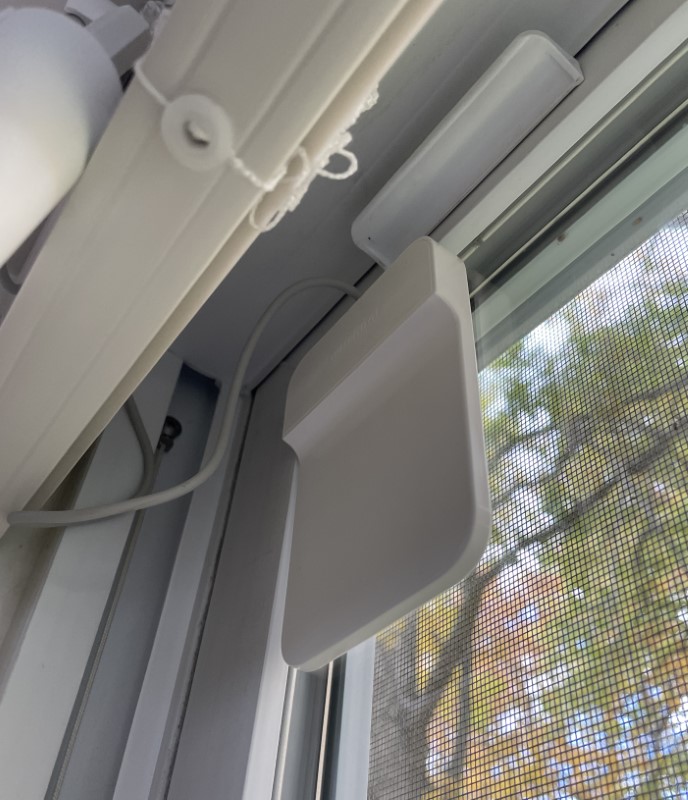
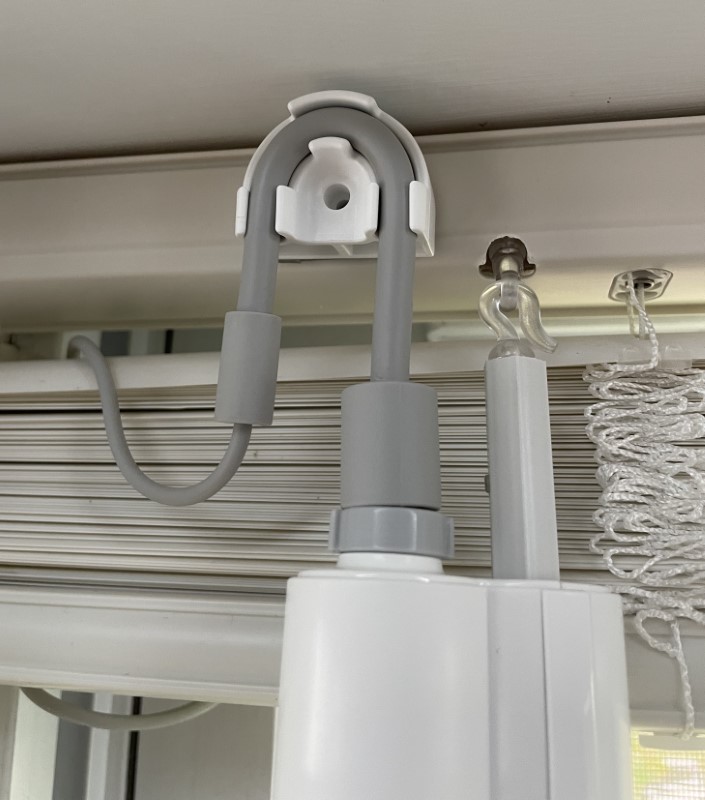
The solar panel and cable are routed through the opening at the top of the blinds. The panel clings to the window glass with adhesive tape.
SwitchBot includes a cord holder with adhesive backing to secure the solar panel cable to the blind housing above the robot.
I’m very pleased with the installation.
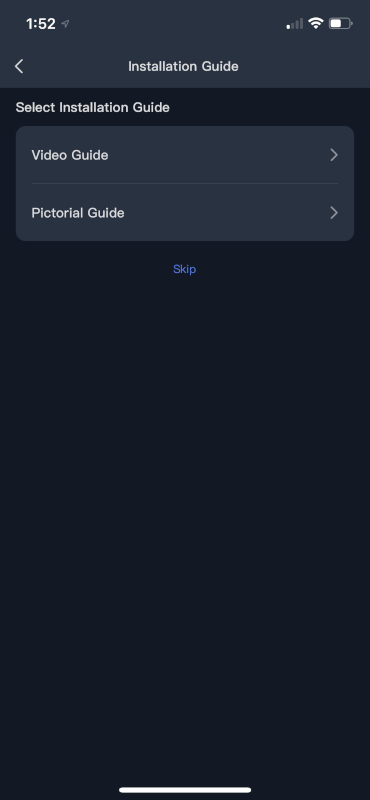
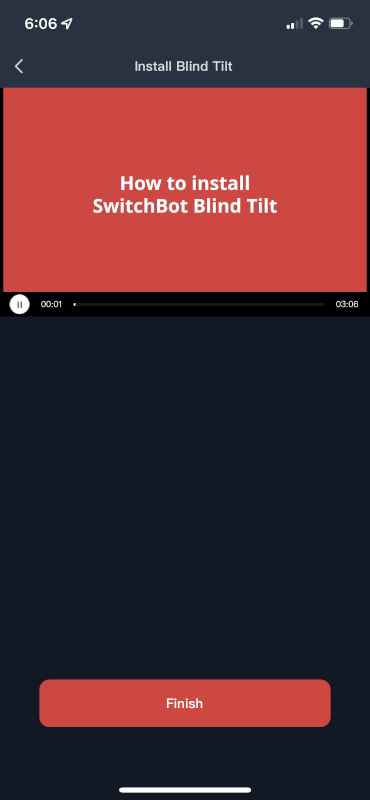
From start to finish, installing four Blind Tilts took about an hour. To make the process more painless, SwitchBot has a video and photos that are available through the app in the settings under the heading “User Guide.”
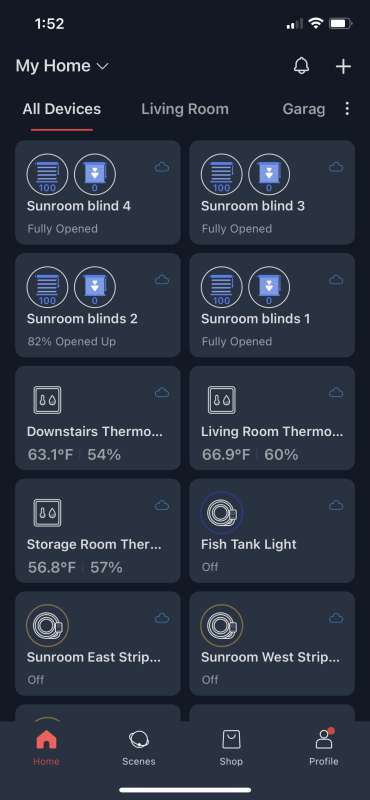
Speaking of the app, loading and creating an account is required. I already have the app installed since I already use and love many SwitchBot products. You can read reviews for them here: Curtain Robot, Mini Plug, Pan and Tilt Camera, LED Light Strip, Thermometer & Hygrometer, Color Changing Bulbs, Motion and Contact Sensors, Curtain Robot – first version, and from fellow Gadgeteer writer, Michael Strange, SwitchBot Button Robot.
The app has an easy-to-use interface.
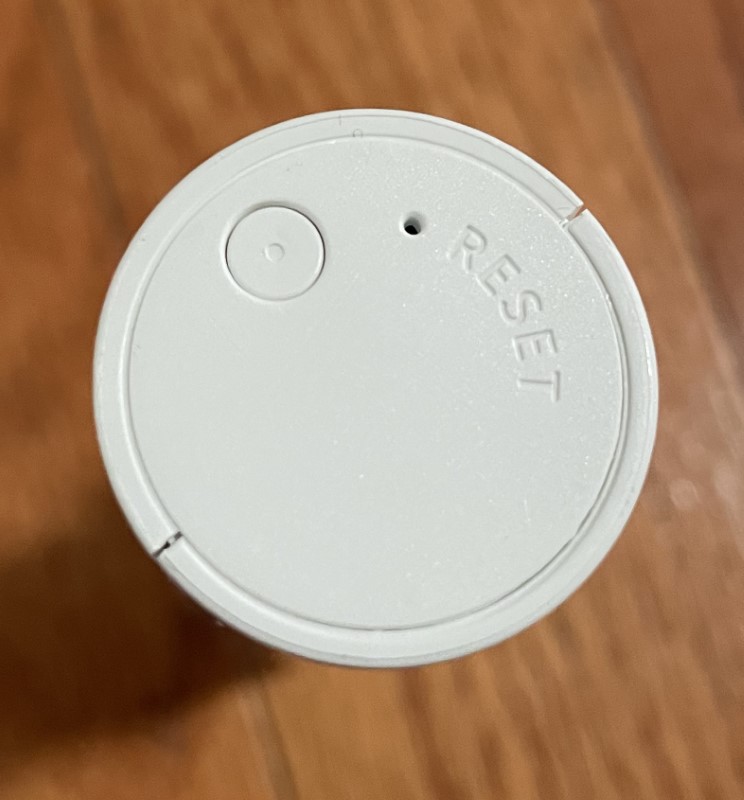
Adding the SwitchBot Blind Tilt was easy and virtually identical to all of the other SwitchBot products; First, press the button on the robot’s base for two seconds
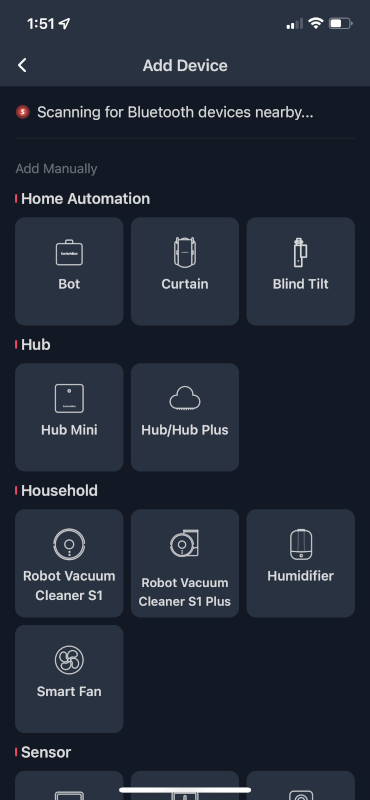
Next, press the “+” to access the “add device” page, select the robot, give it a name, and assign it to a room
After adding the device, the calibration process automatically follows. this is done by manually turning the blind’s tilt rod and involves closing downward, fully opening, closing upward, then fully opening again with a button press between each step. I noticed that if I overshot the positions I wanted and turned the rod in the opposite direction, the app didn’t like it, generated a warning message, and I needed to start the calibration process over again. It wasn’t a big deal and took only about 30 seconds to complete the process.
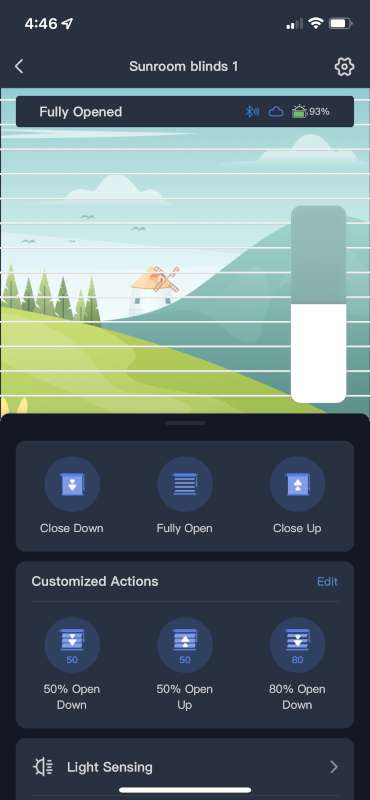
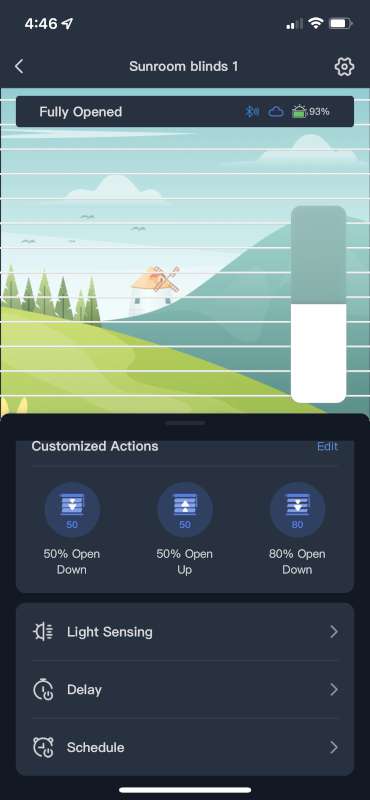
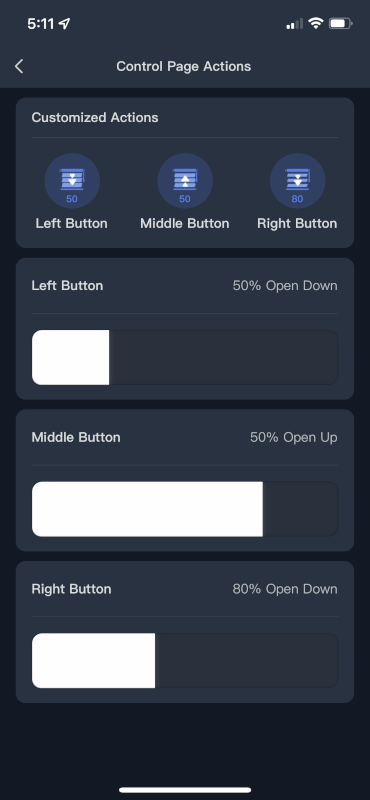
With the SwitchBot Blind Tilt calibrated, it can be operated upward or downward to any position by using the slider on the right of the screen. “Close Down,” Fully Open,” or “Close Up” buttons are also available and for me, are the primary positions I prefer. If you have specific orientations that you like to use, there are three “Customized Actions” on the main blind control screen.
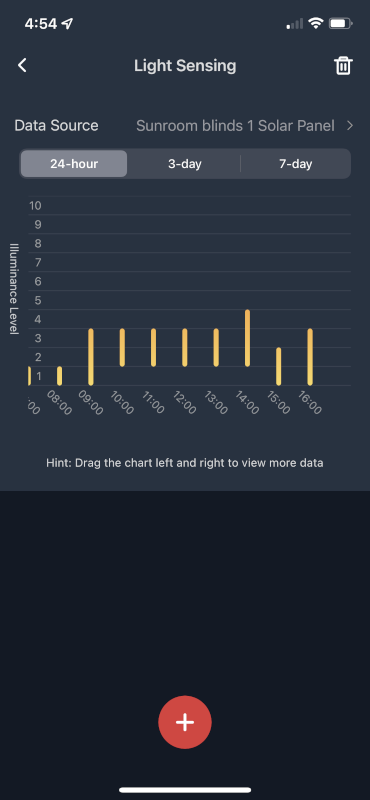
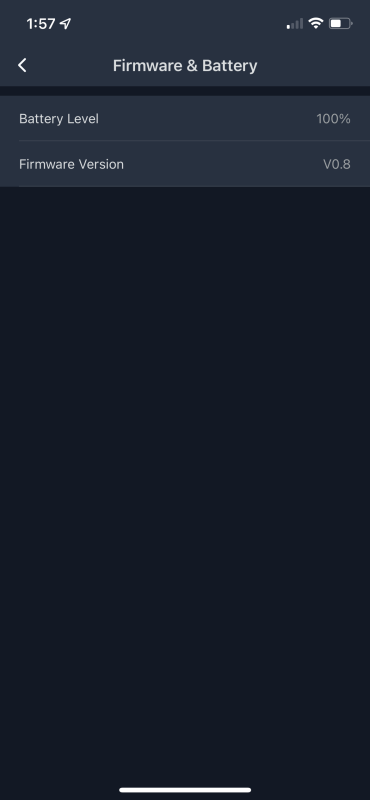
Integrated into the Blind Tilt is a sensor that can be used to monitor the light levels outside. The sensor or both the sensor and solar panel can be examined.
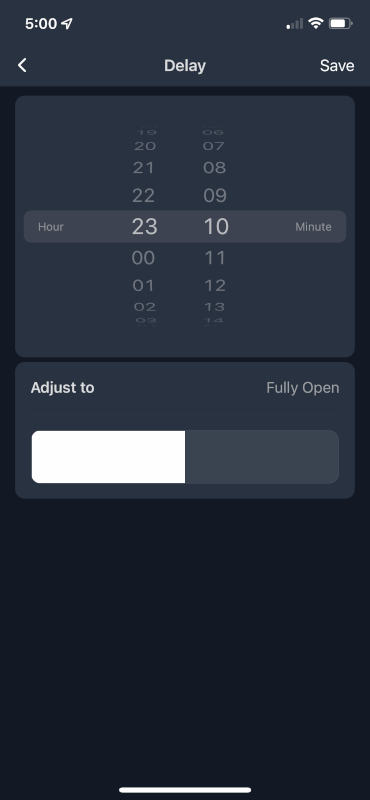
Movement of the blinds can be delayed from one minute to 23 hours and 59 minutes.
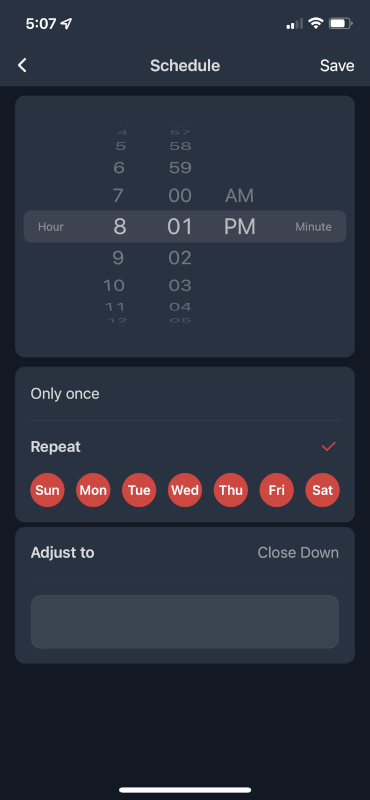
If you’re a creature of habit, multiple schedules can be added to move the blinds depending on the time and day of the week.
SwitchBot integrates oodles of options into the app that are available through the settings page.
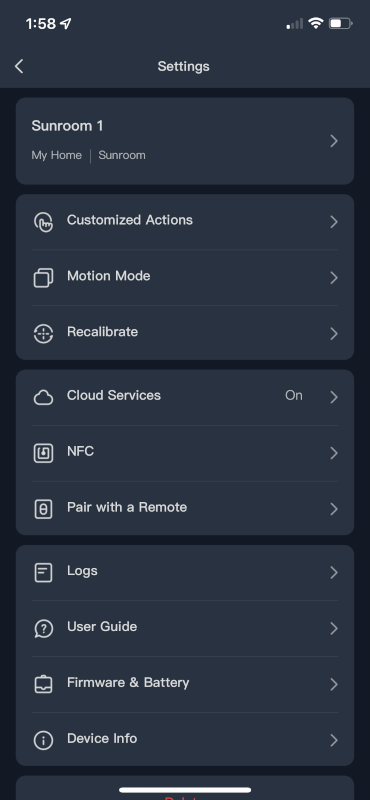
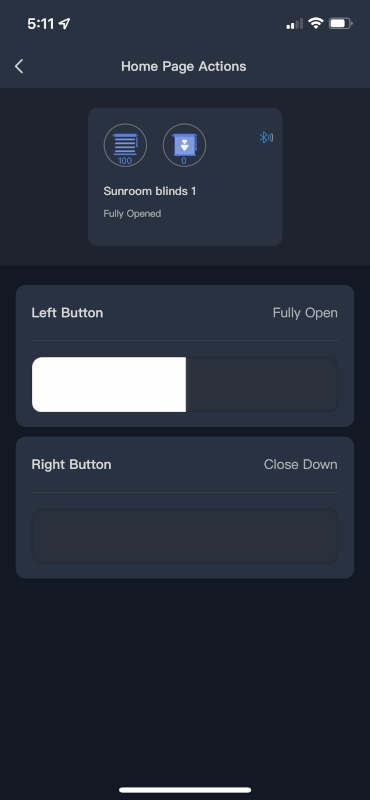
The buttons on each Blind Tilt’s home page can be customized to your liking.

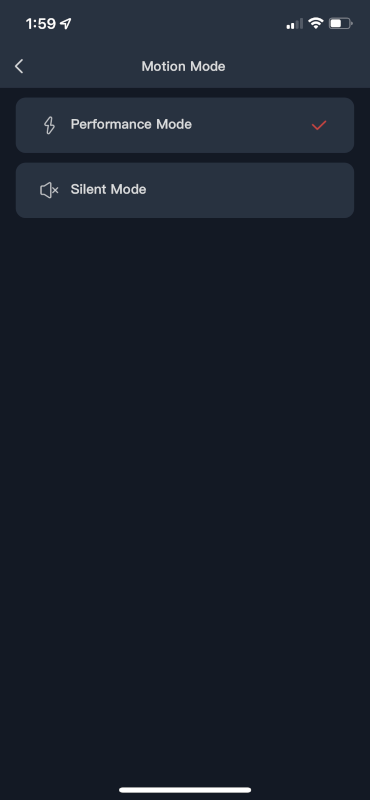
“Motion Mode” changes each robot’s performance to “Performance” or “Silent”. “Silent mode” reduces the auditory noise a bit, although, I didn’t think they were particularly loud.
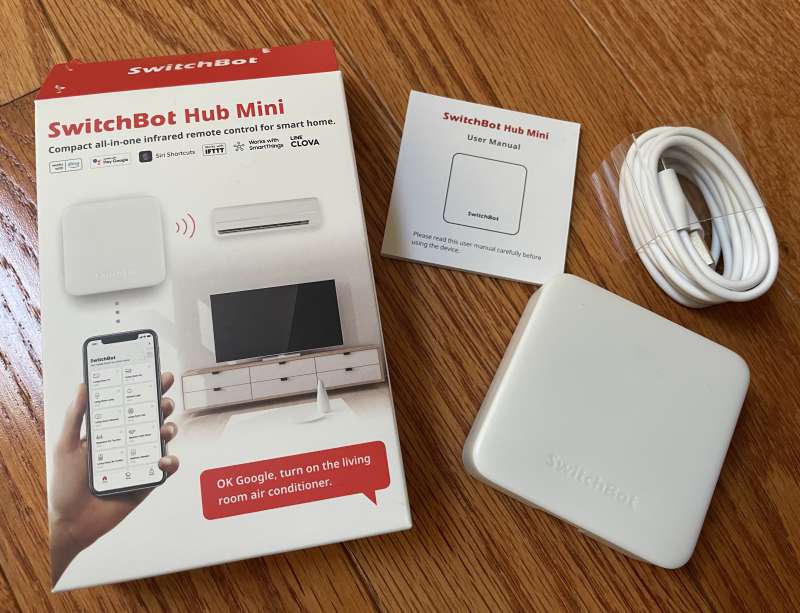
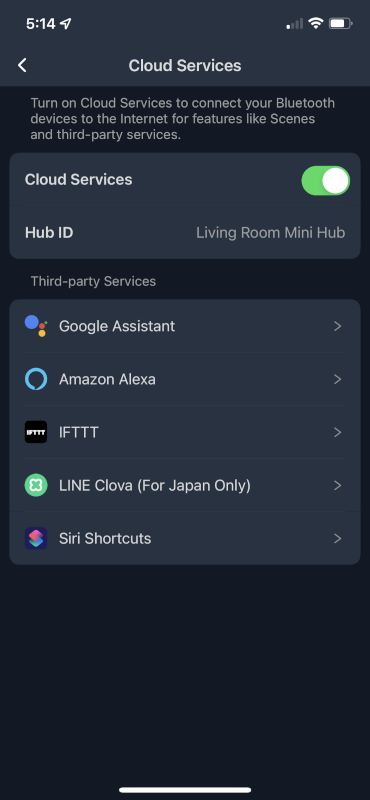
Cloud services require the use of a SwitchBot Mini Hub which provides a bridge to the internet. The hub is about $40 and is well worth the cost for the added functionality with Google Assistant, Amazon Alexa, IFTTT, Clova (in Japan), and Siri Shortcuts. The Mini Hub can also be configured to operate infrared remote control devices. Nice! You can read more about the Mini Hub in this review.
I was able to link my Amazon account and immediately started using the Blind Tilts with voice commands.
I grouped four and was able to use, “Alexa, open [or close] the blinds” to command all of them at once, but it should be noted that they open sequentially and not always in the same order. I love this!
The app can recognize SwitchBot NFC (near field communication) RFID tags to trigger the Blind Robots. Tapping your phone on an NFC tag works as a programmable switch.

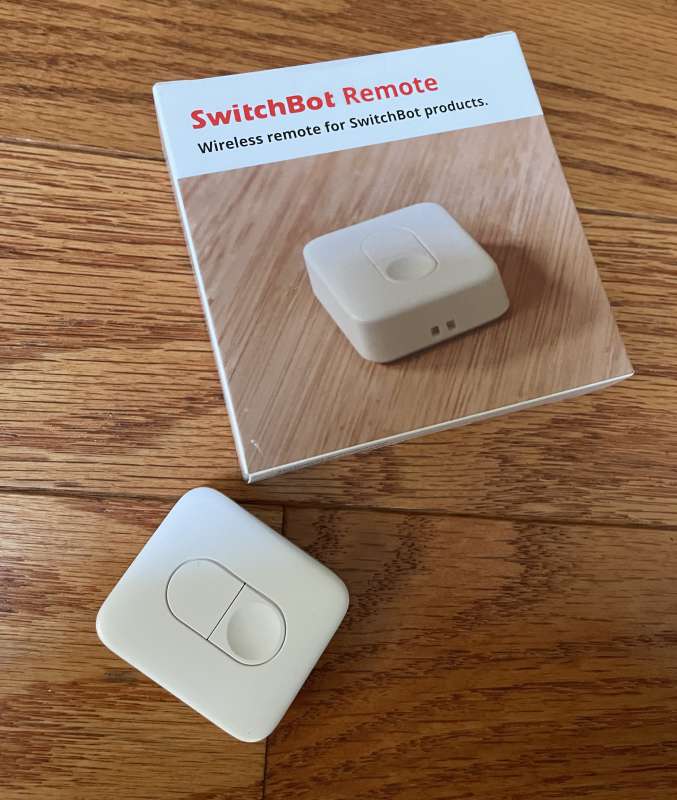
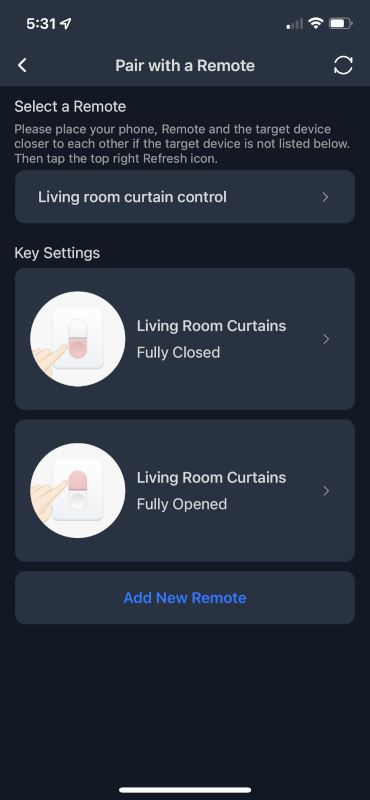
Other SwitchBot products like this nifty two-button remote can be used to operate the Blind Tilt robots. Functionality could be improved by allowing multiple robots to be controlled as a group using a single remote.
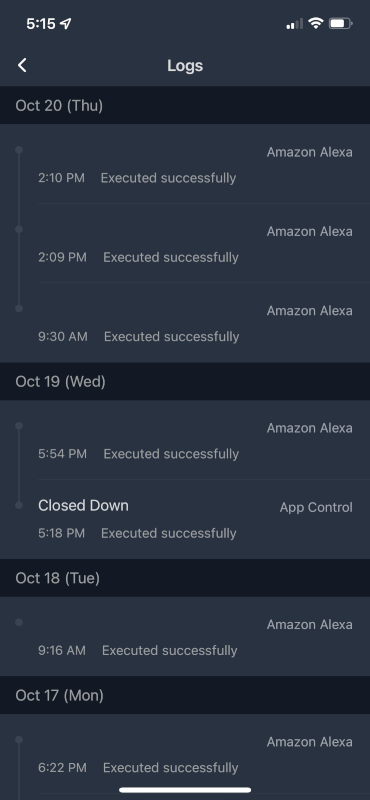
There’s even a page for keeping a log of the Blind Tilt’s activities.
With sufficient light, the solar panel should be capable of keeping the internal battery topped off indefinitely. While I was testing, the weather in upstate NY was gloomy and overcast, plus, the windows face north so I didn’t see my battery charge increase much. I’ll be watching over the coming months to determine if there’s enough light to juice up the batteries. If not, I may decide to implement larger panels, or just charge the robots periodically.
What I like
- Small size
- Included solar panel
- Works like a charm!
- Compatible with cloud services
- Reasonably priced
What I would change
- Add functionality to the app to allow multiple Blind Tilt robots to function as a single group.
Final thoughts
SwitchBot continues to amaze and impress me with its line of easy-to-install, solid-performing, light-on-the-wallet gadgetry. Their new Blind Tilts are no exception. I love not needing to stand on furniture to open and close my blinds! They work very well, have great configuration and connectivity options, and I will be asking Santa for four more to complete the remaining windows in my sunroom!
Price:
- Blind Tilt – Introductory prices on Kickstarter, $49 single, $169 pack of three
- Mini Hub – $39.00
- Remote button – $19.00
Where to buy:
Source: The sample for this review was supplied by SwitchBot.

ESR for MagSafe Wallet, 5 Card Holder with RFID Blocking, MagSafe Sticker Included, Slim Magnetic Wallet for iPhone 17e/17/16/15/14/13/12 Series and Selected Samsung Devices, Not for 13/12 Mini, Black
(as of June 15, 2026 18:56 GMT -05:00 - More infoProduct prices and availability are accurate as of the date/time indicated and are subject to change. Any price and availability information displayed on [relevant Amazon Site(s), as applicable] at the time of purchase will apply to the purchase of this product.)
Gadgeteer Comment Policy - Please read before commenting
Thanks for the very thorough review, made me want to get some. I had no idea that there would be so many options in the app.