
REVIEW – As we move into summer here in the Northern Hemisphere, more and more people are having outside get-togethers. If a movie would make a part of a good gathering for you, a sturdy outdoor screen will be in order. To that end, ProjectorScreen.com sent me the Elite Screens Yard Master 2 screen for testing. Between rainstorms, heat waves, and hurricanes, I was able to get it put up and tested. Let’s take a look.
What is it?
The Elite Screens Yard Master 2 screen is a 120” diagonal 16:9 aspect screen mounted on an aluminum frame.
What’s in the box?
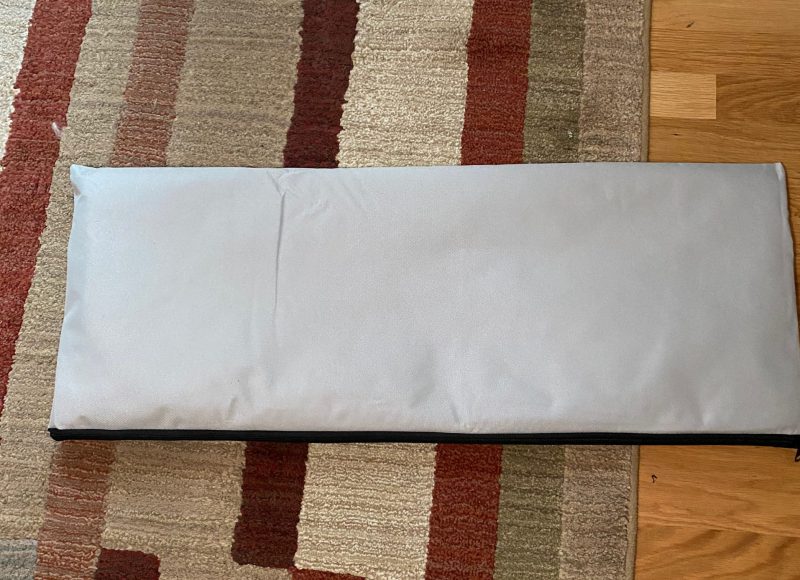
- Carrying bag
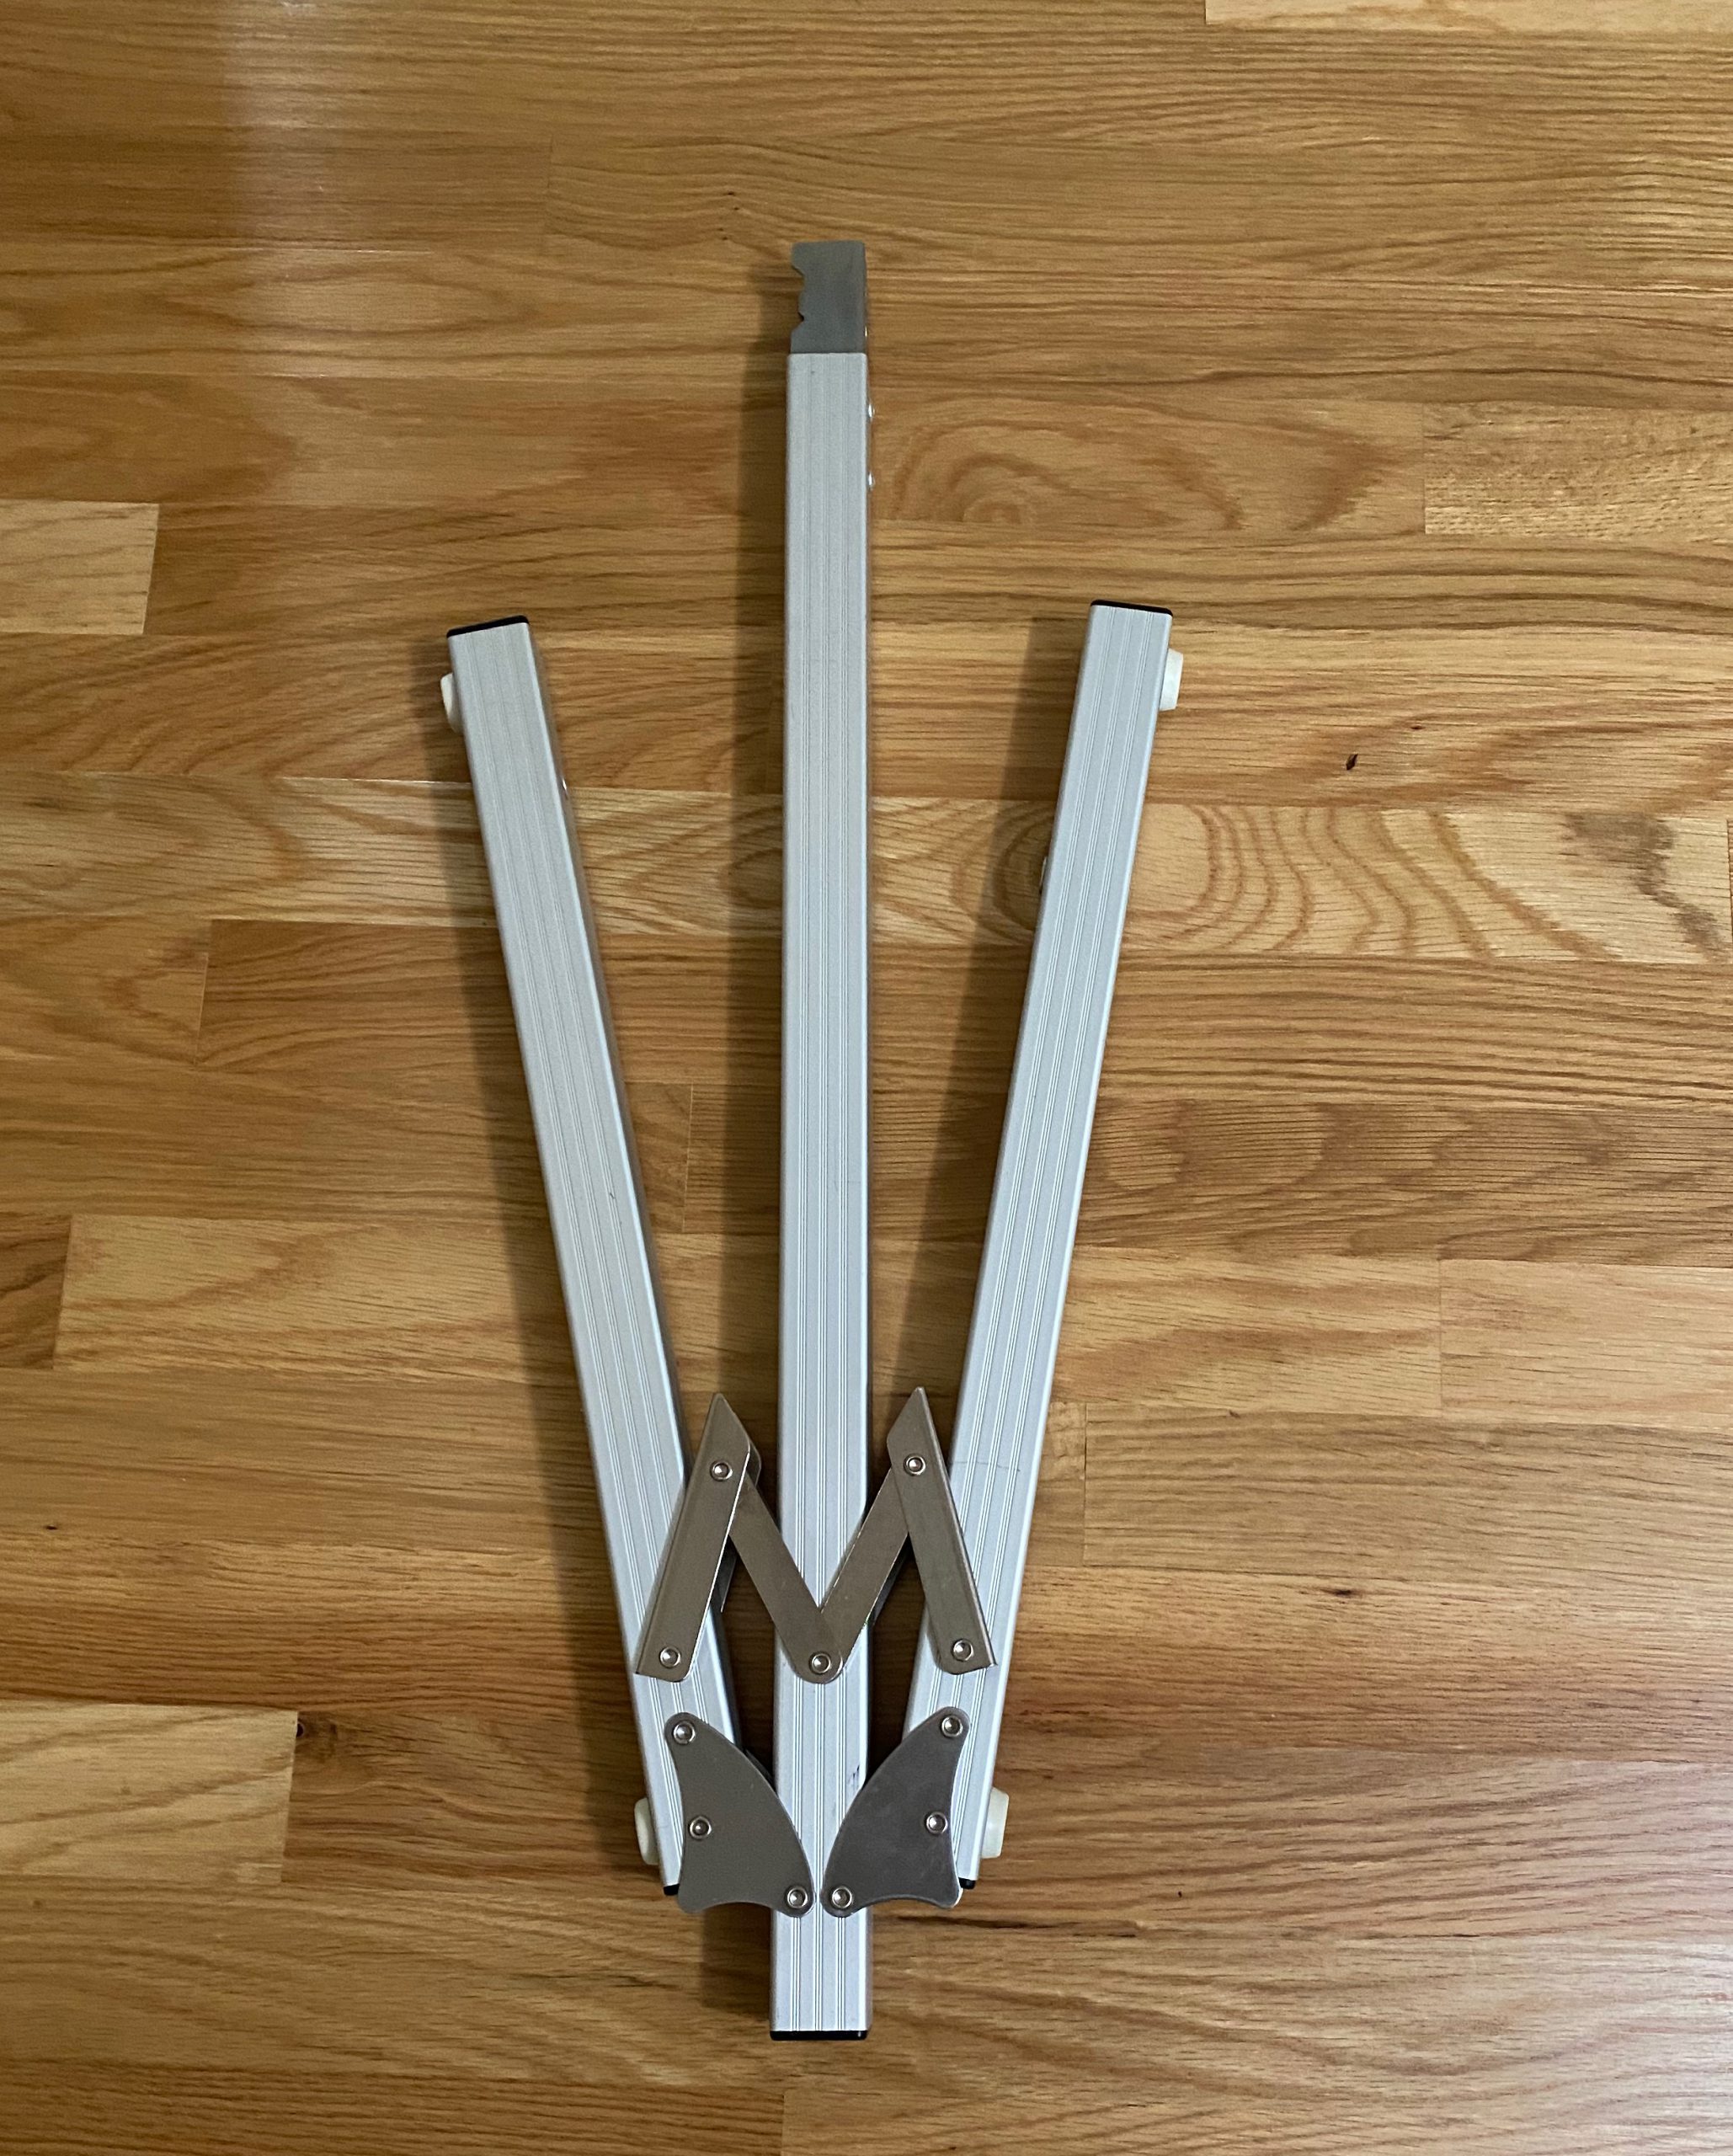
- Frame in 3 major pieces
- Hardware for assembly and stability
- Screen in a protective bag
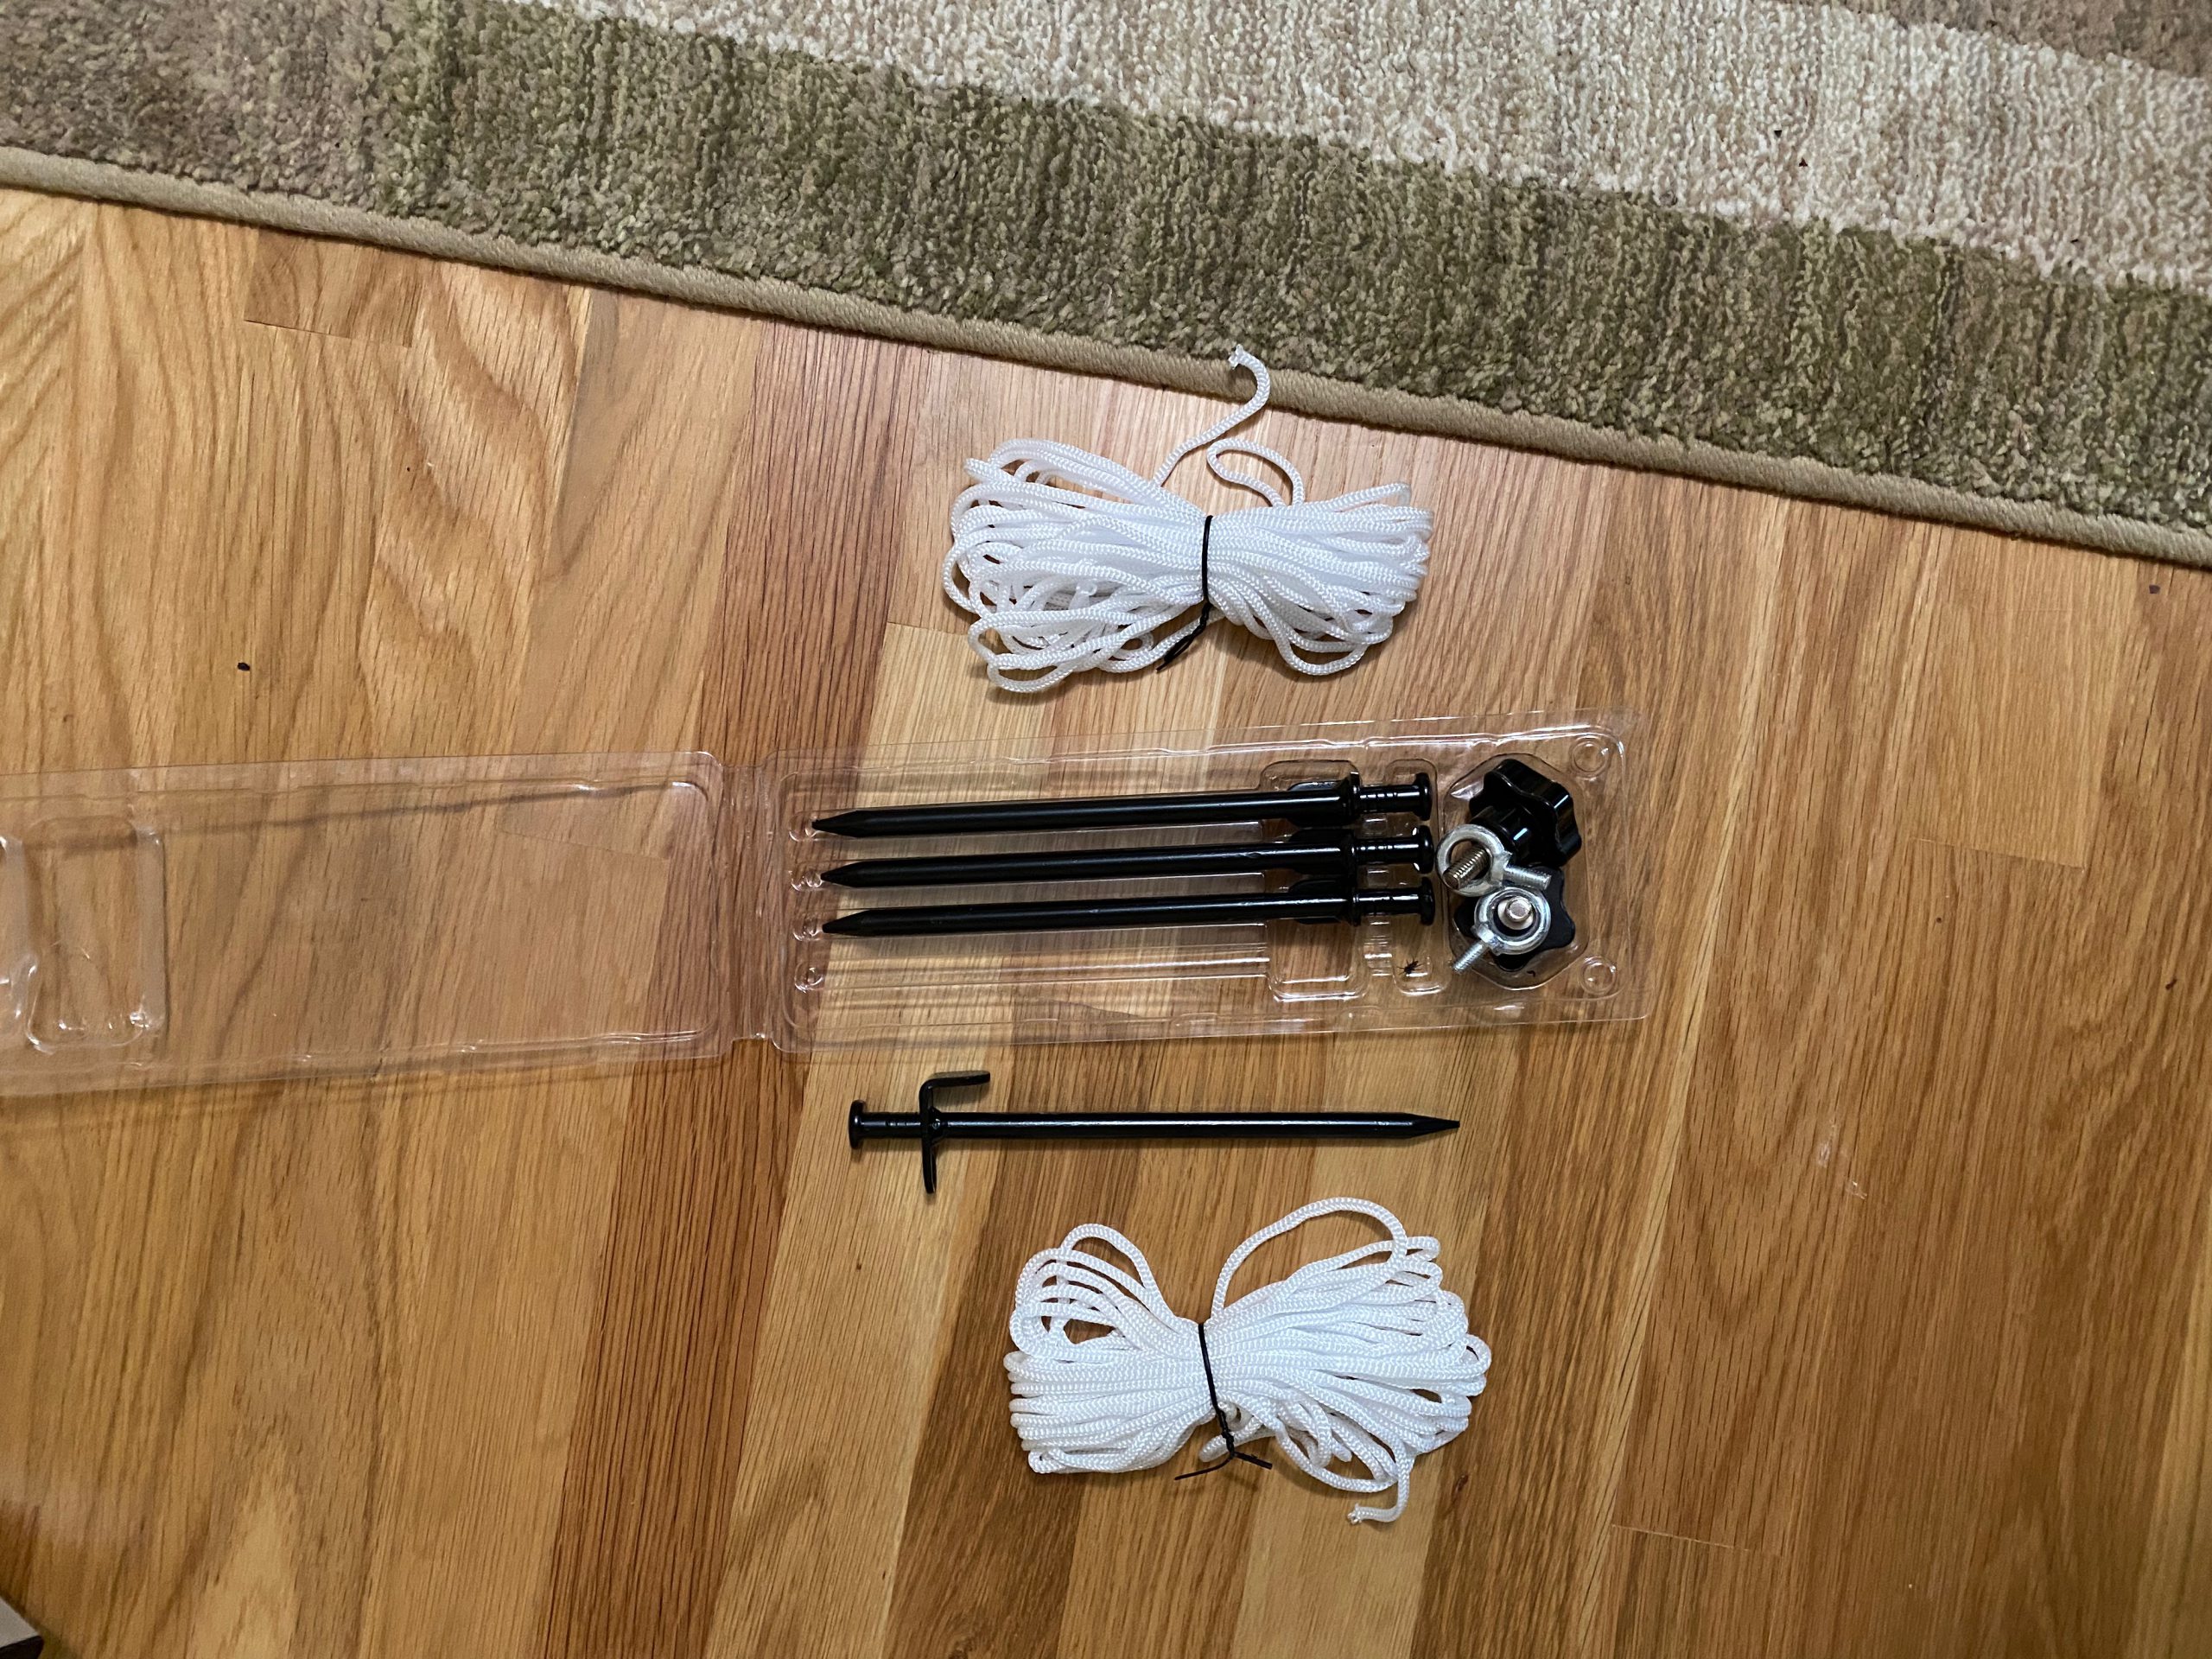
- Stakes and cordage for securing the screen
- Instructions
Design and features
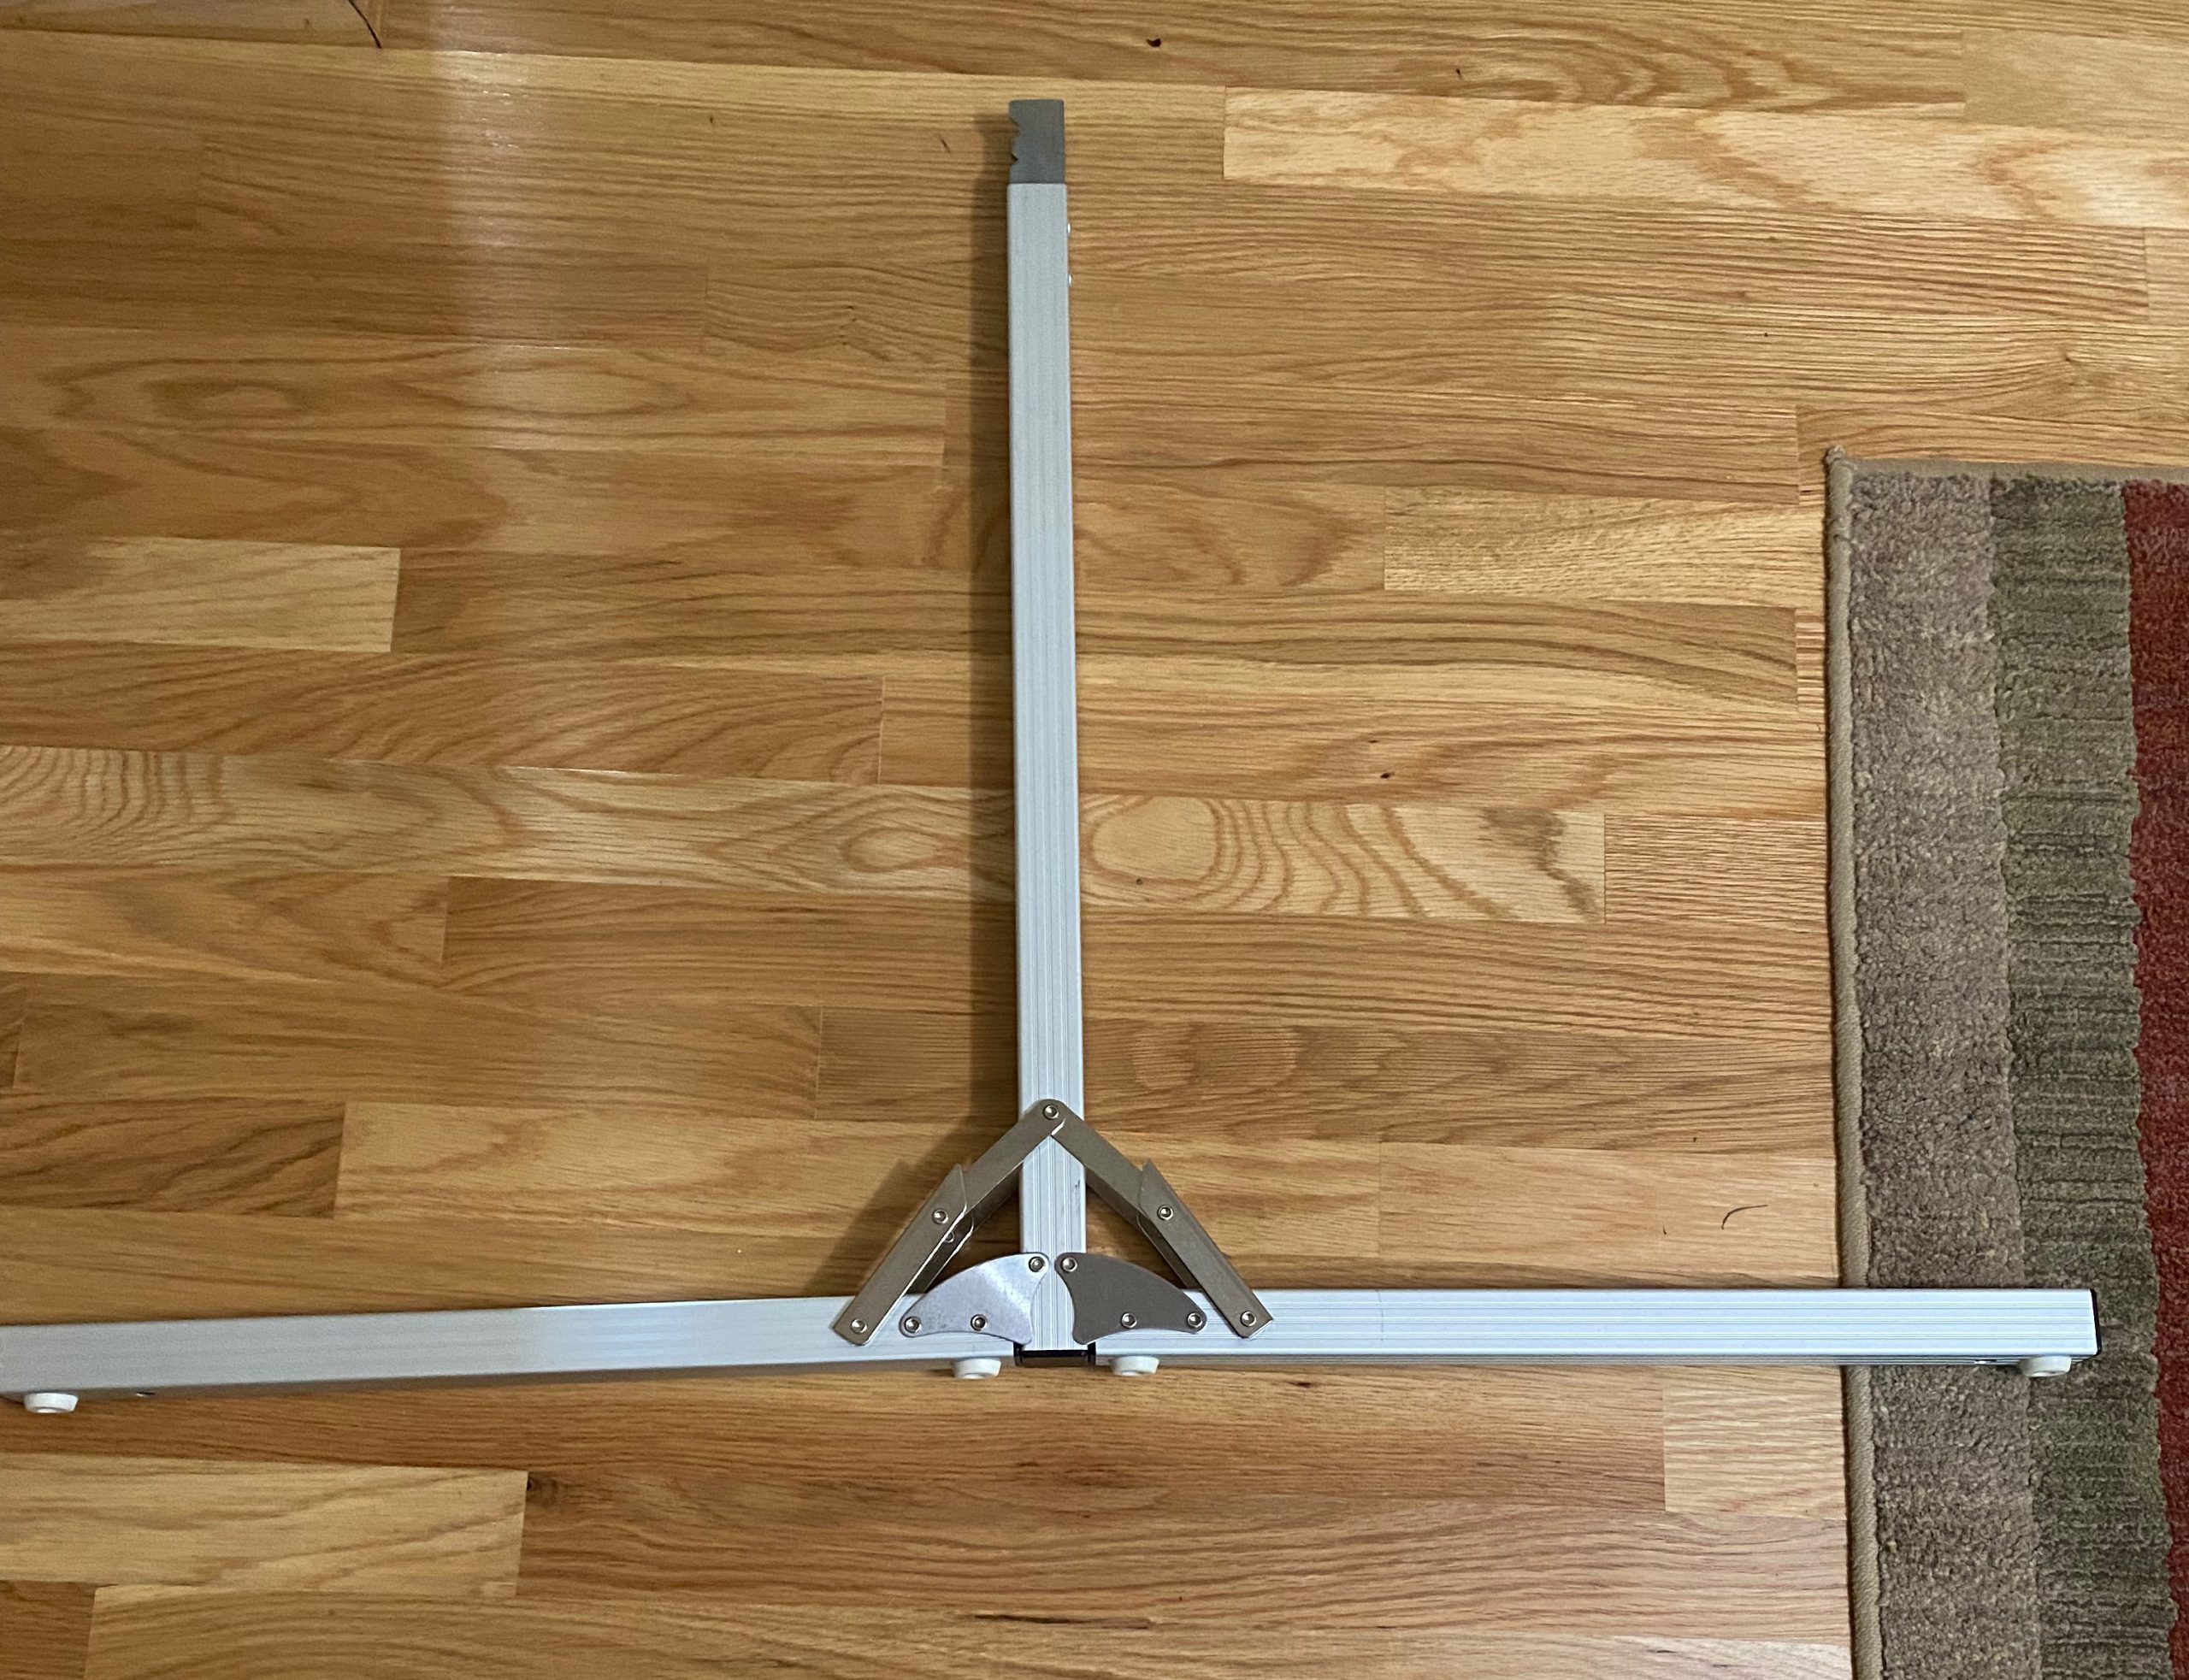
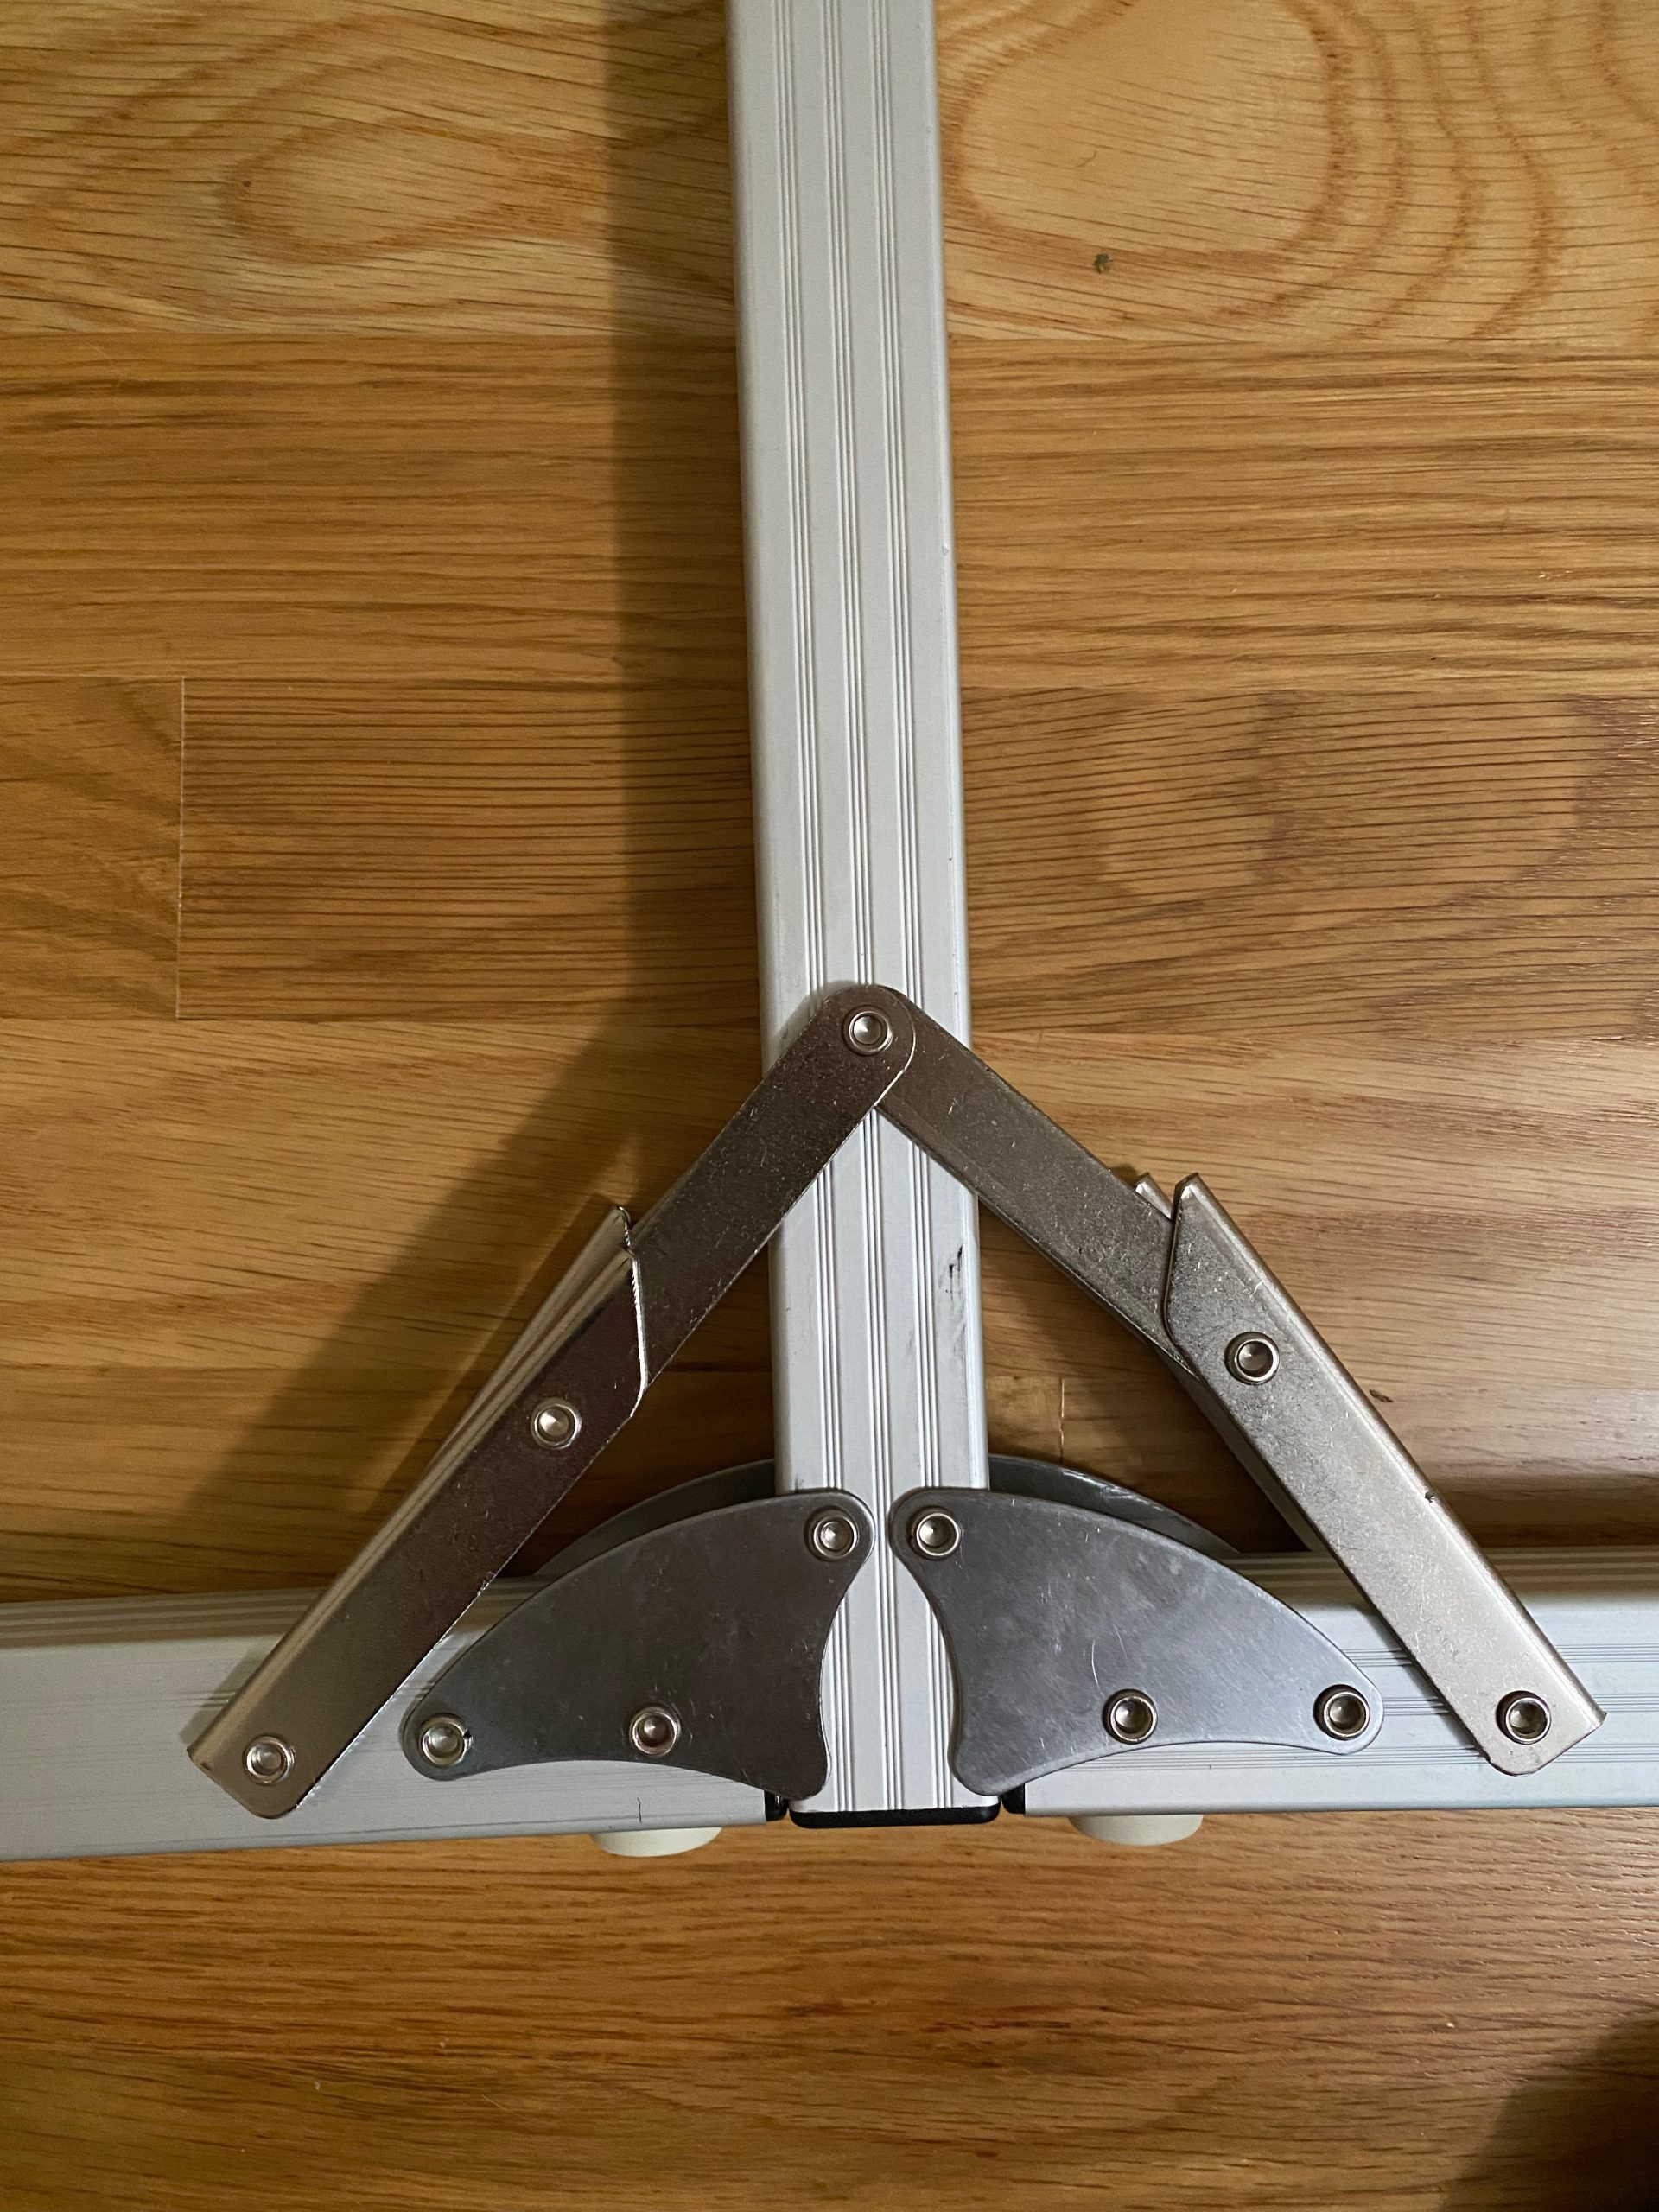
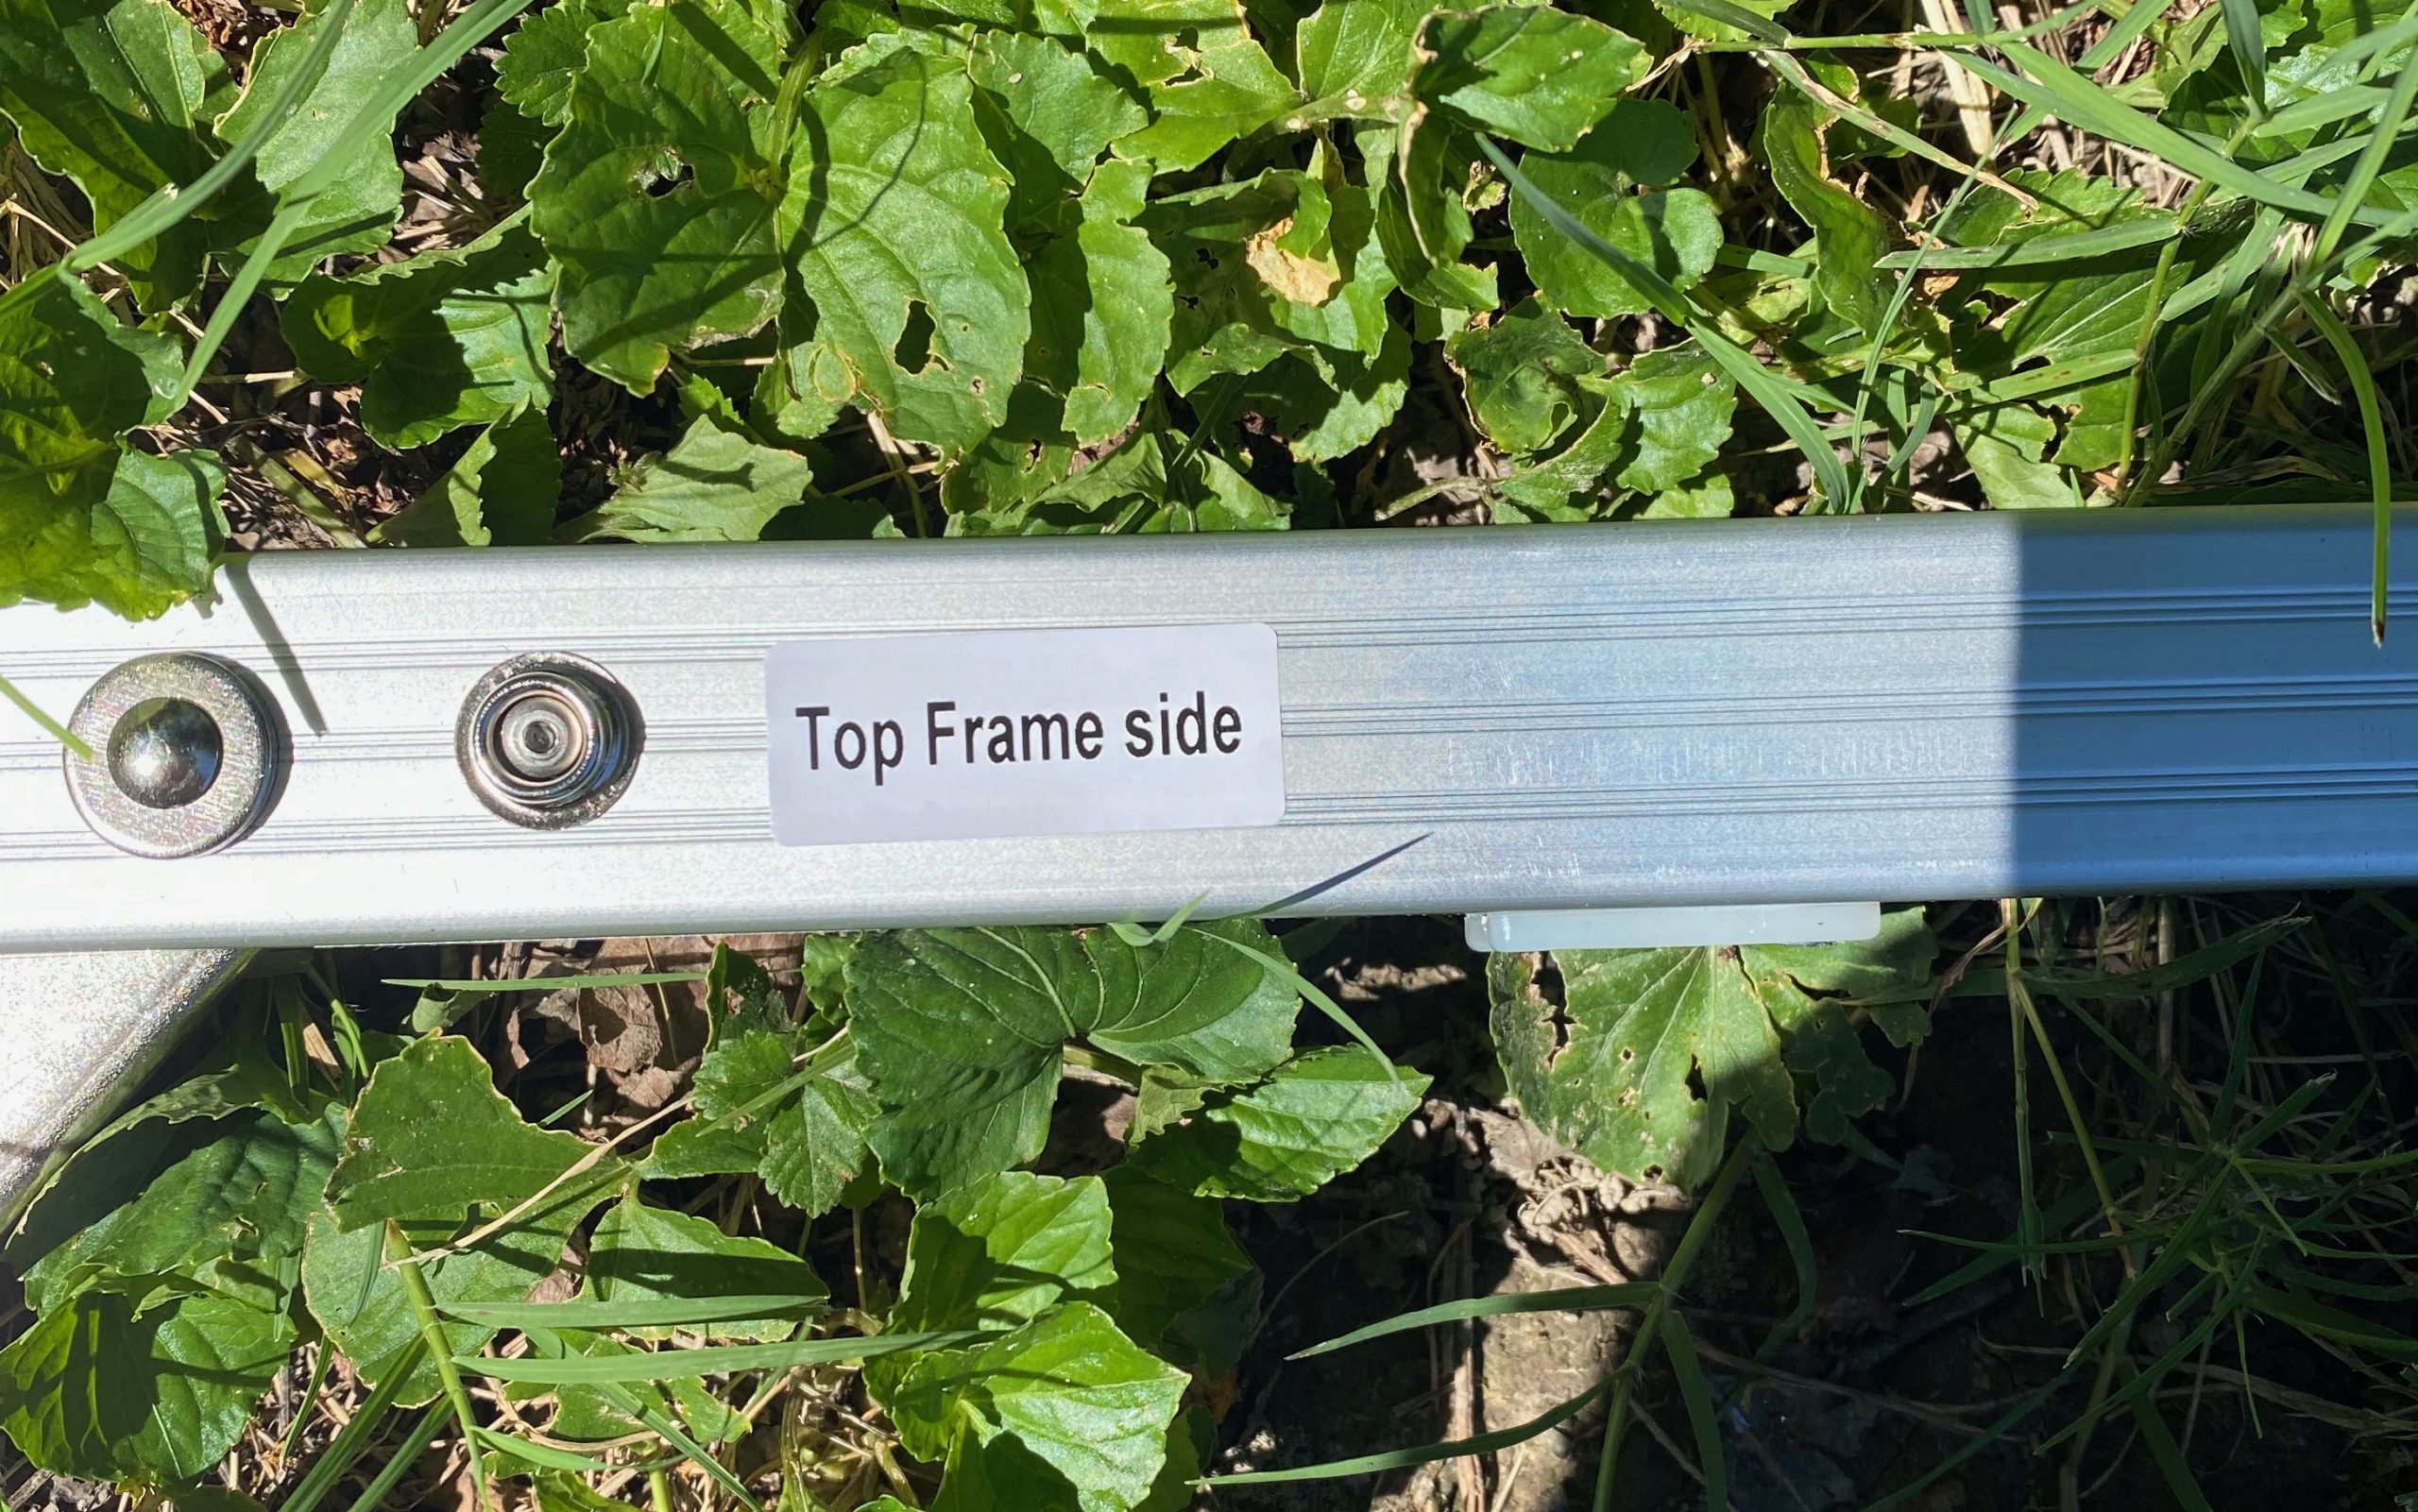
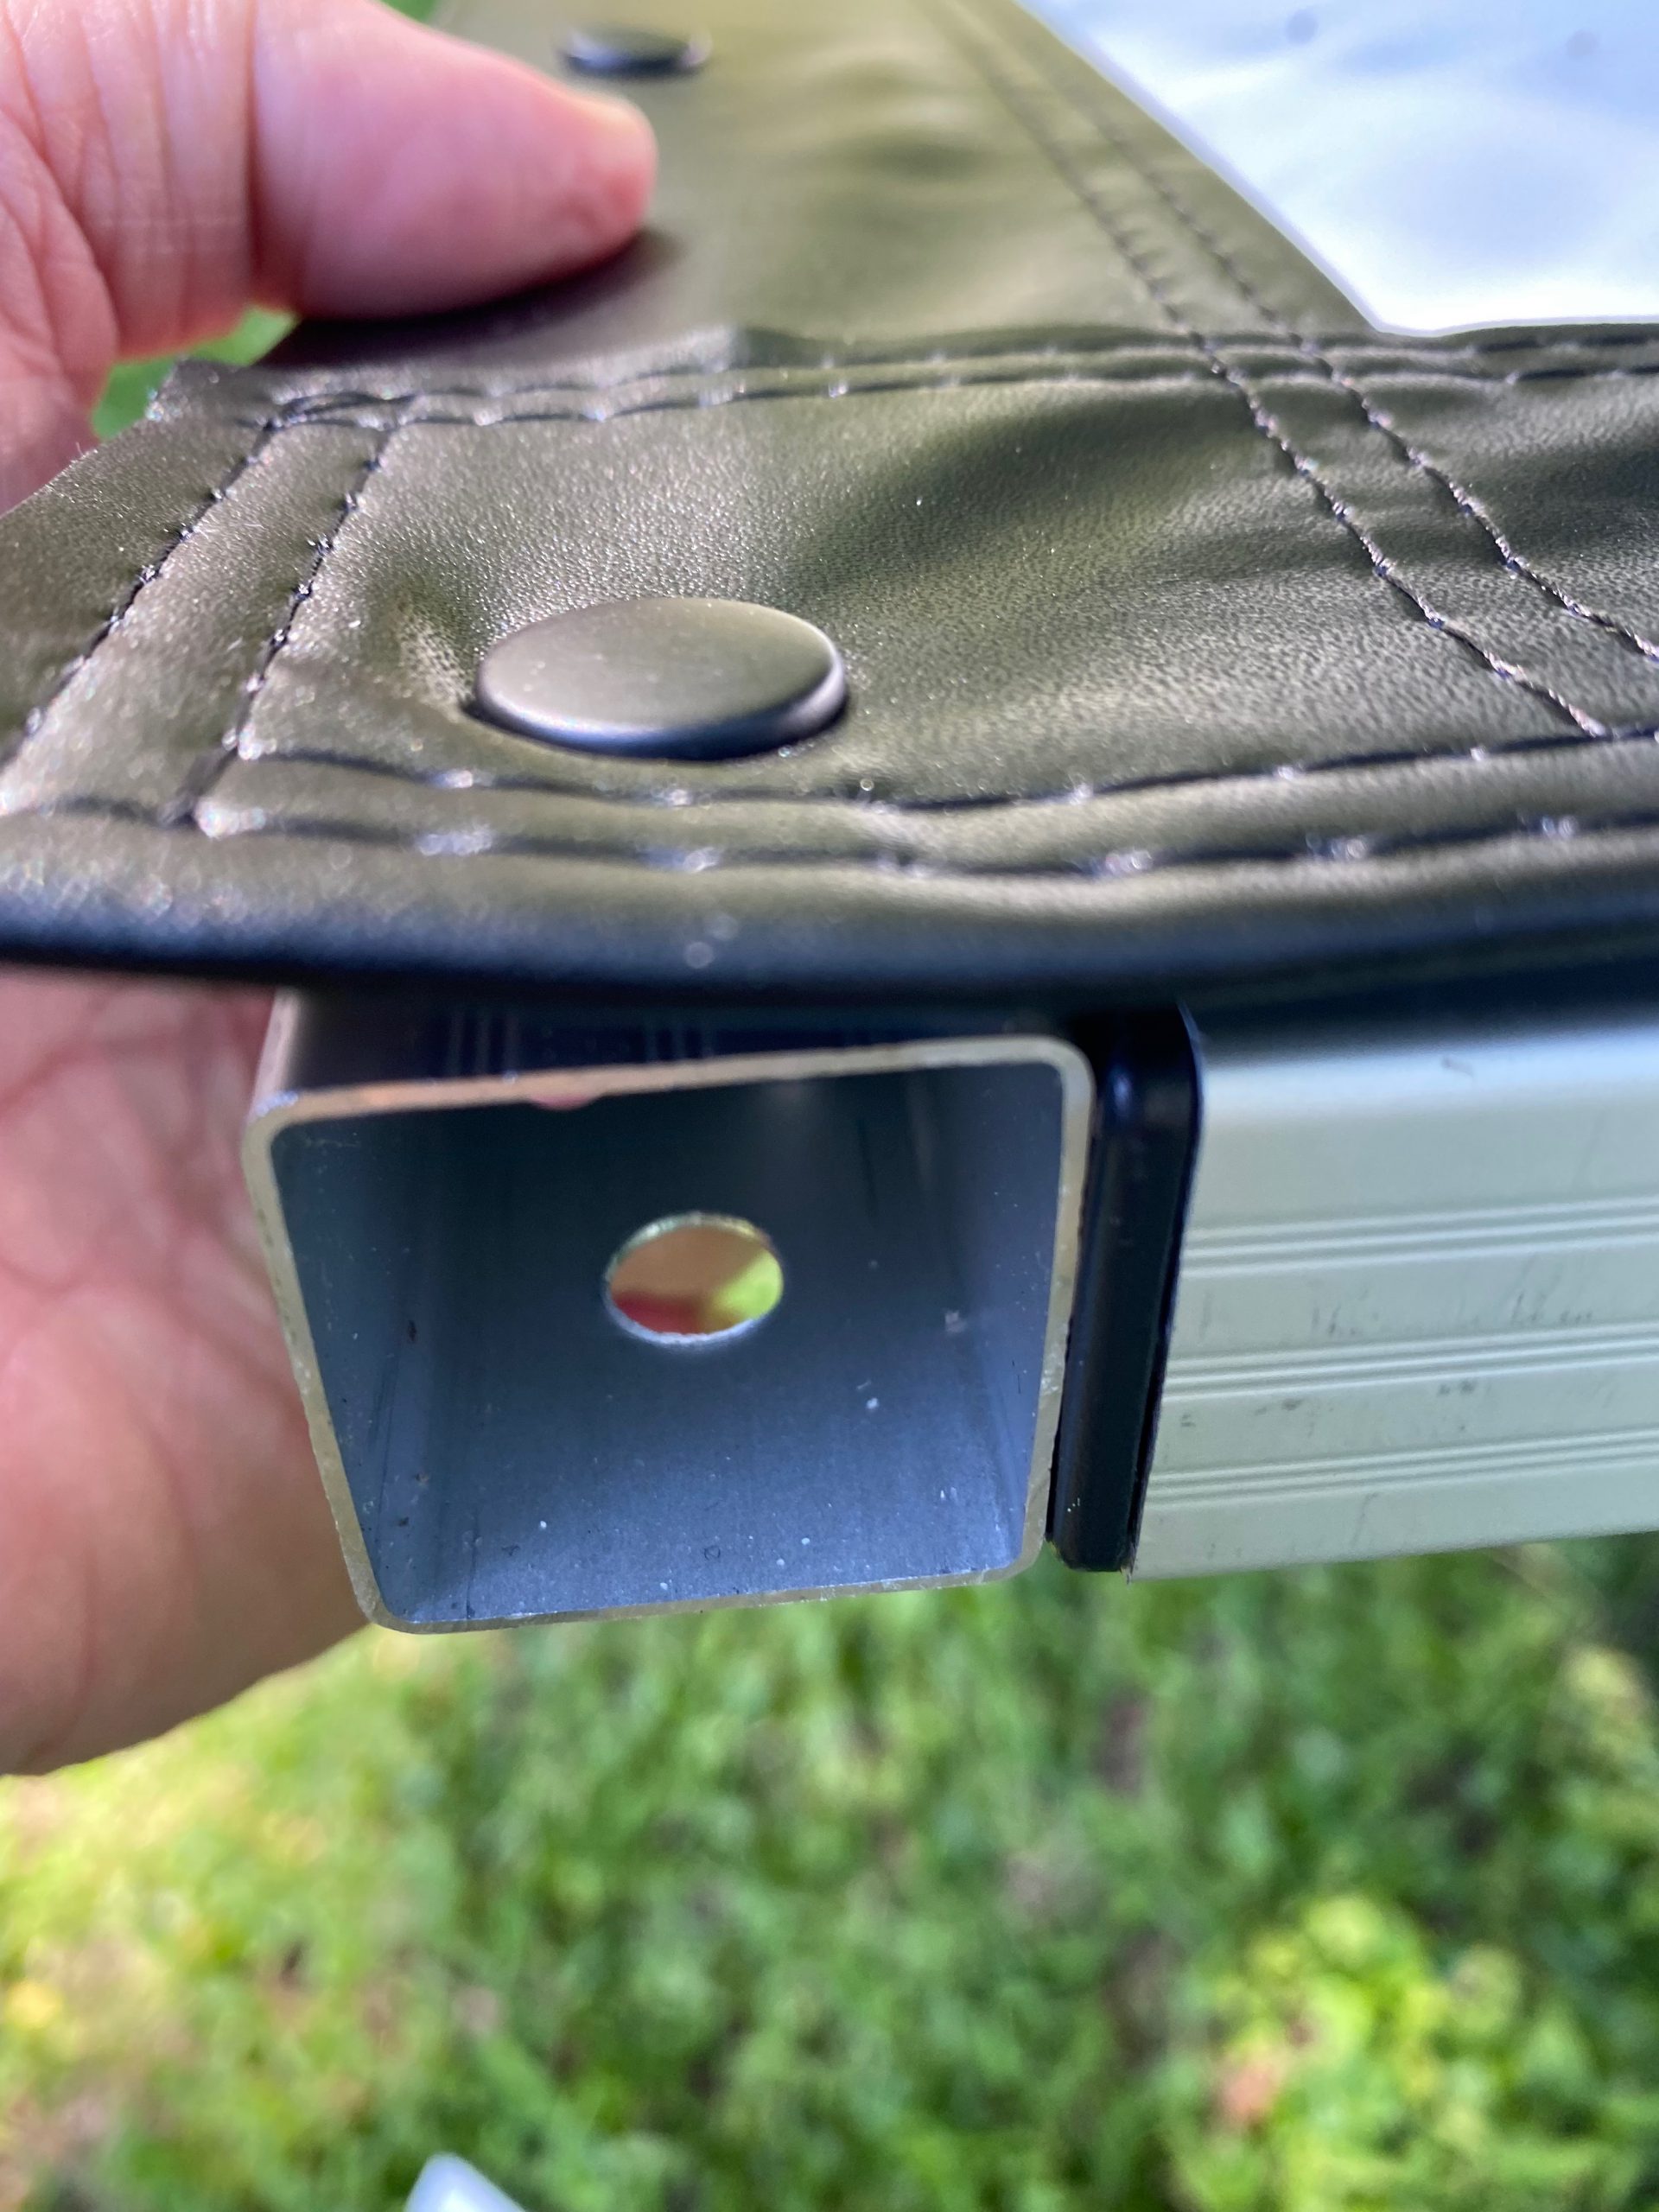
The Elite Screens Yard Master 2 screen frame is built out of rectangular aluminum pieces that are attached with steel hardware. The screen attaches to the assembled frame with riveted snaps that have a positive lock. These are spaced about 8” to 10” apart, depending on where on the perimeter they are. Midpoints and corners have closer spacing. Between those areas, the snaps are spaced a little more, but still serve the important function of preventing the screen from drooping.
The pieces for the frame lock together positively with a wide cam, and are secured with a solid lock. The lock is released with a button near the joint. These pieces are all heavy-duty – the buttons, for instance, are not little balls to hold in while assembling, but solid, spring-loaded buttons .375” in diameter that open the internal cam. It’s an instant lock, but very easy to unlock.
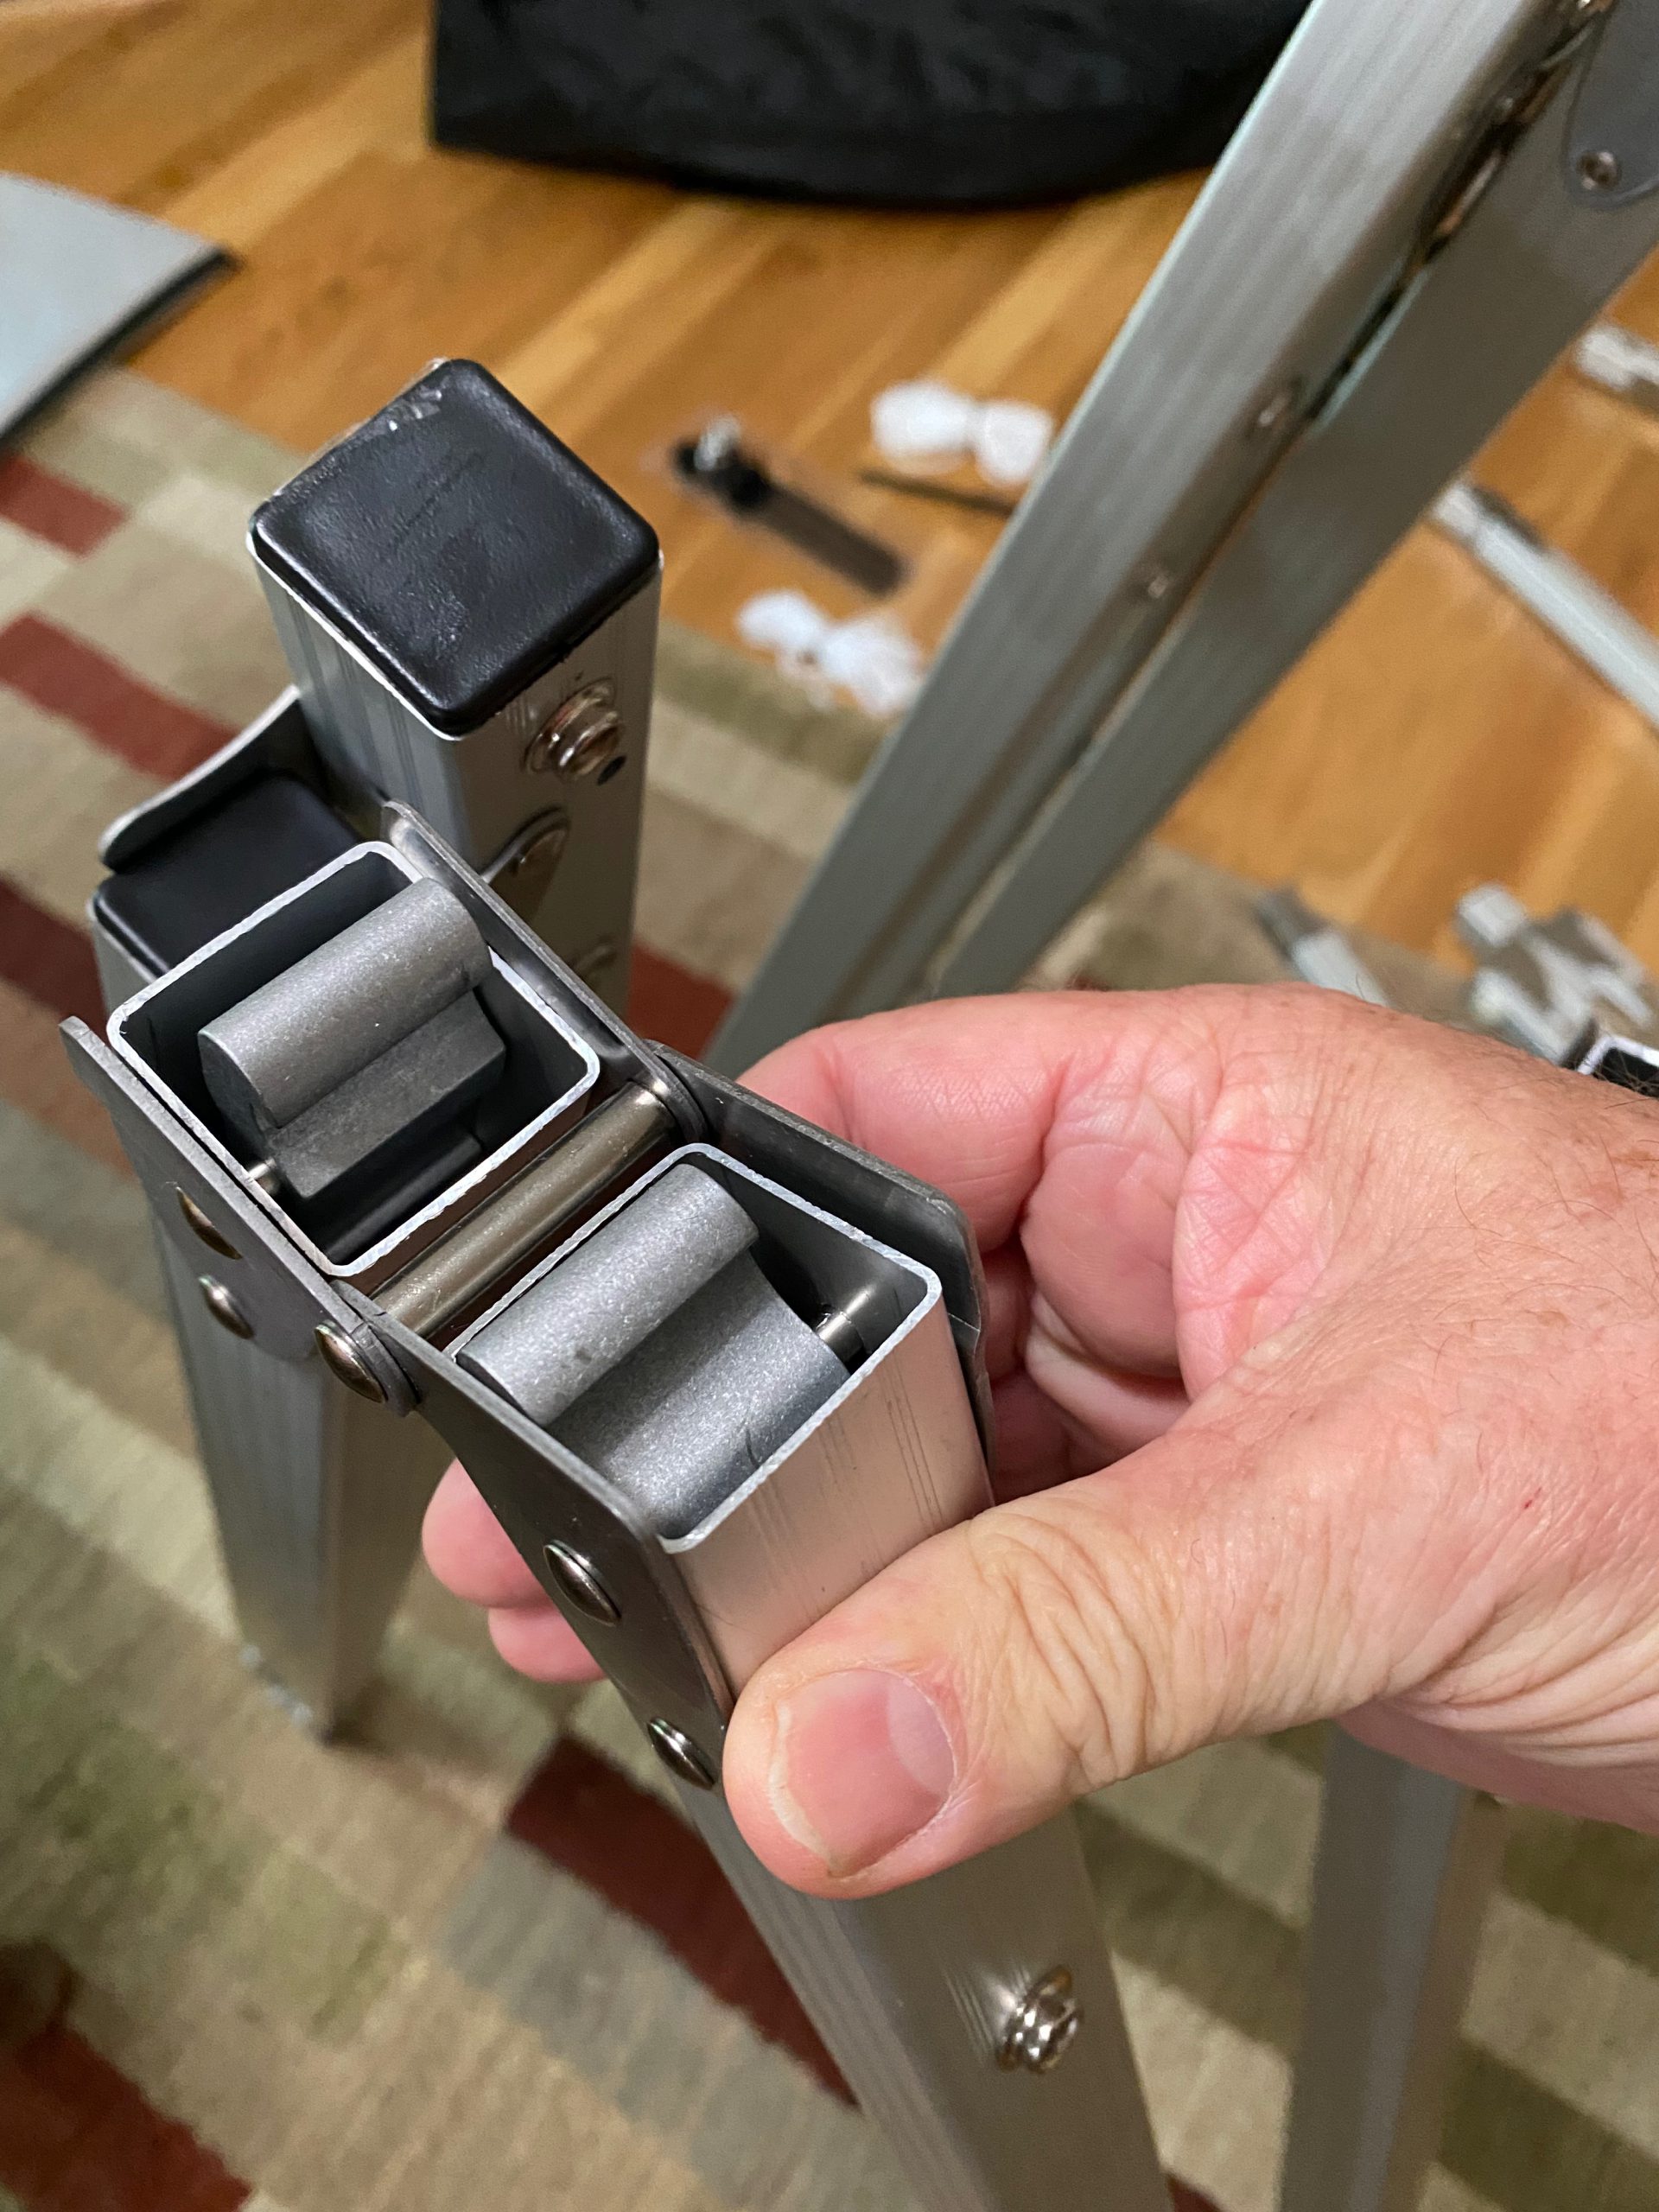
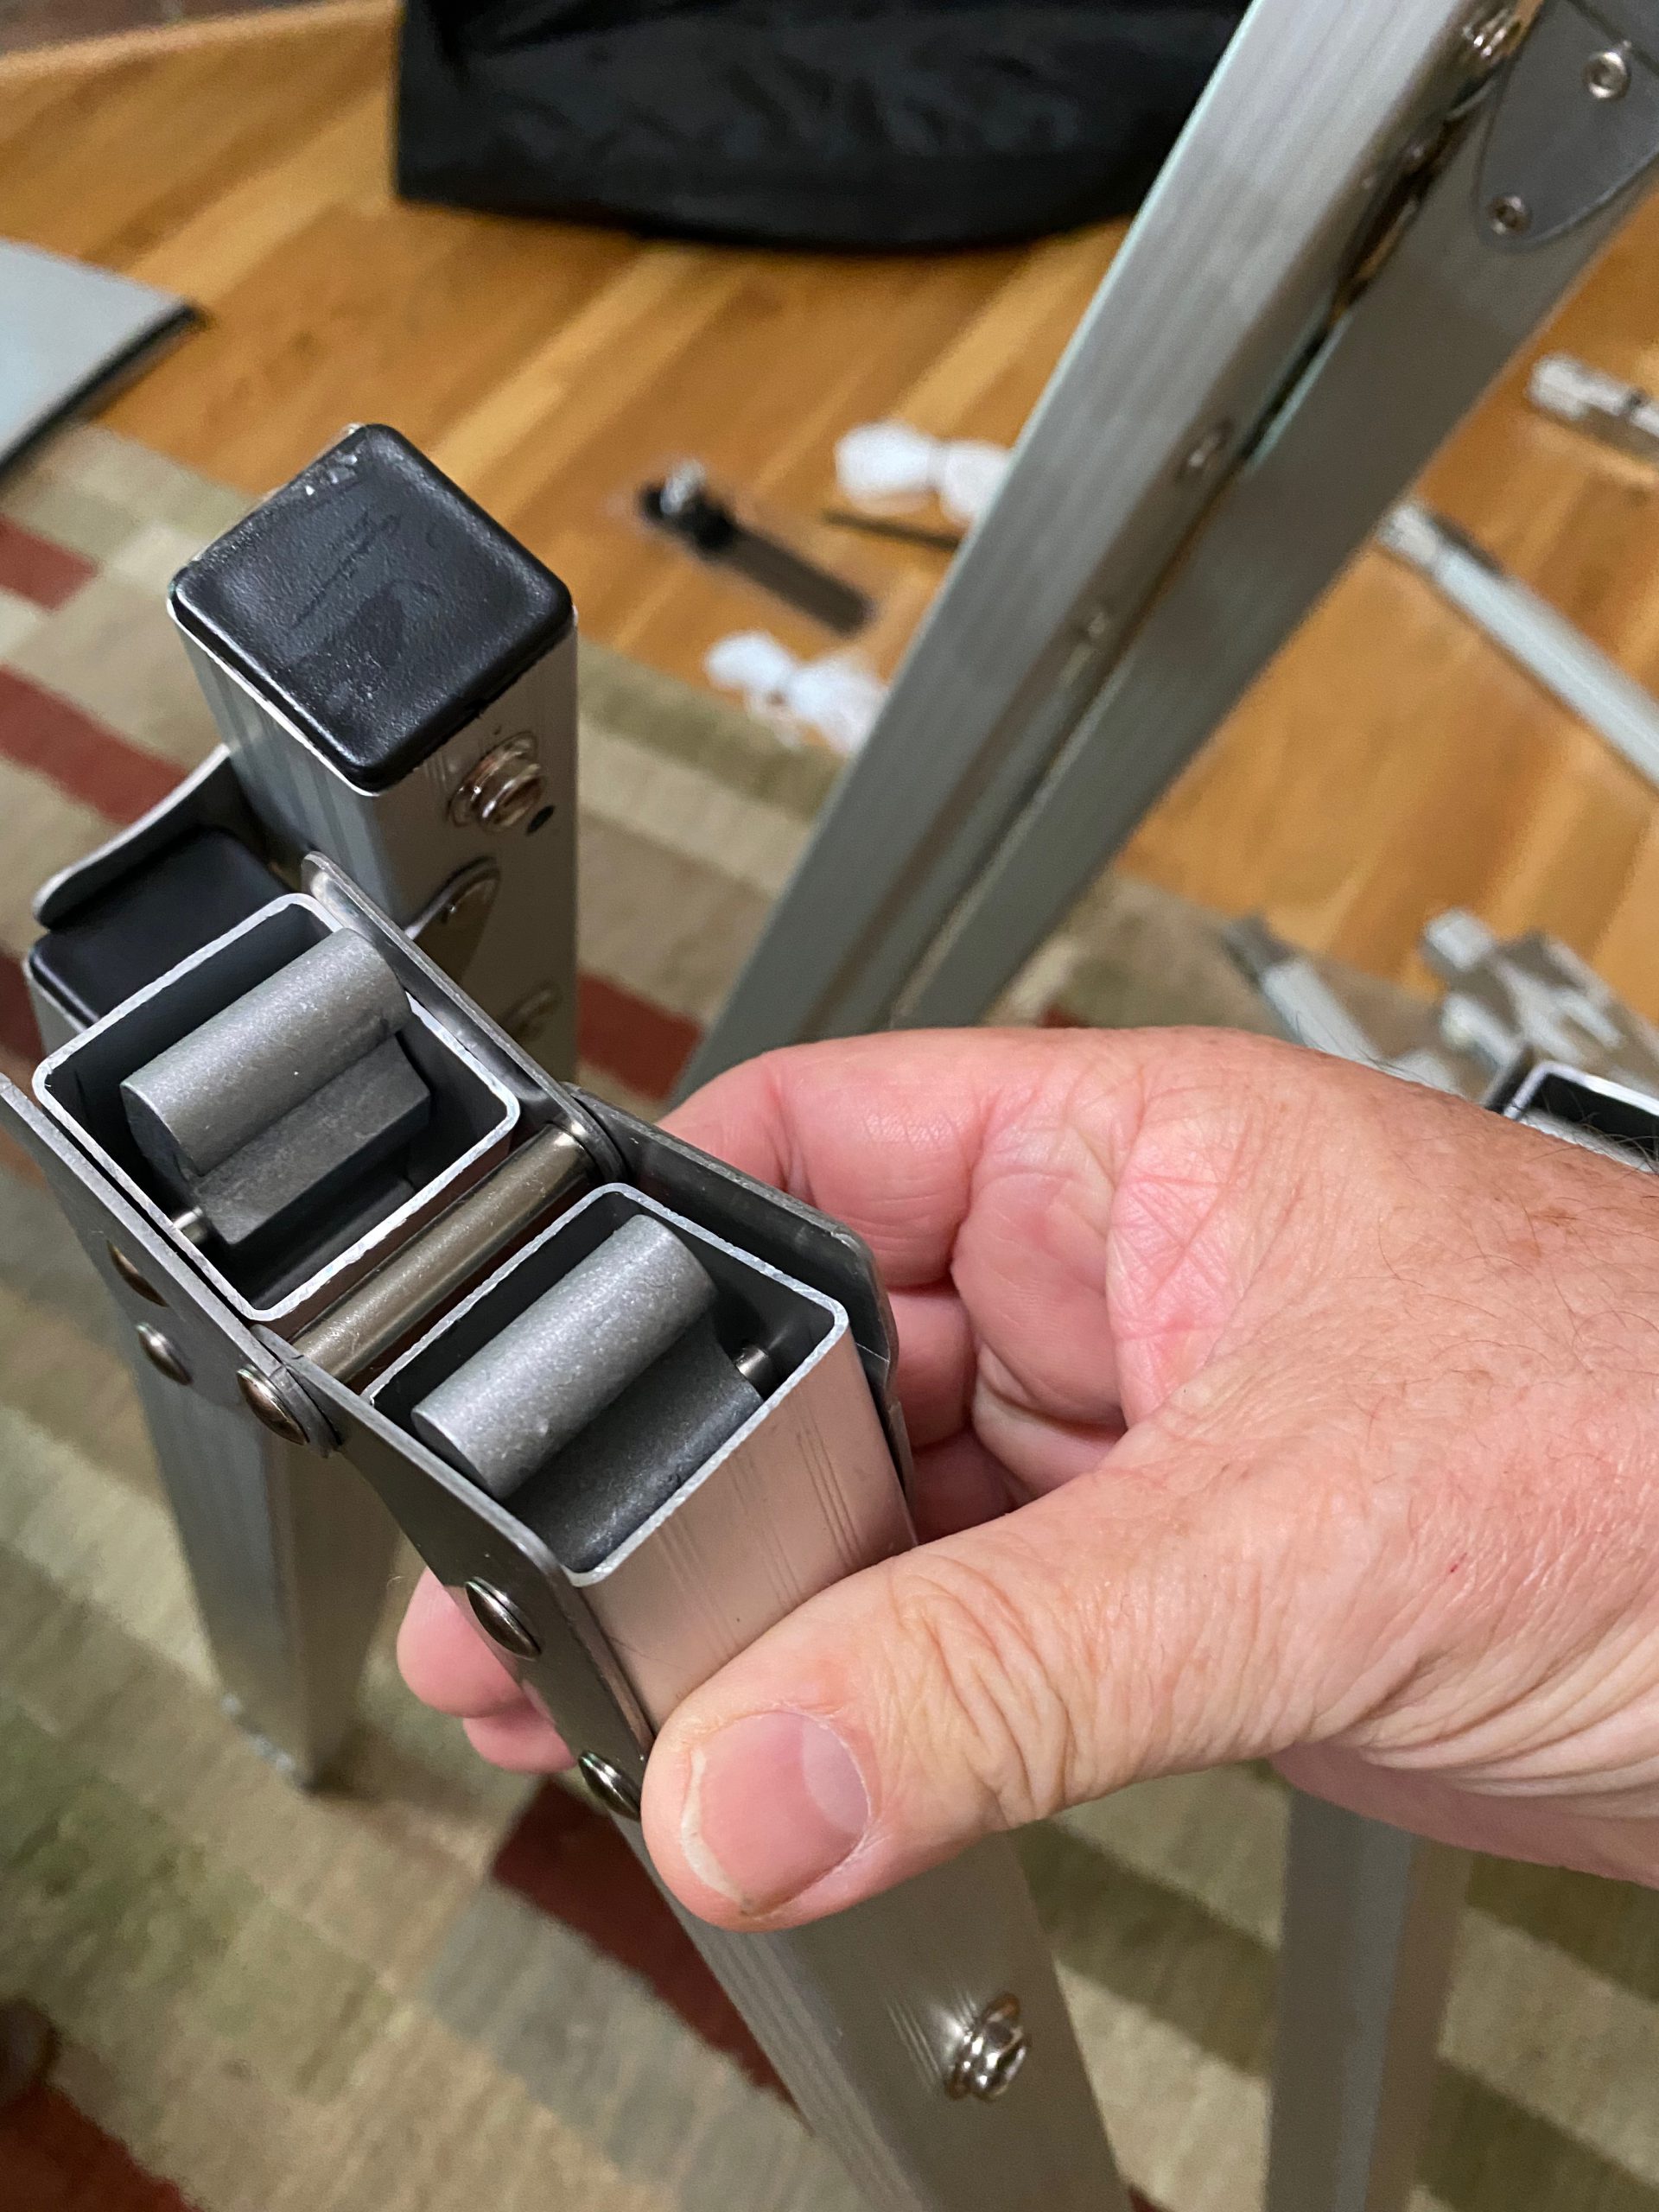
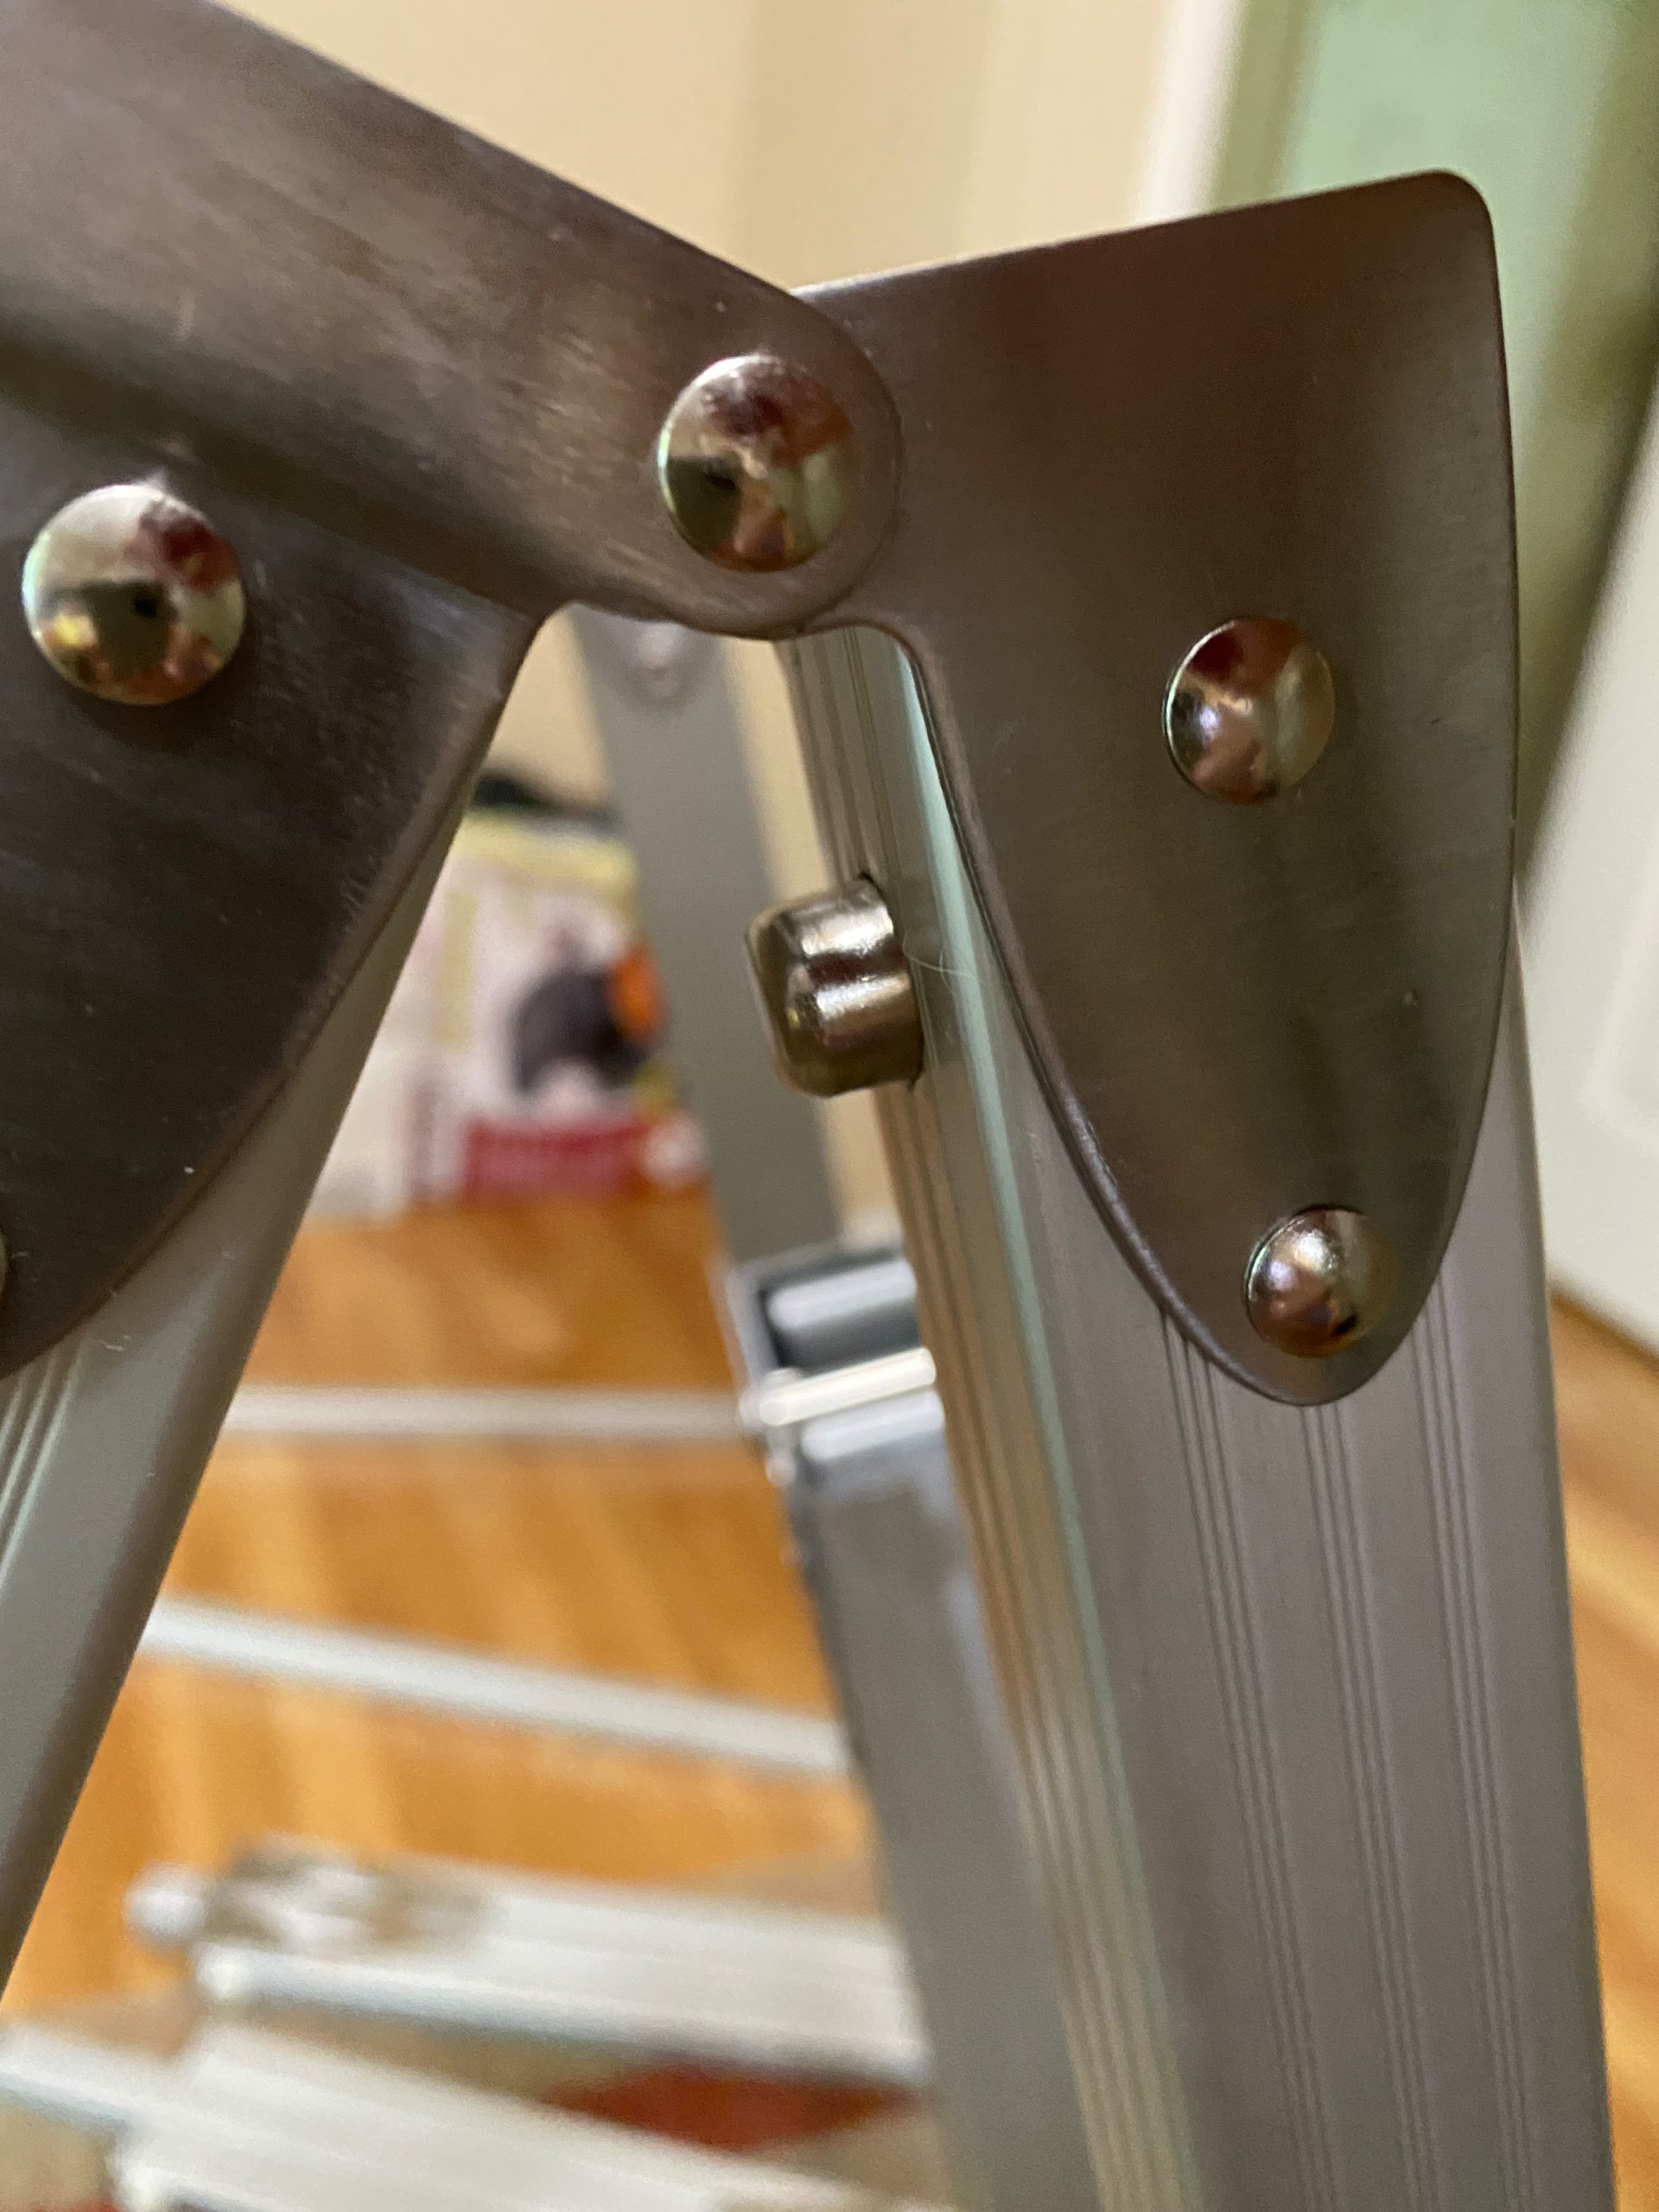
The legs have hinged sections that have angle braces to hold them at a 90º angle. (There are also similar angle braces on each corner of the screen frame.) The legs and support pieces have plastic end caps on every piece, which will help prevent pinches and cuts, as well as deter bugs from getting into the frame. Note the Teflon™ floor guards, in case you are setting this up in a parquet-floored ballroom.
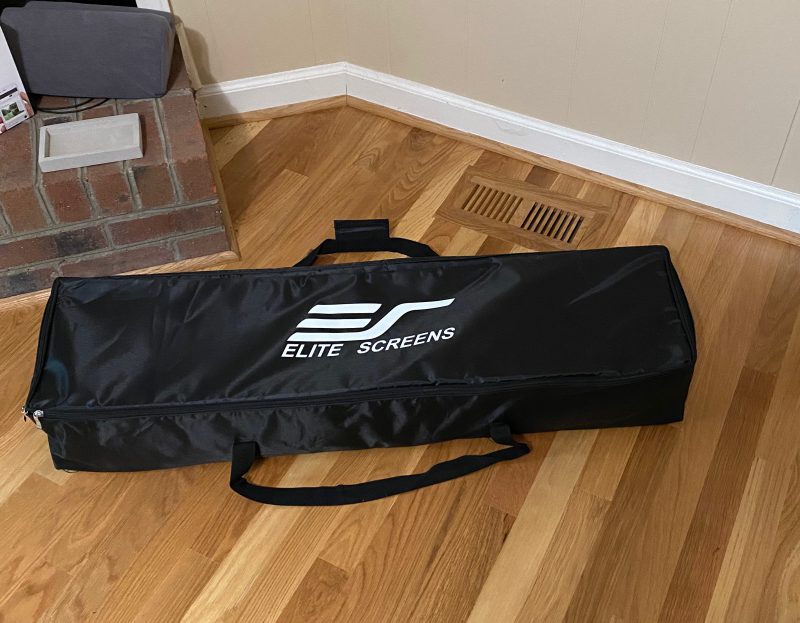
The Elite Screens Yard Master 2 screen arrives as a strongly-boxed parcel. I’m talking fibre-glass bands, and really dense cardboard. Inside the two thick cardboard boxes (yes, one inside the other!) is a tough nylon carrying bag that contains the screen and frame.
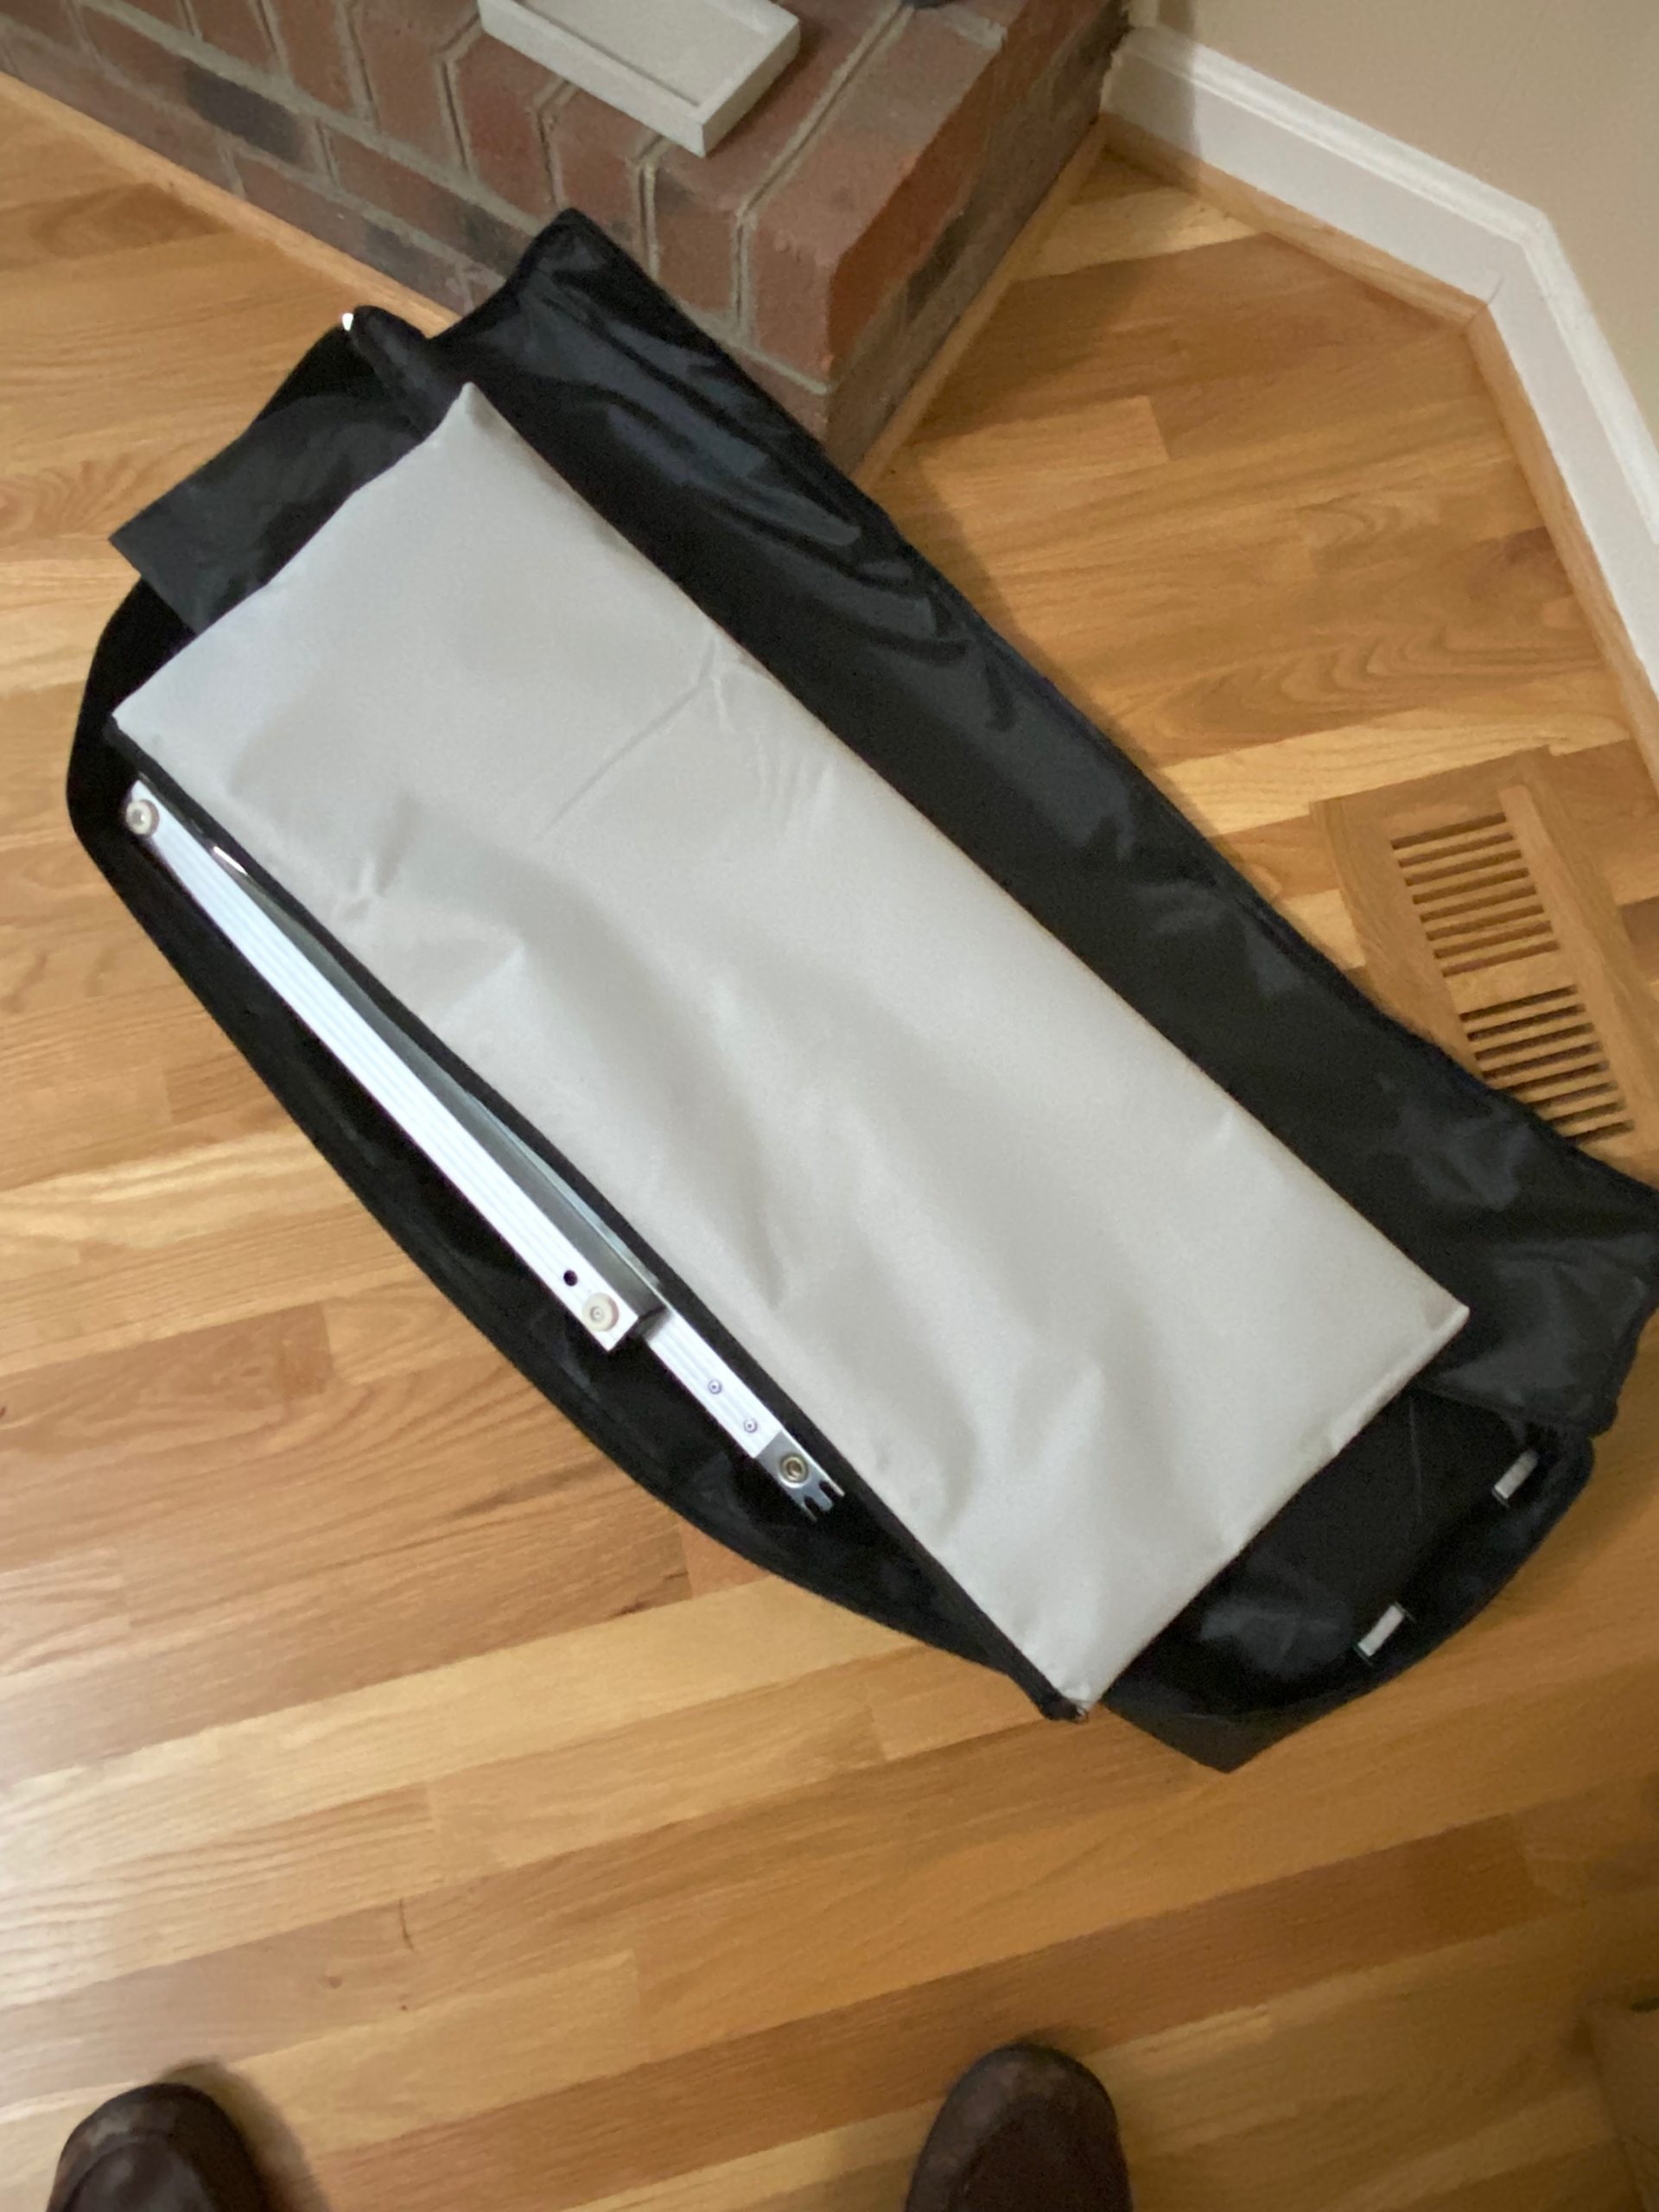
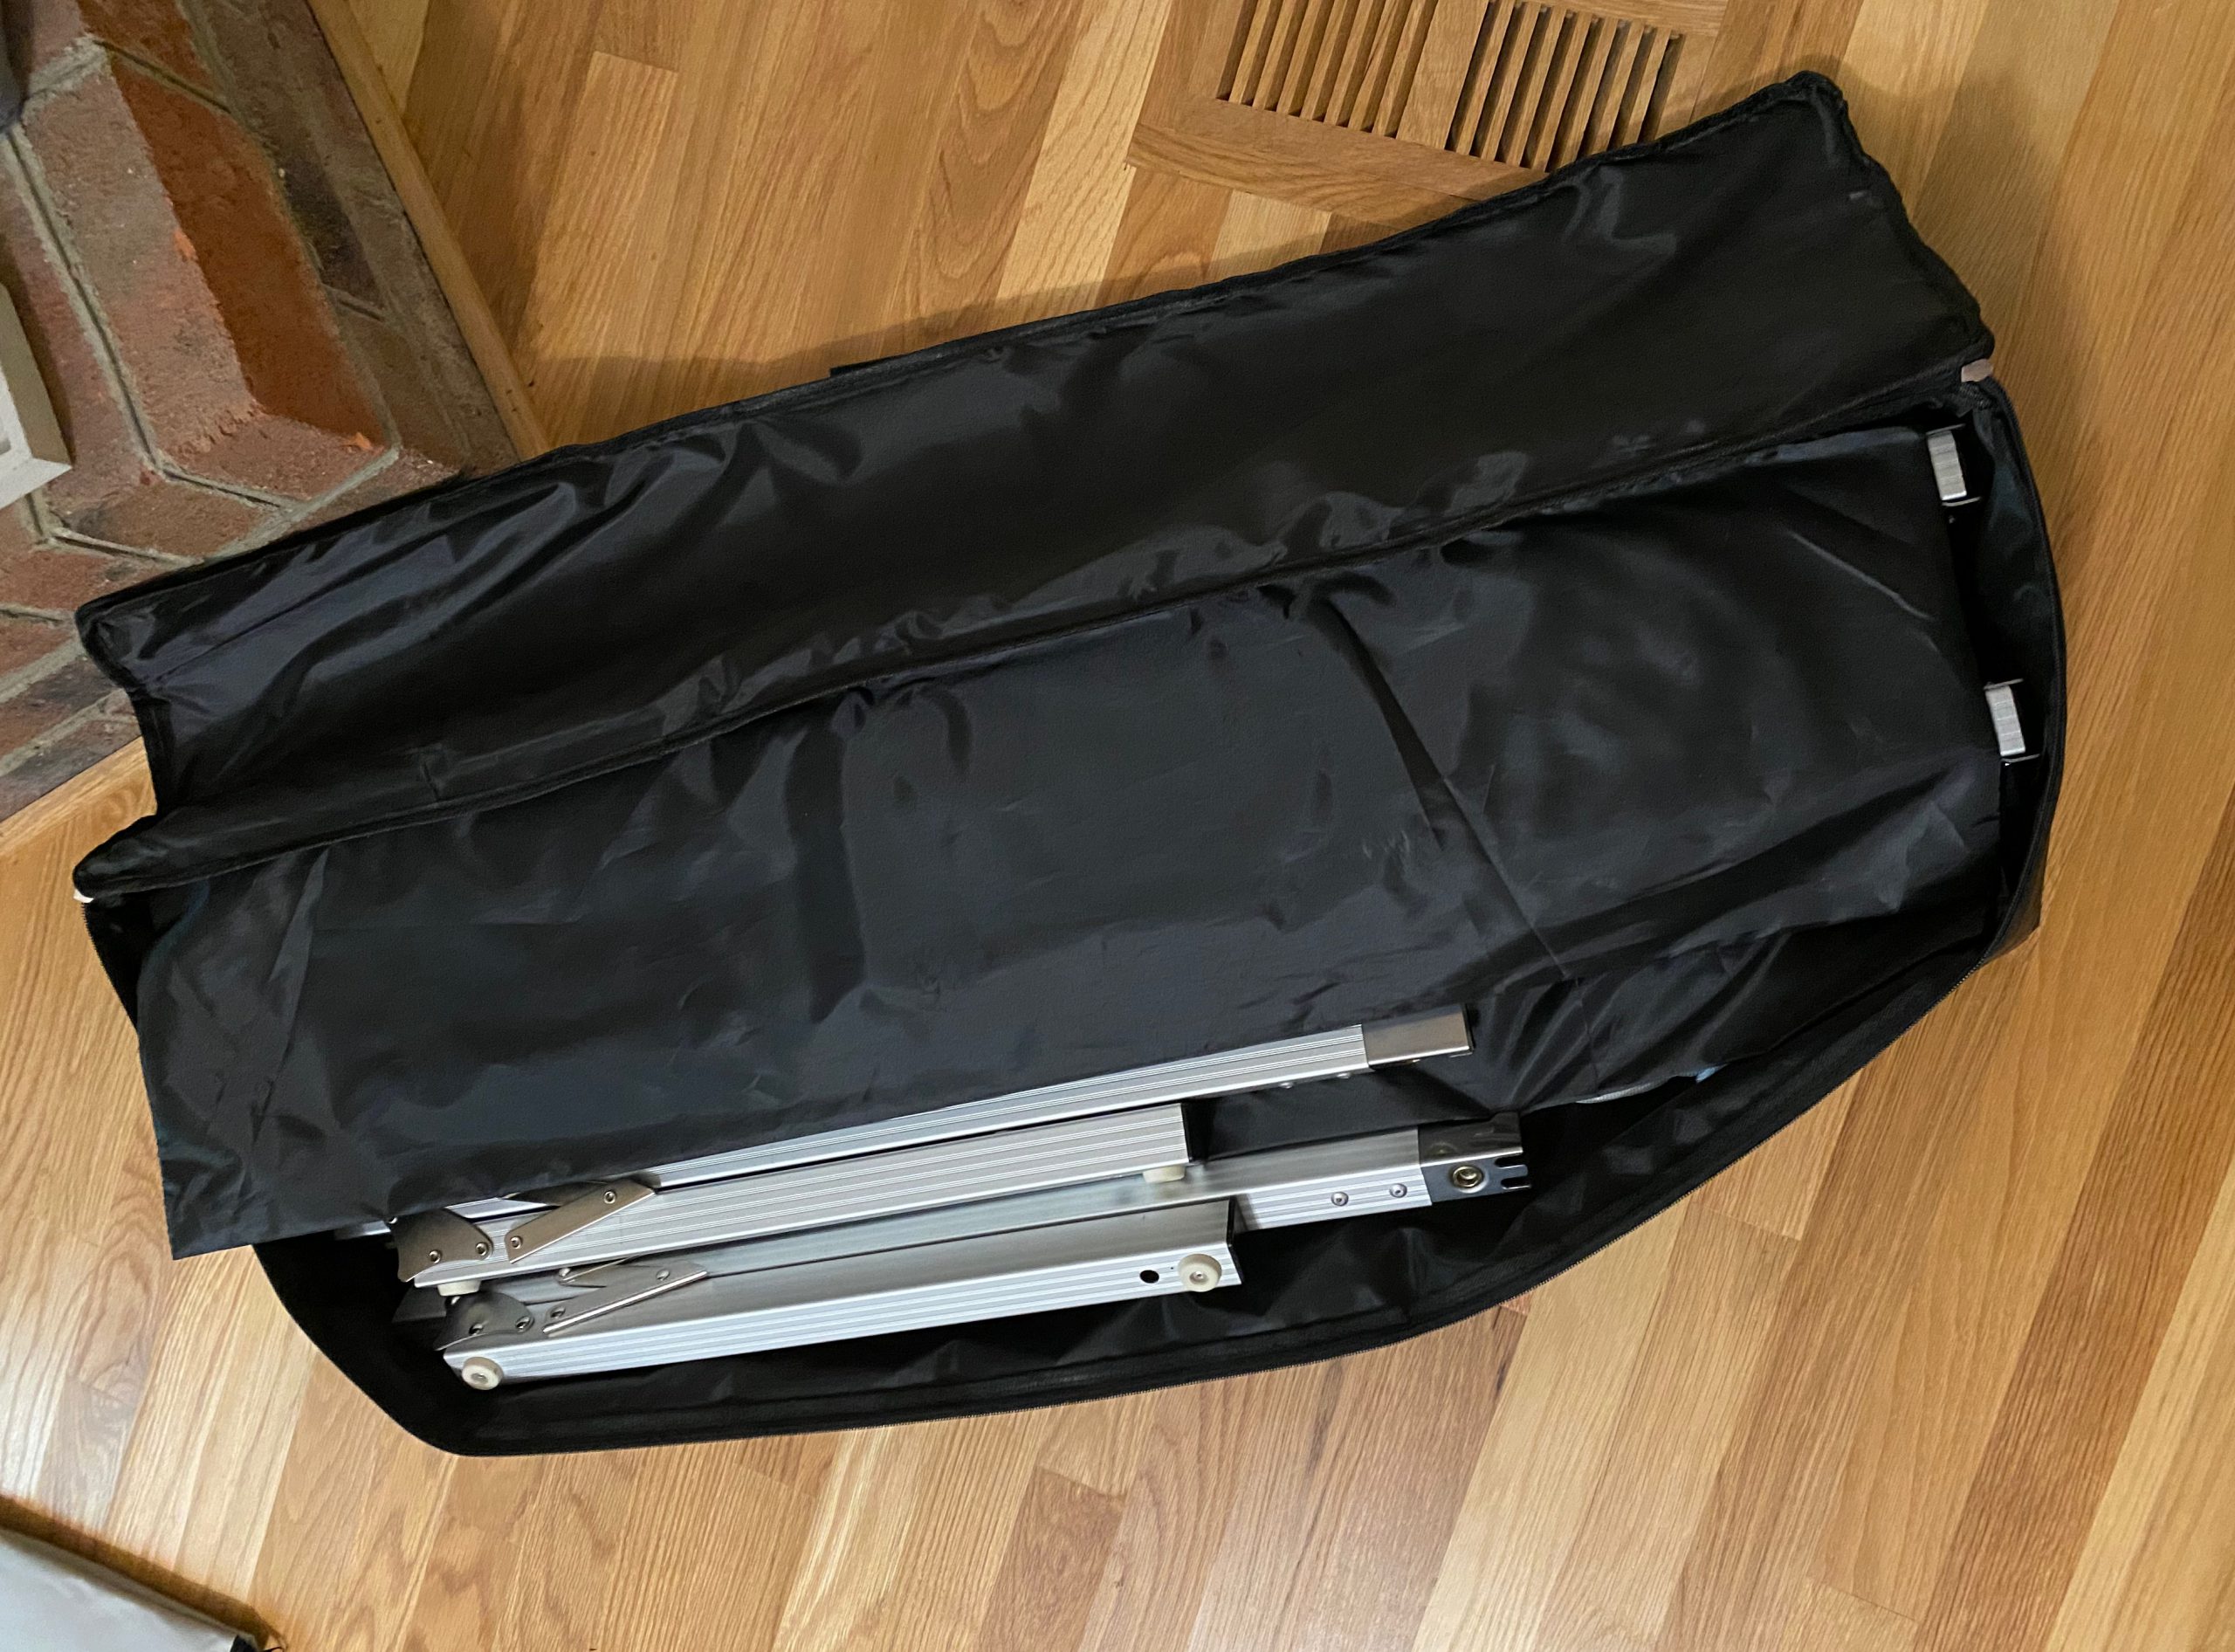
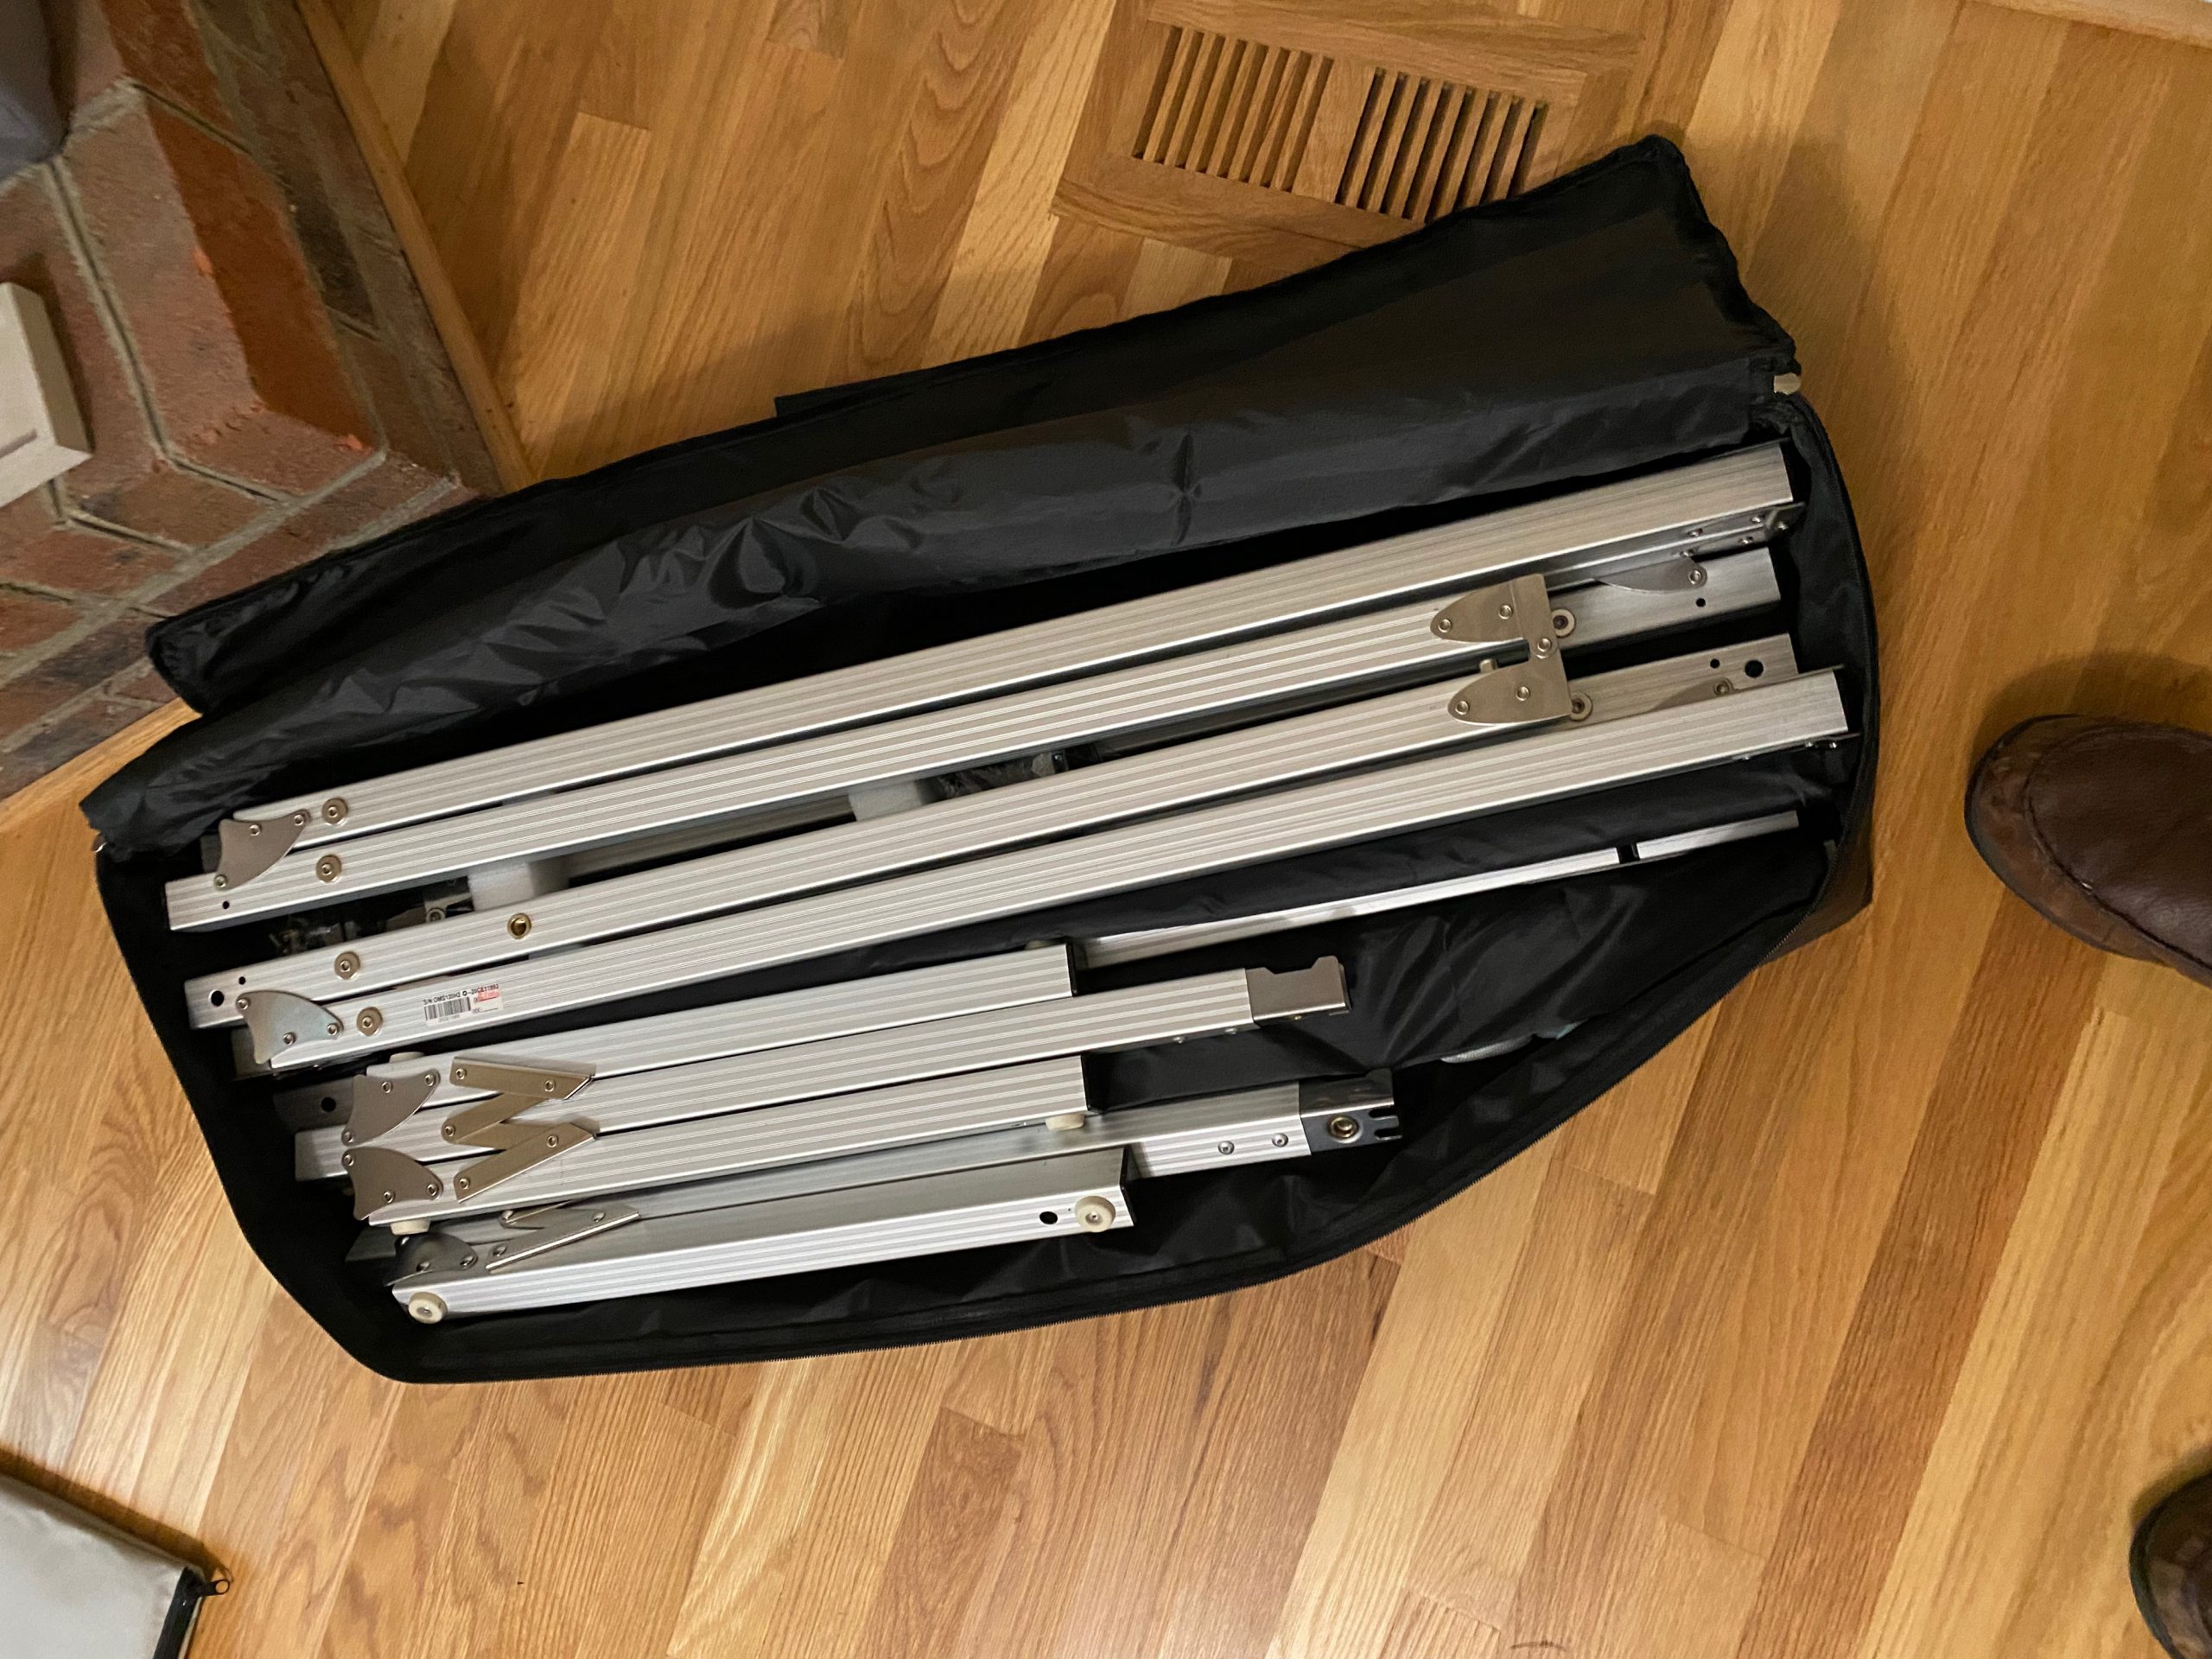
When you first open it up, it’s quite daunting, but a quick look through the instructions shows it’s quite logically designed. The screen material is protected in a separate zippered pouch, and there is a padded flap sewn into the large carrying bag that further protects it from damage from the hardware.
Once you’ve got the screen holder expanded, you attach the legs and screw in the eye-bolts to attach the (included) tie-down cords.


Setting up the frame will take 2 people, at least in the actual raising of the screen on the stand. It also takes two to lower it to the ground for storage. All the other assembly steps are easily carried out with one person. (In fairness, I did both of these tasks solo, but it would have been far less fraught with another person!)
I was sent the front projection model, but there are rear-projection screens available as well. They are available in many different sizes and in two different aspect ratios. The diagonal sizes are listed below:
- 90″, 100″, 110″, 120″ and 135″ in 4:3 format
- 55″, 58″, 90″, 100″, 110″, 120″ and 135″ in 16:9 format
Elite Screens Yard Master 2 screen material
From the website
- CineWhite® UHD-B tensioned matte white front projection material
- 4K Ultra HD, Active 3D, and HDR Ready
- Black masking borders enhance picture contrast
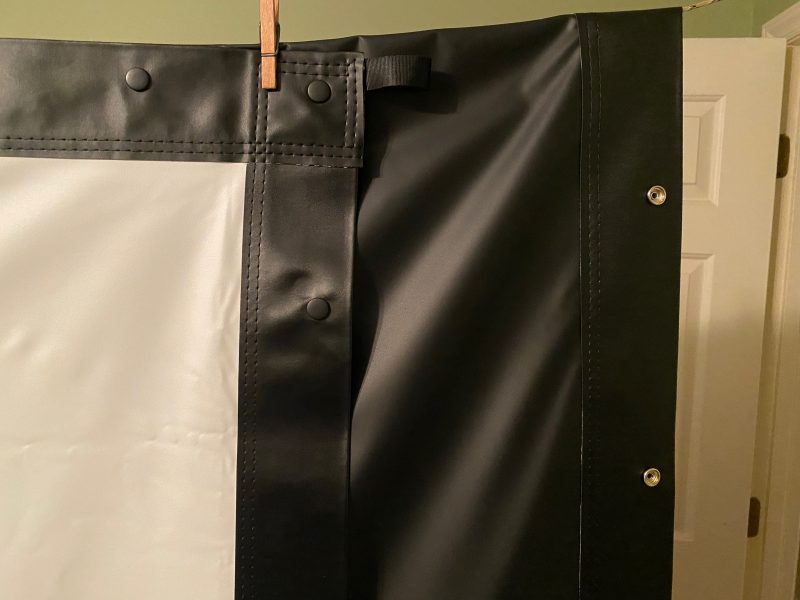
After leaving the Elite Screens Yard Master 2 screen up for several hours after sunset during testing, I hung the screen up to dry from dew (and to shake out any bugs!). Here you can see the white screen material, both sides of the snaps, the dense backing and side material, and the huge amount of stitching used. Note the corner loop, which helps when snapping the corners to the frame. Each corner has one. (Don’t worry – I only used the clothespin to hold it up for this photo. Wouldn’t want to make a dent in the middle of the screen!)
Design and Operation
From the website
- Assembles in minutes with no tools required
- Corner pull-tabs make installation easier
- Snap-button attachments on material
- Light-weight aluminum square tube construction
- Single-piece frame system unfolds effortlessly
- Detachable T-legs included
- Stakes, rope, and support rings included for additional support and stability
- Soft-padded carrying bag stores entire product for portability


Setup
While I’ve briefly described the way the frame and screen work above, putting it all together is easy, if awkward. You’re dealing with some long pieces of material, and there are joints here and there. But by the time you take it down, you’ll have adjusted to how this huge sail behaves. Here’s a time-lapse of me putting it up for the very first time. It’s much shorter than I thought it would be.
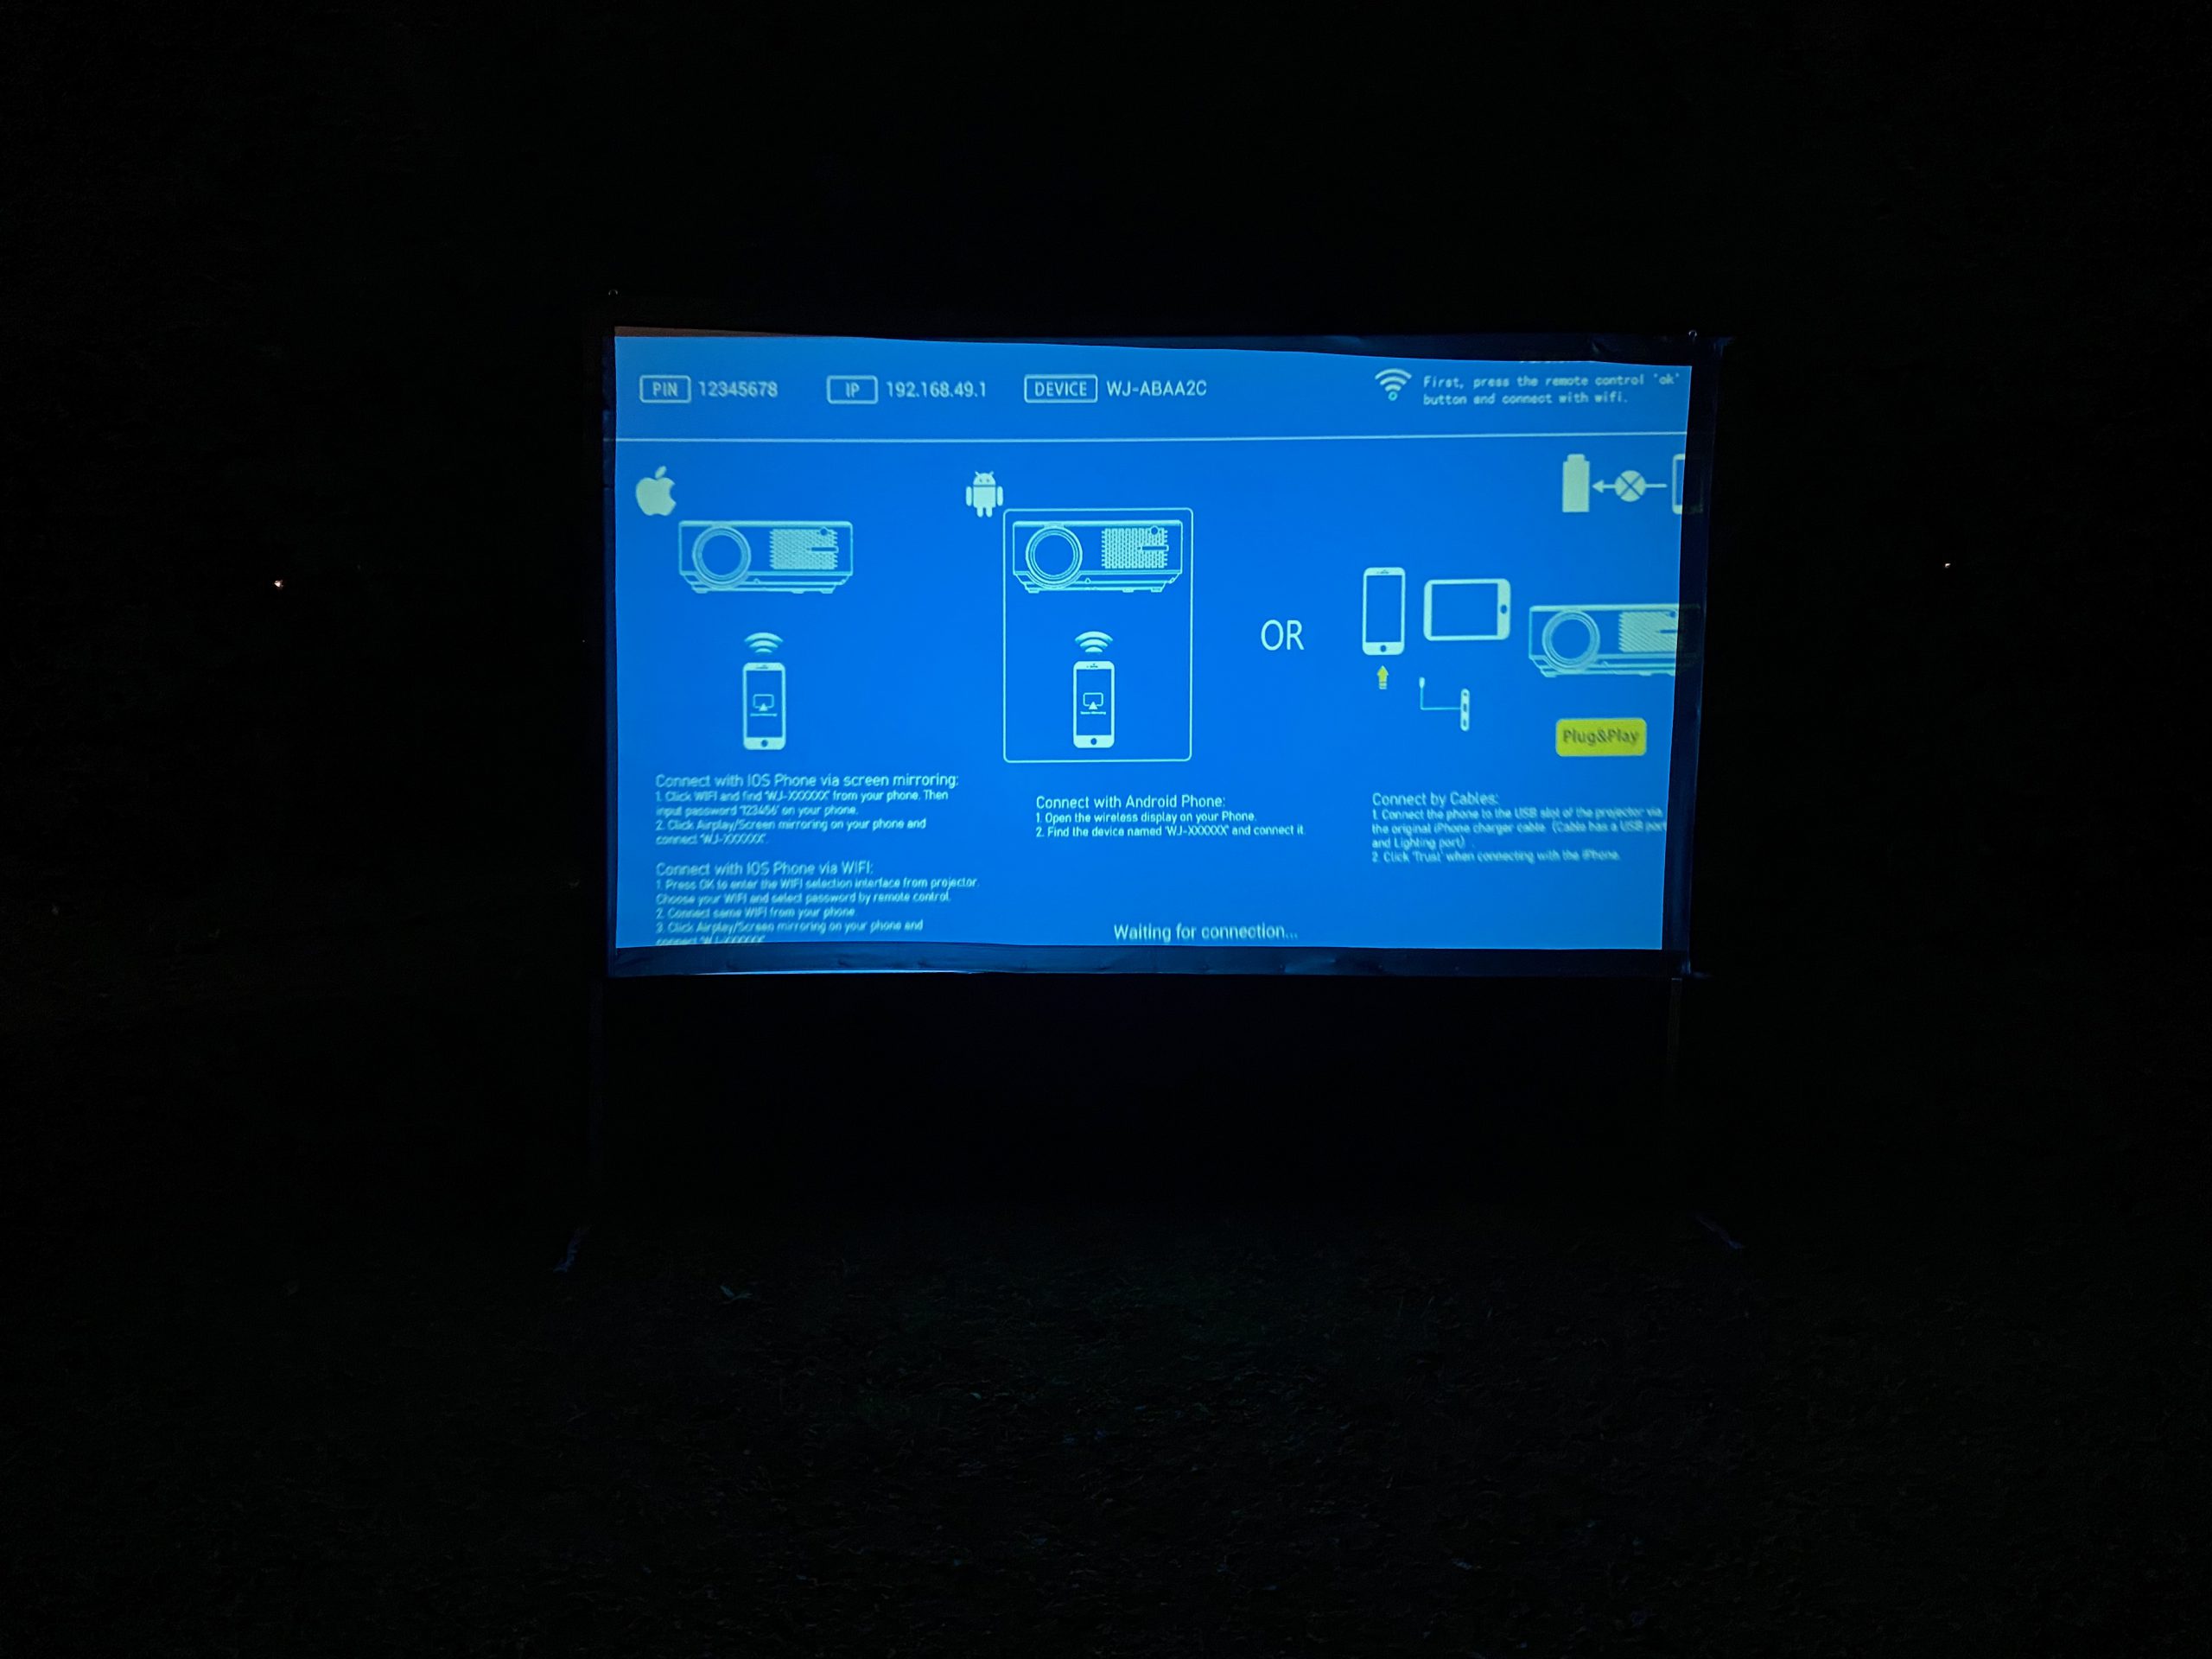
Performance
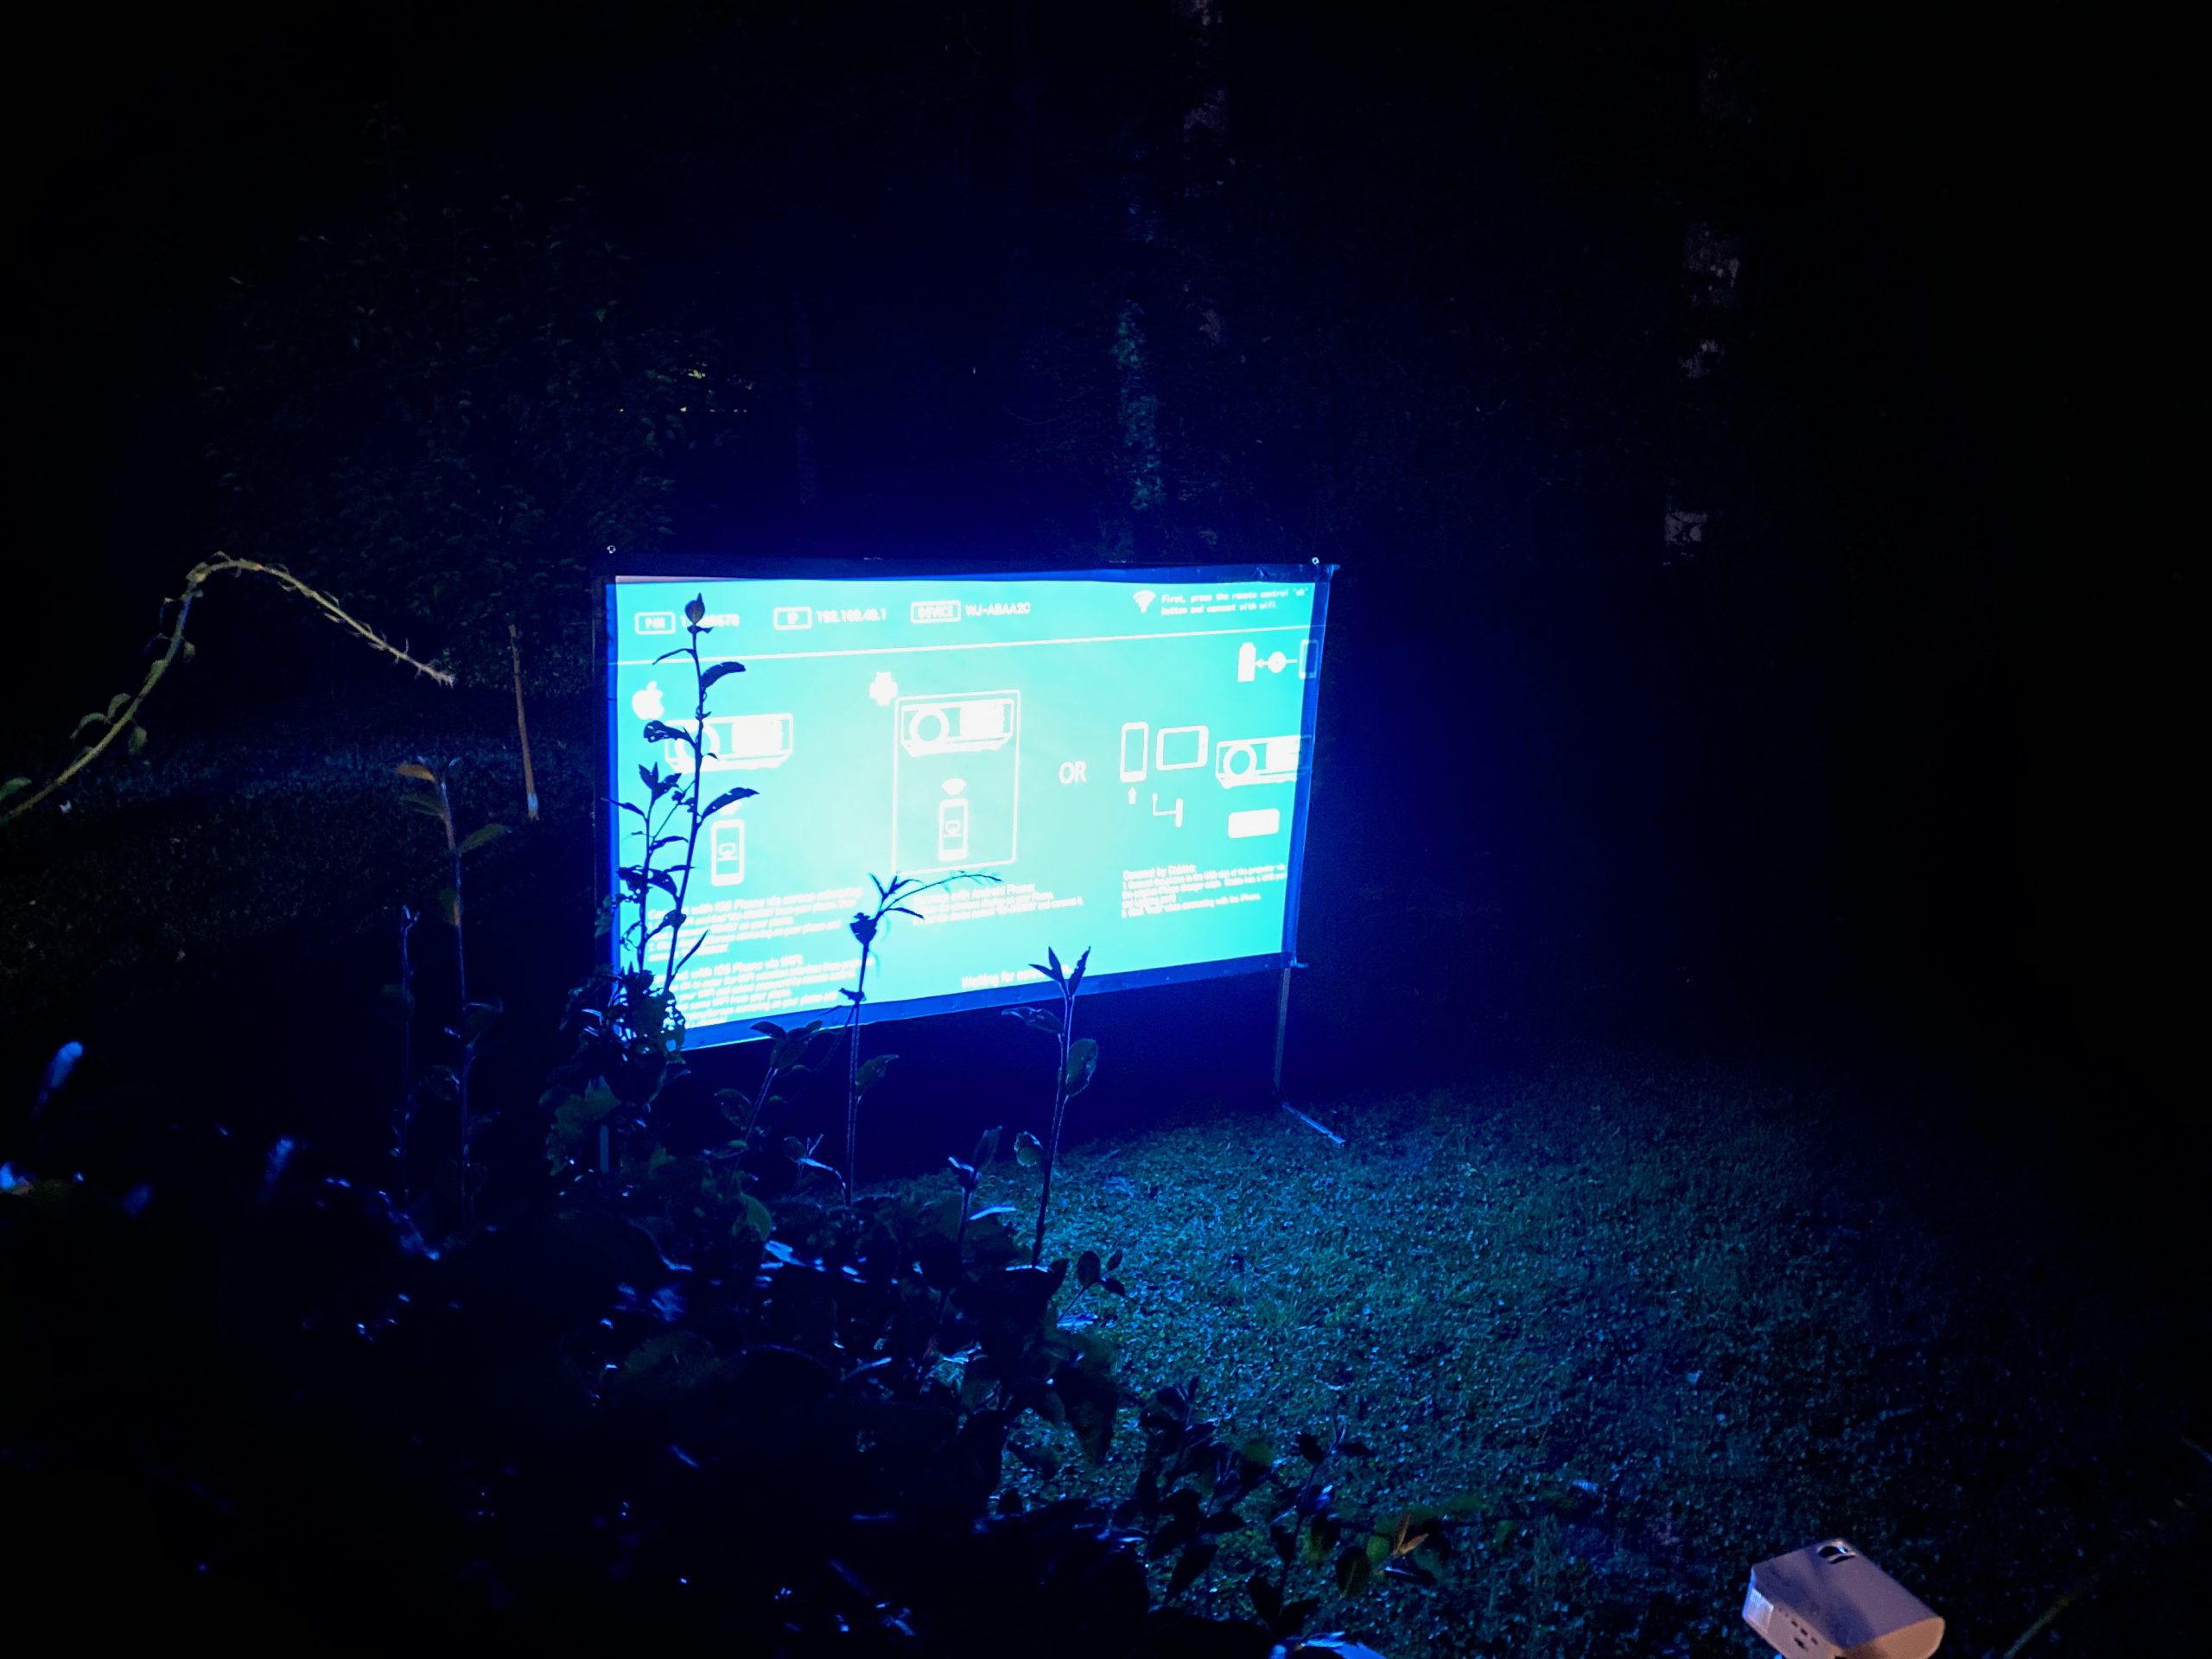
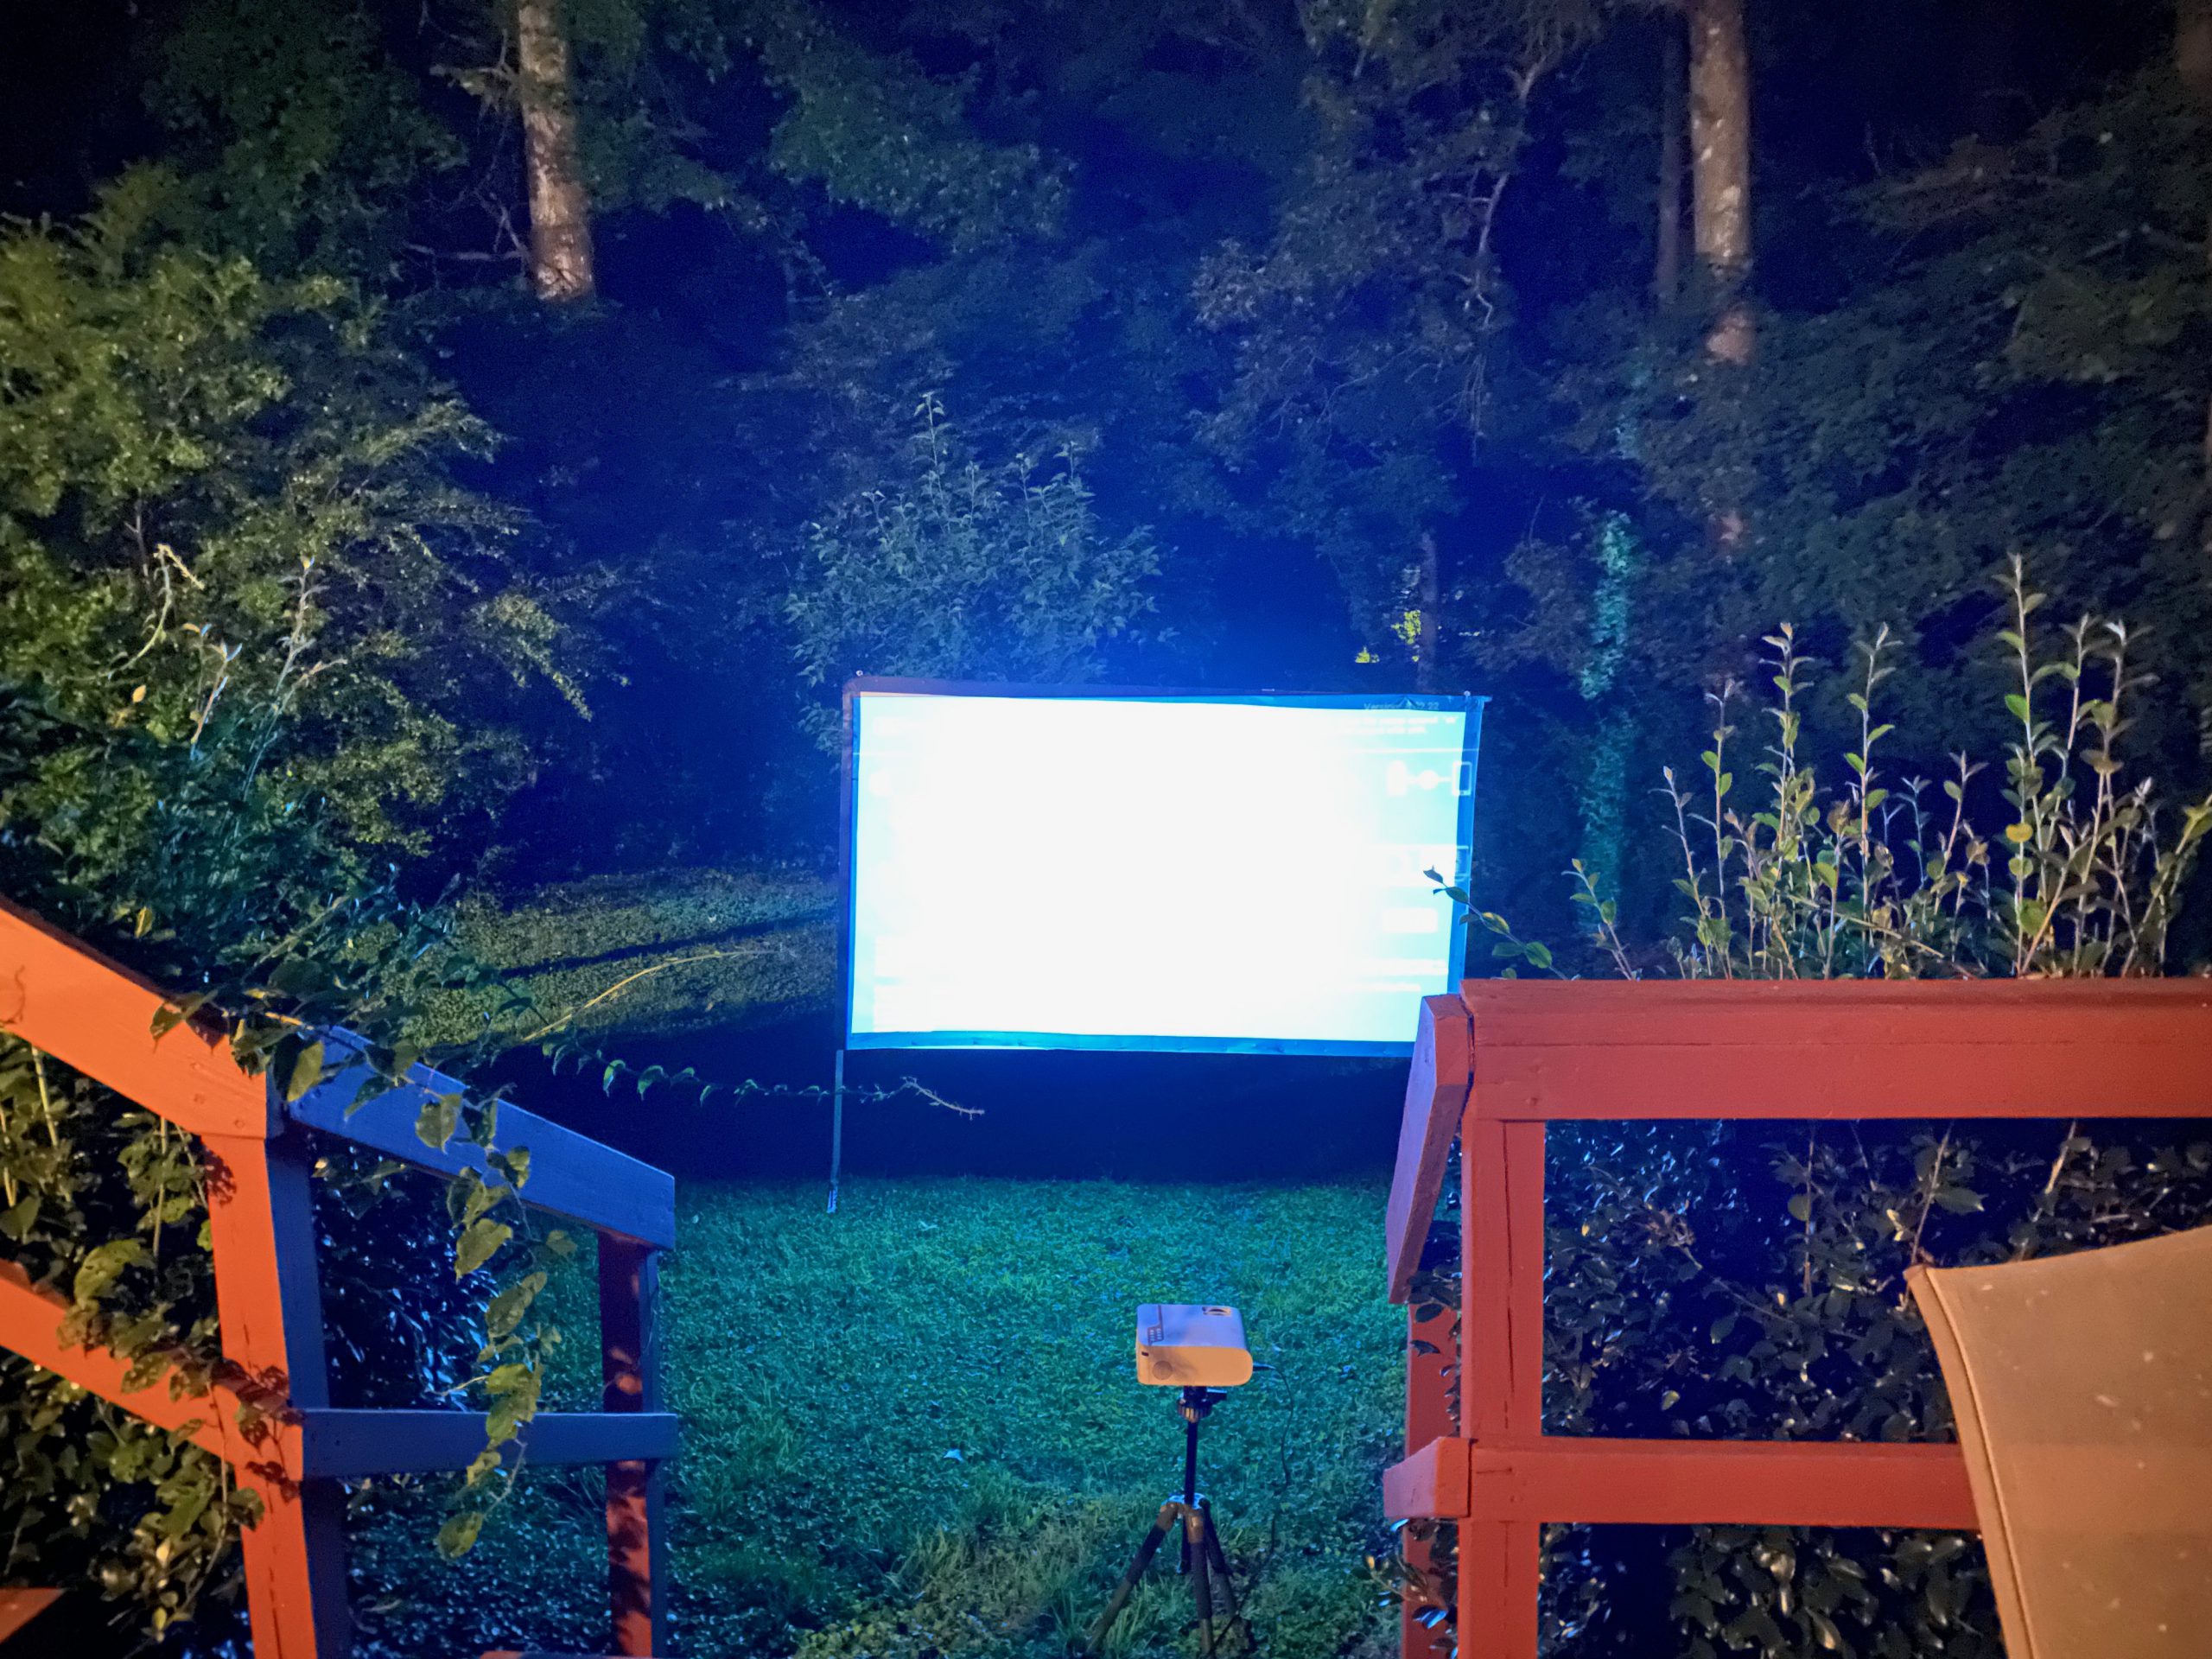
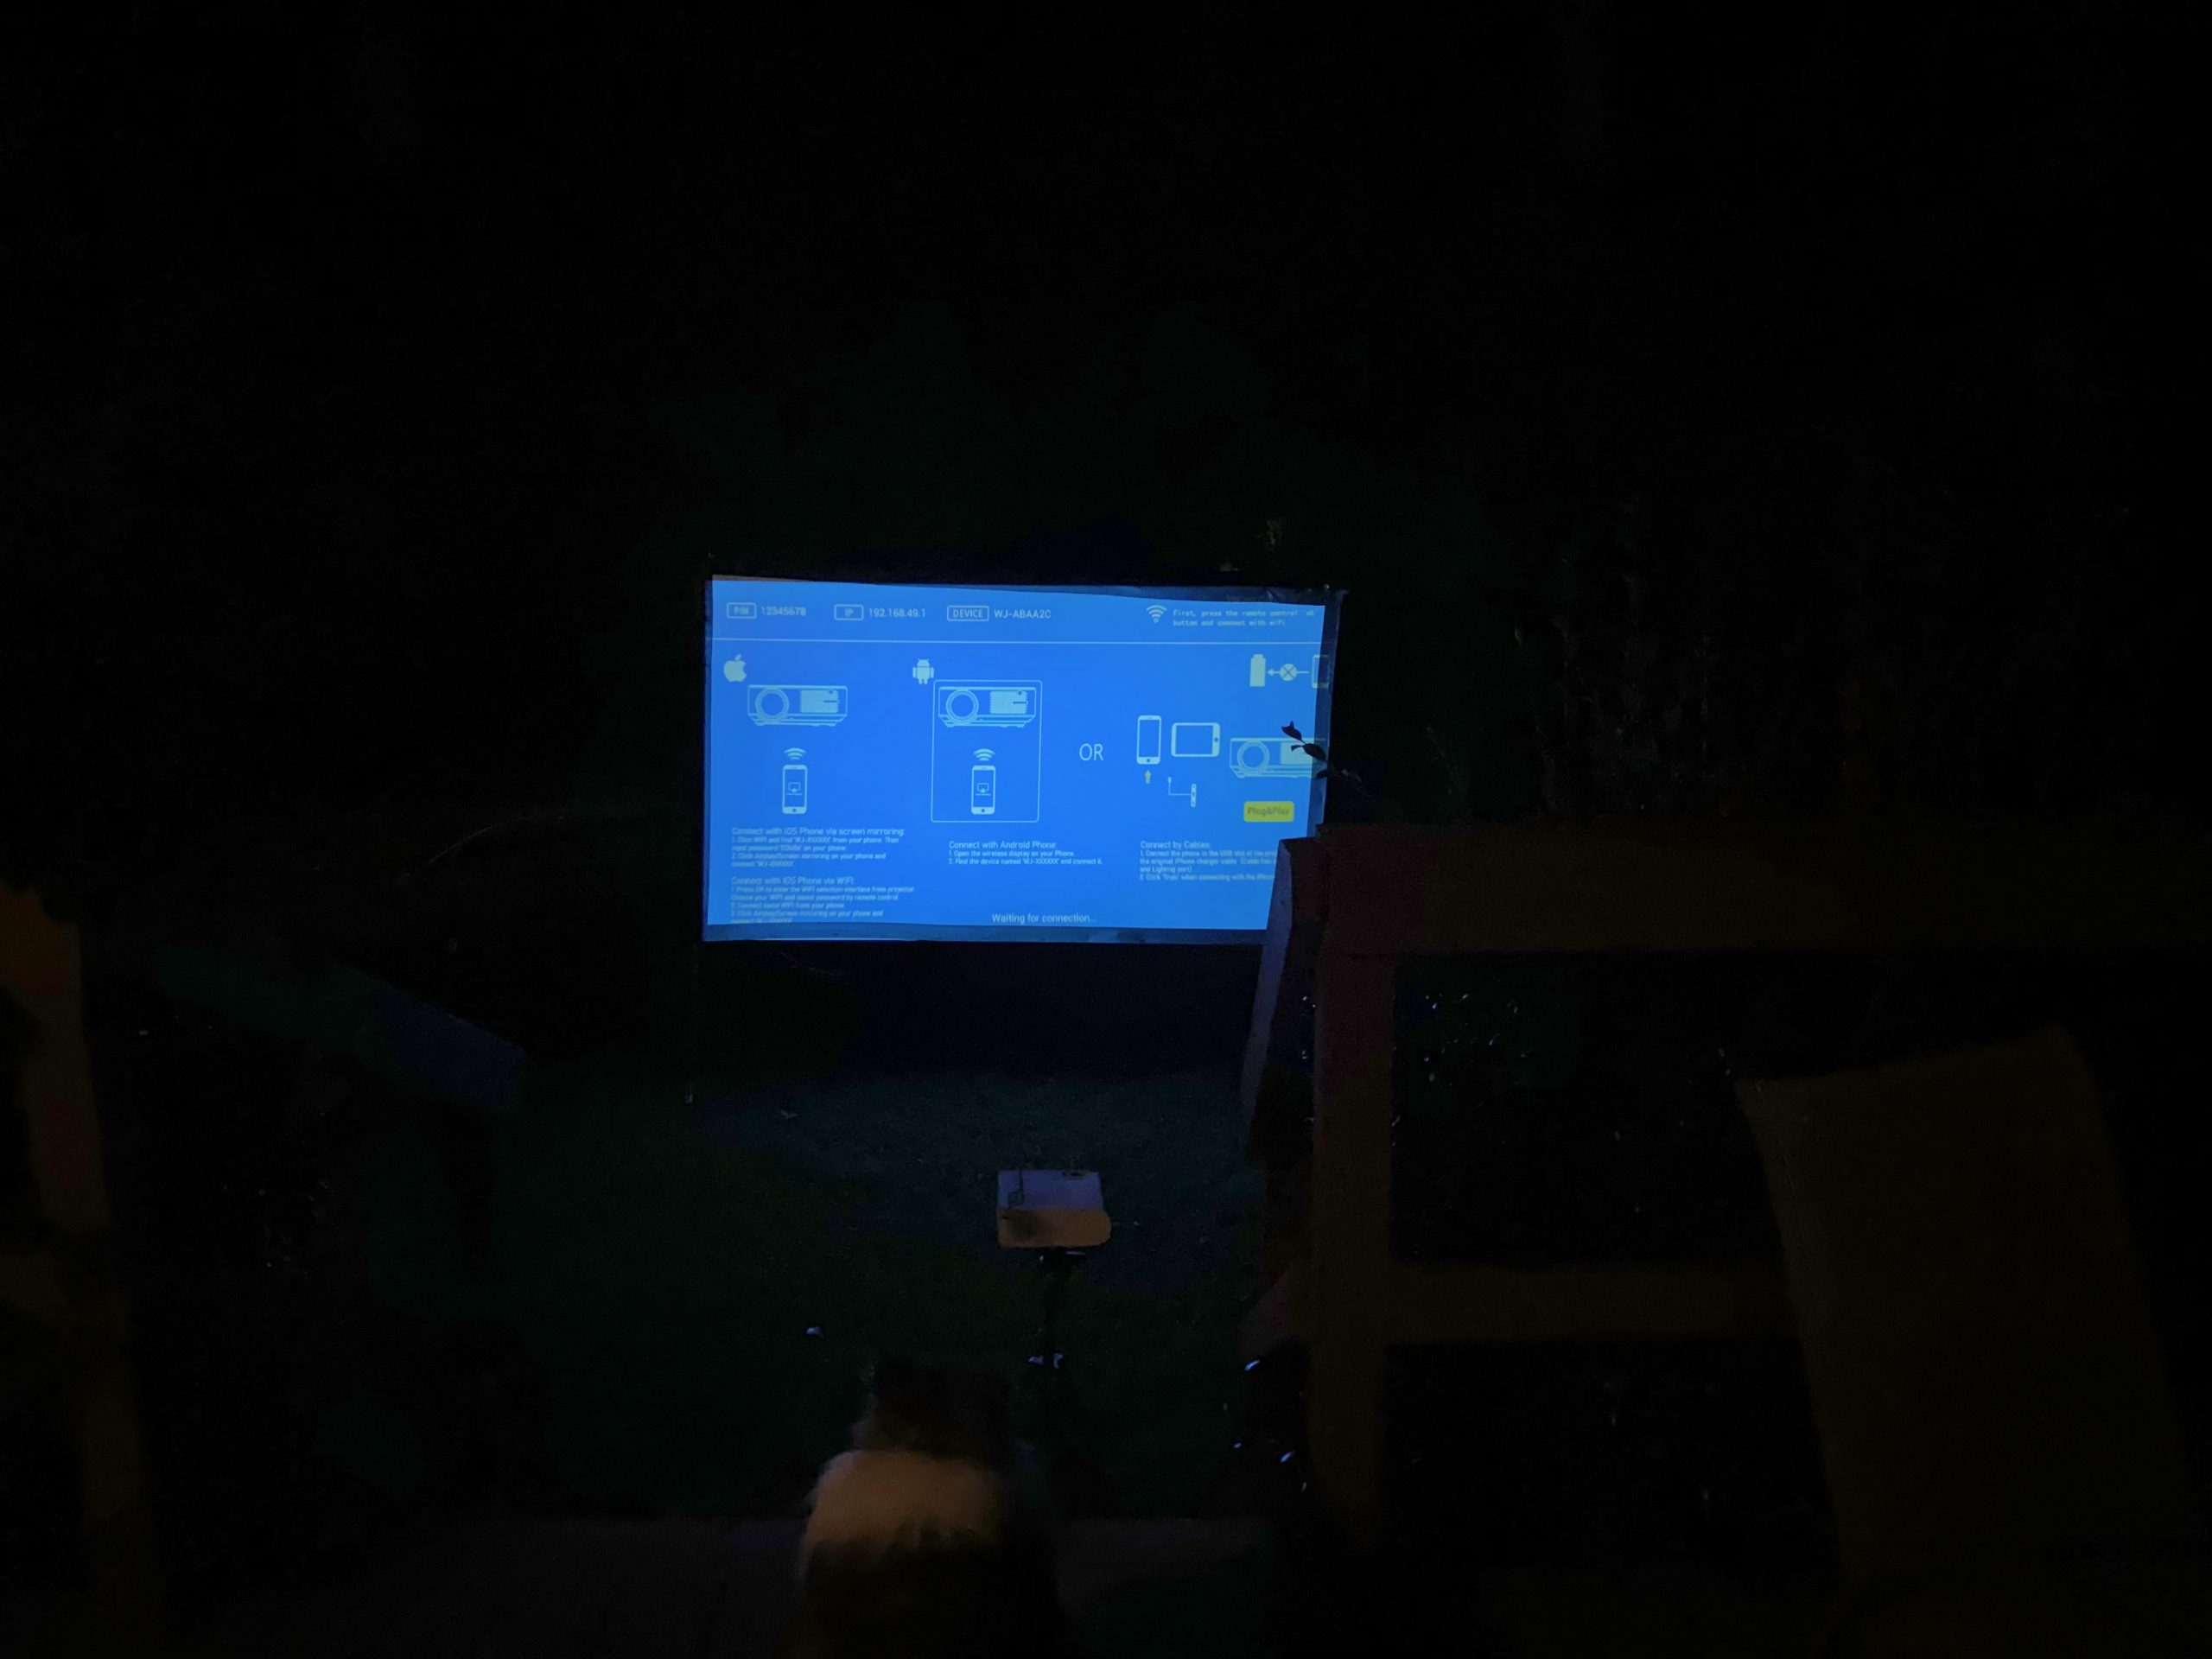
Capturing the brilliance of the Elite Screens Yard Master 2 screen, compared to an inferior screen, a bedsheet, or the garage wall is tough. I tried in the shots below to show the screen from my deck at different angles, and with several exposure settings. The one with the screen all white is a long exposure so that I could show off the way things look when you’re watching a video.

What I like
- Complete screen in one bag!
- No-tools assembly
- Amazing color from black-backed screen
What I’d change
- I can’t think of anything!
Final thoughts
Having spent most of my career in Tech Support, I have had to assist with moving and setting up a lot of screens. Some have been easy, others have been harder than they should have been, but none were of the quality and ease of set-up as the Elite Screens Yard Master 2 screen! If you can follow directions for a Lego™ kit, you can put this up first try.
I read the website information with a grain of salt regarding the color reproduction and the quality of the screen, but everything they said was more than accomplished by the actual product. The black backing prevents light bleed-through, but also helps reflect a better quality image. The entire screen is very light when assembled, if you need to adjust it for any reason (change of seating arrangement, for instance.)
If you’re part of a church, club, civic group, school, or political organization that has video or still images as part of your public presentations, you could not find a better portable screen system for this price. Or, if you’re just the kind of neighbor who likes to have folks over for a cookout and a movie on a Summer evening…
Price: $209.90 for model shown. Prices range from $155.90 – $585.90
Where to buy: ProjectorScreen.com
Source: The sample of this product was provided by ProjectorScreen.com.

Gerber Gear Suspension 12-in-1 EDC Multi-Plier Multitool with Pocket Knife, Needle Nose Pliers, Wire Cutters and More, Gifts for Men, Camping and Survival, Grey
(as of June 6, 2026 18:39 GMT -05:00 - More infoProduct prices and availability are accurate as of the date/time indicated and are subject to change. Any price and availability information displayed on [relevant Amazon Site(s), as applicable] at the time of purchase will apply to the purchase of this product.)
Gadgeteer Comment Policy - Please read before commenting
I see it comes with stakes and support ropes. Where do those attach? We can get pretty breezy here as we don’t have the ton of tree cover you do. How well would it do in winds around 5-10mph?
I put the stakes in the legs, but it was so quick, I don’t think the time-lapse picked it up. It the lede photo, there are stakes showing on the legs. The eyebolt is on the top outside of each side. I didn’t thread the rope through since it was a still day. The rope goes from one side stake, through the eyebolt at the top corner of the screen, then down to the other stake.
The example pics in the bottom do not open up to a bigger size.
Ravi, I fixed that problem, try again.
Nice! Thanks!