Remote controlled planes, helicopters, and drones can be a lot of fun if they are easy to fly and don’t shatter into a million pieces when you crash them, which you know will happen. The newest drone to fly the skies near my house is the Parrot Swing minidrone. Let’s see how fun it is to fly and if it can survive a crash.
What is it?
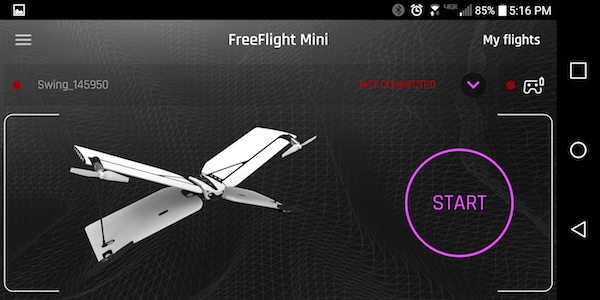
The Parrot Swing minidrone is a remote-controlled flying toy with a built in camera.
What’s in the box?
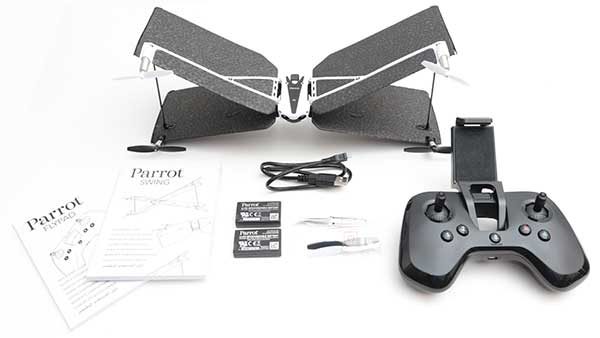
Parrot Swing drone
2 Batteries
Flypad remote control
4 replacement propellers
micro USB charging cable
Manuals for the Swing and Flypad
Design and features
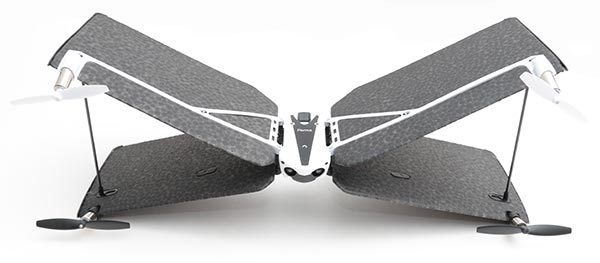
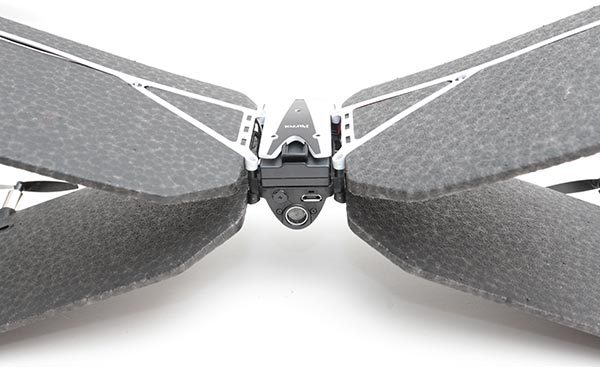
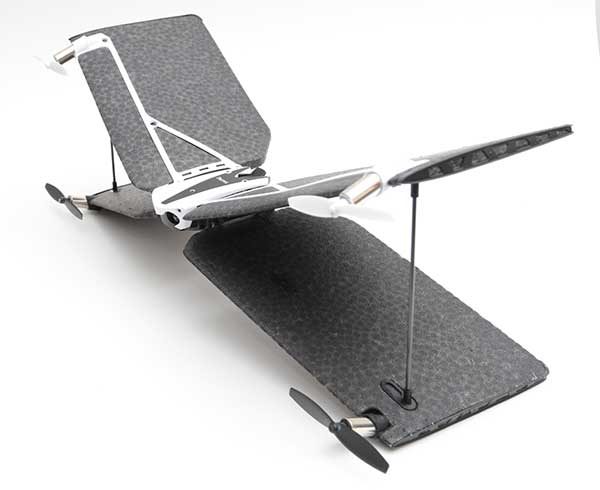
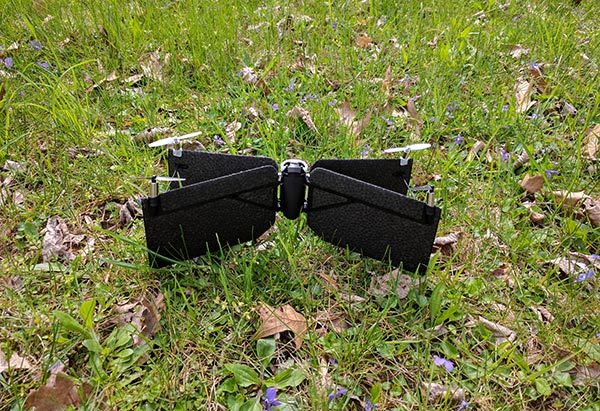
The Parrot Swing drone is an X-shaped drone with lightweight foam wings.
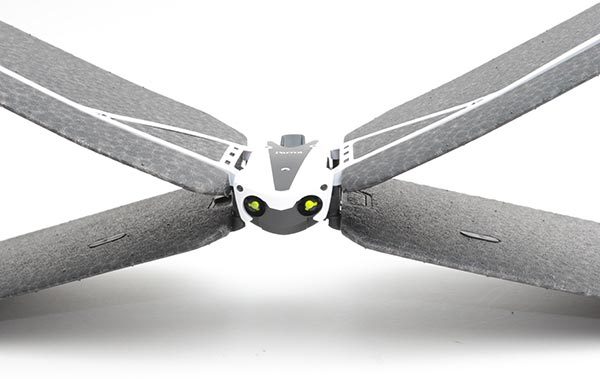
The front of the Swing has 2 LEDs that give it a bug-eyed appearance, but they are really only there to provide status on the drone as far as battery life, connection to the Flypad, etc.
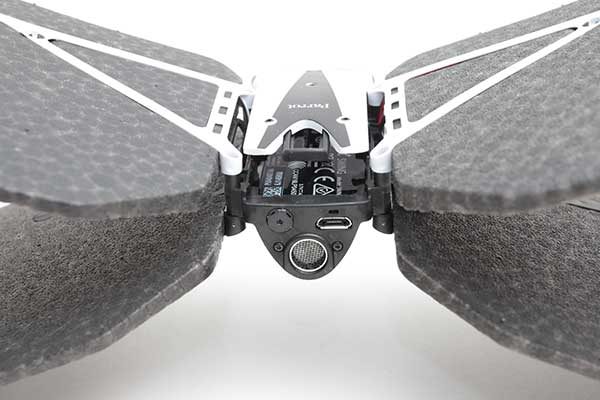
The rear of the Swing has a battery slot, micro USB charging port and a tiny camera which is located to the left of the micro USB connector. Before you get too excited, the camera will NOT capture video. It can only capture snapshots.
The Parrot Swing comes with 2 batteries. In the image above, one battery is installed in the drone. Charging is done with the included micro USB cable which can be connected to an existing USB power adapter or a port on your computer.
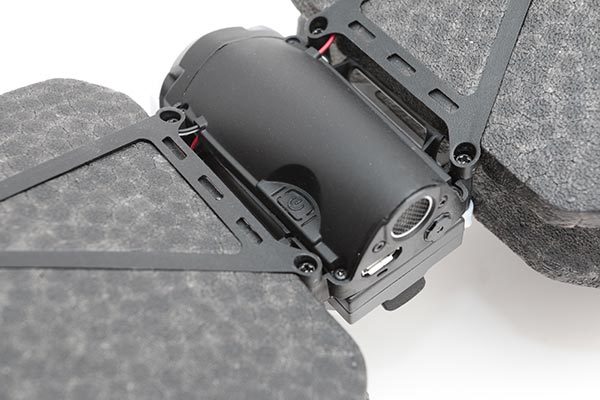
The power switch is located on the bottom/belly of the drone.
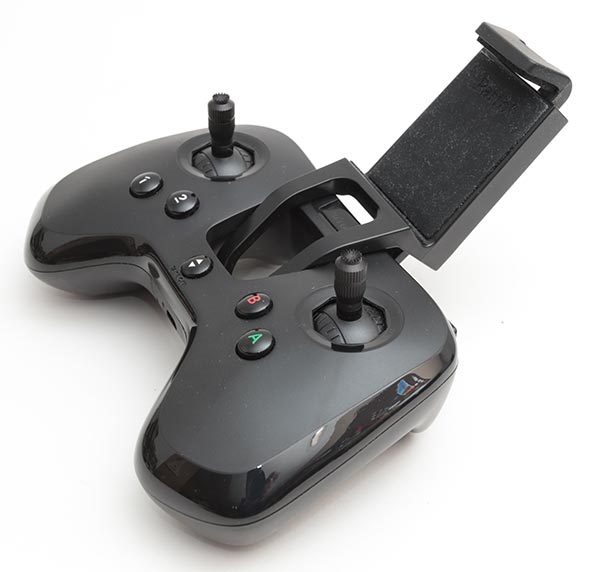
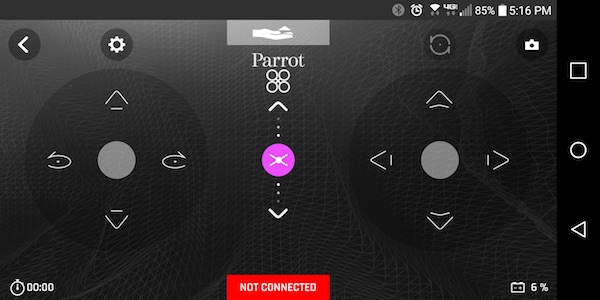
Also included with the drone is a very nice handheld controller called the Flypad. This controller pairs with an Android or iOS smartphone which attaches to the Flypad using the spring loaded holder.
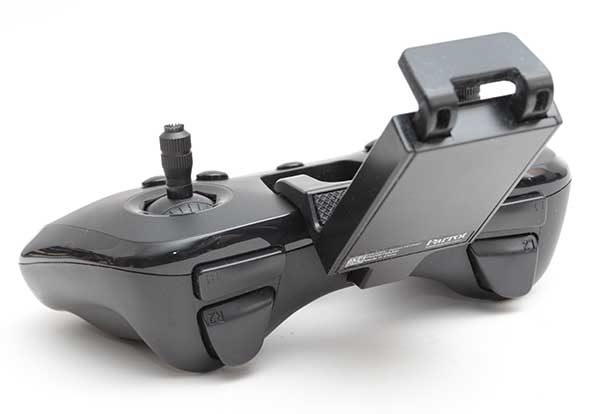
The Flypad has joystick controls and shoulder buttons. It feels like a premium gaming controller.
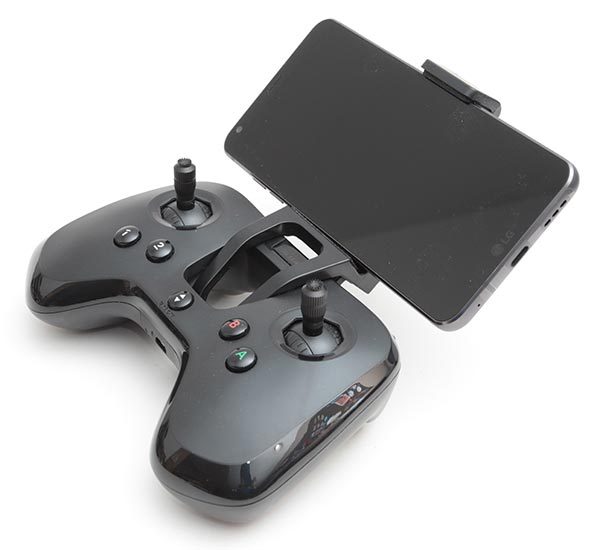
In the image above, I have an LG G6 connected to the Flypad. The Flypad has built in rechargeable batteries which charge through a micro USB port in the center bottom edge of the controllers.
Let’s fly the Parrot Swing drone!
Before you can take the Parrot Swing on its first flight, you will need to charge it using the included micro USB cable. It takes about 30 minutes to charge the battery. My suggestion is to charge one battery, remove it, insert the second battery and charge it too. This way you can swap batteries for double the flight time. It’s too bad that Parrot doesn’t include an external charger that will charge both batteries at the same time.
The next step is to install the free FreeFlight Mini app on your iOS or Android device. You can use your phone as the controller, but it’s a lot more fun and easy to fly if you charge up the Flypad.
When the Swing’s battery is fully charged, the app is installed on your mobile device and the Flypad is charged, it’s time to head outdoors.
You press the power button on the Swing power it up and then place it on the ground with the propellers facing upwards.
When the 2 “eyes” on the drone are solid green, you can launch the FreeFlight mini app on your mobile device and make sure Bluetooth is enabled. The app will see the drone and connect to it. You can then turn on the Flypad controller and the app will detect and connect to it.
Pressing the dedicated take off and landing button on the Flypad will cause the Swing’s propellers to start rotating and will raise the drone a few feet in the air. Moving the left joystick on the Flypad up and down will raise and lower the drone, and using the right joystick will make the drone fly side to side.
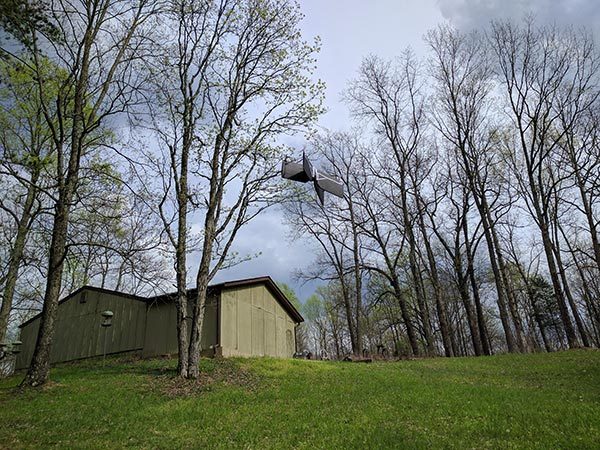
When you first start flying the Swing, it’s in quad mode (image above) which means it can fly up, down, left, and right like a typical drone. But if you press the right shoulder button on the Flypad controller, it will switch to plane mode which flips the Swing over so it looks like a flying dragonfly (other images in this review) instead of a flying X if that makes sense. The joysticks and buttons on the Flypad react differently depending on the mode you’re in.
There are also dedicated buttons that will do a U-turn and a loop in the air. The U-turn is very useful if you happen to be flying straight towards a building or tree!


If you don’t want to use the Flypad, you can fly the Swing just using the onscreen buttons in the FlightTime Mini app. But I think the Flypad provides a much better experience.
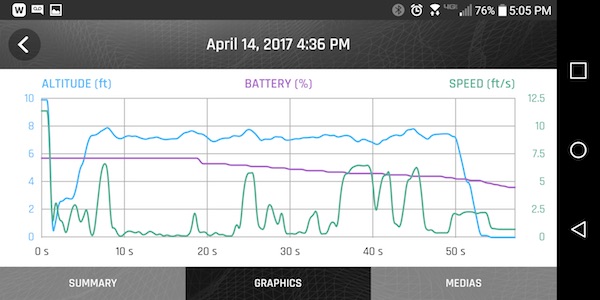
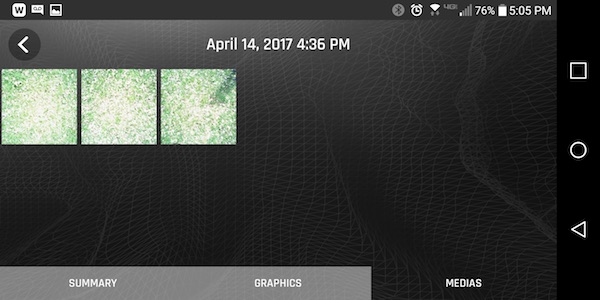
The app does give you details about each flight and allows you to see and share the images that you took with the Swing’s built-in camera to Facebook or download them. But trust me when I say that you probably will not be sharing any of the images.
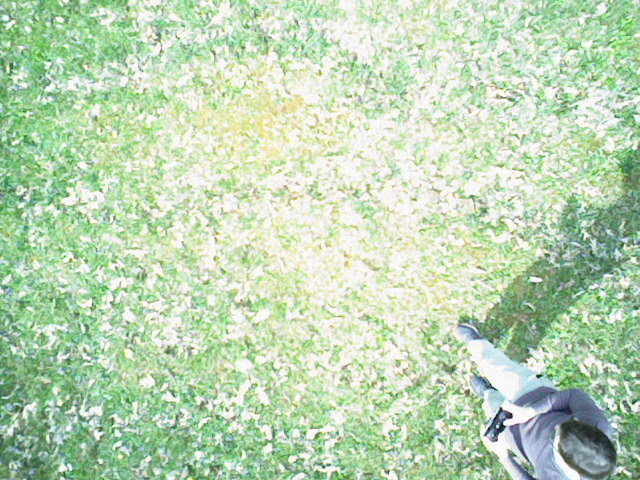
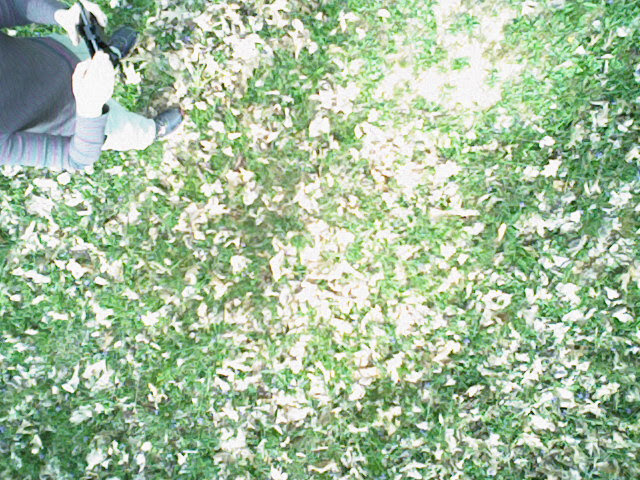

I kept trying to get a picture of myself and as you can see from the samples above, it wasn’t an easy task. Even if I would have been able to get a good picture, the resolution is really low.
See it in action!
I thought it was difficult to control the Parrot Swing the first time I flew it. But it only took a few minutes to get the hang of it. Unfortunately, the flight time per battery charge is just that, only a few minutes. That’s why I suggested that you charge both batteries before you head outside to fly it. Thirty minutes of charging will allow you to fly for about 10 minutes give or take. The app will start beeping when the battery power is down to 7% and the Parrot Swing minidrone will go into quad mode and land by itself when battery power goes to 2-3%.
Can it survive a crash?
Yes, it can and yes it did. Multiple times. But there was some “damage”. After one crash I noticed that one of the propellers was missing. Trying to find a small black or white object in piles of leaf clutter was impossible. The propellers really should be a brighter, more noticeable color.
I didn’t freak out though because I remembered that an extra set of propellers are included in the package. So I went back to the house and installed one of the black propellers. I then went back outside to resume flying. But each time I tried to fly, the Parrot Swing would flop over. I double checked all the propellers and the wings to make sure there wasn’t some additional damage that I had missed, but everything looked and felt fine. I continued to try to fly it, but each time the propellers spun up, the drone will flop over on its side.
I returned to the house, flipped through the manual to see if there were any instructions for replacing the propellers and found none. So I searched around on Parrot’s website and found a user forum where another person was asking about the same problem. Long story short, there are clockwise propellers and counter-clockwise propellers. But the weird thing is that the color doesn’t designate which way they should turn or be installed. I had to install a white propeller in place of the missing black propeller.
Once I had the right propeller installed, flying fun commenced.
Final thoughts
The Parrot Swing minidrone is a LOT of fun to fly either in quad or plane mode (I like the plane mode the best). It’s not hard to get the hang of it and once you do, crashes don’t happen that often unless you’re flying near a lot of trees like I am. But if you do crash, the Swing seems to be tough enough to handle it. Just make sure that you have extra propellers handy and know which one goes where.
At about $99, the Parrot Swing isn’t too expensive. I just wish the built-in camera was better and the flight times were longer. But even with those minor complaints, it’s still a really fun flying toy.
Source: The sample for this review was provided by Parrot. Please visit their site for more info and Amazon to order.
Gadgeteer Comment Policy - Please read before commenting
Thanks for an awesome recollection of your time with the Parrot Swing. I like the idea behind the Parrot Swing more-so than the Parrot Mambo and the fact it uses lightweight foam wings. I do however, wonder how they perform in regards to windy weather and what the durability of the propellers are like. Given its price, its understandable why the camera resolution didn’t turn out very good, but I hope it was an enjoyable flight overall. Great post!
I tested the Swing on calm days and on days with a 5-10mph breeze. It didn’t seem to have any troubles. I don’t think I’d want to use it on days with stronger winds though. Especially when flying near trees and buildings.
PLEASE tell me the TOP SECRET way to get the pictures off that damn Drone!! Ugh. The two pamphlets really don’t tell you anything.
Pete, it’s been over 5 years since I had that drone and wrote the review so I can’t remember specifics. But I just re-read my review and I believe you download the images through the app. It doesn’t look like you’ll really want the images though… the quality is terrible.
mine only came with one battery same as my friend. We both thought what a letdown as the flight times very short. Two batteries would’ve been acceptable I’m very disappointed with parrot.
Same here. One battery. Ridiculous.