REVIEW – Lasers! Who doesn’t like lasers? How cool would it be if you could use lasers at home? How cool would it be if you could take said laser with you, anywhere you go? Do you want a side hustle that lets your artistic side shine or do you just want to personalize objects for family and friends? You can do that with the Laserpecker 3 Basic laser engraver.
What is it?
The Laserpecker 3 is a small pulsed fiber laser engraving machine for mainly metal and plastics but claims to work on other materials as well.

What’s in the box?
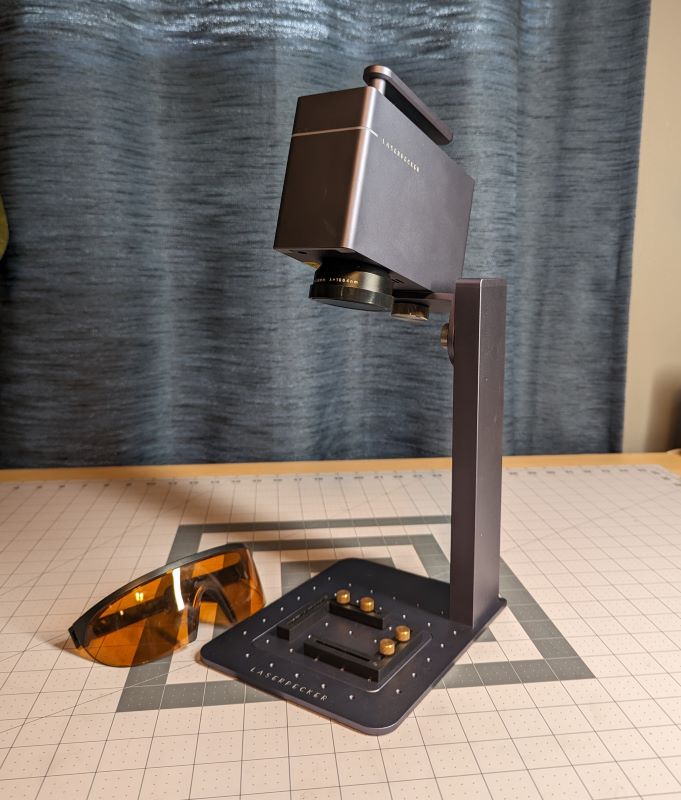
- Laserpecker 3 laser engraver
- Electric stand
- Field lens
- Power adapter and cord
- Safety glasses
- Ruler
- 2 – USB A to USB C cables
- 2 – Positioning brackets and 4 – thumb screws
- Allen keys and bolts
Hardware specs
Average power – 1000mw
Resolution – 1k, 2k, and 4k
Max power – 10kw
Laser wavelength – 1064nm
Laser source – II – VI Laser EnterpriseErlu optics
Engraving speed – 6 nm/s – 800 nm/s
Laser unit size – 168.6 mm x 62.1 mm x 169.5 mm / 6.6 in x 2.4 in x 6.7 in
Stand size – 194 mm x 153.5 mm x 261.1 mm / 7.6 in x 6 in x 10.3 in
Weight – 2.54 KG / 5.6 lbs
Supported file formats – JPG/SVG/PNG/BMP/G-code/CAD/AI/CDR/DWG and more
Wireless communication – Bluetooth 5.0
Output – 12V 5A | 100-240V | 50-60Hz
Support system – Android, IOS, Windows, and Mac OS
Design and features
The Laserpecker 3 laser engraver is touted as being the world’s smallest pulsed fiber laser. I had no idea what that meant but thanks to my Google-Fu I now know it uses fiber optic cable as the gain medium, rather than the crystals, and provide a pulsed output. Still confused? Yeah, me too. But hey! This is the world’s smallest!
The Laserpecker 3 is a solid bit of kit and looks stylish doing it. It has an all-metal construction which I’m assuming is anodized aluminum. The finish is very nice and the unit is very sturdy
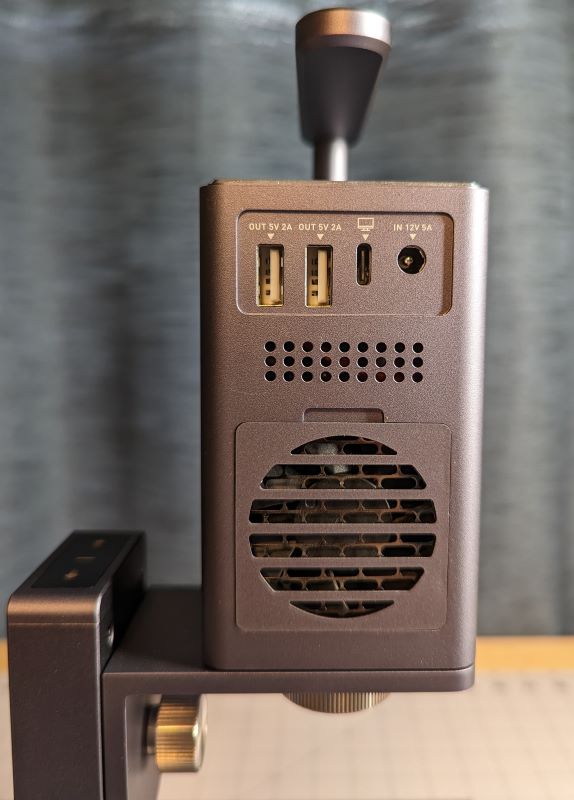
On the rear of the laser head unit, you’ll find the ports for power, a wired PC connection, and 2 – USB ports for accessories.
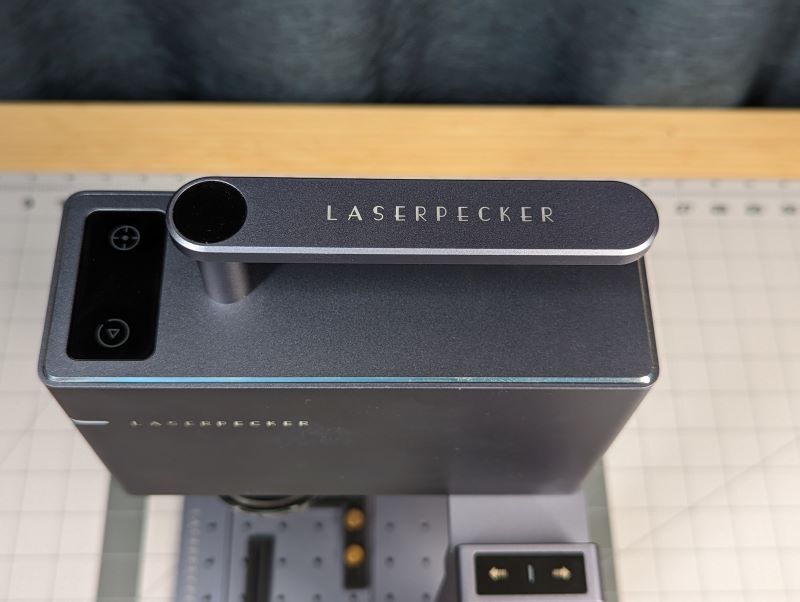
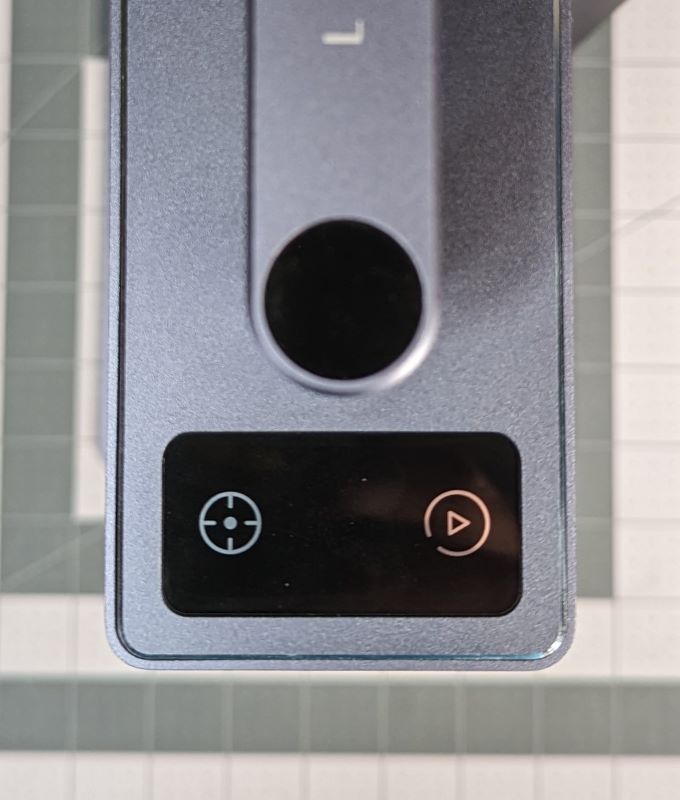
On the top of the unit, there are 2 buttons. The one on the left will activate a centering laser to aid you in getting whatever you’re engraving in just the right spot. And the one on the right is a combination pause/on/off.
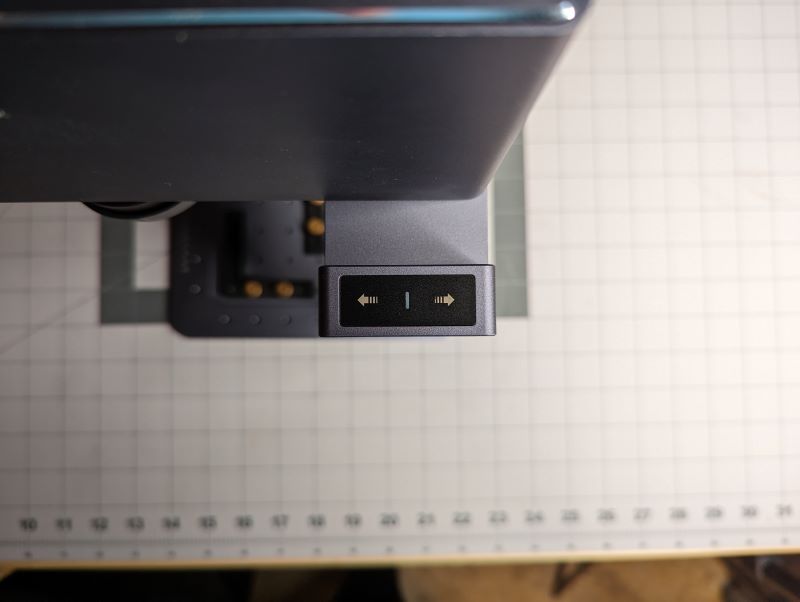
On top of the stand are buttons to raise and lower the head unit of the Laserpecker 3 laser engraver.
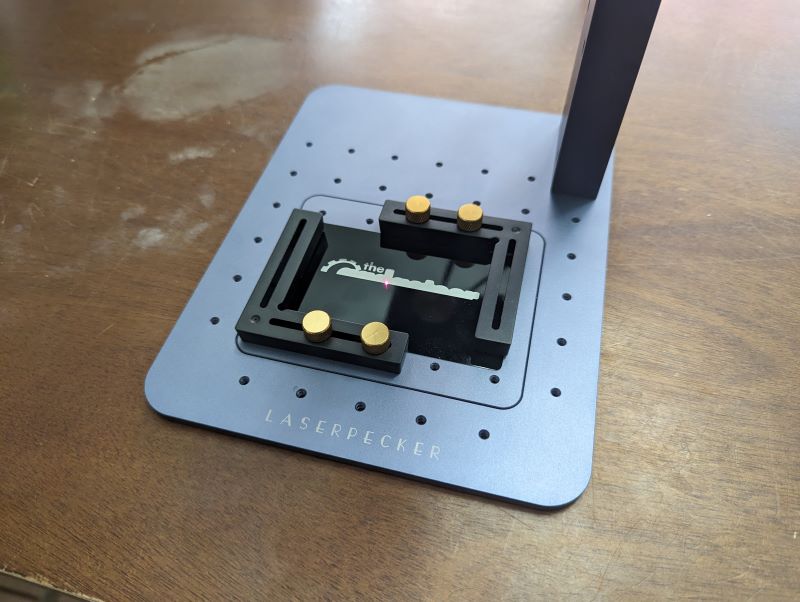
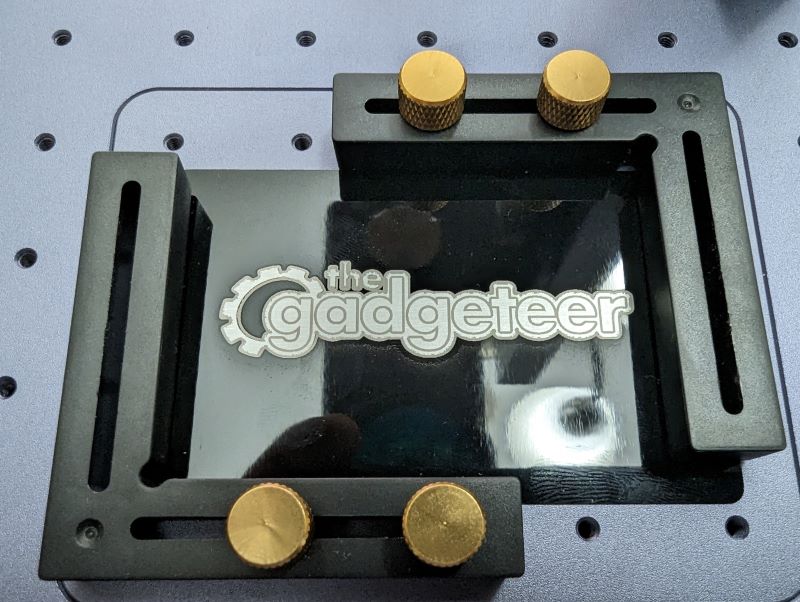
In the base of the stand, there’s the positioning plate where you can attach the brackets to line up and stabilize your medium. The plate is also removable so that if what your engraving is too big to get the right laser focal length, you can raise the Laserpecker 3 above it.
Setup
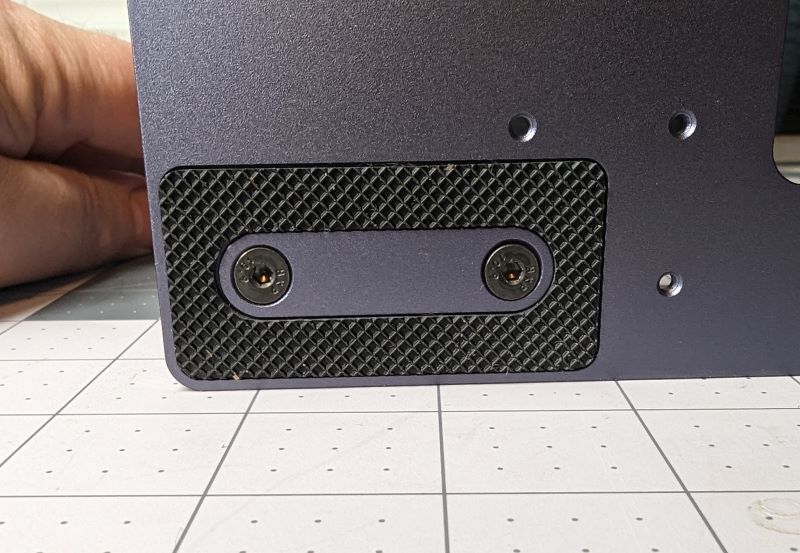
Getting started with the Laserpecker 3 laser engraver was very simple. There’s very little assembly. The head is attached to the bracket at the top of the stand with a large, captured thumbscrew.
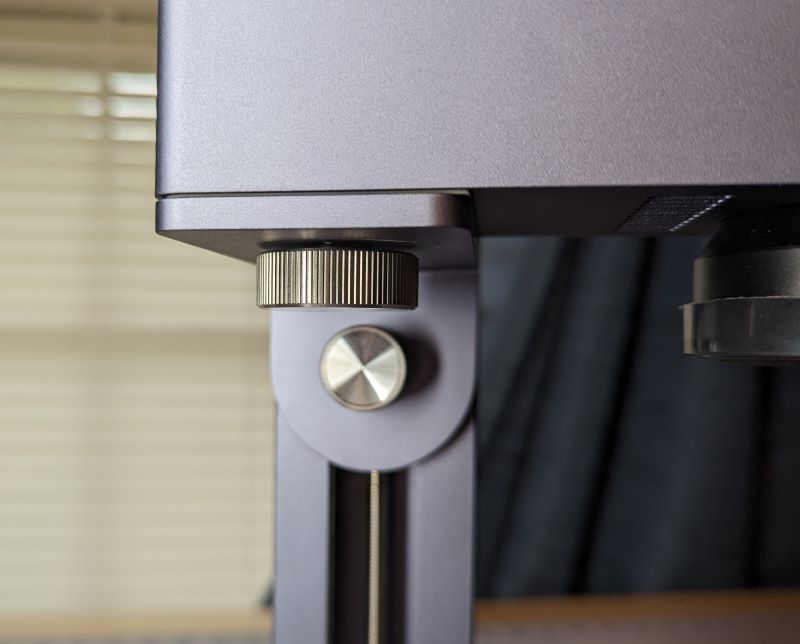
The head has a recess in it to mate up with the stand so it’s a very secure connection. 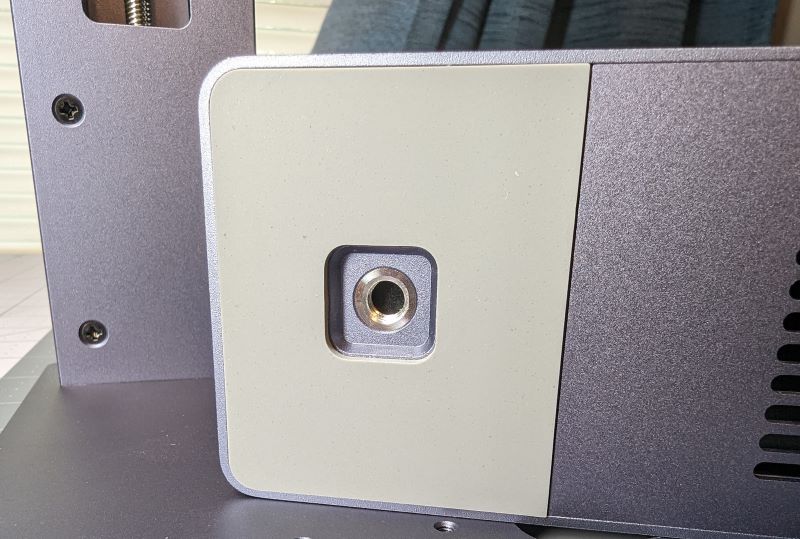
Here’s the top of the stand where the head connects. See? Sturdy. 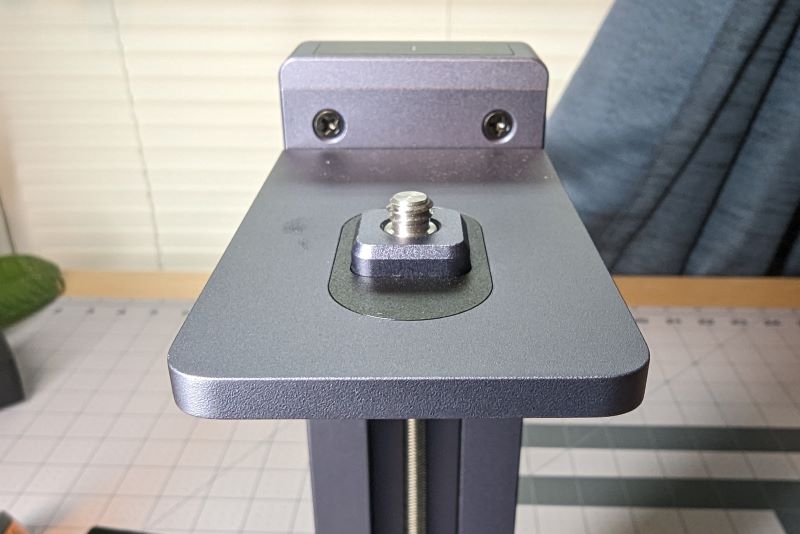
The stand itself mounts to the base plate with 2 of the included hex bolts. So a few turns of the Allen wrench and the Laserpecker 3 laser engraver is fully assembled.
To communicate with the Laserpecker 3, the manufacturer has an app that allows your phone or tablet to communicate via Bluetooth. I have to say this was probably the easiest Bluetooth pairing experience I’ve ever had. Once I had the app installed, I made sure Bluetooth was active on my phone, powered on the Laserpecker 3, started the app, and selected the device. It really was that simple.
Performance
So here’s where the rubber meets the road. I was excited to get the Laserpecker 3 laser engraver fired up and get to engraving, but the included manual had nothing in there about how to actually do that. Ok well, I have the app so surely there are tutorials in it to help me decide what settings are best to use for my medium of choice. Nope. There’s a community where people have posted some of the things they’ve made but most everything is for the Laserpecker 2 which is a totally different unit that uses a different type of laser. Also, the community hasn’t had any new posts since July of 2022.
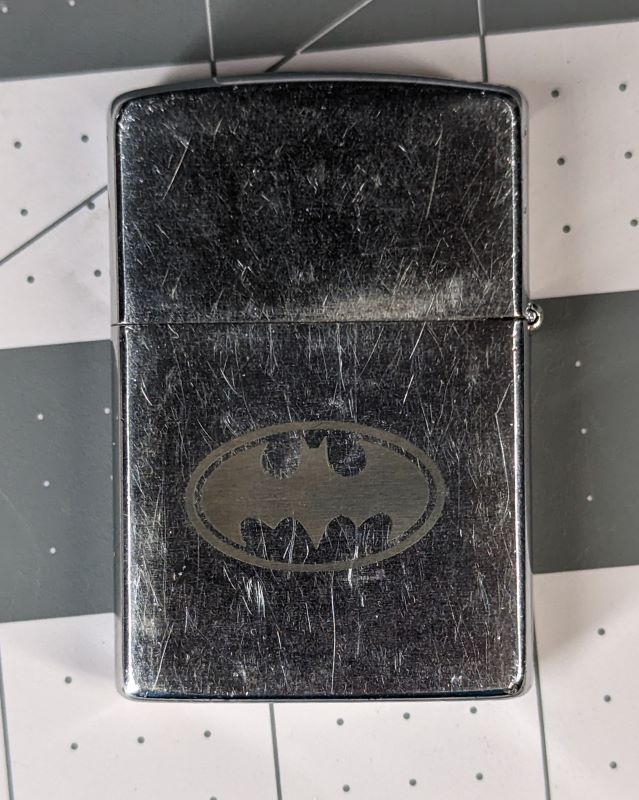
I figured, shoot, I can figure this out. How hard can it be? Harder than I thought. If you use the limited amount of clipart included in the app, then you’ll do better than if you download your own. Or at least that was my experience. Using my phone to try and edit a picture was frustrating, to say the least, and the software is not the most user-friendly. I did finally get my artwork loaded and then I got to the point of the settings for the job. Here you have to input the dimensions of the drawing and either select your medium from a dropdown. My first project was a Zippo lighter I had back in my dumber days. There is no stainless steel setting. There’s an aluminum alloy and a stainless steel wire drawing. So I went with custom. Next, you’ve got to set the power level, depth, and the number of passes. I had no idea what to choose. I chose some random settings and let ‘er rip, tater chip! My first attempt was way off-center, upside-down, and not very dark. I adjusted my settings, flipped the zippo over, and tried again. It turned out alright. Still not exactly centered and I would’ve liked it larger and darker.
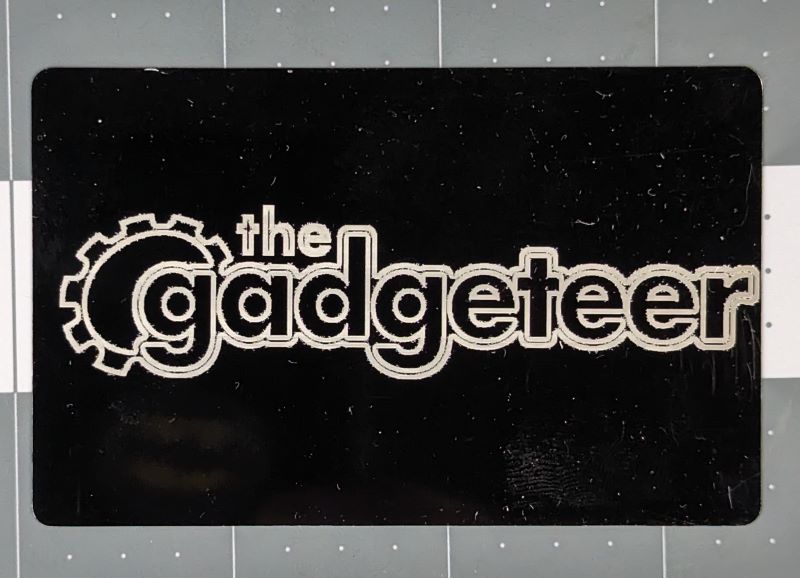
I tried a few other things using the app and my phone. The next thing I tried was the sample plastic cards that came in the kit and the Gadgeteer logo. Here’s what I got the first time.
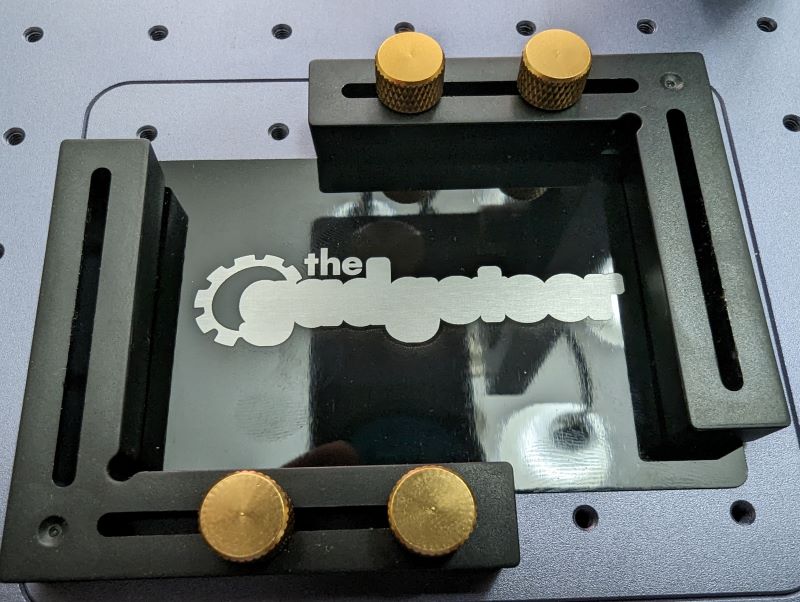
I then went back and inverted the picture and went over the same card again. Here’s the result.
It looks pretty good but I think I either went too deep or too many passes because the lines aren’t very sharp. Here again, I’m using the app so editing the picture was not ideal. Next, I tried the same thing again changing the settings of the drawing itself. It looks pretty good as well but still no crisp lines from a machine that’s supposed to engrave in 4K. I also had a lot of problems with the app disconnecting and stopping responding. If I noticed a problem and the app wouldn’t cooperate, I had to pull power from the Laserpecker 3 laser engraver to stop it.
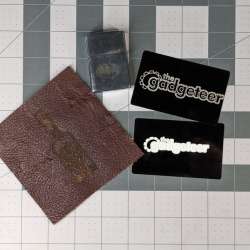
So I gave up on the app and downloaded the Windows software. Well, guess what? It’s beta software, so expect bugs and glitches. I loaded the software and connected the Laserpecker3 using a USB cable. Nothing. My laptop running Windows 11 wouldn’t see it. Ok, try a different port. Nope. Try a different cable. Uh-uh. Try the different cable in a different port. Denied. Reboot the laptop and Laserpecker 3 laser engraver. Ok, now they’re just laughing at me. I gave up again. A few days later I tried it again and this time my laptop connected to it. Facepalm. The PC software is a little rough around the edges but I can edit my pictures easier this way, however, I am tethered. For some reason, to use my PC’s Bluetooth I have to buy a separate dongle from Laserpecker. No, I don’t understand why. I’m going to do my best and stick with using the PC software. They seem to be updating it more often than the app so I’m hoping things get better soon. Here are some of my successes and failures for your viewing enjoyment.


What I like
- Lightweight and portable
- There’s fun to be had if I can overcome the software hurdles
What I’d change
- Software
- Tutorials, please. I need them.
- Updated app with Laserpecker 3 specific settings
Final thoughts
I want to like the Laserpecker 3 laser engraver. I think I’ll really enjoy it if I can get the kinks worked out. My wife is determined to start a side hustle and wants me to engrave things for her to sell. If you’re looking for something like the Laserpecker 3, I would honestly look elsewhere at the moment. The Laserpecker 2 Pro that Julie reviewed a while back might be a better choice. There seems to be more out there for assistance with that model. Meanwhile, I’m going to figure out how to get the results I want if it kills me.
Price: $1529.10
Where to buy: Laserpecker and Amazon
Source: The sample of this product was provided by Laserpecker.

2-Pack LED Video Light Kit, NiceVeedi Studio Light, 2800-6500K Dimmable Photography Lighting Kit with Tripod Stand&Phone Holder, 73" Stream Light for Video Recording, Game Streaming, YouTube
(as of June 8, 2026 04:50 GMT -05:00 - More infoProduct prices and availability are accurate as of the date/time indicated and are subject to change. Any price and availability information displayed on [relevant Amazon Site(s), as applicable] at the time of purchase will apply to the purchase of this product.)