I’ve said it before, I’ll say it again…I love security cameras. There is a certain peace of mind in knowing that if someone breaks into your home, you will know about it instantly. Additionally, most newer cameras have some type of DVR function, allowing you to provide Police with footage if bad guys ever break into your home (hopefully a feature you will never need though). Plus, as my wife and I have come to learn, security cameras can be useful parenting assistants. On multiple occasions we have reviewed footage to determine if a child left their room, the upstairs, or the house with a favorite toy that’s gone missing, to try and narrow down the search area. Recently, I was given the chance to review the Canary all-in-one security camera. It promises high quality audio and video, with an easy setup.
DON’T MISS: Guardzilla all-in-one video security system review
In the box
- Canary camera system
- AC adapter with micro USB cable
- Secure setup cable (3.5 mm audio cable)
- Quick start guide
- 2 “Protected by Canary” window stickers
Specifications
- Camera
- 1080p HD camera
- 147° wide-angle lens
- night vision
- motion detection
- Audio and Siren
- Built-in speaker
- 90+ dB siren
- Connectivity
- 2.4 GHz Wi-Fi (802.11 b/g/n)
- Wired Ethernet
- Size and weight
- Height – 6 inches
- Diameter – 3 inches
- Weight – 0.87 lb
Design
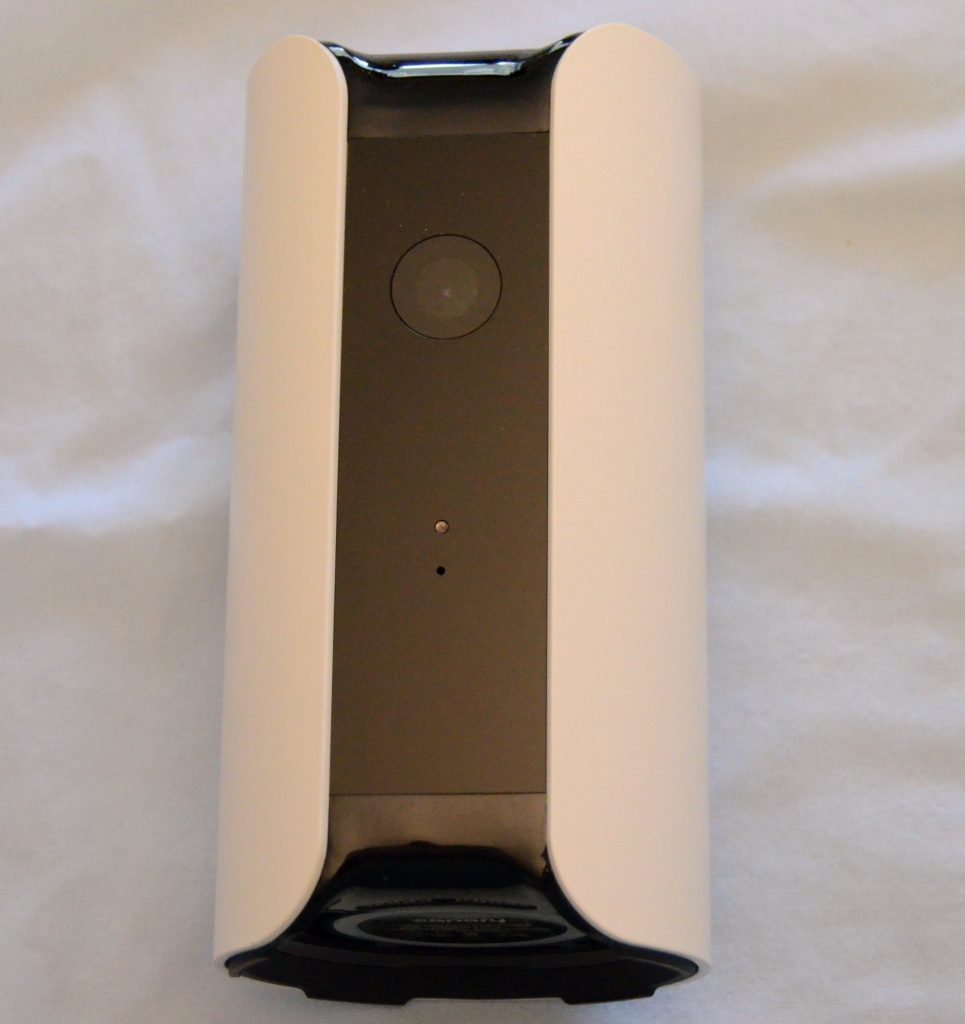
The front of the Canary contains the camera and microphone.
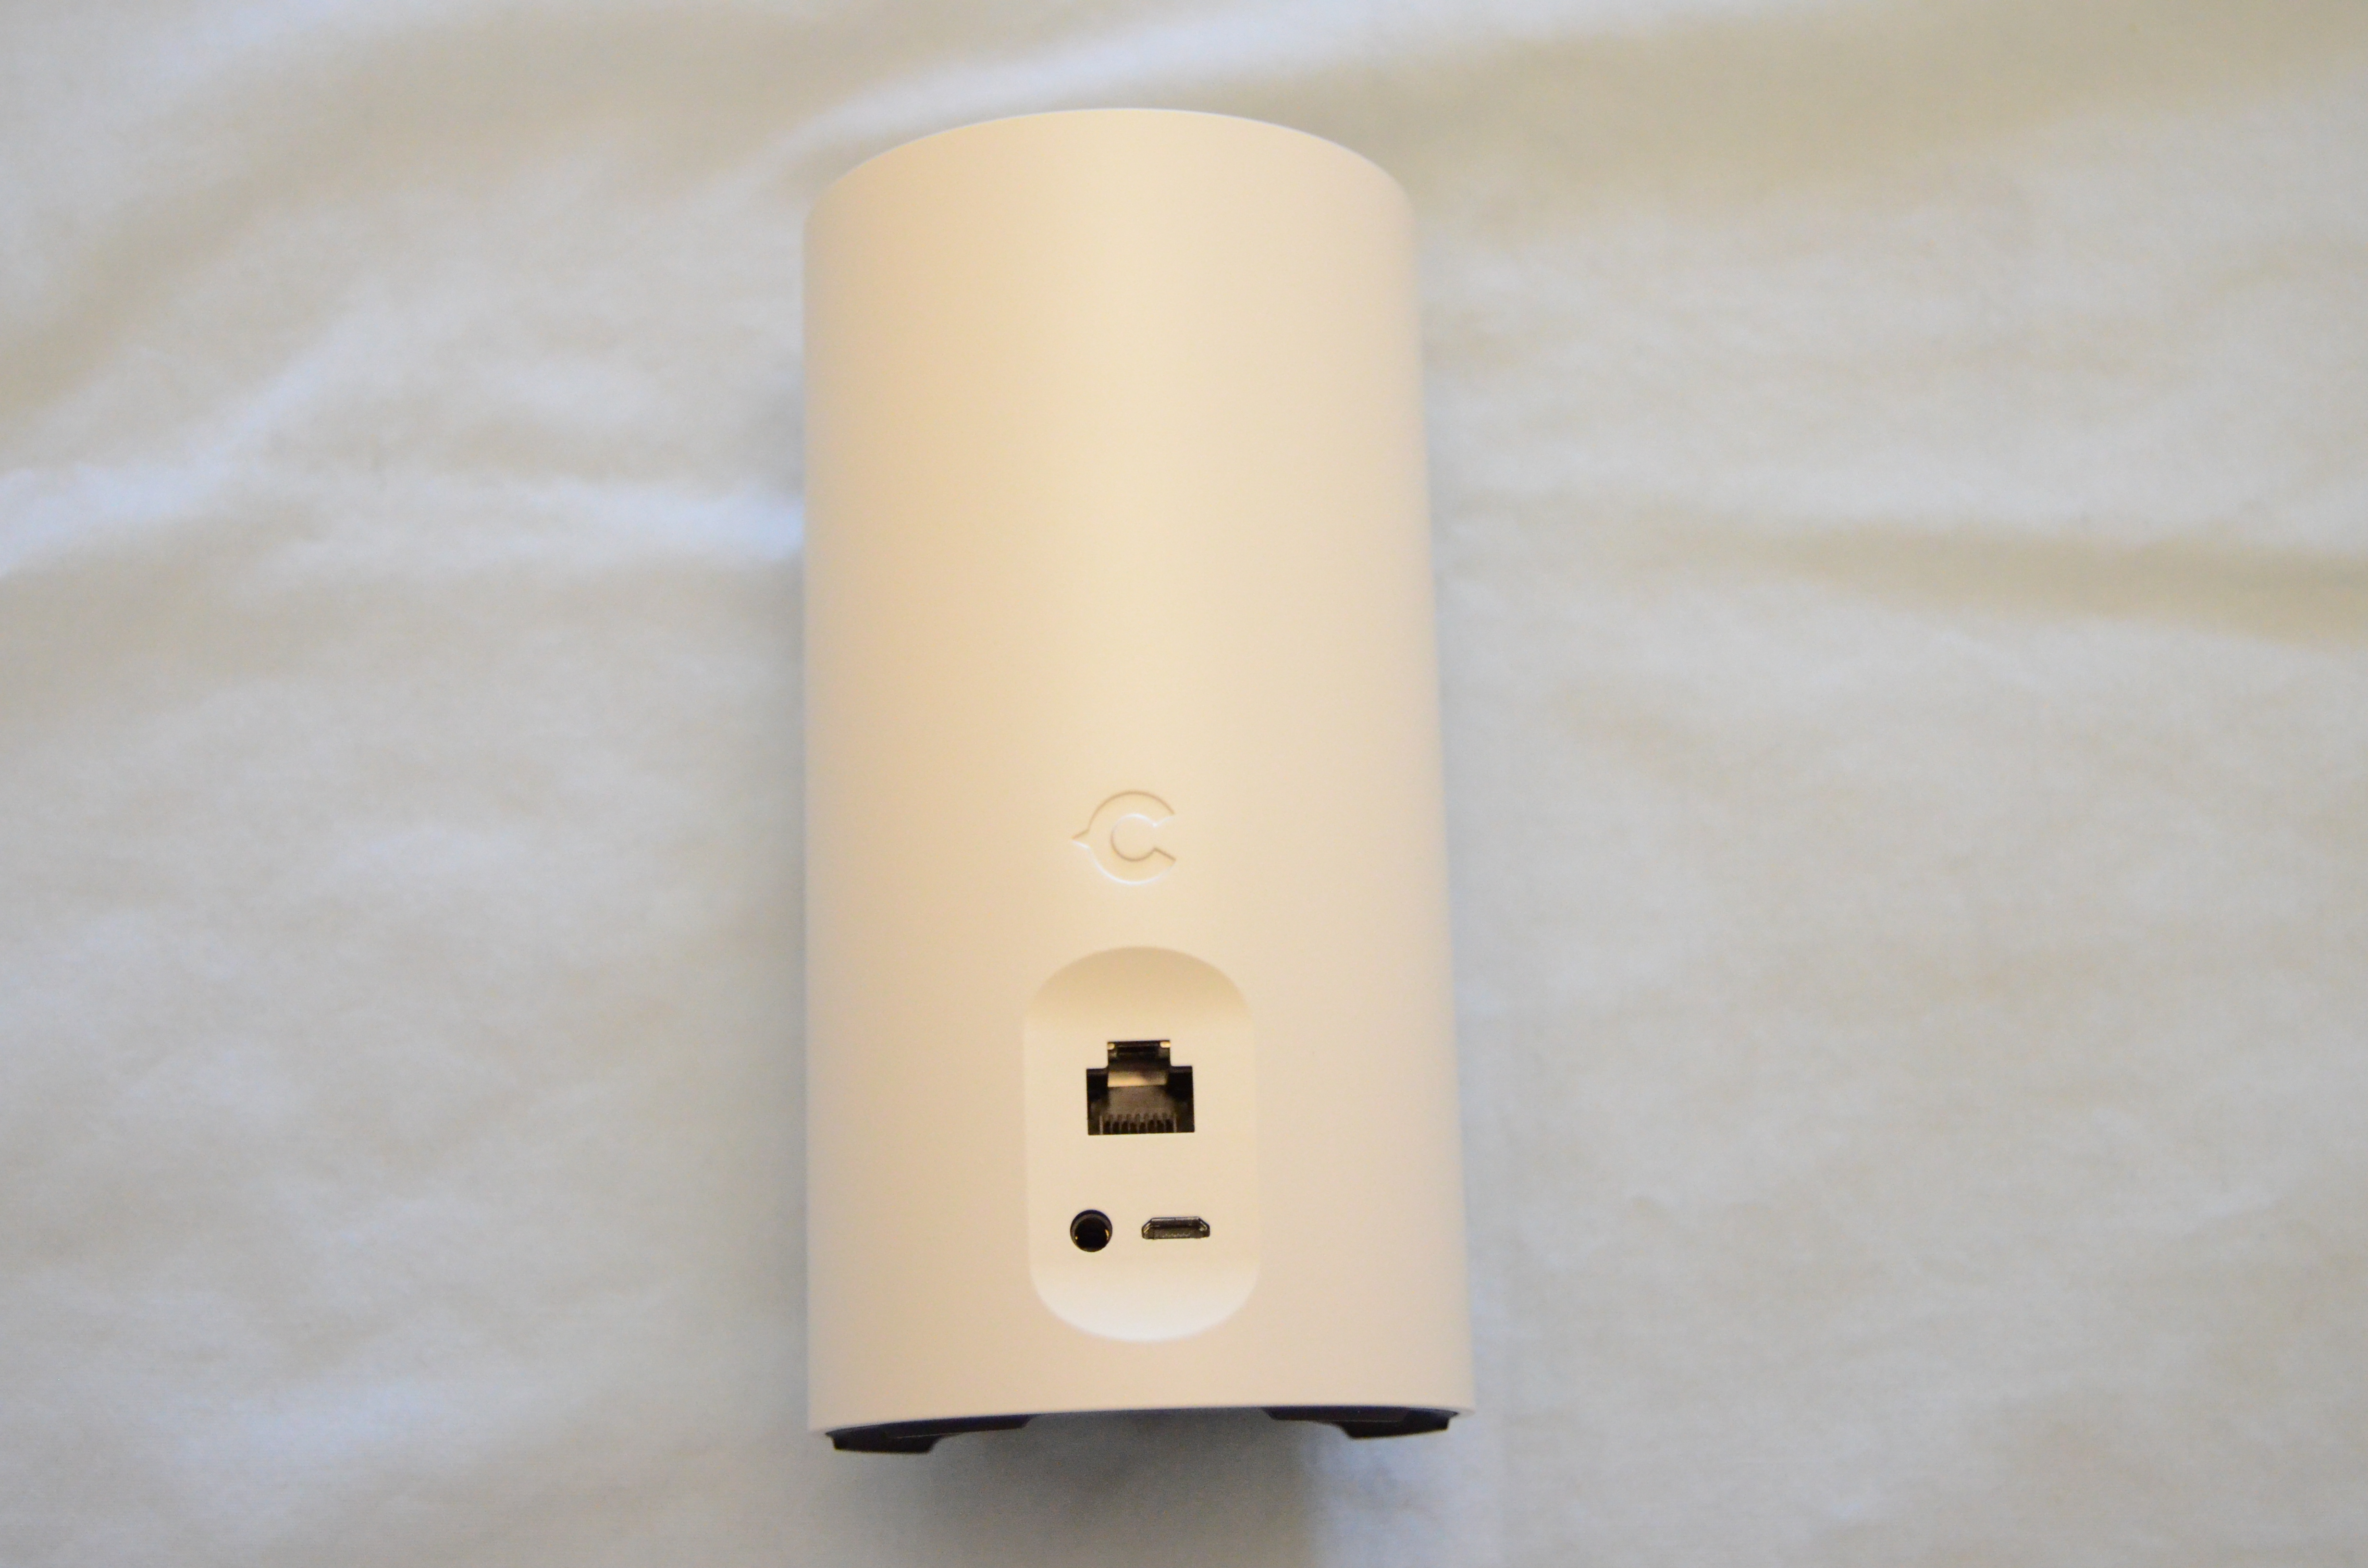
The back of the Canary contains an Ethernet port, a 3.5 mm audio port, and a micro USB port.

The bottom of the Canary contains identifying information, a LED light, and a speaker.
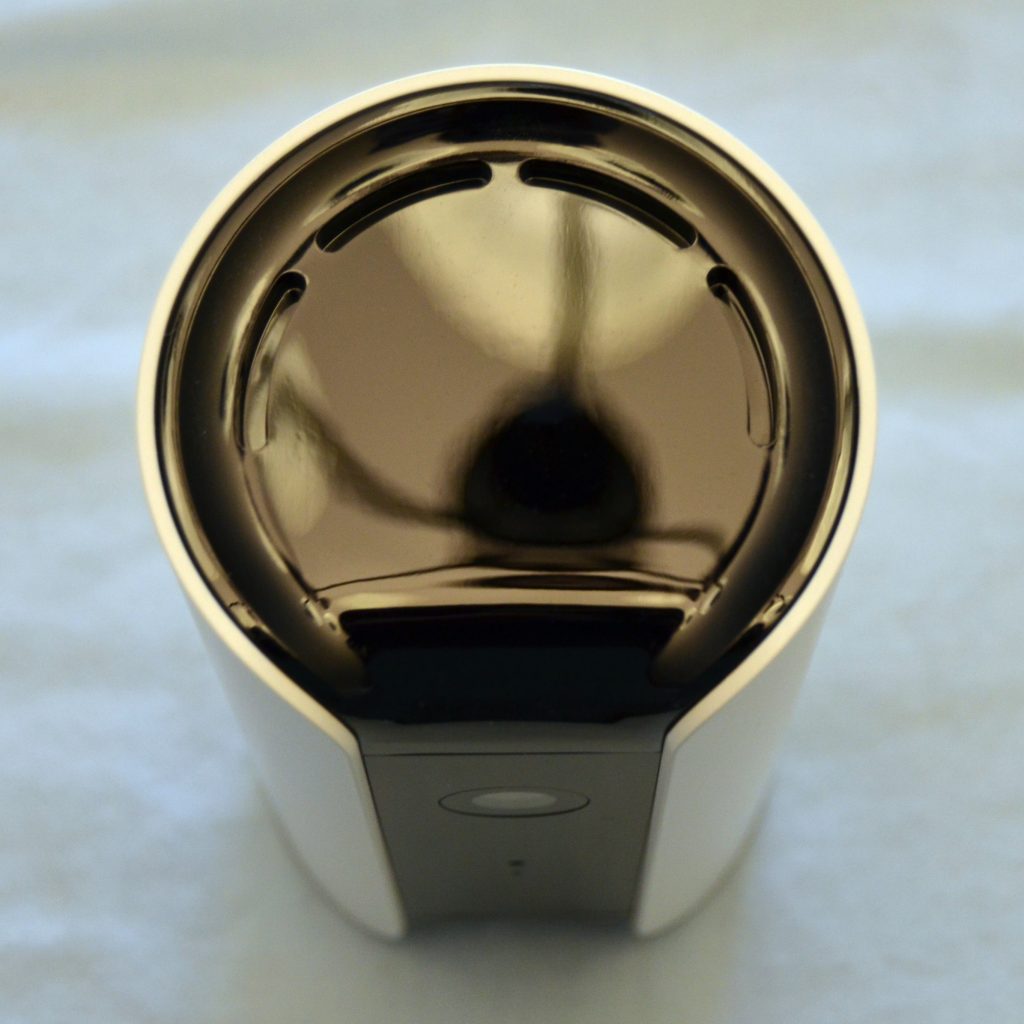
The top of the Canary contains another speaker.
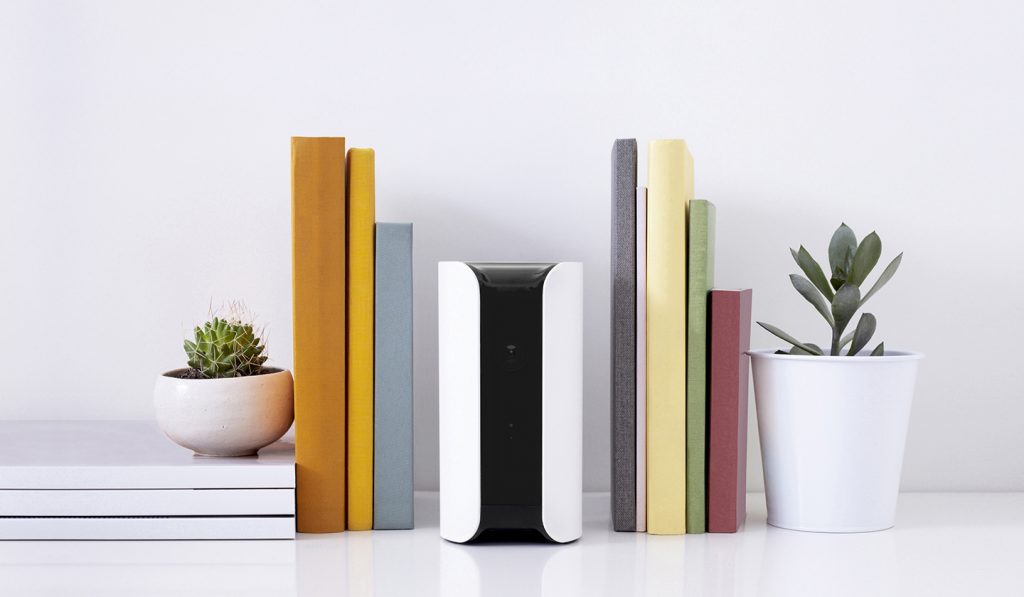
The Canary is available in white, gray, and black. No matter what color you get, the portion housing the camera, speakers, and LED is black.
I liked the way the Canary looked; it doesn’t stand out the way most security cameras do. I think you could leave it out in the open and most people wouldn’t realize it was a camera.

I placed my Canary on a table in my foyer. Not once was I questioned about it when I had guests over.
Setup
The Canary comes with a quick start guide, but all it really says is download the app for Android or iOS and follow the app’s directions.
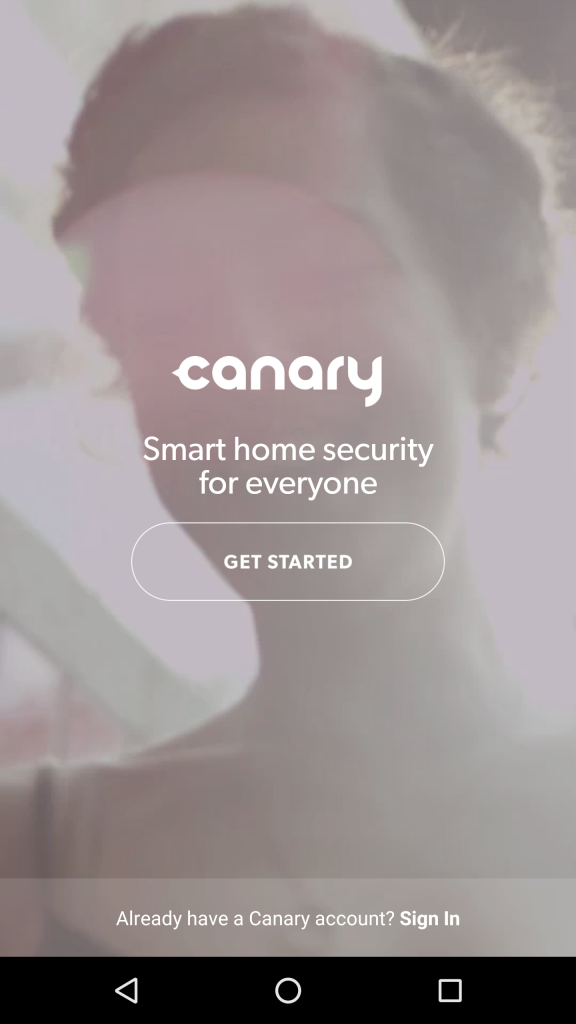
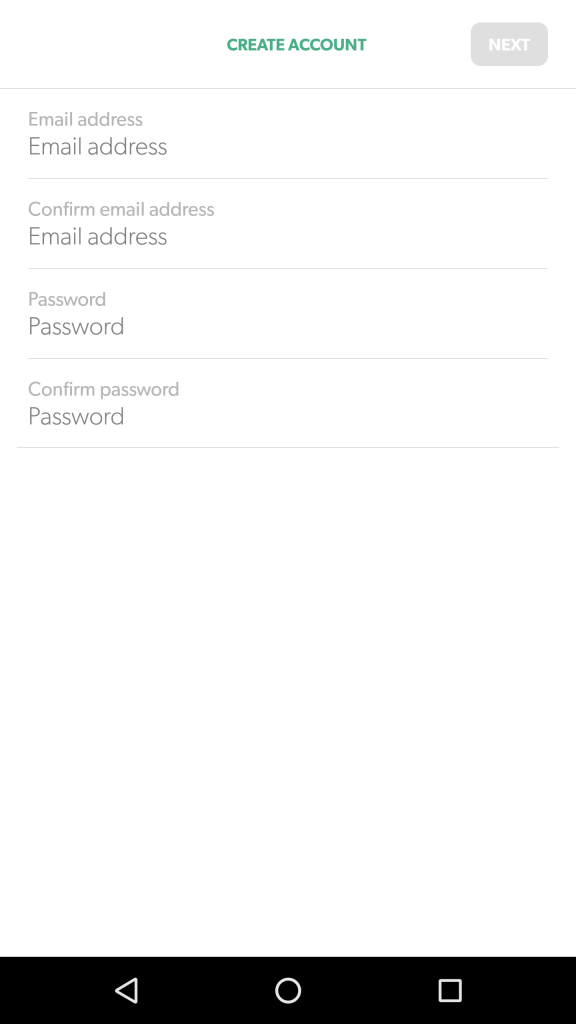
The first thing you do after installing the app is register with Canary.
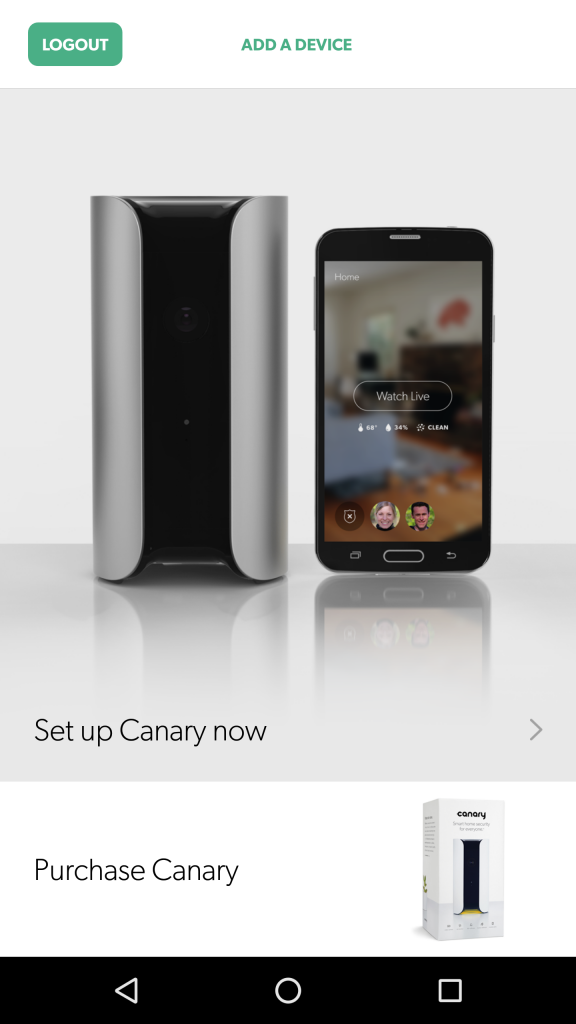
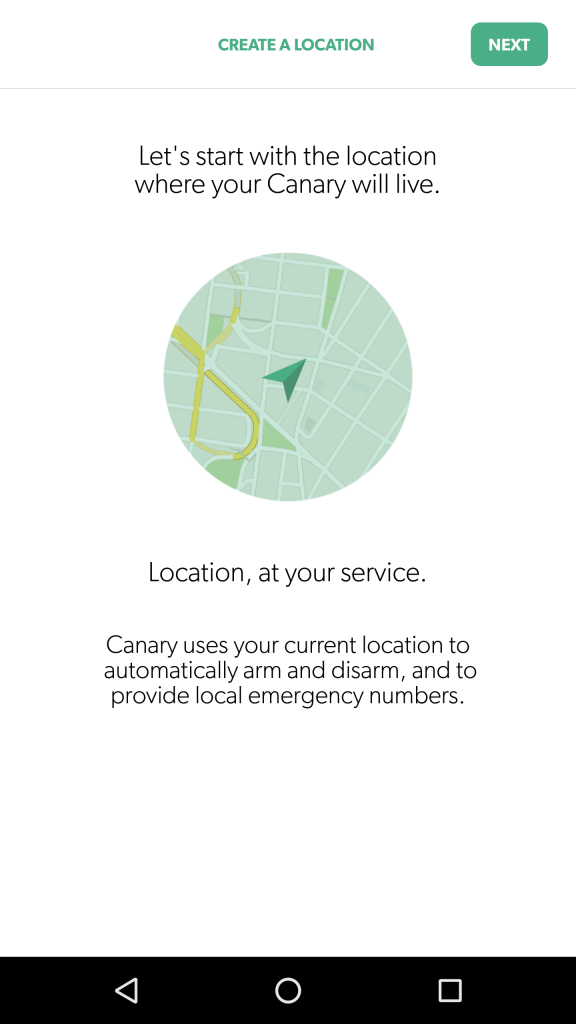
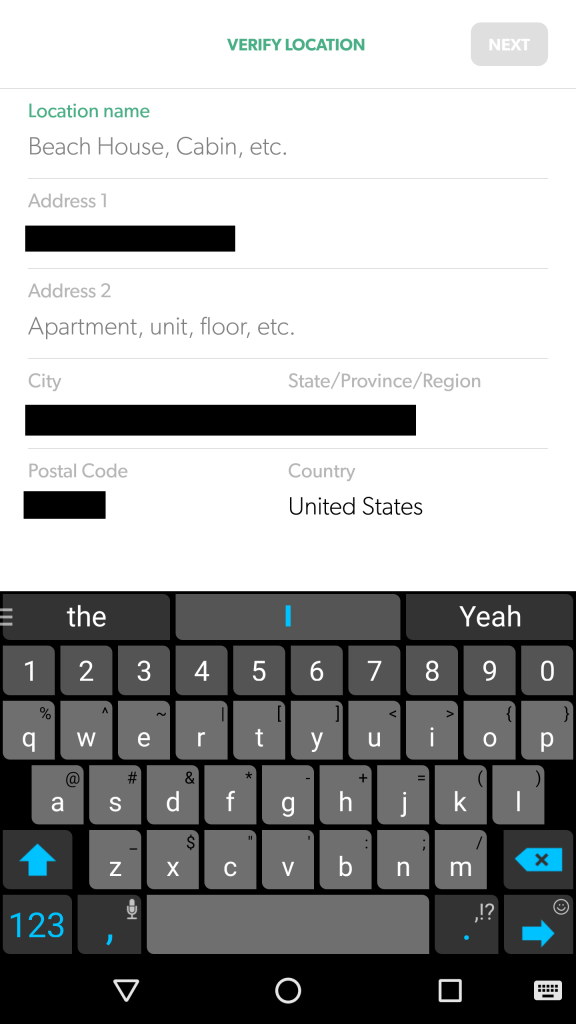
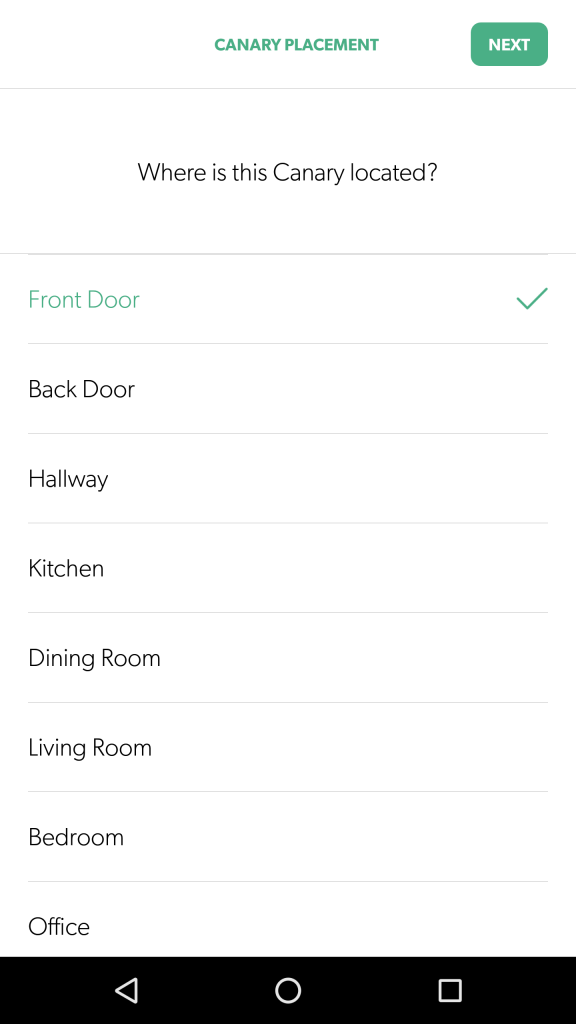
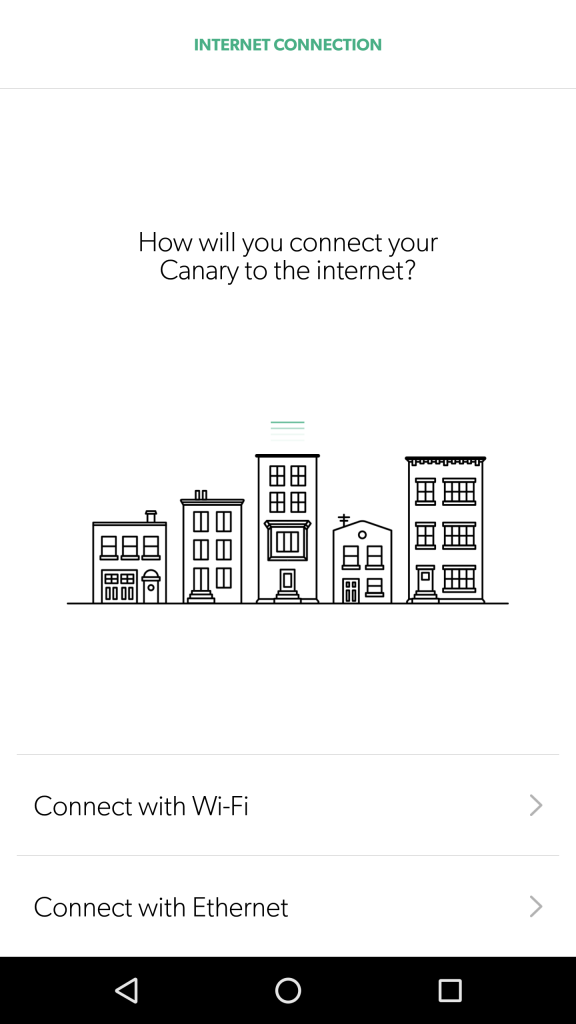
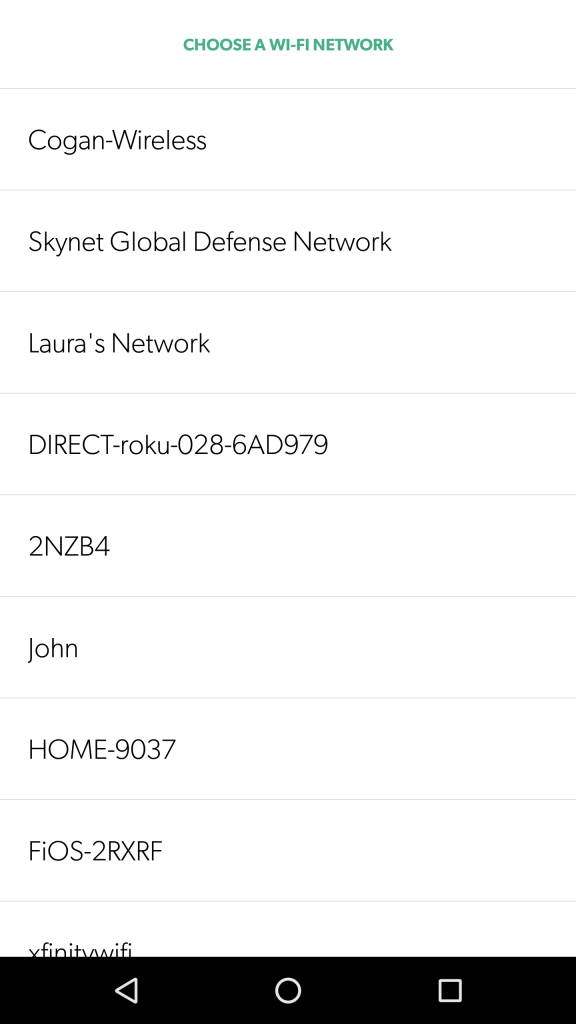
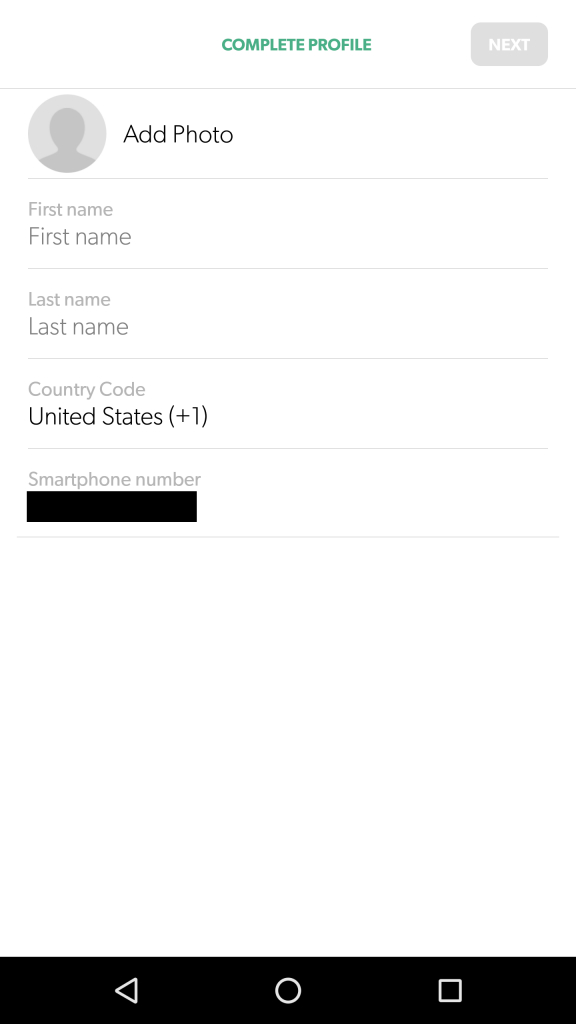
After you register, the app gives you the option of starting the setup process or purchasing a Canary. After selecting setup, you need to provide the address where the Canary will be located. Next, you select where in your residence you will place the Canary. Finally, you pick how you will connect to the internet and select your Wi-Fi network if necessary.
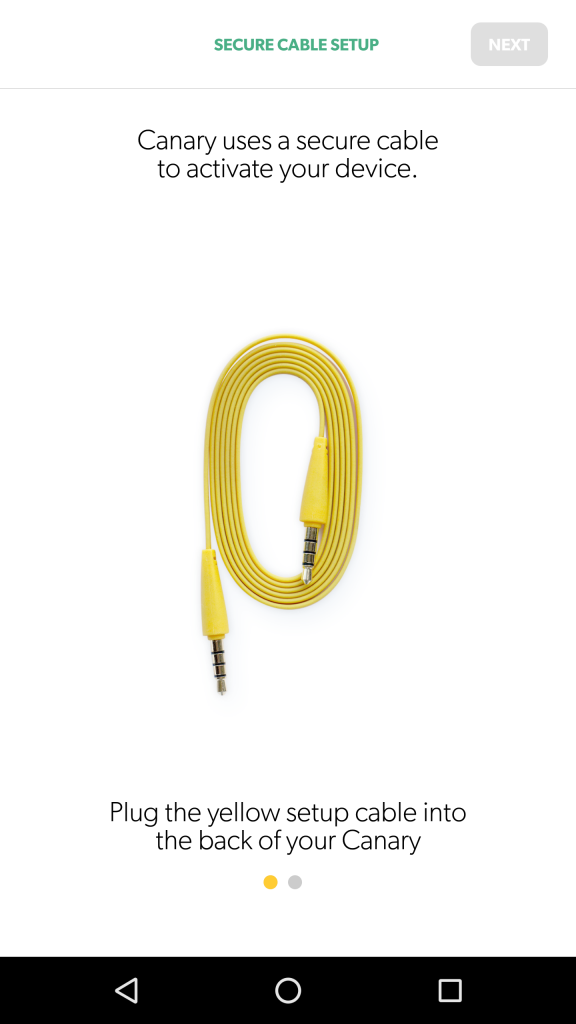
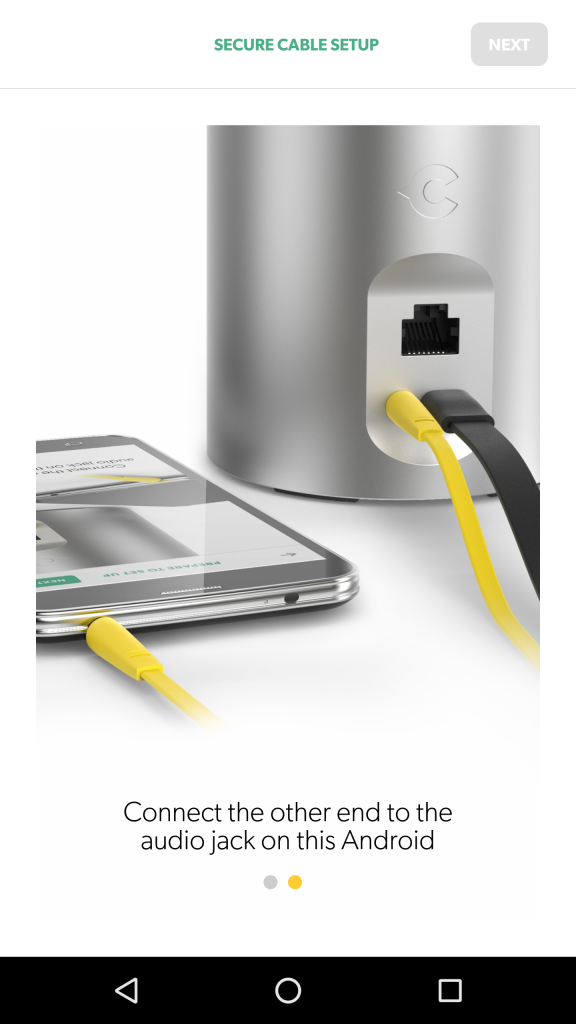
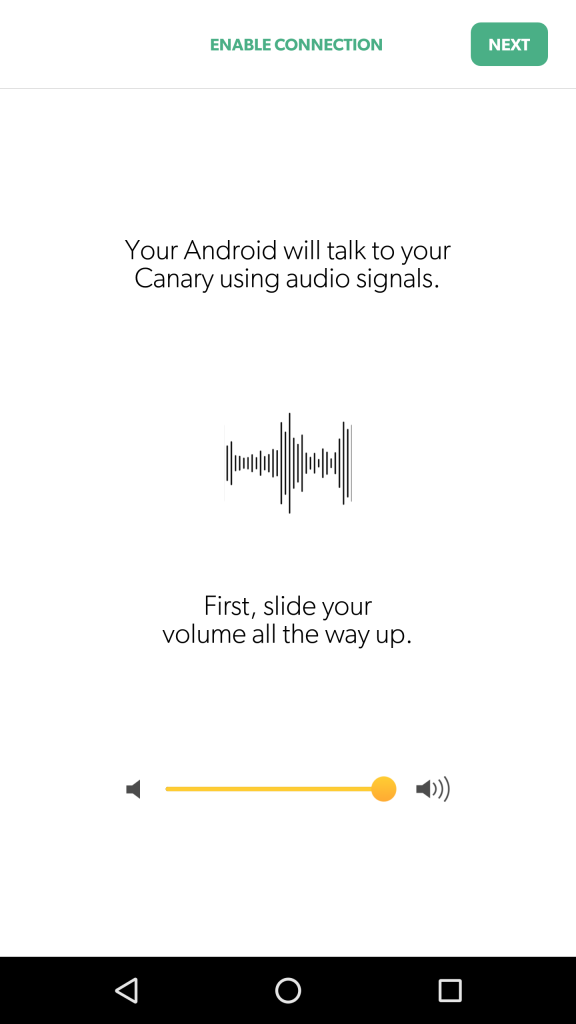
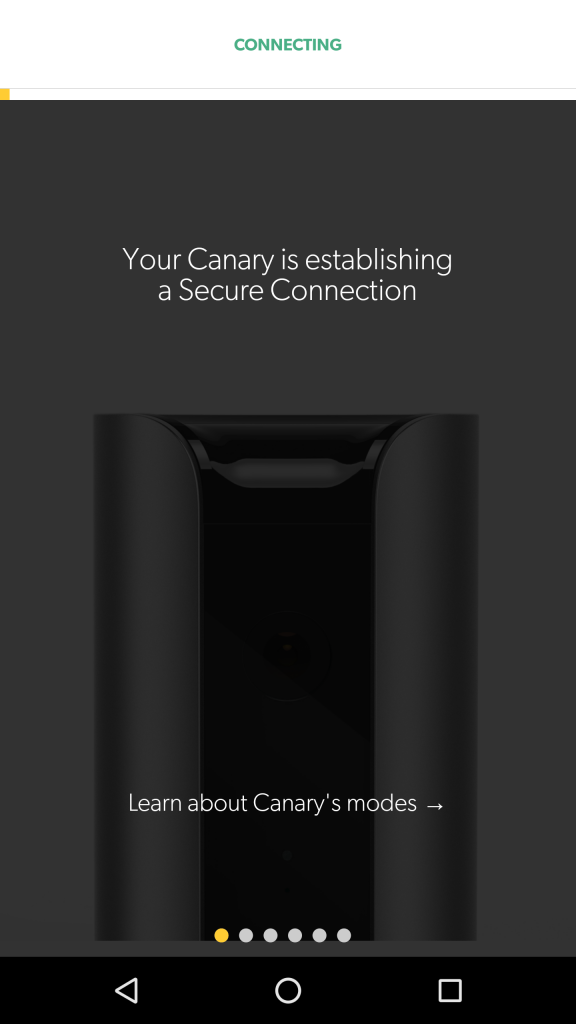
Next, you power up the Canary and finish setup. This is done by connecting your phone to the Canary with a yellow 3.5 mm audio cable. The Canary then states it’s going to use audio signals to communicate with your phone. While it’s doing this, it displays a short tutorial explaining the different modes Canary can be placed in (I skipped those screenshots because I’ll provide that information later).
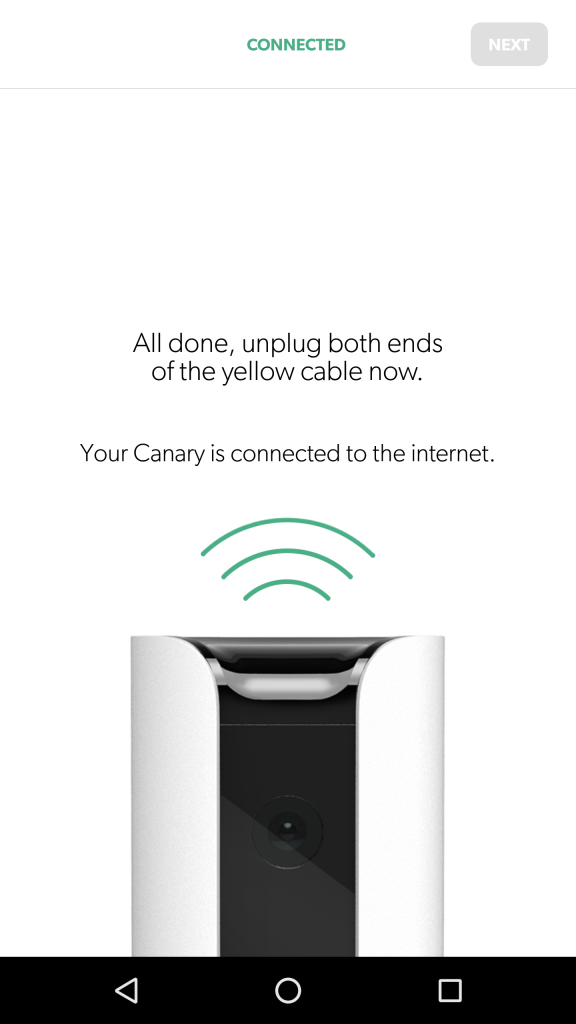
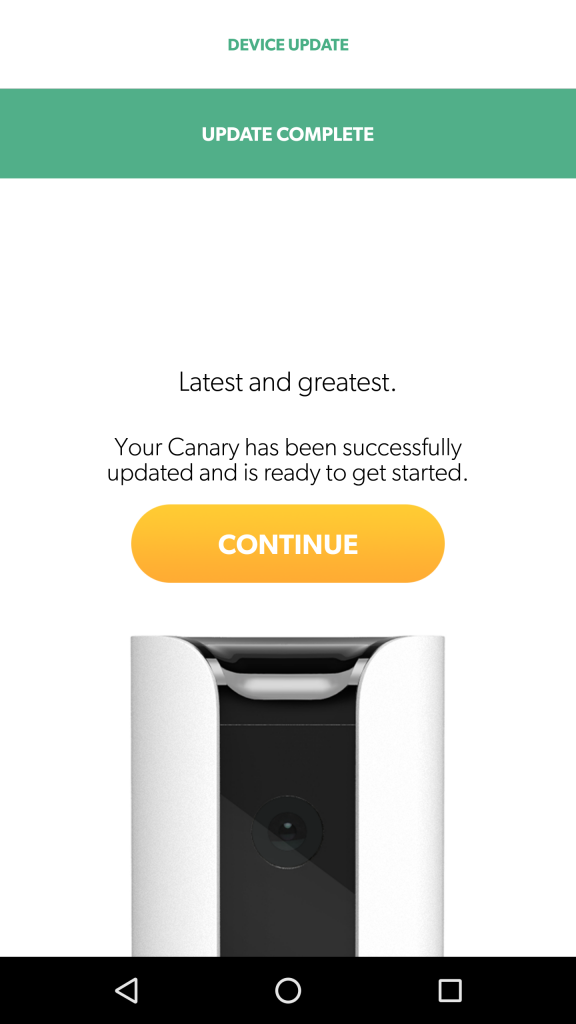
When the Canary is done speaking with your phone and connected to the internet, it will download and update to the latest firmware. Once this process is complete, you are ready to use your Canary.
Setup was extremely easy; there is very little for you to actually do. Other than answering a few registration questions and inserting one cord, the app does all the work.
Performance
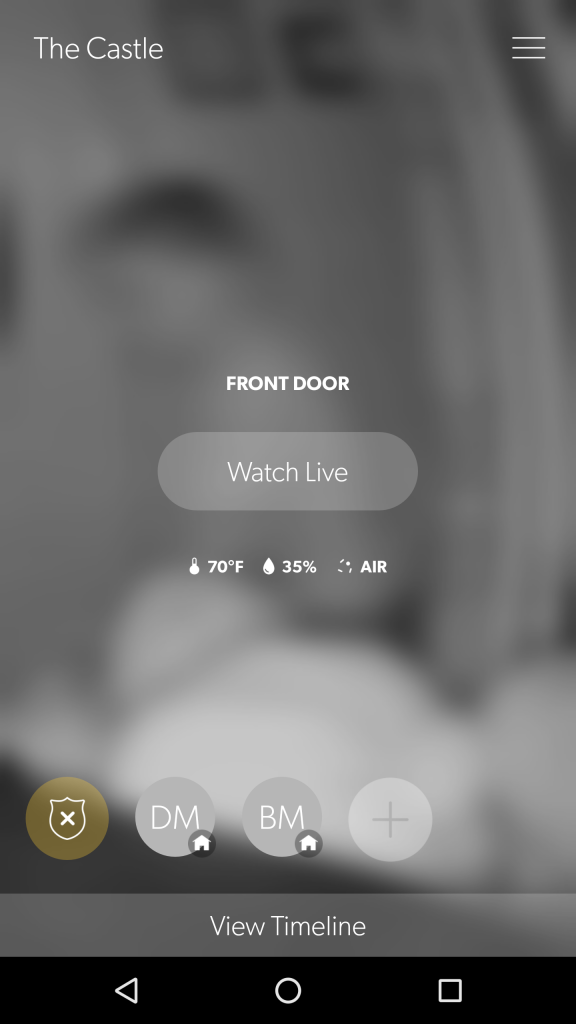
When you open the app, you will be greeted by the above screen. From here you can go to the live view, see your timeline of past events, and reach the options menu.
This screen also identifies what mode your Canary is in and shows whether the authorized users are home or not.
Finally, this screen will give you the temperature, humidity level, and air quality of your home.

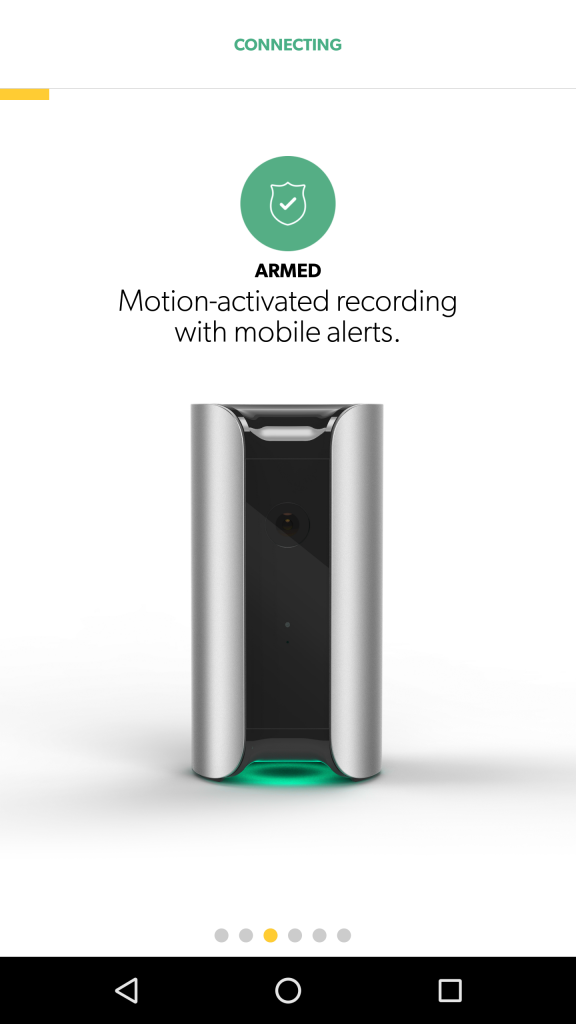
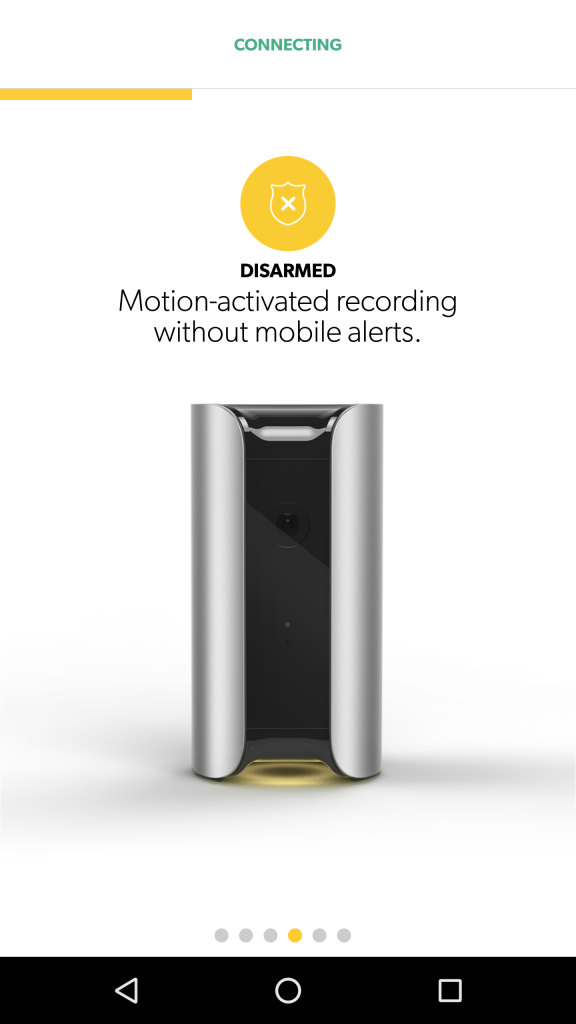
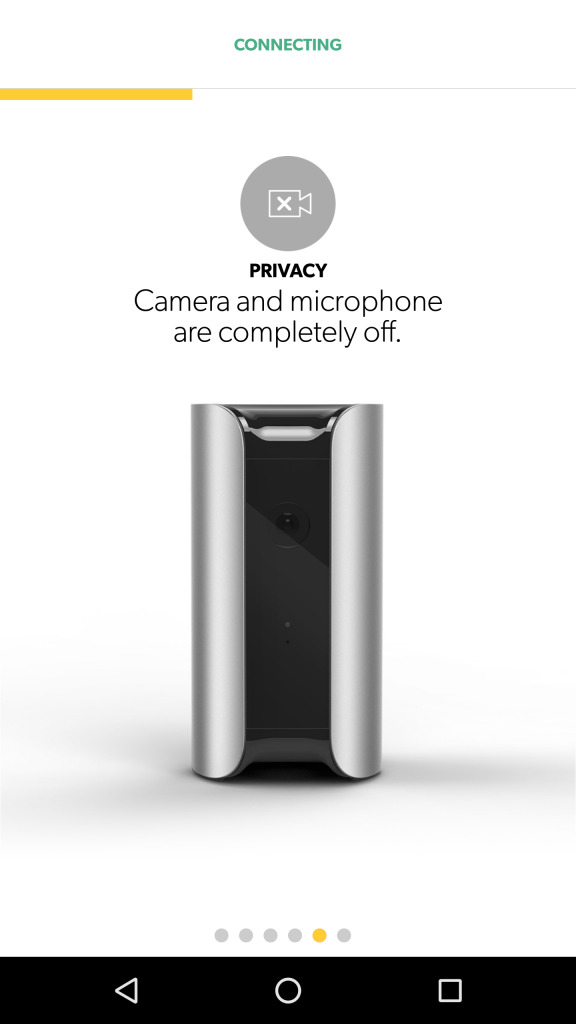
The Canary has three modes: armed, disarmed, and privacy. Both armed and disarmed mode record motion when detected; however, you only receive a notification in armed mode. Privacy mode disables the camera and microphone.
You can change modes on the Canary two different ways.

You can do so manually by tapping on the icon in the lower left corner. This brings up a menu describing the modes. From here you can click on the the mode you want to use.

You can also select auto-mode switching from the settings. This will allow the Canary to arm or disarm itself based on the location of authorized users. If any user is home, the unit will remain disarmed, but when all users are away, the unit arms itself. Alternatively, you can choose to have the unit enter into privacy mode when users are home.

When the Canary is armed and detects motion, it will send a notification to your phone.
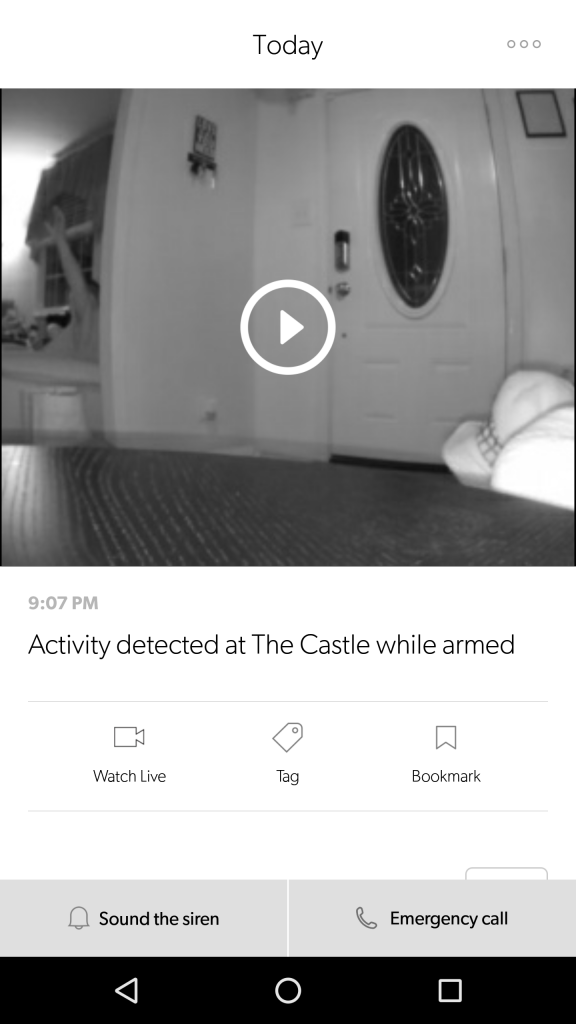
Clicking on the notification will bring you to a recording of the footage the Canary recorded. From here you can sound the alarm, make an emergency call, bookmark the notification, or go to a live view.
I never tested the Emergency call button for what I assume are obvious reason, but I did activate the siren a few times. It’s very loud and should deter any would-be criminals.
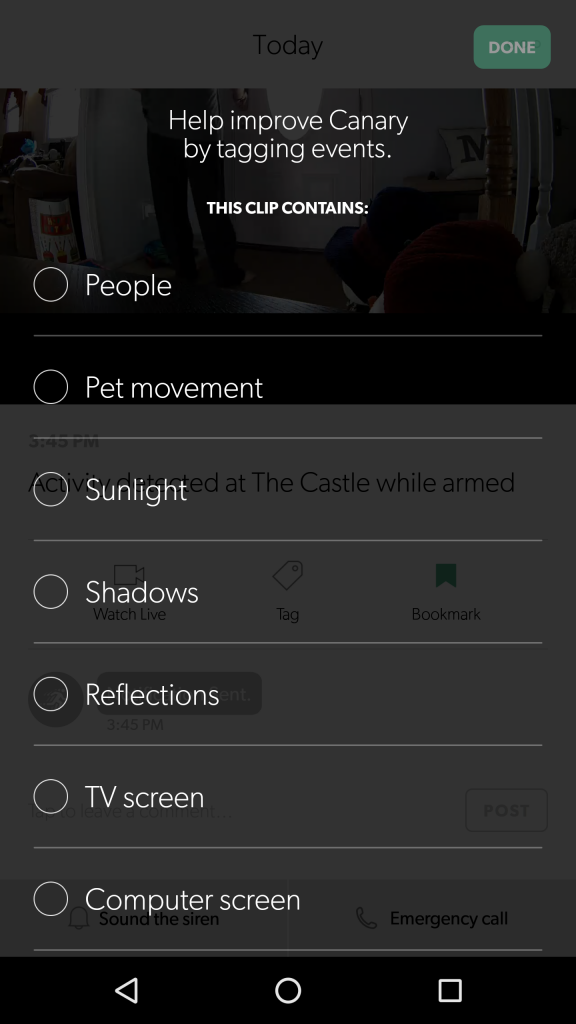
If you receive a false alarm, you can tag the notification and improve the Canary’s motion detecting abilities. There are several options to chose from, including sunlight, pets, and authorized users.
The Canary can also be used to view a live feed anytime you like.
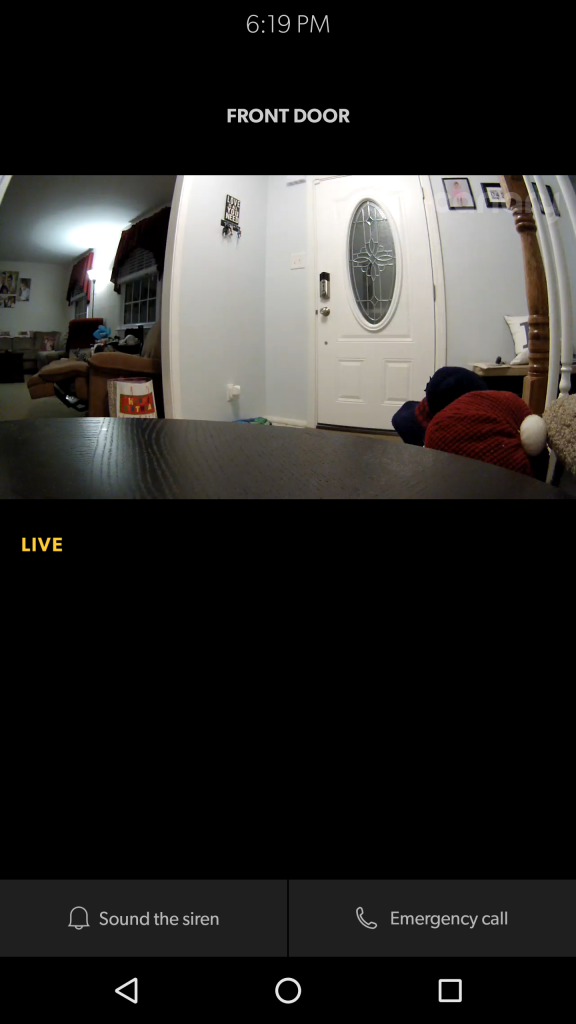
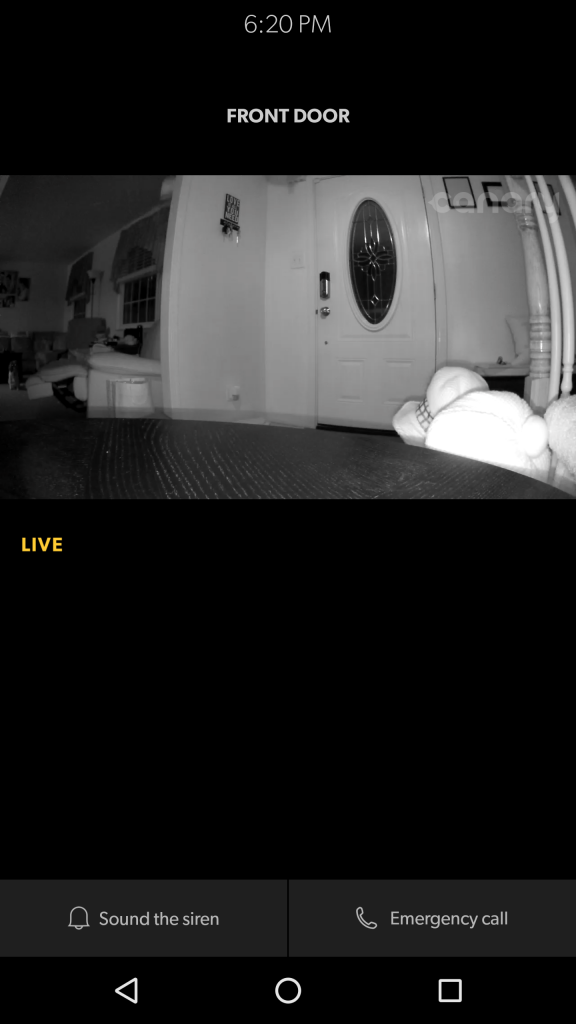
To view a live feed, you tap the “Watch Live” button on the main screen. Doing so will bring you to the above screen where you have the option of sounding the siren or making an emergency call.
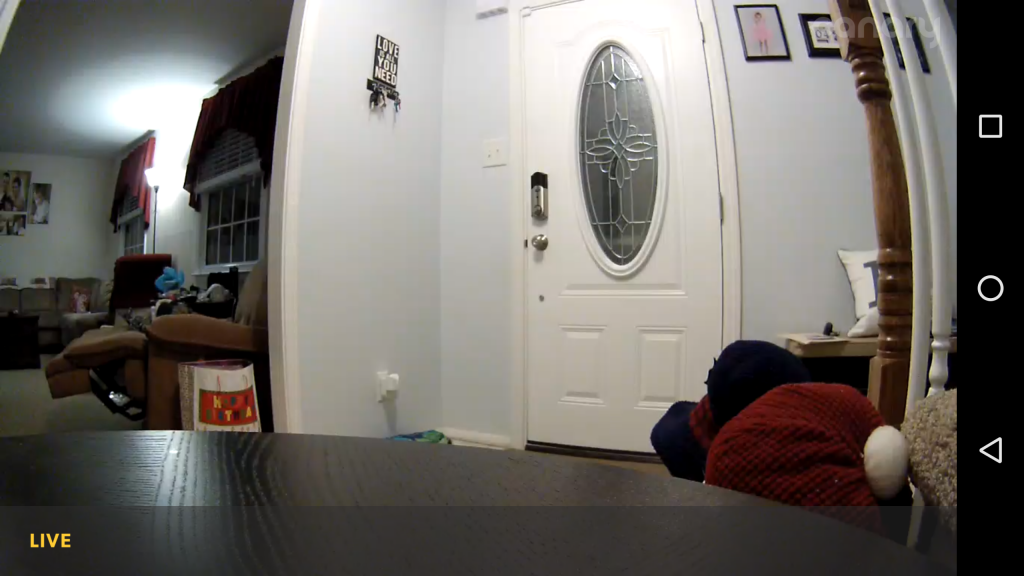
You can enter full-screen mode by rotating your phone.
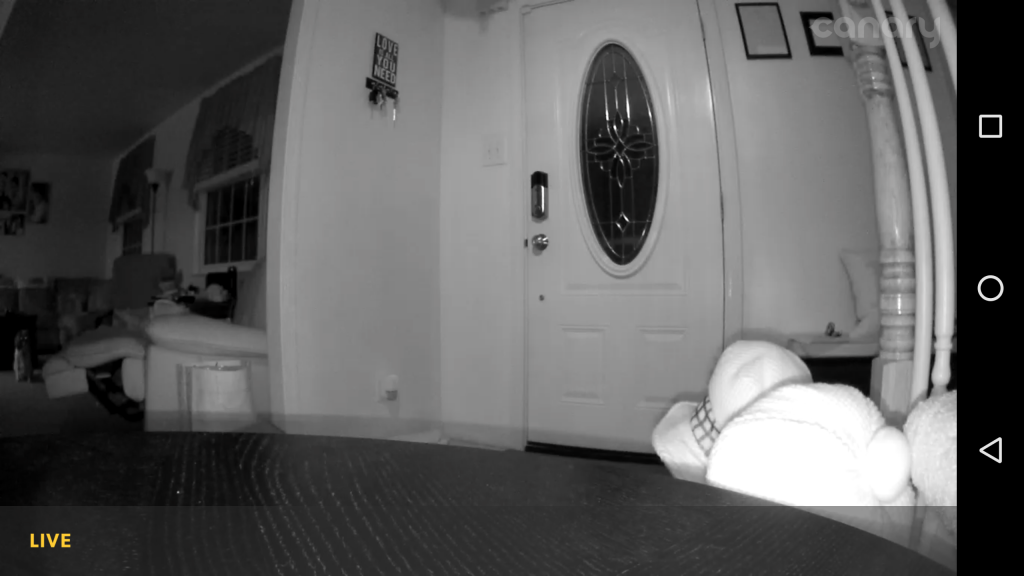
The Canary also has automatic night vision to protect your residence in the dark.
Video quality on the Canary is excellent and very detailed, while audio was crystal clear. Even in night vision mode clarity is excellent. Additionally, it captures a wide range with minimal “fisheye” distortion. This is by far the best video quality of any camera I’ve reviewed.
The alarm worked extremely well also. I used the auto-mode switching function and it was very accurate. There were a few times when the unit thought I was home and I wasn’t and vice-versa, but for the most part it was very accurate.
The motion detection on the Canary also appeared to be very accurate. I had the unit set to high sensitivity, yet I rarely received false alarms when my home was empty.
My only issue with the alarm function was the fact the siren doesn’t sound automatically when motion is detected. I looked into this and it is by design, not a malfunction with my particular Canary. So, while you do get notifications when motion is detected, if you are busy you may not immediately see the notification and have a chance to manually sound the alarm.
DVR/Timeline
Like most modern security cameras, the Canary offers a DVR service.
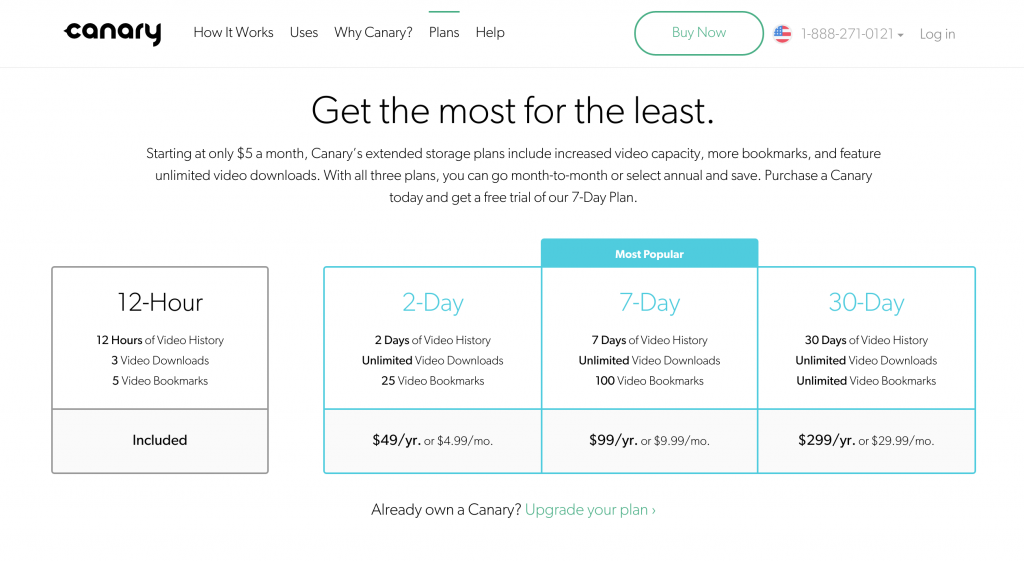
The Canary provides free DVR service for the previous 12 hours of the day. Also, with the free plan, you can also download 3 videos and bookmark 5 videos.
If you need to, you can pay for extended DVR services. The prices of these plans range from $49 a year to $299 a year.
For this review I was using the free service.
To access the DVR service, you tap on the “View Timeline” button at the bottom of the main screen.
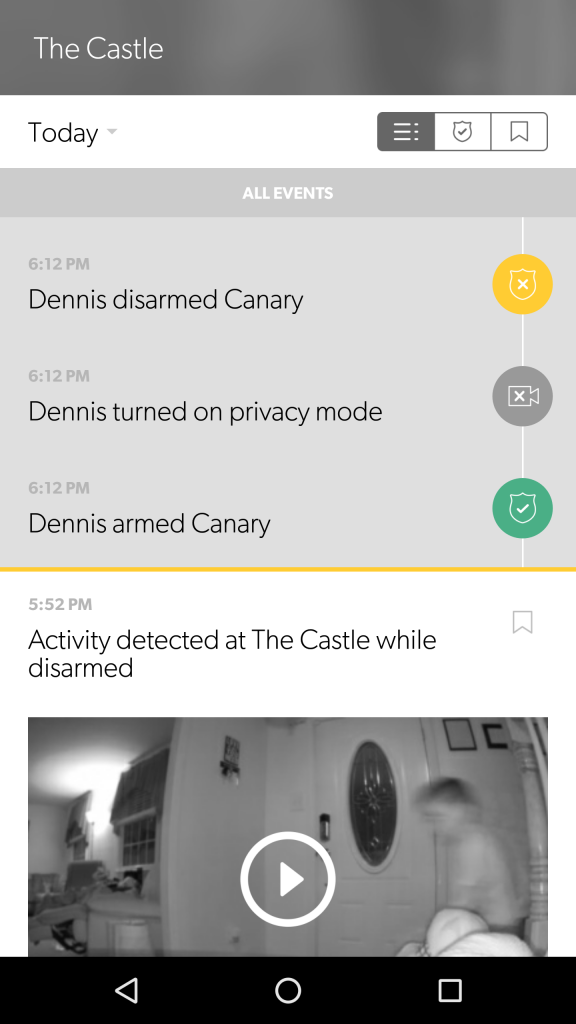
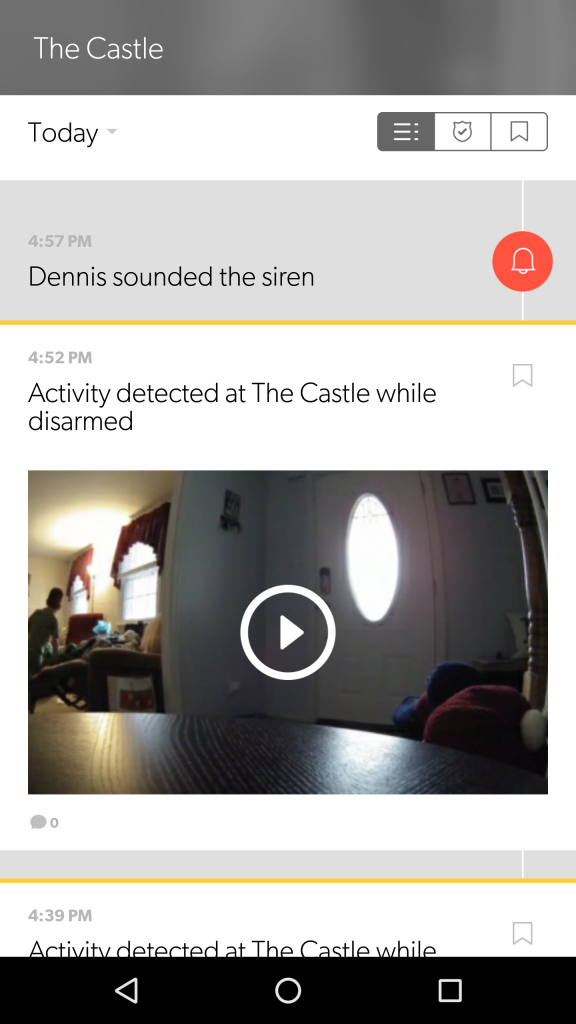
You are then presented with all the activity that took place in the time period your DVR plan provides (12 hours in my case).
The timeline lists all changes in alarm modes, all security footage recorded, and the time any users left or returned to the residence.
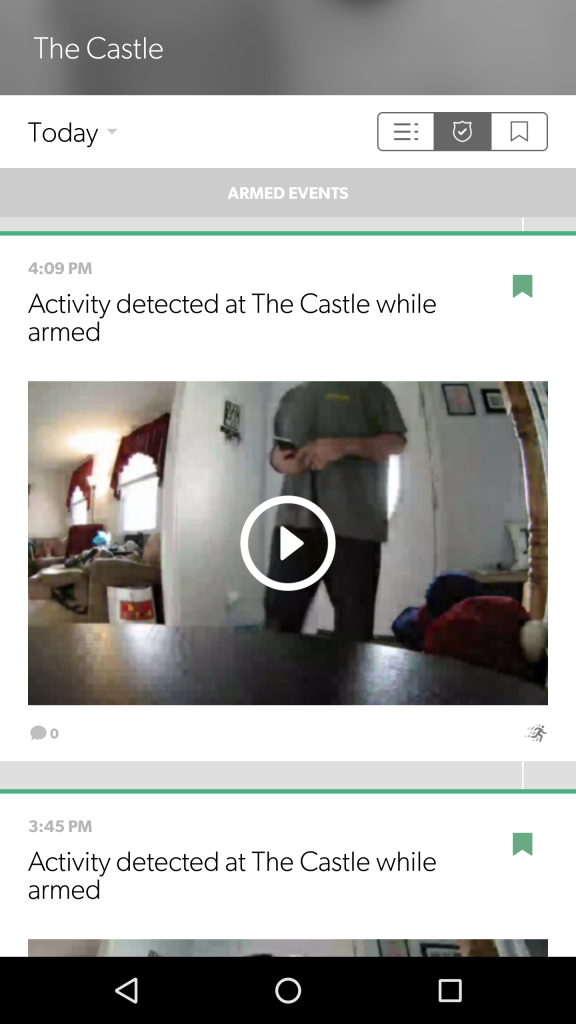
You also have the option of only displaying events that occurred when the Canary was armed.

Any videos that were bookmarked are also available in the timeline.
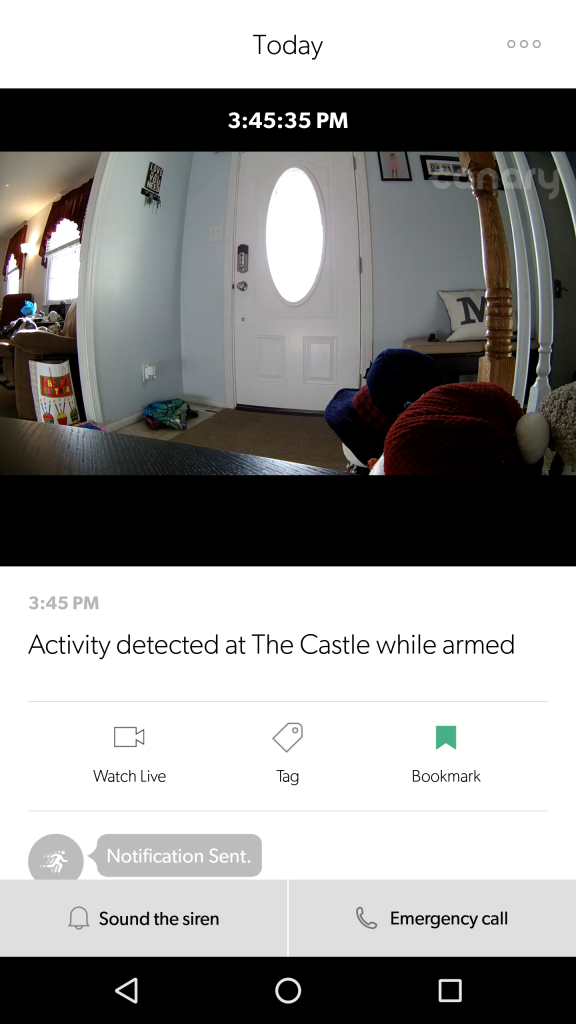
Selecting a video from the timeline will bring you to a screen that’s identical to the alarm notification screen.
The timeline is a great feature and works really well, but I think the extended DVR is a bit pricey. If you are paying almost $200 for a product, you should get at least an entire day of free service in my opinion.
Homehealth
The Canary also tracks your home’s temperature, humidity, and air quality.


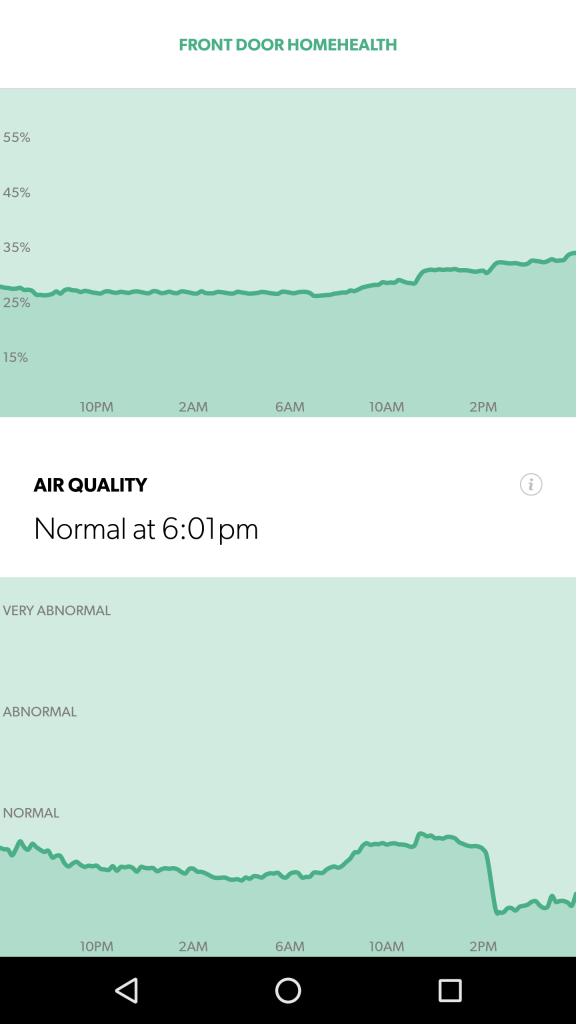
When you click on the temperature on the main menu, you are brought to the Homehealth screen. It will show you a graph for each category for the last twelve hours.
It’s an interesting feature, but not one that I found very useful.
Conclusion
I was thrilled with how well the Canary worked. Not only does it look good, but it works great. The auto-mode switching feature was very reliable and extremely useful. Not having to remember to arm or disarm your security system is wonderful.
Video is very detailed, while audio is crystal clear; it’s the best I’ve seen so far. Plus, the camera captures a wide range with little distortion.
I do wish the alarm sounded automatically and the DVR service was more affordable, but overall the Canary is an excellent product.
If you want an all-in-one system that you can set up and forget about, the Canary is the way to go.
Source: The sample for this review was provided by Canary. Please visit their site for more information and Amazon to order.

ESR for MagSafe Wallet, 5 Card Holder with RFID Blocking, MagSafe Sticker Included, Slim Magnetic Wallet for iPhone 17e/17/16/15/14/13/12 Series and Selected Samsung Devices, Not for 13/12 Mini, Black
(as of May 1, 2026 08:45 GMT -05:00 - More infoProduct prices and availability are accurate as of the date/time indicated and are subject to change. Any price and availability information displayed on [relevant Amazon Site(s), as applicable] at the time of purchase will apply to the purchase of this product.)
Apple iPhone FineWoven Wallet with MagSafe – Black
(as of May 1, 2026 06:07 GMT -05:00 - More infoProduct prices and availability are accurate as of the date/time indicated and are subject to change. Any price and availability information displayed on [relevant Amazon Site(s), as applicable] at the time of purchase will apply to the purchase of this product.)Product Information
| Price: | $199 |
| Manufacturer: | Canary |
| Retailer: | Amazon |
| Requirements: |
|
| Pros: |
|
| Cons: |
|
Gadgeteer Comment Policy - Please read before commenting
If you were to plug a external hard drive into the micro USB, would that allow you to store video on that as opposed to paying for the DVR service? If not, what is the purpose of the USB port?
The Canary comes with a micro USB power adapter. It gets inserted into that port.
Gotcha, thanks for the quick response.
One other thing, if you have several of these around your house, I assume the app allows you to switch between them for the different rooms/views?
Is it possible to record video any other way than via the DVR?
I am not able to connect my canary an need help now, not having to wait until emails are answered. I do not wish to spend money for support that should be included in the price