REVIEW – Cameras today are amazing. Phone cameras, point-and-shoots, mirrorless, and full-on DSLRs all produce pretty jaw-dropping images, right out of the camera, all on automatic. You can certainly tweak them in-camera by changing ISO, aperture, shutter speed, and white balance, but that definitely requires a deeper knowledge of photography and the specifics of your camera. Let’s face it – sometimes, you only have time for a quick snap before you lose the image completely. In those cases, especially in difficult lighting conditions, you get fair images, but they can be better. That’s where Luminar Flex comes in.
What is it?
Luminar Flex is a plug-in for Photoshop. Photoshop Elements and Lightroom Classic for Windows & MacOS, Apple Aperture, and Photos for MacOS. It offers artificial intelligence (AI) driven, one-touch image improvement with a wide variety of styles available, along with creative control of almost all aspects of how the filters are applied.
What’s in the box?
Actually, there isn’t a box. The software is available as a download. Once downloaded, it installs pretty much like most software.
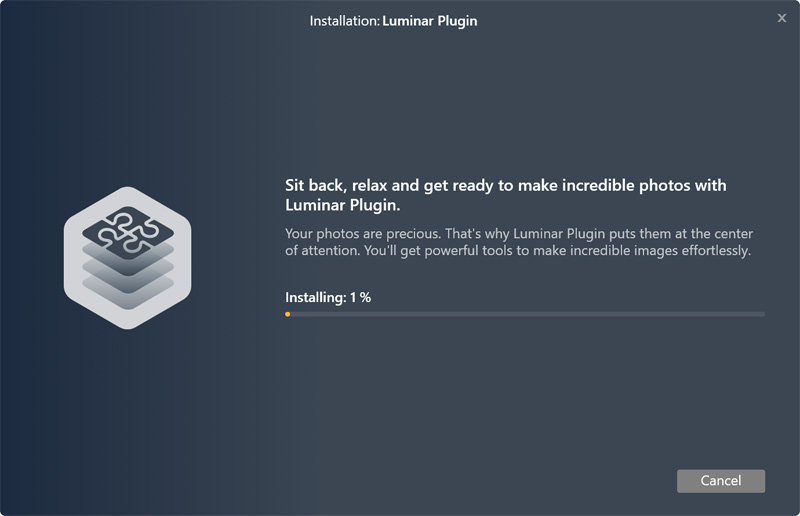
During the installation process, it identifies your installed software and presents a list of supported packages. You choose which ones you want the plugin installed to.
Design and features
Luminar Flex’s biggest nicety is a large number of preset AI-driven styles. These don’t do anything that you can’t do yourself in Photoshop. What it does do is take potentially dozens of steps and reduce that to a single click to get the results you want. For the purists out there, this might not be what they want. There are some photographers that want to control every single aspect of their edits and are willing to take the time and effort and to get those results. For most of us, however, Luminar Flex makes simple work of getting terrific results quickly and easily. And, for the purists, once they see how Luminar Flex applies styles, and the tools it provides to tweak the process, they might get onboard as well.
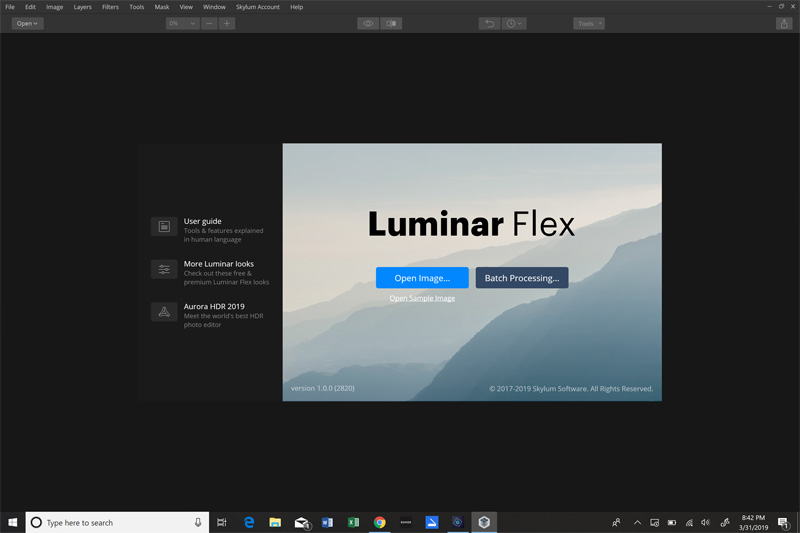
Luminar Flex installs both as a plugin and as a standalone package. You have the option of editing single images or applying a style to batches of images.
Running the package directly, you get that option at startup.
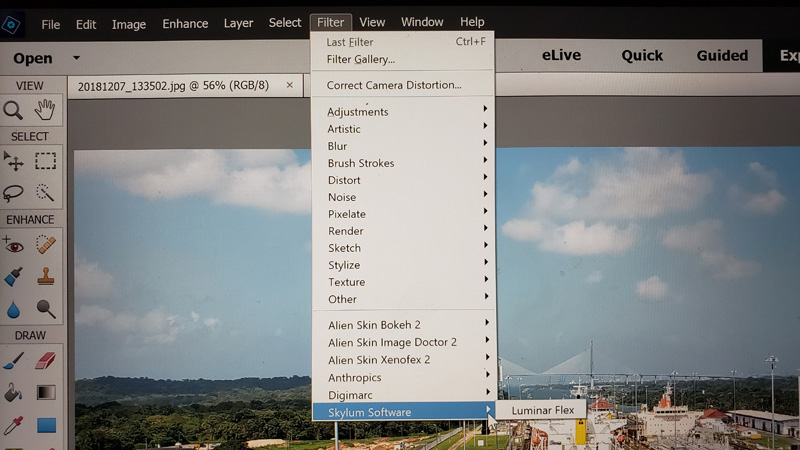
If you are already editing an image in Photoshop (or another supported software), you access the plugin via the Filter menu.
Performance
Either way you open an image, you are dropped into Luminar Flex’s main editing window. It defaults to a results view where you see the results of the applied style. I used the split view where you see a side-by-side before/after view. You can move the slider back and forth to see before and after really easily. I liked this feature a lot. Before is on the left and after on the right.
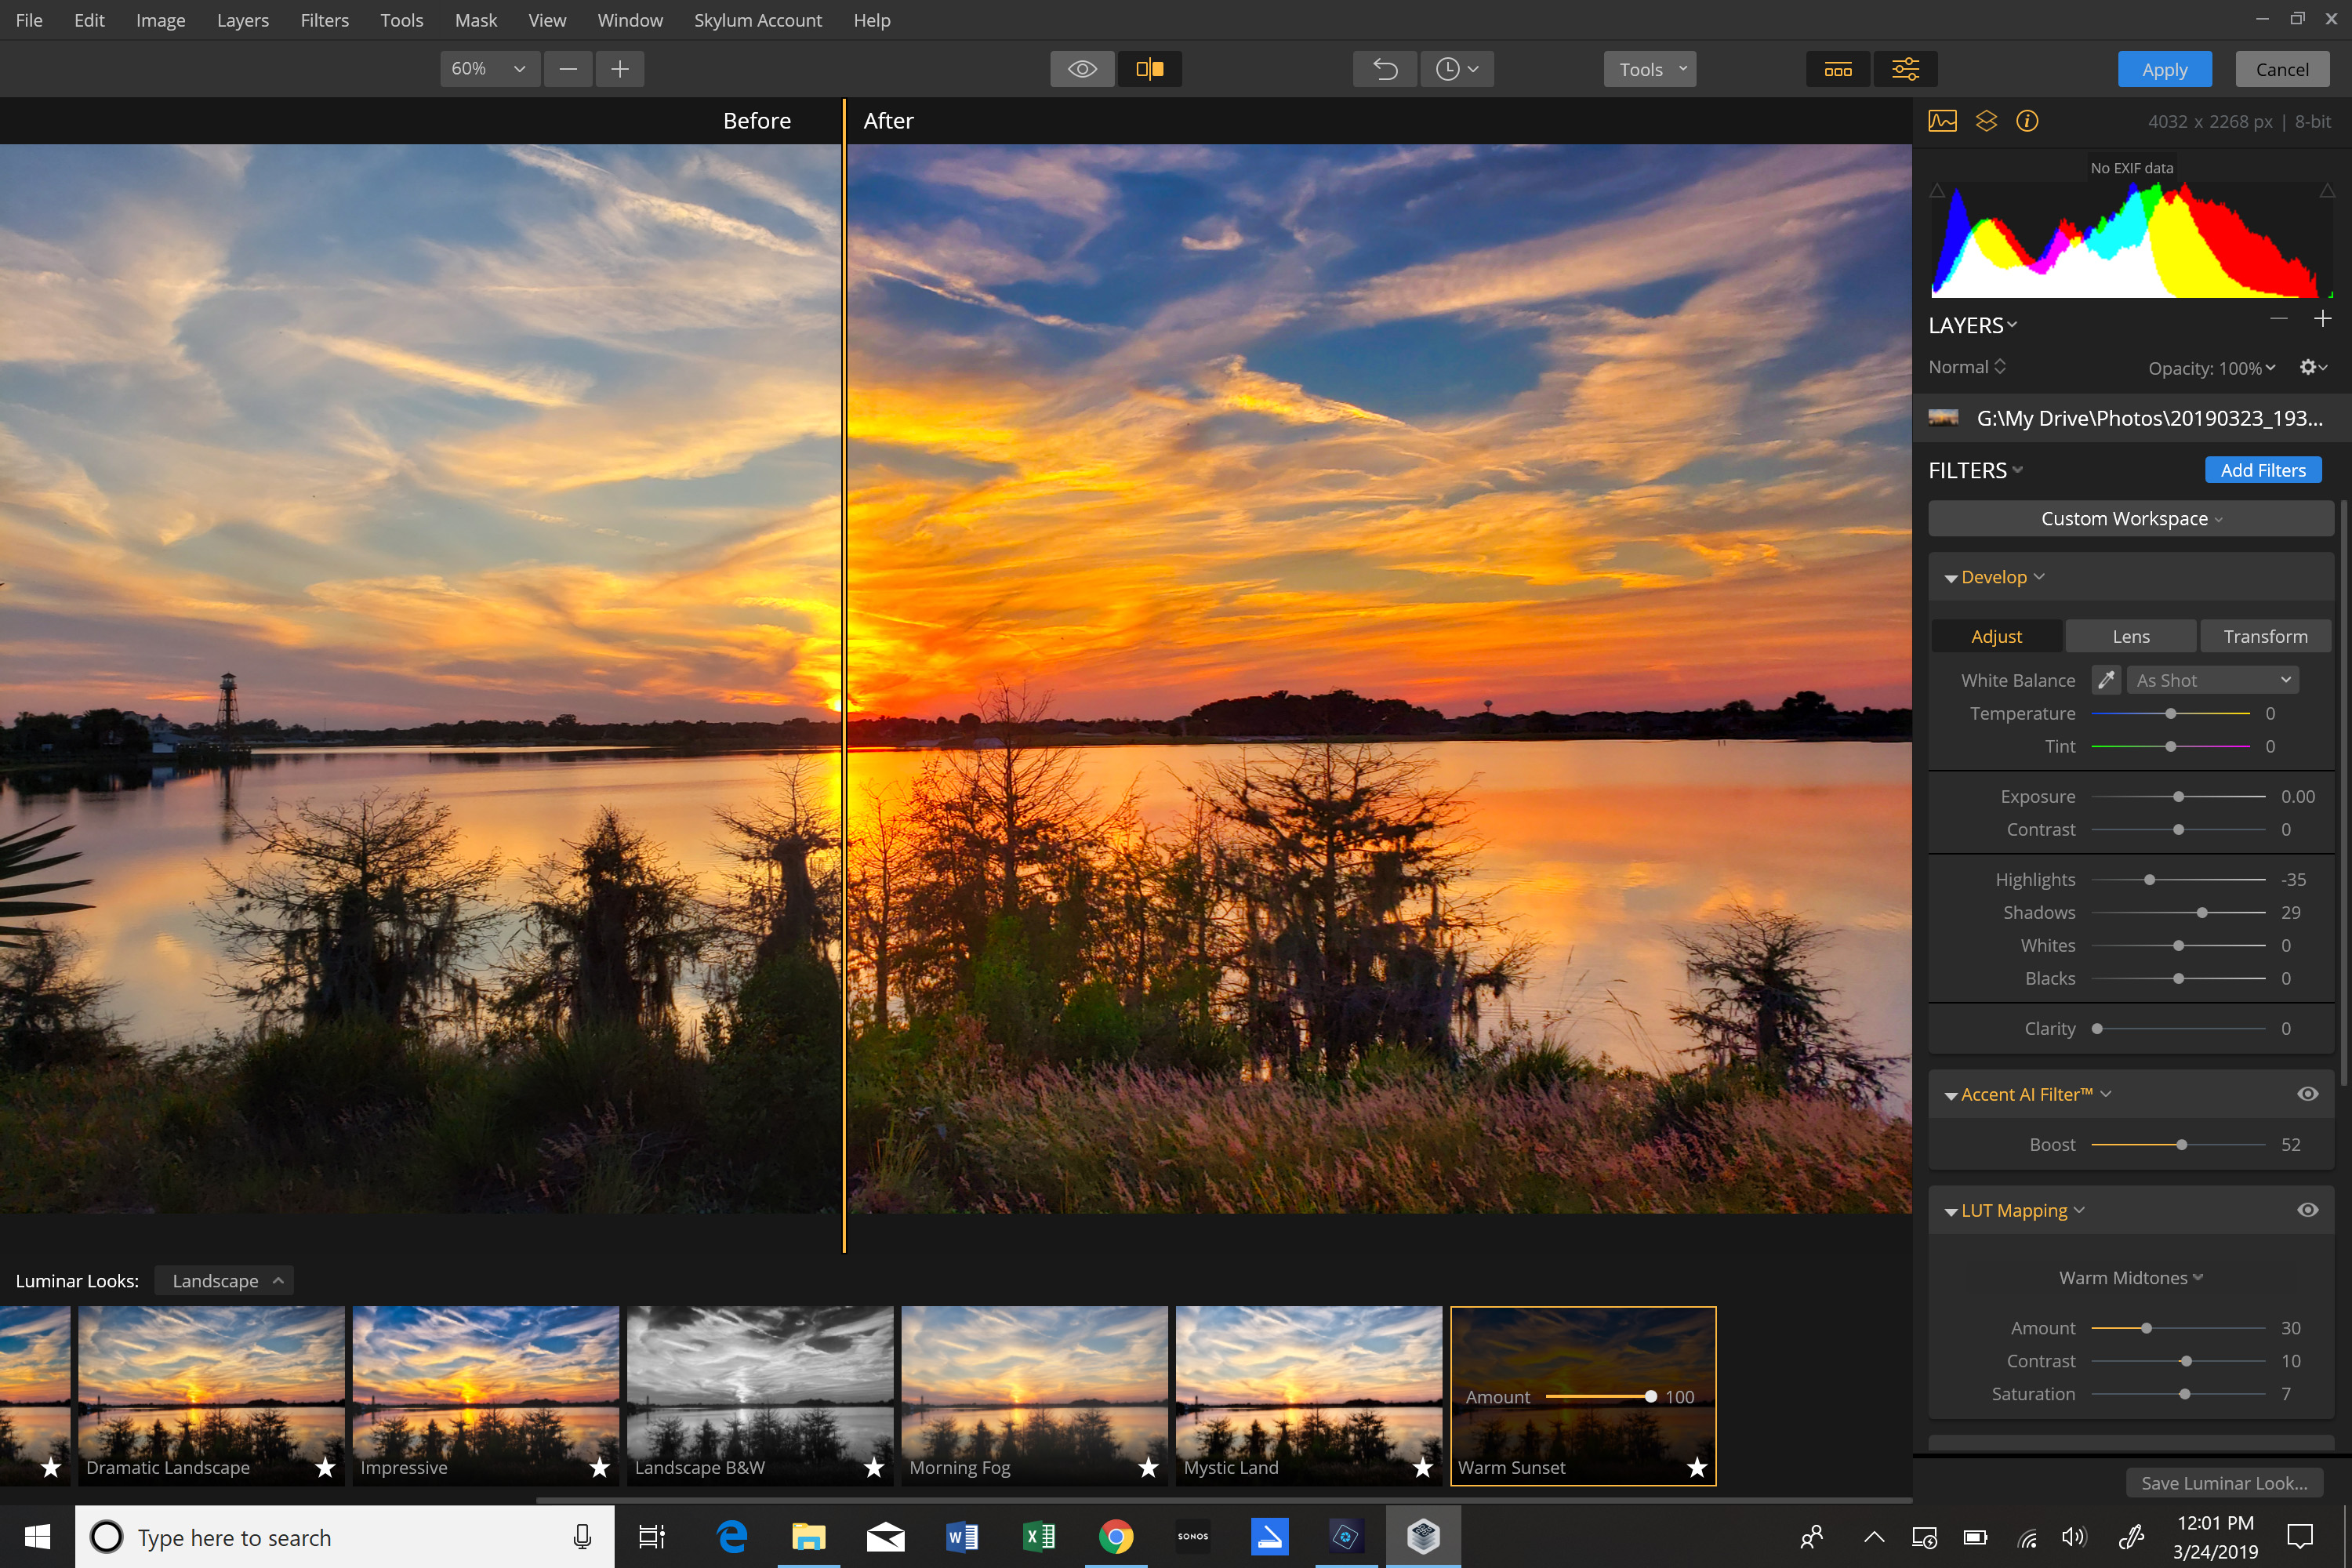
For this sample, I used the Warm Sunset style. The default is to apply the filter 100%. The selected style (along the bottom on the right) shows a slider where you can reduce the intensity of the style until you get something you like. To change styles, just click on a style window along the bottom.
Once you get what you like, clicking the Apply button on the upper right applies the changes and returns you to your image editing software. If you are editing via the standalone app, you can export the image as a JPG, PNG, TIFF, JPEG-2000, Photoshop or PDF image. You can resize on export, apply additional sharpening, change color space, and resolution.
There are over 50 preset styles that can attack whatever issues you need to improve in your image. They are AI-driven to analyze your image and make smart adjustments to improve contrast, bring out details, enhance the sky and foliage, reduce haze, reduce color casts, simulate a polarizing filter to eliminate reflections and so on. Filters are grouped as:
- Professional
- Portrait
- Landscape
- Creative
- Aerial
- Black and white film emulsion
- Analog
In addition, you have complete creative control. On the right side of the screen is a complete palate of image controls where you can manually adjust nearly every part of the image enhancement process. You can apply different style filters in different layers, blending them to get really impressive results. In addition, you have complete control over how the filters are applied by changing blending modes. The bottom line here is that while it is one-touch simple, you also have complete creative control.
All this sounds great, in theory, but what really matters is how the end results look. Let’s take a look and see how Luminar Flex did. Because the vast majority of casual photographers out there will likely use presets as they are delivered in the software, I used preset filter styles without applying different layers or blending modes.
Images
Here are three images. The left image is right out of a drone with difficult lighting. The middle was a one-touch edit with another of Skylum’s tools, AirMagic plugin for drone photography. The right image is from Luminar Flex’s aerial improvement filter.

Luminar Flex added richer colors in the sky and water. I was pretty impressed.
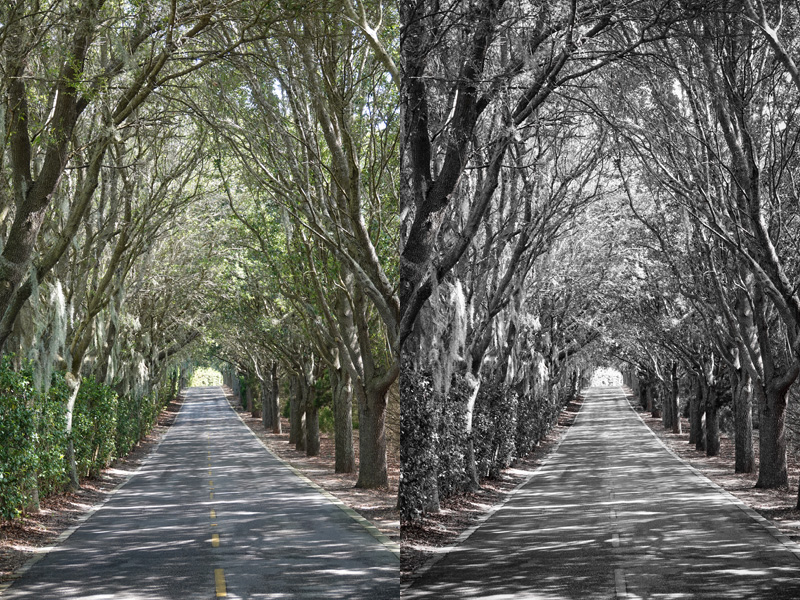
Here is a side-by-side using Luminar Flex’s black and white filter. It did a great job choosing appropriate levels for the individual colors, rendering light and dark areas very well.
This image of an eagle stealing lunch from an osprey is straight out of the camera.

After applying Luminar Flex’s detail improvement filter, the details are much sharper and really pop.

Here is a view looking north from the Panama Canal. Overall, I thought this image looked pretty good.

After running it through Luminar Flex’s sky enhancer, the image jumps off the screen. The sky was really that blue, but limitations on how a camera averages a scene produced the somewhat flat image above.

Here’s another side-by-side example where Luminar Flex really pulled details, especially in the sloth’s fur, that are hard to pick out in the original. It also improved contrast in the leaves without making the colors unnatural.

This is another example of color and contrast improvement. This is Curacao on a semi-cloudy day.

Luminar Flex enhanced the colors, water, and sky, making the image look more like what it looked like in-person.

I was pretty impressed with this edit. Here is a great horned owl, right out of the camera on automatic, with terrible back-lighting, confusing the camera into severely under-exposing the image.

Using the Analog-1 filter, not only did it bring out the detail in the image, but it did an amazing job protecting the subtle details by not blowing out the already overblown sky. If you look just to the right of the owl and the leaf pair, you can still see a little strand of Spanish moss that I would have expected to be lost in processing.

Finally, one more example of Luminar Flex’s ability to really get details in your images tack-sharp.

After processing, everything looks sharper, has more contrast and a nice, warm glow.

What I like
- The wide variety of included and available filters
- Simple operation
- Availability of full-range editing control
What needs to be improved
- It was a little slow, taking perhaps 30-45 seconds to export on some images, but that may be due to my Surface Book’s limited 8GB of RAM.
- The names of the individual filters don’t necessarily tell you what it will do – most are descriptive, but not all, so some experimenting is required
Final thoughts
Luminar Flex is a dream tool for the lazy photographer. It can take mediocre images and make them good, and good images and make them great. It does all this without requiring the user to have a deep knowledge of image editing, making powerful image processing accessible to a wide audience. But, if you want to really get into the nitty-gritty, Luminar Flex has all the tools for that as well, making it an editing expert’s dream tool as well.
Price: $70 for the basic version; $79 (limited time offer) includes additional Signature Looks; $109 includes Signature Looks and Landscape Course video learning course
Where to buy: Direct from Skylum Software
Source: The sample of this product was provided by Skylum Software.


Gadgeteer Comment Policy - Please read before commenting
After reviewing their offerings at Christmas, I put it off…pulled the trigger after your review. And it’s actually temporarily $10 less than you posted above. Great deal! Thanks for the info.
Nice, John! I think you will like it. It’s simple, but can be as complex and intricate as you want it to be.