Gadget loving gardeners now have another way to keep their thumbs a nice shade of Green. Remember the Koubachi WiFi Plant Sensor that I reviewed a few months ago (see link below in Related Posts section)? That device sent notifications to your email and smartphone alerting you when your plant required watering. The Click & Grow Smartpot is an even easier way to keep your plants alive. It doesn’t tell you when to water your plant, it waters it FOR you.
Notes: Images can be clicked to view larger size.
What’s in the box
Smartpot flowerpot
Plant cartridge
There are currently 4 different starter kits to choose from and 11 refills. There are flowers, bedding plants and herbs including: cockscomb, mini-tomato, chili pepper, basil, marigold, and sage. The Click & Grow starter kit sent to me contained Basil seeds.
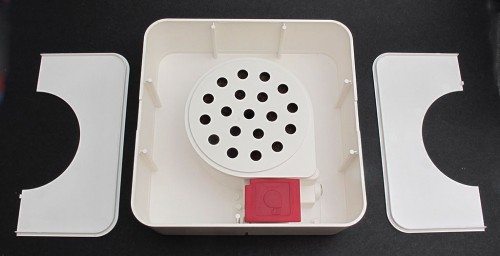
The flowerpot includes the electronics, sensors, batteries, a pump and a water reservoir, while the replaceable plant cartridge in the center contains the seeds, nutrients and special software for growing the specific plant.
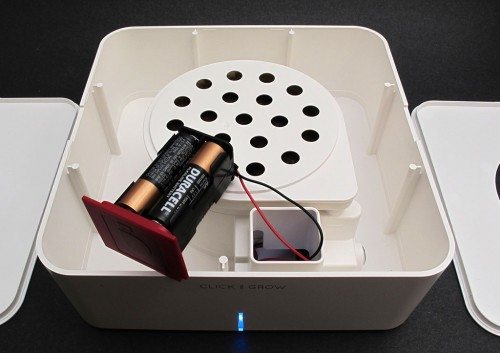
The Click & Grow is super easy to setup. All you need are 4 AA batteries (unfortunately they don’t include them in the starter kit) and some water. The batteries snap into a special holder that will keep them protected from water.
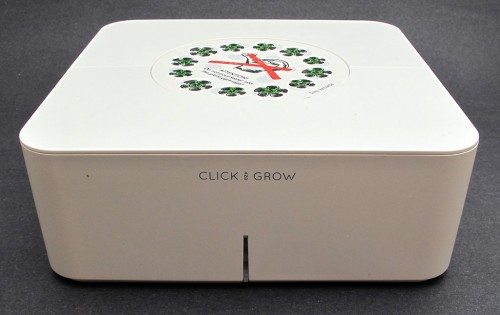
In the image above, you will notice the LED on the front bottom edge of the pot. That LED will blink Red when the batteries need changed (about once a year), blink Blue when more water needs added (about once a month) and will blink Green every 5 minutes when everything is normal.
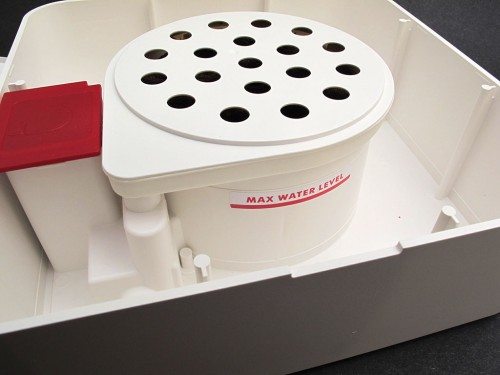
After the batteries are installed, it’s time to add some water. Using about a liter of good quality tap or bottled water, fill the water reservoir up to the fill level mark.
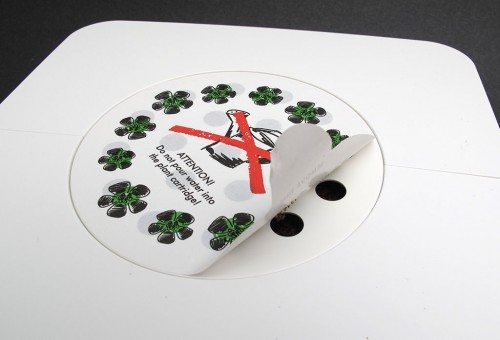
Remove the protective cover over the plant cartridge.
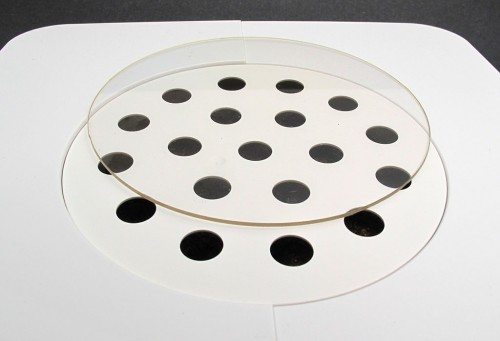
Then place the clear disk over the holes. This will keep the moisture and heat in the plant cartridge like greenhouse, which helps the seeds to sprout.
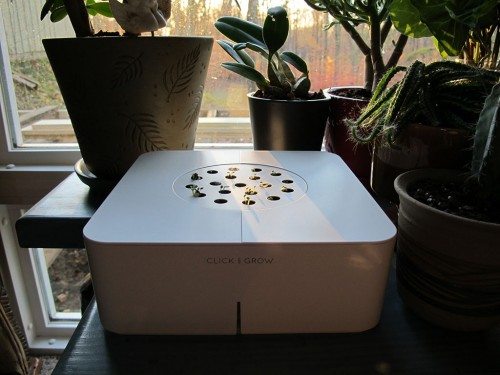
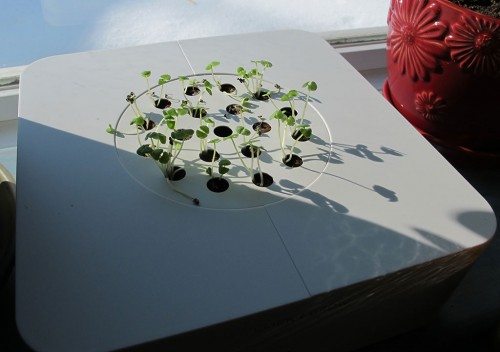
The only step left is to place it in a location where it will receive the most light. I started my Basil plant on 11/30 and placed it with our other houseplants in front of a West facing picture window. In less than a week, I noticed the plastic disk was popping up and then discovered the baby Basil plants had sprouted.
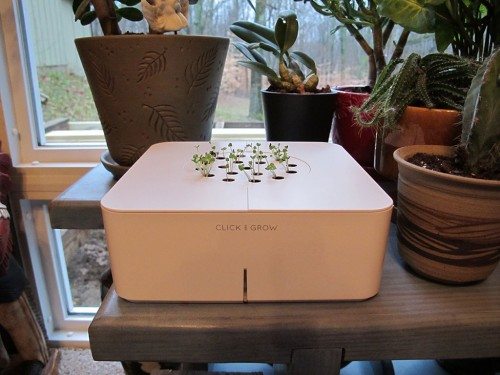
A week later they were almost an inch tall.
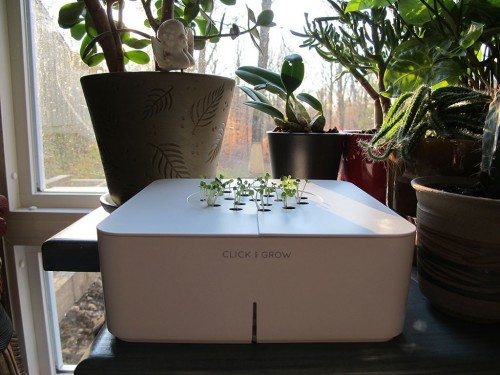
The next week they were slightly taller…
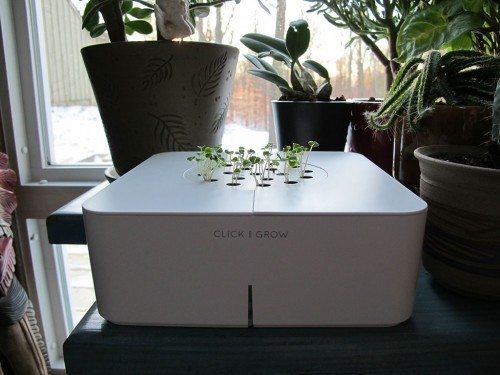
A week later I started wondering why they weren’t growing bigger faster. Growth seemed to stall at about 1.5 inches. If you look at the image above, you’ll see why. See that white stuff through the picture window? That’s snow… Snow means Winter and Winter means less sunlight.
The majority of Click & Grow plants require a minimum of 1800 LUX light for at least 6 hours a day. This is the absolute minimum to ensure the growth of your plant. A proper light for growing plants could be within 5000 – 8000 LUX. It’s hard to measure how much light that really is, but I’m sure I wasn’t meeting that level. So I rearranged the plant shelf and placed it closer to the window.
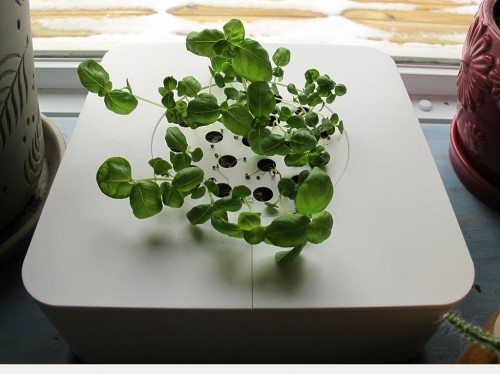 After a few weeks the plants are growing more, but I ended up losing a few of the seedlings. This problem could have been avoided if I would have placed the Click & Grow smartpot right next to the window in the first place and put a light on it to help supplement the number of hours it was exposed to direct light.
So is it really worth spending 10 times more for a self-watering pre-seeded flowerpot, when you can buy a generic clay flowerpot for $2, a small bag of potting soil for $4 and seeds for $1? The answer is an obvious no. But that won’t stop people from wanting to try the Click & Grow, because it’s an easy and fun way to grow plants without having to get your hands dirty or actually pay attention to them. I live in a rural area, where people like to put out their own vegetable gardens and grow plants from seed. When I showed the Click & Grow to Jeanne, she gave me a crooked look and asked “why?” She recently finished a master gardener’s class, so she likes to do everything herself when it comes to growing plants. This product is not for someone like Jeanne. It’s for someone who lives in a big city or a high rise apartment and doesn’t live near a Lowes or Home Depot, where they can buy a flowerpot, potting soil or seed packets. It also might be perfect for someone who may be physically challenged and can’t actually water a plant, but would love to watch one grow.
What about you? Would buy a Click & Grow? Or is it just too easy, which might take all the fun out of growing your own plants.
Update 03/29/13
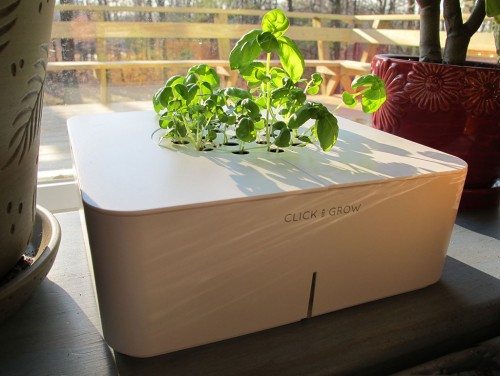
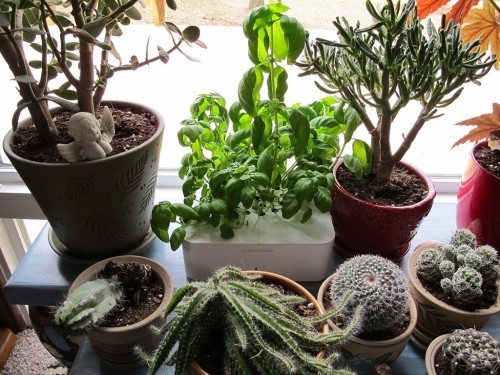
Now that the days are getting longer, that means more sunlight, which translates into better growth for my Basil plant.
Update 05/25/16
I can’t remember the exact date when we stopped using the Click and Grow flower pot, but once the batteries died, I lost interest and the pot went bye-bye. I still think it’s a neat idea for black thumb gardeners, the whole system is just too expensive when you can do the same thing with a plastic flower pot, a few seeds, some potting soil and water. Of course YOU are responsible for doing the watering if you go old school…
Gerber Gear Suspension 12-in-1 EDC Multi-Plier Multitool with Pocket Knife, Needle Nose Pliers, Wire Cutters and More, Gifts for Men, Camping and Survival, Grey
(as of February 18, 2026 17:38 GMT -06:00 - More infoProduct prices and availability are accurate as of the date/time indicated and are subject to change. Any price and availability information displayed on [relevant Amazon Site(s), as applicable] at the time of purchase will apply to the purchase of this product.)Gerber Gear Diesel Multitool Needle Nose Pliers Set, 12-in-1 EDC Multi-Tool Knife, Survival Gear and Equipment, Black
(as of February 18, 2026 17:38 GMT -06:00 - More infoProduct prices and availability are accurate as of the date/time indicated and are subject to change. Any price and availability information displayed on [relevant Amazon Site(s), as applicable] at the time of purchase will apply to the purchase of this product.)Product Information
| Price: | $59.99 - $69.99 ($19.99 refills) |
| Manufacturer: | Click & Grow |
| Pros: |
|
| Cons: |
|



Gadgeteer Comment Policy - Please read before commenting
wow, this is cool. Looks pretty simple now that arduinos are becoming commonplace. I wonder, think you are able to make your own refills with heirloom seeds or store bought seeds?
@Tony I haven’t tried to take one apart. There’s supposed to be software built into the refills that tell the unit how much to water the plant. So if you did make your own refills, you would need pick a plant similar to the one you are replacing.
Personally, if we are going that far, I’d just get an AreoGarden that includes lights as well. (Of course, I may be biased since I have a couple already…) A bit more for the base kit, but a wider variety choices (as well as a grow-your-own-seeds kit). (And, of course, it includes the lights. On the other hand, it needs an outlet.)
@Dstaal Link please… 🙂
As requested: http://www.aerogarden.com/
It’s hydroponic, but it’s not like you can see the soil in the Click & Grow either.
My Click and Grow (Tomato option) shows me the green light when I put the battery… every 5 min right, I see a green light… all seeds are dead… onl 3 are ok and are growing… strangely… for 3 weeks, the water is always on the same level (full on the red line and doesn’t go down for watering plants). I don’t know if all work fine as the only 3 ok seeds look not having not enough water and look a bit dry (they are 5cm big now after 4 weeks)… so my test on click and grow is dead… the problem is too big and the system looks not working at all.
@Kalvin One thing I noticed is that you need to put the Smartpot in a well lit location for the plants to grown well. The Basil plant that I had for review took forever to grow when I was doing the review in the winter. But once Spring came and there were more daylight outs, they just went crazy. I think there might be something wrong with your Smartpot if the water level isn’t changing. You should contact the Click & Grow people about it.
I come from China and just a student,so my English is very bad.
I think if it can use solar power will be better.
Then add WLAN or Bluetooth and send the messages about the plants.