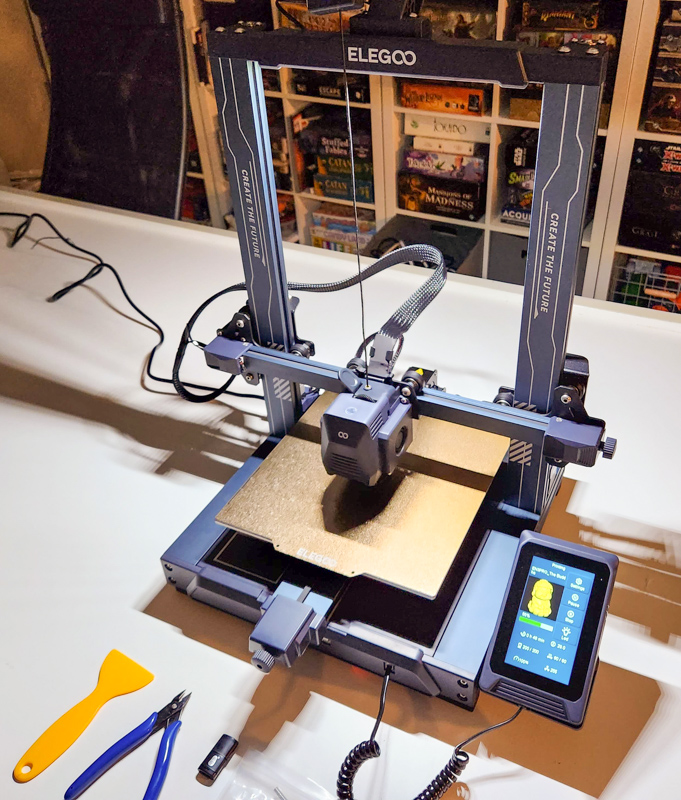
REVIEW – I’ve been printing all sorts of things ever since I reviewed the Anycubic Vyper FDM printer last year and the Elegoo Saturn 2 resin printer this year. I love being able to print out handy items for spots around the house, or figures or terrain for board games. Every year it seems like every 3D printer company releases several new models, and this year is no different, with the Elegoo Neptune 3 Pro FDM 3D and Neptune 3 Plus printers arriving on my doorstep to review. The 3 Pro has a slightly smaller build volume than the Anycubic Vyper while the 3 Plus is downright massive. They also have a direct-drive extrusion system instead of the long Bowden tube on my previous Vyper (direct-drive is generally regarded as a superior but more expensive option).
What is it?
The Elegoo Neptune 3 Pro/Plus FDM 3D printer is a 3D printer based on FDM technology (fused deposition modeling). As opposed to resin printing (which is usually done by printing things upside down in a vat of highly toxic goo), FDM squirts melted plastic layer by layer in lines. The rolls of plastic are relatively inexpensive and easy to work with (there are quite a few varieties of filament available, but one of the least toxic and one of the easiest to print with is PLA, a sample of which is included in the box).
What’s in the box?
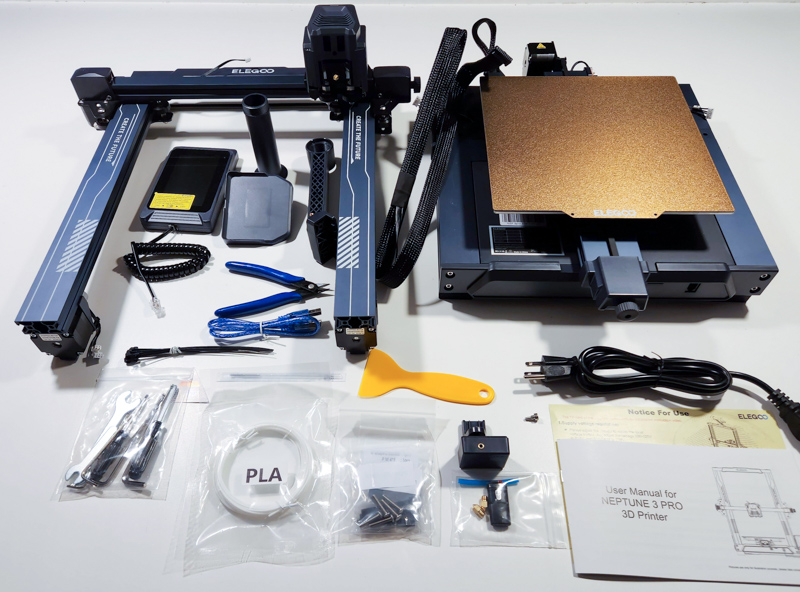
- Elegoo Neptune 3 Pro FDM 3D printer
- Magnetic removable build plate
- AC 3-prong wall cord
- Various tools and wrenches including a bed scraper and snippers/snips
- Manual
- Screws and bolts
- Sample PLA filament
- Filament sensor
- Micro-SD card and USB-A card reader
- USB-A cord (for printing directly from a computer)
- Filament holder
Hardware specs
- Rated voltage: 115 – 230V @ 50/60 Hz
- Max nozzle temp: 260° C
- Max print bed temp: 100° C
- Supported filaments: PLA, ABS, TPU, PETG, Wood, Marble
- Filament run-out detection: Yes
- Power failure resume support: Yes (on SD card printing)
- UI Languages: English, French, German, Russian, Italian, Spanish, Japanese, Chinese
- 3 Pro Bed size: 225mm x 225mm 280mm
- 3 Pro Assembled printer dimensions: 475mm x 445mm x 515mm
- 3 Pro Printer weight: 8.1 kg
- 3 Plus Bed size: 320mm x 320mm 400mm
- 3 Plus Assembled printer dimensions: 533mm x 517mm x 638mm
- 3 Plus Printer weight: 14.2 kg
Design and features
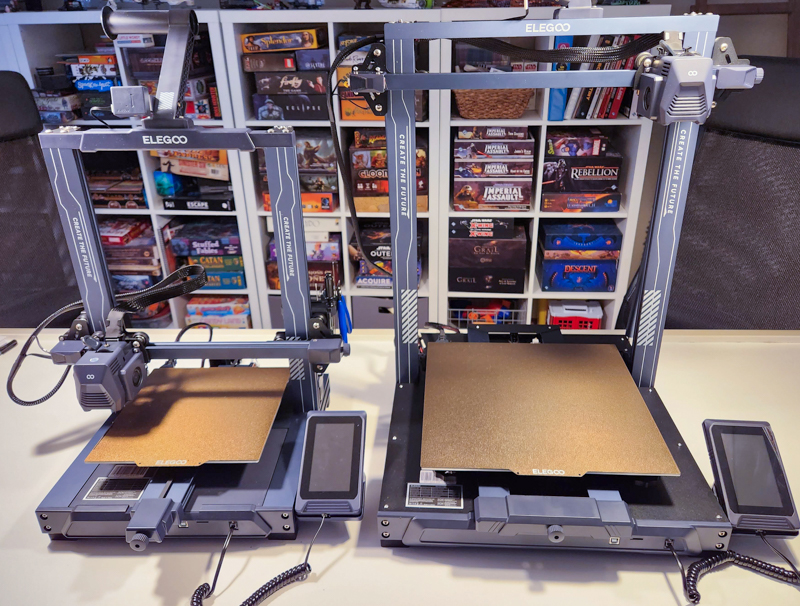
The Elegoo Neptune 3 Pro/Plus FDM 3D printer is similar to many other FDM printers on the market: A heated bed is moved in the Y direction (forward and back) while the “extruder” (the hot nozzle end that pulls in plastic filament and deposits it in layers onto the bed) moves in the X direction (left/right). Each layer, the extruder is lifted up a fraction of a millimeter by two motorized long screws (the Z-direction – up and down). This gantry setup is common and results in an efficient and stable printing platform. An LCD display to the right hand side controls settings and initiates prints from the microSD card.
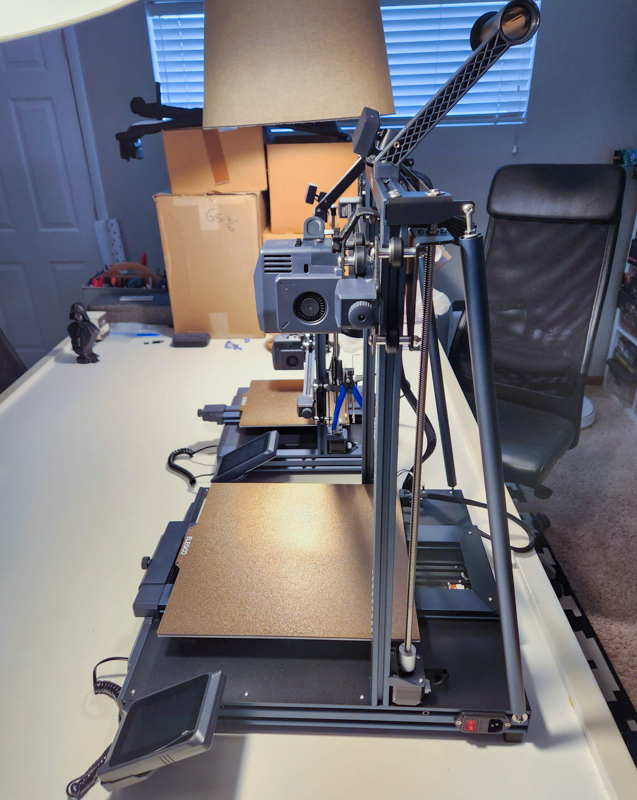
The above image shows the side profiles of the Elegoo Neptune 3 Pro/Plus FDM 3D printers.
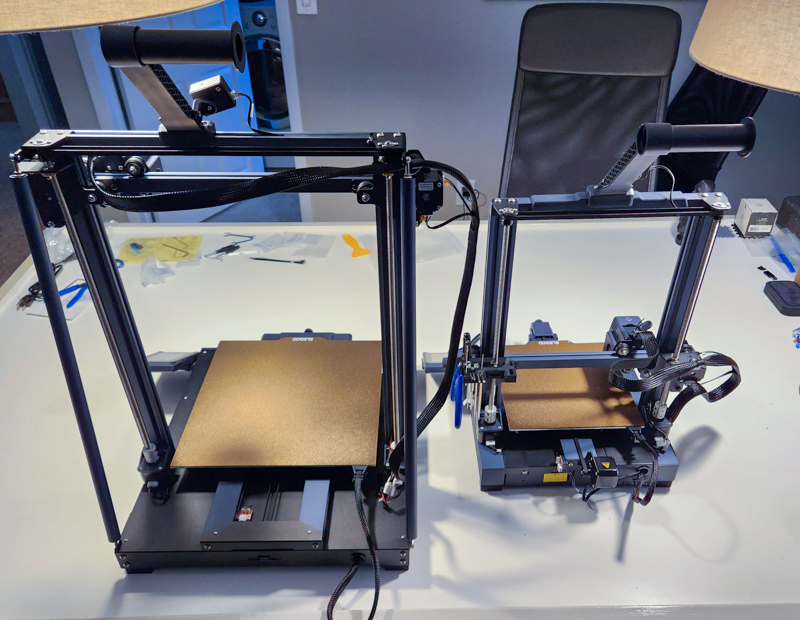
And in the image above, you can really see the size difference between the two models (there’s even a Max model that’s larger!). Note the additional beefy stabilization bars that help keep the Plus model stable with the extra size and weight.
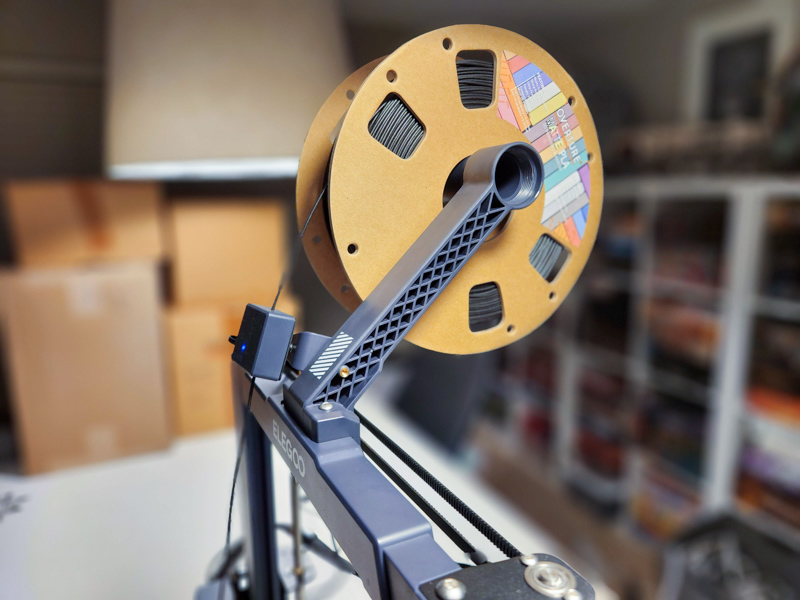
Filament is placed on the filament spool holder up top, then fed through the filament sensor (which automatically stops printing if the filament breaks or runs out).
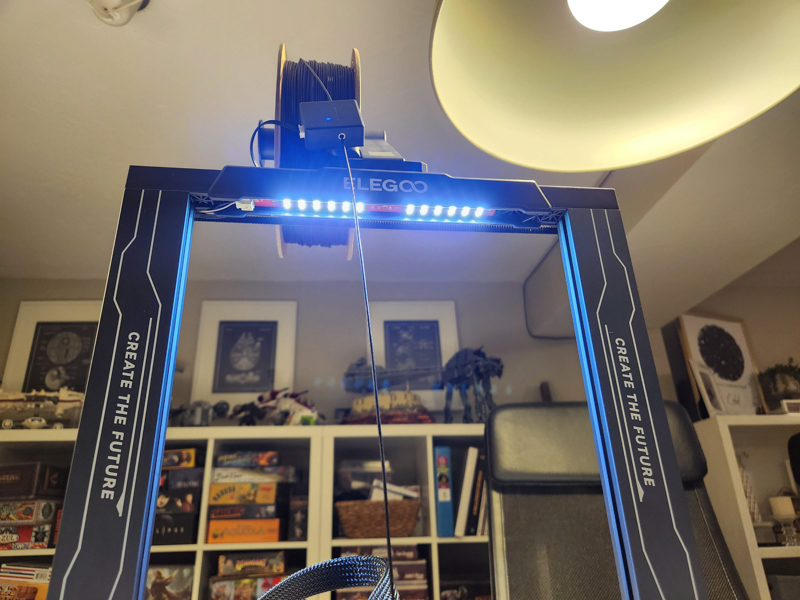
In the shot above, you can see the LED light strip that Elegoo has added to this printer model (the Neptune 3 non-Pro did not include this).
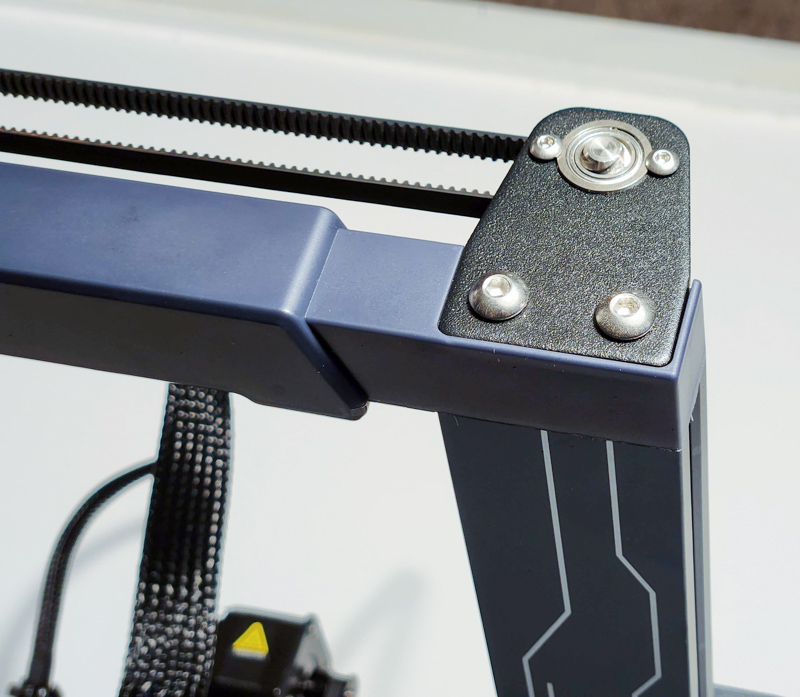
Above is another shot of the top of the unit, this time showing the top of the two Z-Axis screws. Unlike some other 3D printers, these don’t wiggle or move at all which results in better print quality.
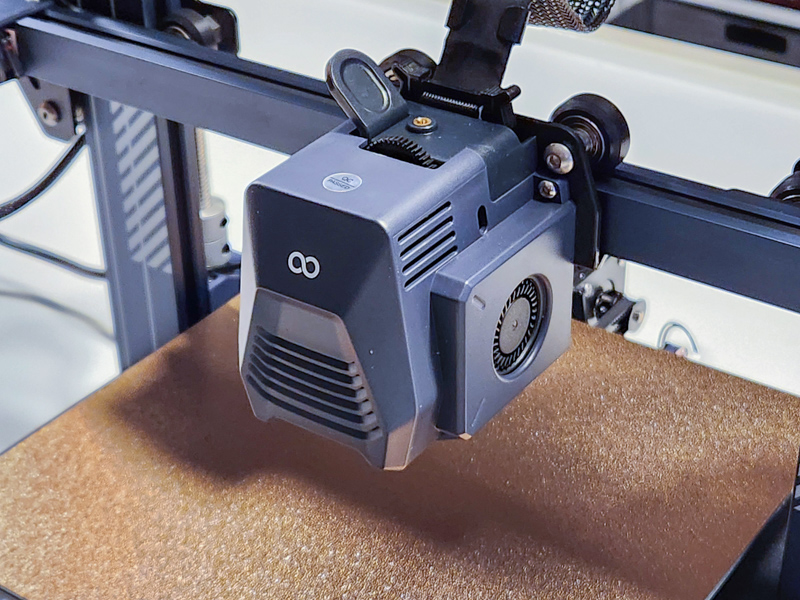
Moving down to the extruder (also known as the hot end), you can see in the picture above the brass inlet for feeding the filament, a gear wheel to visually show when the filament is being fed, and a thumb lever to open up the internal gears (for pushing filament in or removing it). Elegoo included a direct-drive extruder on this Elegoo Neptune 3 Pro FDM 3D printer, which is generally favored as it has better grip and more control over the filament (which often is retracted and extruded in rapid succession during prints). The non-Pro and many other budget FDM printers use Bowden-style extruders, where the direct-drive type used on this printer can allow for better printing of some filaments, especially flexible ones like TPU.
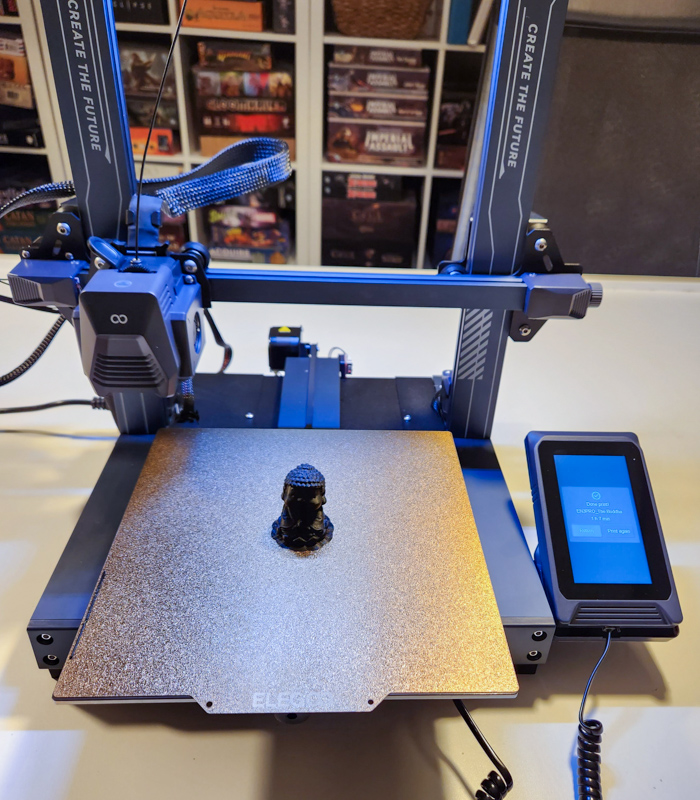
The heated bed has a metal flexible magnetic plate which is my favorite style: when the print is done, you simply allow it to cool (you can pull the plate off the heat bed and it’ll cool faster), and then you can bend it to make popping off the print even easier. A plastic scraper is included in case any leftovers stick to the bed but for most prints during the review, I was able to just pop the entire prints right off.
Setup
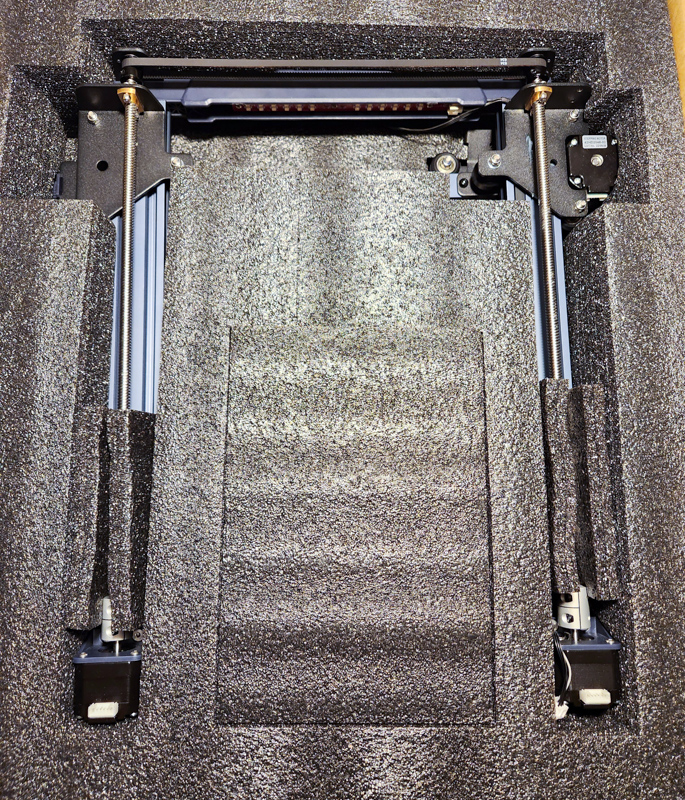
The Elegoo Neptune 3 Pro/Plus FDM 3D printer came well protected in fitted foam, and is a fairly easy installation (video timelapse below). Basically, you screw the gantry onto the base, attach the filament holder and sensor up top, and connect all the cables (there’s a good half-dozen to connect to control all the little motors). The manual and instructions were helpful in guiding me through the process, though screwing the gantry onto the base would have been much easier with two people.
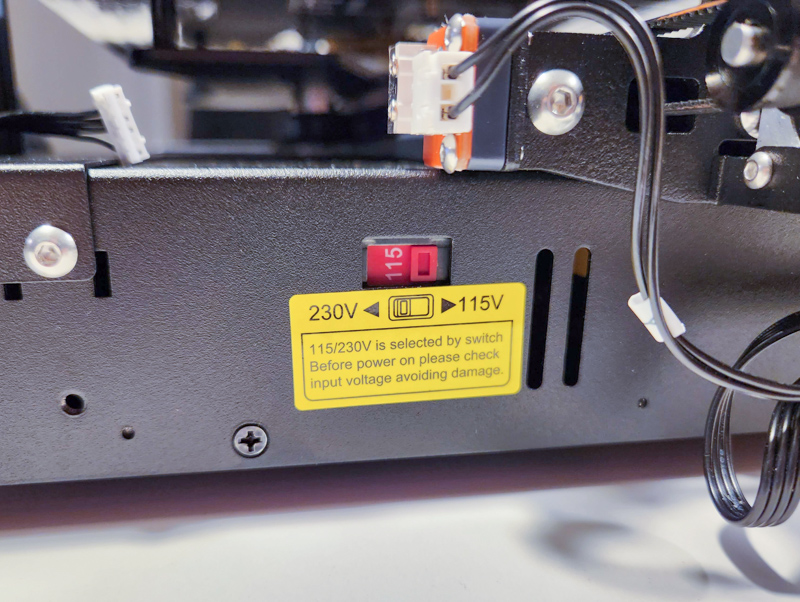
One essential step (and there are several warning labels and it’s mentioned in the instructions) is to make sure the voltage is selected correctly. My review unit came set to 230V, so I’m glad I checked before trying to use it.
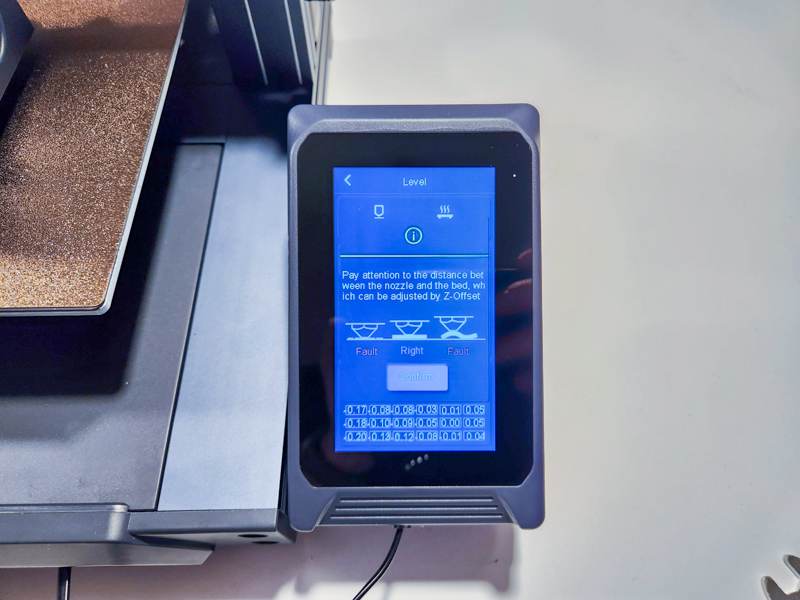
After installation, I performed the automatic bed leveling, which is initiated right from the settings menu. On the Plus model only, you are required to do a 6-point manual leveling process first, which is then followed by automatic leveling. The instructions were easy to follow from the manual and on-screen directions.
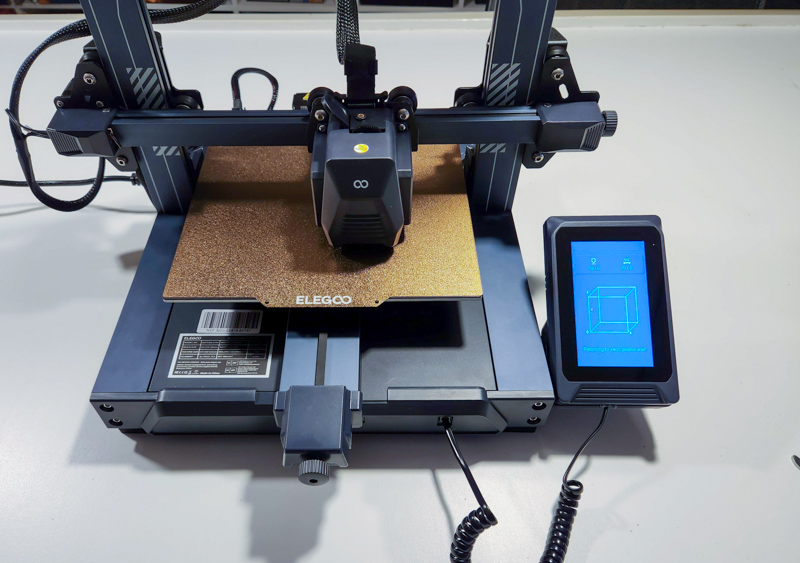
Upon completion, you can tweak the Z-Offset (the distance of the nozzle from the bed), which I did to get it a little closer to the bed to avoid filament coming off and globbing together while printing.
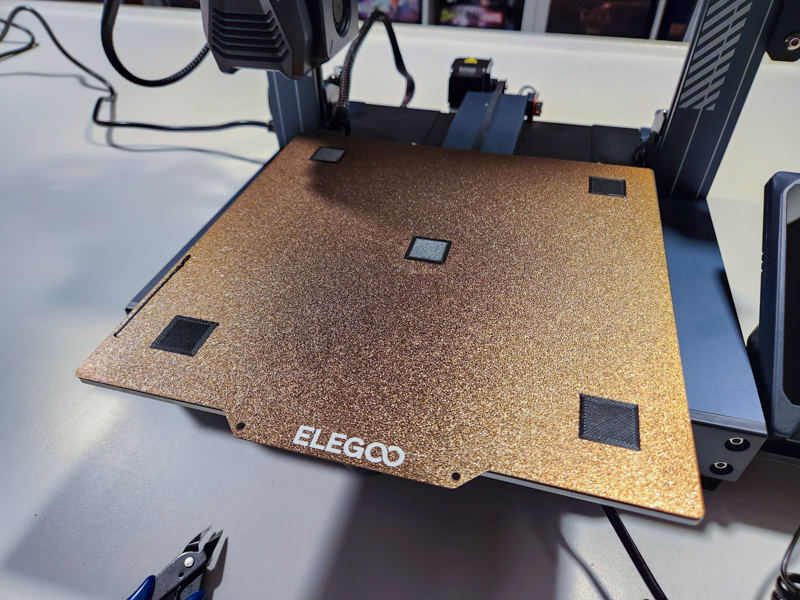
I then did a bed level test print, and the results were fantastic (this whole process can be quite annoying on machines that don’t have auto-leveling):
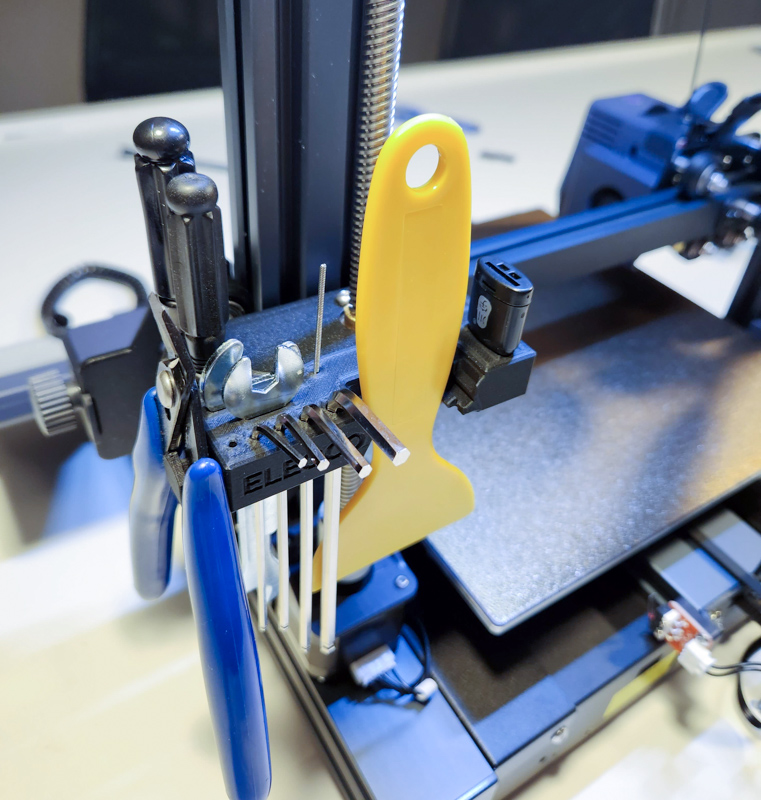
Finally, I printed the included Elegoo tool holder file (that was on the included MicroSD card). It’s got a slot for all the included tools, and clips right onto the backside of the right of the gantry.
Performance
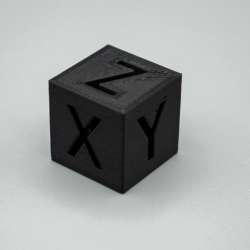
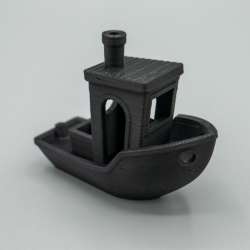
I did some test prints with Overture Matte Black PLA filament, pictures below (you can click on them to see more detail). The results were as good as the Anycubic Vyper (with lots of calibration performed on the Vyper, and none on the Elegoo Neptune 3 Pro/Plus FDM 3D printer.
3D printer nerds will find little faults in my test prints I’m sure (I can see some small gaps in the XYZ cube, but overall I’m very happy – no major shifts or blobs). I then thought I’d try a print that has never worked on my Anycubic Vyper – a collapsible lightsaber. With the Vyper, the inner layers always fuse to each other so it’s never worked, despite many attempts at refining the calibration settings.
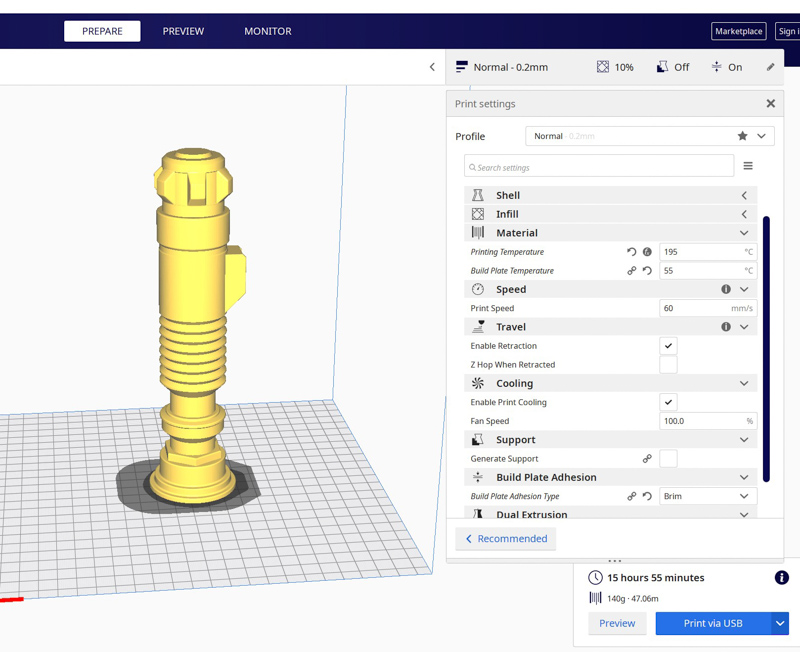
With any FDM 3D printer, you’re going to either create files yourself using something like CAD (TinkerCAD is great and free for beginners), or find models that other creators have made on sites like Printables or Thingiverse (or many others). In the case of the lightsaber, I found it on Printables. You’ll then slice the STL file using a “Slicer”, Elegoo includes a custom version of the very popular CURA slicer, and this is what I used for the review. The interface is shown above, I changed very little from the defaults except for the print temperature based on previous experience with this particular filament.
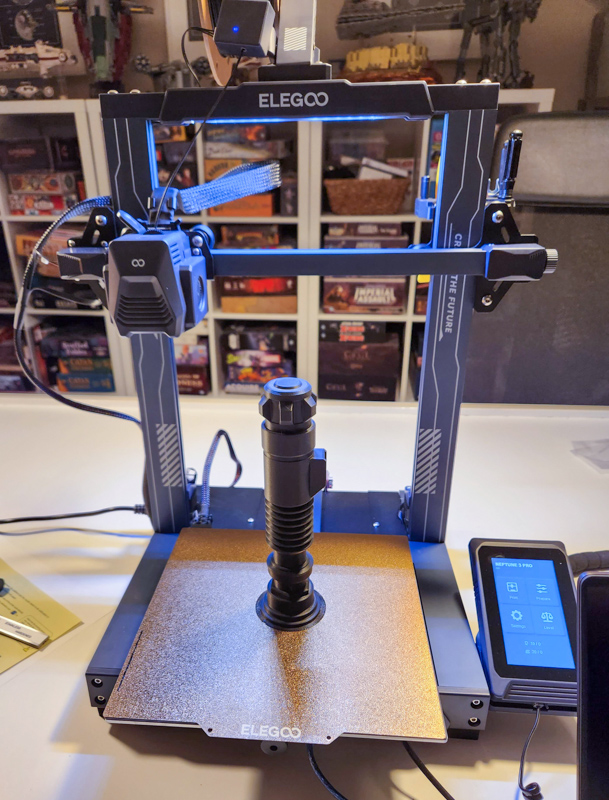
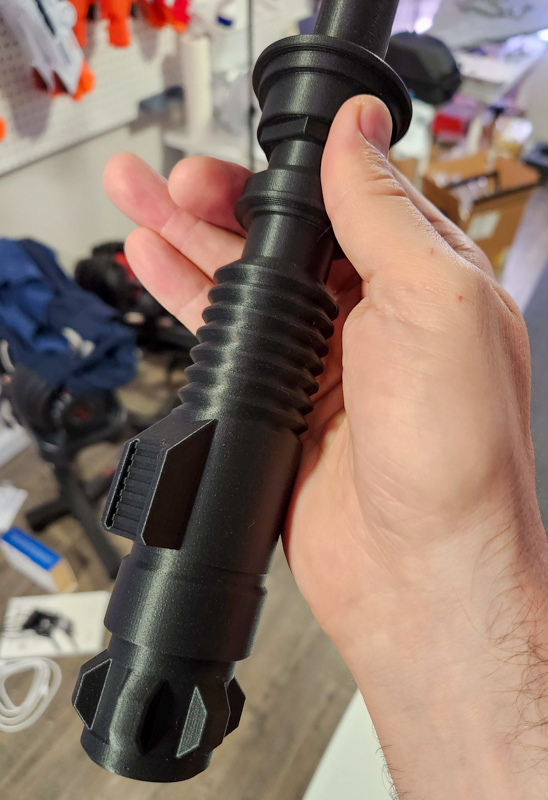
Then I just had to wait 15 hours for the print to finish. The resulting print looked fantastic on the exterior, and after carefully removing the brim, I had my collapsing lightsaber that I’d always wanted:
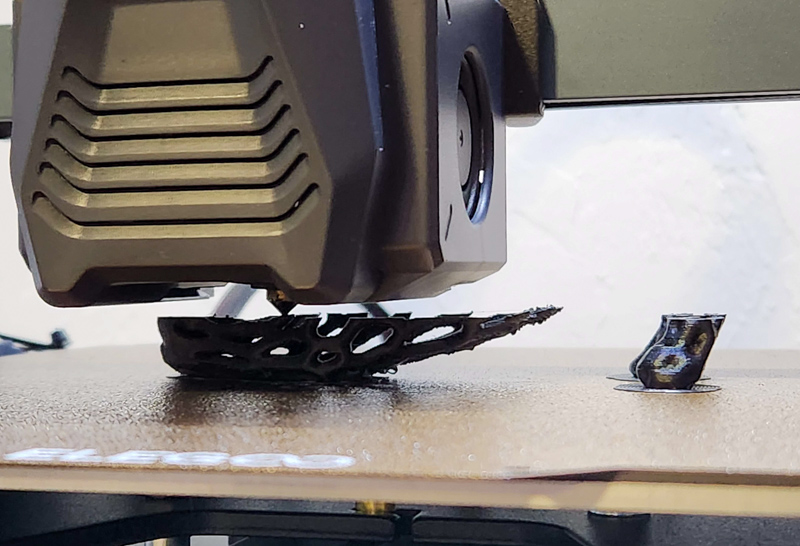
On more difficult prints, I did get some stringing and blobbing, but this was with very difficult models so I’m not surprised. Some trial and error and calibration could probably clean these types of prints up more (this is the fun of 3D printing, you can always be changing things).
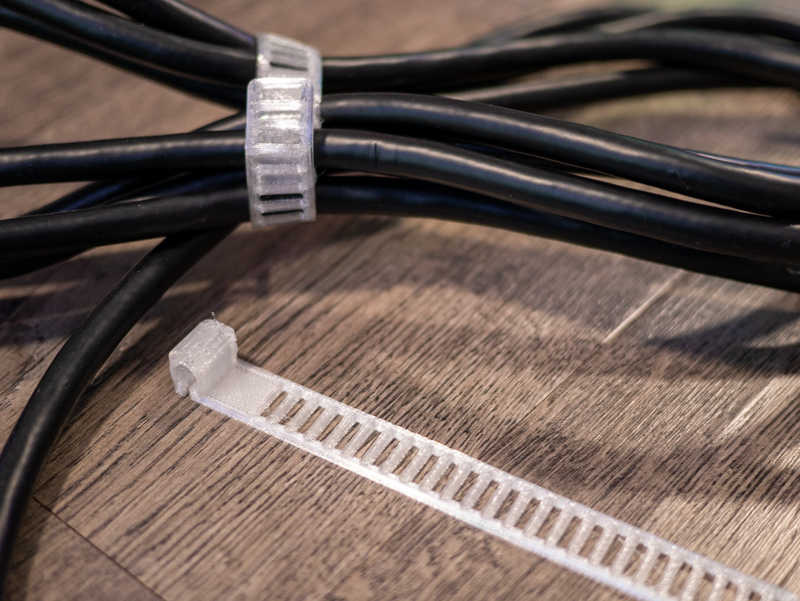
Next up, I tried printing TPU which I’ve also never been able to get to work on the Anycubic Vyper (to be clear, I have loved the Vyper but just ran into limitations with its Bowden extruder and inability to get quite to the level of fine detail I sometimes try to achieve). TPU is a filament that is very rubbery and stretchy: many phone cases are made of TPU so you’ve probably felt or used them before. As opposed to the rigid plastic results on most previous prints, the TPU printing opens up new possibilities, like these cable wraps I printed:
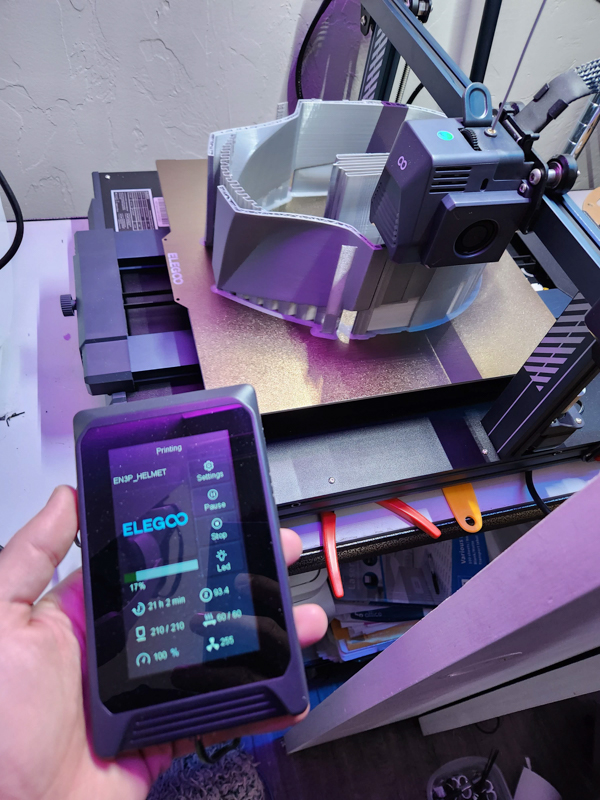
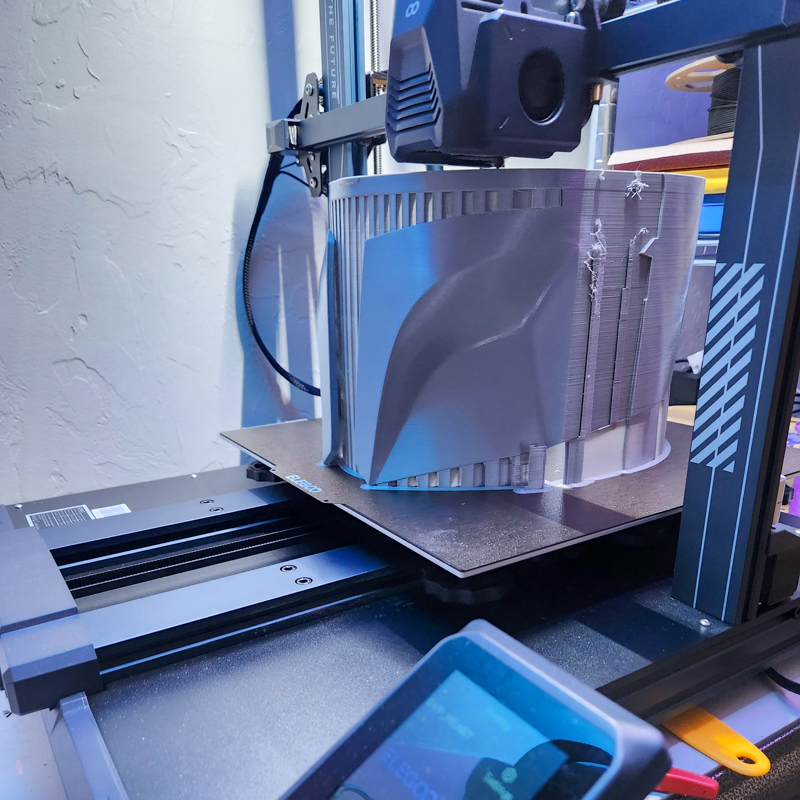
Finally, on the Elegoo Neptune 3 Plus, I printed out a full size Mandalorian helmet, something I’ve always wanted to print but previous printers have all been too small to do it in one piece. The shots below show the print process:
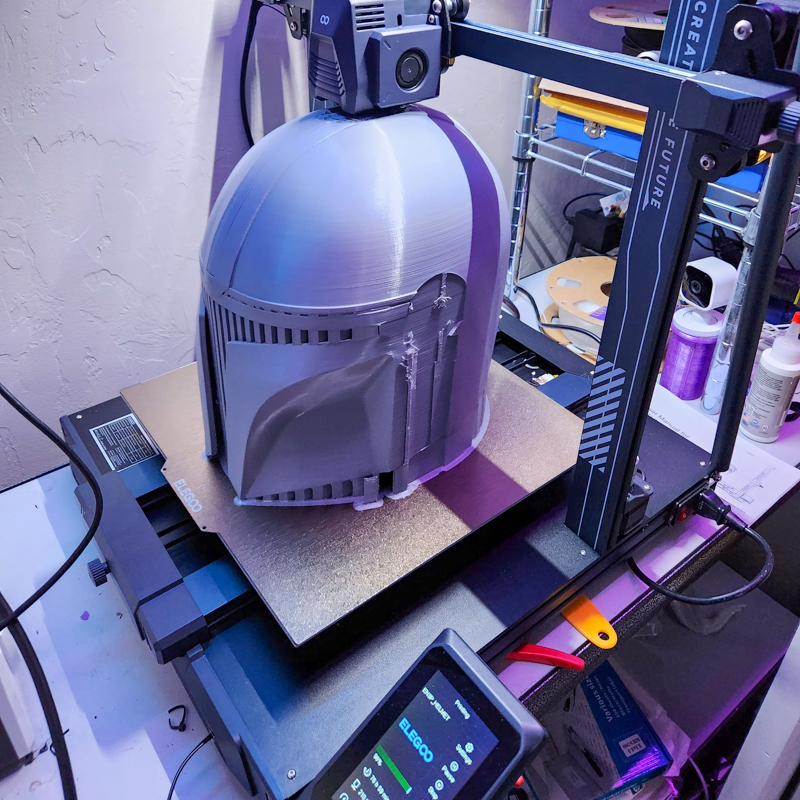
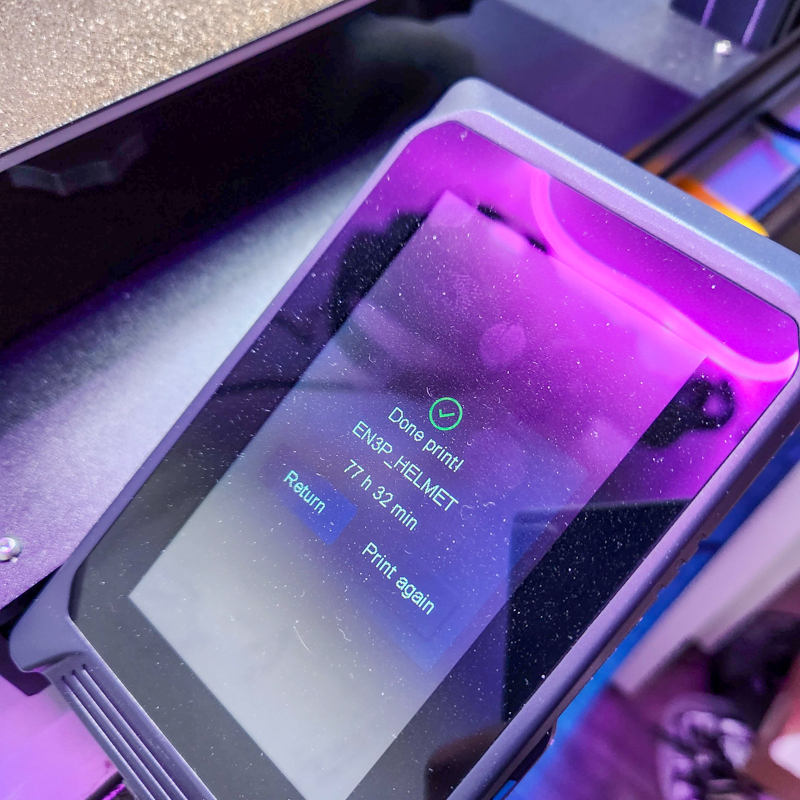
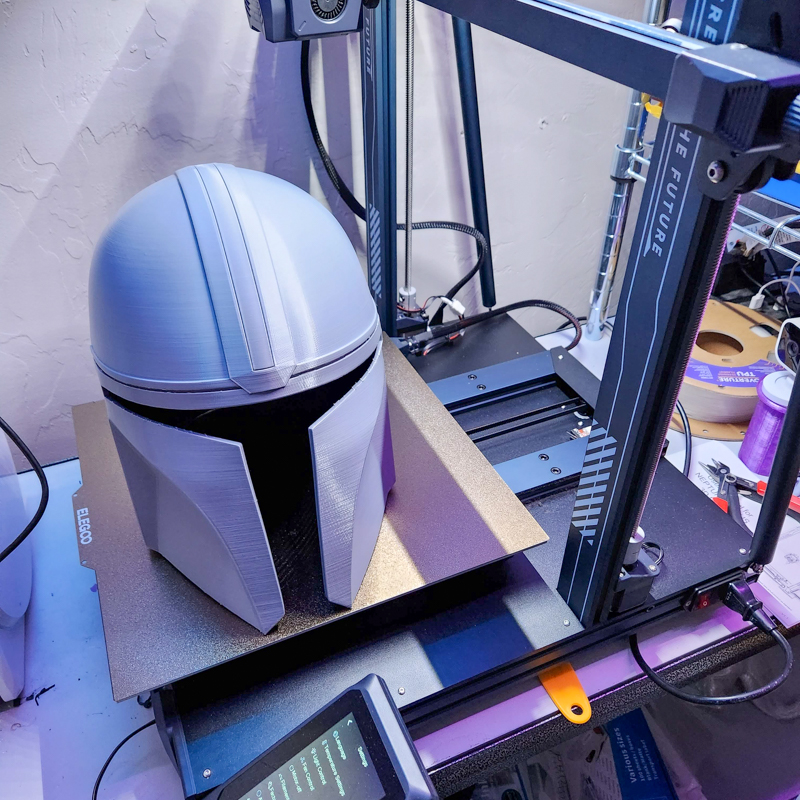
This is the way.
What I like
- Great feature set for the price
- Direct drive extruder
- Great print results out of the box
- Different size options for different needs and price ranges
What I’d change
- Included USB cable was quite short, you have to place a laptop right next to the printer.
Final thoughts
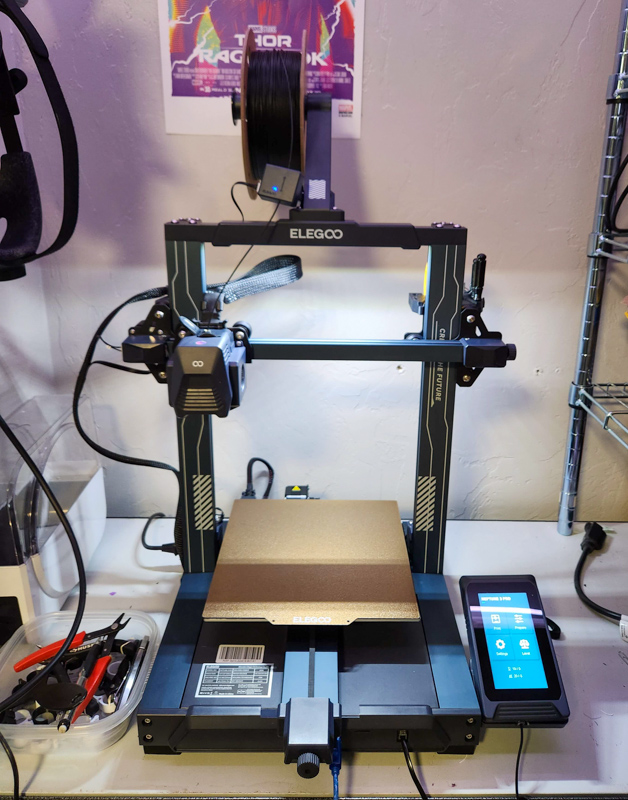
The Elegoo Neptune 3 Pro/Plus FDM 3D printer is a great printer at a good price. I’d be confident recommending it to friends or family new to 3D printing, and it’s keeping a semi-experienced 3D printer like myself happy as well. It’s earned its place in my closet and I have it printing most days even after finishing the review prints. Two thumbs up from me, I really had to think to add anything to the “What I’d change” section!
Update 1/29/23
Updated the whole review to include more images and new info about the Elegoo Neptune 3 Plus 3D printer.
Price: Pro: $300 / Plus: $350
Where to buy: Elegoo Neptune 3 Pro / Elegoo Neptune 3 Plus
Source: The sample of this product was provided by Elegoo



Gadgeteer Comment Policy - Please read before commenting
One suggestion if you do other print in place sabers etc, try no brim or a raft if it’s knocking off.
Infinitely easier to remove!
I’ll have to try that! The inner rings of the collapsible saber are so small I worry about bed adhesion, but it would be nice to skip the brim removal step. Maybe a raft is the happy medium!
I just got one. Yes, good price for what you get. Opportunities for improvement:
1. FT card is difficult to insert
2. Increase printing speed
3. Provide settings for use of PrusaSlicer
1. My previous printer was more difficult, so in comparison this was great, but still a bit fiddly, I agree.
2. This printer definitely seems to favor quality over speed, but I agree, would be nice for draft prints to be able to go a bit faster.
3. I didn’t mention this in the review, but also agree, I had to uninstall my latest CURA and install the Elegoo branded version from the SD card. Printer settings/presets for updated CURA and/or Prusa would be nice
If you have have both Elegoo Cura(EC) and Cura 5.1(C5) installed, all you have to do is copy over the corresponding files. Assuming you are using Windows 64 bit, the folllowing should be accurate.
Base File location for EC is Program Files (x86) > ELEGOO_Cura > resources
Base File location for C5 is Program Files > Ultimaker Cura 5.1.0 > share > cura > resources
Step 1. Copy ‘elegoo_neptune_3.def’ from ‘definitions’ folder over to C5’s definitions
Step 2. Copy ‘custom_extruder_10.def’ and ‘custom_extruder_9.def’ from ‘extruders’ folder over to C5’s extruders.
Step 3. Restart Cura 5.1 and you should see Neptune 3 now.
There may be a pop-up saying missing definitions or some nonsense, just close the window and start your project. I’ve done large, intricate prints using Ultimaker now, and it has worked flawlessly.
Hi, I can’t choose between the Anycubic Vyper and Elegoo Neptune 3 pro. The Vyper here is 340$* and the Neptune 3 pro is 370$* (it’s much expensive as they don’t have it here where I live so I have to import it.).I am just worried if something is wrong with the Neptune 3 pro, the process to getting a replacement part will be complicated and long.In term of the Vyper,if something is wrong,the process will be much faster .
That’s a tough one – both Anycubic and Elegoo have been good at getting me replacement parts for various printers, but if one was much harder to get in my country I’d lean towards the other for sure.
For performance though, the direct drive on the Neptune 3 pro has been better for me, while the Anycubic Vyper’s larger size is nice and I feel like it handles higher print speeds better once calibrated.