REVIEW – My husband and I love to grow our own food. Our gardens have exploded in produce that we can’t consume or give away fast enough. So we have to find a way to preserve it so during the winter months we can have fresh fruit and vegetables. We have always frozen our fruit after harvesting but they often get freezer burned. This is where the TKTK vacuum sealer has come in super handy. By being able to vacuum seal all of our fresh fruit before freezing, we have been able to prevent any freezer burn from being formed so far. The vacuum sealer is super easy to use and doesn’t add much processing time to putting up food.
What is it?
The TKTK vacuum sealer is an easy to use home food preserver.
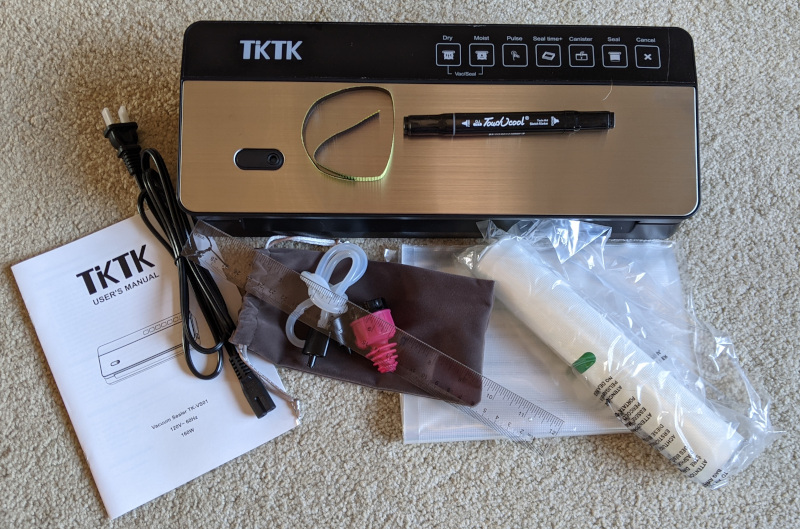
What’s in the box?
- TKTK vacuum sealer
- 5 vacuum bags (11.8″ x 8.7″)
- Vacuum seal bag roll (6′ x 8.7″)
- Wine stopper
- Air suction hose
- Power cable
- Ruler
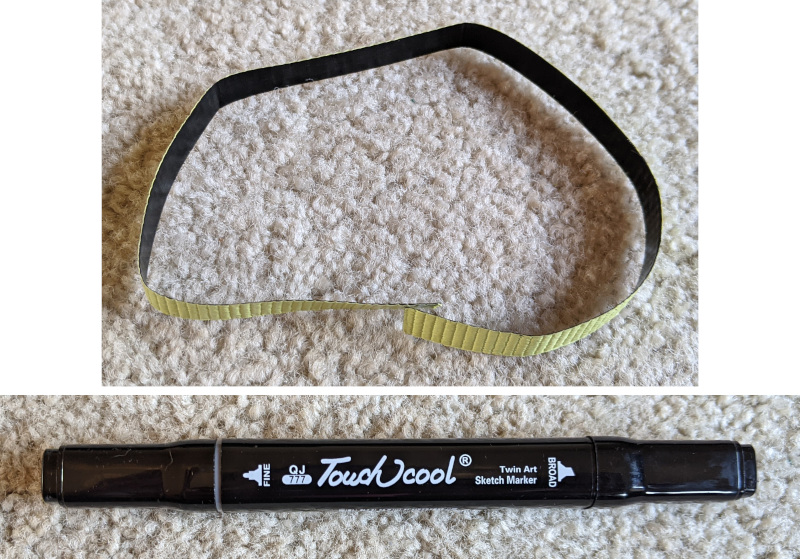
- Marker pen
- 3mm heating bar tape
- User manual
Hardware Specs
- Material: Stainless steel & ABS
- Dimensions: 15.3″ x 5.9″ x 3.5″
- Rated power: 160W
- Rated voltage: AC 120V
- Rated frequency: 60Hz
- Sealing time: 5-10 seconds
- VAC setting time: 10-25 seconds
- Vacuum speed: 12L/min
- Vacuum pressure: up to -0.6 to -0.8 bar (-85 kpa) max
Design and Features
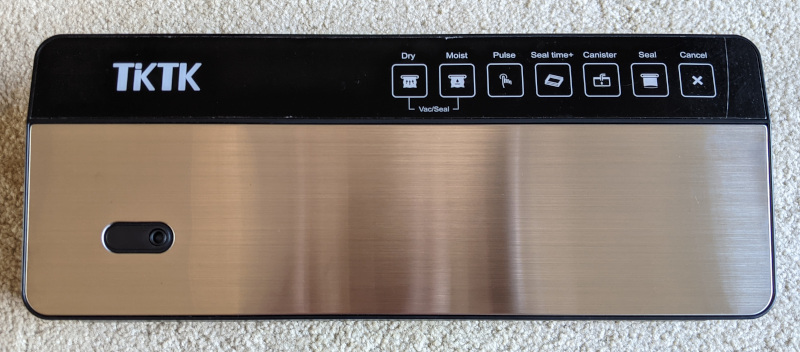
The design is sleek and simple. The sealer is made mostly out of plastic with a stainless steel cover on the top. Operation is very simple, plug in the power cord, press the release buttons on either side of the device and open.

Once open, the vacuum sealer is pretty simple. In the back is where you store and slice the bag roll while in the front is the sealing chamber and the heat strip.
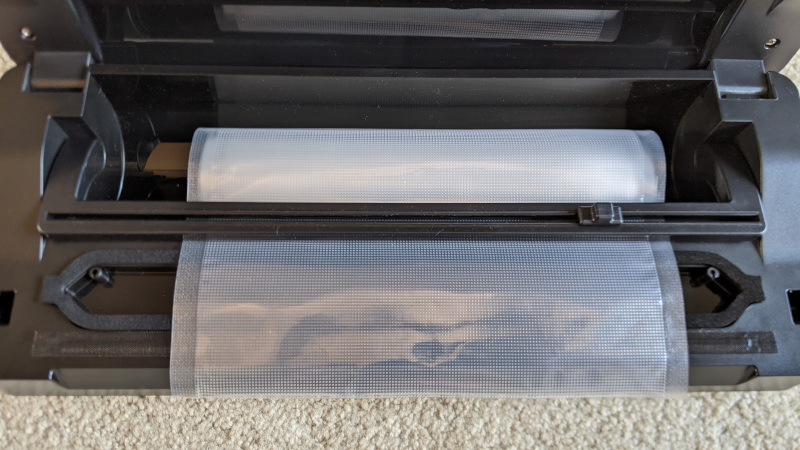
The built in cutter allows for you to cut custom sized bags easily without having to use a scissors. However, I found that getting the bag lined up just right underneath the blade was pretty difficult and it took multiple swipes with the blade before I was able to snag the bag correctly and have it cut.

While you can use premade bags with this machine, I personally prefer to custom make my bags so I have control over their size. You can see above the seal for the bottom of the custom made bag. It is a nice thick melted band with no air bubbles. The sealer makes creating bags super easy with the seal only option. All you have to do is place the open end of the bag over the heat seal strip, close the machine and touch Seal. Once the machine turns off, open the top again and remove the now sealed bag.
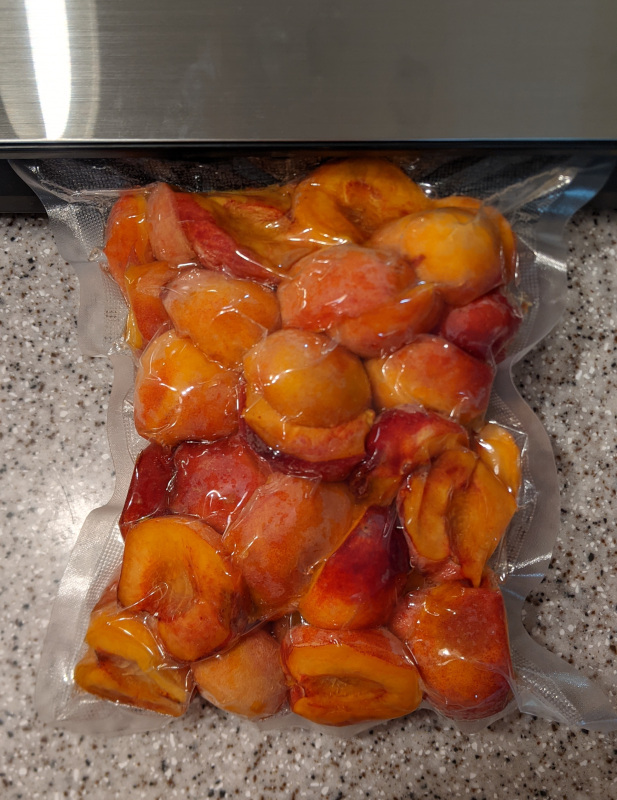
Once the bag is filled, place the open end in the machine in the vacuum sealing chamber and close the lid. Depending on what you are sealing choose either Dry or Moist. The difference between the two options is how much of a vacuum is put on the bag. If the item is moist, a lower vacuum is pulled to keep the liquid in the bag and to prevent damage to the machine. This is also why there is a small trough in the machine to catch any accidental drips and leaks during sealing. For the peaches above, I used the moist setting and it still pulled a strong enough vacuum on them without squishing and sucking out all of the juice. As you can see they were only compressed slightly. The cut edges did curl in but that is to be expected when vacuum sealing anything soft. However it didn’t pull the vacuum so hard that it became flush where the peach pits use to be, instead there is a small pocket of air there. Using either of the Dry or Moist settings will automatically pull a vacuum on the bag and then seal it once it deems a strong enough vacuum has been pulled.

As an experiment I sealed eight halves to see how the Seal Time+ setting worked. This is the manual setting used in conjunction with the Pulse button. Once you have the bag in place, select Seal Time+ and then press and hold Pulse. It will pull a vacuum until release the button. This setting will not automatically seal so you can stop, examine the bag and then continue pulling a vacuum. Once the vacuum is pulled, you have to manually seal the top the same way you created the bottom of the bag. I tried that setting out and for me it was hard to get the vacuum pulled enough so that it wasn’t released in the time it took for me to seal the top. I think that this setting would be great for the wine cork or canister as they can hold the vacuum without having to be sealed. Since the top of the bag is wide open, a lot of air can get once the machine isn’t actively pulling a vacuum.

I forgot to take a picture of the wine cork in use but it doesn’t take much imagination to figure out how it works. I used a bottle of soda to see how well it would keep it carbonated after it was opened. It kept it carbonated perfectly for the two days I left it in the fridge after opening it.
I wasn’t unable to test the canister setting as I don’t have any vacuum canisters.
What I like
- Super easy to use
- Multiple modes for wet and dry items
- Manual vacuum mode
- Touch controls
What I’d change
- Better built in bag cutter
Final thoughts
The TKTK vacuum sealer is a must have for those who are looking to preserve food. It quickly seals food and with the right amount of pressure to prevent squishing. I was able to process over 50 pounds of peaches without having the sealer overheat which was amazing. This means that can handle a larger home operation as well as small domestic use. The TKTK vacuum sealer is a must have for anyone who is looking to freezing and keep food.
Price: $79.99
Where to buy: Amazon
Source: The sample for this review was provided by TKTK


Gadgeteer Comment Policy - Please read before commenting
I have a tktk vacume sealer and have lost the power cord, I need to replace it but can’t find a place to do so,could you tell me who to contact