I love discovering a tool that I never knew existed that makes my life easier. That’s is the perfect description for the TapHanger. It’s a tool that makes my life easier. What does it do? It lets you hang a picture on your wall in less than a minute. You’ll spend more time figuring out where you want to place the picture than actually hanging it.
Note: Images can be clicked to view a larger size.
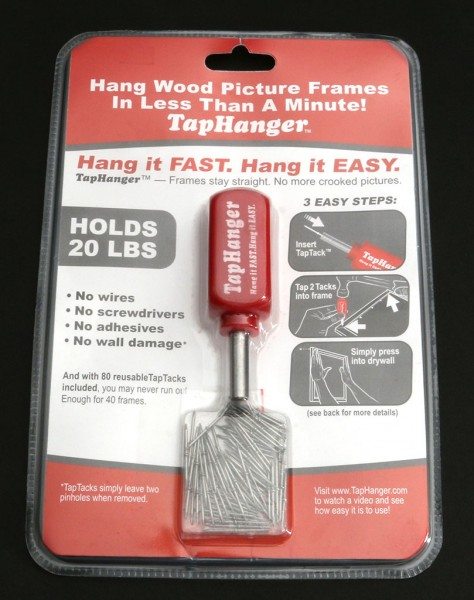
Package Contents
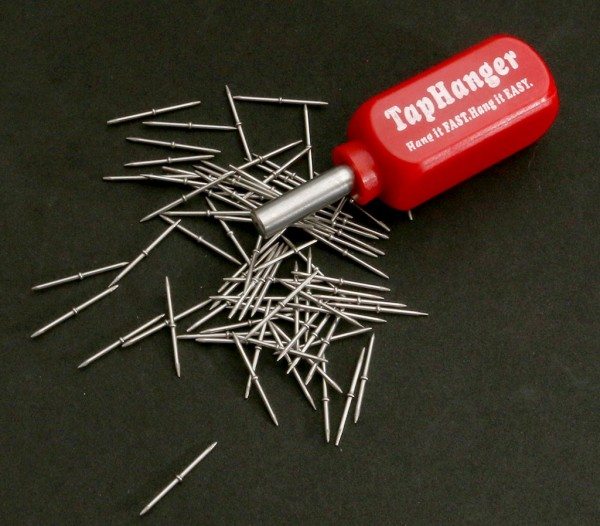
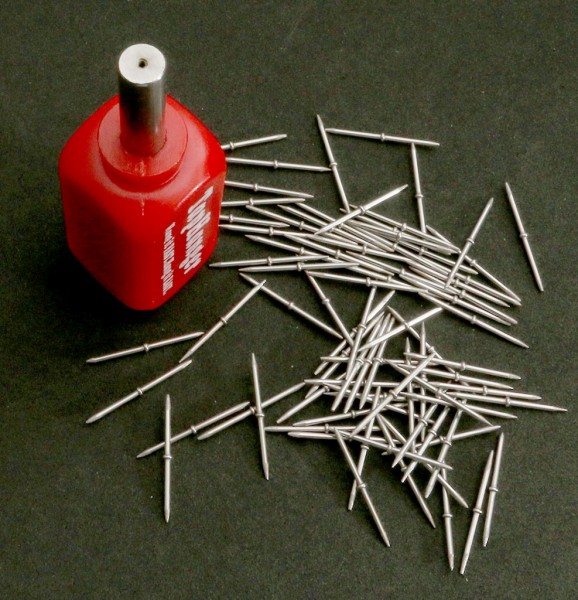
TapHanger tool
80 reusable TapTacks
Instructions
The TapHanger is an absolutely genius idea in its simplicity and ease of use.
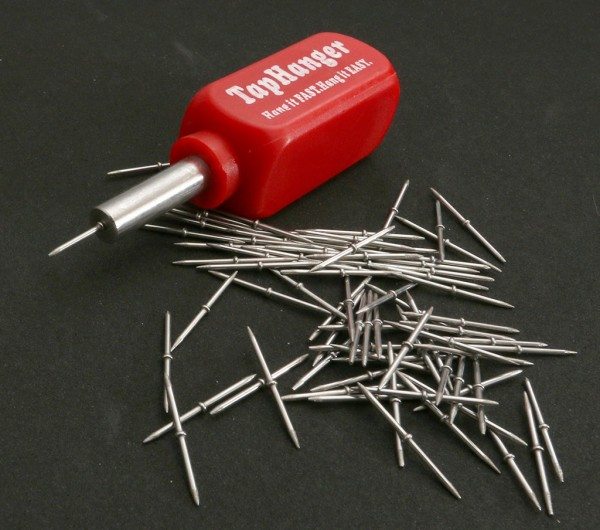
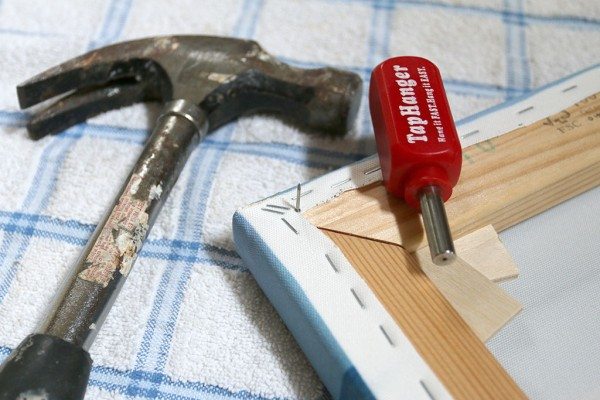
The tool consists of a hard plastic handle with a stainless steel shaft with an opening at one end.
The specially designed nails, called TapTacks, fit into the end of the TapHanger tool.
But let me back up just a little before we continue with the review…
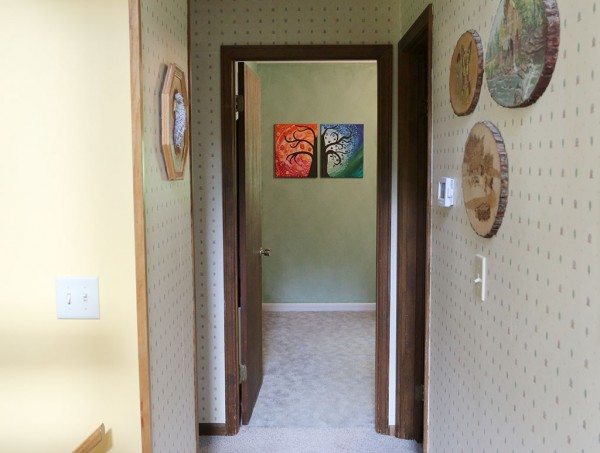
See these two paintings? Jeanne and I each painted one at an art class several months ago. Mine’s on the left and hers is on the right. Those two art pieces have been propped up against a wall in our living room since we brought them home. Why? Because we both are horrible when it comes to hanging pictures. We either use the wrong tools or do too much damage to the walls hammering a nail. So we end up taking much longer than we would like getting our artwork hung up. Usually, we just wait till Jeanne’s brother comes over for a visit and then ask him to do it. I’m sure he loves that.
The TapHanger solves this problem beautifully.
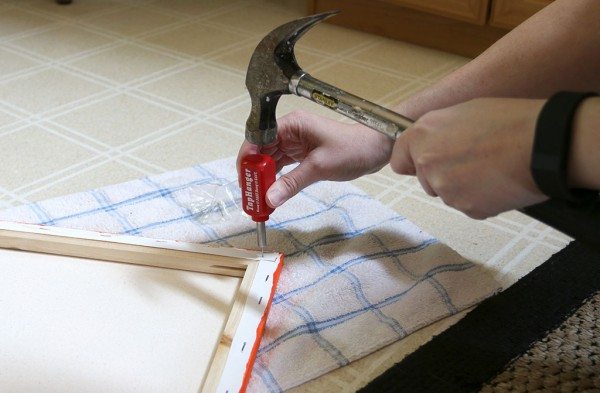
With one of the small two-headed TapTacks inserted into the end of the TapHanger, you just hammer it into the back top two corners of your picture frame.
The tacks go in very easily and are designed to only allow you to hammer them in halfway.
Then you just press the top two corners of the picture frame into your wall and you’re done, the picture is hung. Seriously, it’s that easy! Of course you’ll need walls that are made of drywall and not wood paneling, tile or other hard materials.
Perfect, fast and easy. That’s the way I like to do things.
The TapTacks are supposed to be reusable, but I wasn’t able to pull one out when I tried with some pliers. I didn’t try very hard though because I didn’t want to break it off in the frame.
There is one thing you need to think about before hanging a picture using the TapHanger. Since you’re sticking the picture directly to the wall, you will not be able to easily adjust it once it’s placed. Yes, you can pull it out of the wall and rehang it, but you really don’t want your walls to turn into a pin cushion. To get around this, we used a small level that we balanced on the top edge of the frame. This made it easy to hang the image straight the first time. If you do need to remove it though, it only leaves a very small pin hole which is not noticeable.
After Jeanne and I hung the two tree paintings we ended up hanging two other framed prints that we’ve been meaning to hang for years. Now we want to have more of our original photography framed so we can hang some more artwork on our walls.
Now comes the part where you’re going to be disappointed if you were ready to purchase the TapHanger. You can’t buy one yet. It will be available in all the major hardware stores and home improvements centers and places like Michael’s and Jo-Annes beginning during the last quarter of this year.
Source: The sample for this review was provided by TapHanger. Please visit their site for more info.
Amazon Echo Show 15 (newest model), Full HD 15.6" kitchen hub for home organization, with built-in Fire TV and Alexa+ Early Access
$299.99 (as of January 14, 2026 18:37 GMT -06:00 - More infoProduct prices and availability are accurate as of the date/time indicated and are subject to change. Any price and availability information displayed on [relevant Amazon Site(s), as applicable] at the time of purchase will apply to the purchase of this product.)Amazon Echo Show 21 (newest model), Full HD 21" kitchen hub for home organization, with built-in Fire TV and Alexa+ Early Access
$399.99 (as of January 14, 2026 17:28 GMT -06:00 - More infoProduct prices and availability are accurate as of the date/time indicated and are subject to change. Any price and availability information displayed on [relevant Amazon Site(s), as applicable] at the time of purchase will apply to the purchase of this product.)Product Information
| Price: | $14.95 |
| Manufacturer: | TapHanger |
| Pros: |
|
| Cons: |
|




Gadgeteer Comment Policy - Please read before commenting
Without any hook to keep the art from falling off the nail, I would be worried about how well it would hold. Also, I would really worry about heavier art.
How difficult is it to hang art in the normal manner? I do it all the time.
@Donald the little nails go right into the frame and into the wall, nothing is going to fall off. According to the packaging, 2 TapTacks will hold up to 20 lbs.
I’ve always found it to be a pain in the rear to hang artwork especially if it’s a grouping of images like the two pictures in this review and they happen to use wire style hangers. With that style it’s difficult to mount the image perfectly side by side.
With the TapHanger you don’t have to worry about knocking the image so that it doesn’t hang straight because it’s stuck to the wall and isn’t going anywhere.
So the picture has to be level before you tap it onto the wall. There is no way to adjust it after.
@John correct. I used a small level to make adjustments while Jeanne held it in place against the wall. When it was all level she just pressed the corners in and it was done.
To Donald and John – go to http://www.TapHanger.com and watch the 90-second installation video which will answer your questions visually. If you put the frame on the wall and then you think it’s not straight, you simply pull it away from the wall and try again. Doing so does not leave damage and only takes about five seconds. I’ve been using this system to hang pictures in my home for over 20 years — never has a picture fallen off the wall. You can slam all the doors you want and the frame will not fall off the wall and it will never need to be straightened because it will never move unless you want it to.
Neat. I could use this. Where do I buy it? Don’t see on Amazon nor any buy link on their website.
@GC as mentioned at the end of the review, it’s not available yet. It will be in most home improvement stores this winter.
I like the paintings. Especially together 🙂
Thanks 🙂
This strikes me as a solution looking for a problem to solve. If I use it I end up with two holes in my wall rather than one. And it won’t work with frames that are metal. I recently bought a pack of sixty picture hooks (rated for 20 pounds) for $7. Additionally small pictures only need a simple brad in the wall. I can’t fathom why this product exists.
Very cool. And nice job on the paintings!
@Walt thanks 🙂
TapHangers are now available at amazon.com: http://www.amazon.com/dp/B01DQ3LSK8