Recently I purchased a fully-loaded Apple Macbook Pro with Retina display. And since it costs $3,749, I decided it was best to get some form of case to protect my new laptop. I was deciding between a plastic hard case, sleeve or some form of stick on protector. I’ve seen those Zagg booths at the malls that are right outside the Apple stores. So I decided to give Zagg a try with their invisibleSHIELD for the Retina Macbook Pro.
I have to mention that I’ve never used or installed a Zagg before., but I’ve seen installations of it online and at the booths. I’ve touch a Zagg that’s on my friend’s iPhone before, and my first opinion of it at that time is that it felt grippy and that I dislike that since I prefer the iPhone to be smooth.
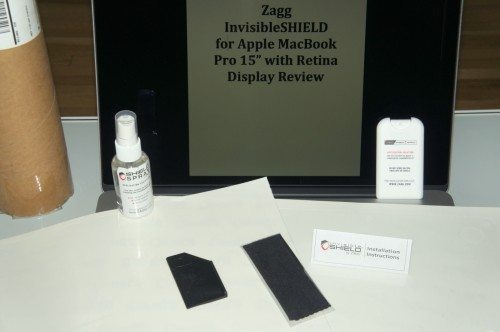
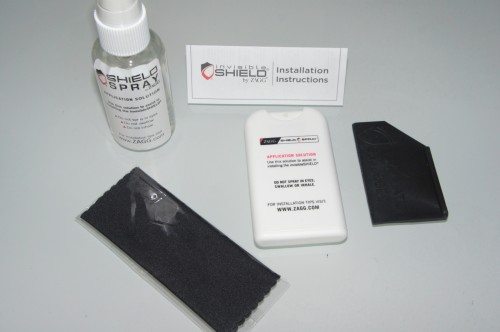
Zagg sent me the invisibleSHIELD inside a mailing tube. It came with the top, bottom, palm rest and touchpad invisibleSHIELD, along with 2 application solution bottles, squeegee, microfiber cloth and instructions. A few parts of the invisibleSHIELD were creased, which was probably caused by the contents sliding around inside the tube during shipment. I just hope that the retail version has better packaging than this.
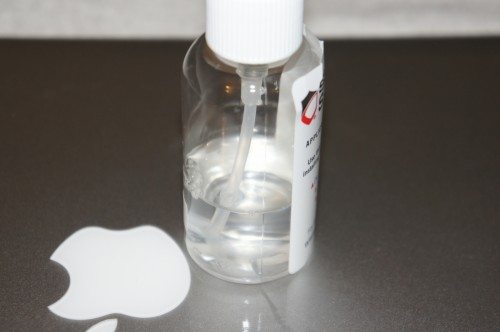
After reading the instructions, I decided to check out some installation videos online. Most of the online video instruction said to use as much application solution as possible for an easier installation. It’s true that it makes it easier, but I felt like I was having a heart attack when I started spraying that application solution on the ZAGG and having it all wet and sliding around my new $3,749 rMBP.
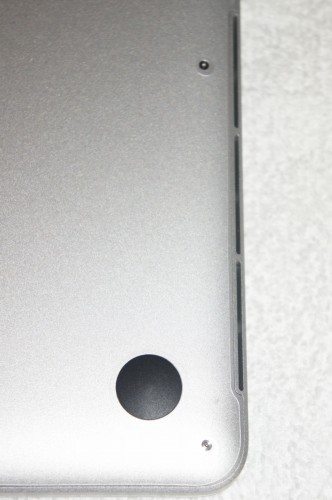
Zagg’s instructions suggest to start off with the bottom piece since it won’t be that noticeable if I screw up. The bottom piece took me about 10 minutes to install and squeegee out all the application solution . The bottom piece fits perfectly. There are openings for the screw holes, vents and the plastic grips on the bottom.
The top piece took a bit longer to install; I had to remove it and install it again since it wasn’t aligning properly for me. The problem with the top piece is that it’s a tiny bit bigger than the laptop top. It sticks out probably 0.5 mm on one corner. And I’m afraid that 0.5 mm is just enough for dust and dirt to start building up there, which will result in that corner lifting over time.
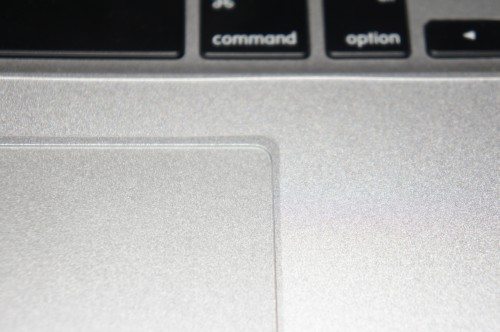
Zagg also included a palm rest and trackpad piece. The palm rest piece was fairly easy to install. I decided to leave off the trackpad piece because I didn’t like the tacky feeling of it when using the trackpad.
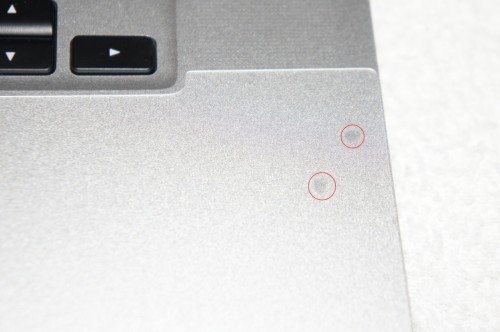
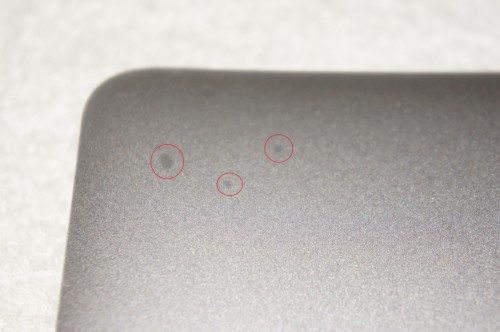
I let the Zagg rest for 24 hours as instructed. After 24 hours, I saw a few air bubbles showing up. So I decided to give it a few more days to “work themselves out”. After a week there was still a few air bubbles on the top of the case and palm rest. It’s not that noticeable so I’ll live with it.
At the end, I’ve used more than half the bottle of application solution to install the Zagg onto my rMBP.
I’ve used the Zagg for a few weeks now and love it so far. I did wish they would include a strip to cover the edges of the rMBP. Installation was fairly easy considering I’m a first-timer with Zagg products. I would highly recommend the invisibleSHIELD for anyone that doesn’t like using a case with their laptops. It costs $54.99 direct from Zagg.
AORTDES Laptop Skin Sticker Decal 15-15.6 Inches, Universal Reusable Vinyl Sticker for 12.1 13 13.3 14 15.4 Inches Netbook/Notebook PC, Waterproof & Scratch-Resistant (Dark Gray)
17% OffAORTDES Laptop Skin Sticker Decal 15-15.6 Inches, Universal Reusable Vinyl Sticker for 12.1 13 13.3 14 15.4 Inches Netbook/Notebook PC, Waterproof & Scratch-Resistant (Black)
17% OffProduct Information
| Price: | $54.99 |
| Manufacturer: | Zagg |
| Pros: |
|
| Cons: |
|


