REVIEW – In these surreal times of the COVID-19 pandemic, staying at home while practicing social distancing requires families to do things together more than ever. One of the ways to promote togetherness is to build something. But what if—like me—you’ve never made anything?
In all the years I’ve reviewed portable Bluetooth speakers, all I’ve ever had to do is open the box, pair the speaker and voila—music! Never before have I had to actually build it before using it. Now I can truthfully say that I have made two Bluetooth speakers with FM radio—the R1 Mono and R2 Stereo speakers from Celia & Perah.
What is it?
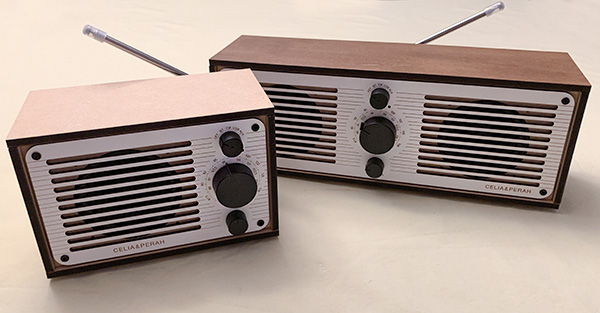
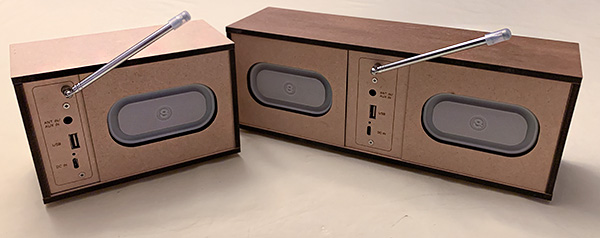
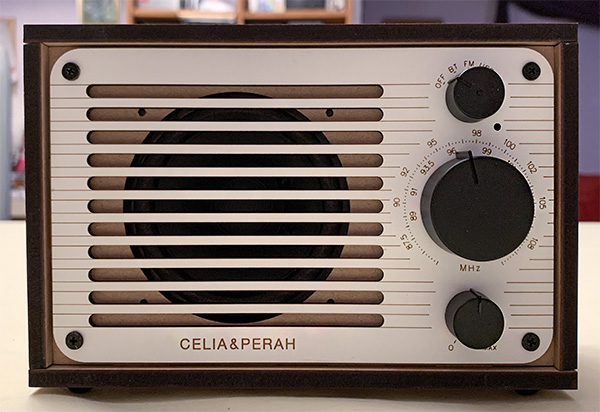
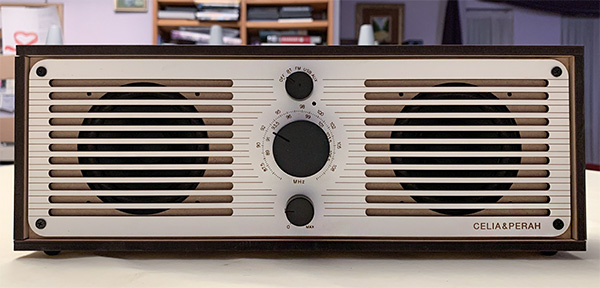
The Celia & Perah R1 is a single speaker (mono) combination FM radio and Bluetooth speaker that requires assembly. It comes with all the necessary tools and instructions. The R2 is the higher-priced dual-speaker (stereo) version. Both the R1 and R2 come in light (White) or dark wood (Black) color with different grill designs.
Specs
- Drivers:
R1: 3 in. single speaker driver
Single 4 in. passive radiator
R2: dual 3 in. speaker drivers
Dual 4 in. passive radiators - Amplifier:
R1: 10W
R2: 20W - Max Output:
R1: 91db @ 1m
R2: 94db @ 1m - Frequency Range: 58~20000 H
- Input Voltage: DC 5V (USB type C)
- FM: 88-108MHz
- Bluetooth: 4.0
- Transmit Distance: 32 ft.
- USB Disk: MP3 / Play in sequence
- Aux in: 3.5mm
- Battery: 5.5 hours @ 80% volume
- Charging Time: 2.5 Hours
- Dimension:
R1: 6.7 in. (Width) x 4.5 in. (Height) x 3.5 in. (Depth)
R2: 12 in. (Width) x 4.5 in. (Height) x 3.5 in. (Depth) - Weight:
R1: 2 lbs.
R2: 3.3 lbs.
Design and features
While bragging that I just built two Bluetooth speakers may be technically true, the Celia & Perah R1 and R2 speakers arrive in kit form. So, putting them together is simply a matter of following directions with some minor improvising—more on that later.
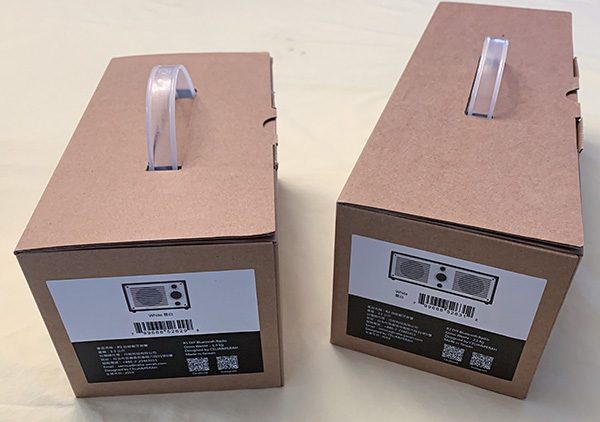
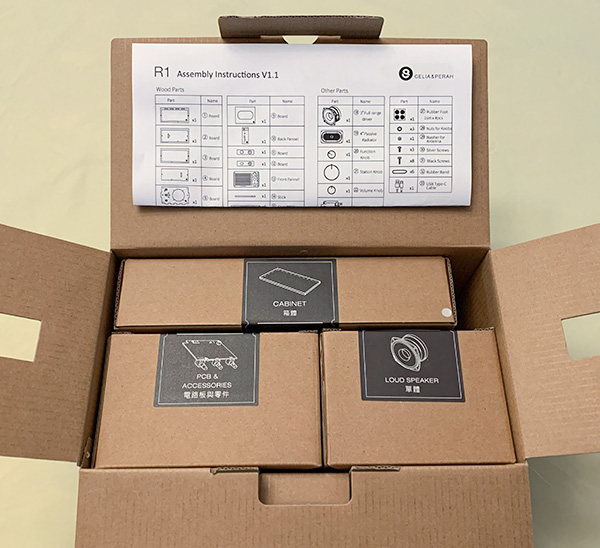
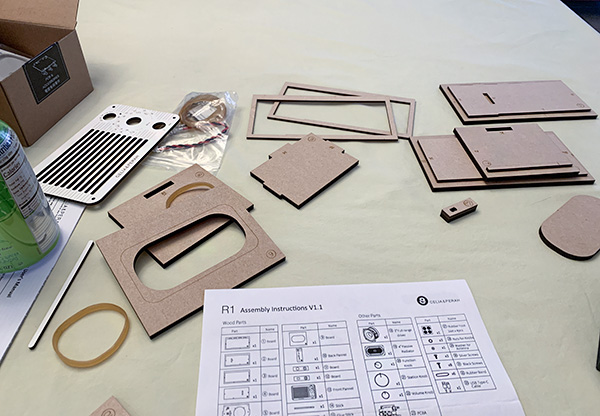
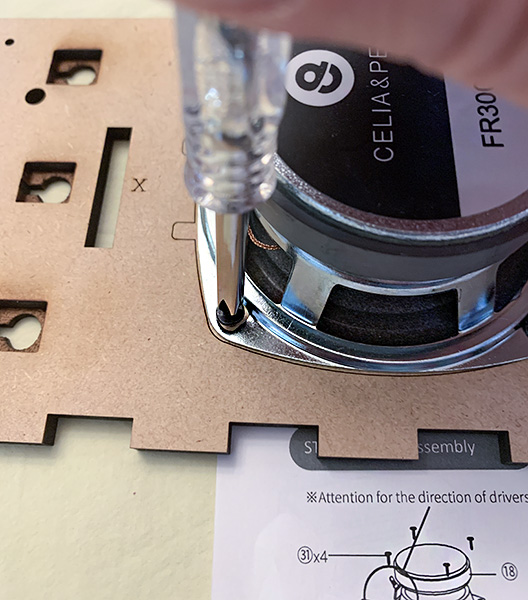
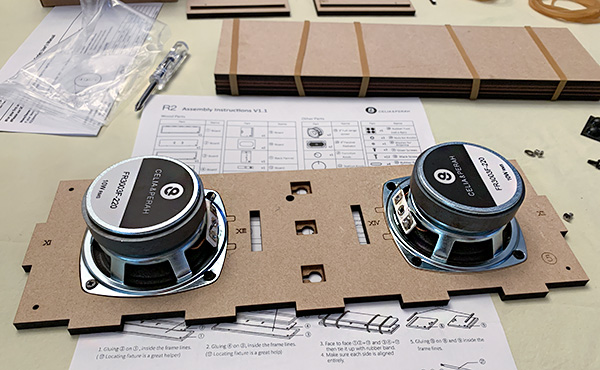
When the box is opened, you’re presented with many wooden (more wood by-products than real wood) pieces as well as screws, knobs, speakers, a small circuit board (already assembled), Phillips screwdriver, rubber bands, wood glue, and an easy-to-follow instruction sheet.
It helps to lay out all the pieces beforehand and compare them to what’s listed on the instruction sheet. No pieces were missing from either kit—in fact, Celia & Perah included more screws and washers than needed. It’s also good to watch the assembly videos found on their website. While it’s speeded up and made to look easier than it is, the videos are quite helpful and can be watched and paused frequently while building the speaker.
A clean, flat surface is useful for spreading out the parts and for keeping track when pausing for drying glue between steps.
I’m not going to go through the steps required (the video does a much better job) but will highlight both positive and negative points along the way.
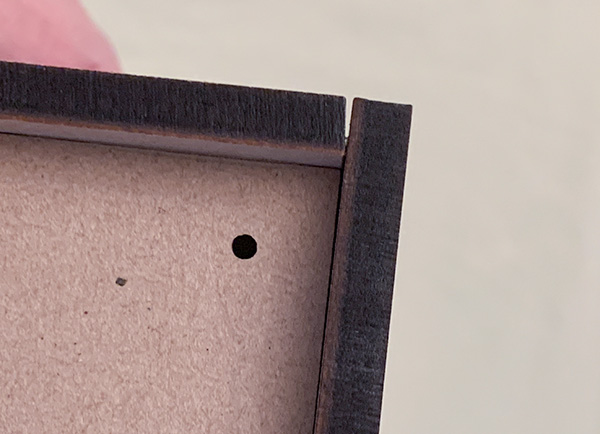
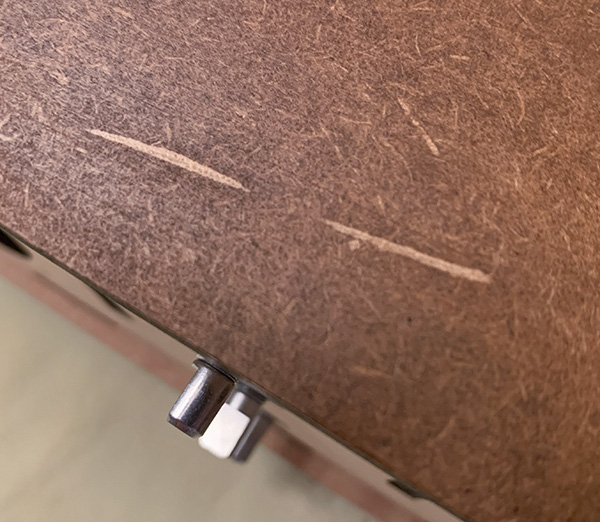
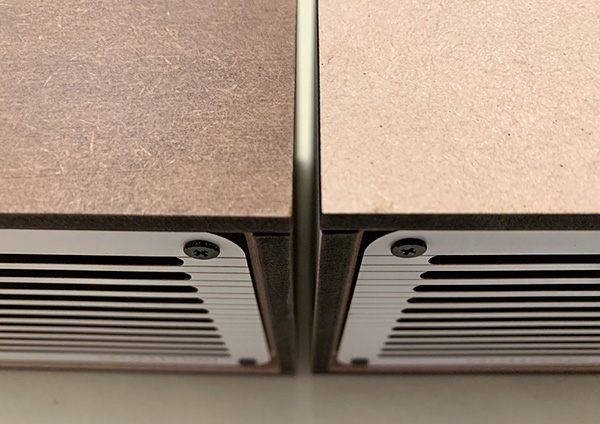
There are some things to keep in mind while constructing either kit. The parts fit together very well, although there may be minor gaps when fully constructed. These gaps do not detract from the overall look of the speaker.
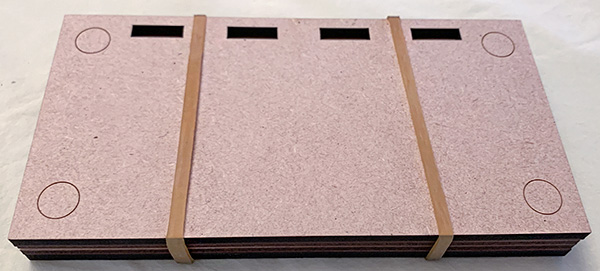
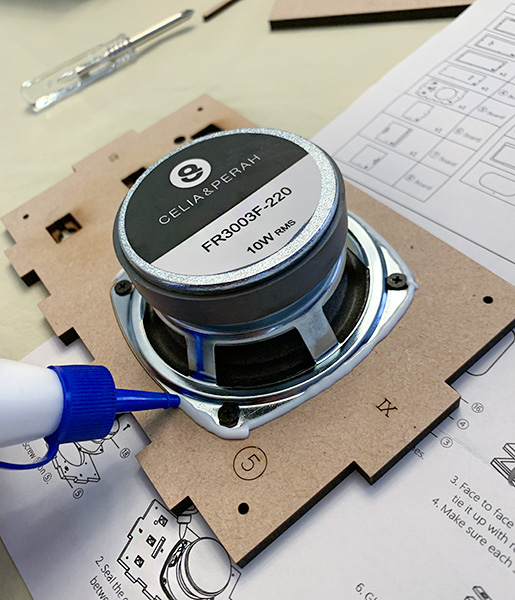
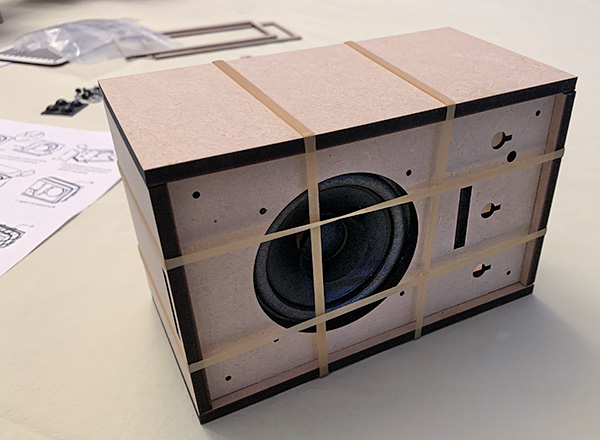
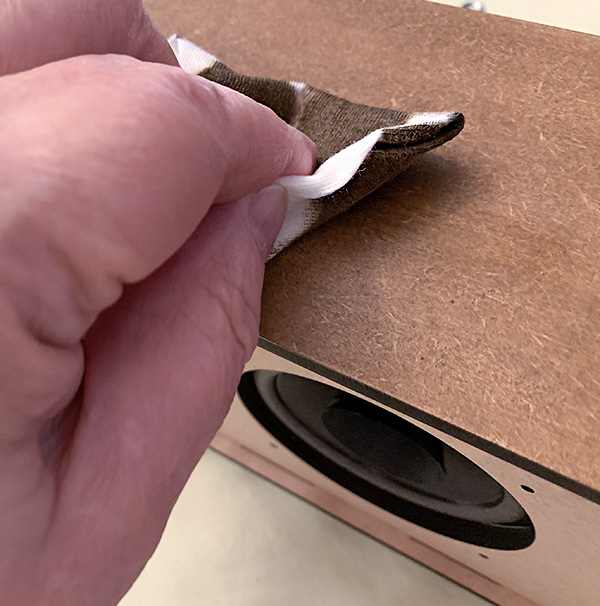
There is more gluing required than you might think. It can be frustrating because parts can be easily moved while the glue is still wet. It’s imperative that pieces stay in place while the glue dries because once dried, the pieces cannot be moved. Plenty of rubber bands are supplied to help hold the pieces in place until dry. Sometimes using too much glue can cause it to leak underneath connected parts when pressed together. Excess glue can be cleaned up with a bit of tissue paper. The instruction sheet says glue is not included, but it was included in both kits I received, so maybe Celia & Perah decided to include it after the instruction sheets were printed.
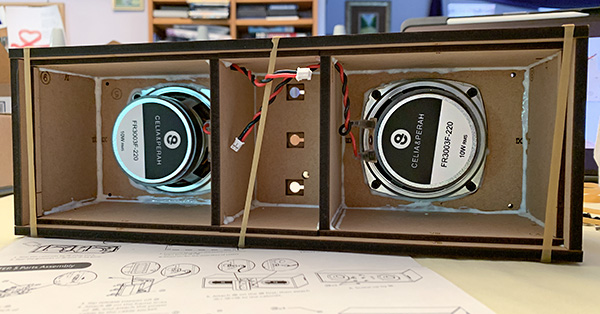
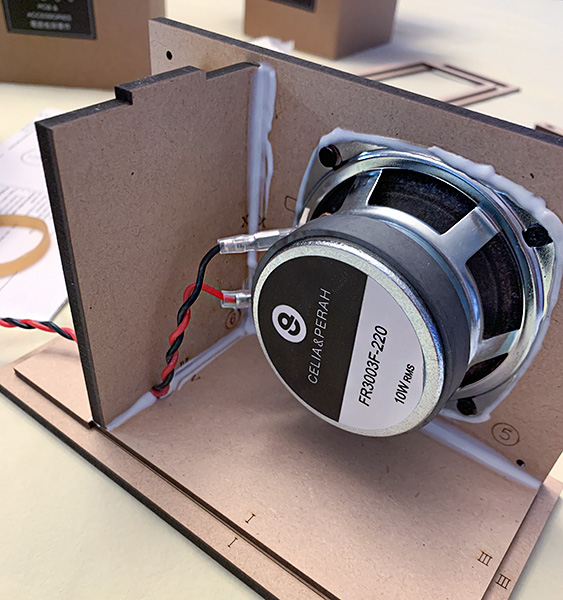
When assembling the sides of the speaker to the top and bottom, all seams should have a running bead of glue applied to the joined areas. This can be a bit messy, but since it won’t show once assembled, it is not an issue. The glued seam will help prevent vibrations that can cause audio distortion. Be careful not to get glue on the speaker itself or circuit board.
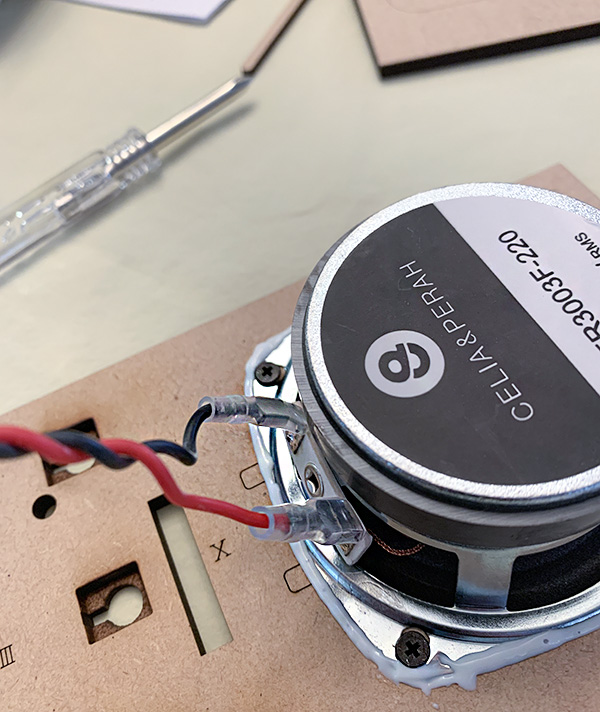
When installing the speakers, note that the black speaker wire connects to the thin terminal and the red wire uses the wider terminal connection. I only bring this up because it’s not mentioned in the instructions and these wires should not be crossed. Keep in mind that once assembled and the glue has dried, the speakers cannot be re-opened, so make sure all connections are correct before finishing. There are some minor text errors in the instructions, but nothing that can’t be figured out.
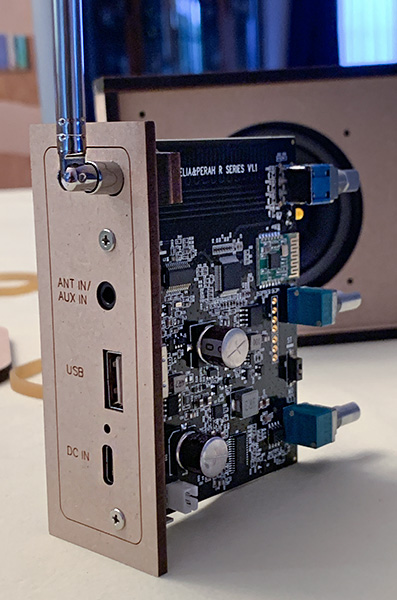
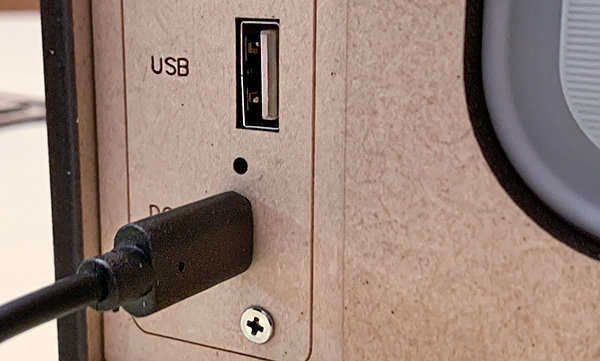
The included rechargeable battery uses double-stick tape to adhere to the circuit board. I learned to reverse a couple of steps in the instructions which made it easier to do assemble in later steps. This battery is charged via a USB-C port at the rear of each speaker. This port also doubles as a DC port if you decide to leave the speaker plugged in. There is no electronic assembly necessary, as the circuit board comes in one piece.
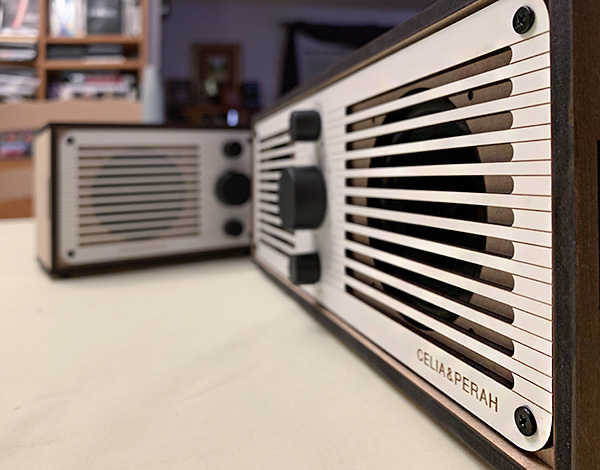
Both the R1 and R2 have a timeless, retro vibe that will fit any decor. I opted for the lighter color scheme which has a more natural, unfinished look and is easier to photograph.
The larger R2 speaker comes with a small staining kit which I used for the purposes of this review—although now that I’ve done it, I would have preferred to leave it natural. Celia & Perah have a separate staining video which again, is worth watching if you decide to use the stain. One issue with staining is that any place where glue has been—even if wiped clean—will not accept any stain and will be noticeable. This isn’t an issue with unstained wood because the glue dries clear. In retrospect, I think it would be a good idea to stain before assembly to avoid the glued areas.
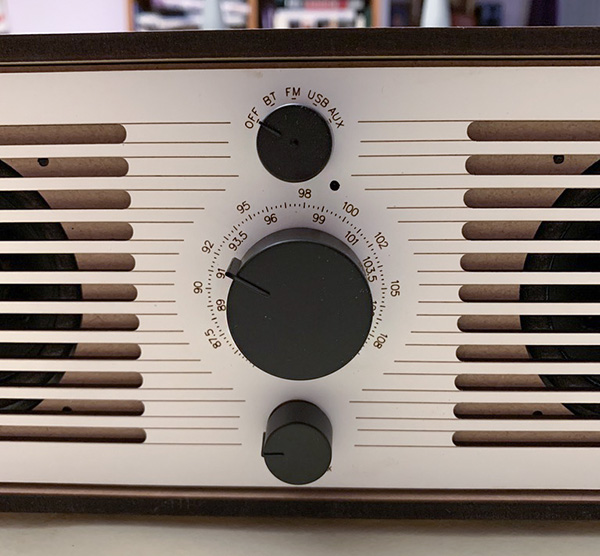
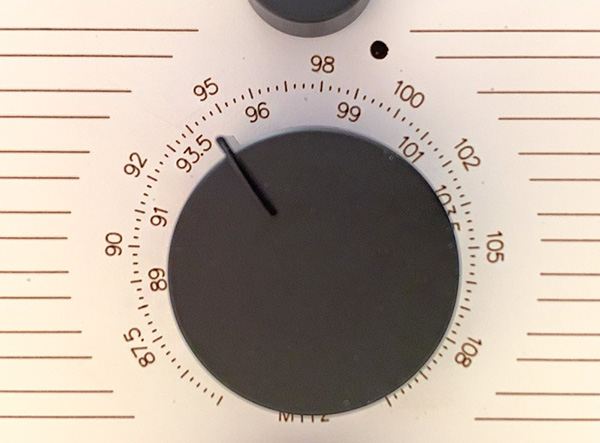
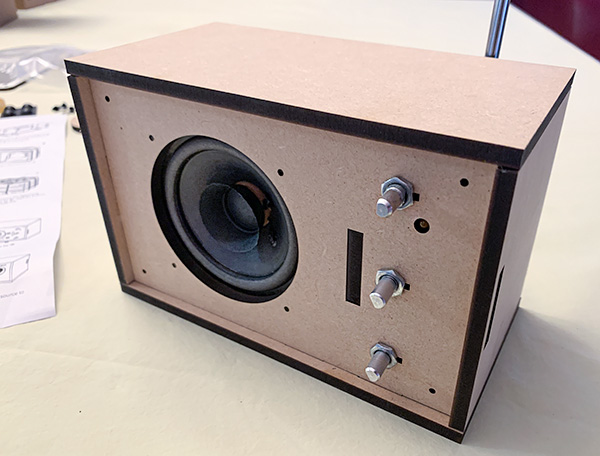
Each radio has three knobs arranged in a vertical row. A small knob at the top switches between Bluetooth, FM, USB, and AUX. A matching knob at the bottom controls volume. The middle, larger knob tunes the FM signal.
The retro look extends to the FM radio dial—yes, I said dial. Nor digital fluff here. The radio has to be manually tuned. The tuner is accurate and easy to use to pinpoint an FM signal. I live in a metro area with many stations, so your success may vary. Radio sound quality is as good as FM can get, which is to say, not that great.
Bluetooth range is rated at a standard 32 feet—nothing exceptional. It’s also version 4.0, a now dated version since version 5.0 is much better in both streaming quality and range.
A nice feature with the R1 and R2 is a USB port at the rear. You can dump a large selection of your favorite music on a thumb drive and just plug it in. It will play the songs in the order on the drive. Unfortunately, there’s no way to control the song order.
The AUX port allows a wired connection to any device with a 3.5 mm mini plug port. While wired sounds better than wireless, the differences in these speakers are too subtle to notice.
The R1’s mono speaker has decent quality when not pushed to the max. The speaker cone is made of paper, but it still sounds surprisingly good. The volume level can be enough for a kitchen or bathroom (the R1 and R2 are not water-resistant), but don’t expect to rock out a large room. The R1 is not made for that. Music sounds warm, meaning that the speaker is tuned a bit to the lower, bass end of the frequency spectrum. This is a good thing for a smaller speaker. It helps keep the higher frequencies from sounding harsh. Plus, radio sounds fuller—better than that “portable radio” sound.
If you can afford the upgrade and have the space, the R2 speaker has a richer audio quality than then R1. Even though the speakers are identical between the R1 and R2, doubling them and using a stereo signal makes all the difference. The R2 has a more table-top radio sound that makes music sound more pleasant and relaxing without having to push the speaker.
What I like
- Decent audio, especially on the R2
- The satisfaction of building your speaker
- The parts fit well
- Nice retro look
- Good bass because of the passive radiators
- Fast USB-C charging
What I’d change
- More attention should be paid to the instruction sheet
- Glue can be messy if you’re not careful
- Some minor gaps show
Final Thoughts
The Celia & Perah R1 or R2 speakers are here at the right time. They can be a great diversion for anyone stuck at home looking for a fun project. It can also be a great project for a parent and child to build together. Once either the R1 or R2 speaker is assembled, there’s a satisfaction that only comes with making something, even if it is just a kit with everything pre-cut and ready to glue. Also, it helps that the resulting speaker sounds pretty decent and looks really cool.
Price: R1: $100; R2: $150
Where to buy: Celia & Perah
Source: The samples for this product were provided by Celia & Perah.



Gadgeteer Comment Policy - Please read before commenting
Too bad it doesn’t do net radio, too.