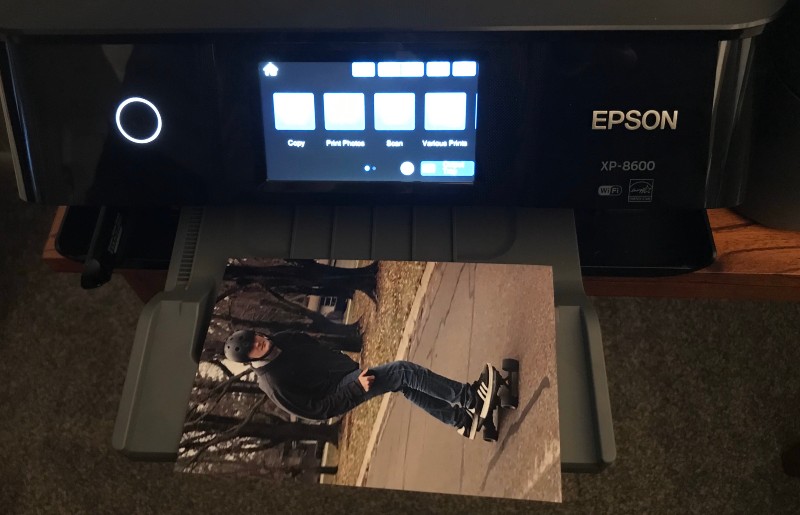
REVIEW – Do you have hundreds of photos on your phone that you don’t know what to do with? The Epson Expression XP-8600 photo printer lets you make professional-looking prints and photo gifts at home for a reasonable price.
What is it?
The photo printer connects to your phone, computer, SD card or USB thumb drive, and also makes copies. It can print onto 5×7, 4×6, 8×10, letter, legal and A4 sized paper, as well as make CDs. Features like making collages and calendars let you create your own photo gifts, too.
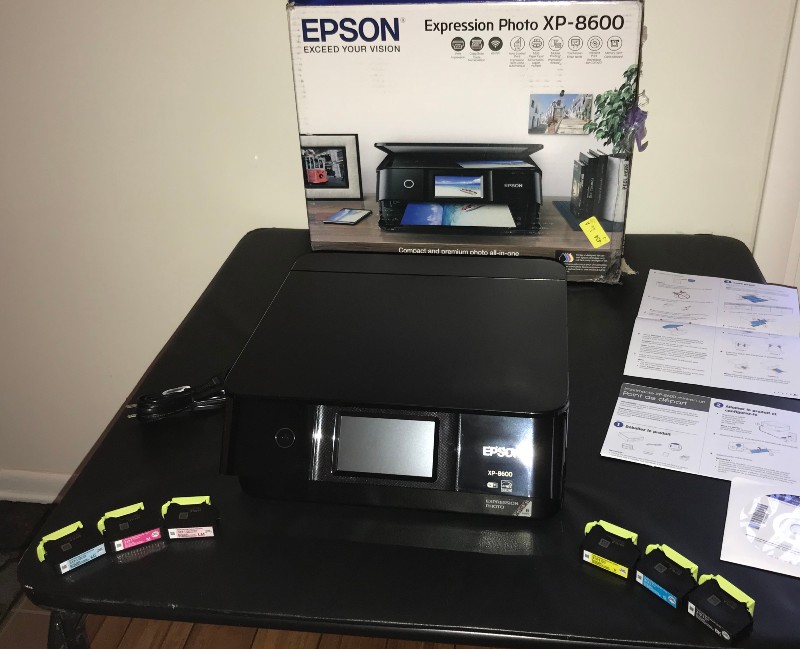
What’s in the box?
- Expression Photo printer
- CD-ROM for product setup
- Power cord
- 6x Claria Photo HD ink cartridges9 (1x black, 1x cyan, 1x magenta, 1x Yellow, 1x light cyan, 1x light magenta)
- Epson supplied photo paper and extra ink for this review. These are normally purchased separately.
Hardware specs
- Package dimensions: 19.1 x 16.5 x 8.5 inches
- Item weight: 14.8 pounds
- Shipping weight: 17.85 pounds (View shipping rates and policies)
- ASIN: B0828TLN3Y
- Item model number: XP-8600
- Ink: 6-color Claria® Photo HD inks
- Display: 4.3″ touchscreen
- Operating Systems: Windows 10/Windows 8/8.1/Windows 7; Windows Vista; Mac OS X 10.6 – macOS 10.14.x8
- Temperature: Operating 50-95° F; Storage -4-104° F
- Warranty: 1-year limited warranty in the U.S. and Canada
Design and features
Setup
Epson calls this a “small” photo printer. I wouldn’t look at it and think “huge,” but I also wouldn’t call it small. It’s 13.7″ x 20.7″ x 7.2,” which is just slightly shorter than my regular home printer (Brother HL-L2340D series).
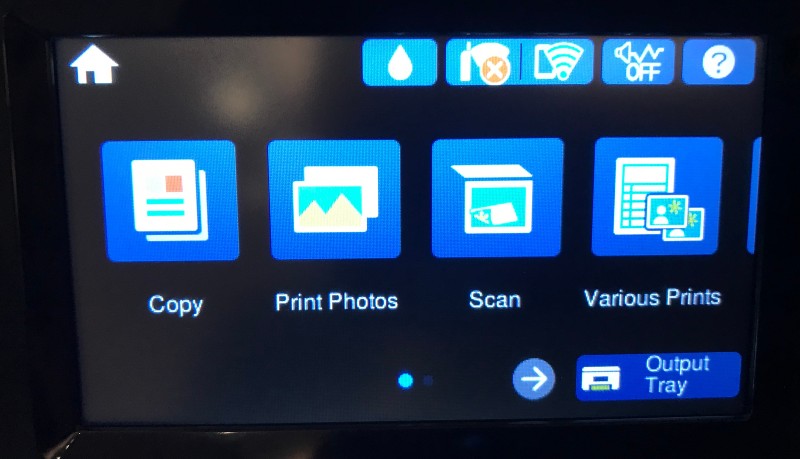
To set it up, first you unpack it and remove the tape and cardboard protecting it. When you turn it on, the 4.3” touchscreen display walks you through the setup. You lift up the scanner unit to set up the ink cartridges, and then unpack, remove the caps, and pop in the 6 cartridges.
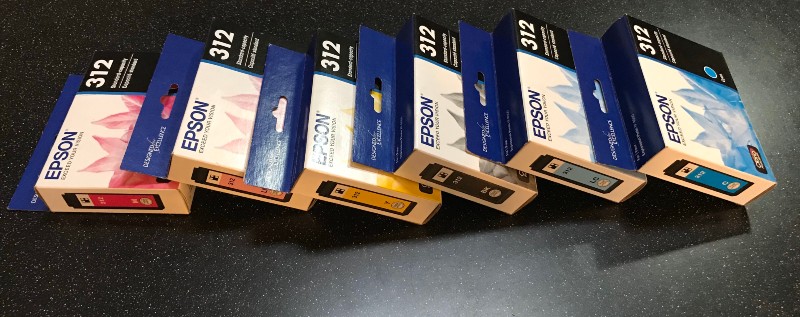
Note that this printer only uses Claria Photo HD ink (312 and 312XL).
The top paper tray is for 4×6 and 5×7 paper; the bottom is for 8×10, legal, letter and A4 paper.
Important note: Load the paper with the print side down. I made that mistake on the first photo we attempted to print. In fact, not only did I put the shiny side up, my excited kiddos touched it way too quickly. And then I thought, for some reason, that it would be smart to hang it to dry. Learn from my mistake and don’t do any of those things, OK?
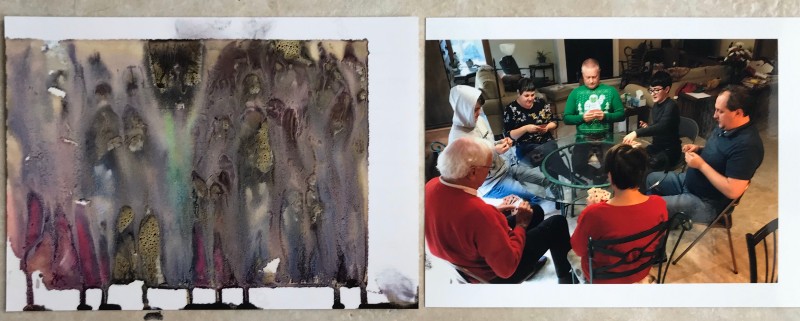
Above you can see the difference between that first attempt (left) and my second attempt (right) where I loaded the paper correctly and then just left it alone after printing. These are the same photo, believe it or not.
To connect to the wifi, ours paired automatically. However, you may need to enter your wifi password.
If you want to connect your Windows computer, you can use the CD that’s included. If you have a Mac or don’t have a disc drive, you need to install the product software online. I have a Chromebook, so I needed to use Google Cloud Print.
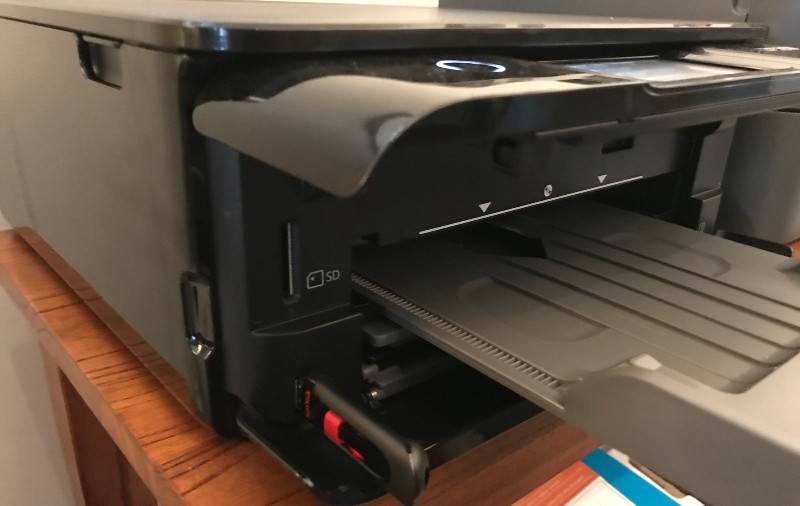
Or you can simply connect with your phone (iOS or Android v4.4 or later) via Bluetooth. Or use an SD card or thumb drive to transfer images.
Performance
Once I learned the hard lesson not to touch my photos too soon, I was impressed with the image quality. Nevertheless, I touched this black-and-white photo of my dog two hours after it printed (thankfully, I was carefully only touching the edges), and it still somehow got black ink on my fingers. So make sure to allow some serious drying time.

It printed extremely fast, too. Now, Epson’s website says it can print a 4×6 photo in 10 seconds and that’s a bit ambitious. But out of everything I printed—and I printed a lot!—nothing took more than a minute, and they usually clocked in around the 40- to 50-second range.
Here you can see the difference in matte (left) vs. glossy paper (right). I was happy with the results for both, it’s really personal preference.

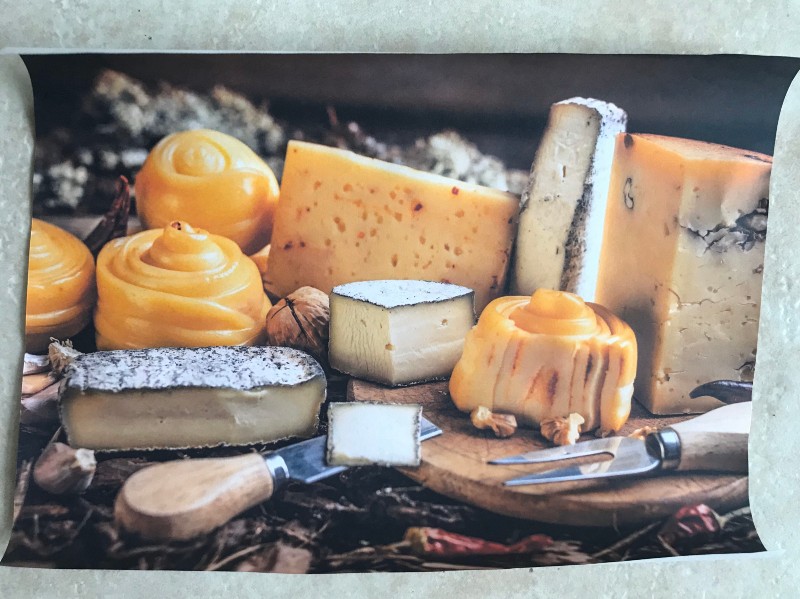
I included the photo below to show you how regular printer paper will curl if you try printing something like this with a lot of ink saturation. (Why the picture of cheese? You’d have to ask my kids.)
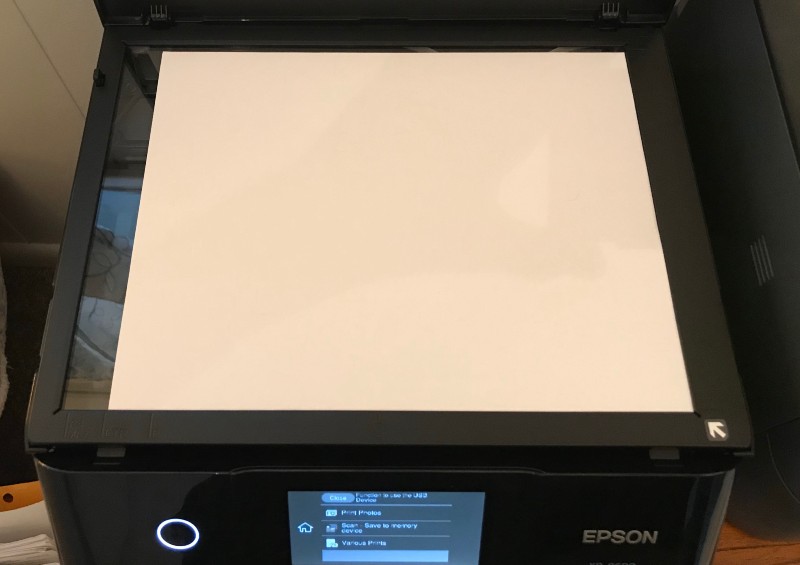
I don’t have another scanner in the house, so I used this to scan some sheet music from my son’s piano teacher and it worked like a charm. Just line it up in the corner with the arrow, like you would a normal copier. I like how the tray pops out when it’s printing, but you can tuck it back in when it’s not to save space.
Printing off my phone was very easy. The photos sometimes didn’t line up perfectly, so I’d have to trim the edges. But I later had better results when I used a simple editing app on my phone to trim the photos for perfect print-size dimensions.
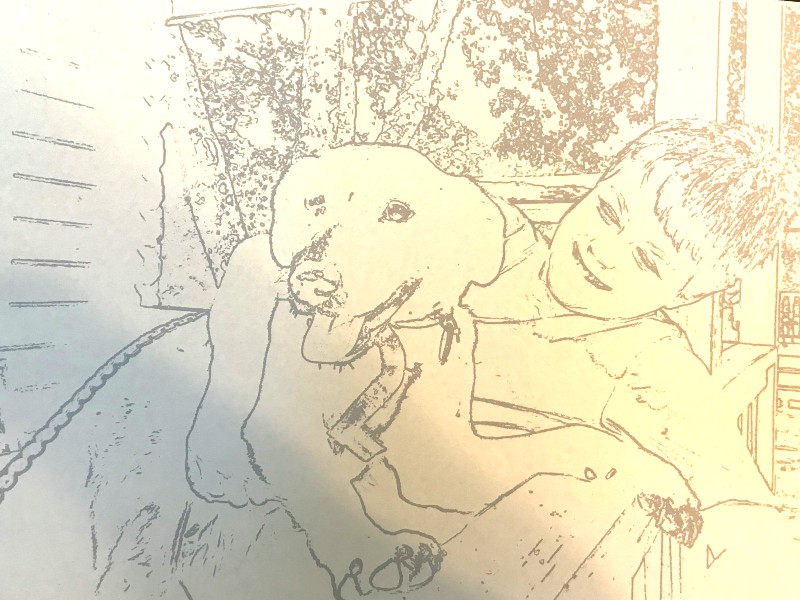
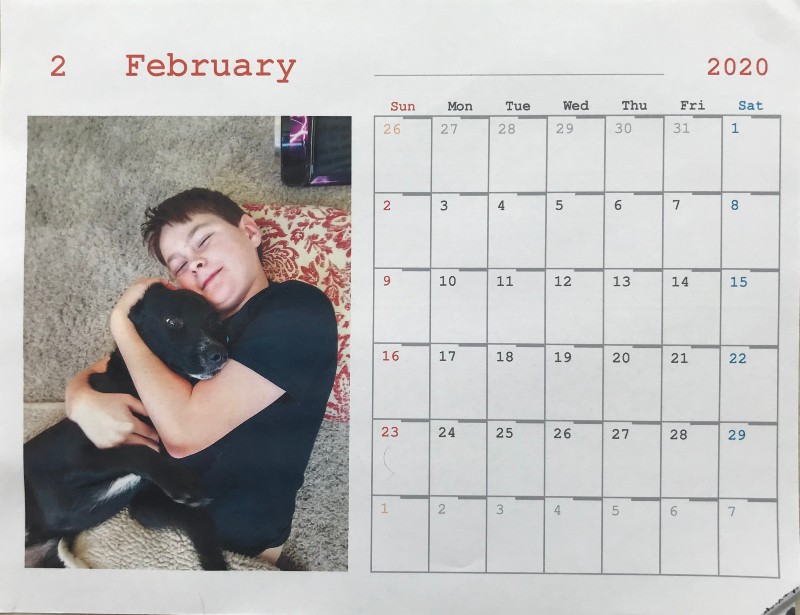
I really enjoyed the extra options. Using the memory stick to transfer pics downloaded from my Snapfish account, I clicked Various Prints from the menu touchscreen. From there you can design greeting cards or personal stationery (including schedules and calendar pages) or print a custom coloring book page (which prints the outline of your photo, shown below). This is also where you have the option to copy to a CD or DVD, and it even has the layouts to print your jewel case.
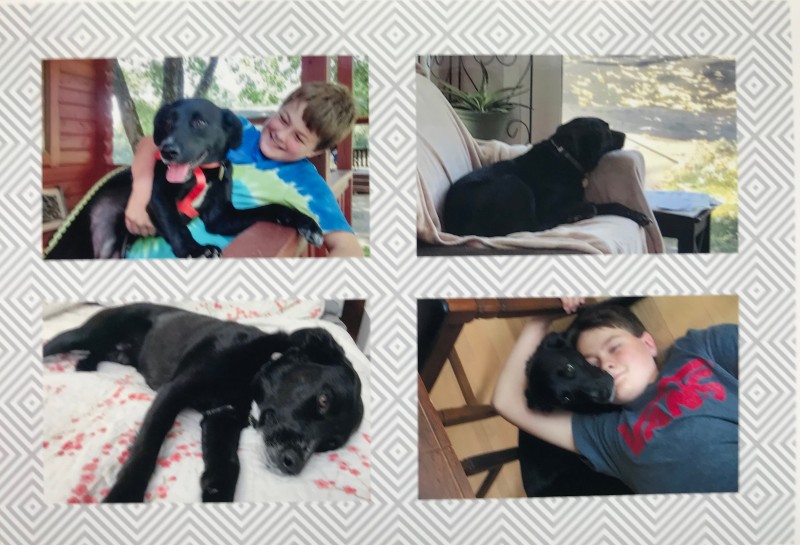
You also have the option, if you select Print Photos and then Collage, to create different multi-photo layouts up to 20 pics. The printer offers some simple backgrounds, like the design seen in my collage below, which I created right from the printer’s touchscreen. (If you want a more stylized collage layout, I’d suggest editing it with an app or photo editing program before you print it.)
I really didn’t expect all of these options and never intended to use this for anything more than printing some photos of my kids to mail to relatives. Now, however, I’m making my mom a custom birthday card, plotting out some silly valentines with inside jokes, designing a get-well card from my dog, and printing weekly schedules and monthly planner pages (with cute pictures of my kid, of course) to organize my work projects.
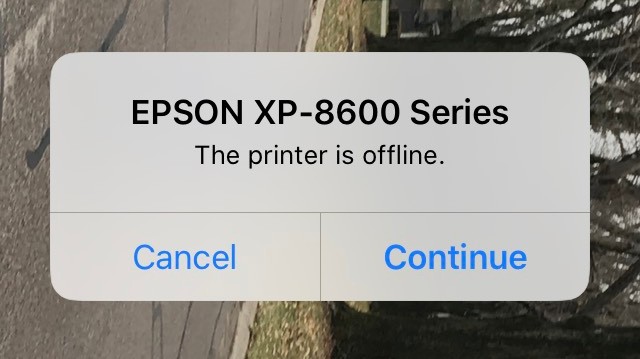
I only ran into two minor issues with this printer. Sometimes I got the message that it was offline when it wasn’t. And then a minute or two later my photo would print.
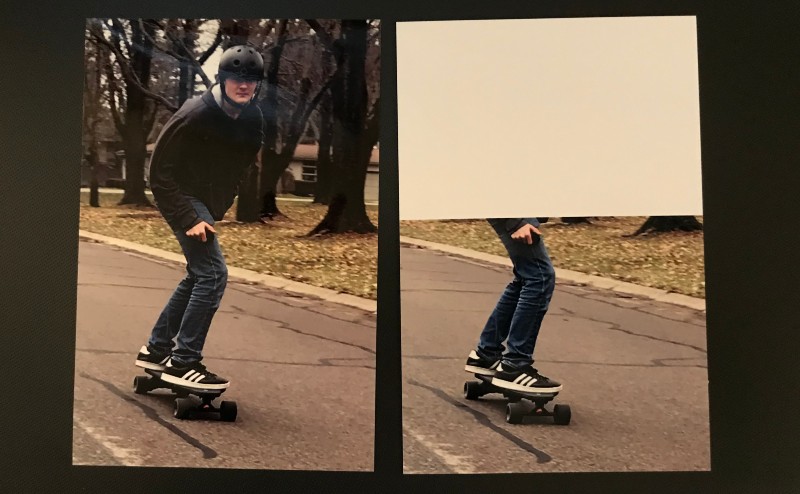
I also got multiple notifications that the paper was out…when it wasn’t. The trays are a bit touchy, and you have to load the paper just so. As you can see in this photo, clearly I did not load the paper correctly the first time I tried printing this photo.
The display screen does give some troubleshooting tips for paper-tray issues, so I’ve taken those to heart. Just be aware that it’s a bit finicky.
What I like
- Fast speed
- Photo quality
- Calendars and college options
What I’d change
- Fewer glitches with the printer trays
- More collage design options
Final thoughts
This is a great photo printer that does everything you’ll need it to and more.
Price: $249.99
Where to buy: Amazon
Source: The sample of this product was provided by Epson.


Gadgeteer Comment Policy - Please read before commenting
Hi , thanks for review. But I still have no idea what the average cost – paper & ink will be for eg a 6″ X 4″
The XL ink cartridges are $21.99 on Amazon: https://www.amazon.com/Epson-T312XL320-Magenta-Capacity-Cartridge/dp/B074R1K2TD/ref=sr_1_7
Standard capacity 312-size cartridges are $10.99: https://www.amazon.com/Epson-T312320-Standard-Capacity-Cartridge/dp/B074R2GSQP/ref=sr_1_14
Epson brand glossy 4×6 paper is $9.49 for 100 sheets on Amazon: https://www.amazon.com/Epson-Value-Glossy-Sheets-S400034/dp/B01BHL2Y40/
The cost for paper varies by size, glossy vs. high gloss vs. matte, the paper brand, package size, etc.