When I sold my 27 inch iMac a few years ago and switched to a 13 inch Macbook Air, it took me a little time to get used to having less screen real estate. For the most part I haven’t had too much trouble doing my work on the small screen. But for the last few weeks I’ve been testing a 29 inch widescreen LG 29EA73-P monitor sent to me from Misco.co in the UK and wow, now I feel like I can stretch out and I like it. Maybe I miss my 27″ iMac more than I thought I did…
Note: Images can be clicked to view a larger size.
Hardware specs
Screen Size Class (diagonal): 29″ Class (29.0″ diagonal)
Panel Type: IPS – LED
Aspect Ratio: 21:9
Resolution: 2560 x 1080
Color Space: sRGB over 99%
Color Depth: 8bit (16.7 million colors)
Brightness (cd/m2): 300 cd/m2
Contrast Ratio (DFC): 5,000,000:1
Response Time: 5 ms
Viewing Angle (CR≥10): 178º/178º
Panel Surface: Anti-glare
DVI-D In: 1
HDMI™ In: 2
Headphone Out: Yes
USB: 4 (1 USB 3.0 Up, 2 USB 3.0 down, 1 USB 2.0 Down)
Display Port: Yes
Monitor with Stand (WxHxD): 27.6” x 15.6” x 7.8”
Monitor without Stand (WxHxD): 27.6” x 12.5” x 1.9”
Shipping Dimensions (WxHxD): 30.7” x 15.6” x 6.3”
VESA Wall Mount Pattern: 100mm x 100mm
Monitor with Stand Weight: 12.8 lbs
Monitor without Stand Weight: 11.5 lbs
What’s in the box?
Power Cable: 1
MHL: 1
DVI-D Cable: 1
USB Cable: 1
PC Audio Cable: 1
S/W Install CD(PC, MAC): CD: Screen Splitter (S/W), True Color Finder (S/W)
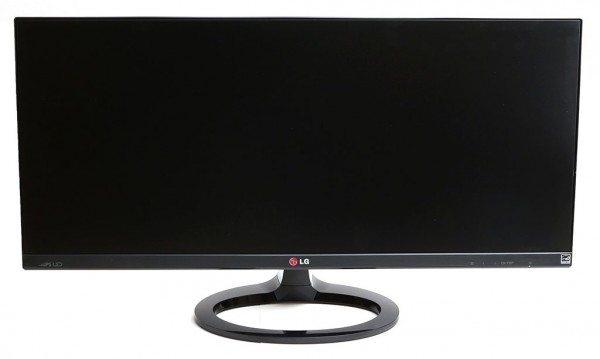
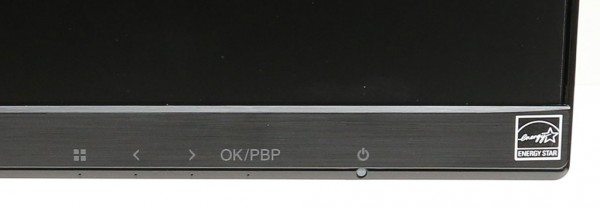
My first impression of this monitor was very good because I love monitors with very thin frames (bezels). The LG has an almost invisible bezel around the top and sides. The bezel at the bottom edge is wider, but that’s fine as it holds the control buttons that are located on the bottom edge facing down. This are touch sensitive buttons that require very little pressure. Actually, that’s an issue with them because they are so sensitive that even slightly brushing the buttons to adjust the display will activate them. From left to right, there are buttons to bring up the menu, adjust volume / scroll through menus, OK/PBP and power. The power button has a bright red LED that can be toggled on and off in the settings if it bothers you. The same goes for the beeps every time you touch a button.You can turn that off too.
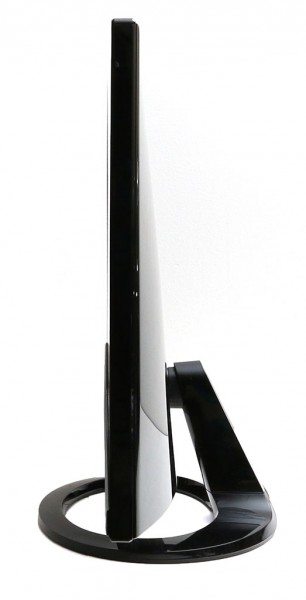
The LG 29EA73 has a nice thin profile that is narrow at the top and become slightly wider at the bottom. The base has to be attached to the monitor with the included hardware. The base does not allow for up / down adjustments, just screen angle adjustments.
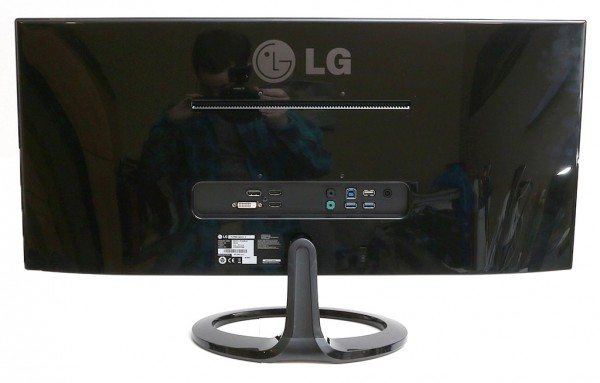
The side, top and back of the monitor is made of shiny black plastic that will show fingerprints, smudges and dust. Luckily that’s on the back where you normally don’t look 🙂
The back also has 100mm x 100mm VESA wall mount sockets and the A/V connection panel.
You can connect the monitor to your computer or other devices using the Display Port, DVI-D or one of the HDM ports. There is also an audio input, headphone jack, USB host, 1 USB 2.0 and 2 USB 3.0 ports. The USB hub feature is nice, but the location of the ports make them less than convenient to use.
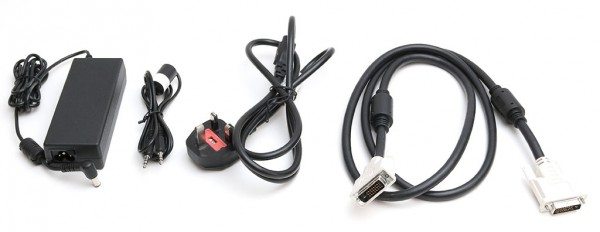
Included with the monitor is a DVI-D cable, audio patch cord and the AC power brick. According to the LG website, a USB cable and a HDMI cable are also supposed to be included in the box. Mine didn’t come with those two cables. The only thing I can think of is that they were misplaced when the folks at Misco opened the box to test the monitor before sending it to me. Since this monitor was sent to me by a UK based company, it came with a non-US power cord.
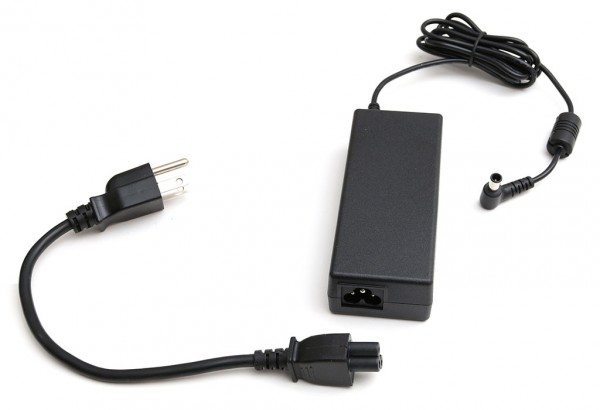
I replaced the UK cable with a really short power cable that I ordered from Amazon for just a couple of dollars.
I tested the monitor with a 2013 Macbook Pro w/Retina display. Before receiving the monitor I read some posts from users about not being able to get their Macbooks to display at the max resolution. They suggested some adapters that would be needed, so I ordered them in anticipation for the review….
For my first test I used an HDMI cable and a Bluerigger Thunderbolt – HDMI adapter (that I purchased through Amazon) plugged into the MBP Thunderbolt connector and the HDMI 1/MHL port on the LG.
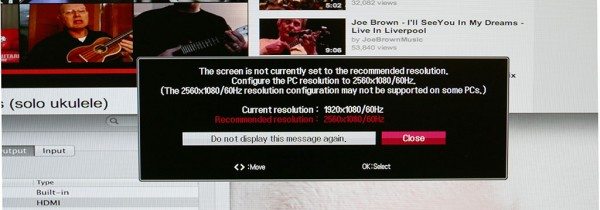
This is the message that I saw when I turned on the monitor. The max and recommended resolution for this monitor is 2560×1080, but with this connection mention it can only display 1920 x 1080 stretched.
Other than the fact that the screen was stretched, everything appeared bright, vivid and crisp. Not Retina display crisp, but still nice.
I did notice that although sound comes through HDMI cable and plays through LG’s speakers, there is no master volume control and volume buttons have no effect on the sound. You either have to use the volume buttons on the monitor or change the volume in each app.
I tried using the HDMI 2 port with the same HDMI cable and Bluerigger Thunderbolt – HDMI adapter. The results were the same as before: 1920 x 1080 max resolution stretched.
Then I connected the HDMI cable to the HDMI port on the MBP and the HDMI 2 port on the LG. There we go… when connected HDMI to HDMI, the monitor displays at 2560 x 1080 resolution with a great edge to edge picture. I had the same issue with not being able to adjust the volume using the MBP keyboard keys, but more on that in a minute.
For my last test I used the DVI-D cable included with the LG and connected it to an Apple Minidisplay port to dual link dvi adapter that I purchased through Amazon. This resulted in a 2560 x 1080 picture but no sound, so I went back to using HDMI to HDMI for the rest of the review. I’m not sure why some people have had problems getting the LG to display at 2560 x 1080 on Macbooks without using an adapter. Maybe there was an issue that was resolved with an OS update since they tried it.
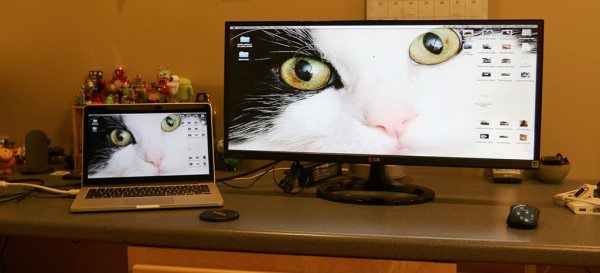
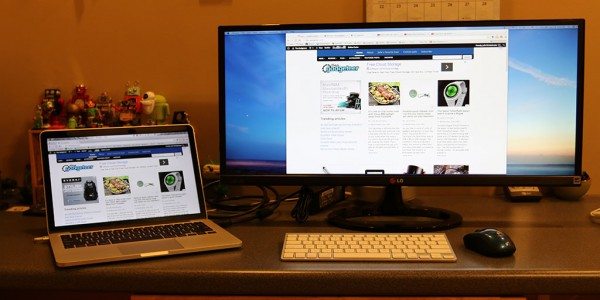
You have two display options when connecting an external monitor to a laptop. One option is to mirror the laptop’s display on the external monitor like you see above. You can even close the laptop and it will continue to display on the monitor. With this setup, it’s best to have an external keyboard as well. I used an Apple wireless keyboard.
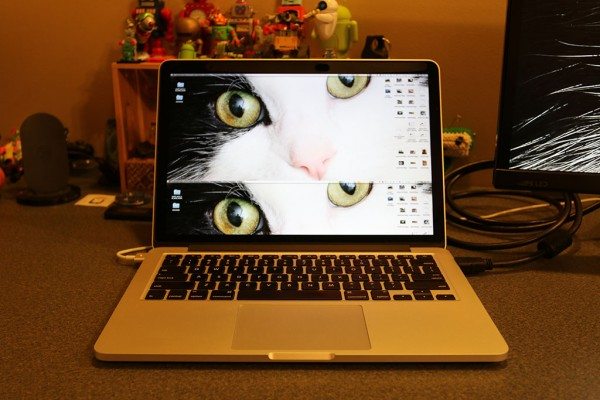
With mirroring, I sometimes noticed a weird graphics glitch on the MBP. This glitch was not duplicated on the LG monitor.
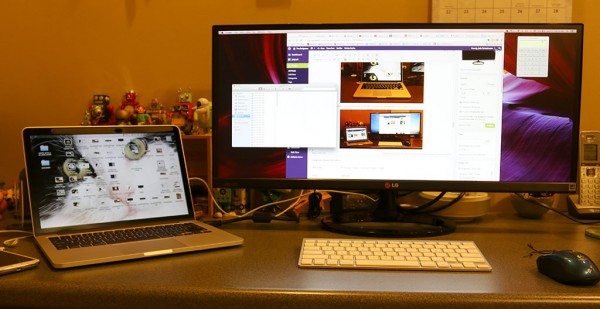
You can also extend your laptop’s display so that you can use both displays. This is my favorite way to use an external monitor. I can keep certain apps open on the MBP while I’m doing work on the LG.
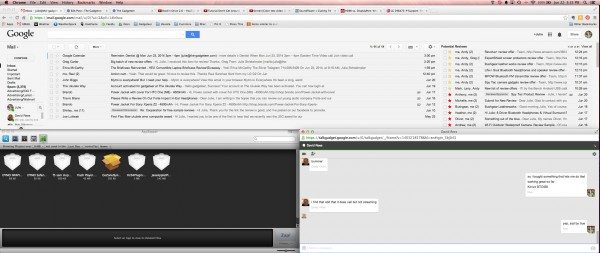
I mentioned at the beginning of the review that the LG allows me to feel like I can stretch out. That’s because I usually have my apps full screen on the 13″ MBP. In the image above you can see my browser in full screen on the MBP and then another browser window open on the LG. Much roomier and allows you to read more without having to scroll.
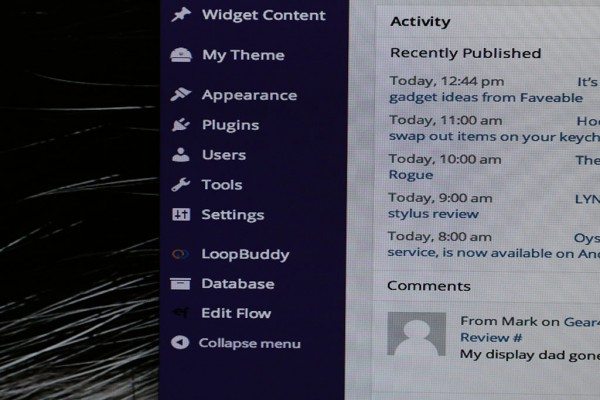
I mainly used the monitor for my every day computing tasks which include surfing the web, editing images in Photoshop, watching YouTube videos and writing reviews. I’m not a game player and since my MBP does not have a DVD player, I didn’t watch movies either. For everything I used it for, it worked very well. The whites are white, the blacks are very black and the text is sharp and easy to read. It’s really nice to be able to have two apps open side by side like a web browser and an text editor. I can see that this monitor will come in very handy next year when I am working on my taxes and need to read through bank statements with a browser and enter data into a spreadsheet. In the past I’ve had to flip back and forth between screens which gets old real fast.
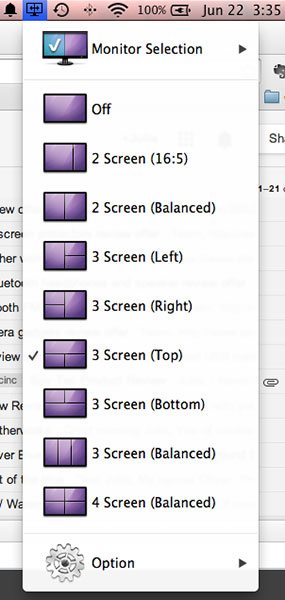
The LG can also do split screen with the installation of an app that separates the display into 2 to 4 panes.
The split screen app works fine on the Mac but I’d rather just resize the windows/apps on my own instead of hard wiring them.
Speaking of split screens, the LG can also do PBP (picture by picture) which means you can connect 2 computers or 2 video devices and view them side by side on the screen at the same time. I wasn’t able to test this because one of the sources has to use the DV port and I did not have a DV cable to test with.
Here are another couple of images showing some of the menu options via the touch controls.
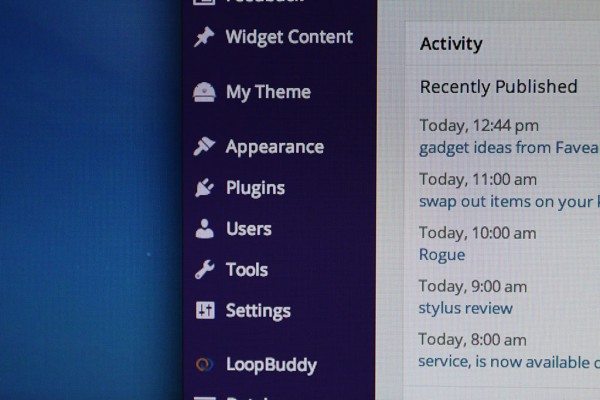
You’ll notice in the image above that there is a main audio setting and it’s set to HDMI. As I had mentioned earlier, with HDMI connections, you can not control the volume through the computer. You have to control it through the monitor or in each app. To get around this issue, I downloaded a free Mac OSX app called Soundflower that allows you to regain volume control. It works pretty well, but seems to forget the settings each time you toggle power to the monitor.
The LG does take up significant space on my desktop, but now that I’ve had the chance to use a large monitor again, I will probably continue using it for awhile. It’s just so nice to be able to see and use more than one app at the same time.
The LG 29EA73 has an MSRP of $599.99, but through Misco it is priced at £265.83 = $452.38.
Update 02/05/15
I’m still using this monitor everyday with my MacBook Pro connected through HDMI routed through my LandingZone DOCK. Put it in the dock and I now have 29 glorious inches of screen space. Take it out of the dock and I’m off to couch surf. The only thing that would make this monitor better would be if it had a retina display 😉 But I’m happy as it is.
Updates 05/02/16
I’ve been using this monitor daily for almost 2 years now and for the most part I am still happy with it. The biggest gripe that I have is that I can’t easily adjust the volume levels by using the volume keys on my Apple wireless keyboard. I had tried an app called Soundflower, but it was glitchy so I stopped using it. Changing the volume using the touch controls on the monitor is a pain because you have to go through the menus to do so and they are pretty touchy. I wish there was an easier solution.
Updates 04/13/18
After using this monitor for almost 4 years, I’ve updated to a new Benq 27″ monitor which I’ll be reviewing soon. The LG was/is still a great monitor and I’ve given it to a friend who plans to use it for his photography business.
Source: the LG 29EA73 review sample was provided by Misco.co.uk.




Gadgeteer Comment Policy - Please read before commenting
@Julie: have you had a chance to try the dual input PiP? If so how well does it work? This would be very useful to me. Also do you think using this in portrait mode would be ridiculous? Hard to know without seeing in person. I love using portrait mode when working with code. See tons at one time.
@Andrew I haven’t tried PiP but will try to do so and update the review this weekend.
Andrew I tried to test the PiP feature this morning, but found out that one connection has to be the full sized display port on the back of the monitor. I don’t have a display port cable… I just have DVI and HDMI cables. Not sure why it won’t allow you to PiP two HDMI connections or an HDMI and DVI. Sorry, I tried…
The Monitor does not give crisp clear text consistently. Here is a sample image, the text is inconsistent. http://imgur.com/Lybx6mw and here is another showing a res comparison – http://imgur.com/tPuuteh the monitor is going back.
great post, what software did you use to split the screen on mac?
@jonathan I think it was this one: https://itunes.apple.com/us/app/split-screen/id453757310?mt=12
I stopped using it and uninstalled it, so I’m not for sure.
I’ve had this monitor for 2 years now and noticed the front bezel is starting to separate from the monitor near the LG logo in the middle. Is yours doing the same thing?
No, I’ve not noticed that with mine. I still use it every day and it’s as good as new. I don’t move it around much at all though.