I love photography. There is seldom a moment when I am not at work and there isn’t a camera in my hand. Like all photographers, I go through camera bags like crazy. What works for one application somehow doesn’t seem to work for another. I have used such camera bags as the Billingham Hadley Pro and the Thin Tank Photo Urban Disguise 50 and still keep a Roadwired Podzilla to hand when all I want to bring is my 5D Mark III with the 24-105L lens and cleaning equipment and maybe a remote. My main problem has been finding a bag that will work with all of my gear when it comes to my annual storm chasing expedition. I’ve gone through ten bags in the last ten times out chasing and none of them have really gotten it done.
So now Naneu has come out with a bag that might very well be the best solution I have seen so far for travel photography, the Urban Gear U60!
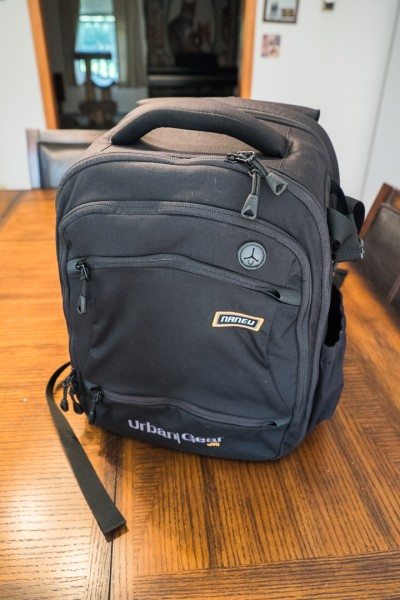
There has been a surge in “urban” camera bags over the last couple of years; bags that don’t look like typical camera bags. ONA Bags has a whole line of top-notch bags that blend in without giving passers-by the slightest inkling that expensive camera equipment lurked within. Does this bag work? Well, I brought it over to show my dad and he said “I thought you were reviewing a camera bag! Isn’t this just a backpack?” Mission…accomplished, at least where my dad is concerned.
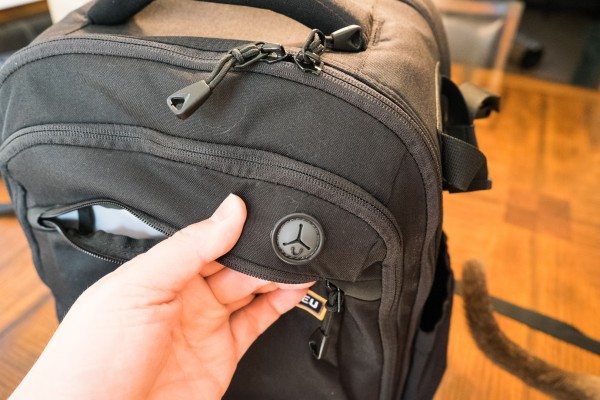
As you can see, the bag has a nice, thick padded handle on the top. I am not convinced that the attachment point where it’s sewn into the bag will hold up to the long haul, I intend to be very cautious in using it as a carry handle on a regular basis. There are four flat pockets in the front of the bag. You can fit a fair bit of gear in here but be careful not to overstuff them if you want to slide this thing under an airline seat. It’s not hard to exceed the 9″ thickness set by most carriers as the maximum thickness for personal item carry.
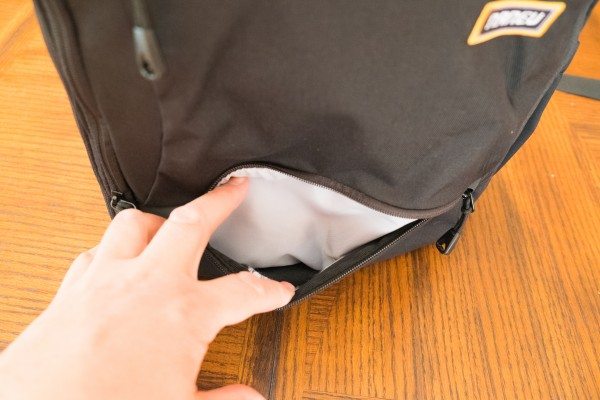
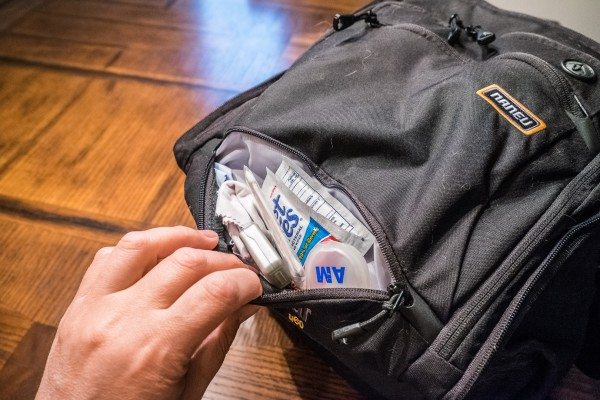
The small pocket at the bottom front of the bag has no interior organization but is perfect for putting those small items, like a small pill container, cleaning fluid, Q tips, wet wipes, dental floss and the like. Here is that pocket stuffed with just those things:
I could probably get a little more in there but I want to be able to find things. Next up is the shortest of the large flat pockets.
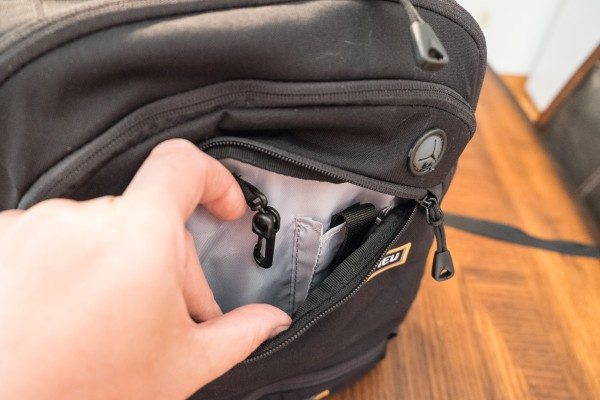
This pocket has a key clip, to which I have attached a small LED flashlight, a media player pocket with Velcro strap to secure the player (I keep my business cards in here) and, as you can see, a typical rubber weather-resistant port for headphone cords.
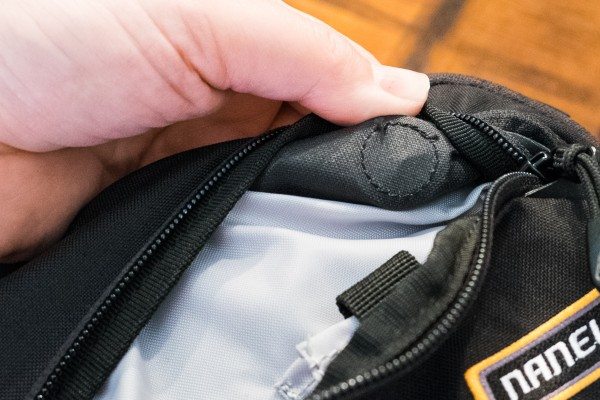
Here is a closeup of that headphone port. Looks great, but on my review bag there was one teensy weensy defect:
Whoops. I could probably cut the openings myself and this is probably just a quirk but I found it to be quite humorous when I first saw it.
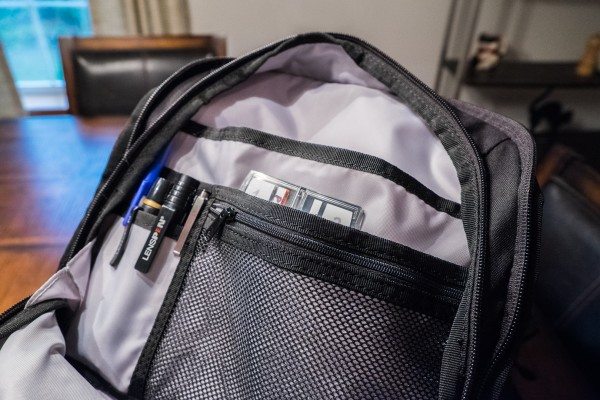
The last pocket is the largest, going the whole depth of the bag. The slash compartment in the back does not go down all that far and you could probably fit an iPad Mini in there, it’s probably best suited for papers. The pockets don’t really have much give where depth is concerned. Here’s how I filled out this pocket:
Two LensPens and two regular pens, a caddy for ten SD cards and the panel in the back holds the directions to my lightning trigger.
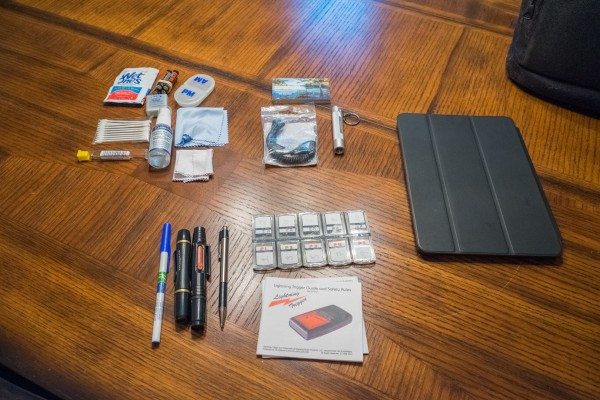
Here’s what all of the front three pockets hold, in total:
Front pocket: pack of q-tips, lens cleaning fluid, two microfiber cloths, pill case, four AAA batteries, dental floss and an eyeglass screwdriver kit. (upper left)
Center pocket: micro LED flashlight, extra cable release cable and business cards (top center)
Back pocket: two pens, two LensPens, SD card caddy and instruction booklets (bottom)
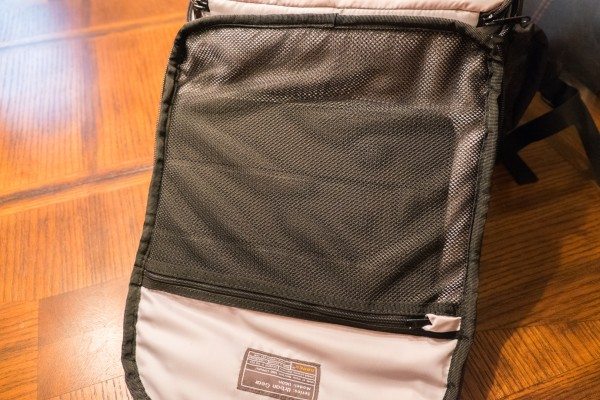
What the heck is an iPad doing there? Well, there are a couple of places in this bag where an iPad can be fit. Here’s one of them:
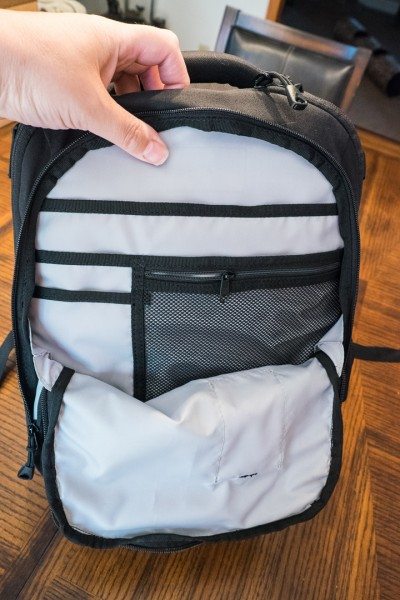
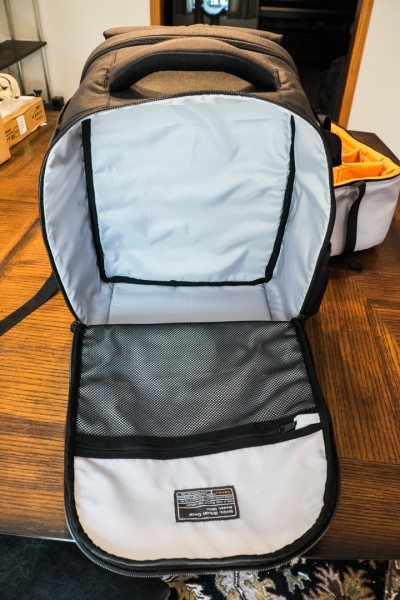
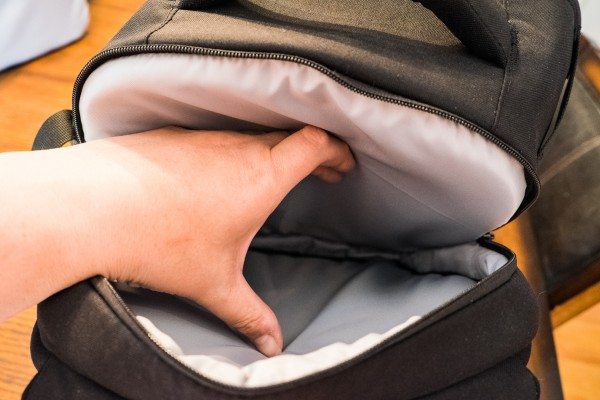
Yep! When you open the front flap that leads to the main compartment, behind the front three pockets, there is a fairly large mesh pocket. I’d keep this as flat as possible to avoid a small problem I’ll show you later that can happen if you over stuff this bag. There is an even better place if you have an iPad Air to keep it, details in mere moments!
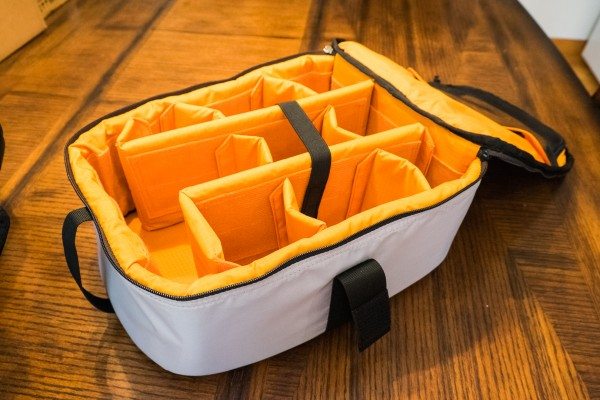
OK, now on to the business end of this bag, the insert. It is completely removable, so you can take advantage of cavernous space if you don’t want to use this as a camera bag:
But the insert is something you’re not going to want to leave behind. Ever. My first impression was “meh” until I got to really play with it and I have to say I like it a lot. There isn’t a cubic centimeter of wasted space here.
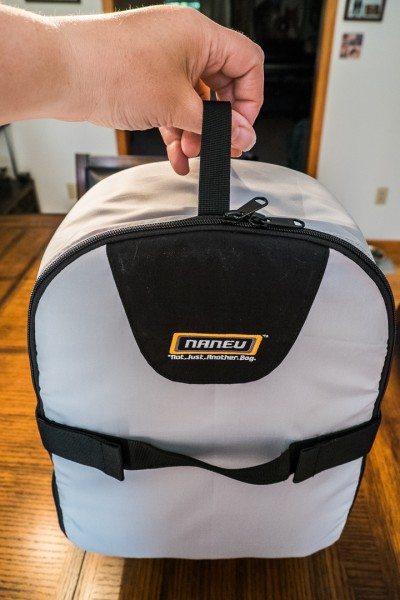
This is the outside of the bag. There is a carry handle on the top flat part of the insert to make it easier to pull it out of the main bag. There are also Velcro straps that attach to either side. More on that in a moment.
Here is how the dividers are configured when you get it fresh out of the box:
There are two main stiff padded dividers that run vertically through the bag to hold your dSLR with up to…well, a much longer lens than I own. There are also six padded dividers that you can remove to configure the compartments to your heart’s desire. They are not the thickest pads I have used nor are they the thinnest. They are very serviceable. There’s also a band that goes over your camera’s lens that attaches on one side with Velcro for securing your camera further.
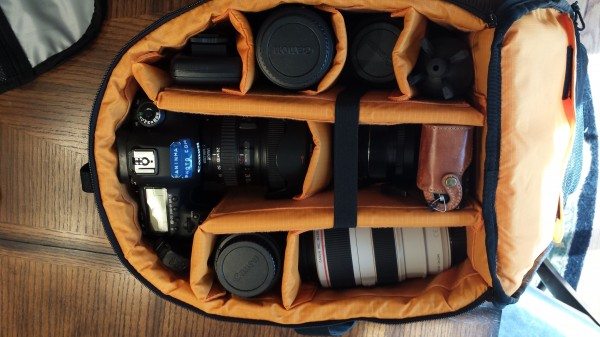
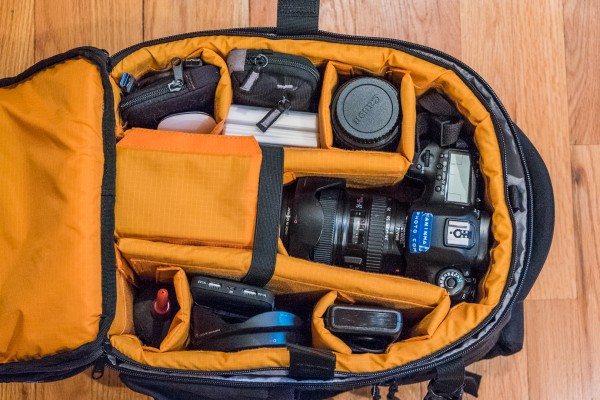
OK, so what does this look like loaded for bear?
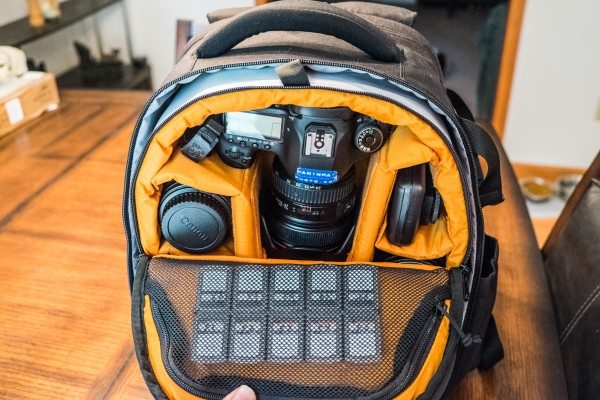
This was my first attempt to stuff this compartment. 5D Mark III + 24-105L (hood attached in reverse) on the center left with a Fujifilm X-E2 with 18-56mm kit lens on the center right. On the top, from left to right are my lightning trigger, 100mm macro lens, 50mm lens and Rocket blower. On the bottom, from left to right are the 17-40L lens and the 70-300L lens. This thing was actually loaded too thickly here because when I tried to zip up the bag, this happened:
Couldn’t quite get it to close. So do be careful about over stuffing this bag, it does have its limits.
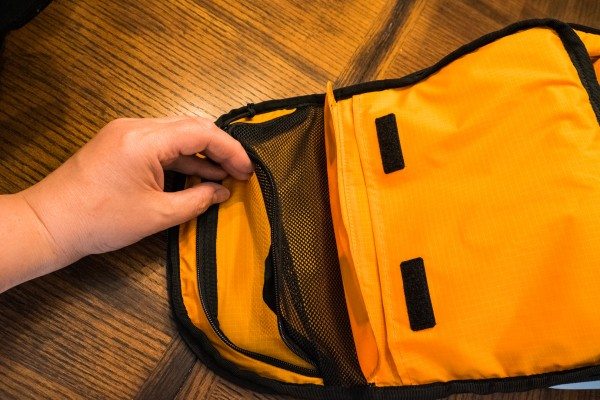
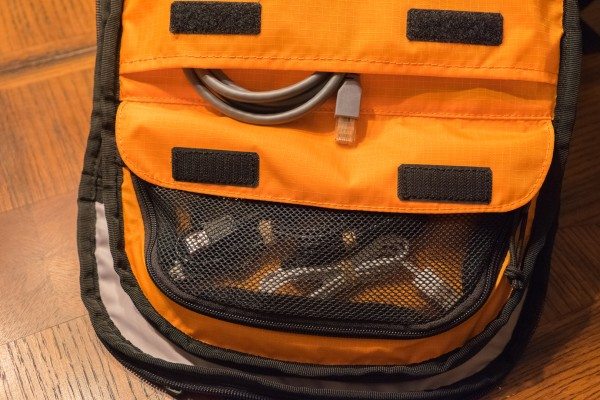
There are also two flat pockets on the inside flap of the insert:
I have stuffed them thusly:
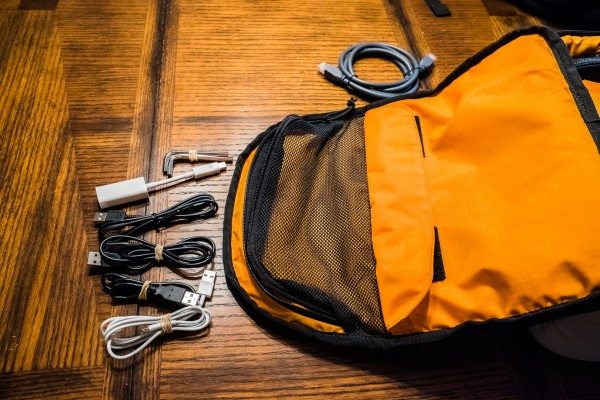
And here’s the sum total of what I have stored there:
I could have fit more with little trouble. Three USB to USB micro cables, a Lightning connector for the iPad and an Ethernet adapter for my MacBook. Also the hex wrenches for adjusting my tripod legs. That’s what’s in the mesh pocket. In the large envelope-like pocket I stored, for the purposes of this photo, an Ethernet cable. That flat pocket is actually the perfect size for an iPad Air with Apple’s own case.
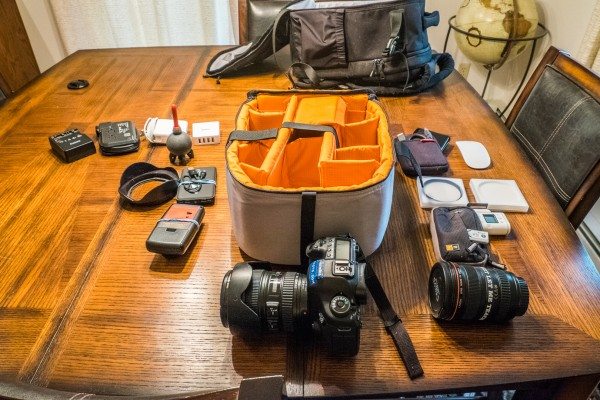
So what gear do I have in the insert that will be taking the epic storm chase this summer? So glad you asked. Here’s the layout, which is not overstuffed and allows me to close the bag with no problem at all:
Along the top, from left to right are, in the first compartment, a USB hard drive and Apple Magic Mouse. In the second compartment are two cases for filters and the Sony Action Cam AS-100v with a spare battery in a pouch. This will be for taking wide-angle time-lapse videos of storms. In the last compartment is the 17-40L lens, my favorite for wide-angle storm photography (but only because I can’t afford the 16-35 f/2.8L).
Along the bottom, from left to right are, in the first compartment, a rocket blower. Then comes a 7000mAh battery pack for recharging my phone and Sony cam along with the lens hood for the 17-40 lens. In the last compartment is the lightning trigger and remote cable for taking daytime lightning shots.
In the center, covered by a spare divider, are all of my power adapters. A Kensington travel charger with three AC and two USB outlets, the charger for my dSLR, my MacBook Pro 13R adapter and an Anker four-port USB recharger hub. And, of course, on the center right is Charlie, my dear Canon 5D Mark III.
And here’s the obligatory “look how much stuff I can fit in this thing” shot with all gear removed:
Remember that pair of Velcro straps on the top of the insert? Well, they are to secure the insert so that you can open the insert flap halfway and have quick access to your most-used gear. My camera is not easy to remove but that’s due to the lens hood I keep on the lens. This allows you to remove your camera from the bag without having to open the bag all the way. This bag is not a fast-access bag no matter how you slice it but this does help to some degree.
But wait! We’re not done with the tour of the storage options this bag has to offer! So we’ll leave the insert behind and go one more step to the back of the bag!
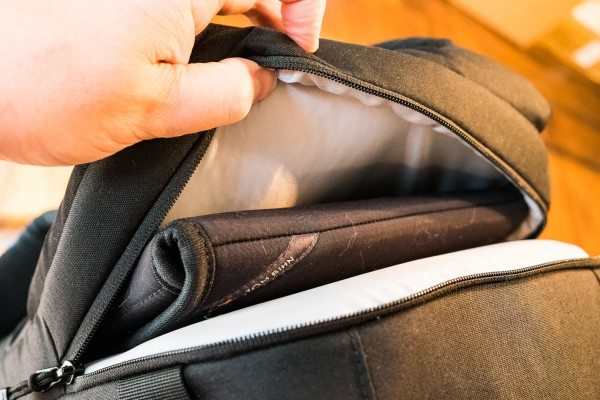
This is the laptop compartment. It’s supposed to fit a 13″ laptop and it swallows up my 13″ MacBook Pro Retina like Jonah in the proverbial whale. Even with the Tom Bihn laptop slip case there still seemed to be more room!
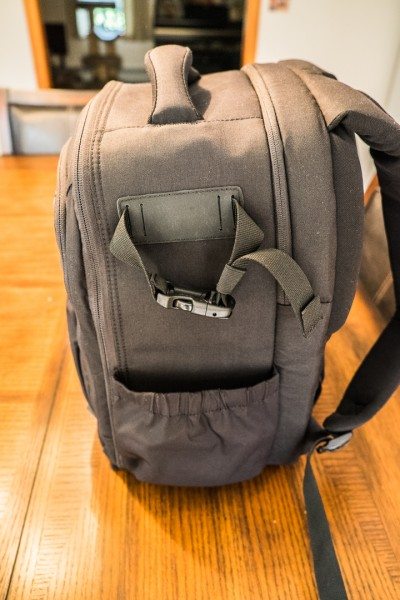
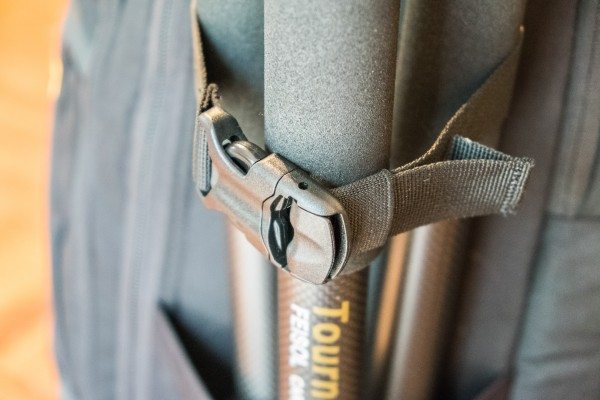
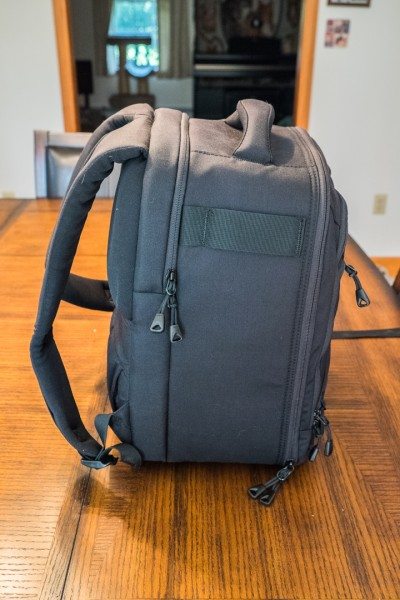
And, on the side, there is what looks like a large water bottle holder. Sure, you can use it for that but if you look higher, you’ll see a loop strap with a nifty locking feature to prevent the strap from loosening.
This is to fit a small tripod! It actually works quite well, I have a Feisol Tournament carbon-fiber tripod with Acratech head that fits perfectly into this. I would make one suggestion to the company for future improvement here…a drawstring on the pouch on the bottom to be able to more snugly secure the tripod at the bottom. When used as a bottle holder, it has no problem holding a 32-oz sports drink bottle.
On the other side of the bag is a single band across the top with no apparent purpose…looks like an attachment point. I will probably use it to attach my packable rain jacket with a carabiner. Look at all that wasted space on the bottom of this side…would have been a great idea to put another bottle pouch on this side to free the other side up with the tripod.
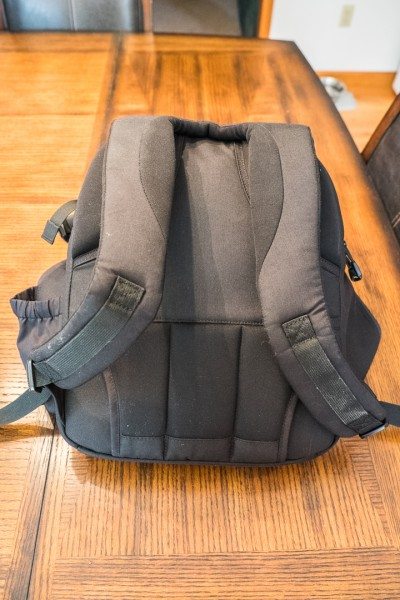
Finally, we conclude this front-to-back tour of this bag with the shoulder straps. The straps are well-padded and comfortable and there is thick padding to cushion your shoulder blades.
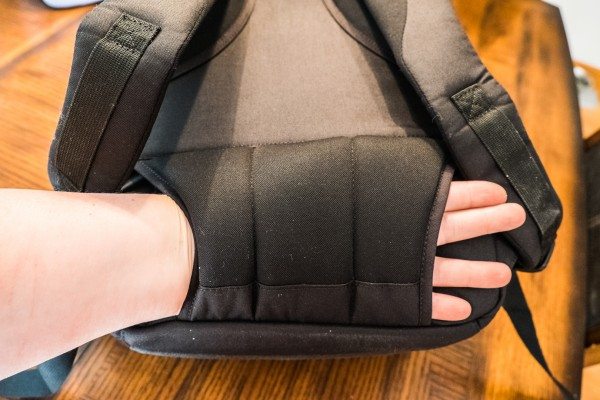
A major oversight here was the omission of a chest stabilization strap or a waist strap. When loaded out, this baby weighs about 24 pounds. This can be a stress on the shoulders, even with the nice padding. There is this odd loop on the bottom of the bag
That looks like it might be usable with a mesh belt to help hold it on to your back. No such belt is included. Maybe it would detract from its disguise as a normal daypack, I don’t know.
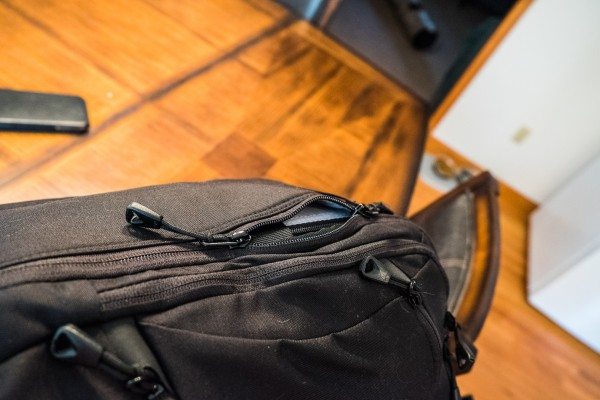
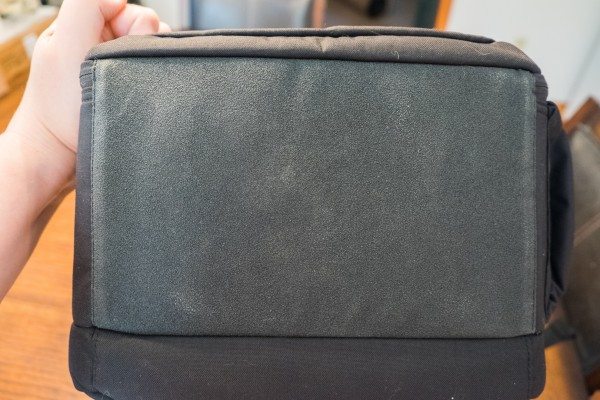
So, there you have it! The bag is made with water-resistant 500D Kodra nylon (a rain shell cover is also included with this bag), the zippers are all taped and the ends of the zipper tracks are protected by little fabric pouches. The bag itself is a serious lint magnet and attracts every little piece of dirt, debris or cat fur it comes into contact with. The bottom has a rubberized layer:
Which is non-slip but there are no feet. Feet might have blown this bags’ cover, though.
Full of organizational features, loaded with pockets, very well-padded and comfortable, the bag measures 9″ deep by 12″ wide by 15.5″ high (including the carry handle) and should have no problem slipping under the seat on a plane. I won’t have the chance to check that out until this summer but you can bet that this will be the bag that hauls my gear as I chase violent weather across the Great Plains.
Available from Naneu Bags in either blue or black for $129. It seems to be on order at the time of the writing of this review but keep checking back.
Update 12/10/14
I was all set to use this as my storm chasing gear bag for last summer’s storm chase but ended up bringing the Thinktank Photo Urban Disguise 50 instead. The difficulty of accessing the camera equipment in a hurry decided that. Next year I have my eye on a nifty PacSafe camera hydration pack because I’m going to do some hiking in the Arizona desert before the chase.
Source: The sample for this review was provided by Naneu Bags. Please visit their site for more info.
SD Card Reader for iPhone iPad, Oyuiasle Digital Trail Camera SD Card Viewer with Dual Slot for MicroSD/SD, Lightening&USBC Dual-Connector Memory Card Adapter for Photography, Plug and Play
(as of February 18, 2026 18:06 GMT -06:00 - More infoProduct prices and availability are accurate as of the date/time indicated and are subject to change. Any price and availability information displayed on [relevant Amazon Site(s), as applicable] at the time of purchase will apply to the purchase of this product.)K&F CONCEPT 4-in-1 Camera Lens Cleaning Kit with Lens Cleaning Pen, Camera Air Blower, Microfiber Cleaning Cloth, Lens Cleaner Kit for Canon Nikon Pentax Sony DSLR Camera Lens Filter Cell Phones
(as of February 18, 2026 18:06 GMT -06:00 - More infoProduct prices and availability are accurate as of the date/time indicated and are subject to change. Any price and availability information displayed on [relevant Amazon Site(s), as applicable] at the time of purchase will apply to the purchase of this product.)Product Information
| Price: | $159.99 |
| Manufacturer: | Naneu Bags |
| Requirements: |
|
| Pros: |
|
| Cons: |
|




Gadgeteer Comment Policy - Please read before commenting
Banana for scale? In other words, how big is it in relation to a person of known height and proportions? 🙂
How well do you think this bag would hold a camera with a grip on it? I have a 5d Mark II with a grip and also a 1DX. Do you think it would make the top of the camera stick out of the bag too much?
I’ll try to get a photo of it on my back…beware, though, my back and bottom are fatter than the average human’s. Lynn, , the pack does not have enough depth to handle a gripped pro body.