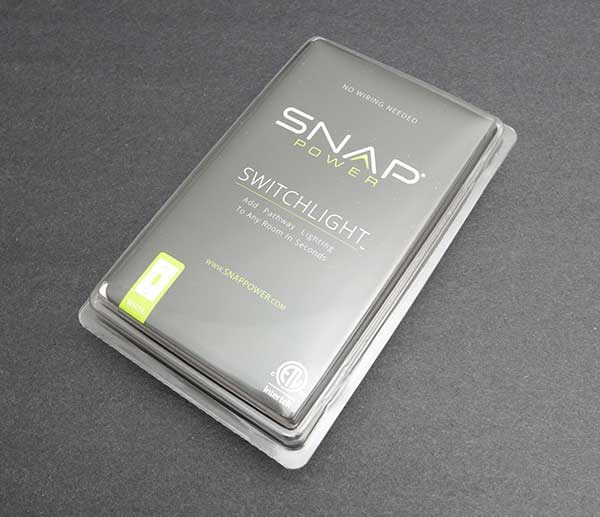
I love products that are simply designed, simply packaged, and easily installed. Products from SnapPower tick all three of those boxes. Three years ago I reviewed their GuideLights outlet covers plates which I still use today and today I’m going to show you their newer SwitchLight covers.
What is it?
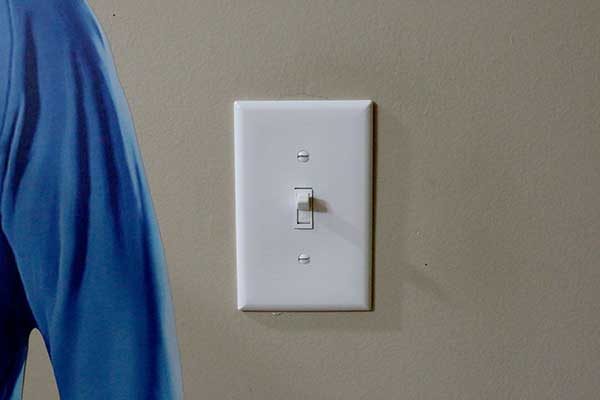
The SnapPower SwitchLight is a cover that turns your ordinary switch light cover into a night light without any special wiring, batteries or a complicated installation.
What’s in the package?
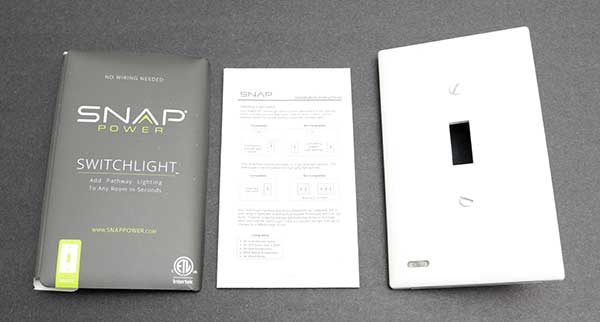
SnapPower SwitchLight
Instructions
Design and features
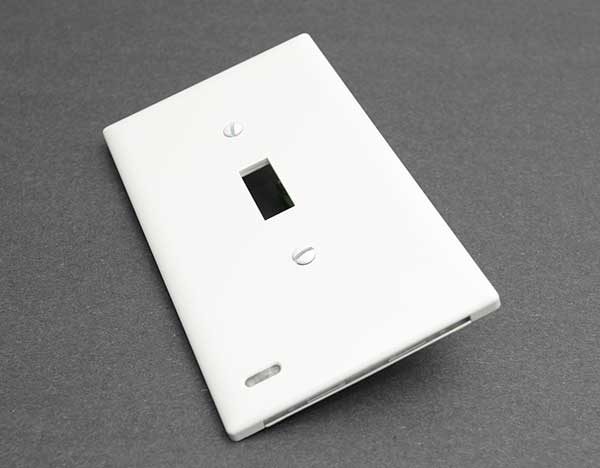
SnapPower SwitchLights are available in two styles that include the Toggle style and a Decor style. They also come in white, light almond, and ivory colors. I was sent a Toggle style in white.
The SwitchLight looks like an ordinary switch light cover until you look closely. Then you’ll notice the small switch / ambient light sensor in the lower left corner and a row of LEDs along the bottom edge of the cover.
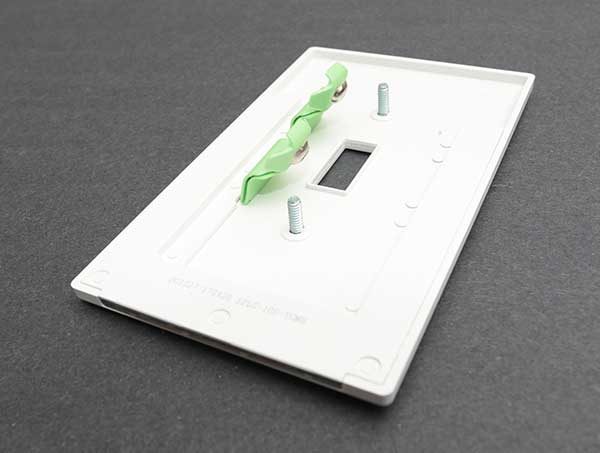
When you flip the SwitchLight over, you’ll see two tabs with electrical contacts on the end. These expertly designed tabs make installation literally a snap.
Installation
Installing the SnapPower SwitchLight will take you less than 5 minutes. All you will need is a light switch in a room that has a light fixture that is controlled by just one switch. You’ll also need a flat head screwdriver, a flashlight, and you’ll need to know where your electrical panel is located.
Step 1. Turn off the power to the light fixture by flipping one of the switches in your breaker box / electrical panel.
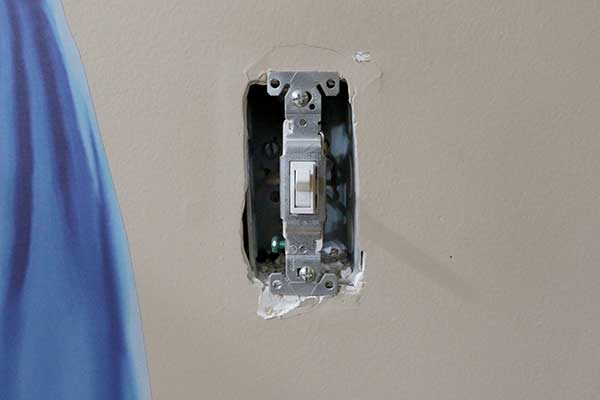
Step 2: remove the existing switch cover.
When I did this, part of the paint and drywall chipped off and I was immediately dreading the annoyed looks that I knew I would be getting from Jeanne as soon as she noticed that I damaged the wall.
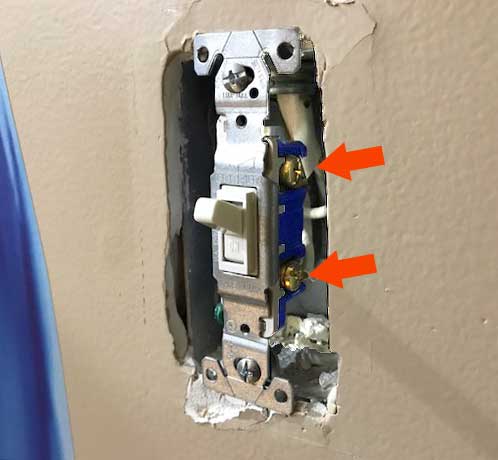
Step 3: Notice the screws on the side of the switch. The tabs on the SwitchLight press against these screws to power the built-in LEDs. Genius right?
Step 4: Snap the SwitchLight in place.

Step 5: Tighten the screws.
Step 6: Turn the power back on.
That’s it!
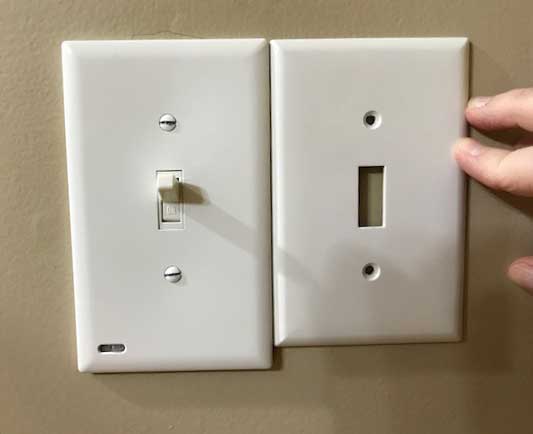
I was overjoyed that the SnapPower SwitchLight plate is slightly longer than the original switch light cover. The extra length hides the chipped paint. Crisis averted!
It’s time to try it out!
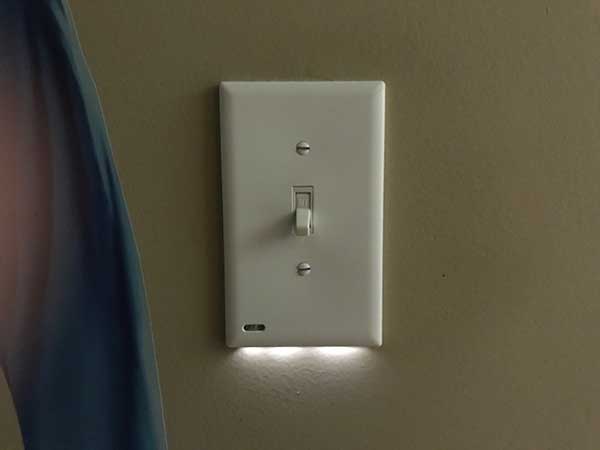
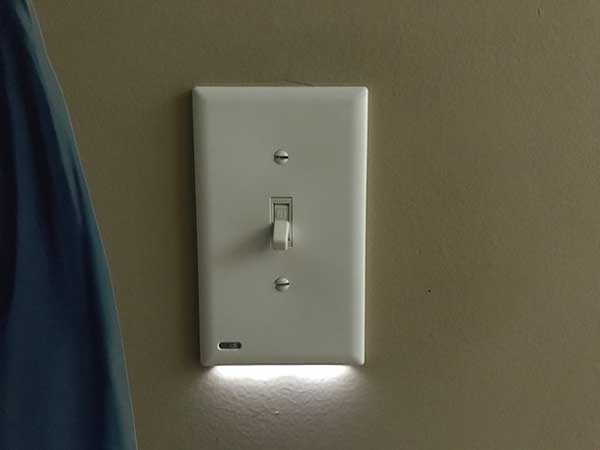
Turn off the light and make sure the switch in the lower left corner is set to low or high brightness instead of off. Then as the room gets darker, the LED lights along the bottom edge of the SwitchLight cover will start to glow. The LEDs turn off as the room gets brighter. Simple!
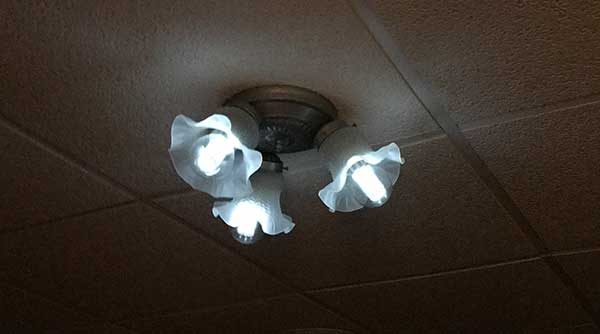
However, I did notice something strange with the SwitchLight cover. If I have the switch set to bright and turn off the overhead light fixture by toggling the switch where the SwitchLight is installed, the LED bulbs in the fixture will still glow dimly. The image above makes the bulbs appear brighter than they are in real life. If I move the switch to the lower brightness setting, this doesn’t happen.
Final thoughts
I think the SnapPower SwitchLight is a great way to add ambient night lights to a room, hallway, etc., without complicated wiring or electrical know-how. Installation is incredibly fast and easy. The LEDs in the SwitchLights should last for 25 years and will only cost about 10 cents a year to power. You can’t beat that!
Source: The sample for this review was provided by SnapPower. Please visit their site for more info and Amazon to order.
Gadgeteer Comment Policy - Please read before commenting
We just installed a few of these, too! One thing we found out is that we couldn’t use them on switches that had multiple controls, such as our garage hallway light because there’s a switch at both ends of the hallway. It worked until you used the other switch, which killed the one with the Snaplight on it.
I think we’ve got 8 or 9 SnapLights installed in various parts of the house. So easy and so useful.
Yes, their site does specifically mention that you have to install the SwitchLight covers on light fixture switches that are only controlled with one switch.
In my defense, it was the spousal unit who did the research and purchase on this one. 🙂
I think the spousal unit might need a research module firmware update 😉
They are great, in every single outlets in the house I have one installed, in every area in my house there is one, in my garage 5, in my kitchen 7, in my living room 5, in each bedrooms 3 total of bedrooms 4, in master 4, in my hallway 4, in my house lobby 7, in my office 4, in my porch 4, in my laundry 4, in my dining room 4, in my basement 10, we love them and we have extras, they are super and great
Recently installed snap power light switch plate in a water closet to provide night lighting. Experiencing the same glowing in our overhead light fixture, when using the “high” setting, that you experienced. Is there anything to be concerned about with this low level of power going to the overhead light unit? I see nothing mentioned about it on Snap Powers trouble shooting site.
(Glowing overhead light provides enough light to be a night light on its own. Seems redundant to have both lights on, but its better than no light at all.)
Hi Jay, I’ve had this problem with all of the LED light fixtures that we’ve installed in our home. My problem was due to residual voltage coming thru the metal electrical box. My contractor had to isolate the screws from the fixture using rubber washers. This can also happen if it’s on a incandescent dimmer switch. All dimmers need to be LED rated.