
REVIEW – I’m always interested in various crafting and manufacturing processes. Some of these processes I use for professional products, and some I use for personal projects. The Procolored P13 DTF printer review offer came along, and I just had to try it.
⬇︎ Jump to summary (pros/cons)
Price: $3999.00 ($4699.00 as tested with oven and heat-press)
Where to buy: Procolored
What is it?
The Procolored P13 is a Direct-to-Film (DTF) printer designed for home-based apparel businesses to create heat transfer designs.
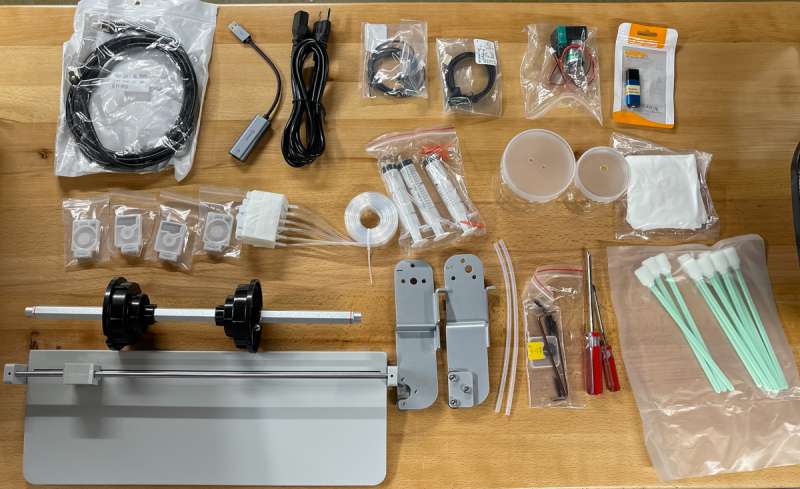
What’s included?
- P13 DTF Printer(XP600)
- Full Set of Initial Ink (CMYKW 5*250ml)
- Adhesive Powder 500g
- Printhead Moisturizing Device
- Nozzle Protection Fluid 1*250ml
- PET roll film
- Procolored RIP Software(Windows /Mac OS) Download
- USB Dongle
- Power cable/USB interface data cable
- Ink Tube/Dust Free Cloth/Syringe
- Also tested: Oven and Heat Press
Design and features
I’ve used various methods for creating shirt and hat transfers in the past, such as vinyl transfers, laser engraving, and screen printing. I found vinyl transfers to be time-consuming to create. My laser experience was limited to leather patches, and screen printing was great for single-color designs; however, it became more difficult to create multi-colored designs, and even then, there was little blending of colors.
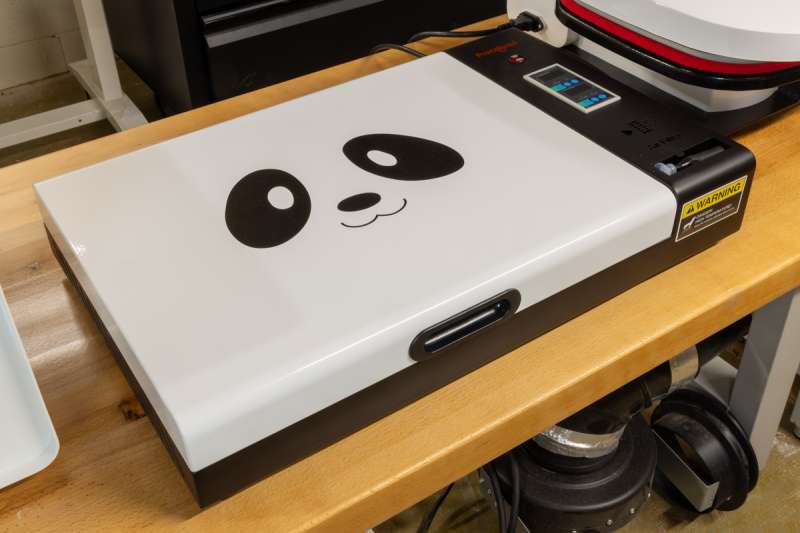
The Procolored P13 DTF (Direct-to-Film) Printer creates full color designs, very similar to a standard inkjet color printer. The P13 prints to a semi-transparent film, which is then used to heat transfer the print onto items.

I’ve had no previous DTF experience, so this review is from a new user angle. I wasn’t quite sure what to expect, but often the learning process is part of the fun.
The P13 arrived packaged very well inside a wooden shipping box. I was quite impressed, as I’ve received larger and more expensive items that were just packaged in their cardboard boxes. Shipping damage is one of my biggest fears, and upon seeing this box, I knew the contents would be safe.
Unpacking the P13 was relatively straightforward. The instructions walk you through each step, which consists mainly of mounting the transfer film roller brackets and the output tray and cutter.
The software installation process was difficult. I think the P13 is just shipping now, so it might be worked out for general retail by now. My main computer would not install the required runtimes; despite supposedly being the same Microsoft runtime, the software would not run.
The Procolored support personnel tried to help, but after trying a few things, I decided that I didn’t want to alter my primary computer any further. I moved over to a secondary computer, which had similar issues, but I finally just uninstalled the Microsoft runtimes that were already installed and installed the ones from the Procolored download.
The Procolored support personnel wanted to remote into my computer, or at least screen-share, repeatedly. I know that’s probably just because it’s the quickest way to resolve issues with non-computer-literate people, but that really shouldn’t be the first step. I assured them that I used to work at Microsoft, and I was a software developer for 25 years, and I could tell them anything they needed to know.
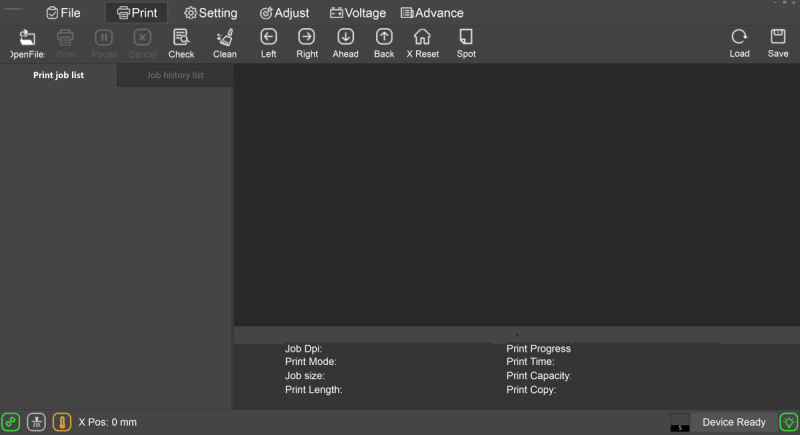
The software is actually two parts: the printer driver and the design software. Once the printer driver is installed, you have to run it before the design software, but you really don’t have to do anything with it. I think that Procolored could do better with this, as this could be a problem for less savvy computer users.
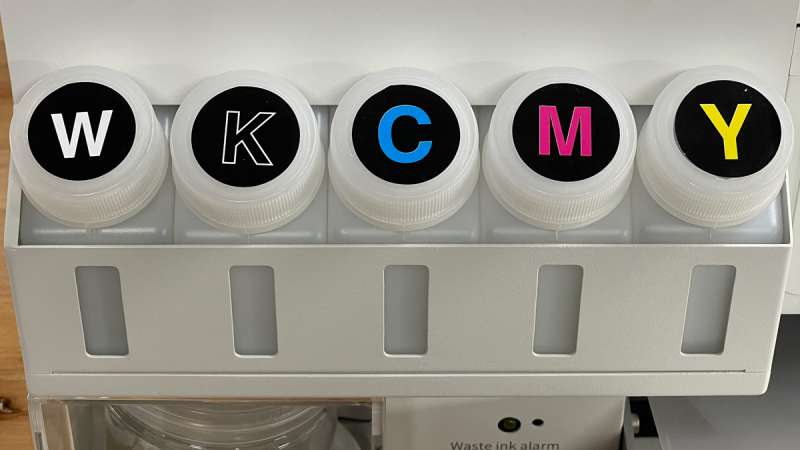
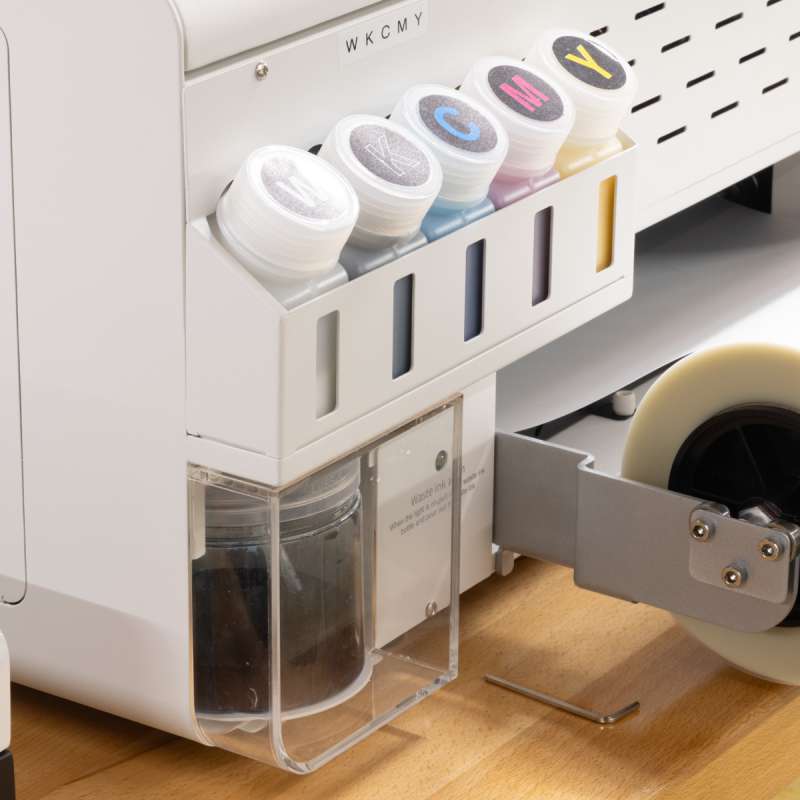
The Procolored P13 uses a 6-channel printhead, which combines the CMYKW (Cyan, Magenta, Yellow, Black, and White) inks while printing. The 6-channel printhead has the advantage of being a single print head, whereas a 4-channel print head would require two print heads.
The P13 also has a laser detection system to detect film flatness to avoid scratching the film. The laser detection system also protects the printhead and the print, reducing failures and maintenance costs. If the film isn’t lying flat, the printer will stop and issue an error, which you can then correct and continue the print.
The P13 has a waste ink tank that collects waste ink when the machine performs cleaning and maintenance. I had some issues with the alarm going off all the time, but I ended up getting that working with some help from the support personnel.
The large lid features a hydraulic shock to hold the lid open, so there’s no fear that the lid will slam shut. I really like this type of shock.
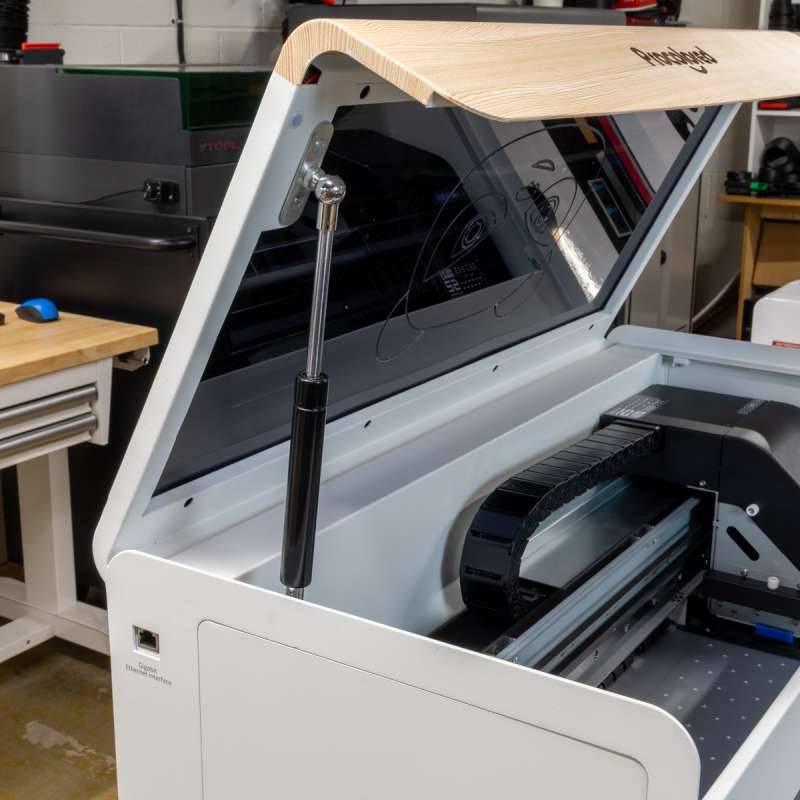
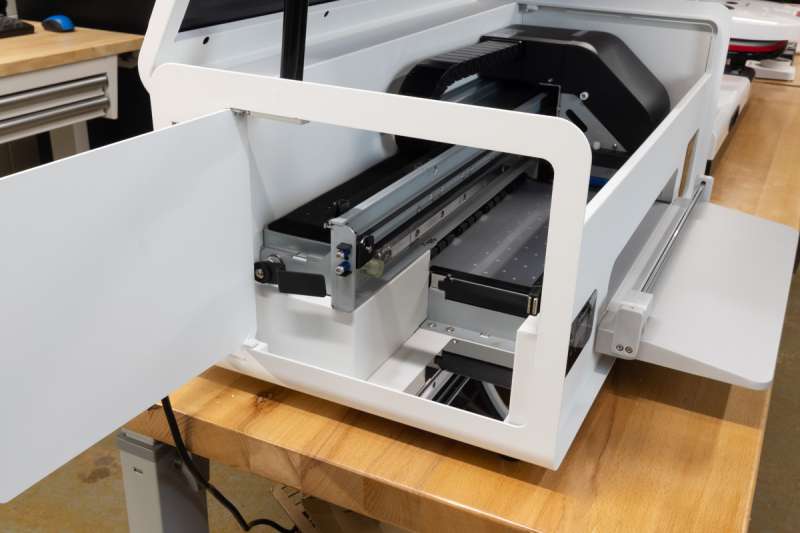
In addition to the large lid, the P13 also features two access doors, one on each end of the machine. The doors have a magnetic latch, making access for maintenance extremely easy.
The cable chain includes a sound-absorbing foam liner, which reduces noise. Procolored claims that this makes the P13 50% quieter than industrial DTF printers. I don’t have another machine to compare it to, but it’s a really quiet machine.
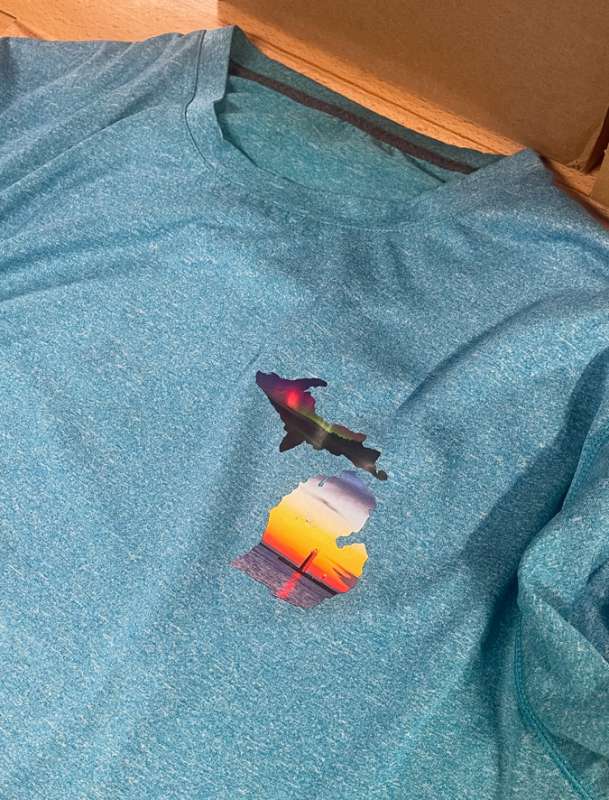
Normally, when I get a new machine, I create a small test, such as a square or text, and test the machine. With the P13, I decided to just go for a full image. I had a Michigan photo that I previously made for a friend to make stickers with, so I dropped it into the software, sized it, and hit print. The logo was printed perfectly. I then proceeded to drop it onto the floor before I had baked it, putting a small defect in the middle of it.
I then covered the backside with the DTF powder, shook off the excess, and baked it in the oven at 130°C for 300 seconds. I then heat-pressed it onto a shirt at 320°F for 20 seconds. I was impressed. The print came out great. The DTF transfer definitely bonded better than some of the vinyl transfers I’ve done in the past.
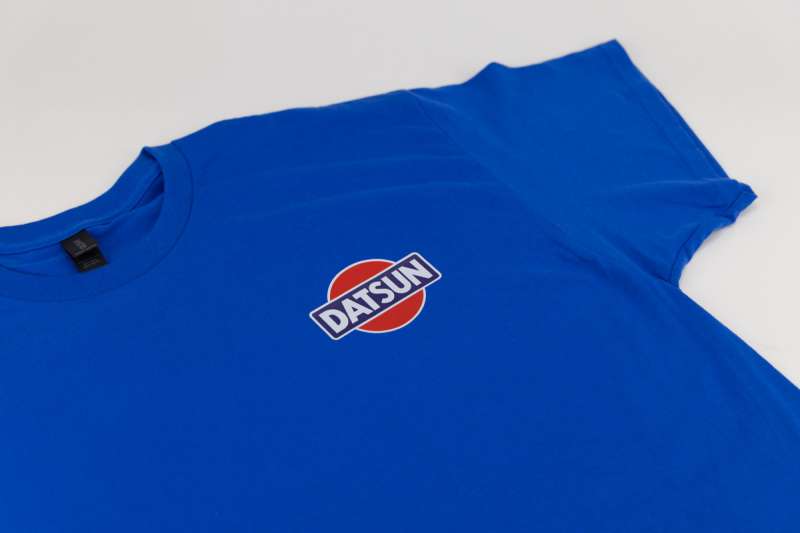
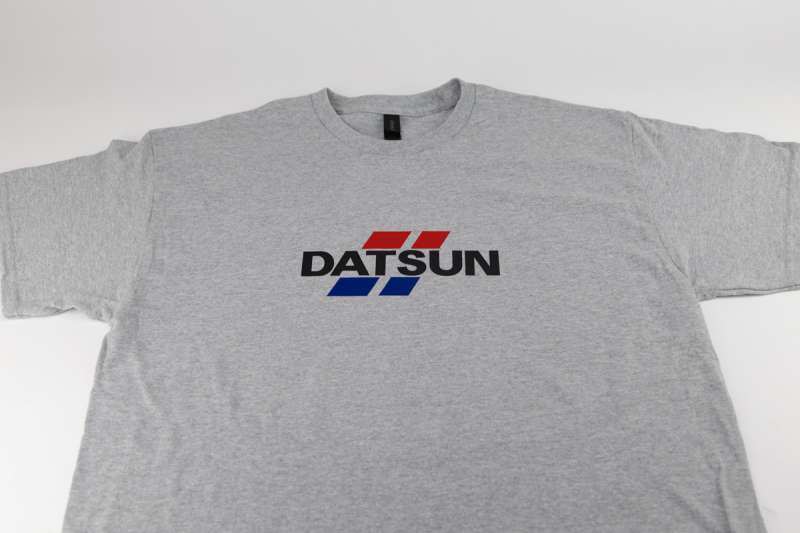
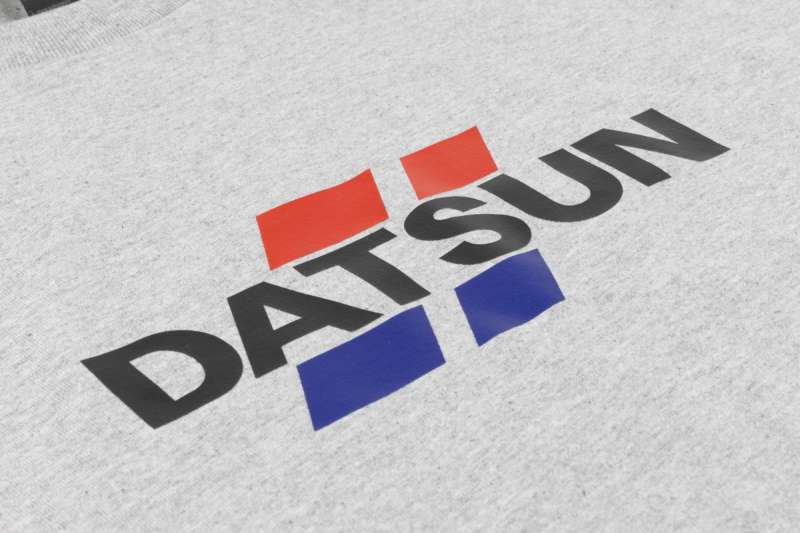
Next, I decided to make a shirt for my son. He has a 1977 Datsun 280Z, and was going to a car show in just a few days. I printed a couple of 2-inch (50mm) Datsun logos, but when I went to cut the film, I had not extended the film far enough and ran the cutter through the ink.
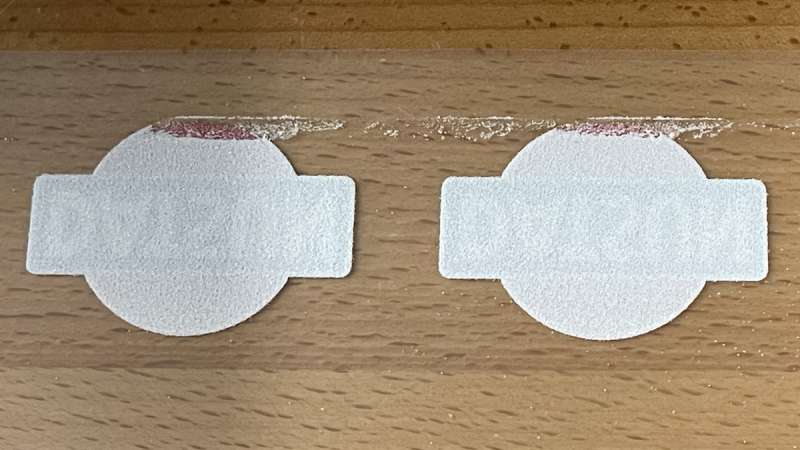
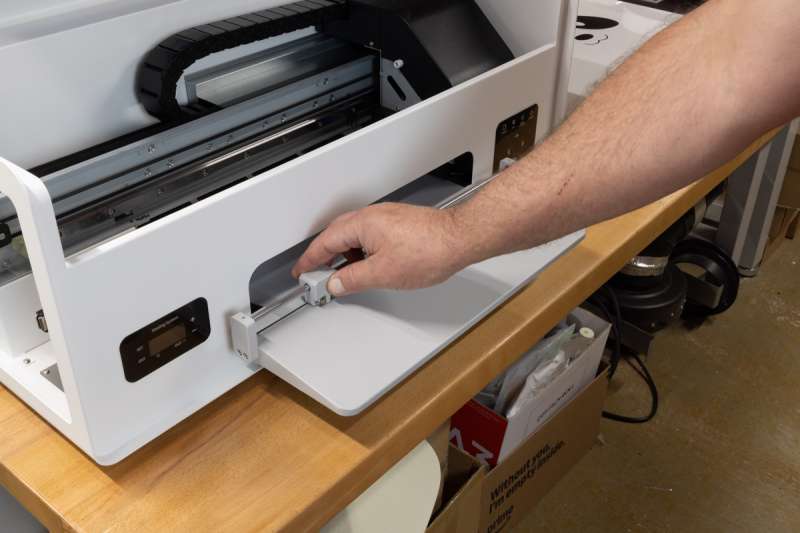
I think it would be nice if the cutting platform had a line across it so you can ensure that the print is extended enough. That simple line would let you know how far to extend it, and you wouldn’t even realize it.
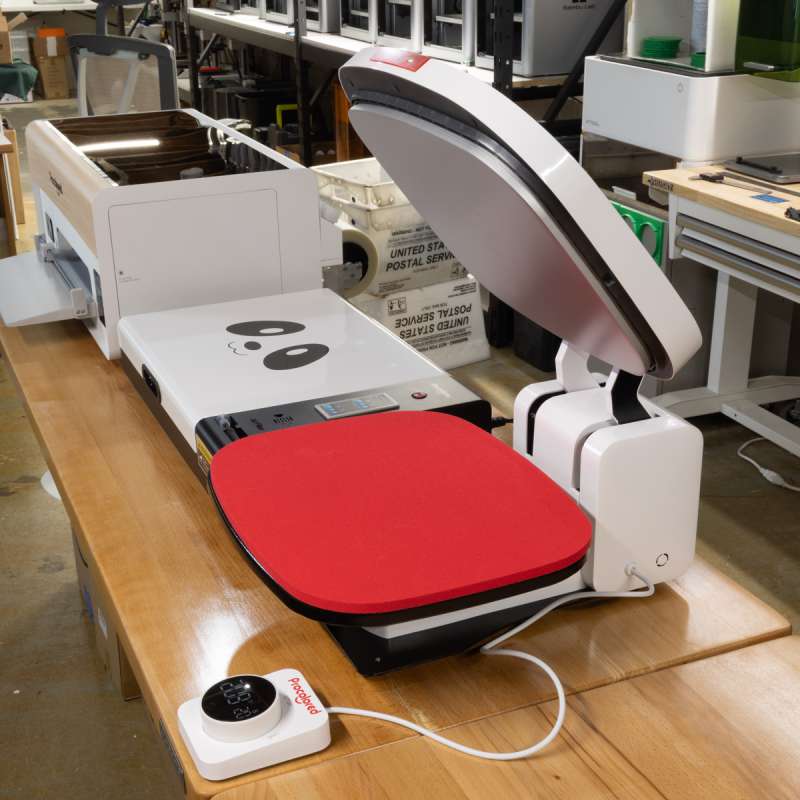
The oven was included in the package that Procolored sent me. The oven features separate controls for temperature and time. I like separate controls, as you don’t have to remember how to toggle between them, like some devices have. Sometimes when companies “simplify” the controls, they actually make it more difficult to use.
Procolored also included their heat press. Although I like the physical design and operation of the heat press, I wasn’t as impressed with the controller. The controller features a multi-function knob that rotates and presses to change various settings. I don’t like having to remember the operations:
+ 6-second press and hold, then turn the wheel to switch between temperature units (F to C).
+ Temperature adjust: Half turn clockwise, wait for beep, then adjust.
+ Time adjust: Half turn counter-clockwise, wait for beep, then adjust.
+ 3-second press and hold to turn off.
+ Short press to lower lid.
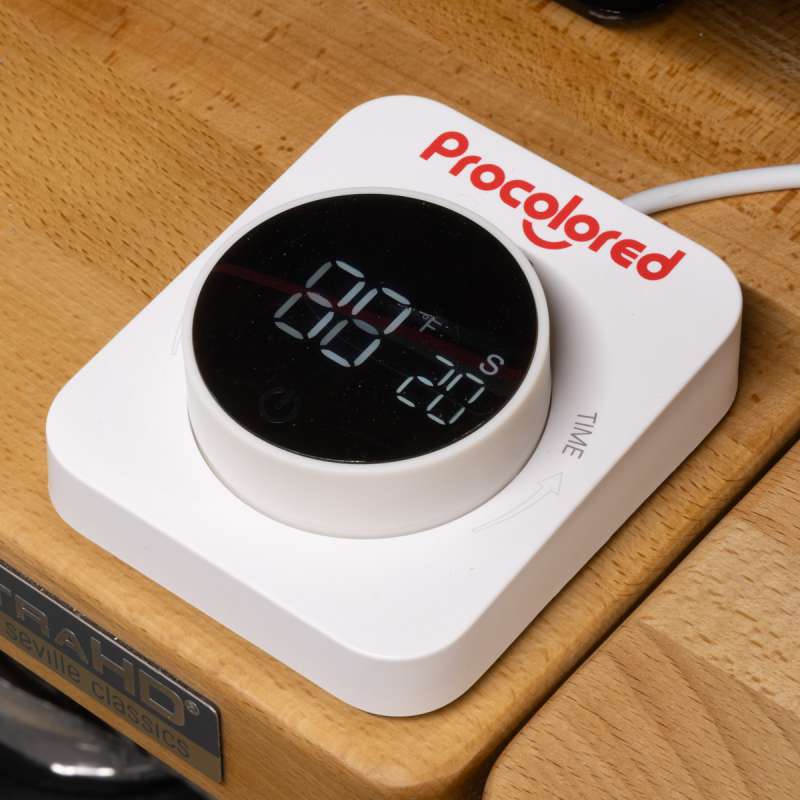

Pressing the red button on the lid (or short-pressing the control knob) will open or close the press. When the pressing is finished, the lid will automatically open. I do like that feature, as you can start an operation and not have to worry about being at the machine when it finishes. The heat press will also automatically shut down after 120 minutes if there is no operation.
I’m not sure about how other people feel about multi-function controllers like this, but I prefer a bit more separation of functions, such as having separate buttons for starting the temperature and time functions. I like intuitive controls, not controls that you have to know how to use.
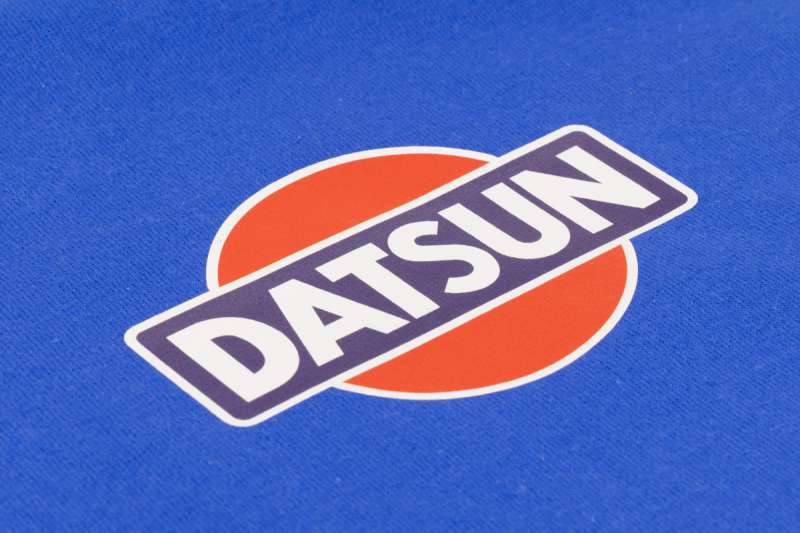
My first Datsun shirt came out great with the small logo, so I decided to make a larger one. I printed the second logo at a size of 3.5″ x 8.5″. Once again, it came out great.
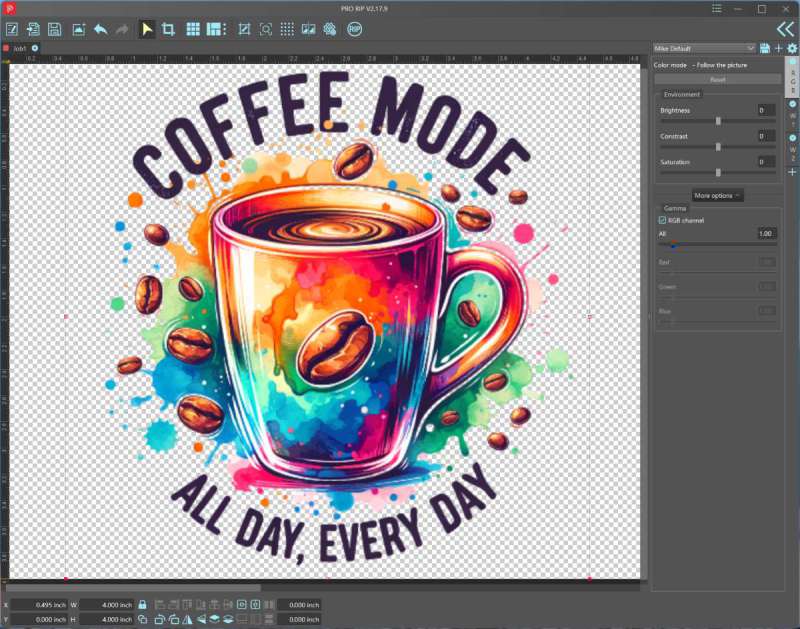
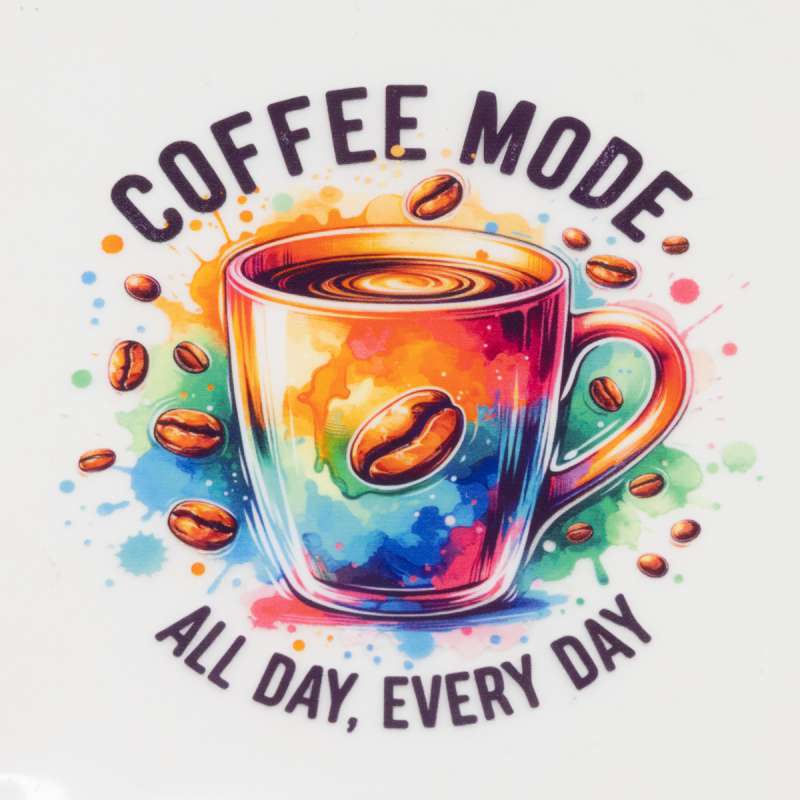
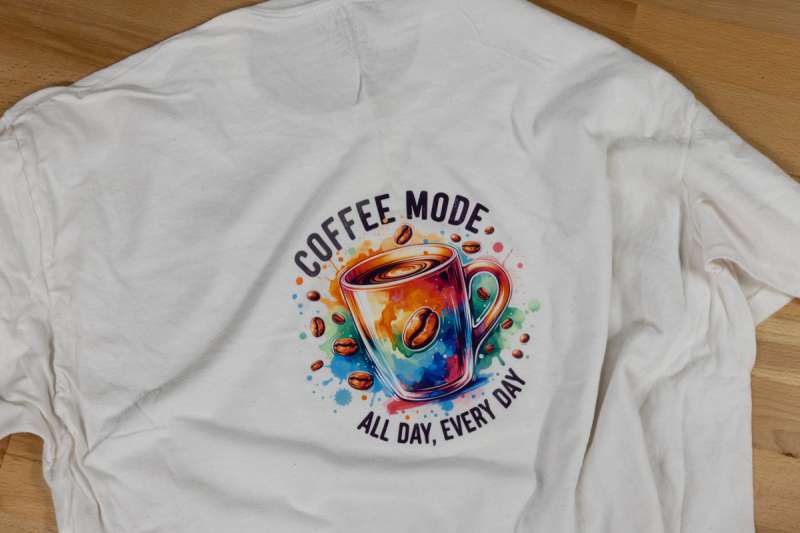
I decided to move on to something a bit more colorful. I bought a coffee design on Etsy that I wanted to test print in both a small and a large size. I printed one at 4″ square and one at 8″ square. Note that the white “splotches” in the text are part of the design, not a print defect. I was very happy with how the print came out.

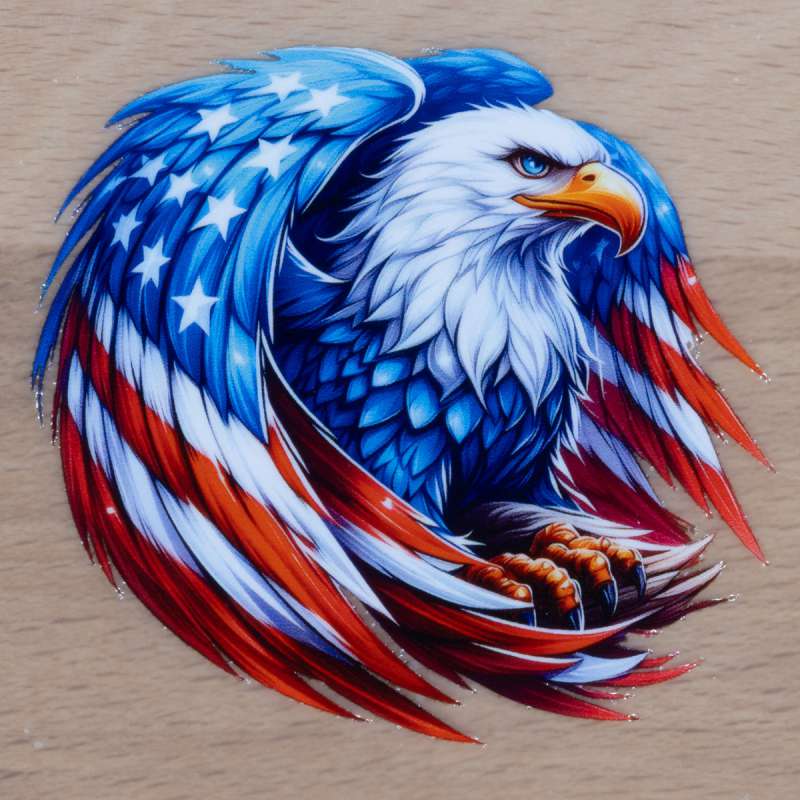
Next, I purchased another design and printed some eagles to put on shirt sleeves. The colors and details are amazing.
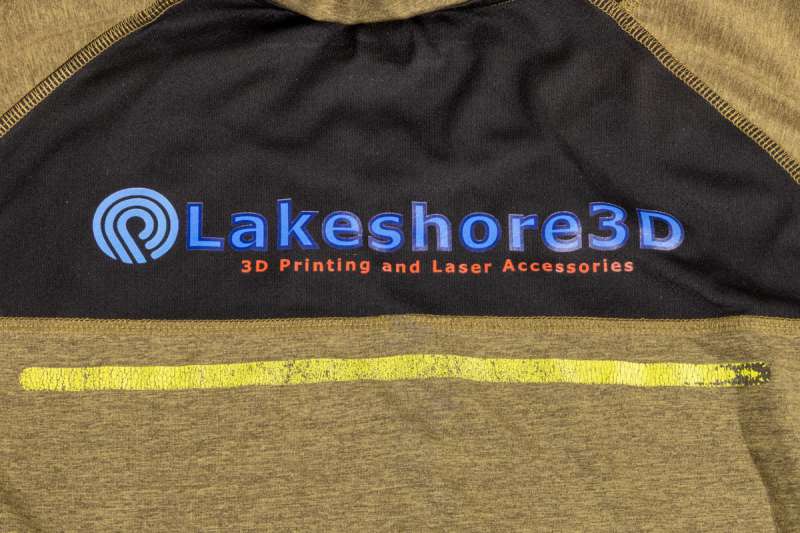
I decided to add my logo to one of my favorite shirts, so I printed it at 12″ wide. I wanted to test how the heat transfer worked on shirts that have been worn and washed many times. The print worked great, but I did discover that the reflective stripe on the shirt was heat-sensitive, and part of it melted onto the heat press. Luckily, I noticed quickly enough to be able to wipe it off. The lesson learned here was to always use a protective transfer sheet on top of the print.
Final thoughts
Overall, the Procolored P13 DTF Printer has impressed me with its high-quality prints, ease of use, and great build quality. Despite a few things that didn’t go smoothly with the software, once that was worked out, everything worked great. Unlike laser engraving, I didn’t have to mess around with settings, everything just seemed to work fine.
What I like about the Procolored P13 DTF Printer
- Easy to operate
- Well built
- High-quality prints
What needs to be improved?
- Waste ink alarm needs work
- Software installation needs to be fixed
- Software integration could be better, but it worked great
Price: $3999.00 ($4699.00 as tested with oven and heat-press)
Where to buy: Procolored
Source: The sample of this product was provided for free by Procolored. Procolored did not have a final say on the review and did not preview the review before it was published.
Check out these other reviews!
- eufyMake UV DTF Laminator review – Exploring sticker making with the E1 UV printing system
- iKoffy Edibot food printer review – Edible art and labels for your food!
- Liene PixCut S1 Photo Sticker Printer and Cutter review – Sticker fanatics will want this!

Procolored F13 Panda DTF Printer A3 L1800 Apparel Transfer Printing Machine T-Shirt Direct to Film with White Ink Circulation and Semi-Automatic Cleaning (Printer+Oven+Ink)
(as of March 10, 2026 08:43 GMT -05:00 - More infoProduct prices and availability are accurate as of the date/time indicated and are subject to change. Any price and availability information displayed on [relevant Amazon Site(s), as applicable] at the time of purchase will apply to the purchase of this product.)