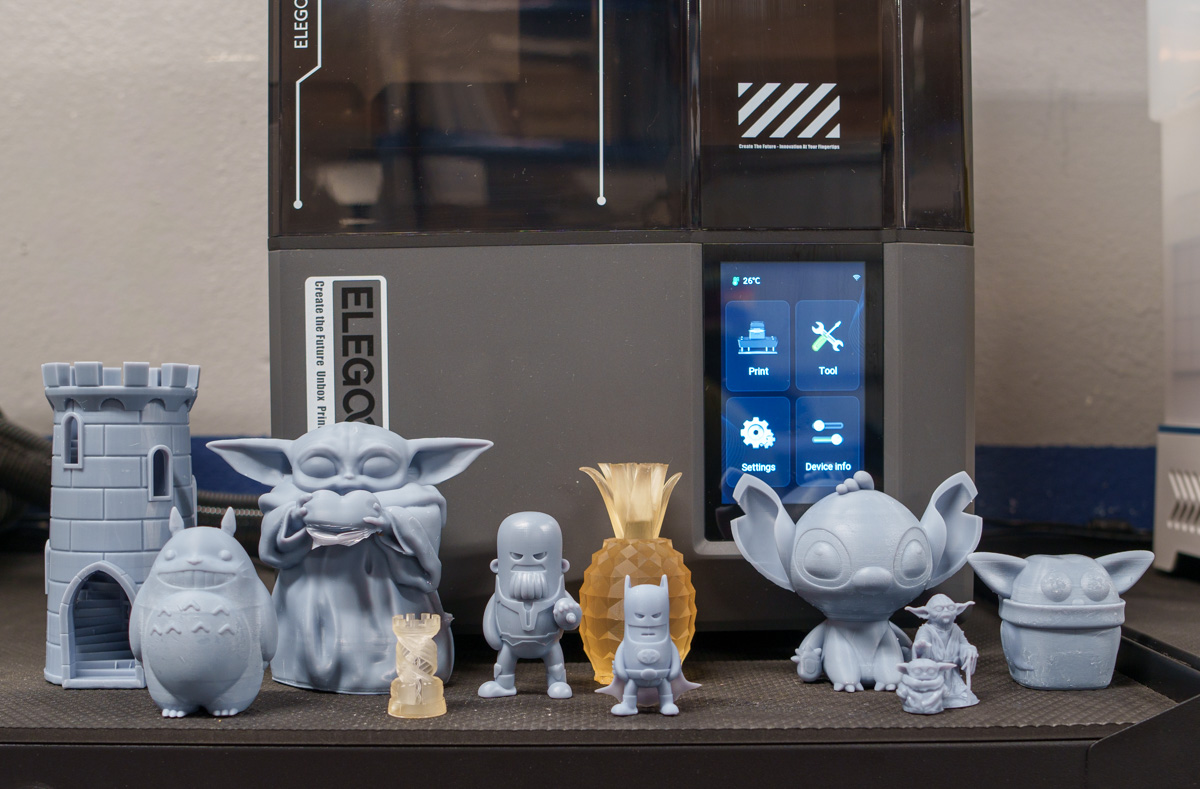
REVIEW – I have an older filament printer that I learned to design, tweak, and print 3D models. Usually, my bigger prints came out fine, but I could never get the detail of smaller prints to look good. I heard about resin printers but didn’t know the benefits and shortcomings. I knew I wanted to look into resin printing and when the Mars 5 Ultra from Elegoo became available to review, I jumped right in, not knowing what I was getting into. Read on to find out what I learned and what I think of this printer.
What is it?
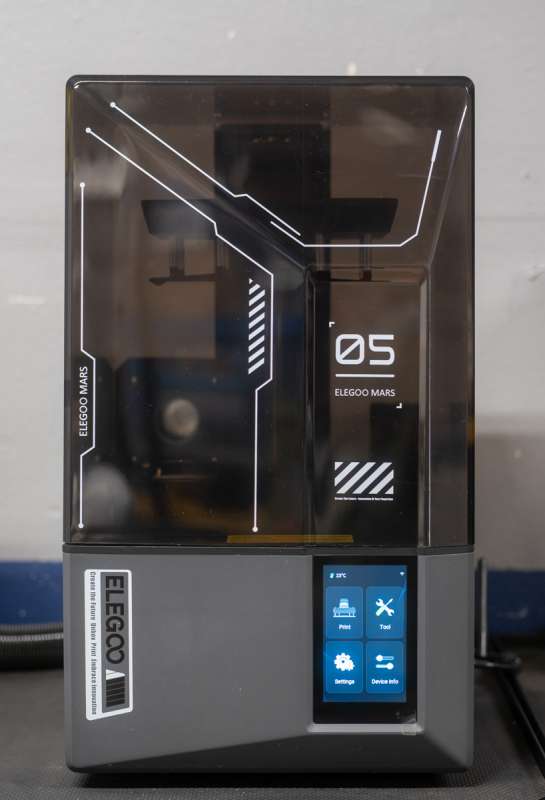
The Mars 5 Ultra is the latest resin 3D printer from Elegoo. The Mars line-up is smaller and more compact than the Saturn 3D printer line. However, the new Mars 5 Ultra takes its design from the Saturn series rather than the previous Mars design language.
What’s included?
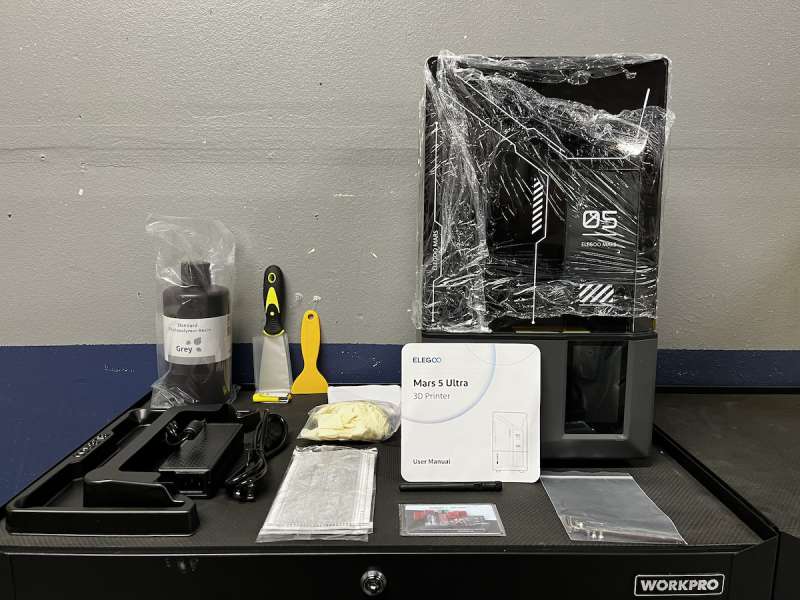
- Elegoo Mars 5 Ultra 3D Printer
- Wifi Antenna
- Build Platform
- Resin Tank (vat)
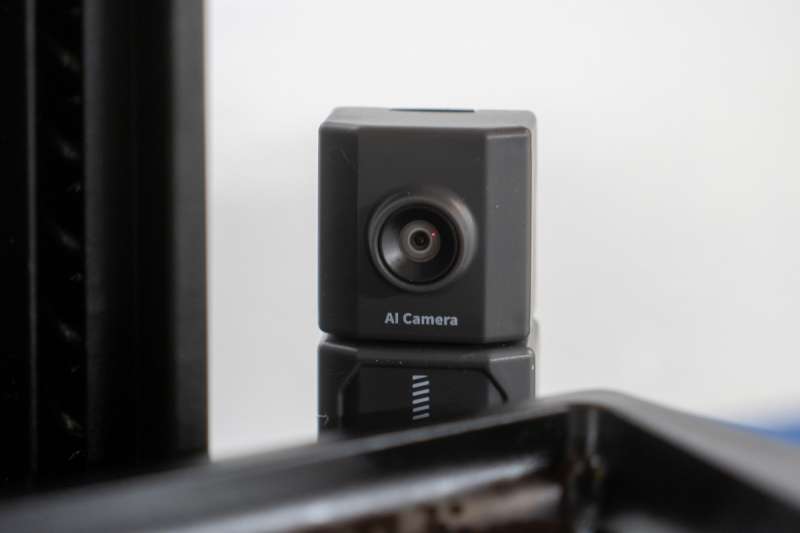
- AI Camera (pre-installed)
- Resin Tray
- USB Flash Drive
- Mask and Gloves
- Paper Funnel
- Backup Screws
- User Manual
- AC Adapter
- Tool Kit
- Scraper
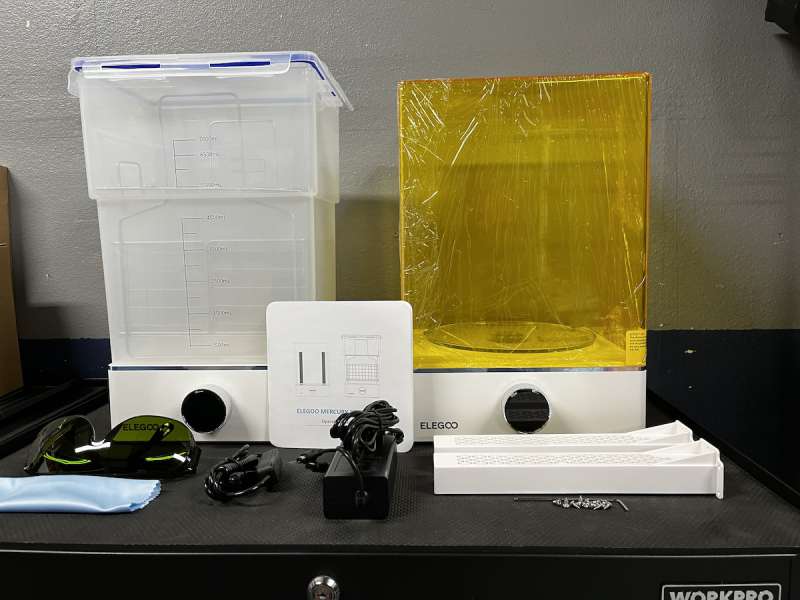
- Elegoo Mercury XS Bundle
- Curing Base
- Curing Lights
- Curing Turntable
- Anti UV Lid
- Washing Base
- Cleaning bucket
- Cleaning Basket
- Cleaning Basket Bracket
- AC Adapter
- Tools
- Manual
- Handheld UV LIght
- Safety Goggles
Tech specs Mars 5 Ultra 3D Printer
Click to expand
- Technology: MSLA Stereolithography
- Light Source: COB (wavelength 405nm)
- XY Resolution: 18 x 18um (8520 x 4320)
- Z-axis Accuracy: 0.02mm
- Layer Thickness: 0.01-0.2mm
- Printing Speed: MAX 150mm/H
- Dimensions: 260mm(L) x 268mm(W) x 451.5mm(H)
- Build Volume: 153.36mm(L) x 77.76mm(W) x 165mm(H)
- Weight: 8.8kg
Tech specs Mercury XS Bundle
Click to expand
- Wash
- Time Setting: 0-30 mins
- Dimensions: 255mm x 155mm x 385.5mm
- Weight: 2.27kg
- Maximum Cleaning Volume: 180mm x 121mm x 153mm (with cleaning platform), 201mm x 124mm x 255mm (without cleaning platform)
- Cure
- Timing: 0-30 mins
- Dimensions: 246mm x 230mm x 363.5mm
- Weight: 2.4kg
- Maximum Curing Size: 200mm x 260mm
Design and features
Writing this review was a bit of a challenge because not only was the Elegoo Mars 5 Ultra 3D printer new to me, but the process of resin printing was also new. This review is primarily about the Mars 5 Ultra, but I am also including some personal commentary on resin printing as it may help others. While waiting for the printer to arrive, I started doing some research so I could get the ground running – I was very excited and eager to start! I watched a lot of YouTube videos, read two Reddit threads, and soon began to understand what I was in for. In a nutshell, for resin 3d printing, it’s print, clean, cure. These steps must happen to be able to have a finished print safe for handling.
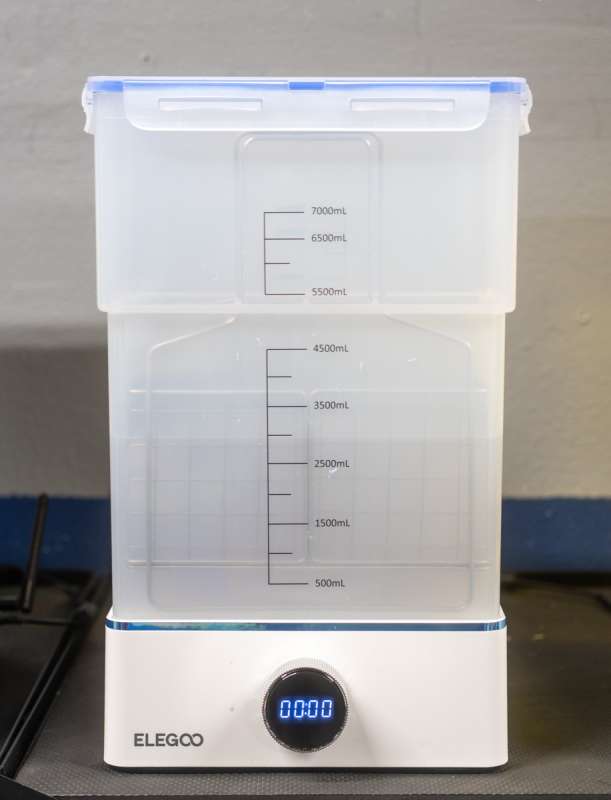
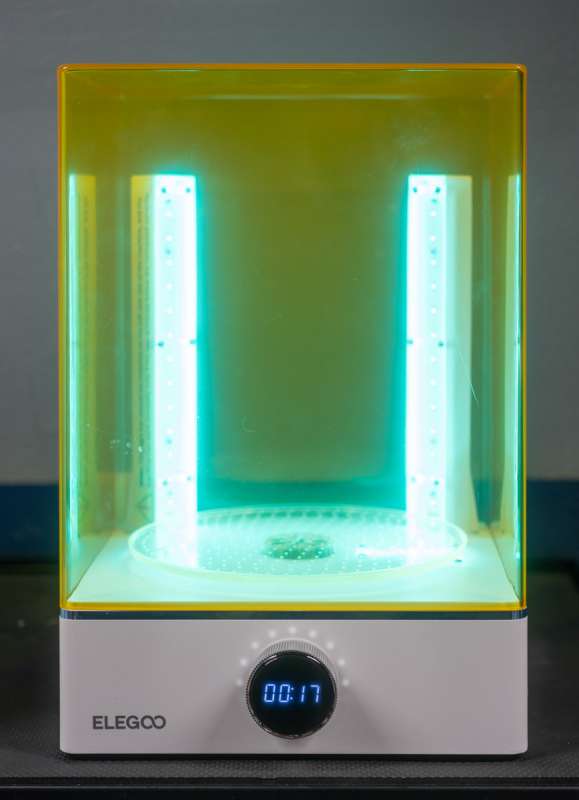
In addition to the Elegoo Mars 5 Ultra, Elegoo also sent their Mercury XS Bundle that included a washing station, and separate curing station (including a handheld UV lamp). For a n00bie like me, having these made the process a lot easier. I would highly recommend this type of setup.
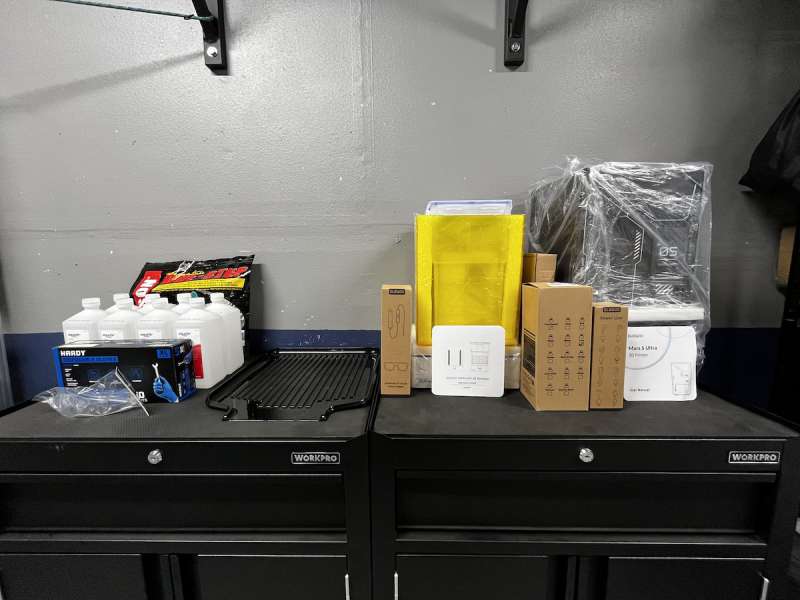
Due to the safety precaution of handling resin and the required IPA (Isopropyl Alcohol), protective gear is required. I took a trip down to Harbor Freight and picked up a respirator, some nitrile gloves, and safety glasses. I also picked up a few bottles of 91% IPA, some silicone mats, and a pack of clean rags.
Assembly, Installation, Setup
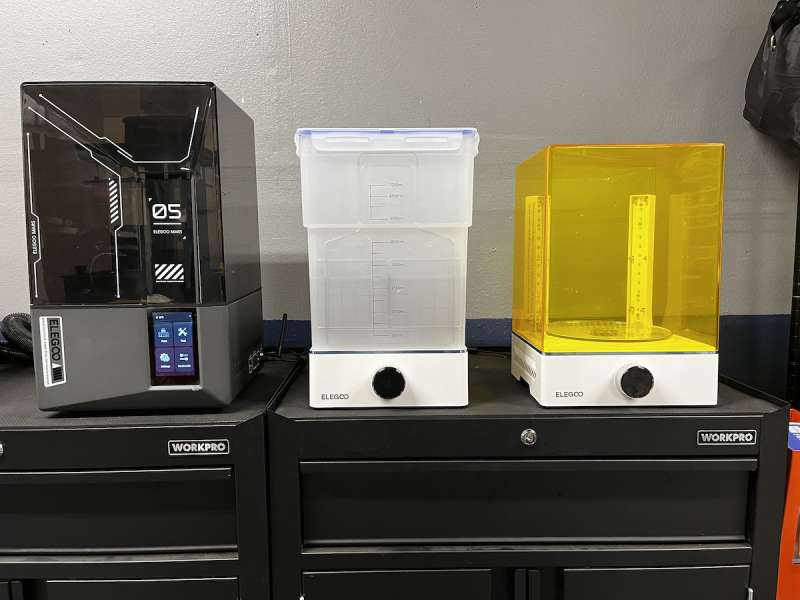
I needed to set up in a well-ventilated area. I also needed quite a bit of counter space for the printer, the wash station, the curing station, and a place to handle the prints. I cleared some space out in the garage and started unpacking. Both the Elegoo Mars 5 Ultra and the Mercury XS Bundle came very well-packed. I set up my workflow from left to right, with the printer, then the wash station, then the cure station.
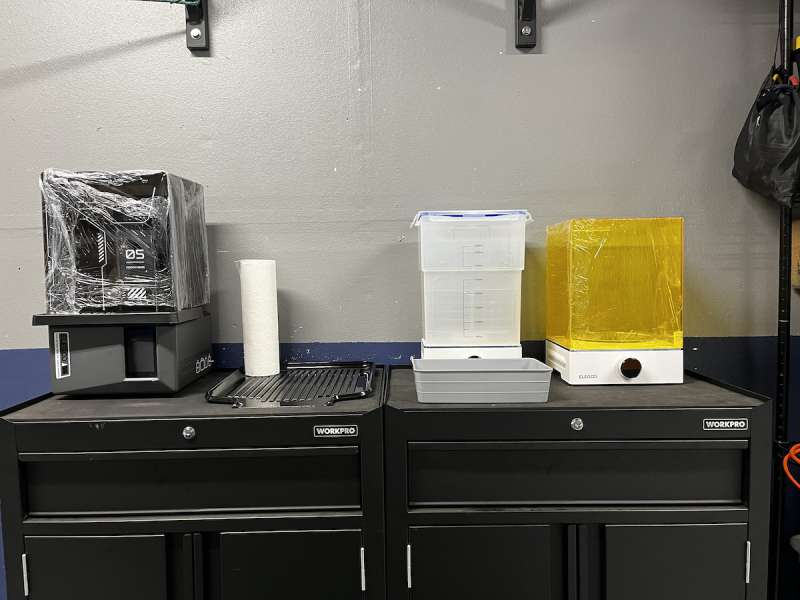
I first unpacked the Mercury XS Bundle. The wash station was easy and no assembly was required. I put the metal basket in the sealed tank and placed it on the base. The curing station required screwing two UV light towers into the base, but other than that, it was plug-and-play as well. To get the Mars 5 Ultra ready, I needed to remove the packing foam, all the protective film, and screw in the wi-fi antenna. Once I plugged power into the printer and each of the bases for the wash and cure stations, I was ready to get started!
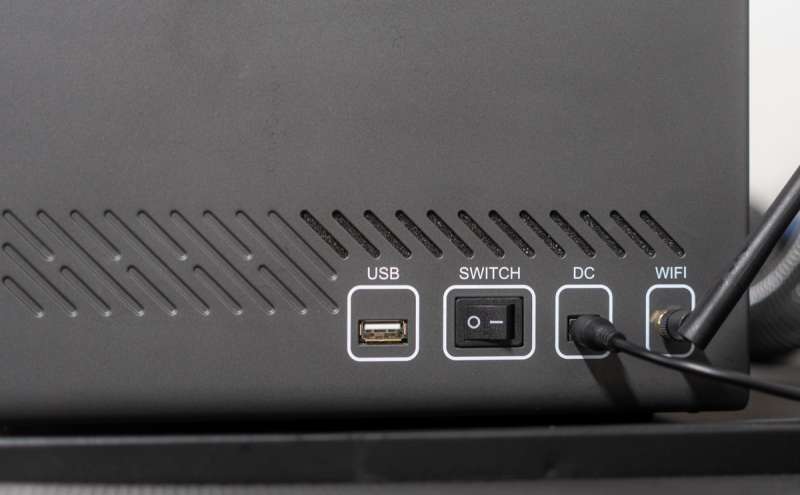
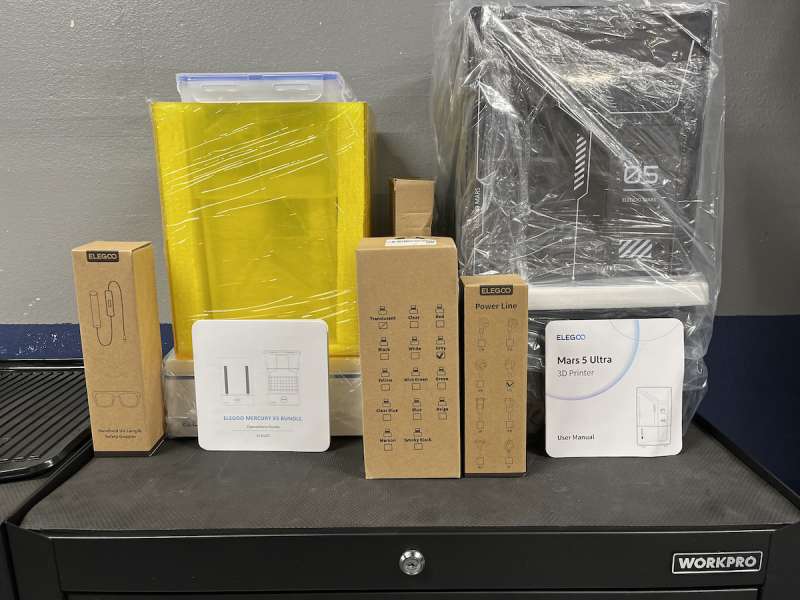
When I first turned on the Elegoo Mars 5 Ultra printer, the built-in screen walked me through the initial setup, including connecting to wi-fi. Then it automatically detected that an update was available and after confirming, it started downloading and self installed. In the box, a USB thumb drive was included. I had to load the slicer software (Chitubox) from the drive as the correct configuration for the Mars 5 Ultra was not available to download from the Elegoo website. Also on the drive were some test models and user guide.
I use the Cura slicer for my filament printer and use the Chitubox slicer for the Mars 5 Ultra resin printer. There are similarities between them, but each printing technology has particular configuration parameters and it’s not one size fits all. Chitubox is relatively straightforward and not too much needed to be tweaked. Upon first opening the slicer, make sure to select the correct printer. Note: without installing the Chitubox version from the USB drive, the Mars 5 Ultra was not an option. After selecting the printer, Chitubox configures itself for that printer. For most all of my prints, I kept the defaults based on the printer and the included resin.
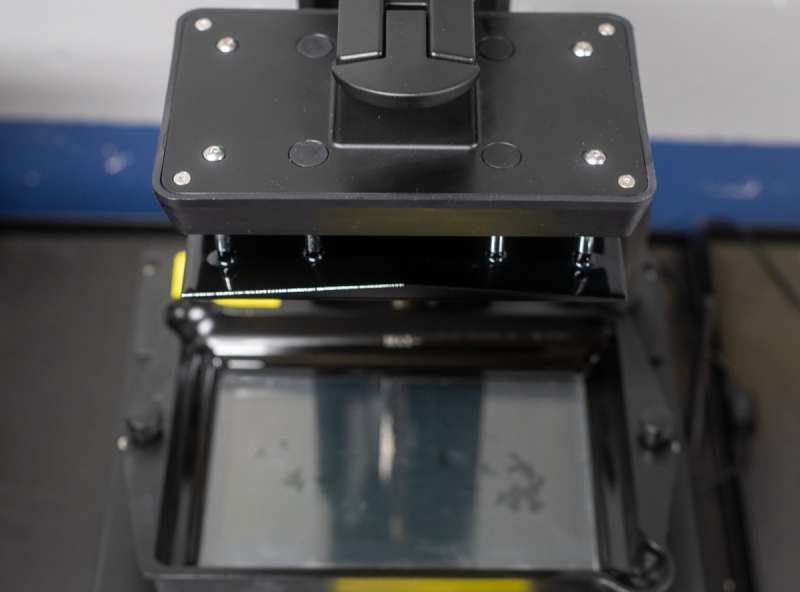
I put on my respirator, gloves and safety glasses and shook the included grey resin and poured enough into the vat without exceeding the ‘MAX line’. I locked the build plate and replaced the cover.
Hardware setup…check. Software setup…check. Safety gear…check. Let’s print something!
Performance
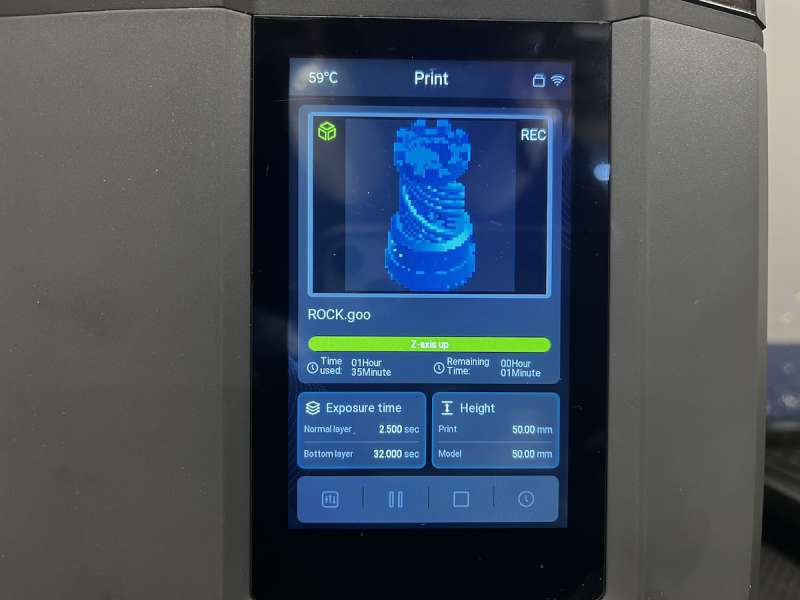
I decide to print the included rook model from Elegoo. I didn’t use supports, delete and islands, just loaded and printed. The built plate auto-leveled and the startup process checks for debris in the vat, as well as the correct region level. I cracked my big garage door open and pointed a box to blow air outside. I also propped open the entry door to have some good cross breeze. I noticed a strong chemical smell before I put on my respirator. No errors and things were moving. I did want to try out the built AI camera. I popped back in to the house and fired up Chitubox Manager and I could see the build plat moving! The camera is supposed to be able to detect failed prints and other issues as well as record timelapses. Needless to say, it was great to be able to monitor my print without having to be in the garage with the respirator on.
I do want to note that I purchased the Mars Mate Air purifier. I was a little paranoid about the toxicity and wanted another level of protection. After installing the connecting hose from the Mars 5 Ultra to the air purifier, the chemical smell all but disappeared. I do continue to kick the box fan on to help with ventilation. This is another option I would highly recommend, especially if you will be printing in the house.
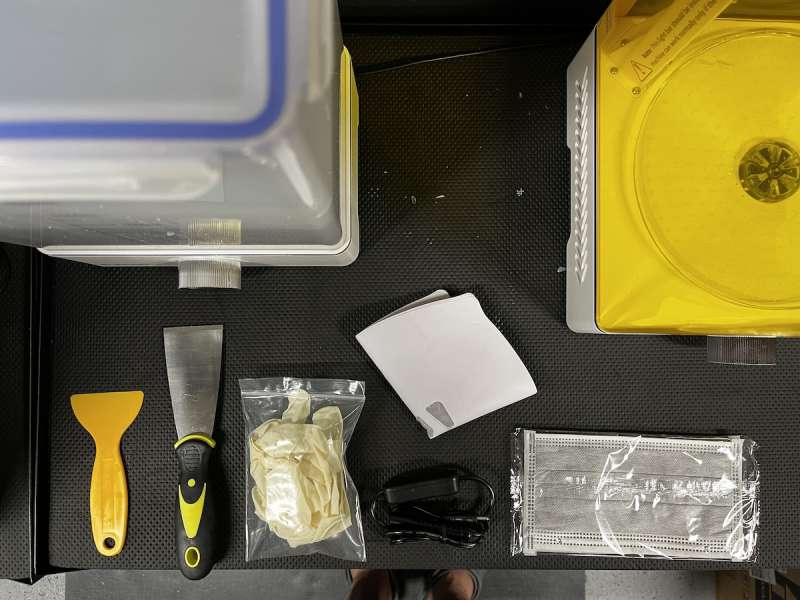
Okay, so how did my first print come out? It came out great! With no tweaking, basically loading and printing, I was really surprised how well it came out……but I destroyed it while removing it from the build plate, ugh! Watching videos, it always looked so easy with the included scraper. But I could not get the edge of the scrape underneath the model anywhere and basically broke the print in two trying to remove it. I turned to Google to find out how to remove stuck prints from the build plate, and came across a suggestion to pour cold water on the build plate. That worked, but my print was ruined.
I continued the process because I needed to learn it as well as make the print safe. I put both broken halves into the wash station. and ran it for 10 minutes. Then I pulled out the pieces and let them dry on a paper towel on the silicone mat. after 30 minutes, after all the ISA evaporated, I put the pieces in the rotating UV cure station for 5 minutes. Up to this point, I had to wear gloves to handle the print. Once it was down curing, I could handle the print normally, without gloves. Although broken, I was still amazed at the tiny details and smooth finish of the print. Unfortunately, I threw the broken rook print away, but the spark to keep printing was ignited!
I did want to mention that on a few occasions, the printer froze mid print and the only way to get it going again was to power off the printer. After powering it back on, I was presented with the option to resume. In each case, after selecting the resume, there was no visible indicator that the print ever lost power – the resume function is very accurate and works perfectly!
What I like about Elegoo Mars 5 Ultra 3D Printer
- AI Camera
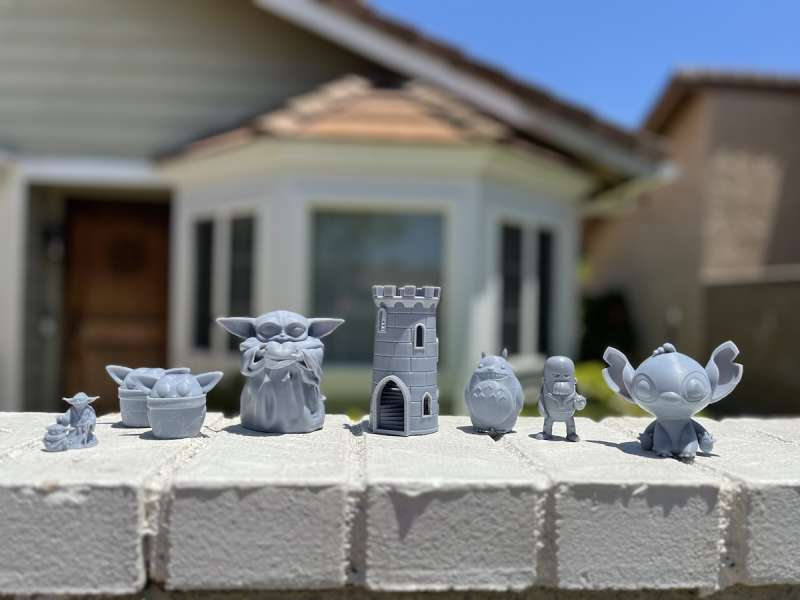
- Detailed, high resolution prints
- No noticeable difference after resuming from a power outage
What needs to be improved?
- I wish the lids had a hinge like the Saturn series of printers. As you can tell from the pictures, quite a bit of real estate is required. Having to find someplace to put the lid for the printer, the wash station, and the curing station was required even more room.
- I think Elegoo will provide an update to the printer firmware or software as this becomes available for sale to the general public to resolve the occasional freezes.
- Con
Final thoughts
The Elegoo Mars 5 Ultra 2D Printer is a great resin printer! Here are my final thoughts based on which camp you are in…
New to Resin Printing
The Mars 5 Ultra from Elegoo is a great introduction to resin 3D printing. With the auto bed leveling and AI camera, and the newest version of the Chitubox slicer program, this printer allows you to explore 3D printing without having to worry and fuss over basic settings. The print size is considered ‘medium’ and should satisfy most 3D models. This printer is very close to print and play.
Experienced Resin Printers
Those who may already have a resin 3D printer and are already familiar with the process will be sure to enjoy some of the new features of the Mars 5 Ultra. The build plate is a clamp mechanism, rather than the previous screw type. This makes removing the built plate with one hand very easy. The auto-leveling feature works well and all my prints stuck to the build plate without issue. The tilting vat is a game changer on two levels: one, it reduces the suction of pulling the cured layer off the FEP, and the other it allows much faster printing. The wireless connectivity and the option to group machines can go a long way in managing a print farm.
I also wanted to called out a few other things:
- Please make sure to use proper safety gear whenever handling uncured resin and ISA
- For 3d models (free and paid), here are some sites to check out:
- www.thingiverse.com
- www.myminifactory.com
- www.cults3d.com
- www.printables.com
- Some of the YouTubers that helped me:
- FauxHammer
- Two Moose Design
- Loyal Moses
- The Next Layer
- Uncle Jessy
All in all, the Elegoo Mars 5 Ultra 3D printer is a great way to get some detailed 3d prints and share them with friends and family!
Be sure to check out all of The Gadgeteer’s Elegoo 3D printer reviews. There are close to a dozen of them!
Price: $269.99
Where to buy: Elegoo Mars 5 Ultra 3D Printer
Source: The sample of this product was provided for free by Elegoo. Elegoo did not have a final say on the review and did not preview the review before it was published.



Gadgeteer Comment Policy - Please read before commenting
https://www.youtube.com/watch?v=9-fM2ElITf0 – Mine was DOA