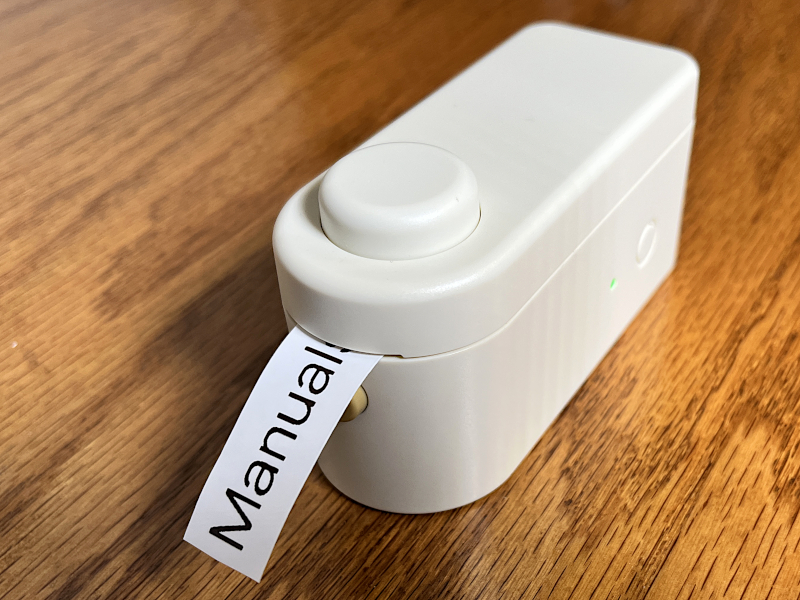
REVIEW – Our daughter is getting ready to move into her first apartment, and she’s a bit of an organizer. When she saw the Marklife P11 label maker that I had reviewed for my wife, she decided that she needed one for herself; thus, I’m going to be trying the L1 label maker from MakeID. I plan to use it to label a host of spice jars for her, and I think she will use it further to label her arts and crafts supplies, her journals, and other things.
What is it?
The MakeID L1 Label Maker is a thermal label maker that connects to an app on my phone via Bluetooth. It’s small, portable, and handheld, and it works with both continuous and discreet (aka gap) label tape. There are iOS and Android versions of the app, and the L1 comes with one roll of white tape. MakeID is a Chinese company that “focuses on the development and production of label printers with operation, quality, and contents.”
What’s in the box?
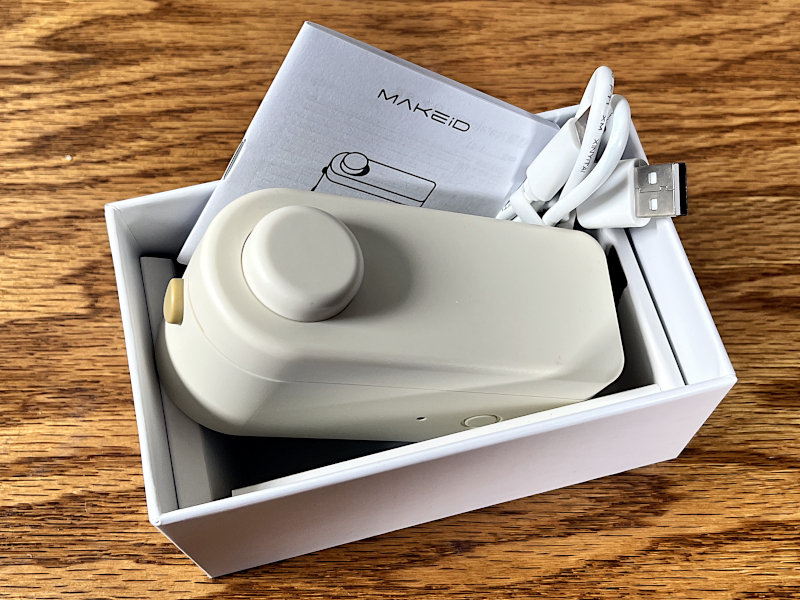
- MakeID L1 Label Maker
- USB-C to USB-A cable
- User manual with 8 pages of English instructions
- One roll of continuous white label tape (0.63 inches x 13.1 feet)
Hardware specs
- Battery: Built-in lithium ion
- Labels: Waterproof, laminated, self-adhesive
- Colors: Beige, white, or green
- Weight: 6 ounces
- Size: 3.94 x 1.57 x 2.17 inches
Design and features
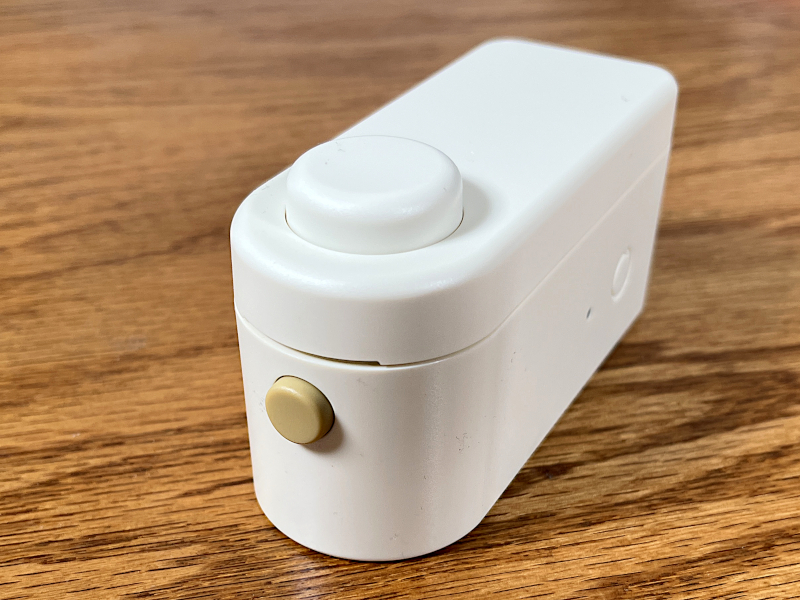
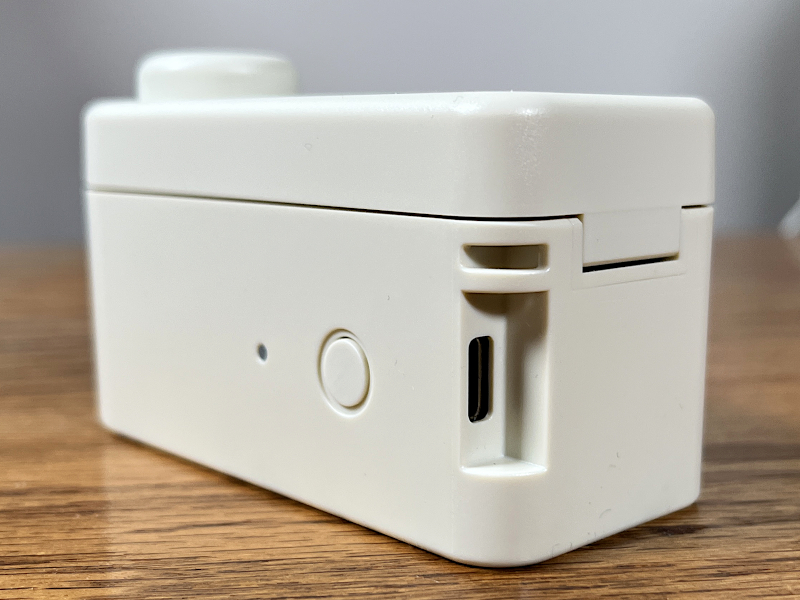
The MakeID L1 is astonishingly small, easily able to fit into a shirt or jacket pocket. It’s full of soft, rounded edges and is dominated by a large, circular button on top. The front has another round button, the side a third button next to an LED, and the back has a USB-C port.
There’s a visible slit all the way around the top, which is where it opens to install the tape. The beige colored label maker that I received is a rather bland color, but it also comes in white and green. Overall, it’s a simple and practical design.
Keep in mind that there’s no way to replace the rechargeable battery. Gadgets like the L1 are (unhappily) disposable.
Installation and setup
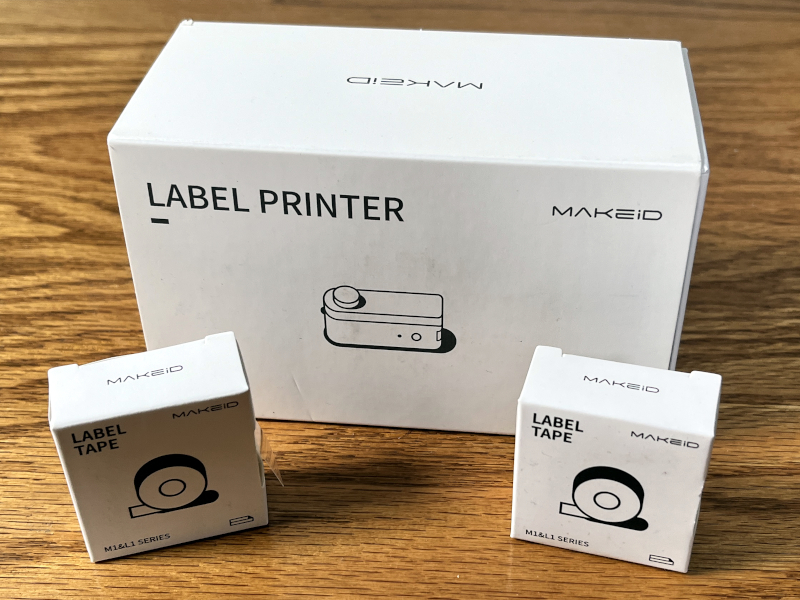
The L1 arrived in a very sturdy white box with a slip-off lid, and the contents inside were very well protected. The design almost looks like the way that Apple packaged iPhones a few years back. The L1 comes with one roll of tape, and MakeID thoughtfully two other rolls for me to test.
The first thing I did was to read through the manual, and at best I can say that it is lacking. The English is often very poor, and important information (like how to prepare the tape inside the L1 and how to use the app) is missing. MakeID has a lot of work to do here. Thankfully, this is not a very complicated gadget, and I was able to figure everything out with some experimentation.
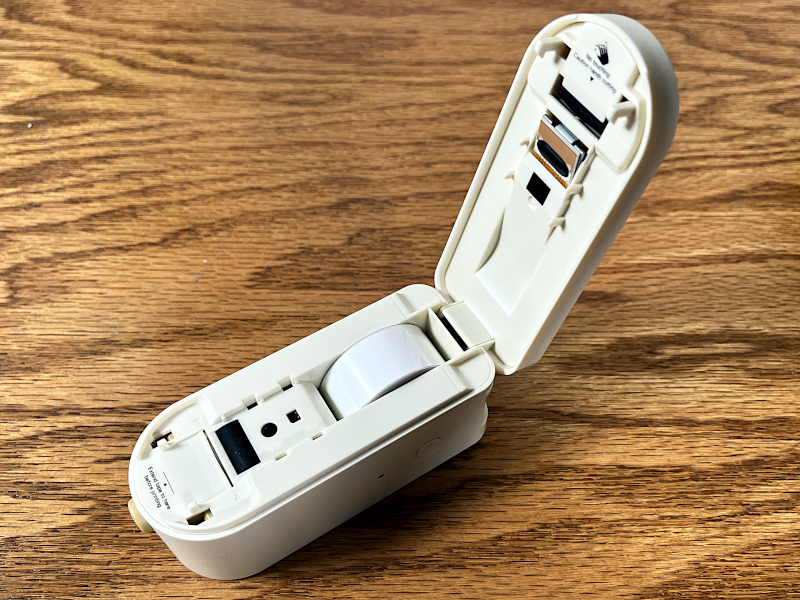
The small button on the front of the MakeID L1 Label Maker pops the top, and inside I found the included roll of white label tape. I pulled the tape out, removed the protective cover from it, and then reinserted it. I extended it out to the little black line, per the directive printed on the inside of the L1 and then closed the top.
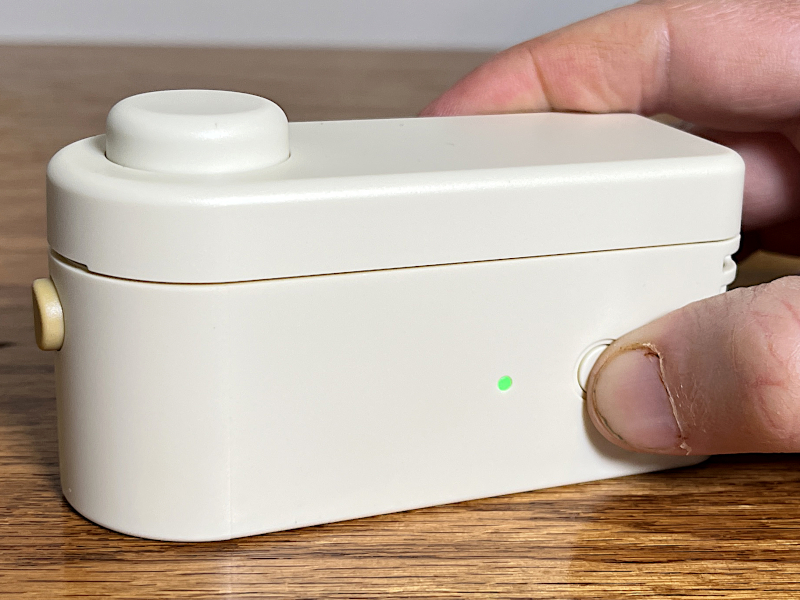
To turn on the L1, I pressed and held the small button on the side for three seconds. A little green LED lit up, letting me know that it was ready to be paired with the app. To turn it off, I held it for another three seconds.
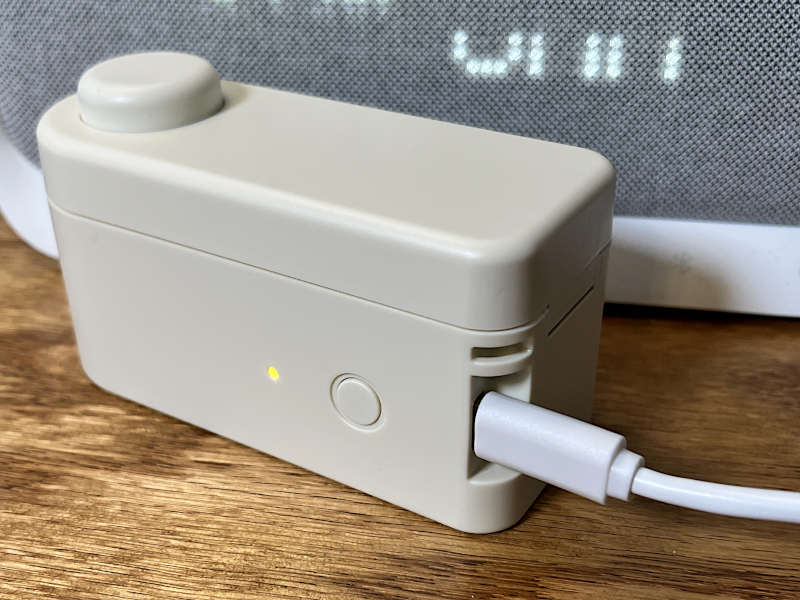
The MakeID L1 Label Maker arrived pre-charged, but when the internal Lithium-ion battery needs to be recharged, I can use the included cable and plug the USB-C end into the back of the label maker and the USB-A end into a charging source, like my SoundCore Wakey. As most people are using USB-C chargers these days, I wish that MakeID had included a USB-C to USB-C cable instead; at least the included cable works fine. While charging, the LED was a yellow-orange color; when finished, it turned green.
Creating a label that I want to print is completely done through MakeID’s free Life app, which I downloaded from Apple’s app store. The developer asserts that no data is collected from this app, which is fabulous. I won’t buy gadgets whose apps collect data that they don’t need.
Performance
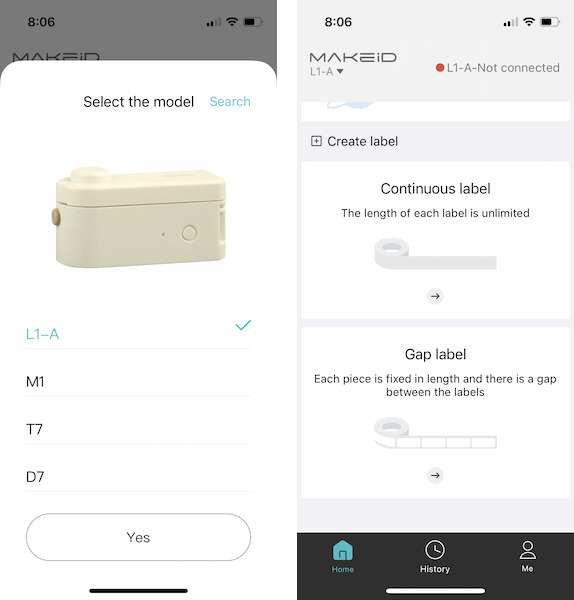
When the app first started, I had to select the correct model. After selecting the L1, it was ready to use, but it wasn’t connected, as I could see by the red dot and the “not connected” warning. I made sure that Bluetooth was enabled on my iPhone and that the L1 was turned on.
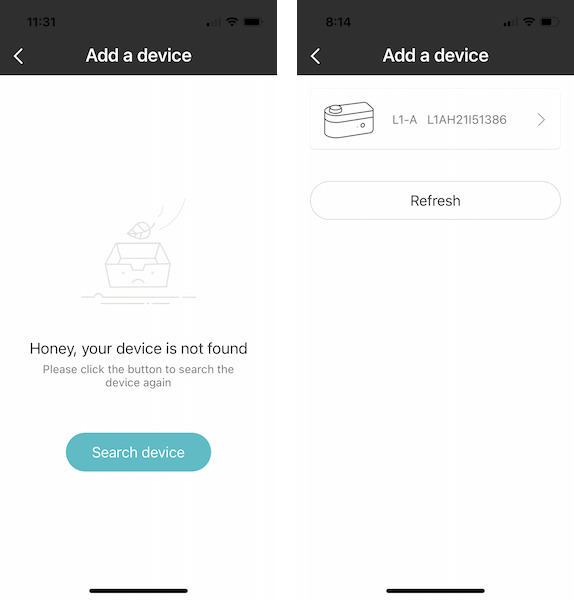
When I pressed the “not connected” warning, the app took me to the add device page, where I could search for a device. When my phone was near, it sensed the MakeID L1 Label Maker and was able to connect without any problems; now it was ready to print. It’s convenient that I can design and save labels, even when my phone is not connected to the L1, something that I did a lot as I was learning to use the software.
The design of the app is straightforward and clean, which I appreciate. It allows me to get right to designing my labels. Unfortunately, there are no instructions in the manual, and the instructions page in the app itself is just a copy of the manual. Despite the clean design, I spent a lot of time trying things, deleting things, and trying things again. I eventually figured out how to use the software, but it’s super annoying to have to go through this process, and it will discourage some people from using what is an otherwise good product. MakeID has a long way to go in the area of good documentation.
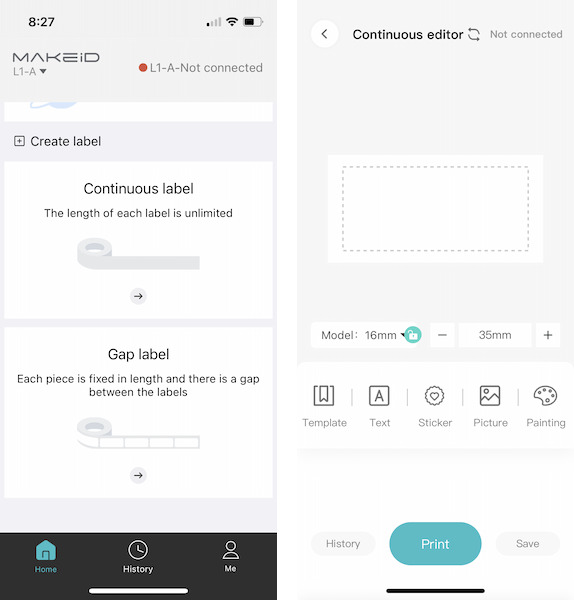
The first step in creating a label is to select continuous or gap. I chose continuous, as this is what is included with the L1. That takes me to the editor where I can add one or more of the following:
- Templates are pre-defined labels that I can download from the internet.
- Text is what I used more than anything, as this the entire point of making a label for me.
- Stickers are small icons that can be added to the label.
- Pictures are photos taken from my Photos app that are converted to low-res images and added to the label.
- Painting is used to draw my own little pictures and add them to the label.
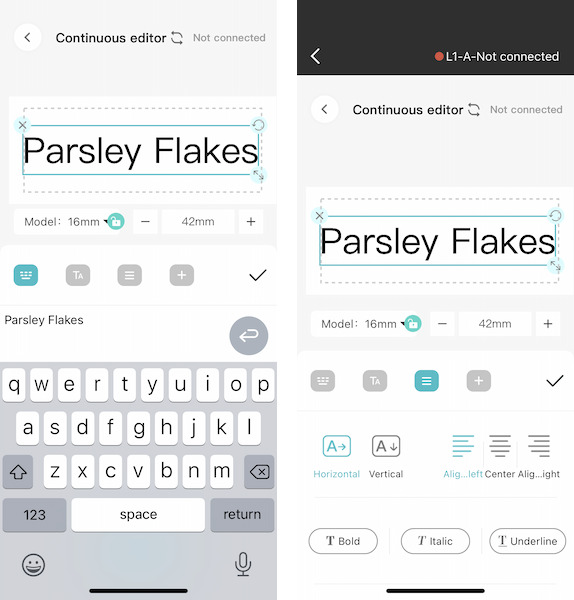
I can type in whatever text I want. With a continuous label, it’s super cool how the app scales the label horizontally to be however long my text is. This is definitely a huge advantage that the L1 has over label makers that only use labels of a fixed size: Sometimes I just need a longer label with more words and/or bigger letters. In the text screen I can also increase the font size, change the alignment, and add more text. There’s also an undo feature, which is handy. Once I got the hang of it, adding and editing text was actually quite easy.
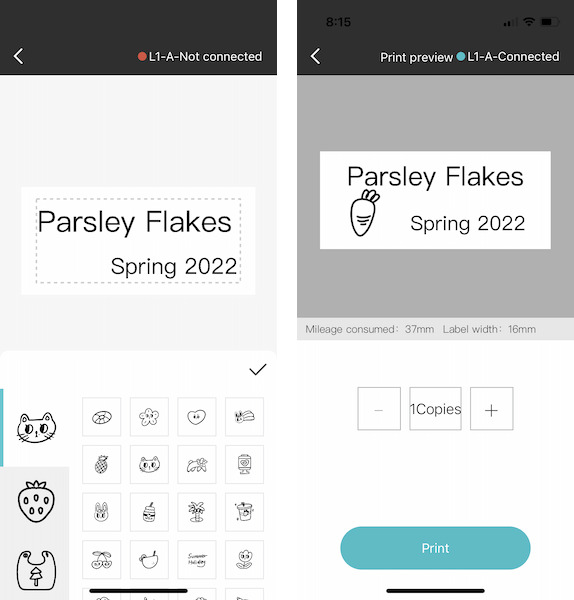
There are 25 categories of stickers, each category seems to have between 10 and 30 stickers. For most categories, they can’t all be seen at once. When I first got the app, the scroll bar was broken, and I couldn’t scroll down and select the stickers. MakeID apparently fixed this bug, as at some point in the review process all the stickers became available for selection. Once a sticker is selected, it can be positioned on the label and resized. While it seems like there are a lot of stickers, I always seem to have trouble finding ones that I want to use; many are just too esoteric for my tastes. Oh, yeah, I also found a sticker with profanity; I can’t for the life of me figure out why MakeID would include something like this in their product.
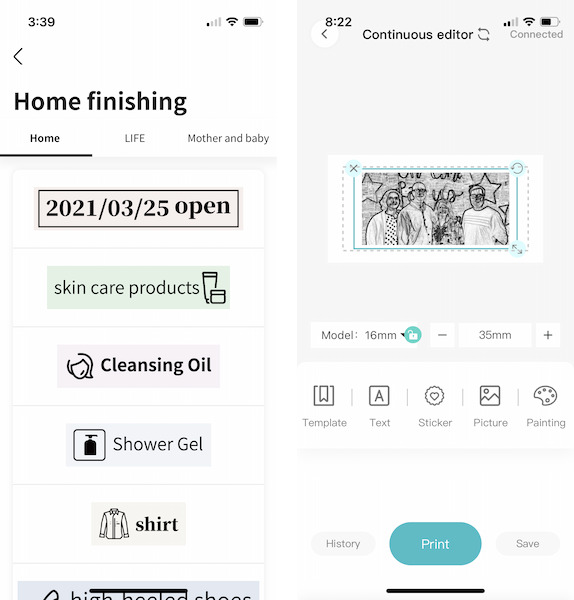
When I first installed the app, the templates feature didn’t work. The app would just hang. While testing the L1, it seems that MakeID fixed this feature as well, and now it works fine. There are about 30 labels that can be downloaded, but I doubt I will use this feature much, as I want to make my own labels.
There’s a massive difference in the resolution of my iPhone’s camera and the MakeID L1 Label Maker’s printer, so the result of using the pictures feature was understandably underwhelming. I don’t think I’ll use this much either.
The painting feature was a bit hard to use with my finger, but it worked really well when I tested the app on my iPad Pro and drew the pictures with my Apple Pencil. Those with an artistic flair will undoubtedly be much better able to take advantage of this feature.
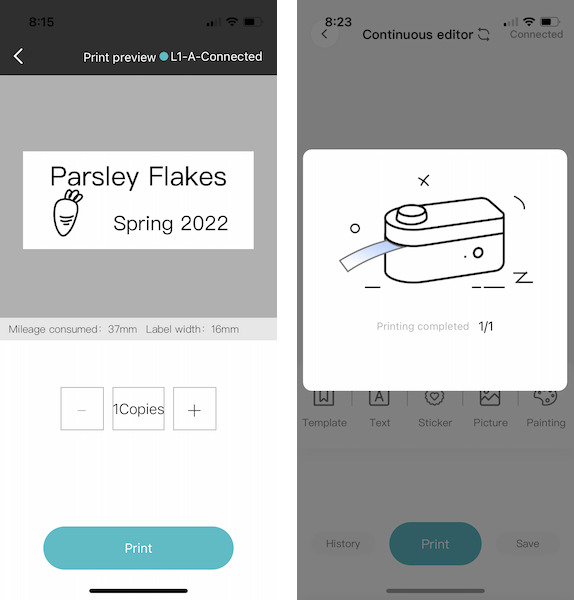
Once I’ve finished the label I can print it directly from the editor page; I can even print out multiple copies of the same label. When the label maker finishes printing, I use the big button on top to cut the tape.
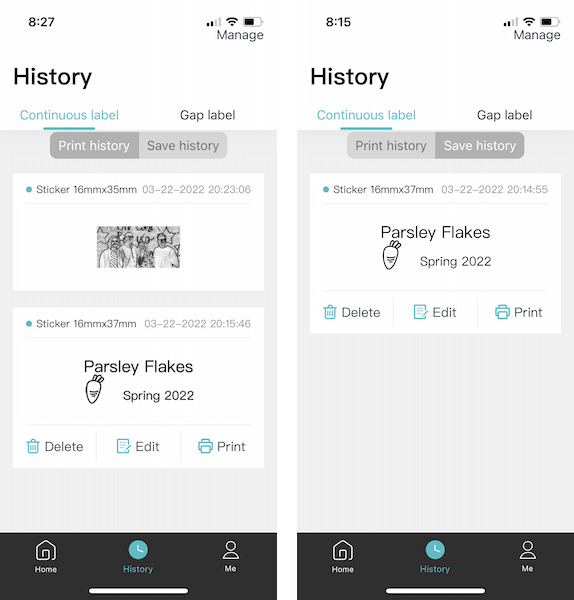
The Life app keeps a record of labels that I save and print, in case I want to modify a sticker later or print more copies of it. There are separate records for continuous and discrete labels, and I can delete items in my history if I no longer need them.
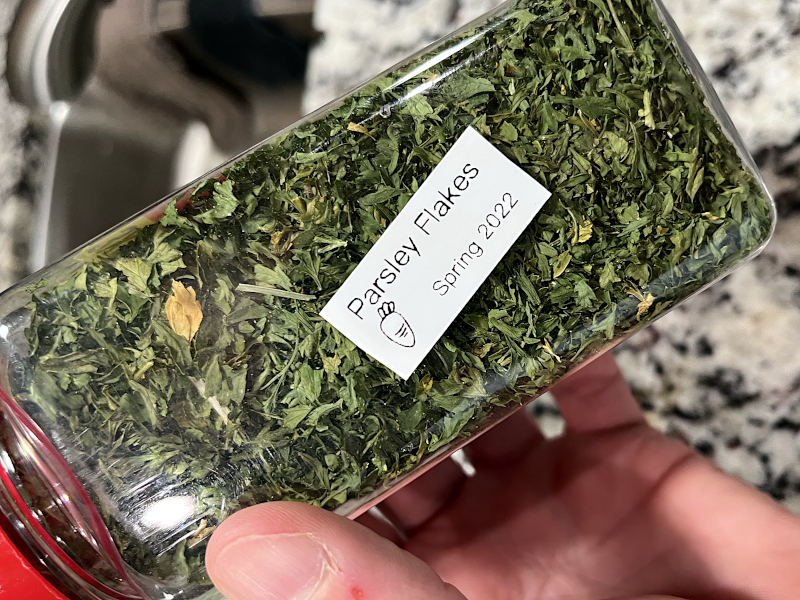
The first label that I created turned out well! The text is not super sharp and crisp—the MakeID L1 Label Maker is not exactly a high-quality laser printer—but it’s still very readable. The back of the label is split down the middle, which makes it very easy to remove. The stickers are very adhesive, and I found that they stuck great on glass, metal, and plastic alike. The labels I created generally only took a couple of seconds to print.
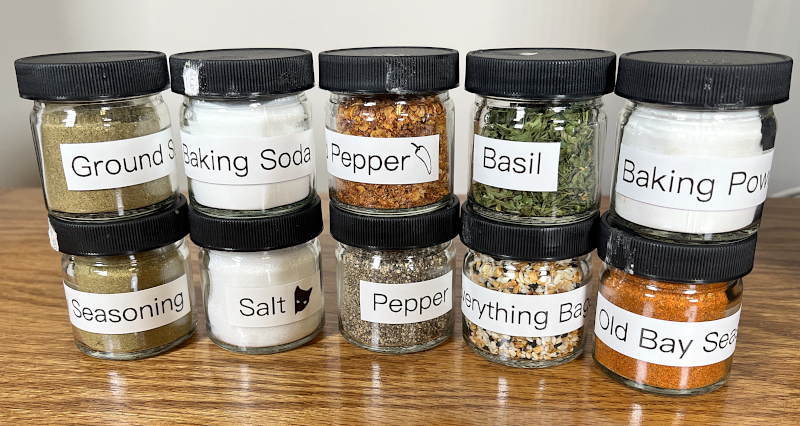
After getting that first label done, I set about creating a bunch of labels for my daughter. We’re giving her a set of spice jars for the new apartment, and they all need labels. While working on this, I discovered a new setting. Under device management, I can change the print density, which I upgraded from low to medium. This noticeably improved the quality of the labels, though I assume it will also use more ink. The resulting jars look pretty good. Once I got in a rhythm, I could print and apply a new label about every two minutes, which is not too bad.
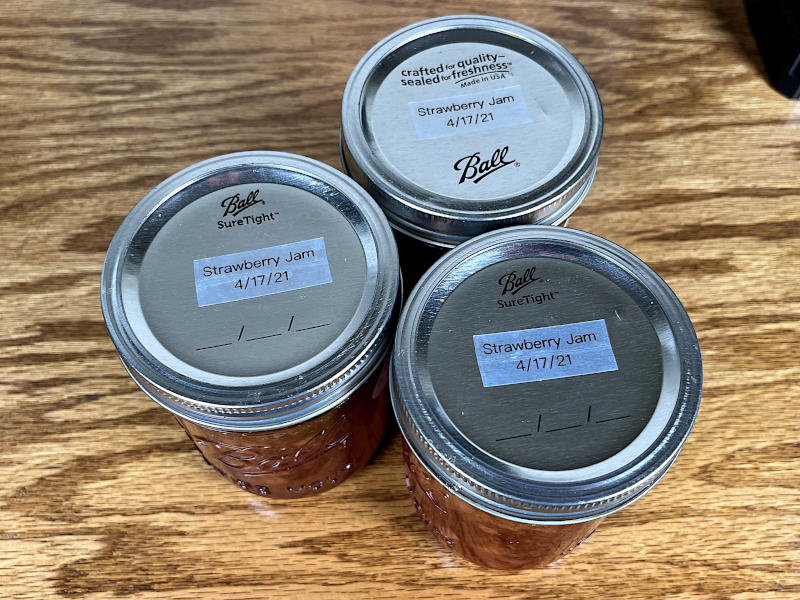
MakeID sent me a couple of other rolls of tape, so I decided to try those as well. The first was another continuous tape, one with a clear background. It worked just like the other, and I put some labels on some jars of strawberry jam that my wife made last year. This turned out nice.
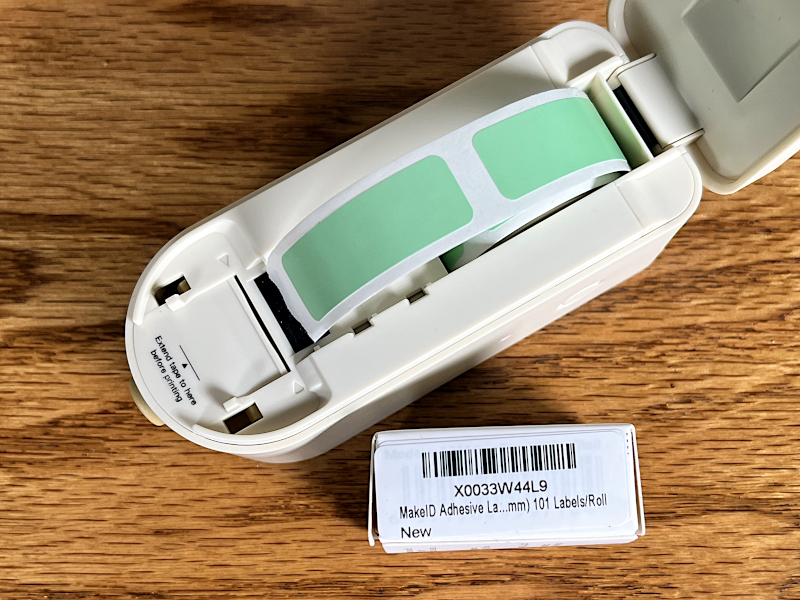
The second was a tape of discrete green labels. When I selected gap in the Life software, it asked me to select the size of the labels, as the L1 supports two different sizes. I looked on the box, but the label on the box doesn’t actually display the size of the labels within (see the ellipsis in the picture above). Ohhhhh, what irony! A label making company that can’t create labels for their own products! That had me laughing for a while. I finally looked on their Amazon page, which told me the correct size for these small green labels. When I removed the clear tape and replaced it with the discrete labels, I immediately ran into a problem: Where do I align the left edge of the label? Keep in mind that the manual doesn’t provide any help here. (As a point of contrast, the P11 label maker has a sensor and automatically scrolls the tape to solve this problem.) Using the same edge as the continuous tape didn’t work; that started it in the middle. By a process of trial and error, I finally figured out where the label should start, but getting it just right is an imprecise process at best. Honestly, I’m not really a fan of the MakeID L1 Label Maker’s discrete label capabilities.
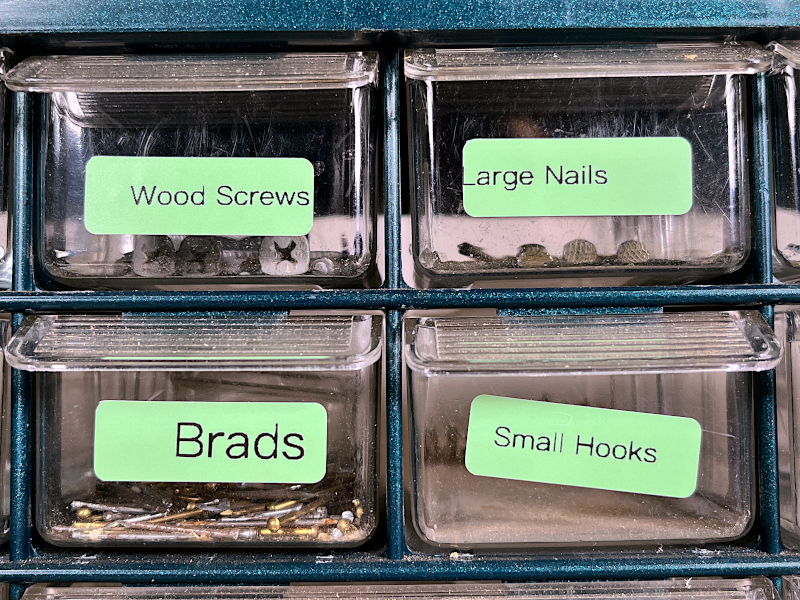
The resulting labels look good, though as you can see I struggled to get them centered.
Extra Features
The MakeID L1 Label Maker comes with only one roll of tape, so eventually, my daughter will need to get more. MakeID sells replacement tapes, both continuous and discrete, in various colors and patterns. Each 13-foot roll is currently $9 on Amazon.
What I like
- Small, portable size
- Easy to connect to my iPhone via Bluetooth
- Lots of options for adding text and graphics
- Clean app design
What I’d change
- Rewrite the manual and add instructions for using the app
- Add an ability to align discrete labels
- Properly label tape boxes
Final thoughts
The MakeID L1 Label Maker is a portable thermal label maker. The gadget itself is small and has a practical design. The software with which the labels are created is clean and very usable. The user manual is of poor quality and lacks a lot of critical information, so be prepared for a lot of trial and error. If you can figure things out, the resulting labels look and work great. If you’re searching for a label maker that uses continuous labels, I think the L1 would be a great choice. If you’re searching for one to use with discrete labels, I think you should pass on the L1, due to its inability to automatically align them. I think my daughter is going to be super happy with the continuous labels, and I’m looking forward to visiting her new apartment once she’s had a chance to label everything.
Price: $36.99
Where to buy: Amazon
Source: The sample for this review was provided by MakeID.


Gadgeteer Comment Policy - Please read before commenting
If it’s a thermal printer label maker it will never run out of ink, since it doesn’t actually use any: It heats the paper which color-changes. You have to have special paper for it, but it means that the paper is the only consumable.
On the other hand, thermal printed labels can become unreadable if left to get to hot, as the entire paper will change color.
Good point, thank you. I’ll mod the article to reflect this.
I have the green one. I did a text from my phone and hit print, there is nothing written on the label. My text simply said test. Not sure how to fix that
Thanks for the info on the Make ID L1 – my question is, how do you change from one line to two lines? Thanks
I’m sorry, but I don’t have this label maker any longer. MakeID probably has support information on their website; I would contact them for help.