REVIEW – Ever since 3D printers became more affordable, I have been very interested in how they work and what I can print. Over time I have thought about printing parts and toys and my own inventions and I have had a bunch of other ideas. Earlier this year, I finally purchased an FDM 3D printer (“FDM Printers – 3D printers that run on FDM Technology build parts layer-by-layer from the bottom up by heating and extruding thermoplastic filaments”). This is the type of printer that seems to pop up on every ad on my computer screen. It uses filament (PLA, ABS, ETC) which can be purchased in almost every single color. Mine has dual extruders, so I can even print in 2 colors without any additional equipment. Just recently, I read about another type of 3D printer that uses resin instead of filament and I was overjoyed when I got the opportunity to test and review the ELEGOO Mars UV Photocuring LCD 3D Printer.
What is it?
The ELEGOO Mars UV Photocuring LCD 3D Printer is an offline 3D printer that uses resin in a simple and effective way to print 3D models/products.
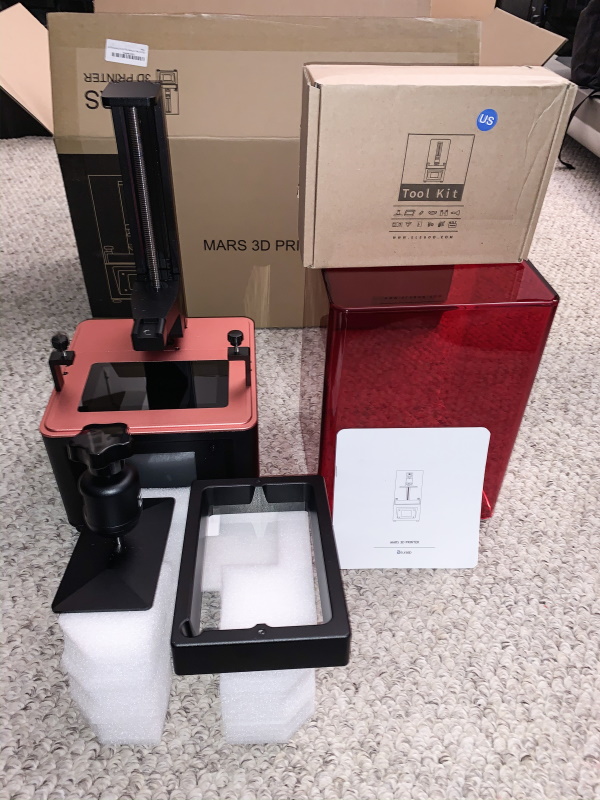
What’s in the box
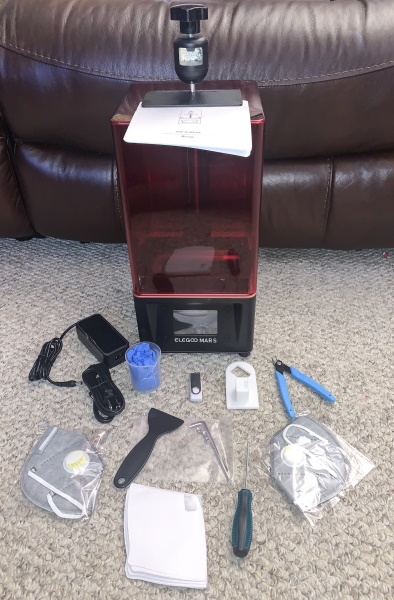
1 x Elegoo Mars 3D Printer
1 x Build Platform
1 x Resin Tank
1 x USB Flash Drive
2 x Face Mask
3 x Pair of Gloves
1 x Scraper
10 x Paper Funnel
1 x Measuring Cup
1 x Pack of Backup Screws
1 x AC Adapter
1 x Tool Kit (Allen Keys, Hex Driver)
1 x Instruction Manual
Design and features
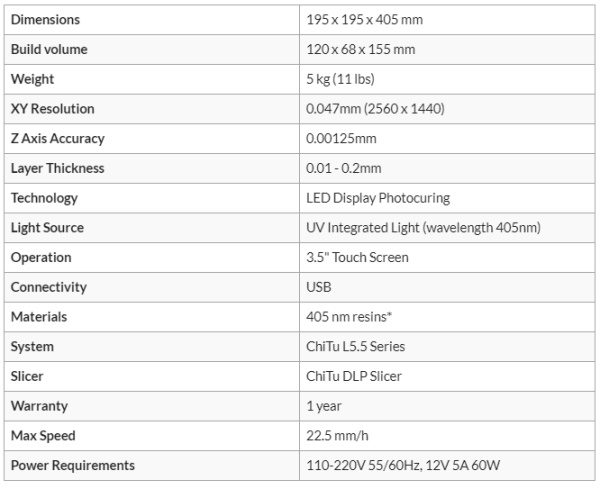
Specifications
Features
- Fast Slicing Software: ELEGOO Mars comes with the latest version of CHITUBOX Slicing Software which gives you extraordinary user experience. CHITUBOX takes only 1 minute to slice 30Mb .stl model files while the open-sourced slicing software would take up to 10minutes
- Resin saving and Better Printing: CHITUBOX allows you to hollow out your model before slicing which could save your resin dramatically during the photocuring process. Equipped with 40W UV lights and using ELEGOO resin, you can get a better printing result
- Smart and Convenient: 3.5” inch color touch screen equipped with the latest ELEGOO CHITUBOX 5.0 system makes it very easy for off-line printing. The build platform with a steel ball balancing structure inside allows you to start printing within 5 minutes after assembly
- High Precision and Resolution: ELEGOO Mars uses a 2560 x 1440 2K HD masking LCD as to provide accurate printing with XY axis resolution of 0.00185inches / 0.047mm
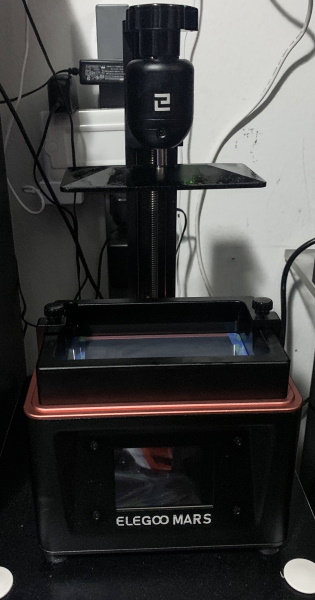
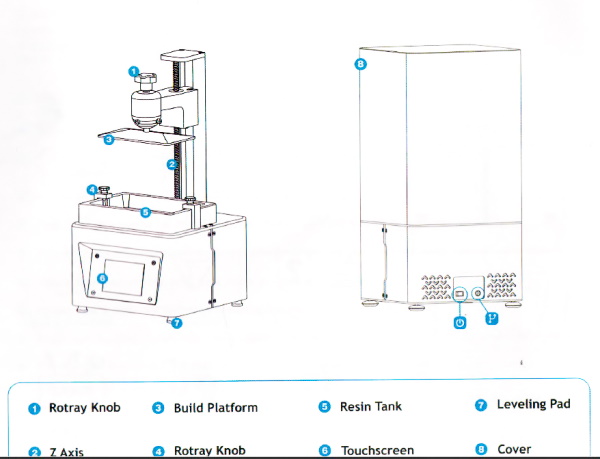
The structure of the Elegoo printer is simple. There is the build plate at the top, the build platform, and the resin tank. Below that, on the front, there is the 3.5″ touch control screen.
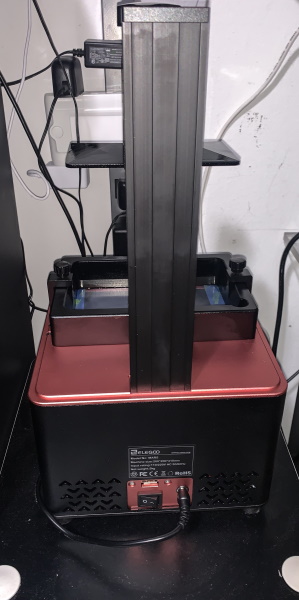
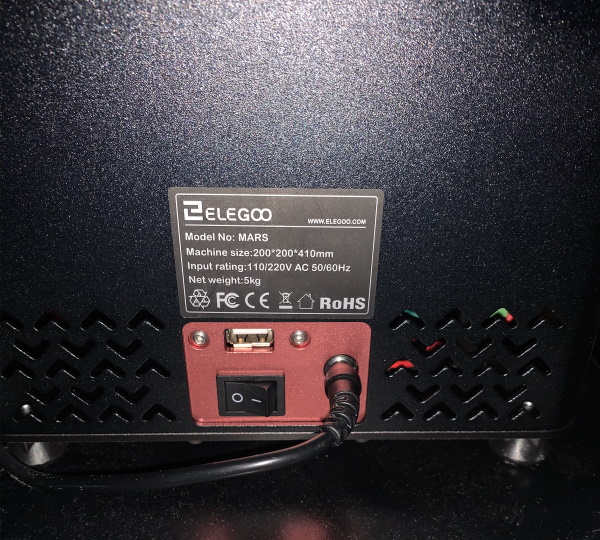
At the back of the printer close to the bottom, there is the power port and power switch, and the USB port.
Performance
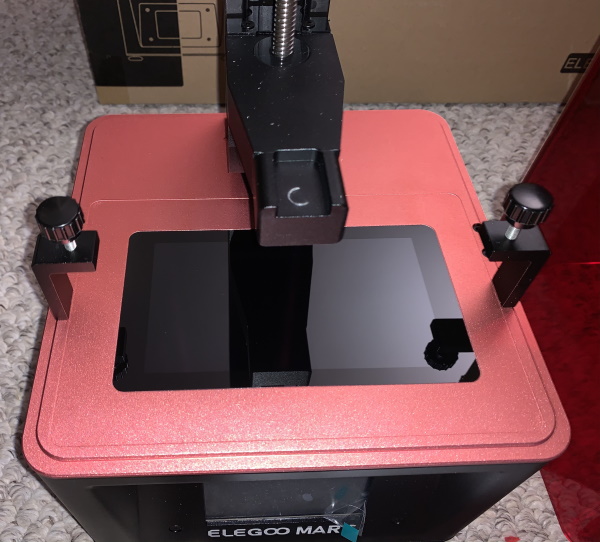
The first thing that you notice when you take the cover off of the printer is the glass window that is over the UV photocuring light/mechanism, As shown below, there is an arm above it and a slot that allows you to connect the build platform. There are also 2 clamps with turn knob screws that hold the resin tank in place. After looking at a few YouTube videos about these types of printers I followed the online advice and placed a small strip of painters tape on each side of the glass. Reports online indicate that this should be done to prevent any scratching of the glass when sliding the resin tank in and out. Scratching the glass will apparently affect the print.
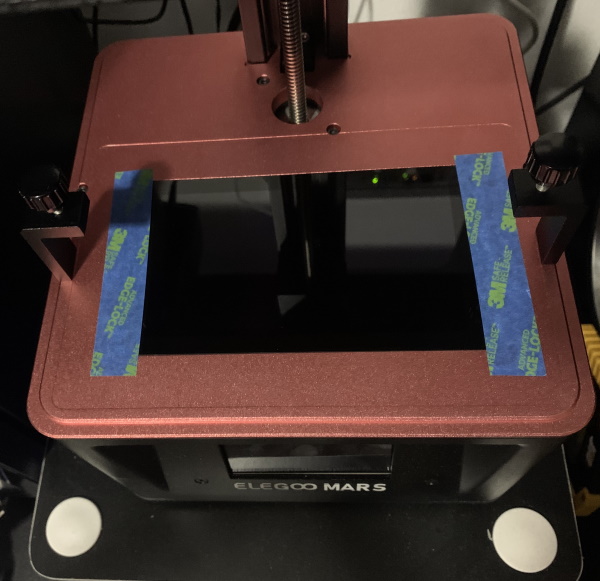
Once I followed the very easy process to level the build plate, I inserted the resin tank, poured in some resin to a bit over mid-level, inserted the USB drive in the USB port at the back of the printer and then followed the onscreen next steps to start printing.
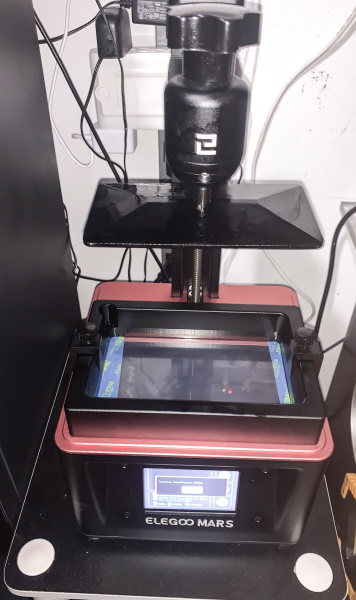
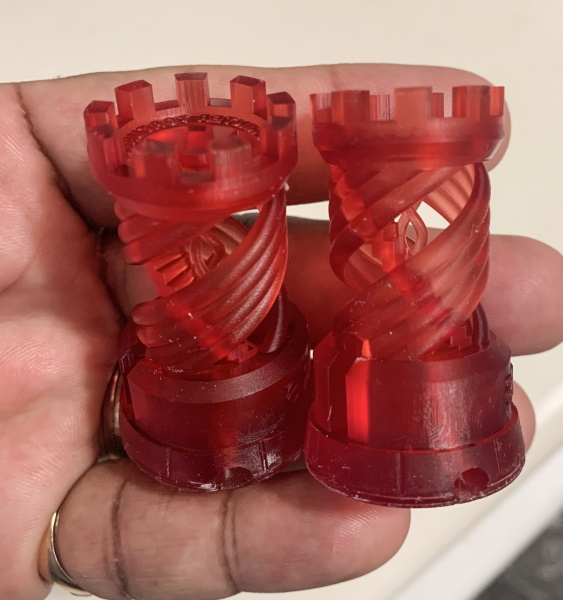
I then followed the simple process of selecting the provided test model file which is a pair of chess Rooks and started the print.
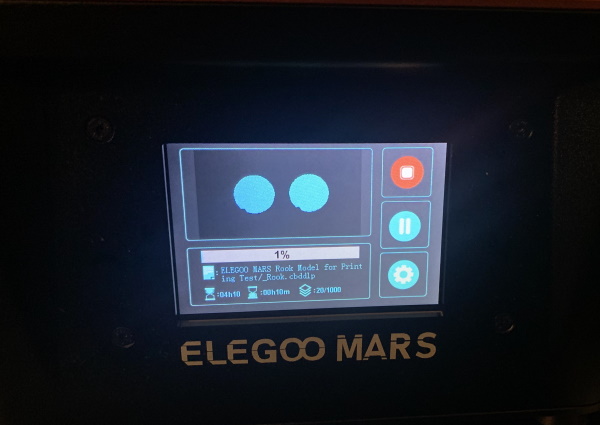
As shown in the photo below, the 3D print was completed in 4 hours and 20 minutes.
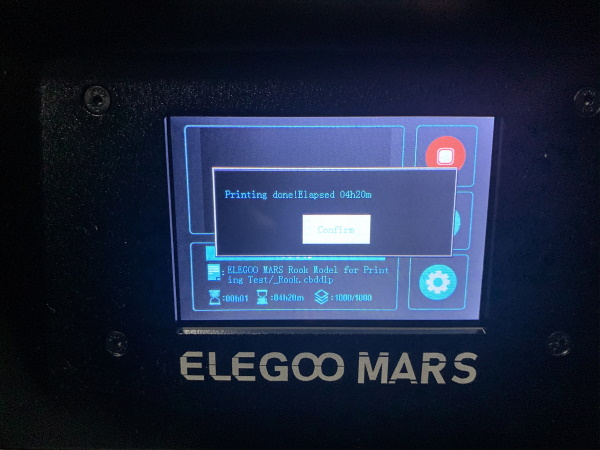
My next step was to use the white plastic tool that was provided to hang the build plate and the prints at an angle to allow any remaining resin to drip into the resin tank.
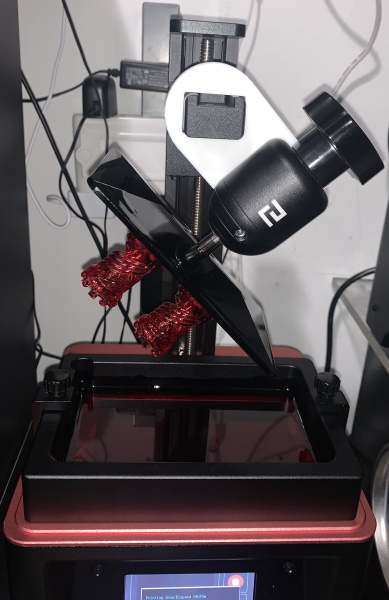
Once the resin was completely drained, I used the included scraper to remove the prints from the build plate. This was not easy but not more difficult than when trying to remove 3D filament prints from the manufacturer’s build plate, I am about to upgrade the build plate on my FDM printer to make this easier.
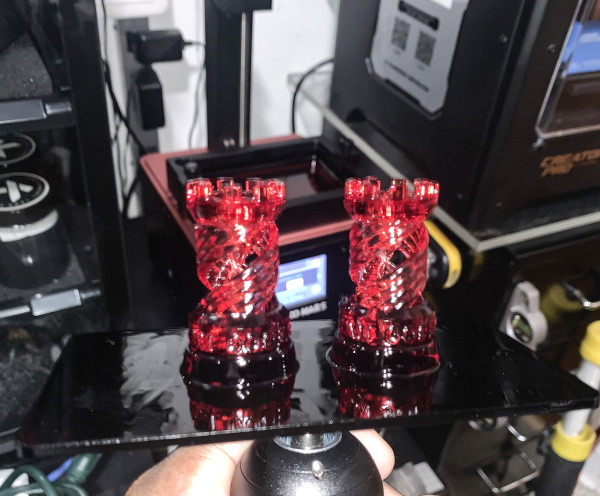
Once I remove the 3D prints from the build plate, I washed them in the 99% isopropyl alcohol using a container with a strainer that I had purchased.
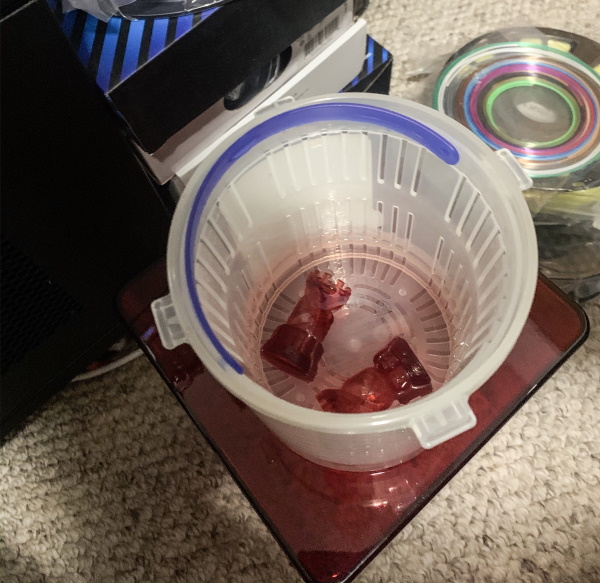
The resin prints are usually a bit sticky right out of the printer, and they need to be placed in the sun or ultraviolet light to be completely dried/cured. Since I print mostly at night, I used a rotating turntable and a UV light for the final process.
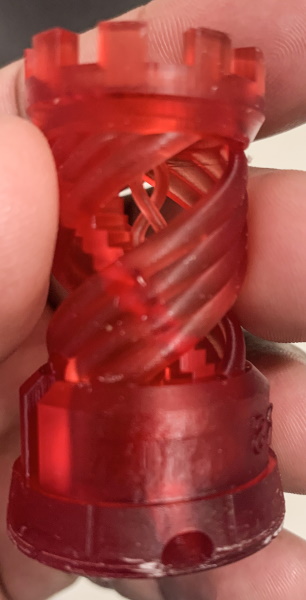
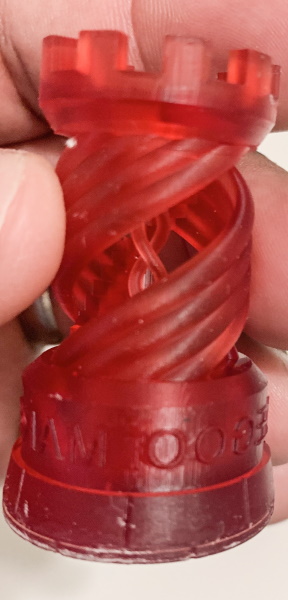
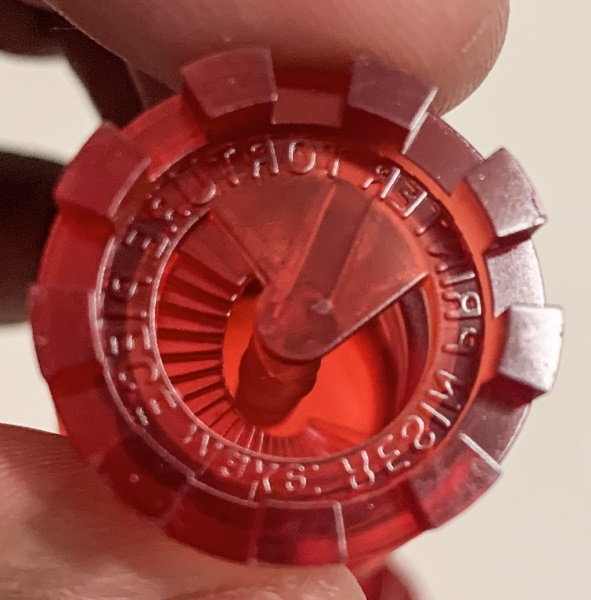
The finished 3D prints of the Rooks are really nice and the detail is way better than the prints from my FDM printer. Even the lettering is clean and there is no need to sand or file the prints to create clean edges or to reveal details.
Clean up
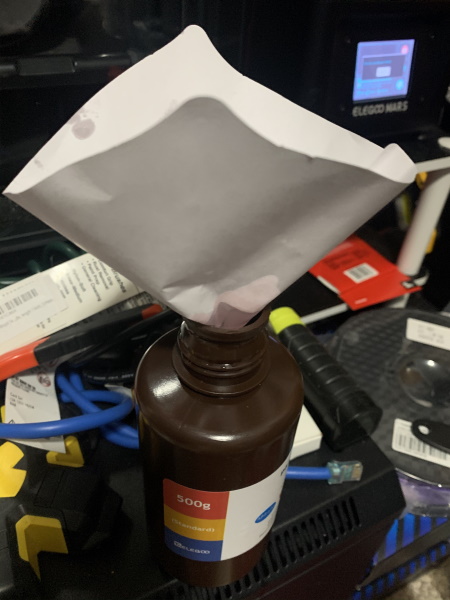
Elegoo provides paper filters that allow you to pour the unused portion of resin from the resin tank back into the original bottle while avoiding any remnants/debris from the print.
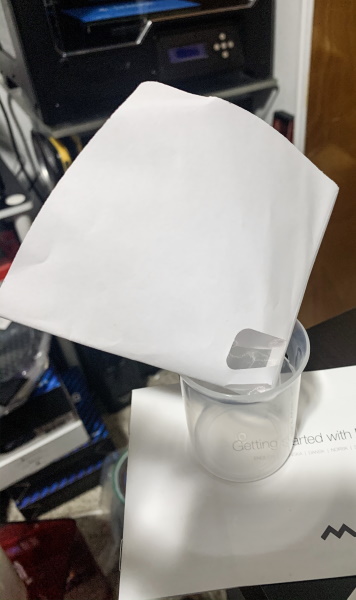
The problem that I encountered was that the measuring cup that came with the printer was badly cracked, but I did not initially see the crack because the cup is clear. So, my process of returning the resin to the bottle via the cup was a disaster since most of the resin poured all over my desk and the carpet beneath the desk. I spent a long time using the isopropyl alcohol to not only clean the resin tank and the build platform but also my desk, the carpet, and any other surface that it spilled onto. The alcohol did do a good job except for the carpet that was light brown and is now red/brown.
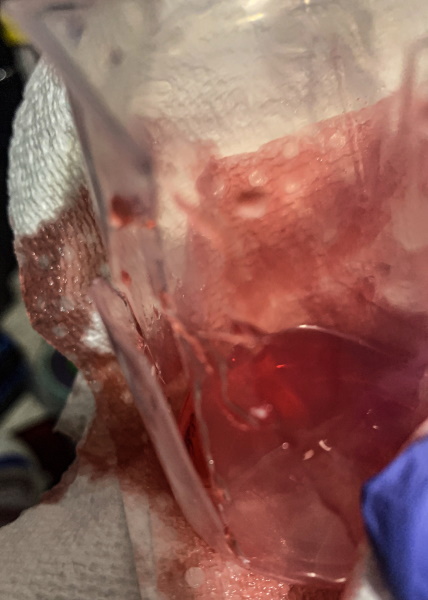
Eventually, I squeezed the paper funnel/strainer into the original resin bottle and slowly poured the rest of the resin that I had managed to save in the resin tank, into the bottle. I will be buying a new measuring cup for this process since the spout on the cup is much safer to use to pour.
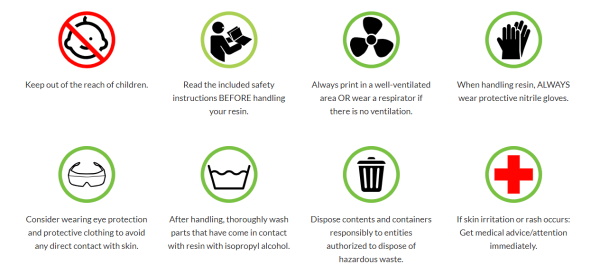
Important Note related to the use of Resin:
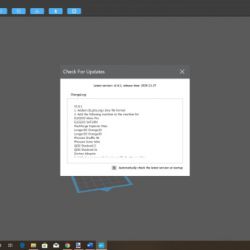
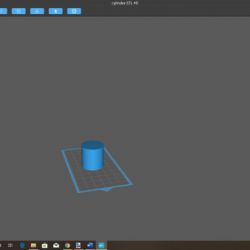
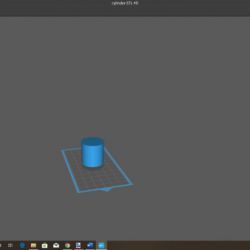
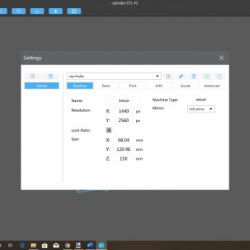
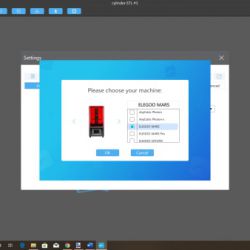
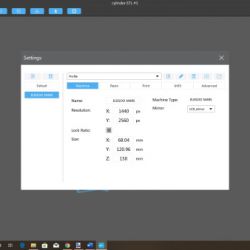
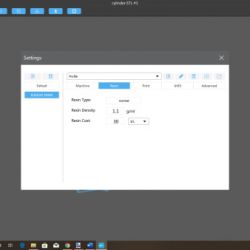
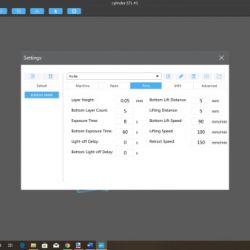
For creating your own prints, Elegoo provides ChiTuBox slicing software for you to design and slice your own models. A version of the software is included on the USB flash drive that they provide and you can also download it from their website. The following are a few screenshots from the application:
What I like
- The build quality of the unit
- Quiet compared to my FDM printer
- Ease of setup and use
- Great 3D print quality
What I’d Change
- Include a stronger/better measuring cup
- Include an interior marker in the resin tank that at the least indicates the maximum fill level
- Maybe a larger resin tank for larger and solid prints?
- An automatic audible warning and pause feature if the resin runs out (Not sure if there is one)
- Include a bottle of resin with the starter kit
- A clearer and more detailed manual
Final thoughts
Over the past few months, I have become very familiar with my FDM filament 3D printer and have enjoyed several successful prints of various intricacies. However, this has not been without pain. Issues like breaking filament, or tangling filament, unlevel build plate, filament not sticking to the build plate, stringy filament because of the incorrect nozzle temperature, etc have resulted in a lot of frustrating hours as I have had to try and retry various tweaks to earn my eventual successful 3D prints. Don’t get me wrong, when the FDM printer is printing correctly, the process albeit a bit noisy is great to watch and great to create timelapse videos. I say all of this to explain why I was quite hesitant about the actual process of printing with this resin printer. I kept asking myself “what could or will go wrong?”. Well, I cannot quite explain the joy I experienced with an amazingly easy printer setup and a completely successful print on my very first try. And, my first print as you read was the more than basic design Rooks unlike my first print on the FDM printer that was a simple cube. This ELEGOO Mars UV Photocuring LCD 3D Printer is simply great and I can’t wait until I can afford a larger resin printer to produce larger models. I am giving it a well done and two thumbs up!!
Price: $249.99
Where to buy: Amazon and Elegoo
Source: The sample for this review was provided by Elegoo Mars

