We Gadgeteers not only love things that do little tasks well, and clever designs, but we also like to see the inside story on how these devices work. Sometimes this means taking them apart, but sometimes, it can just mean finding a way to observe the item in action. Sometimes, you need to see into or under something in order to troubleshoot or just observe a running process. If the desired objective is under something, behind a blockage, or deep inside a larger enclosure, this is quite difficult, unless you have an endoscope. I’ve wanted to have something like this all my life, and M-way finally offered The Gadgeteer crew a test model YPC110 for review.
Note: Photos may be tapped or clicked for a larger image.
What is it?
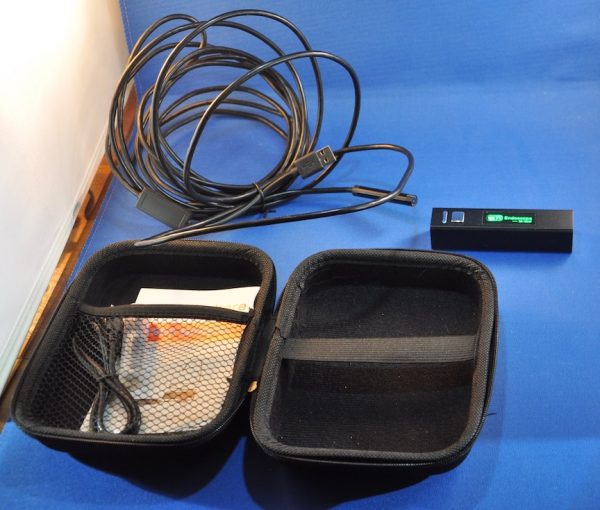
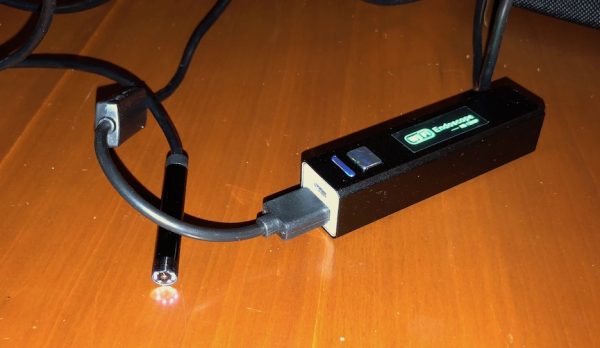
The YPC110 (such catchy names makers use, sometimes!) is a 1600 x 1200 resolution CMOS sensor on a long semi-rigid 8 mm diameter cable. The model I was sent is 3.5 meters long, but they have 2-meter, 5-meter, and 10-meter lengths as well. The CMOS camera is powered by a 4” long .75” square tube that houses a battery and WiFi radio.
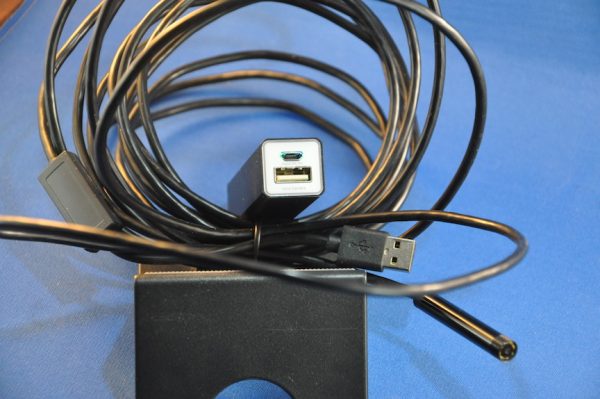
Two USB jacks are on one end. The microUSB is for charging the internal battery, and the standard USB-A port is where the camera connects.
Specs
(From website)
- Imaging Sensor: CMOS
- Camera resolution: 1600*1200
- Horizontal view angle: 72 degrees
- Transmitting frequency: 2412-2612 MHZ
- Minimum illumination : 0 Lux
- Power Supply: 3.7V 600mah lithium battery
- Unobstructed effective range: 5-10 m
- Waterproofing grade: IP68 ( for lens/ tube only )
- Diameter of flexible tube: 8.0mm
- Charging voltage and current : 5V – 2A/1A/500mA
- Focal Distance : 1.2 Inch – 3.2 Inch
- Full Charging time: 1 hour
- Length : 16.4ft /5M
What’s in the box?
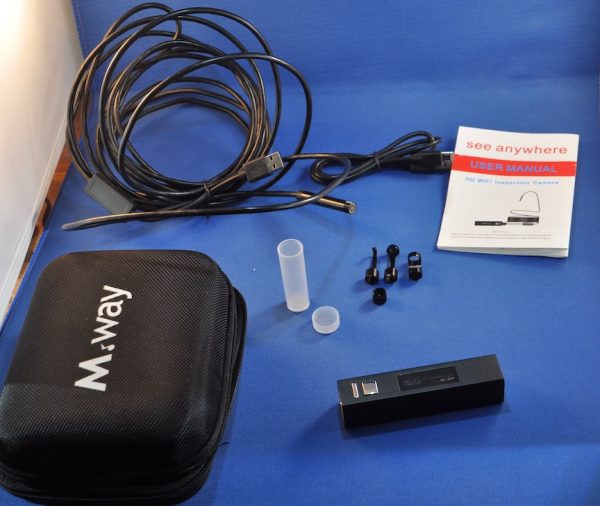
- A semi-rigid zippered carrying case. (6.5” x 5” x 2.5”)
- The sensor/cable itself
- The WiFi radio/battery “head” unit
- A USB-A to microUSB charging cable
- Mirror attachment (for seeing into tight turns where the camera cannot get into)
- Hook tip
- Magnetic probe
- Instruction leaflet
Design and features
The unit is made up of two main parts: the wifi broadcasting/power module, and the camera with the stiff connecting cable. There are 6 pinhole LEDs around the end of the CMOS to light up the field in front of it. The field of focus is fairly short (a few inches) and fully automatic. You focus moving closer or further away. The app has a bit of autofocus, as well. To use, go to the App Store for your smart device, and download the HD SEE app. Once the battery is charged on the camera module, turn on the WiFi radio. Go to your smart device’s WiFi settings and connect to the YPC’s WiFi. (The WiFi and password are listed on the head unit’s endcap.) Once it’s connected, go into the HD SEE program, and you’ll see the image from the camera. You will find controls for video recording, still image capture, and settings. There’s also a button (looks like two mountains, or upside down ice cream cones) that takes you to your photo and video library, but these are also accessible in your device’s default storage app.
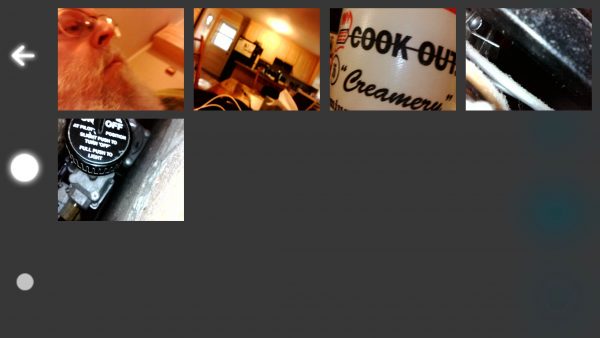
Here’s what the photo gallery shows:
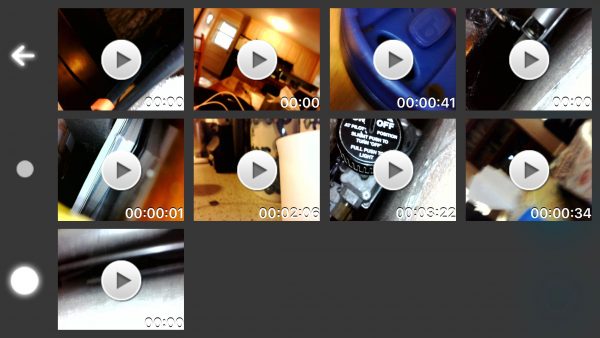
And here’s the video gallery:
As you can see from the above three screenshots, the app is not well-labeled or designed for high-resolution. These were taken on an iPhone 8 Plus.
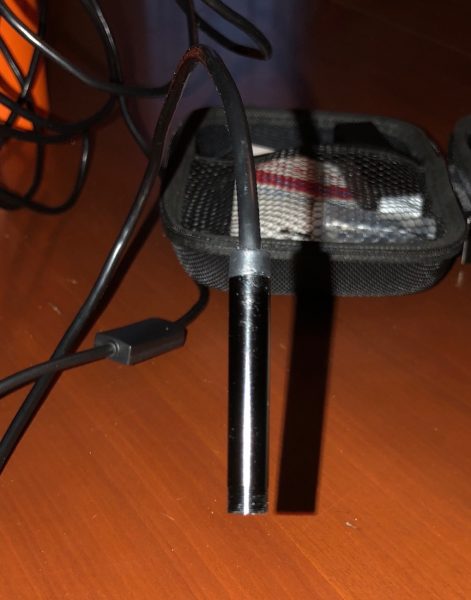
The camera is easy to setup and use, but a bit difficult to control. I found that the shorter length you were pushing ahead of your hand, the more control you had. Once you feed it into a tight space, of course, this advantage is gone, but if you’re in a narrow passage, there’s not going to be much boinging around anyway. At the far end of the cable from the sensor is a wheel that adjusts the amount of light the tiny LEDs around the tip produce. (You can see it on the left in the photo below. You can see the reflection the LEDs make on the table in front of the camera.) This can make a huge difference not only in your photos and videos but in how well you can actually see details live.
For fun, I explored some hidden places in my kitchen and den. Like my wife’s coffee mug sitting on the counter:
And the crevice behind the canisters on the kitchen counter:
And under the gas logs in the fireplace. (This could actually be a productive use of this tool!)
While the camera behaved exactly as advertised, there were some things that I found myself wishing for. First, why WiFi? I have never attached to a data source (CD, DVD, Scanner, Camera, etc.) over WiFi and was not impressed. Bluetooth would have been much better, both for stability and for battery life. Let me explain. Since you’re probably somewhere that has a WiFi network and are connected to the internet, you’ll need to pause or maybe even delete the existing network connection in order to use the ‘scope. I found that if I didn’t, as soon as I powered off the MWay, the regular network would be accessed, and would never let the iPhone back on the MWay network without going back into Settings. This wouldn’t happen with BlueTooth. Smart devices are designed to have many concurrent Bluetooth connections and only a single WiFi connection.
The second issue is battery life. I could get maybe 20 minutes of active viewing and recording on a single charge. I tried to charge while connected, but this would play havoc with the network setup again, and also, the two outlets are so close as to prevent any but the narrowest connectors to fit simultaneously.
I suppose if you can find drivers, you could just plug the camera directly into the USB port on your computer and run an image capture utility to capture video or stills. I tried that on my Mac, but neither the WiFi nor the direct connection allowed me to use the attached camera. (I guess they feel when you have a really good camera attached, so why connect to a different one?)
What I Like
- The unit is quite small
- Works as advertised
- No extras needed – complete kit shipped together
What needs to be improved
- Image quality is low
- WiFi connection is flaky
- Battery life is short
- Can not use while charging battery
Final thoughts
Seeing into hidden areas is really deep geekery, and this product scratches that itch. While it’s not perfect, and you’d never be able to film movies through the wall because of the short focal distance, it’s really nice for hunting for a lost part, watching a part that appears to be failing at times, or just randomly exploring places we can’t actually see into.
Price: $35.99
Where to buy: Amazon
Source: The sample of this product was provided by M Way.




Gadgeteer Comment Policy - Please read before commenting
Followed your directions down load was successful but will not accept the WiFi name or password that came with my unit. Any ideas? Thank you
The Wifi Name should show up as an available network. Don’t enter it as if it’s a hidden SSID, just turn it on and let your device find it normally.
If it doesn’t work, check with the company. My unit has been on several different devices, and always shows up in the wifi list.
FRUSTATED AND DISAPOINTED ABOUT YOUR ENDOSCOPE.
THERE IS NO WAY THAT I CAN GET ENDOSCOPE TO WORK.
(The gentleman on the previous comment has the same problem)
I DOWLOADED THE CAMERA, ENTER THE WI FI IN MY TELEPHONE AND IT DOES NOT SHOW THE:
YPC*** NOT EVEN FIND ONE WHEN I SEARCH AUTOMATICALY.
WHY DONT YOU PROVIDED A LINK TO A DOWNLOAD ON THIS PAGE? IT WILL MAKE IT MUCH EASIER FOR US THE ONES WHO BOUGHT YOUR PRODUCT.
I received it on Tuesday mid day and imedetly put it on charger
Checked it out 1 1/2 hours later. I unplugged it from cable plugged in the Bluetooth hit the. Button NOTHING. So I plugged it back into charger 2 hrs later checked it again , NOTHING ! Again
Plugged in charger but also plugged in the scope pushed on and it lit up the camera and the indicator and all went off when I removed the power cord. What do I do now ???
Like I mentioned in the article, this does NOT connect over BlueTooth. It connects over Wifi. You’ll need to log out of your Wifi network and log into the network setup by the camera. Then you can launch the app and view the camera image.
@ARMANDO CASTRO
We don’t sell or support products. We are only reviewers and have no relationship with the companies whose products we review. Sorry you’re having issues with the camera. As noted in the article, it is a bit temperamental. I had to delete my home network so that my phone would not try to sign back in every time the camera Wifi server hiccoughed.
Hi Gadgetteers! I purchased this and it says on it Wifi Name: YPC_***
Password: 12345678
Model: YPC 110
Now 1. I charged it.
2. I downloaded HD See app
3. Plugged in camera
4. Into WiFi settings ( this is where I have my question) the wifi endoscope comes up as YPC_2881. It automatically connects to the network when I click on it without asking for me to input the Password…? It connects but says connected/no internet.. When you connect to yours does it say YPC_110 and have you input the Password? Because that is what I was expecting to happen only the wifi endoscope comes up as YPC_2881 and no password is asked for, it just connects with no internet.. The app of course works but with no internet there is no images.. Please, if you can, help me mates! Thanks for your time and consideration.
Download the app ImageKit from Apple or Google, none of the other apps worked for me
Hi Matt, same problems as Christopher above and I am using image kit. Coffee cup just bounces and no image should it say no internet when it auto picks YPC in WiFi
Nice review, thanx! However, I recommend against purchasing this product: when the battery dies (and it will) you can’t charge the unit and you can’t use the unit while it’s plugged in to a power source. Who needs a short lived endoscope, even for just $30?
Hello,
thank you for your info’s.
Your affiliate link with this item doesn’t work but here is a normal working link to this item: amazon.com/s?k=B0791CRKX5
If you’re connected with the WiFi device, you can use following links in your browser:
Get status:
192.168.1.1:36299/get_status.cgi?user=admin&pwd=
Get parameters:
192.168.1.1:36299/get_params.cgi
Set parameters:
192.168.1.1:36299/set_params.cgi
(Note: I don’t know usable parameters, has anyone ideas?)
Get properties:
192.168.1.1:36299/get_properties.cgi
Take snapshot:
192.168.1.1:36299/Snapshot.cgi
I don’t know if exist a live video function or similar.
Update
Please replace the item link to this one 🙂
amazon.com/dp/B0791CRKX5/
YPN110
I bought it but never used it until now. No instructions. I can see both red-charging, and multi-color-WIFI-on lights normally.
I can join it’s WIFI from both an iPhone and a Mac normally.
I have downloaded and tried every app mentioned in this thread for both iPhone and Mac, and none of them can find the YPC video, but other sources work fine.
On Mac, I think it’s supposed to appear as a selectable hardware source, which it doesn’t.
On iPhone, I don’t know how the apps are supposed to find it.
It will not power on, or start up WIFI unless plugged in. However WIFI appears to work normally while plugged in and allows both devices to join separately.
1. So sounds like a dead battery, right?
2. Someone said it won’t work on direct power, but WIFI does, so not sure if video can work too and I’m missing something, or if it’s really restricted to battery power.
3. If I plug directly into Mac USB, is there anyway to access video that way? It APPEARS to power fine as just the camera/lights (no wifi box)
4. On Mac via WIFI, is there an address I can tell the apps (VLC)?) to look for?
5. On iPhone via WIFI, same question. Can I tell VLC Mobile where to look since none of them find it automatically?
Maybe someone can post a picture of the part with the volume tor-down so we can have a wiring diagram? Mine needs repaired and I am unable to find a pinout for these. All the labels on the board are in Chinese.