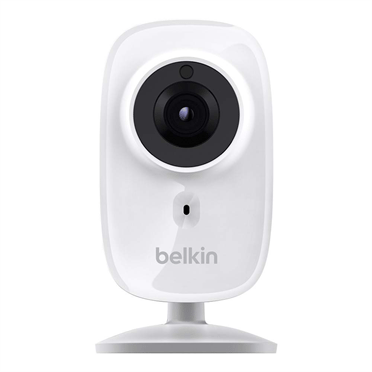
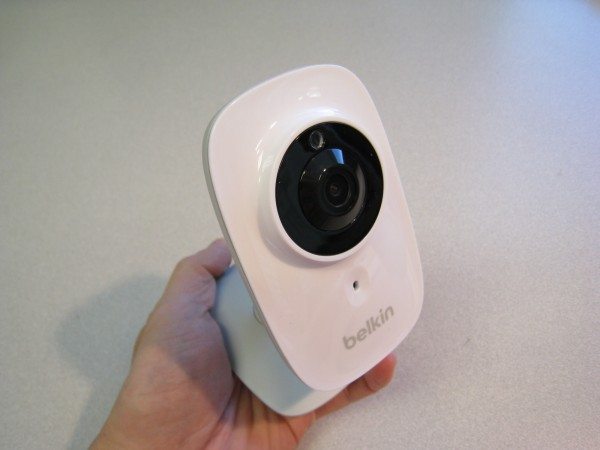
 I’ve avoided playing with “home” monitoring cameras because (1) I live in a tiny condo in San Francisco, and (2) my son is 8 now and we’re past the baby monitoring stage. I do have friends and family with small children, so I figured I owed it to them to stay on top of this technology. Today I’m looking at a Belkin Wi-Fi camera that boasts better image quality due to an actual glass lens. This caught my attention.
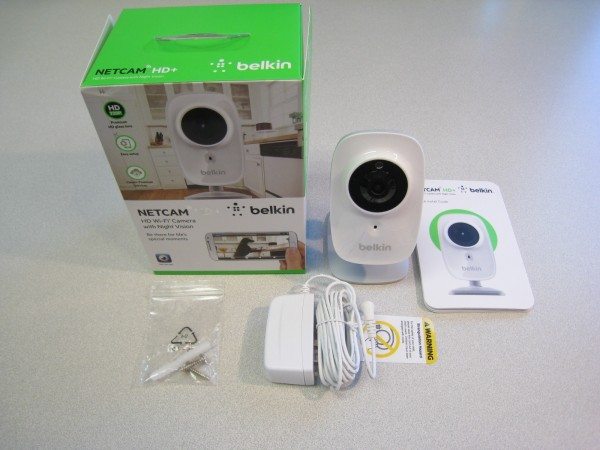
The Belkin comes with the power supply with a longer-than-average cord, instructions and some mounting screws.
- Antenna Form Factor: Internal
- Lens Focal length: 3.37mm, F2.4
- Image Sensor: 2M 1/3.2 inch CMOS sensor
- Audio Compression: G.711, PCM
- Buttons: Reset Button
- Radio Frequency Band: 1 802.11b/g/n
- Codecs: H.264
- Resolution: 1280×720, 640×360, 320×180
- Frame Rate: Up to 25 Frames per Second
- Still Image Capture: 720P Still Capture
- Video Features: Adjust Image Size and Quality
- View Angle: Horizontal: 76°, Vertical: 57°, Diagonal: 95°
- IR Mode: 4 IR LEDs, 850nm, IR-Cut, 8-meter illumination distance
- Ambient Light Sensor: RoHS-compliant 560nm luminance detector
- Audio In: Built-in microphone, -38 dB ± 2dB
- Switch: Setup Mode
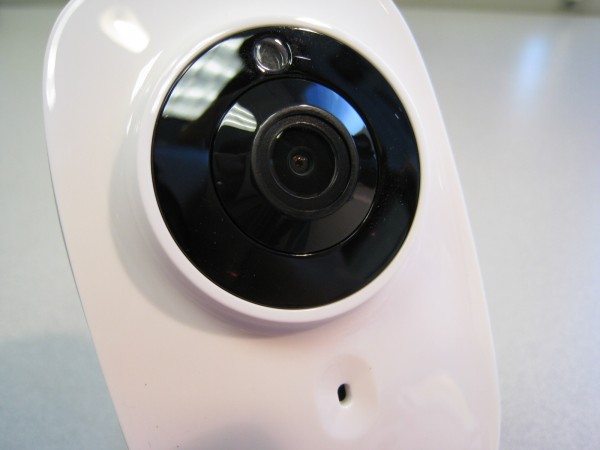
A closeup of the camera. Somewhere, there’s the much ballyhooed glass lens. Belkin says the glass lens “allows for vibrant color and pristine detail”.
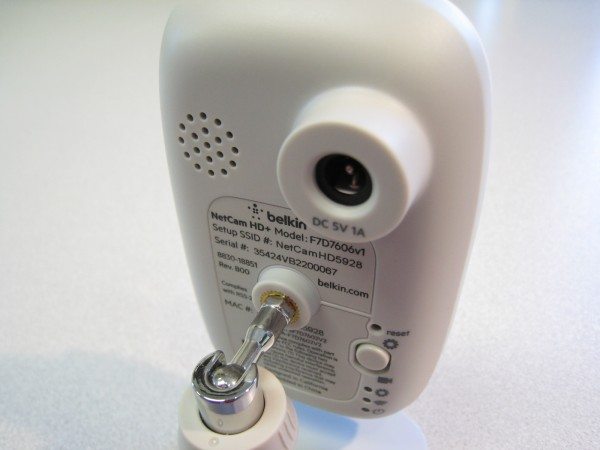
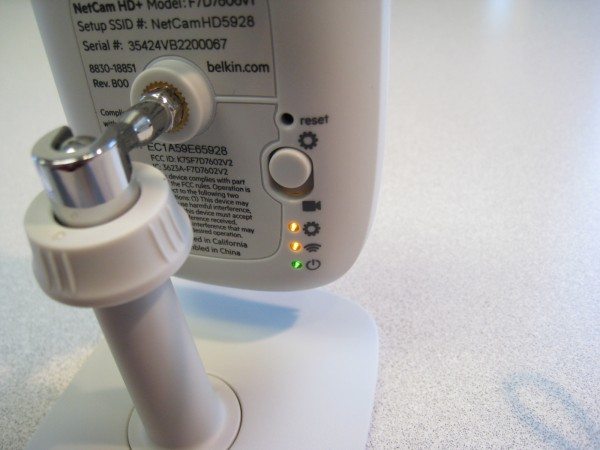
The back of the camera. There’s only one switch (the gear means setup, the camera means… uh, camera). There’s also a tiny reset hole above the switch.
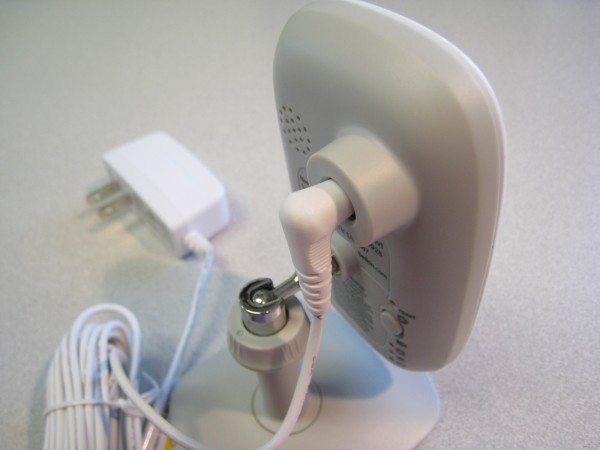
The included power supply plugs in the back. I was pleased to see a sensible right-angle power plug.
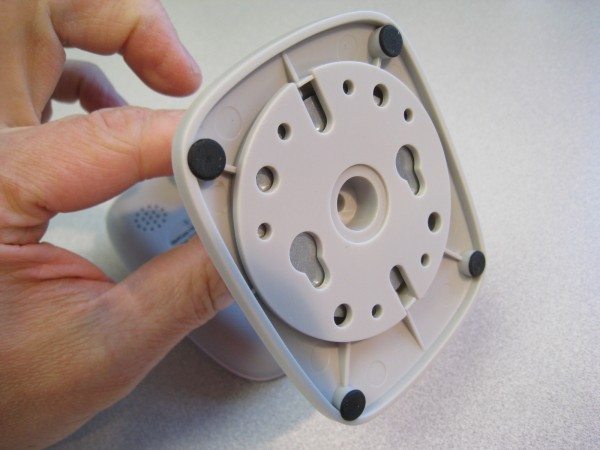
The bottom of the base has holes for mounting the camera with the included screws for a more permanent installation.
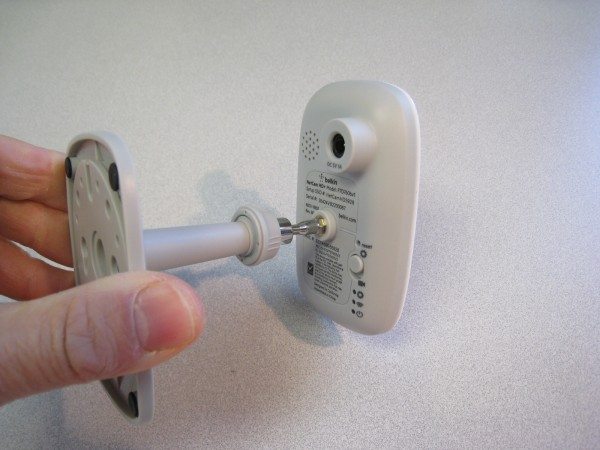
This is the camera set in a “vertical” position, if you were mount it against the wall.
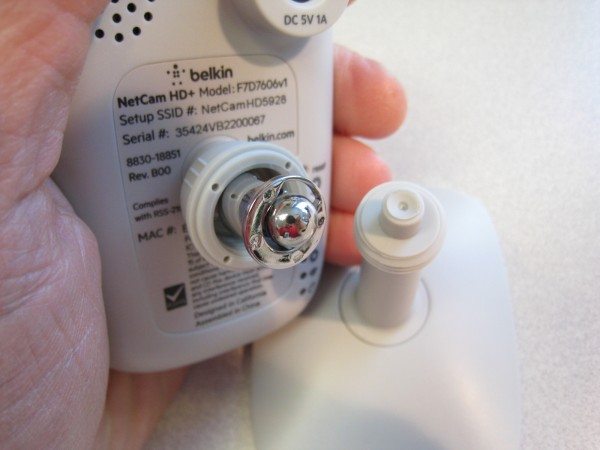
I took the ball joint apart and found the socket was just plastic. That’s okay. The camera doesn’t weigh much to begin with.
There are three LEDs for setup, signal, and power. Amber means “not ready” and green means go.
Belkin claims you don’t need a computer to use the camera. There is an iOS app on the App Store or an Android App. Here I used my iPhone 5S to set things up.
To use the app, you connect your phone via wifi to the camera’s on-board wifi. Follow the on screen prompts from there.
From there, the app will reboot the camera and start up.
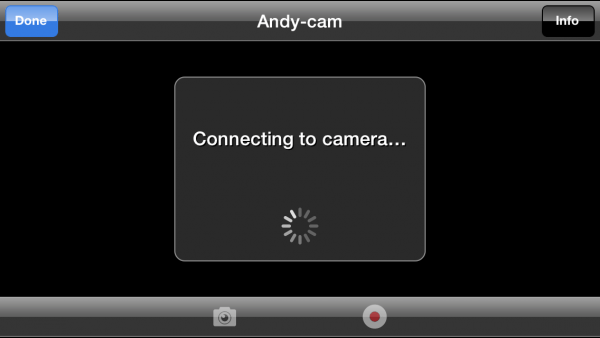
After that I ran into some problems. The iOS app just kind of locked up, endlessly searching. I may have gotten it to work once.
Fortunately, with nothing more than a browser, you can log in at netcam.belkin.com instead. From there you can choose the camera you want to see, change settings, setup sharing and more.
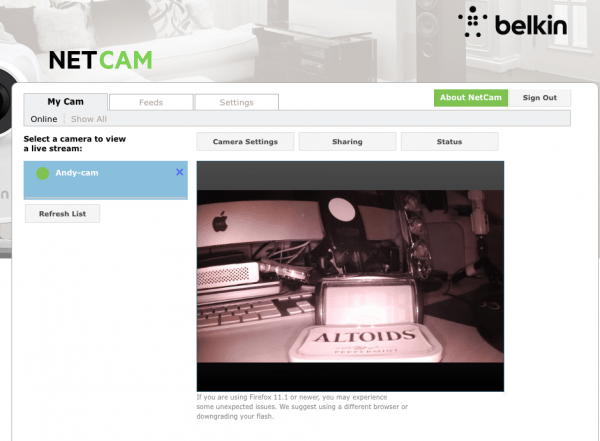
Here is a control shot I took in low light of a clock and a box of mints. To ensure this really worked, I logged in from the office, so I was sure this wasn’t just limited within the same network. Yup, no problem.
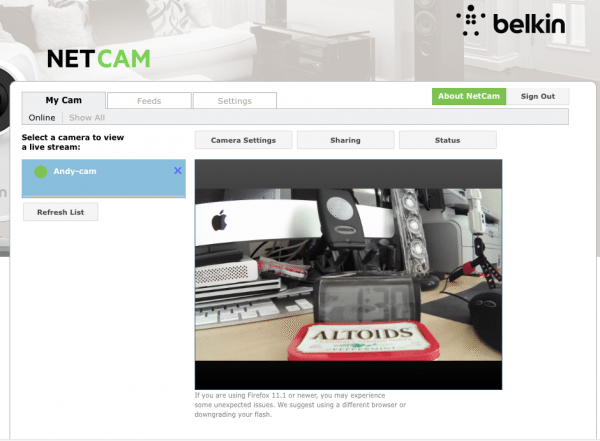
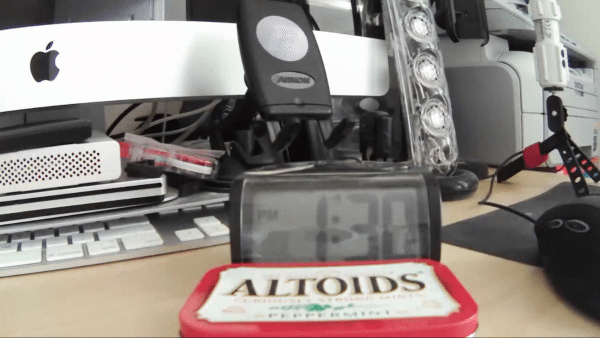
Here’s the same clock and mints in the early afternoon. Colors aren’t bad, and you can definitely notice a bit of a “fisheye” effect.
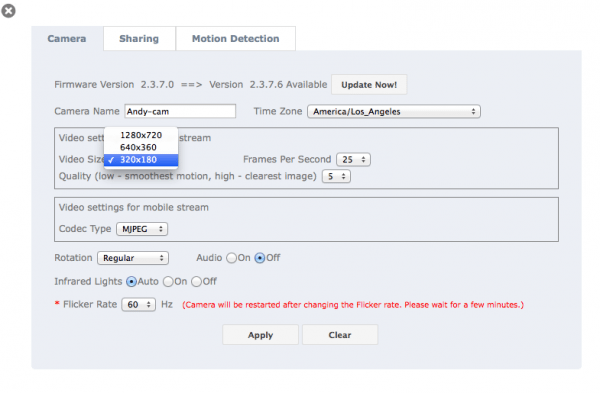 The setup screen allows you set from three different resolutions (up to 1280×720), framerates, and “quality”.
Click on the full size screen captures for a bigger view.
“Clock and Altoids” screen grab.
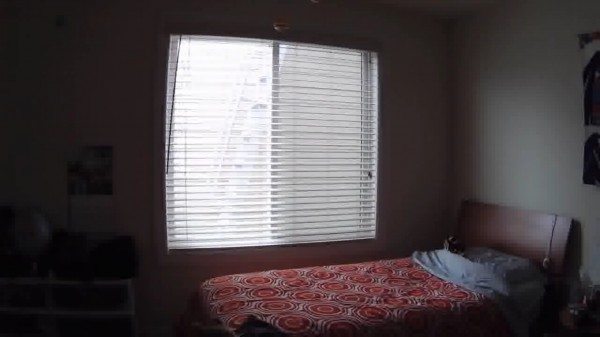
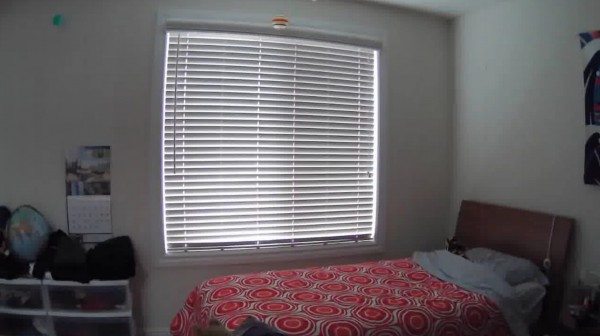
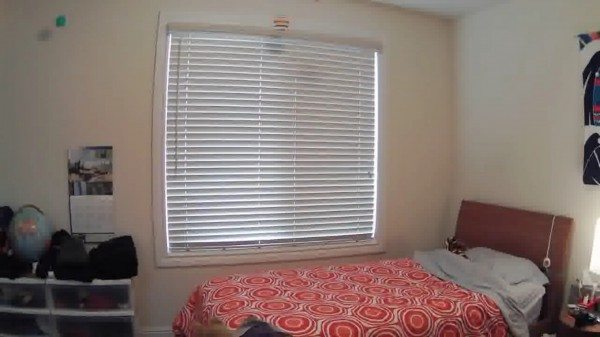
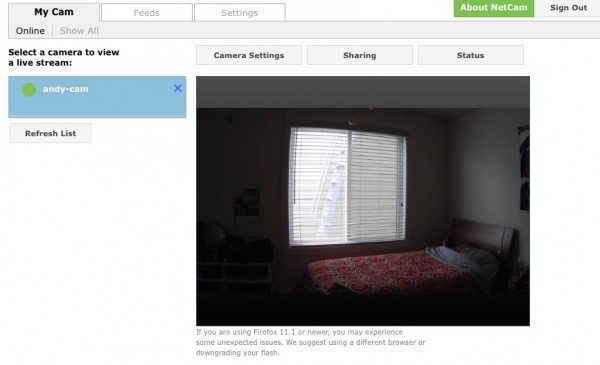 What practical use would I have for such a thing? Well, kid monitoring comes to mind, so I set this up on a shelf in my son’s room. First I tested this during the day with an open window. As predicted, the light alters the exposure so most of the room is dark. There are no metering options on this camera.
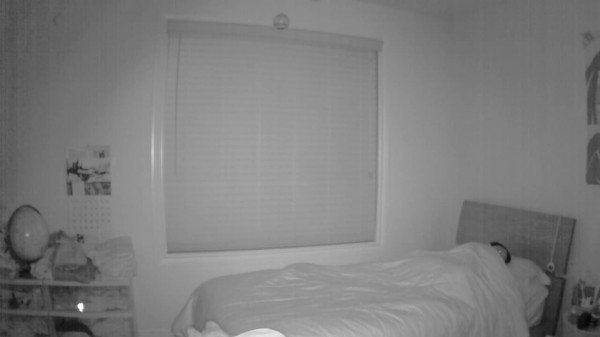
Again, click on each image for full size. There is quite a bit of image compression, but that’s also due to the fact that I grabbed these off my 27″ iMac. Camera resolution was set at 1280×720 at the time.
Blinds open, daytime.
Blinds closed, daytime.
Blinds closed, daytime, with ceiling and desk lights on.
And bedtime! This was taken at night, blinds closed, total darkness.
Four IR LEDs turn on to provide light for the camera. Good enough to tell my son is in bed. It’s interesting to note that the orange circles on the bed spread are completely washed out. The IR LEDs aren’t good for stealth, however: You can see faint red lights on the camera since they’re of the 850 nm variety.
It’s also worth noting that all of this is completely free to use. However, if you want to be able to store video with push notifications, Belkin offers a Cloud+ Premium service. Because I could not get the smartphone app to work correctly, I didn’t set up the pay-to-play service.
The camera is also compatible with Belkin’s WeMo series of home automation products
For ease of setup, the Belkin NetCam HD+ Wi-Fi Camera with Glass Lens and Night Vision is a pretty straightforward device that worked well once I got past the smartphone app hiccups. I liked the night vision performance, though I wasn’t crazy about the visibility of the IR LEDs.
Source: The sample for this review as provided by Belkin. Please visit their site for more info.
Gerber Gear 22-47162N Fast Draw Folding Assisted Opening Pocket Knife, Fine Edge, Black
$41.14 (as of January 30, 2026 17:13 GMT -06:00 - More infoProduct prices and availability are accurate as of the date/time indicated and are subject to change. Any price and availability information displayed on [relevant Amazon Site(s), as applicable] at the time of purchase will apply to the purchase of this product.)Gerber Gear EVO Jr. Folding Knife - Serrated Edge [22-41493]
23% OffProduct Information
| Price: | $149.99 MSRP |
| Manufacturer: | Belkin |
| Requirements: |
|
| Pros: |
|
| Cons: |
|





Gadgeteer Comment Policy - Please read before commenting
While the camera works well, the support and software is horrible. Google up the Belkin forum to read what you are getting into with Belkin.
BTW, I have two cameras and wish I bought another brand.
I purchased 5 of the iBaby monitor cameras to use as home security and they work great. The iOS app is pretty good too and I can easily monitor my home from my iphone or ipad. They also have movement detection, ir leds for nightime viewing, tilt and rotate and mics. You can also connect a small portable speaker to the camera and then you can press the mic button on the iphone app and speak! For $129 each they are great!
I bought 2 of these, and loved them so much, I bought 1 more. The IOS app works perfect on my Iphone 5 if I have fast wifi or LTE service. Apparently it requires a lot of data transfer to watch HD in real time…no big deal, to be expected. Overall, I’m very happy I went with these, especially for the price. Maybe they have refined their app since a lot of these reviews, because I find the app to actually be pretty slick and it works good.
i am using same camera. but my all images and videos are black and white. how can change the settings to capture color images from it.