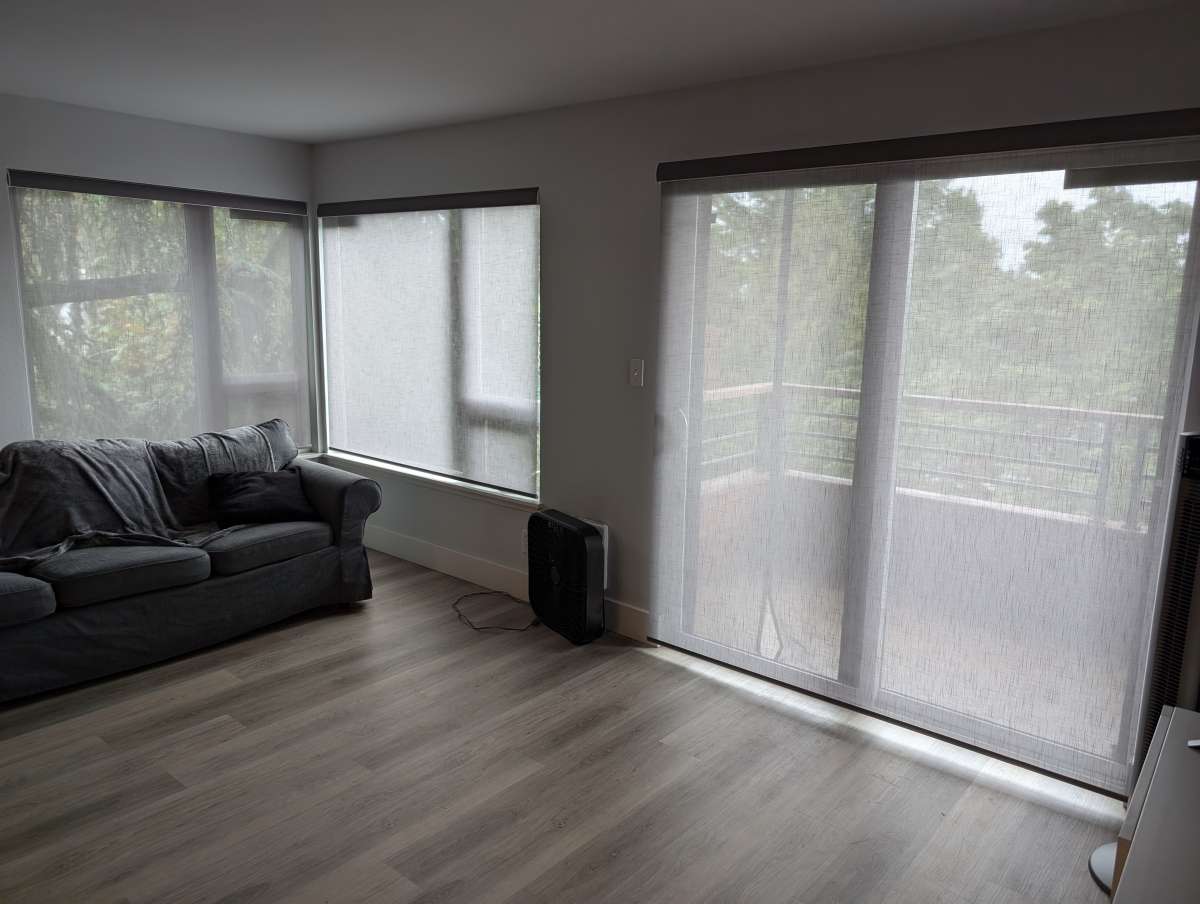
REVIEW – Having finally realized my dream of home ownership—well, condo ownership actually—I now face the challenge of furnishing a space twice as large as any I’ve ever lived in. The first order of business is finding appropriate coverings for my new living room’s wonderful, huge windows. As a technophile, I hoped to incorporate any window treatments into the smart home system I’ve been piecing together over the years. Amazingly, my hopes were answered by the SmartWings Motorized Light Filtering Roller Shades. These smart shades are custom-made for my windows, can be integrated with my Google Home and Amazon Alexa systems, and look terrific to boot. Starting at $189.99 per shade for a basic configuration, the price quickly increases with larger sizes and additional options. Once fully configured, the shades made a great addition to my new home, although I feel like I’ve lost more than a few days of my life trying to get them properly integrated into my smart system.
What is it?
SmartWings Motorized Light Filtering Roller Shades are custom smart shades that can be operated via remote control, app, or voice command. They can be configured to work with Apple HomeKit, Amazon Alexa, Google Assistant, SmartThings, and many other smart home protocols, depending on your chosen options. The shades are powered by internal rechargeable batteries that can also be coupled with optional solar panels.
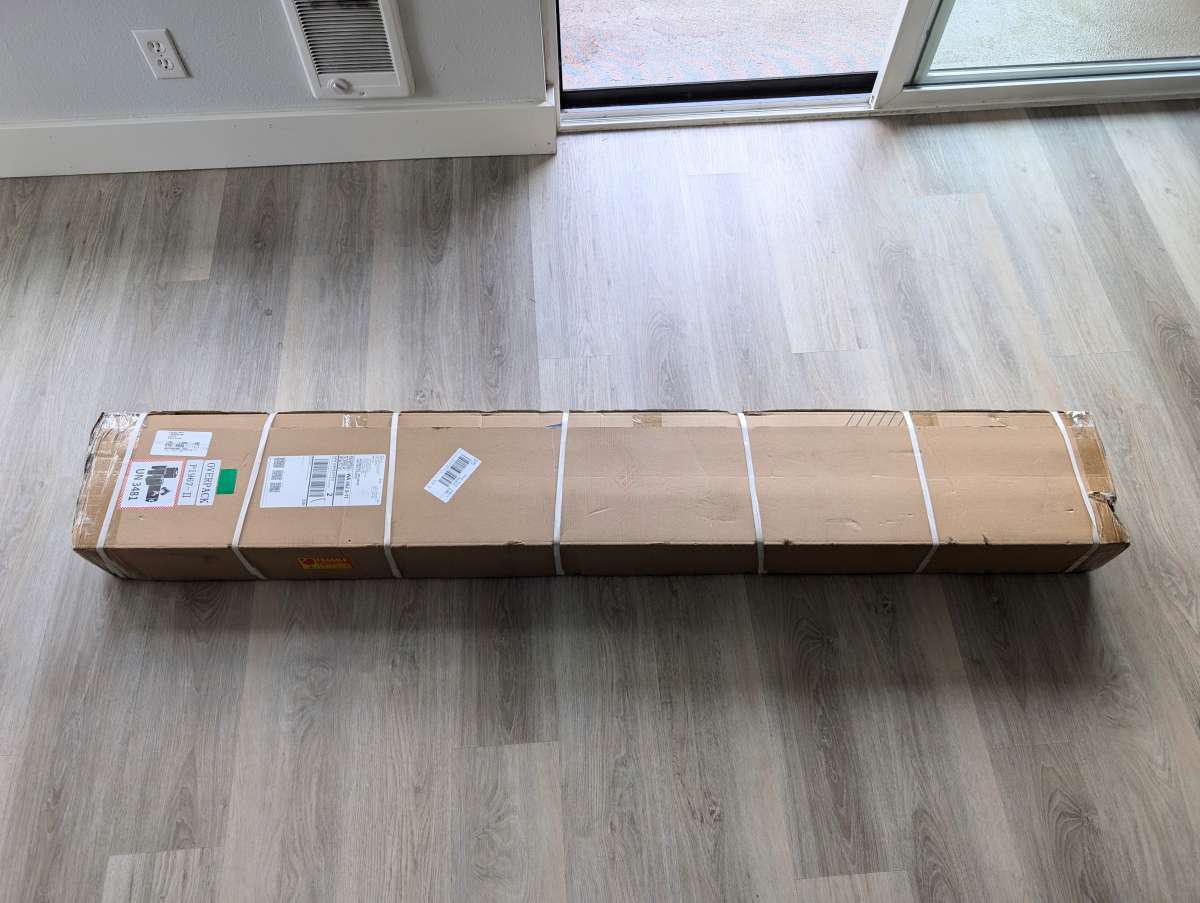
My SmartWings arrived in a deceptively small box for everything it contained.
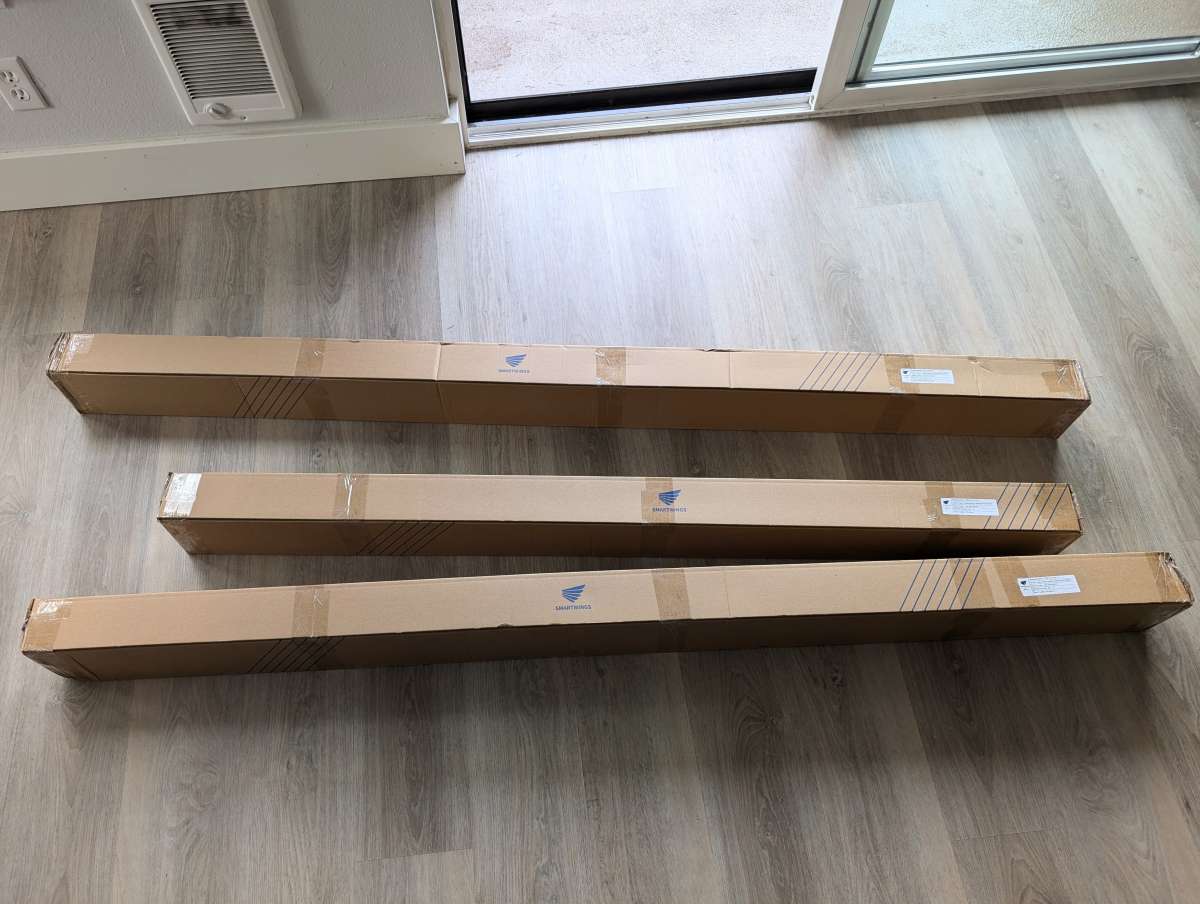
Inside the main box, each of my three new shades was packaged separately and clearly labeled with their individual sizes and configurations.
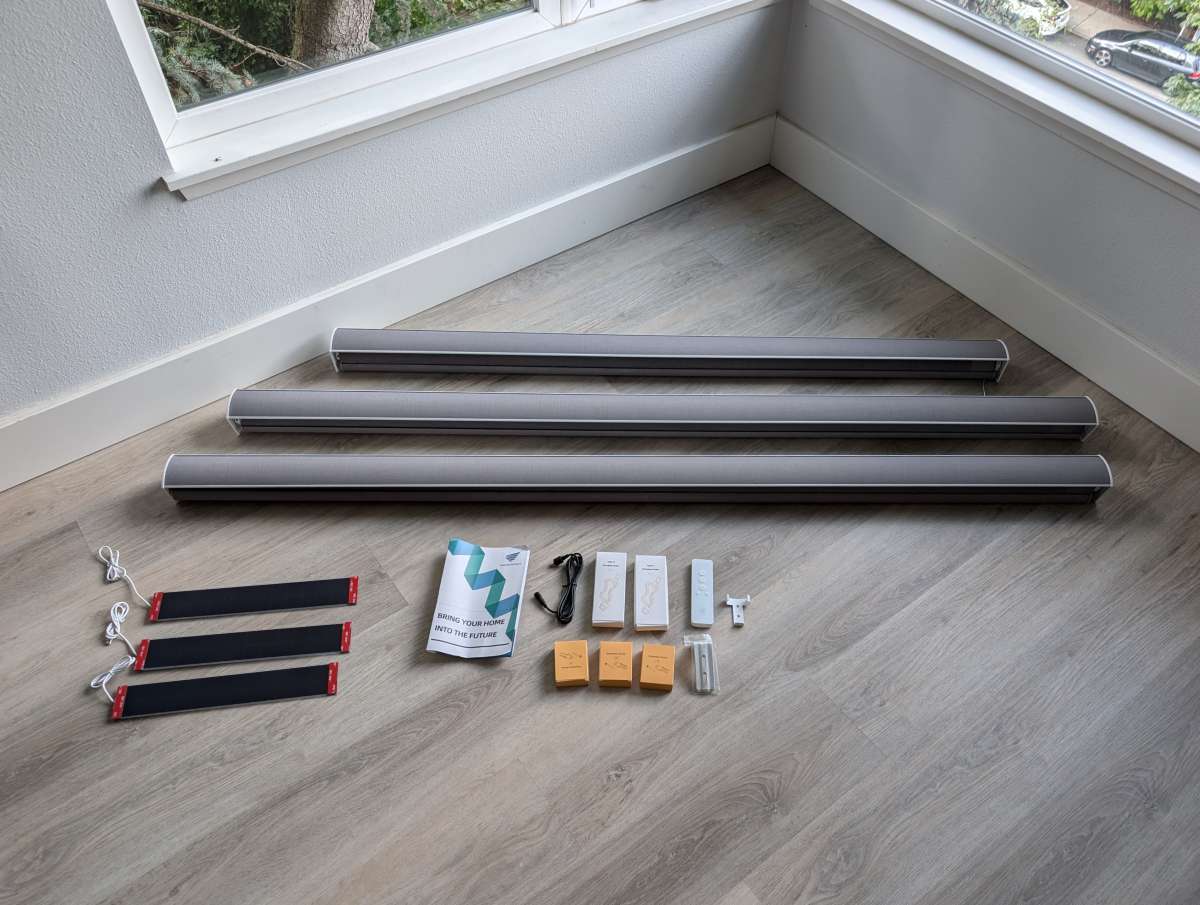
What’s included?
- SmartWings Motorized Light Filtering Roller Shades
- Solar Panels
- User manual and installation guide
- Remote control and mounting bracket
- Charging cables
- Shade mounting brackets
- Expansions brackets
- Mounting screws
Tech specs
- Sliding Doors as configured for review
- Style: SmartWings Motorized Light Filtering Roller Shades 60%
- Fabric: Veil
- Mount Type: Outside Mount
- Width: 72″
- Height: 78″
- Motor Type: Matter Motor Over Thread
- Valance: Cassette
- Bottom Bar: Fabric Wrapped
- Power Option: Solar Panel
- Remote Controller: 5-Channel
- Roll Type: Reverse Roll Front Side
- Motor Side: Right Side
- Window 1 as configured for review
- Style: SmartWings Motorized Light Filtering Roller Shades 60%
- Fabric: Veil
- Mount Type: Inside Mount
- Width: 58 1/4″
- Height: 58″
- Motor Type: Matter Motor Over Thread
- Valance: Cassette
- Bottom Bar: Fabric Wrapped
- Power Option: Solar Panel
- Roll Type: Reverse Roll Front Side
- Motor Side: Right Side
- Window 2 as configured for review
- Style: SmartWings Motorized Light Filtering Roller Shades 60%
- Fabric: Veil
- Mount Type: Inside Mount
- Width: 70 1/4″
- Height: 58″
- Motor Type: Matter Motor Over Thread
- Valance: Cassette
- Bottom Bar: Fabric Wrapped
- Power Option: Solar Panel
- Roll Type: Reverse Roll Front Side
- Motor Side: Left Side
Design and features
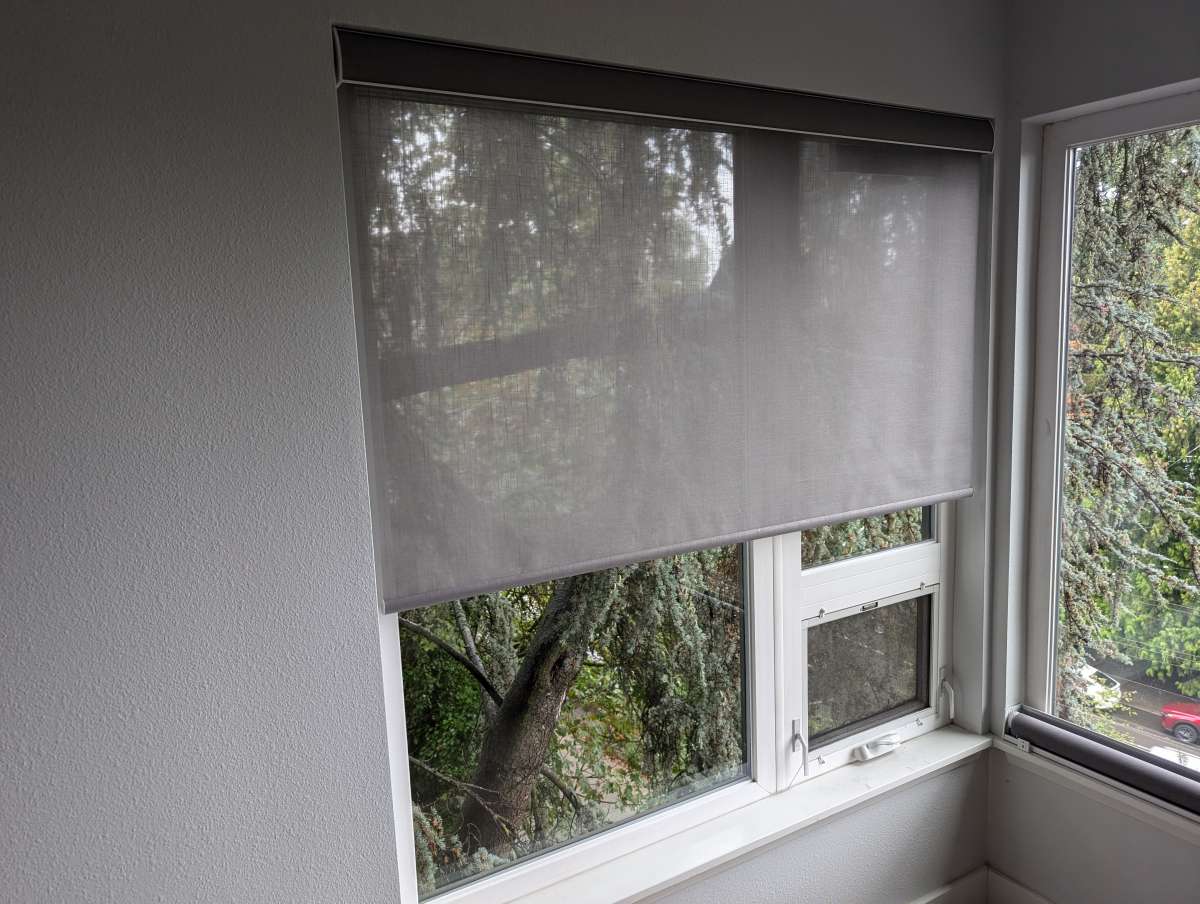
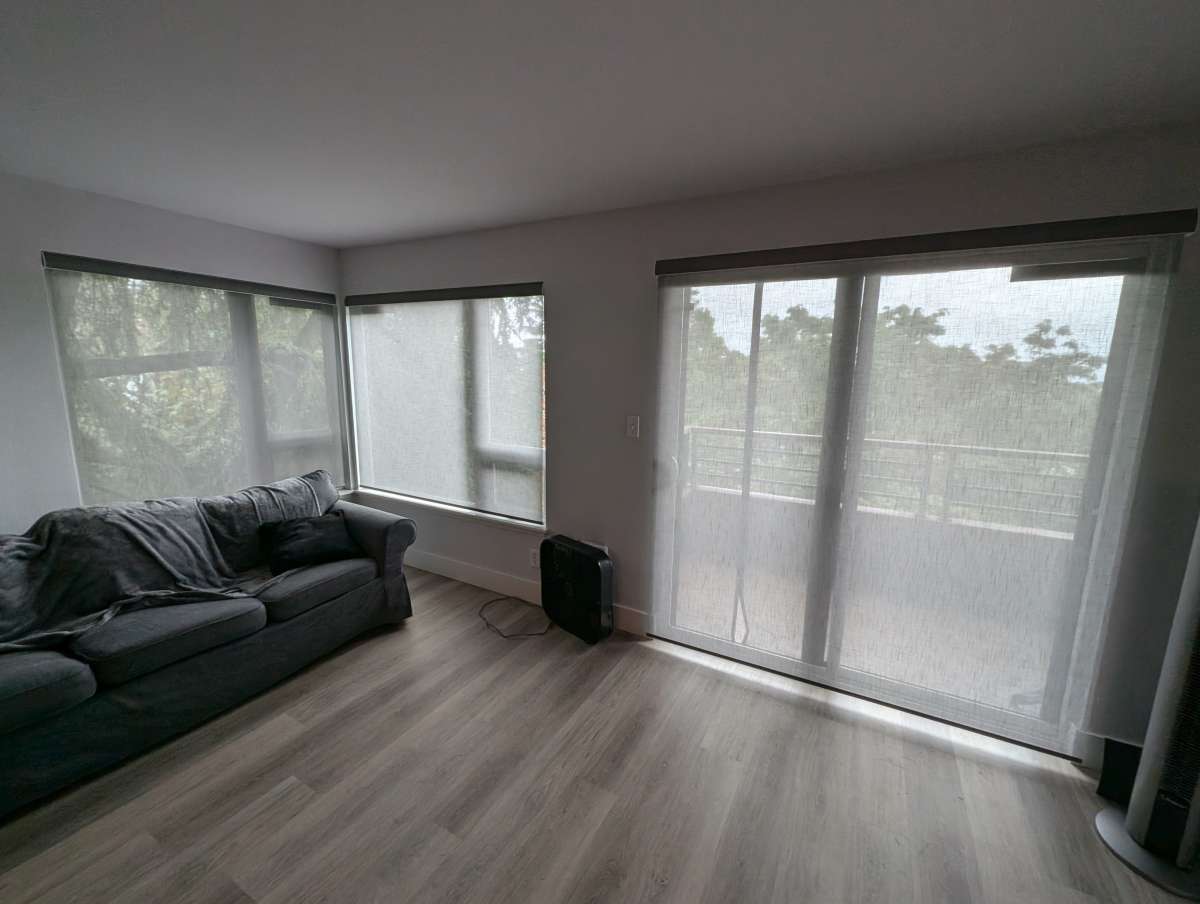
The SmartWings Motorized Light Filtering Roller Shades boast a sleek and minimalist design that complements any interior decor. The list of colors, fabrics, and styles on the SmartWings website is impressively extensive. As per my modus operandi, I went with a simple, discreet grey fabric.
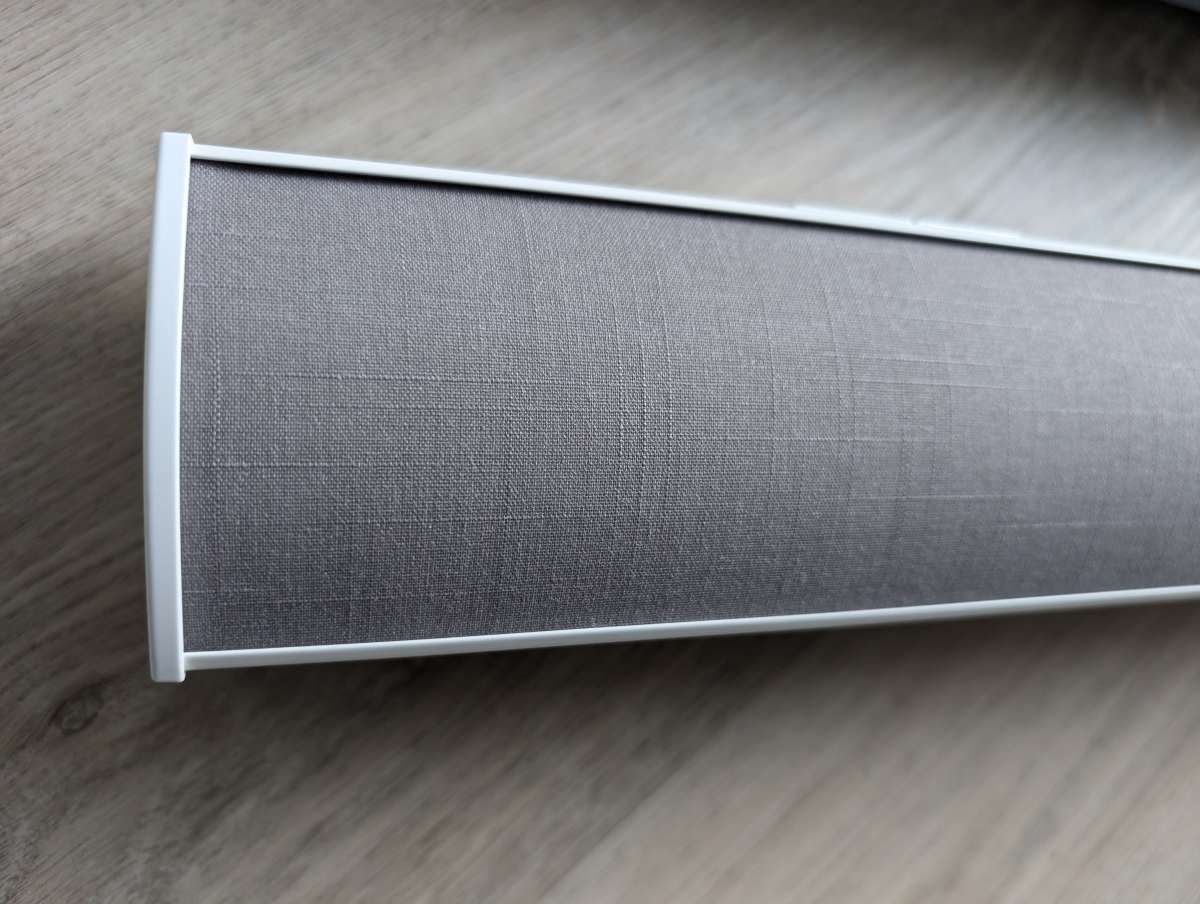
The fabric I chose is designed to block 60% of incoming light and is quite sturdy. After about a month of use, there’s no sign of fraying or wear at all.
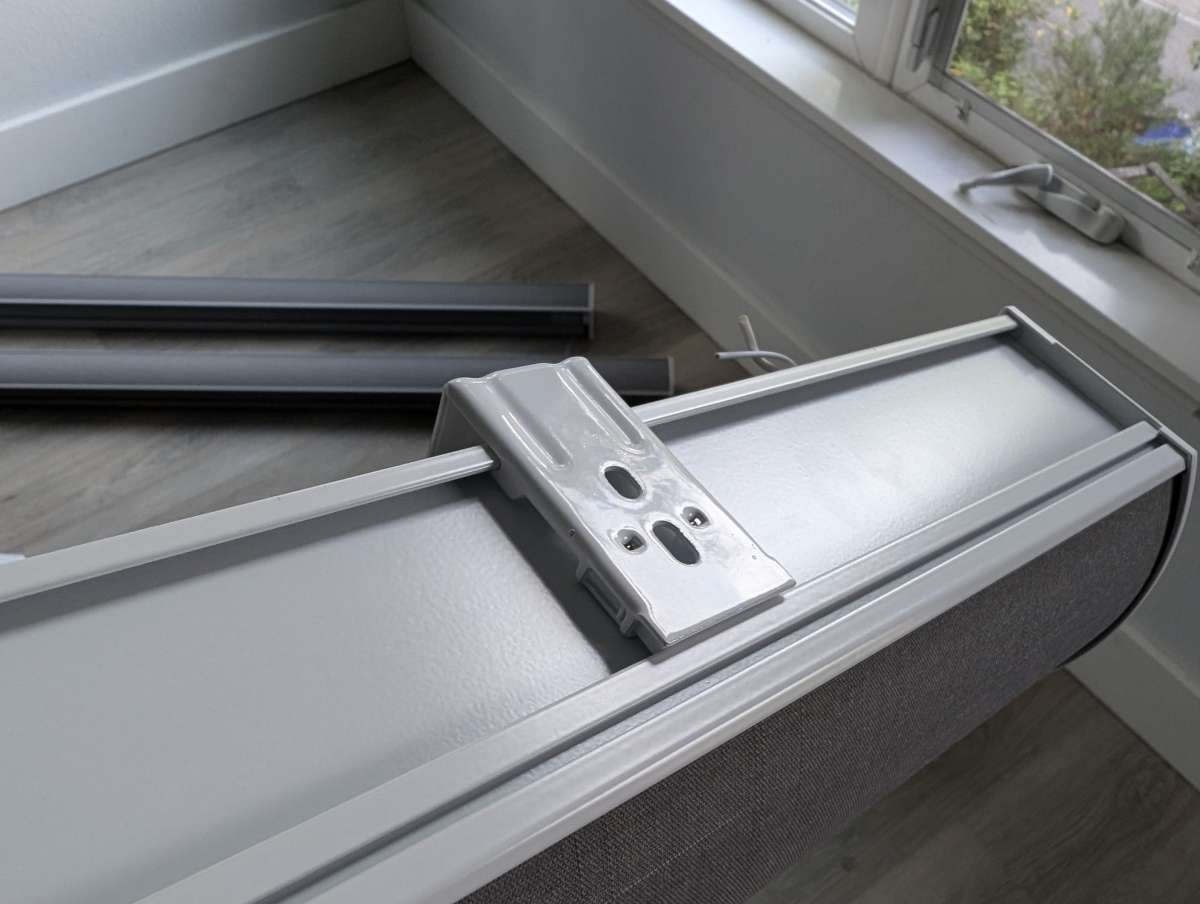
The brackets on the SmartWings are pretty innovative. They slide along a track and lock into place via spring tension.
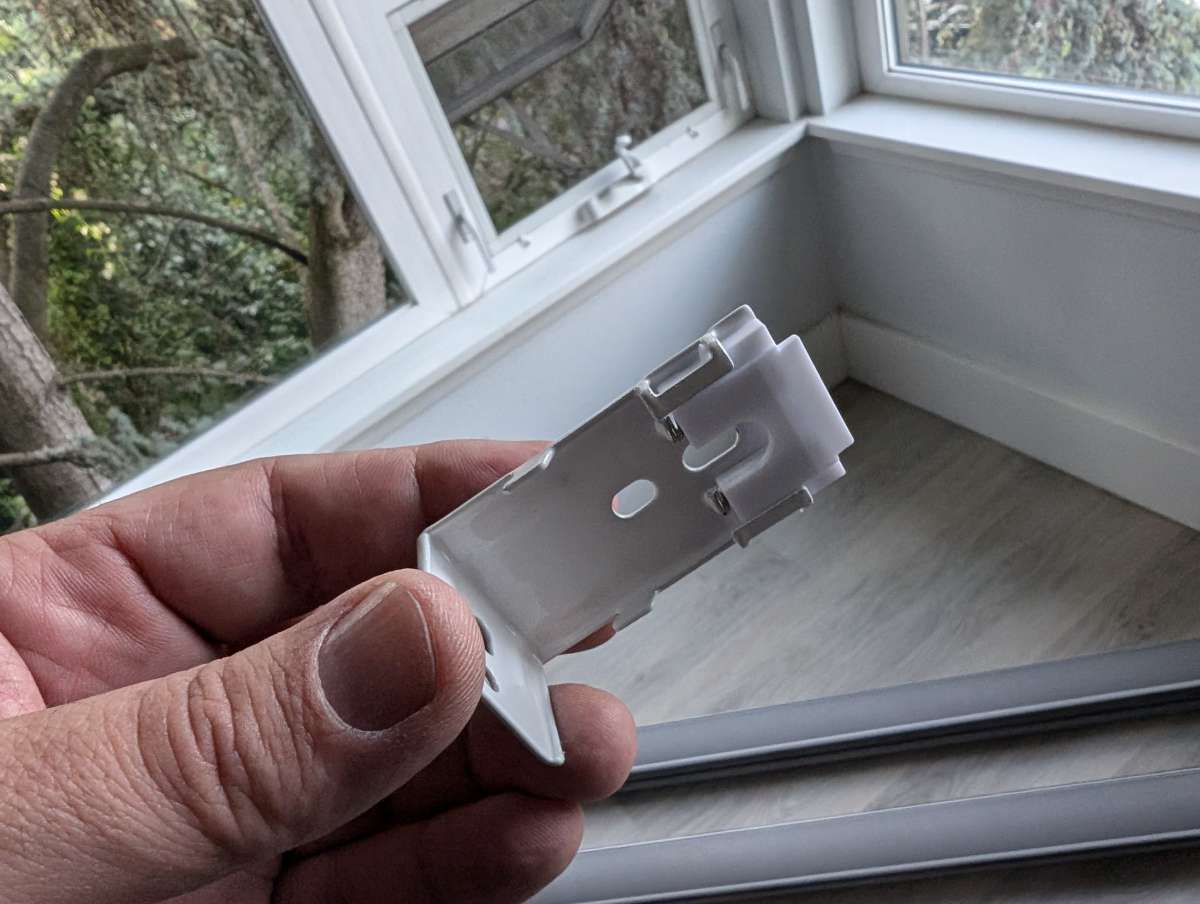
The small plastic tab on the end of the bracket fits perfectly into the groove on top of the shades.
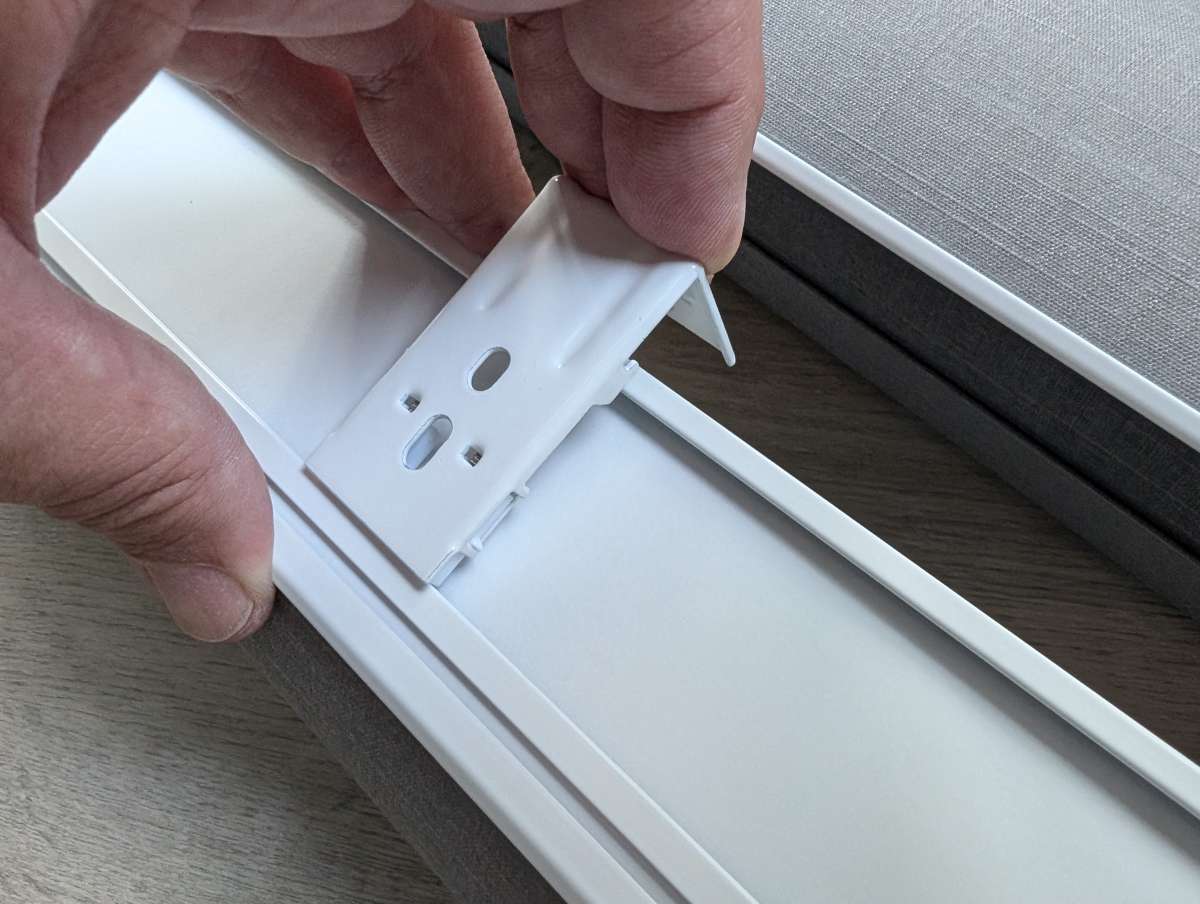
The clip holds the shades perfectly in place and allows them to be adjusted horizontally if needed.
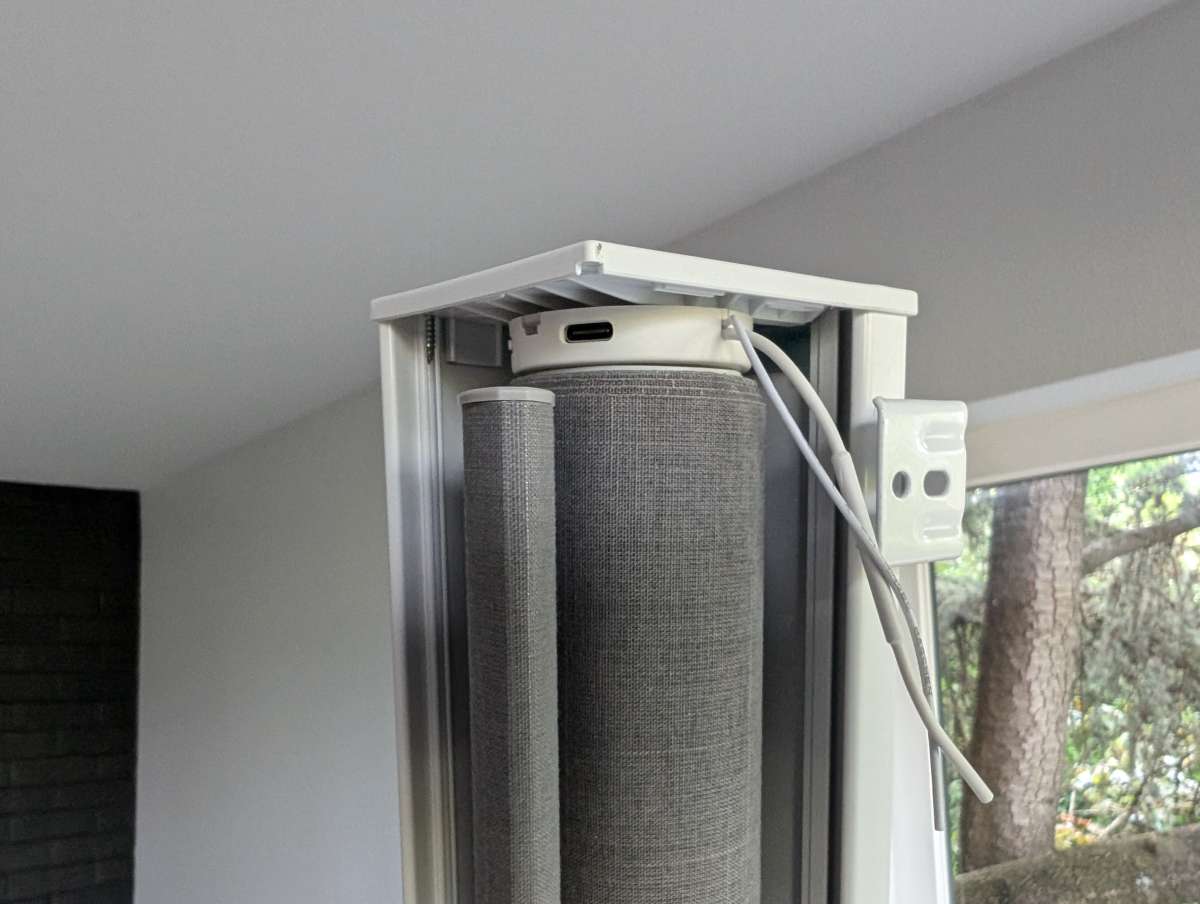
The motor for the shades can be positioned on either side depending on how it’s configured.
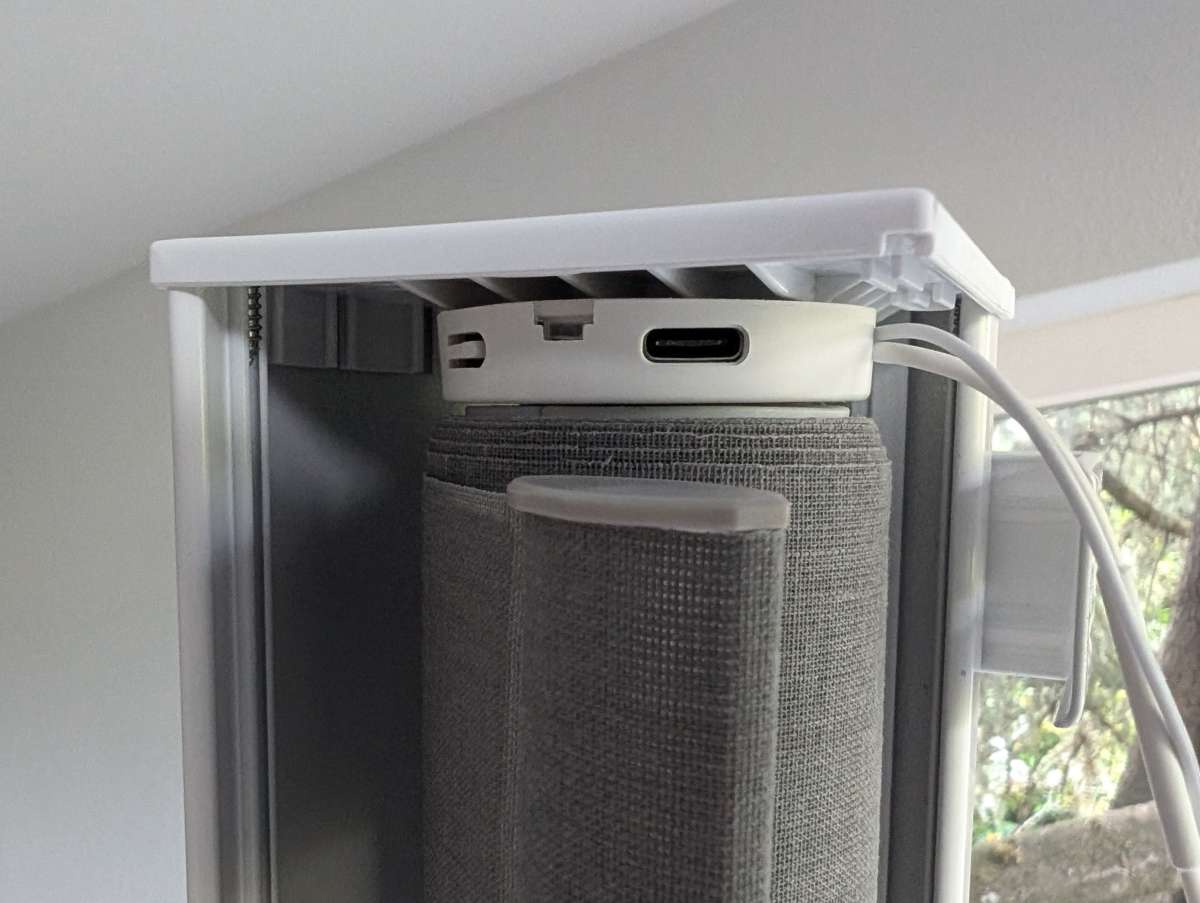
The motor has a USB-C port for charging, a small reset tab, and two small wire antennas.
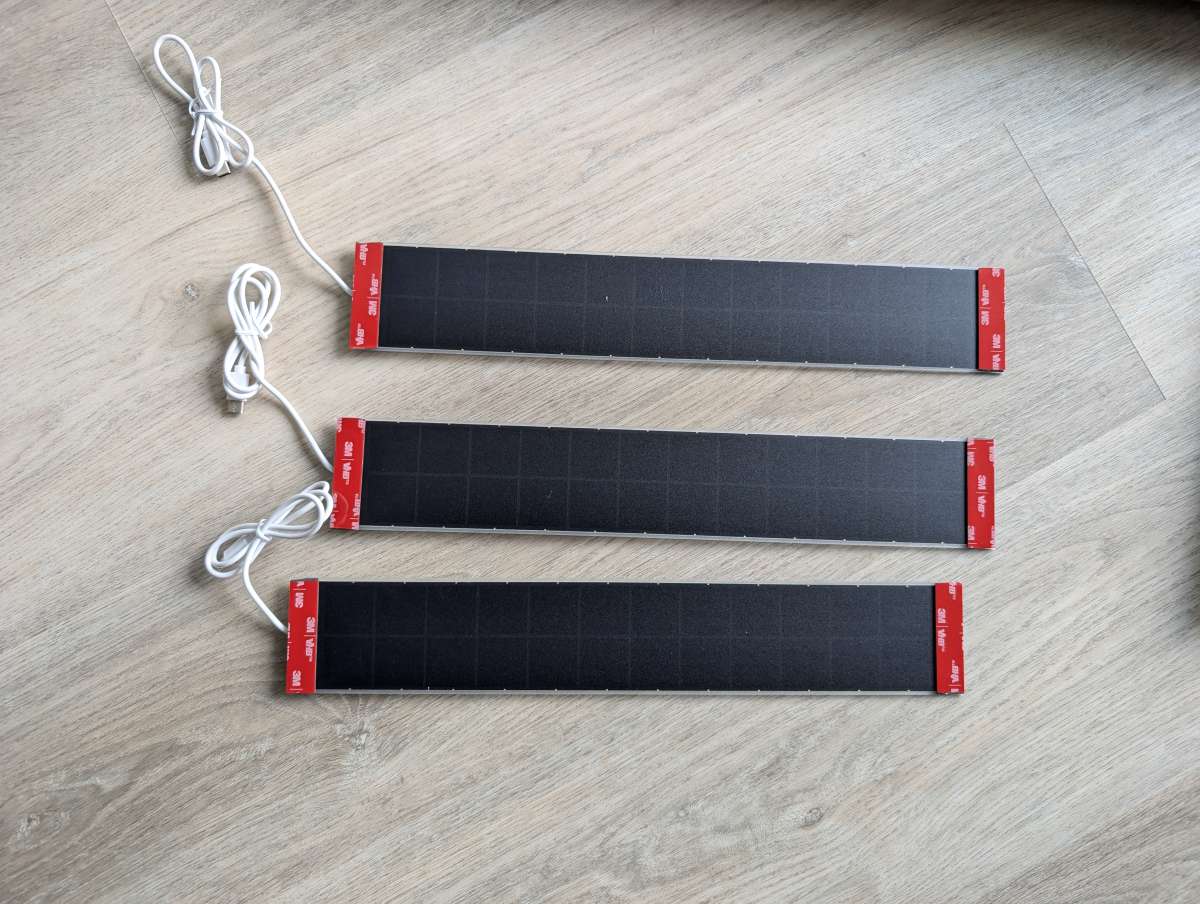
The motor’s rechargeable internal battery can be powered externally by any of the usual power sources, but I opted for the SmartWings Solar Panels.
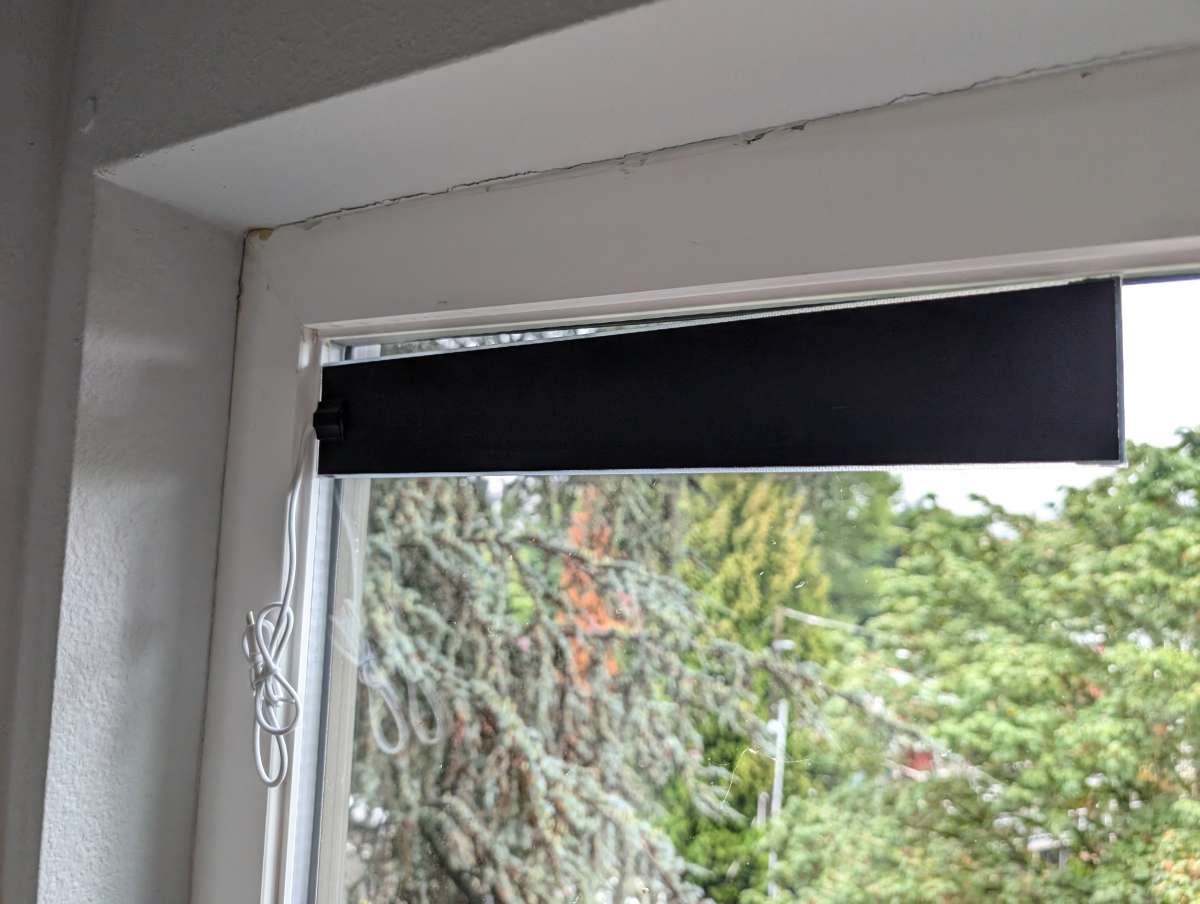
These little panels have 3M tape on one side, allowing them to be mounted facing out on the window. As long as they get some amount of sun exposure, the panels can be plugged into the motor and keep them charged.
In addition to the innovative solar panels, the SmartWings shades are also designed to integrate with several smart home protocols. Compatibility depends on the type of motor chosen during the configuration. I opted for the Matter Motor Over Thread configuration. Matter is a new standard for smart home automation that allows devices to work together across major smart home systems.
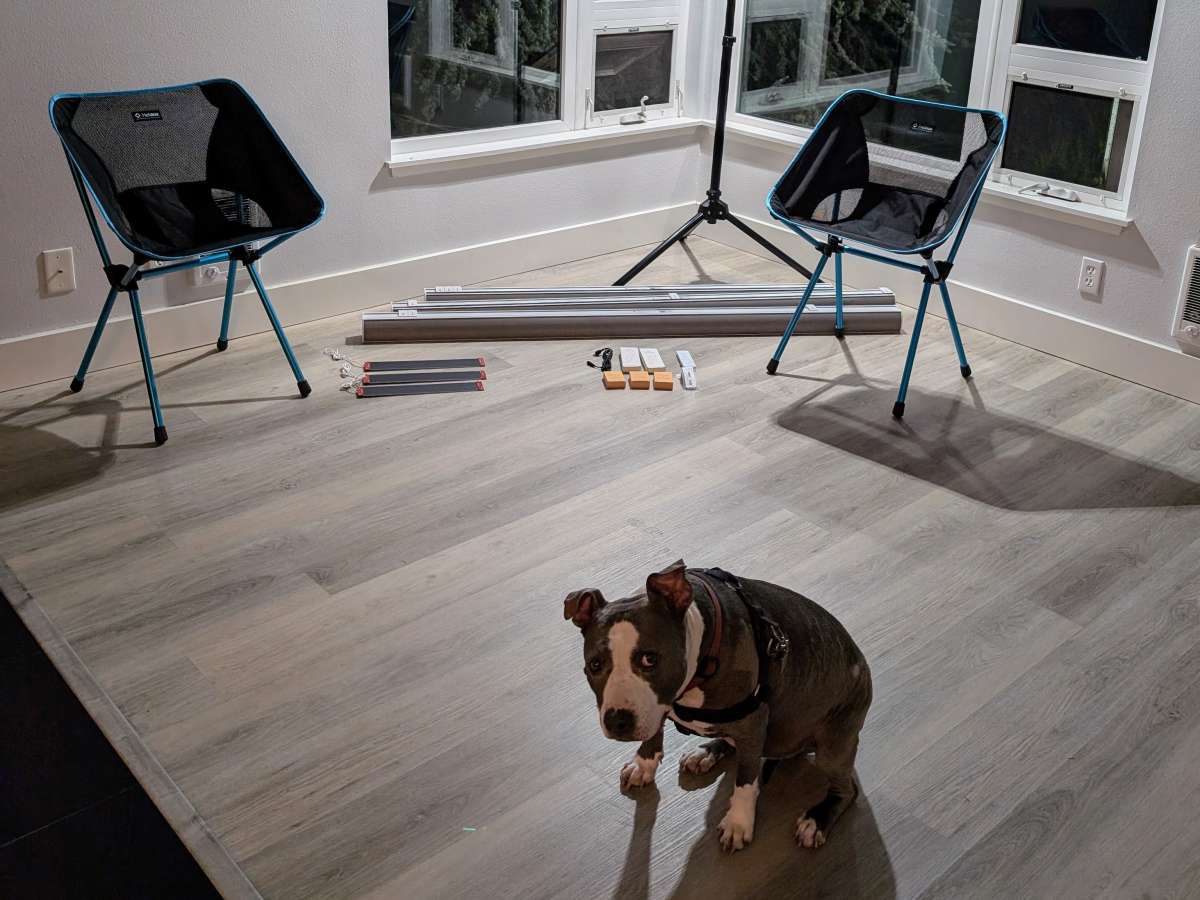
With the SmartWings unboxed and an empty condo to work in, my trusty assistant and I were ready for installation.
Assembly, Installation, Setup
Installing the SmartWings Shades is a straightforward, user-friendly job. The shades come with detailed instructions and everything you need for installation, apart from some basic tools. As long as the window spaces are measured properly, the shades will fit perfectly in place.
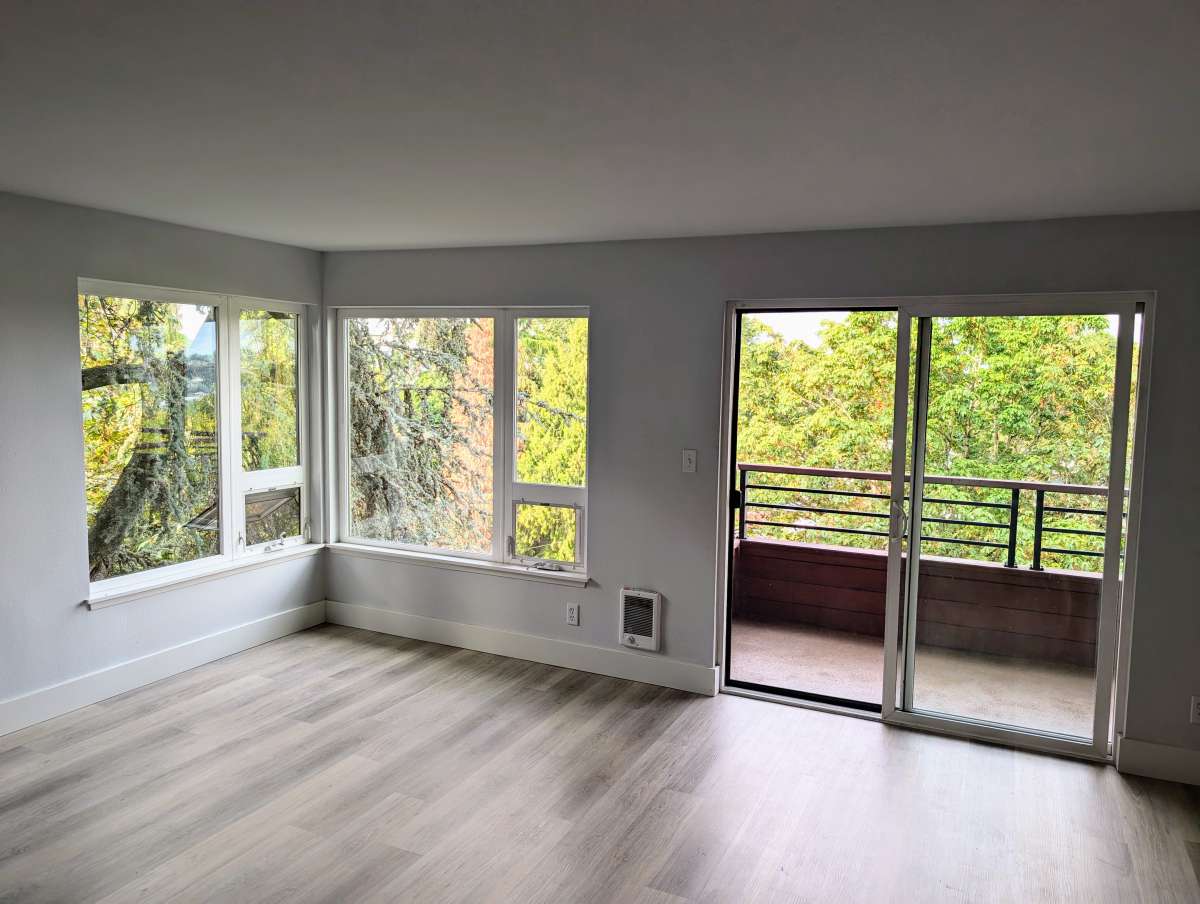
In my case, I had to install shades on two big windows and some sliding doors.
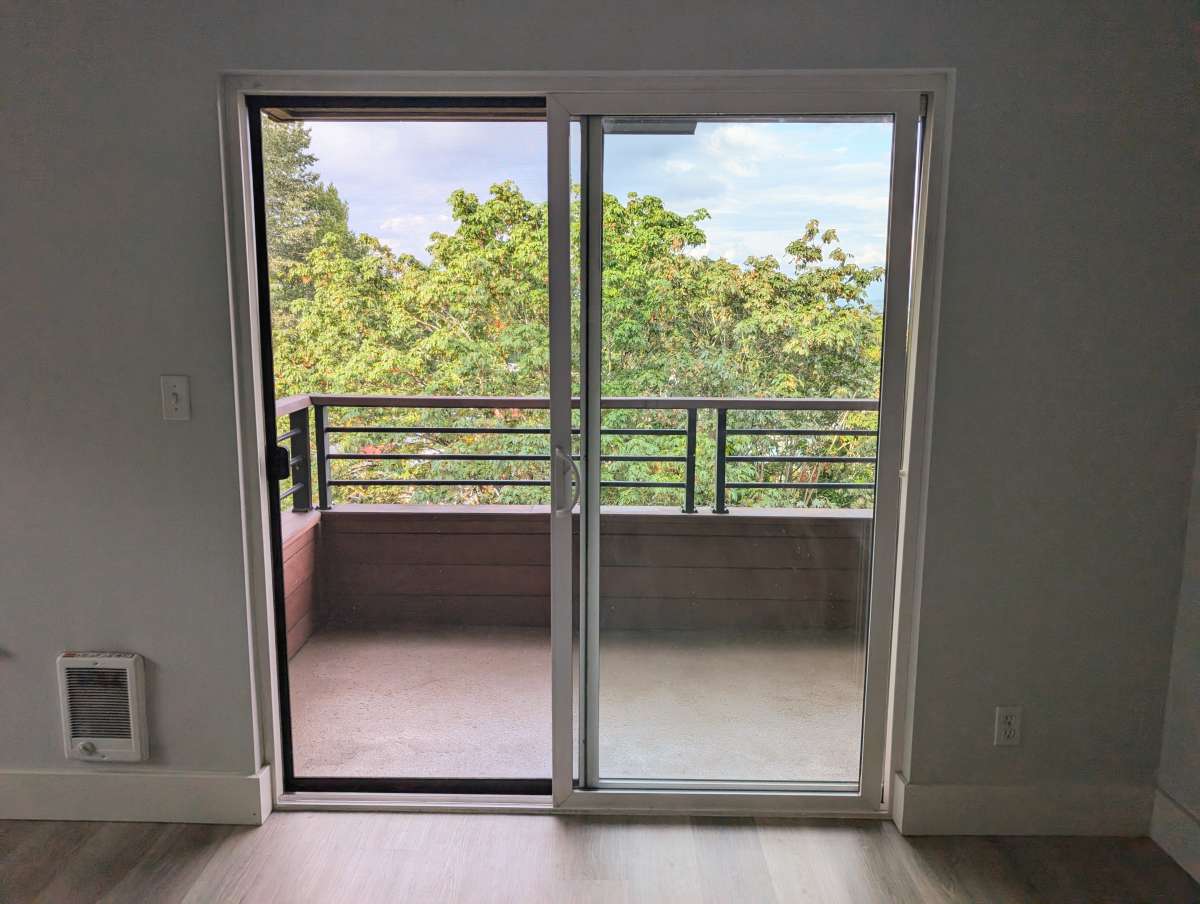
The sliding doors were a bit difficult to configure, as I had to take into account the large baseboards and door handles when determining how the shades would be mounted. I went with an outside mount to ensure that everything would work smoothly and the shades would be able to open and close freely.
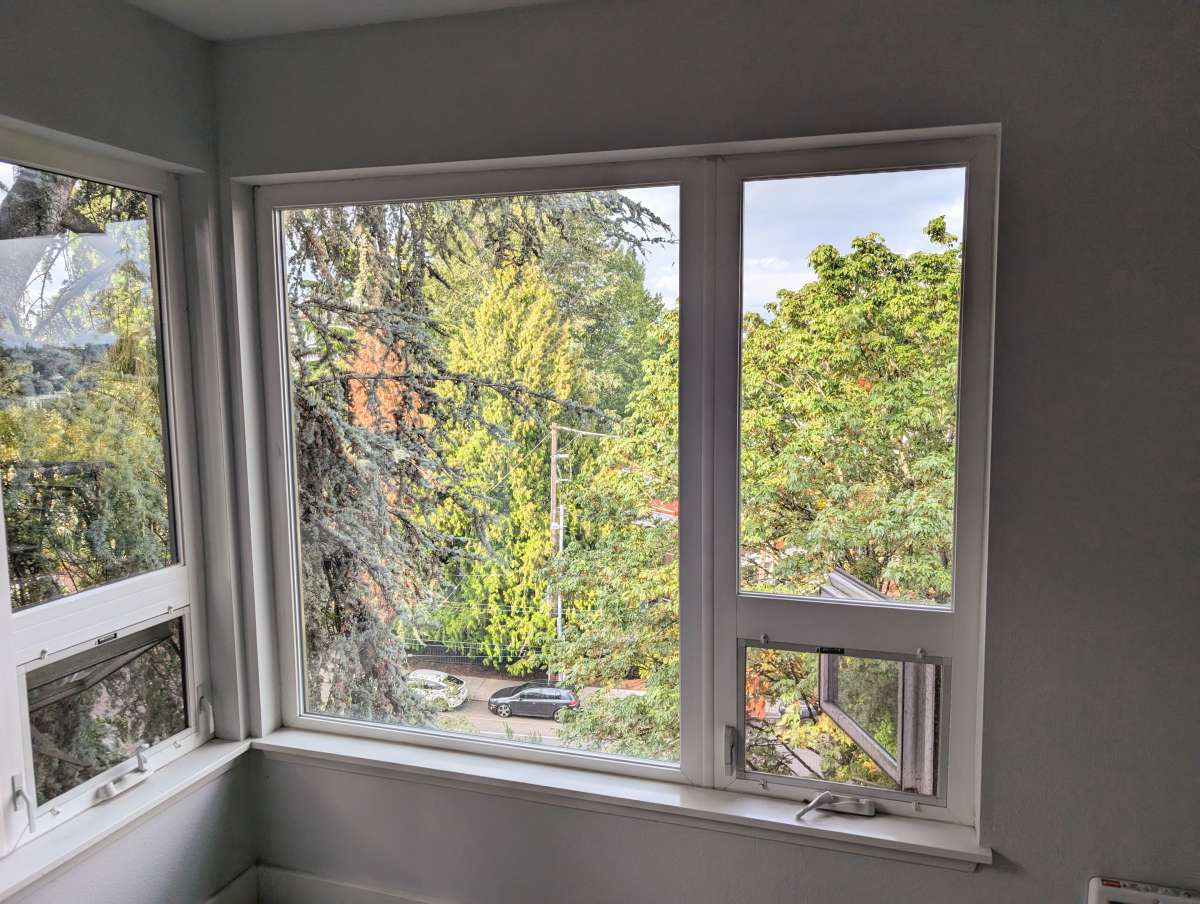
For the other two windows, I was able to use inside mounts, which sit more flush against the wall for a cleaner look.
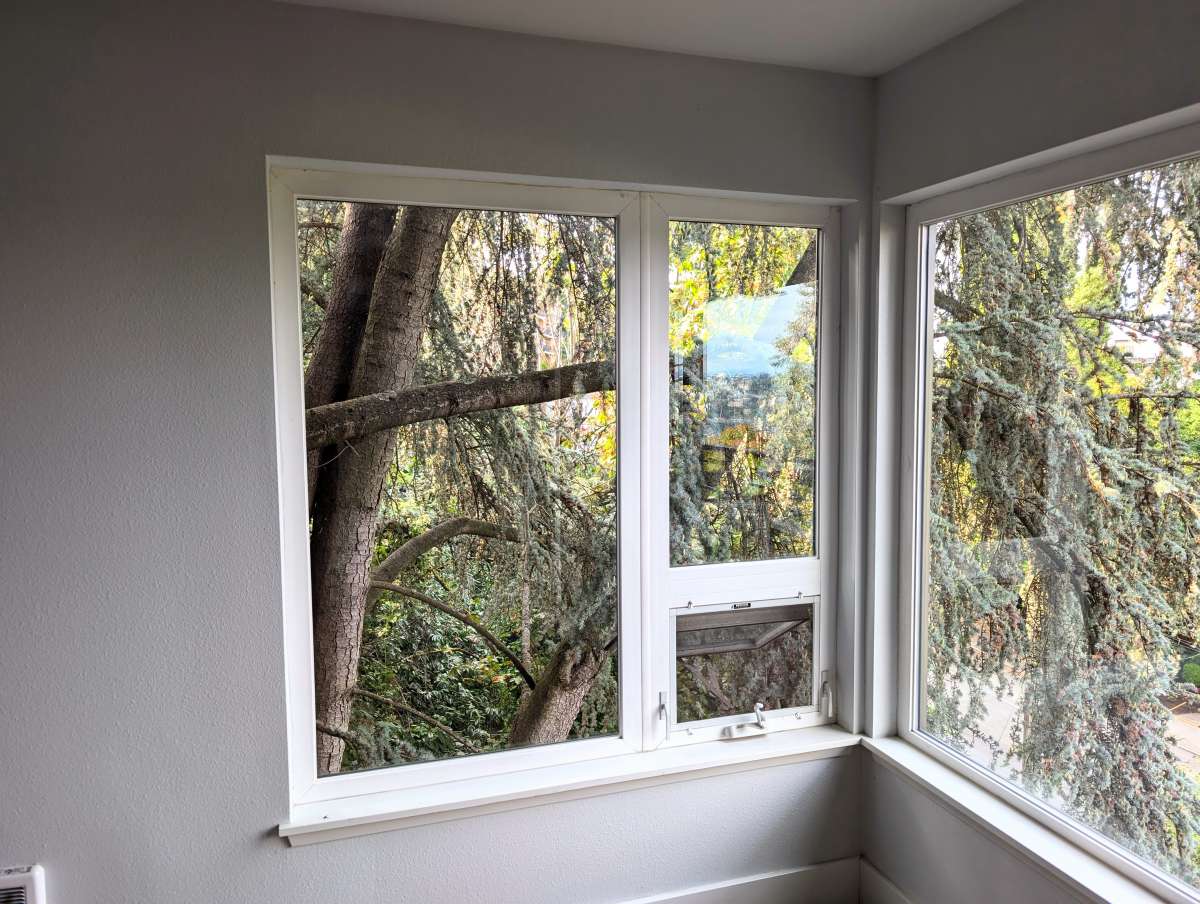
Both windows are the same height, with one having a bit more width to account for.
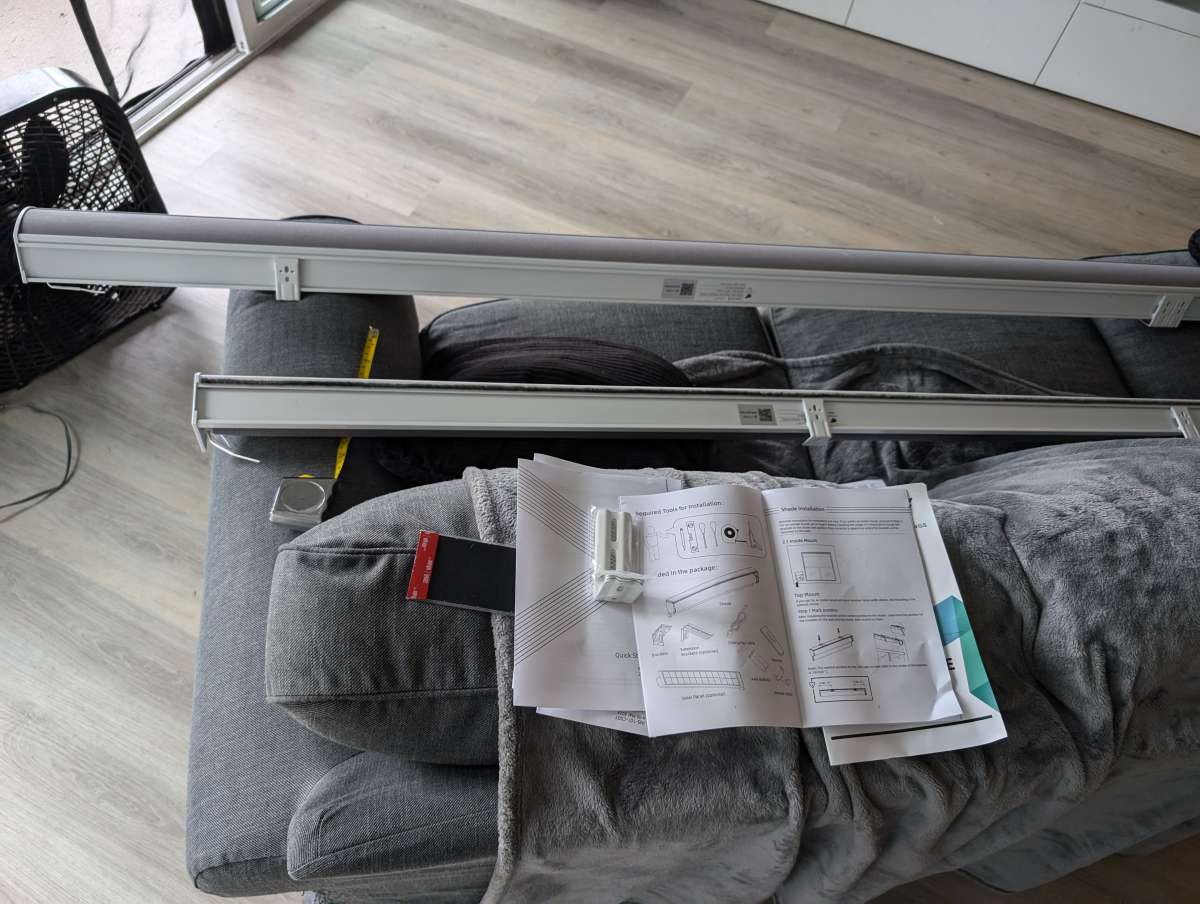
With everything laid out, I recruited some more help from family members and got to work.
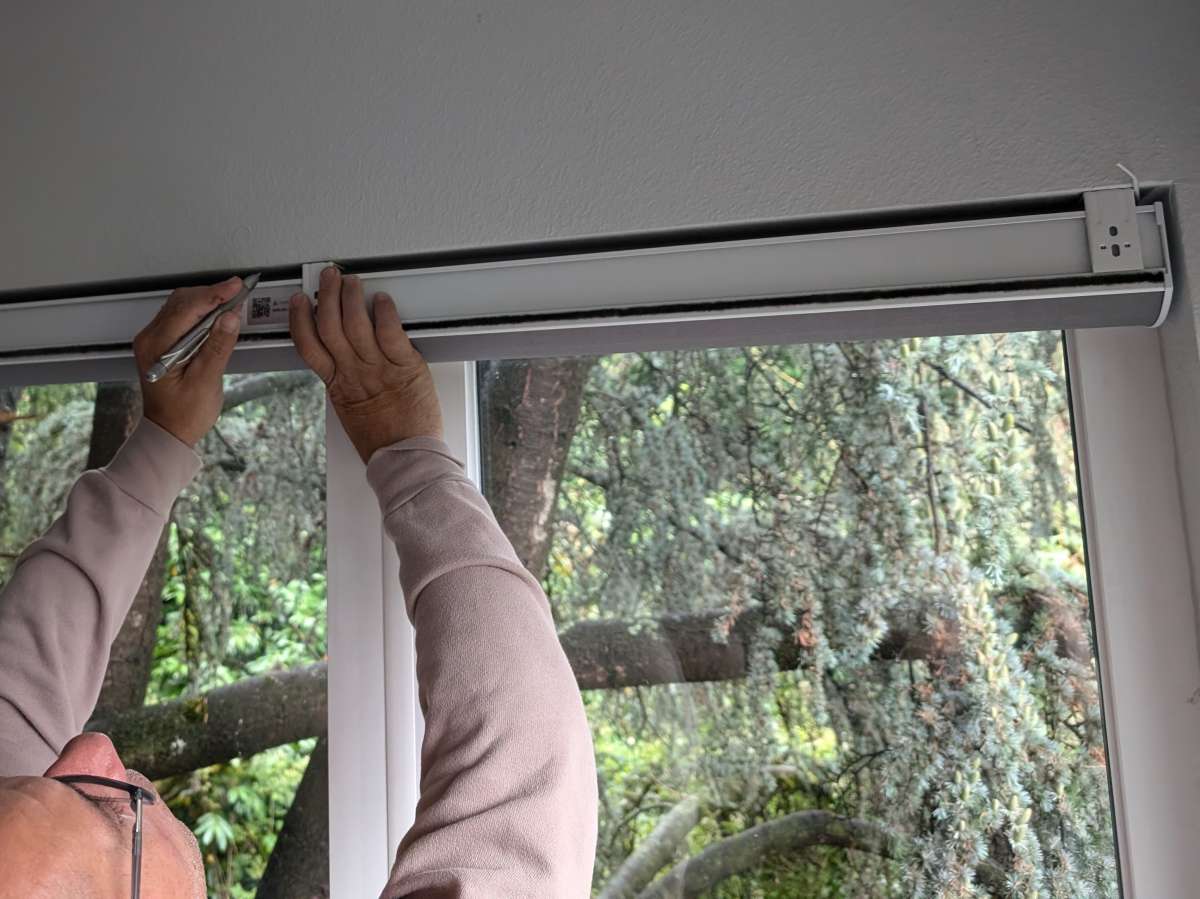
As the saying goes, “Measure twice and cut once,” and this was our mantra as we made sure that the brackets for the shades were lined up optimally.
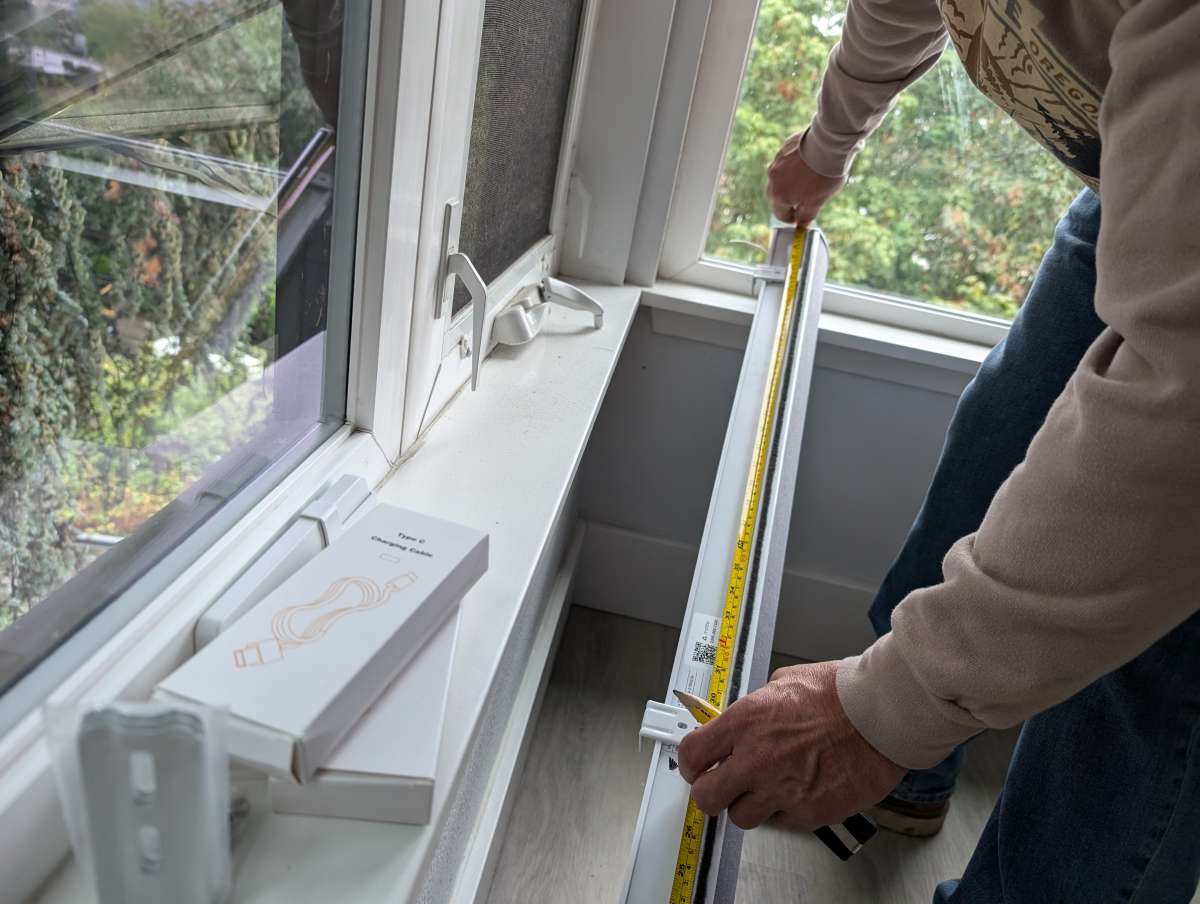
My brother’s great attention to detail allowed us to mount the brackets perfectly equidistant from each other to provide the strongest support for the shades.
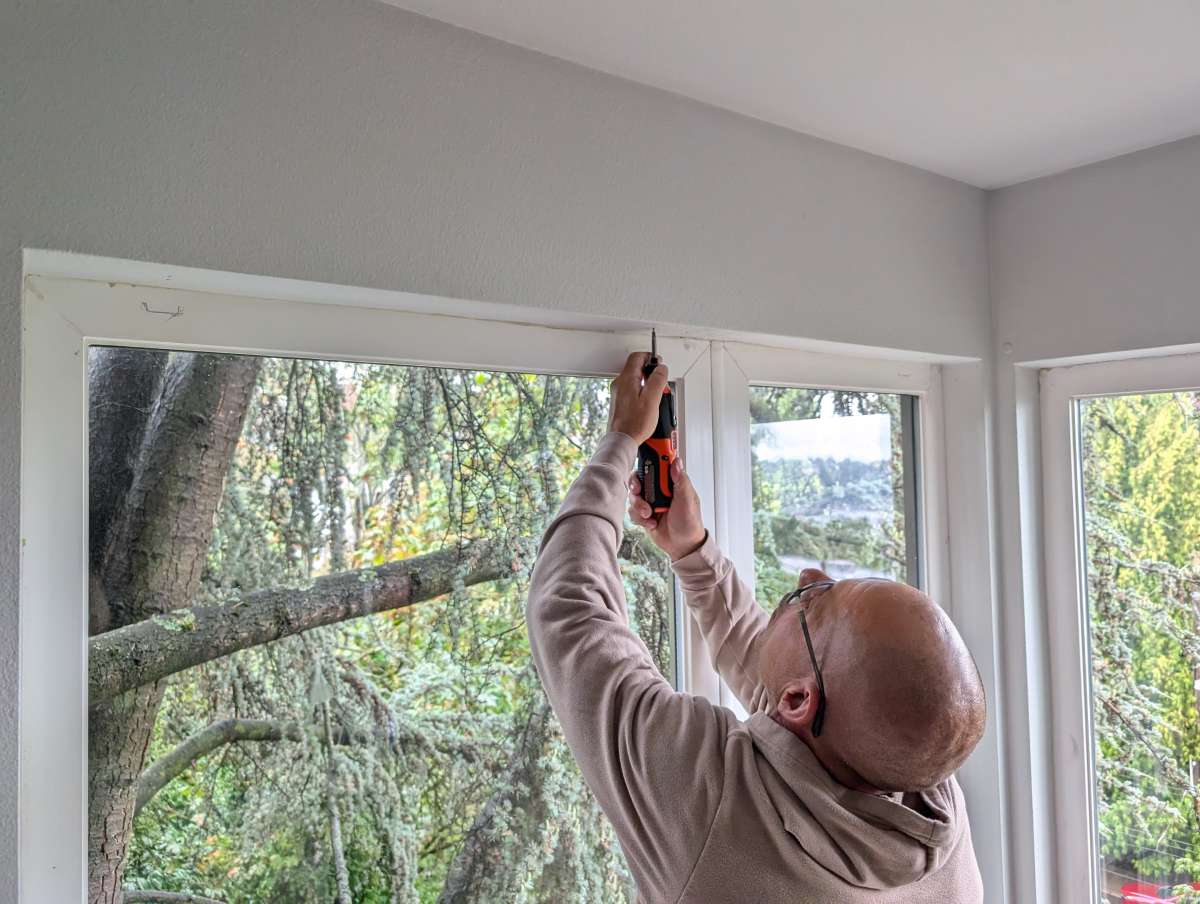
While the SmartWings came with a bunch of drywall anchors, we were able to secure the brackets using screws alone.
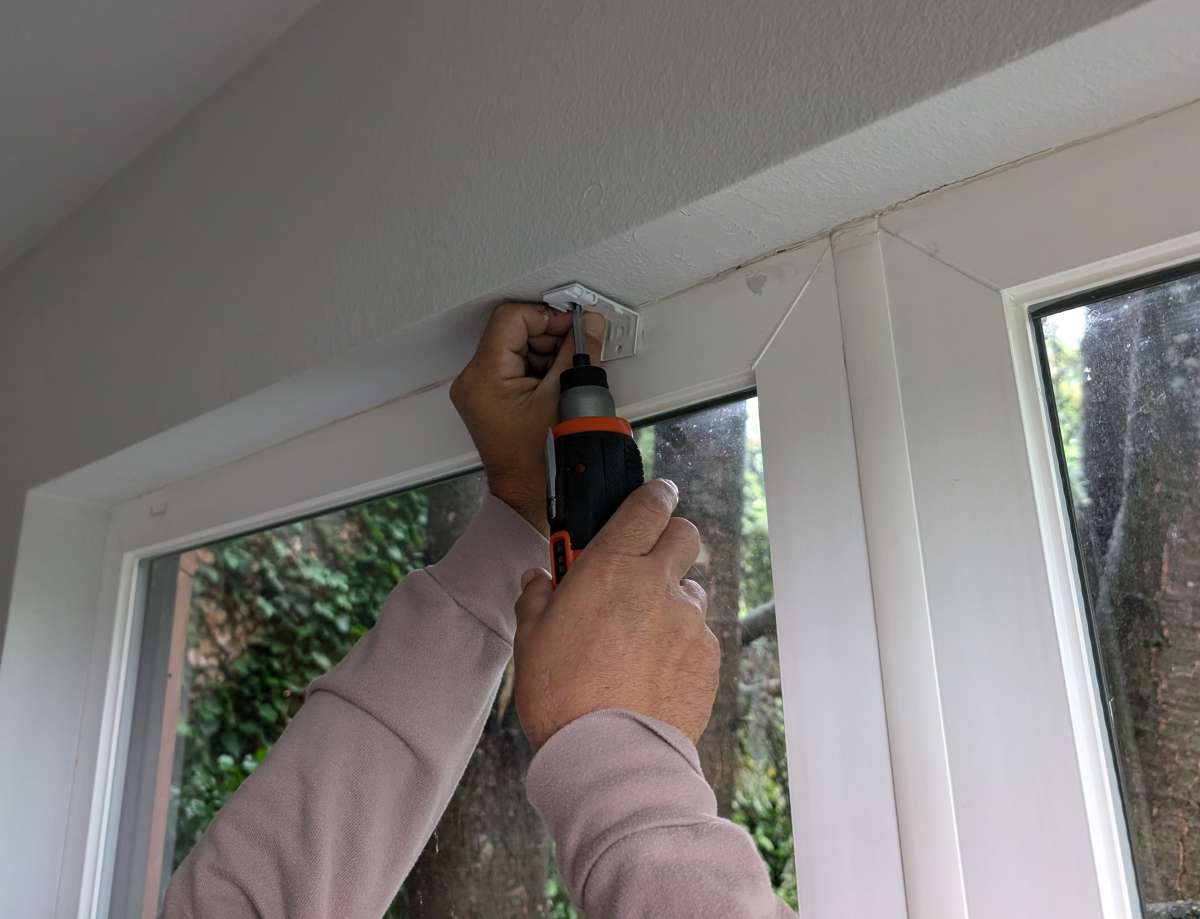
Making sure not to overtighten the mounts, the brackets fit in place without issue.
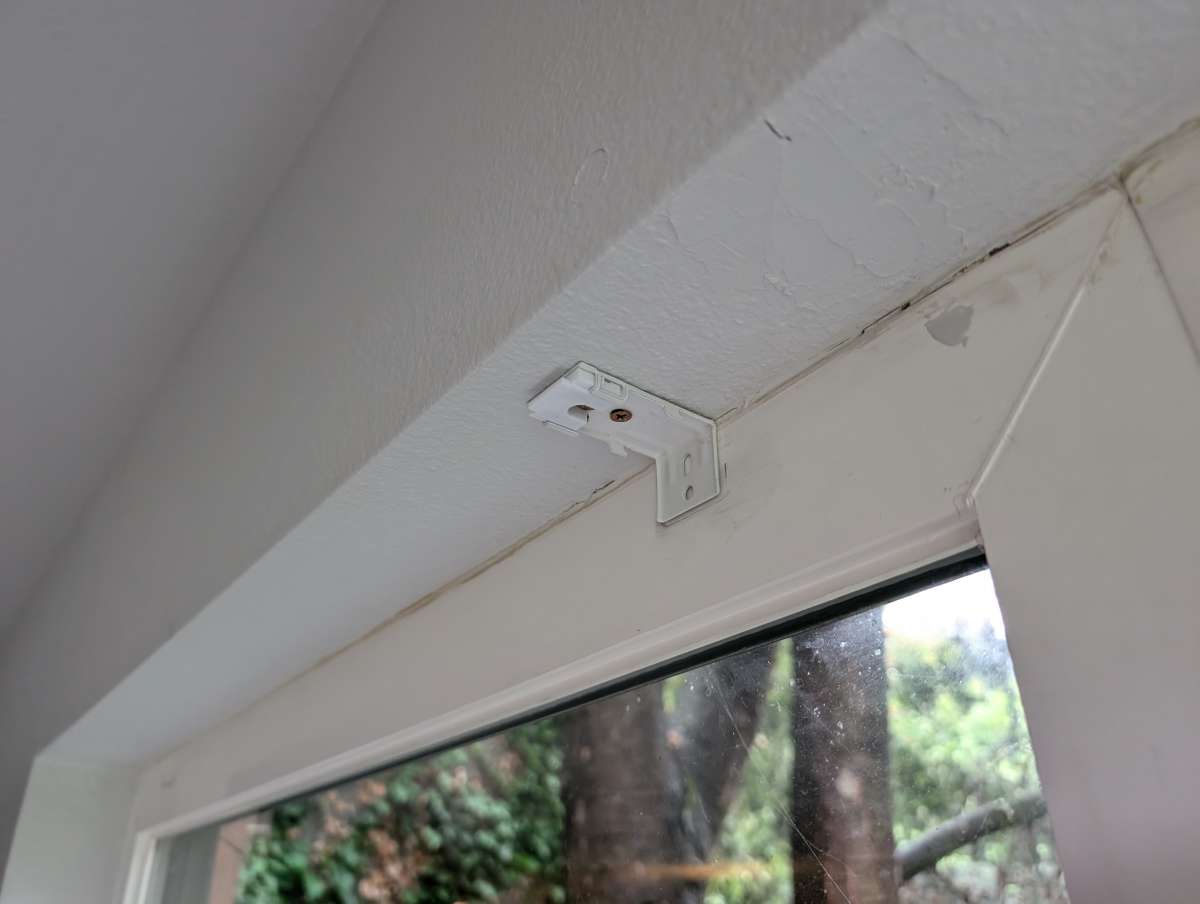
My installation was pretty routine, but SmartWings provides longer extension brackets for use with oddly sized windows.
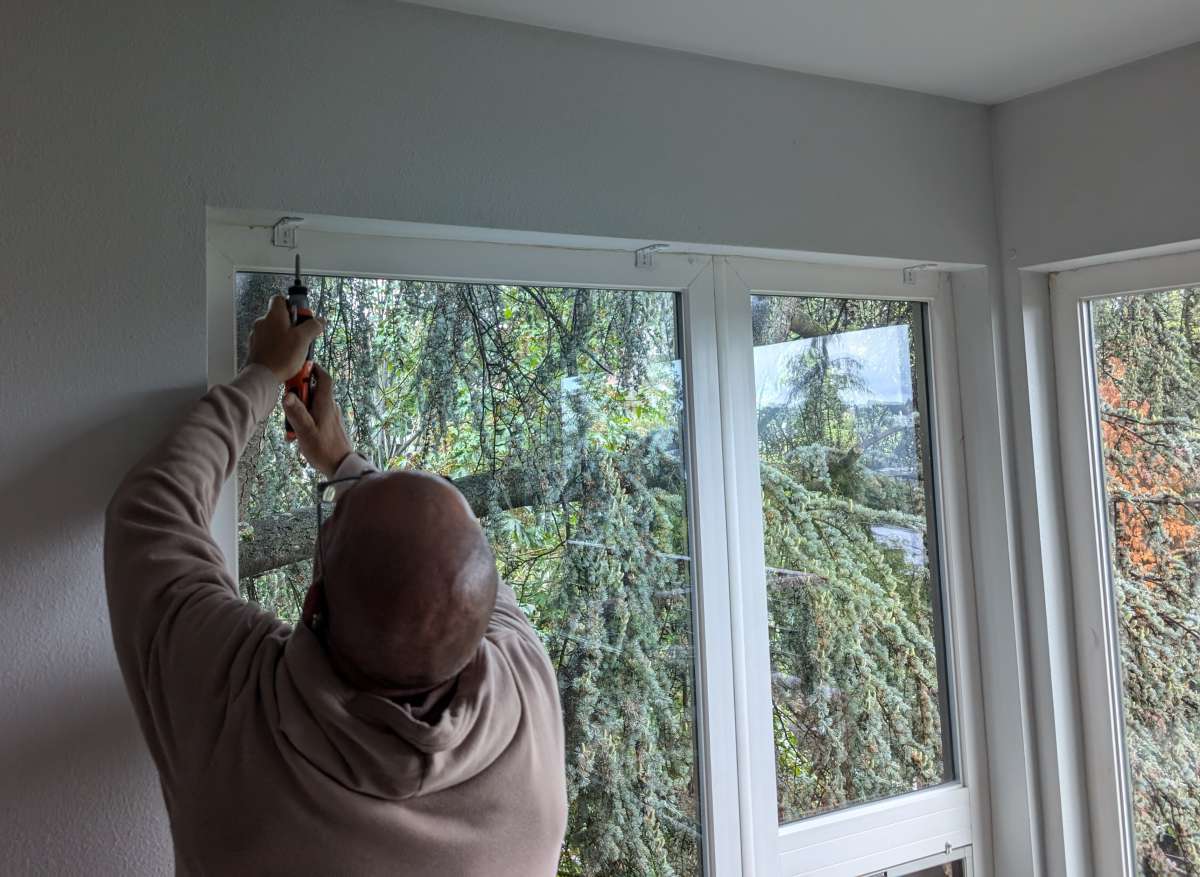
After installing the three brackets, all that remained was to lift the shades into place.
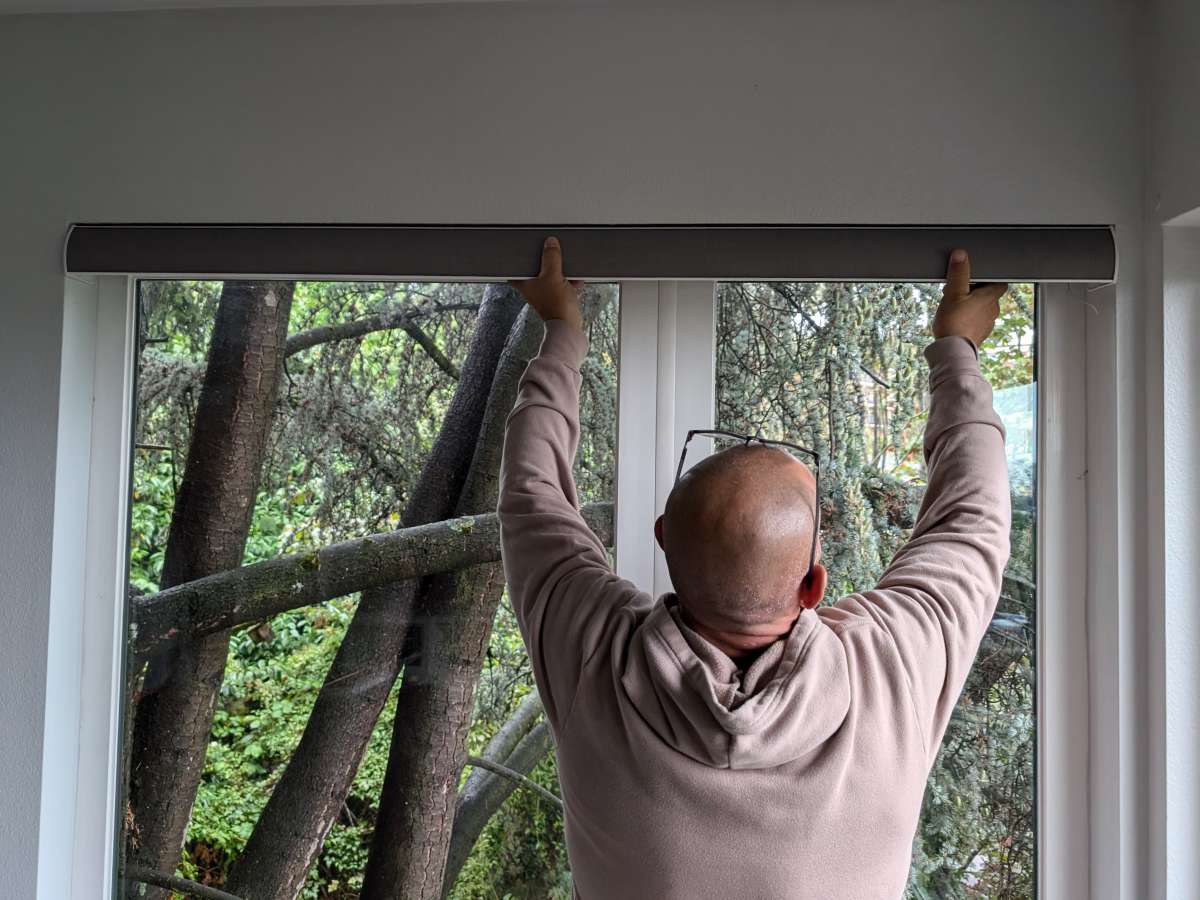
The spring-loaded brackets allow for the groove on the shades to be gently aligned with the bracket edges and then snapped into place.
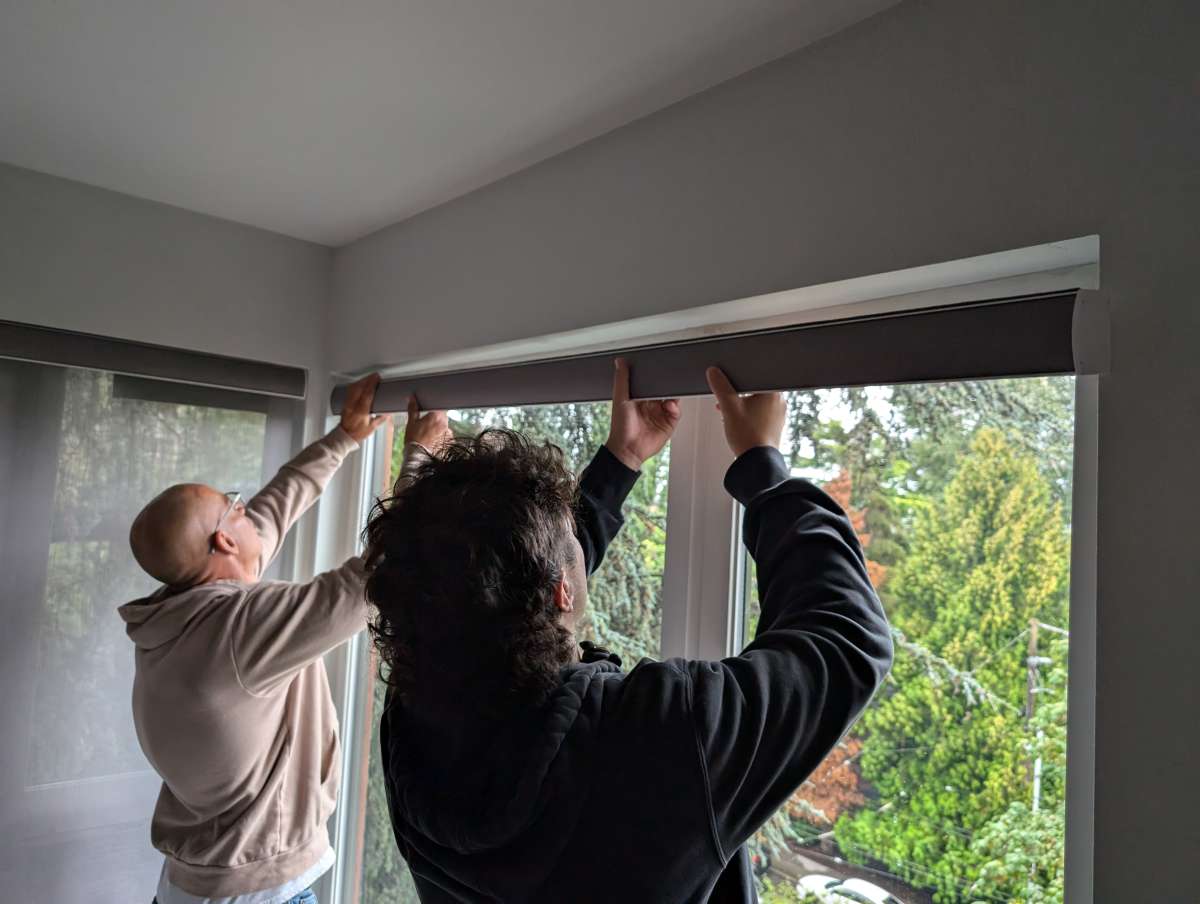
We then repeated the process for the longer windows without issue.
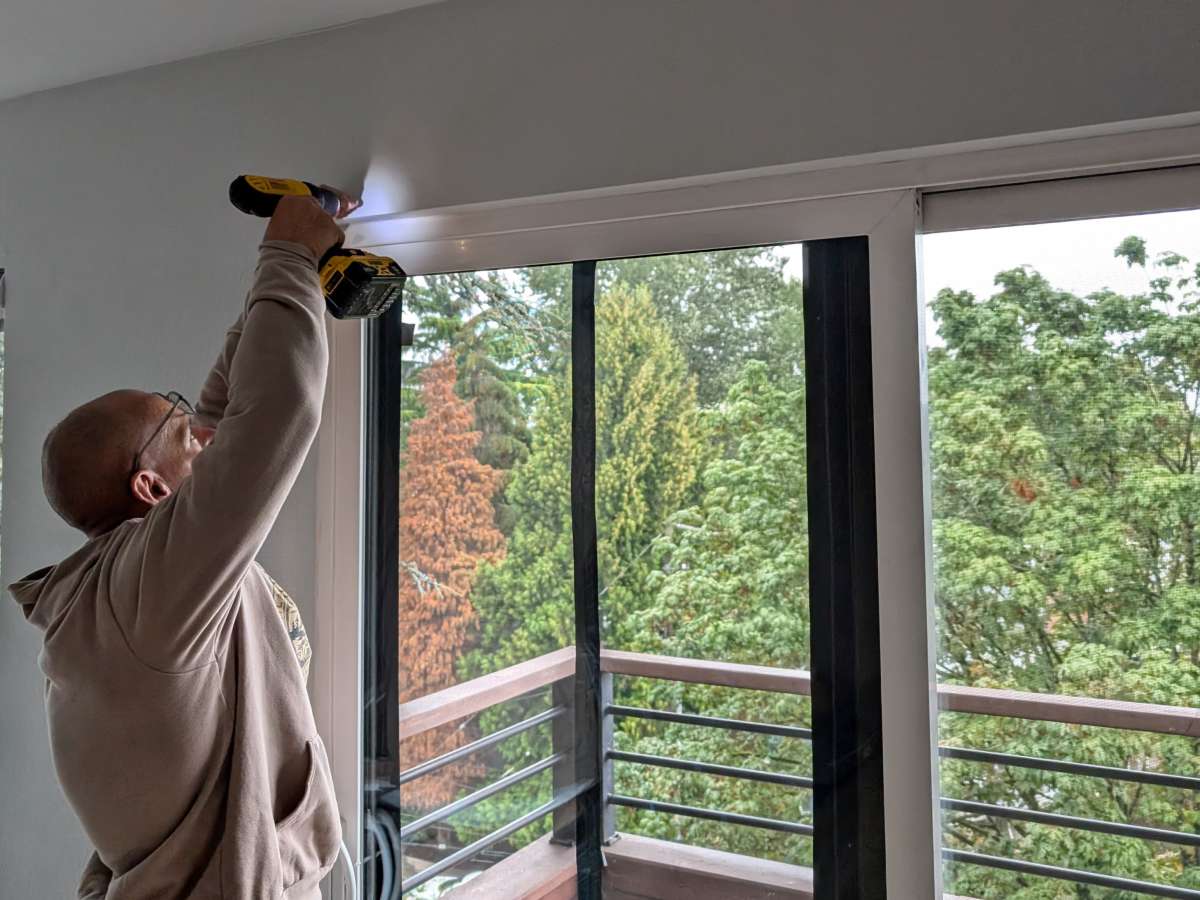
Because I chose the outside mount for the sliding doors, we needed to measure extra carefully to make sure that the brackets and shades would be level after installation.
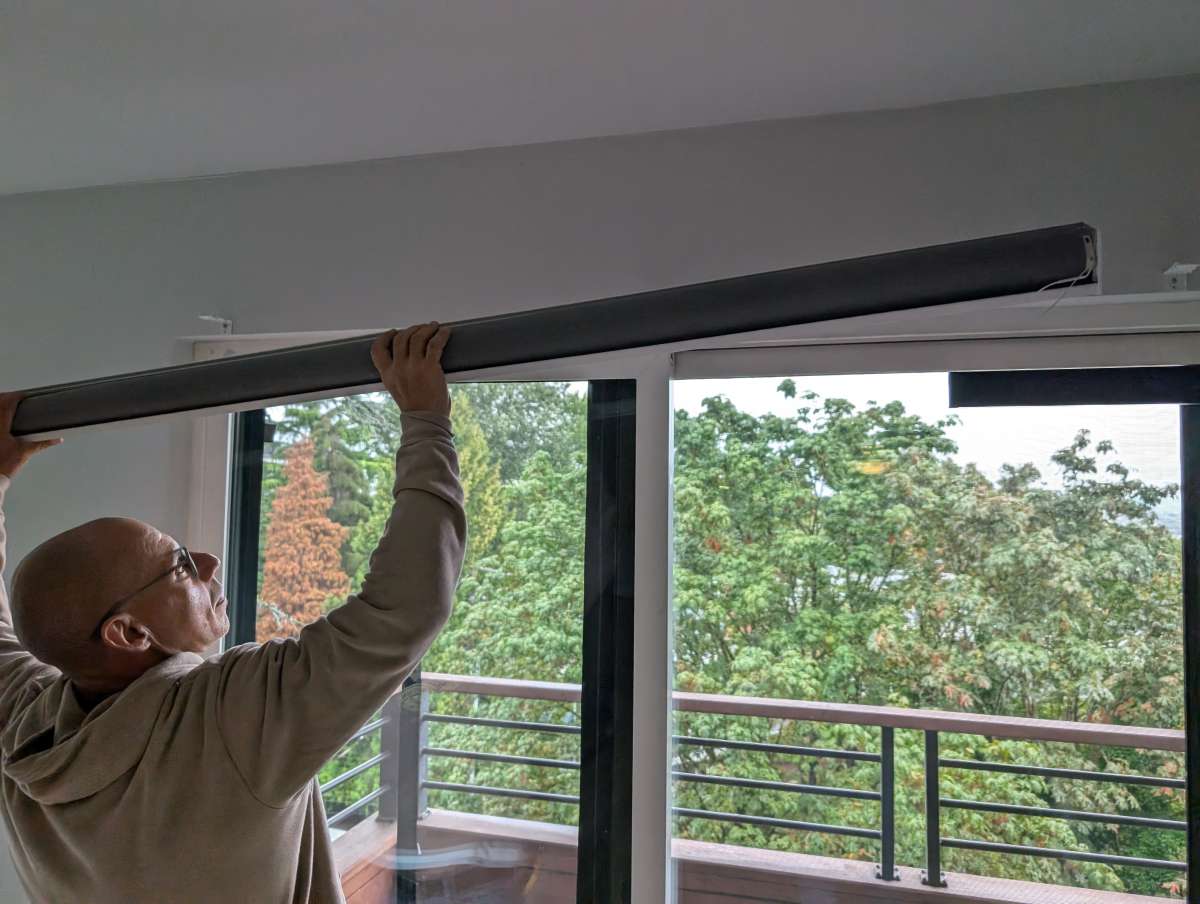
With leveling confirmed, the sliding door shades were also snapped into place easily.
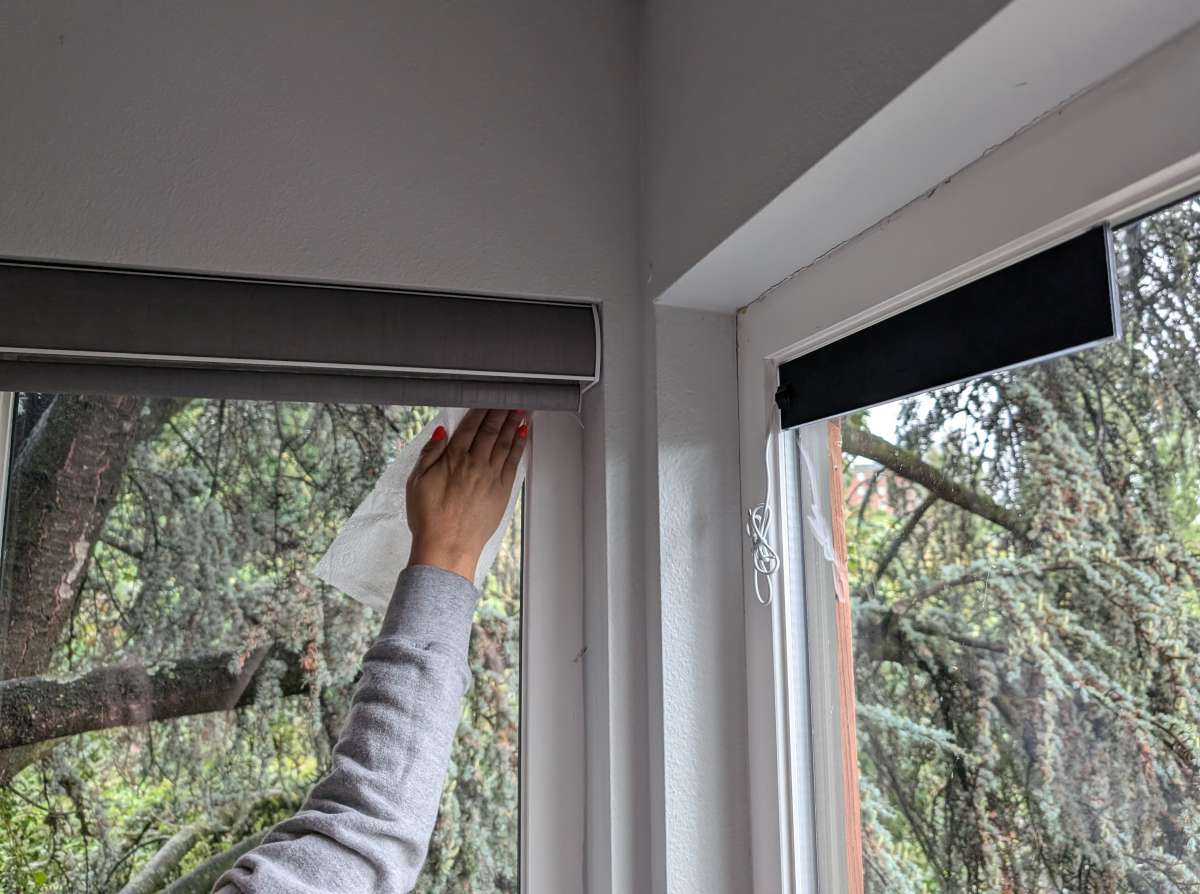
Installing the solar panels required a little window cleaning and correct positioning to allow the short cord on the panels to reach the motors.
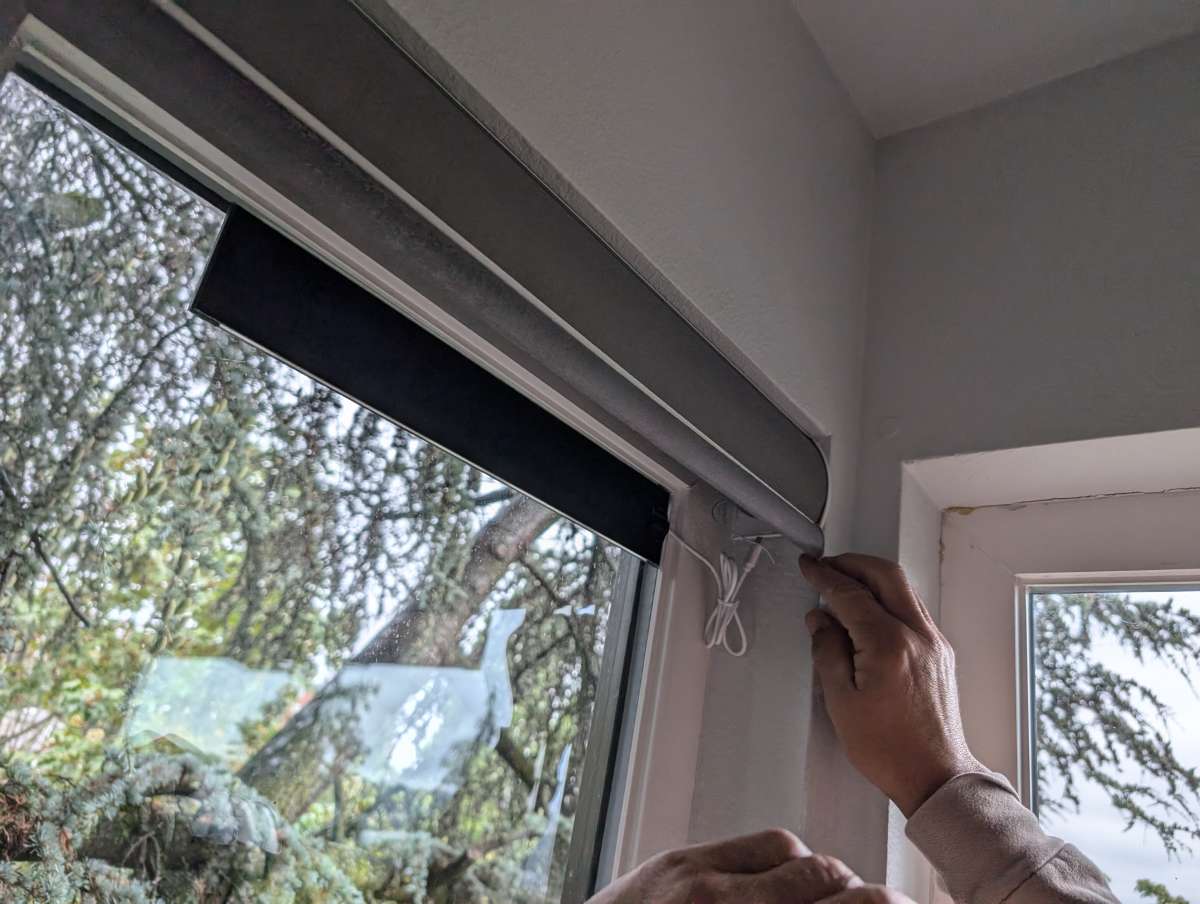
Once installed, the excess wire can be bundled up and tucked out of sight.
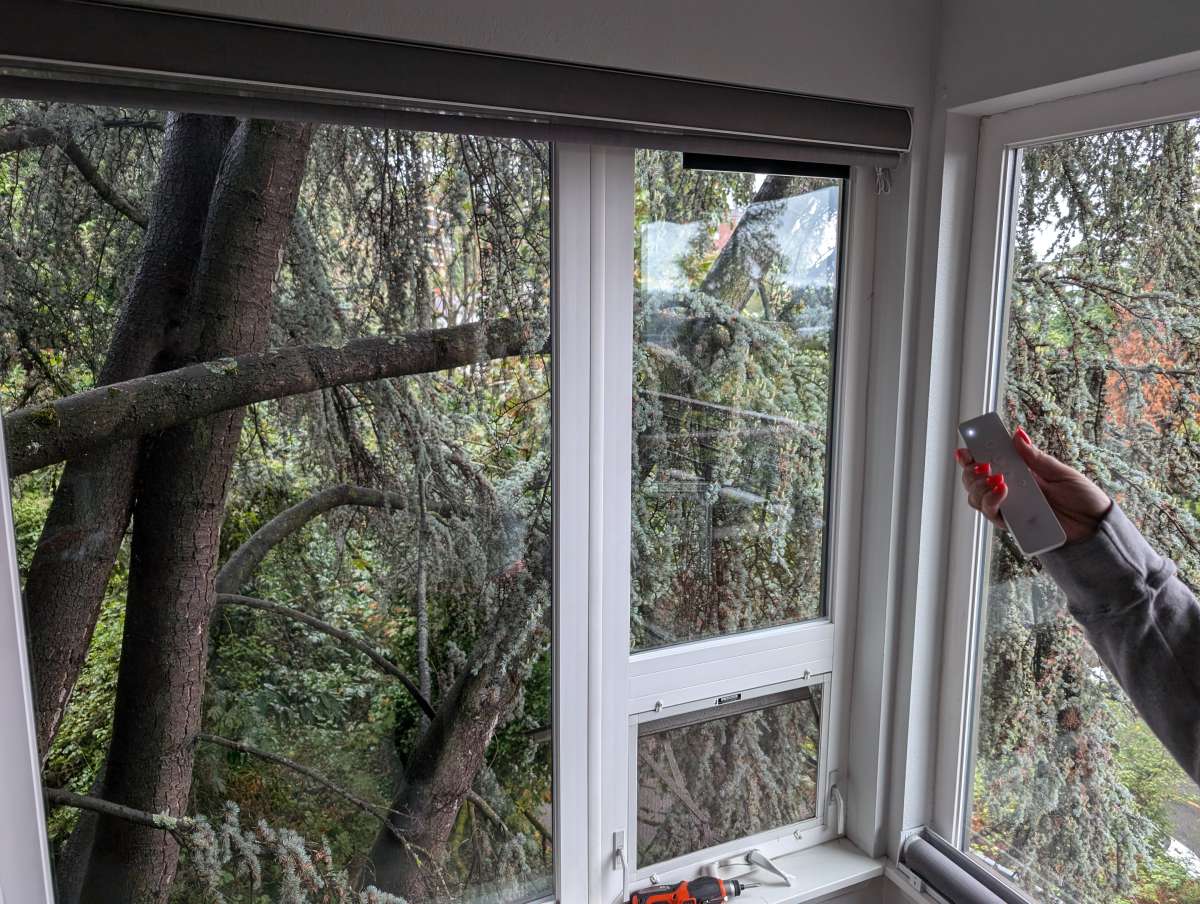
Pairing the remote was the next step, and my sister-in-law completed that task with ease.
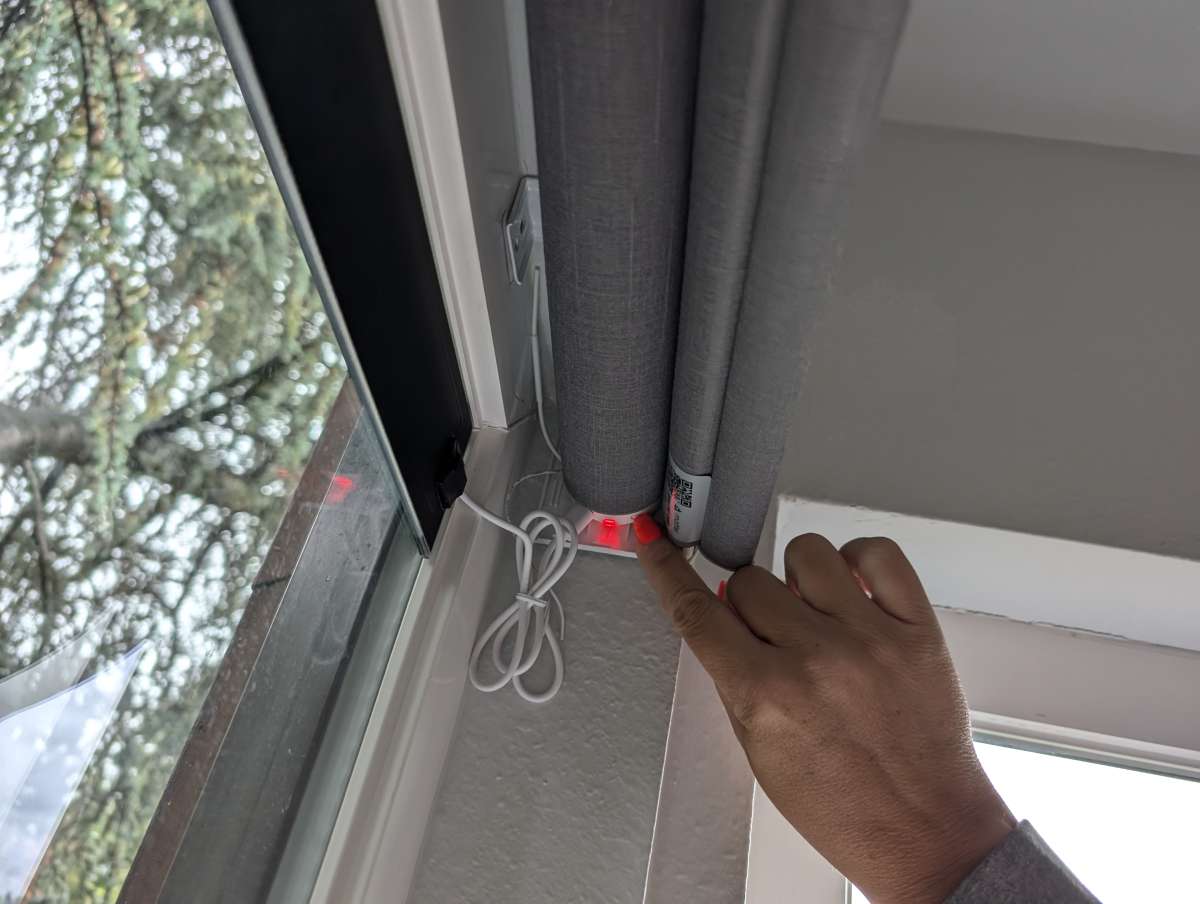
Then we had to reset the motors a few times to calibrate them and make sure the shades had the correct settings for use.
Performance
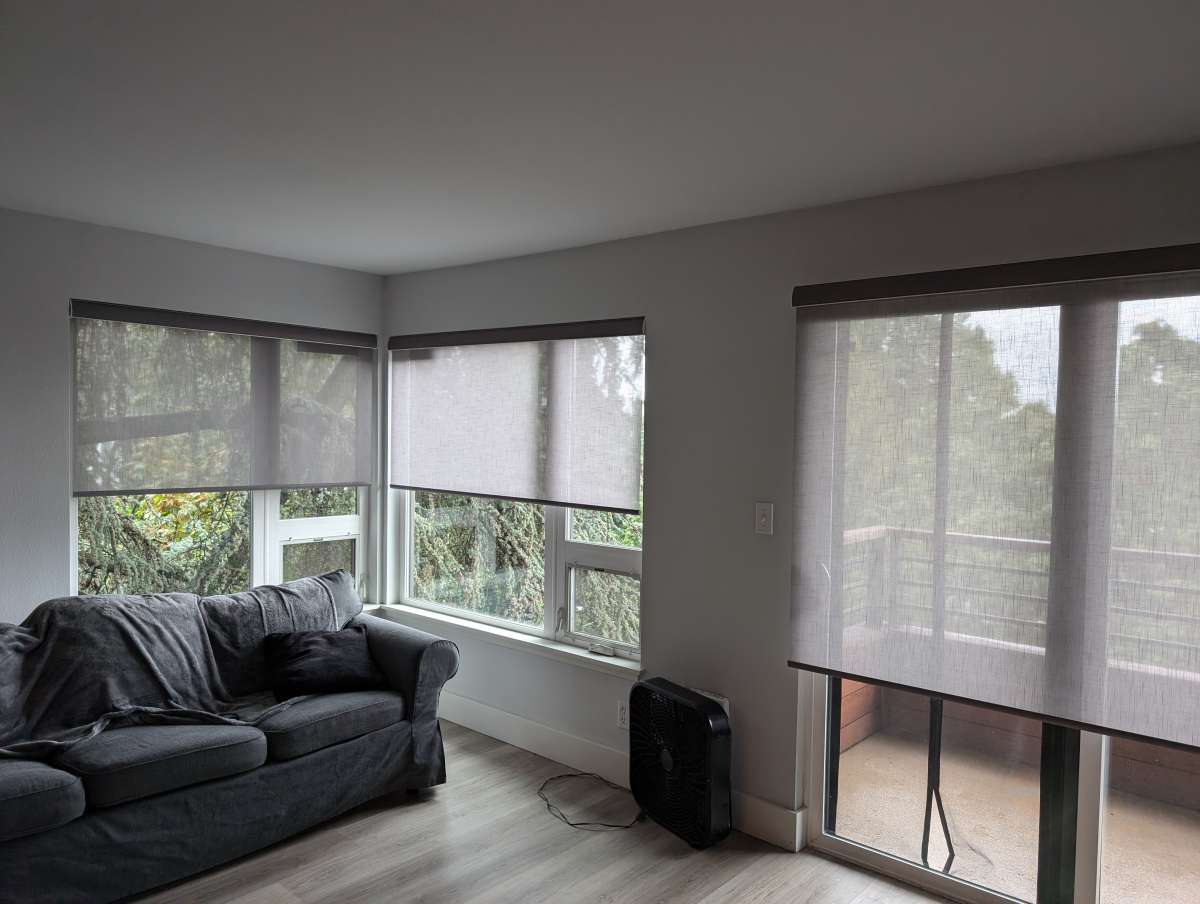
Once the installation was complete, I put the shades into daily use. The performance of the SmartWings was a uniquely challenging experience. When using the SmartWings with the physical remote, everything worked flawlessly. I was able to pair and control all three shades with the remote as well as set their upper and lower limits. The frustration came when trying to pair the SmartWings with my existing smart home system. I mainly use Google Home for my smart home automation, but I also have Amazon Alexa.

For the life of me, despite following every instruction word for word, I could not get the system to pair correctly with Google Home. I tried hundreds of times to get the shades to pair with Google Home, following every instruction and tip I could find online to a tee. The same error message was returned at each attempt. I tried factory resets, changing my router settings, and creating new Wi-Fi networks, all to no avail.
It wasn’t until I finally contacted SmartWings support that I made some progress. After emailing the support address listed on the website, I was provided with one simple sentence: “We recommend connecting your blinds to Alexa first.”

I was so determined to get the shades paired with my Google Home system that I never thought to try it first with Amazon Alexa. Sure enough, the shades immediately paired with Alexa.

After successfully pairing them with Alexa, I returned to the Google Home pairing process, which worked easily the first time. This was almost more infuriating than the hundred failed pairing attempts. However, the result was that my SmartWings shades were integrated with both of my smart home systems and were working fine.
A few days later, further issues arose when, for no apparent reason, all of the shades unpaired themselves from both Google Home and Alexa. This time, I tried to pair them with Alexa first before attempting to reconnect them with Google Home. Unfortunately, they wouldn’t pair with Alexa either until I performed a factory reset on all three shades. After that, I paired them with Alexa again and then successfully redid the Google Home pairing.

Since then, I haven’t lost connection to the network, and the shades have been working fine, but I’m not 100 percent convinced they will stay that way without issue.

Overall, the SmartWings Motorized Light Filtering Roller Shades performed adequately as long as I didn’t try to exploit every feature. Using the shades at the most basic level—opening and closing them via the physical remote control—always worked. However, connecting the shades to my smart home system was so problematic that it almost didn’t seem worth the effort. Yet, when the shades finally did connect and stay connected, I was so thrilled I almost forgot all the previous aggravation.
What I like
- Physical installation is very easy when measured correctly
- Great quality materials and construction
- Work flawlessly when controlling via remote alone
What needs to be improved
- Pairing to Google Home and Amazon Alexa is incredibly frustrating
- Units lose connection to WiFi randomly
- Configuring options via remote is very difficult and inconsistent
Final thoughts
When they work properly, the SmartWings Motorized Light Filtering Roller Shades are an absolute joy to behold. Ten-year-old me would be blown away to watch me walk into my new living room each morning, utter a few commands, and magically have all the shades slowly rise as sunlight pours in. As I write this review, it’s been about four days without any pairing issues, so I am cautiously optimistic that the shades and my smart home have finally made friends. That said, if you never intend on connecting the SmartWings to Google Home, Amazon Alexa, or any other smart home system, you can count on the shades to work flawlessly via the SmartWings remote once it’s properly set up. At the basic configuration for smaller windows, the SmartWings shades are a terrific bargain at $189.99. However, with larger window sizes and extra options added, the price might rise out of an acceptable range for some. For me, the thrill of new home ownership, coupled with being able to control my shades via voice command, is worth it.
Price: Basic configuration: $189.99 / Configurations used for review: Sliding Doors: $525.85 as configured, Window 1: $454.86 as configured, Window 2: $499.86 as configured
Where to buy: SmartWings and Amazon
Source: The sample of this product was provided for free by SmartWings. SmartWings did not have a final say on the review and did not preview the review before it was published.


Gadgeteer Comment Policy - Please read before commenting
What secures them to the bottom? The sunsetter has a tension cable…
Might be a good option,
I have sunsetter screens & outside they take a beating…
let’s see how they last with the doors/window open…
I’m wondering how you would clean them …as someone with 13 year old horizontal blinds (admittedly much cheaper than yours) who is about to replace them, and not wholly satisfied with the various methods I’ve tried over the years. I drawn the line at taking them down and outside to wash them