REVIEW – I’ve used small photo printers like the original HP Sprocket photo printer to add sticker photos to my analog journals for years. Now HP has a new photo printer on the market which uses rolls of paper instead of sheets. Today we check out the HP Sprocket Panorama photo printer.
What is it?
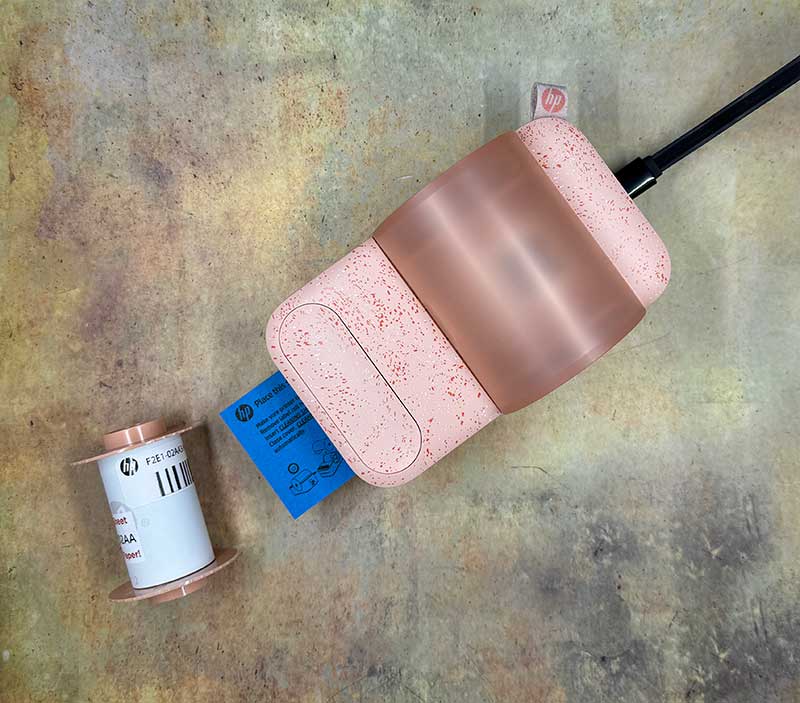
The HP Sprocket Panorama is a small photo printer that uses 2 inch wide x 197 inch long rolls of thermal ink-free Zink paper instead of individual sheets.
What’s in the box?
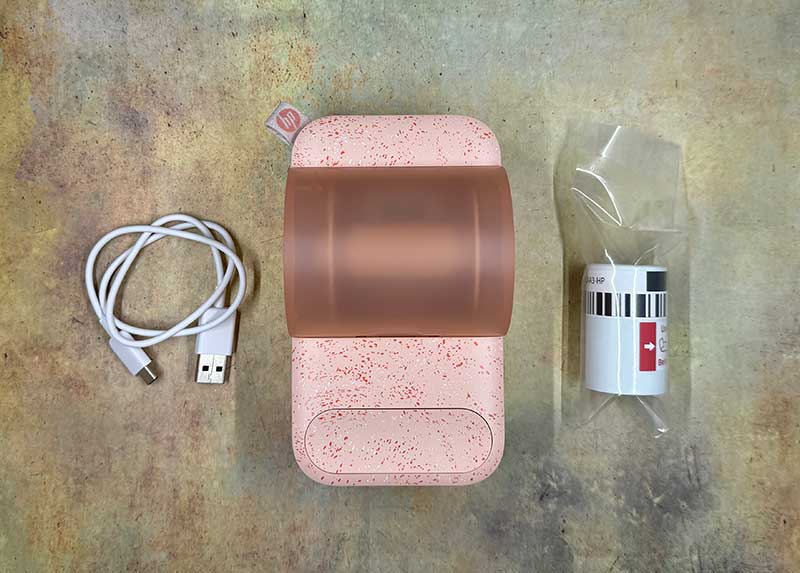
- HP Sprocket Panorama photo printer
- USB-C charging cable
- Starter roll of Zink photo paper
- Quick start guide
Design and features
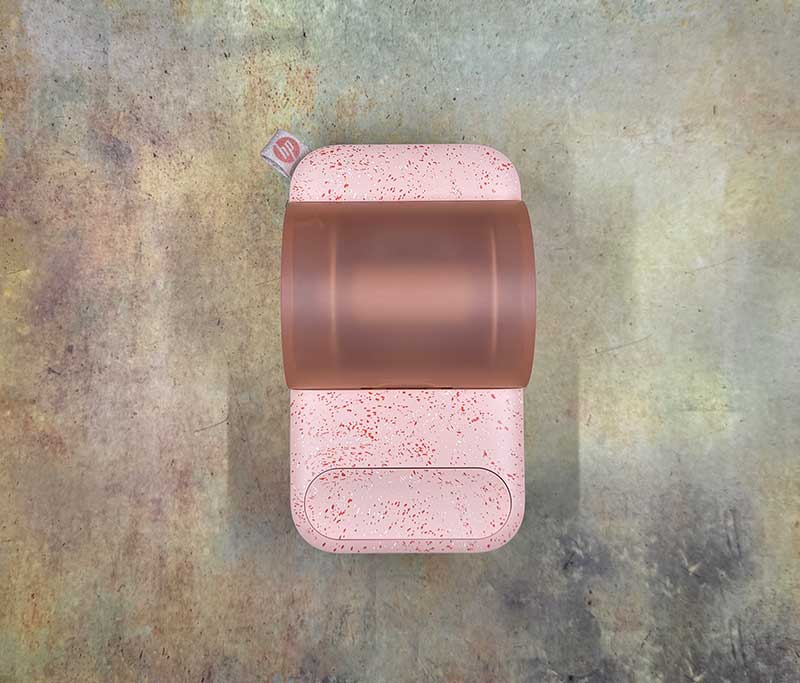
The HP Sprocket Panorama photo printer is a small portable printer that is available in either the pink version you see here or a grey version.
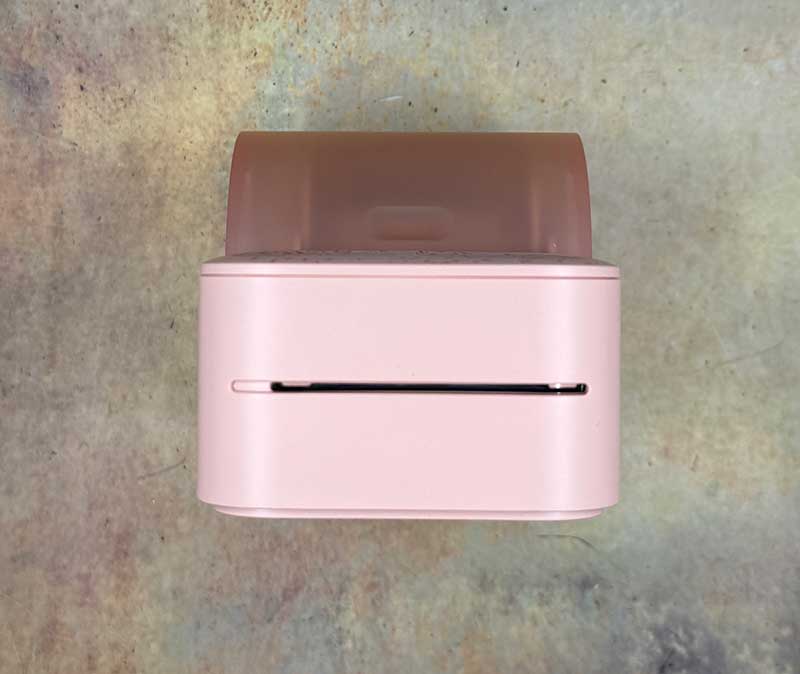
A top down view of the printer shows you the round cover over the paper roll cover and the cutting button.

There’s a little opening on the left side of the printer, but I don’t know what it is other than possibly a small speaker for the printer sounds.
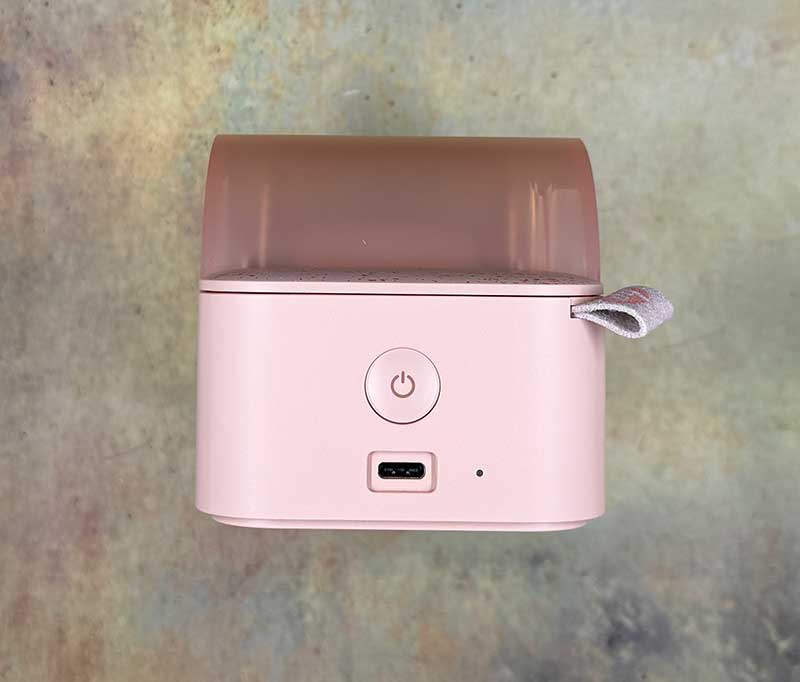
The back edge has a power button, USB-C charging port, and a status LED.
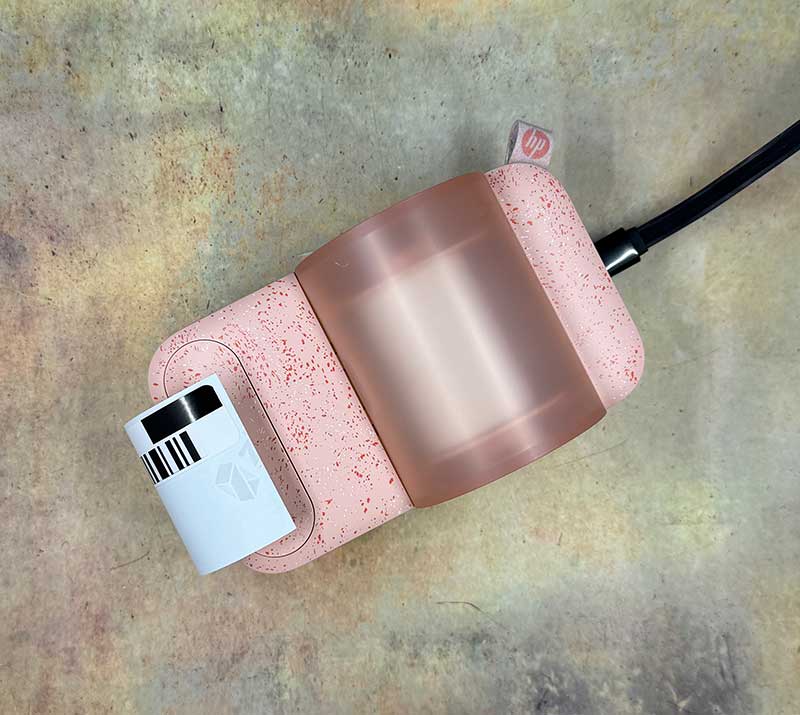
The front has a slot where the prints feed through.
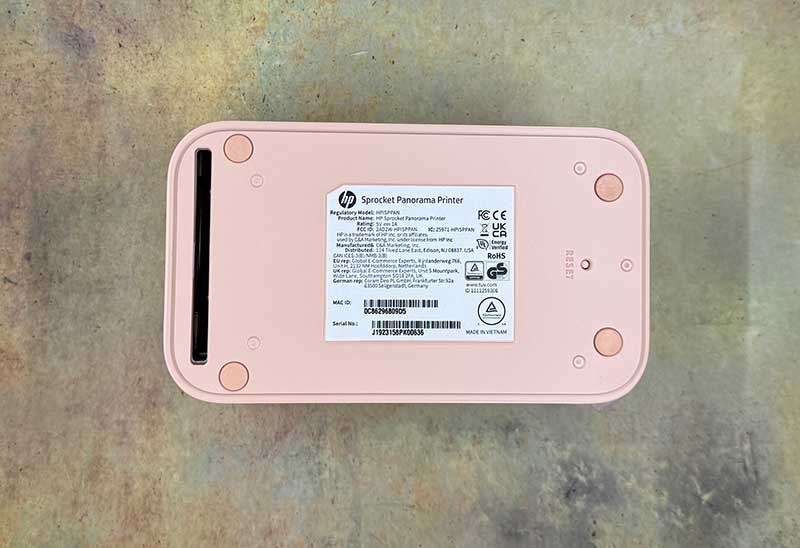
There’s also a large slot on the bottom, which, again, I have no idea what it’s for, and there’s no mention in the quick start guide. There’s also a reset switch on the base of the HP Sprocket Panorama printer.
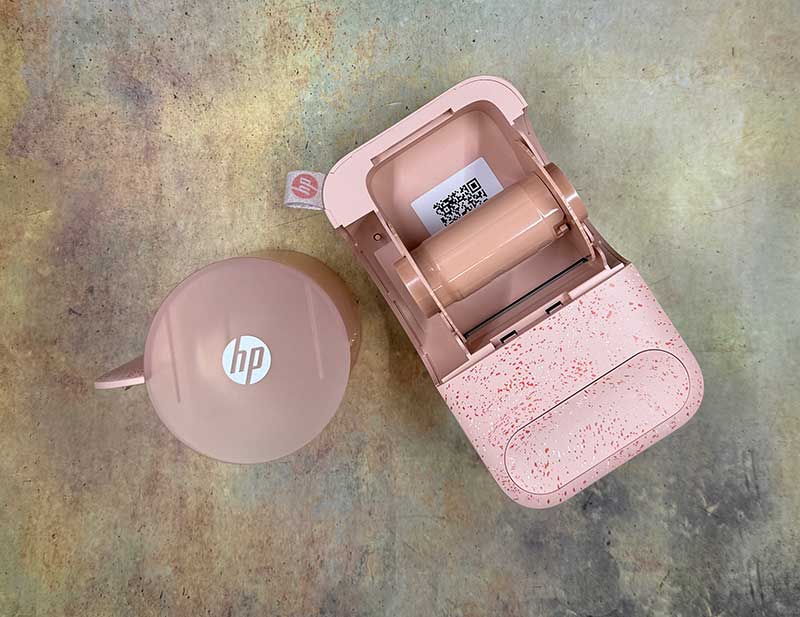
The cover can be removed to access the paper roll.
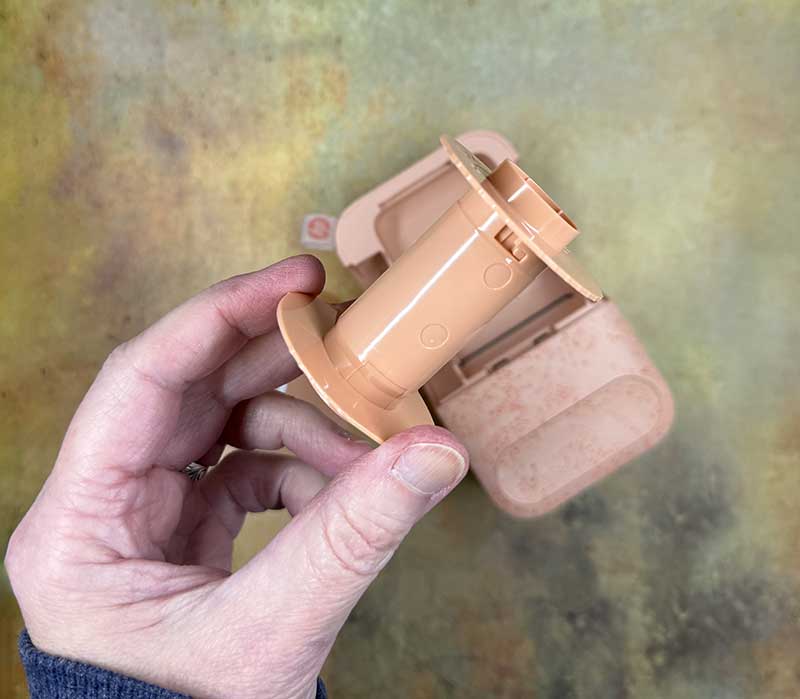
The paper roll is made of two parts.
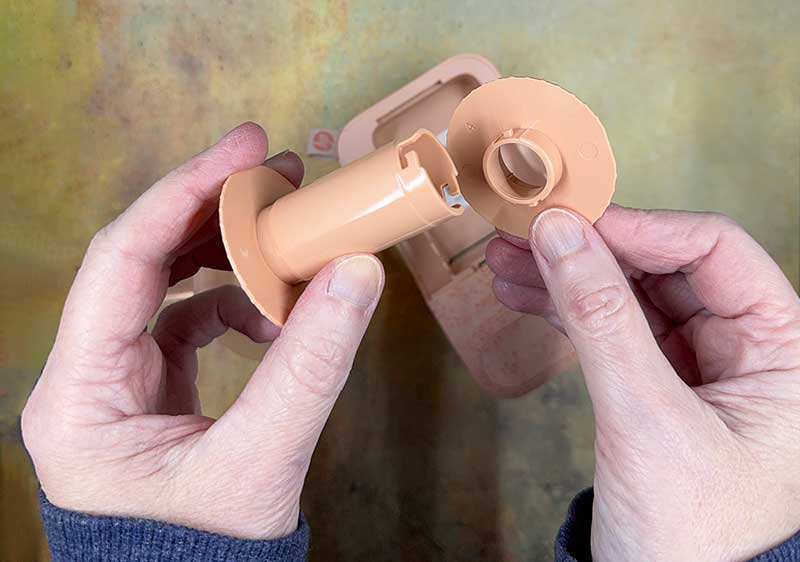
One end of the holder is removable so that you can load a roll of the Zink paper.
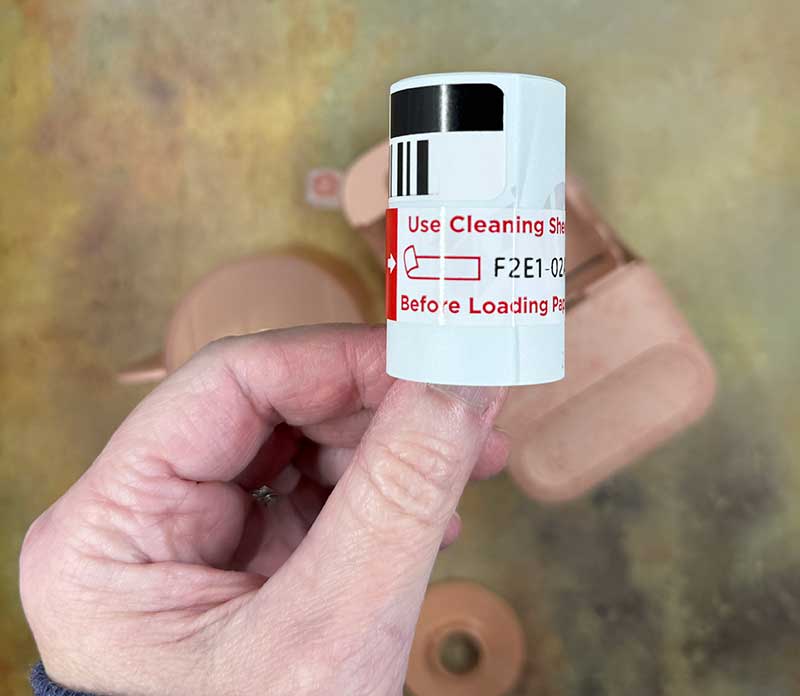
A small starter roll of Zink paper is included with the HP Sprocket Panorama printer.
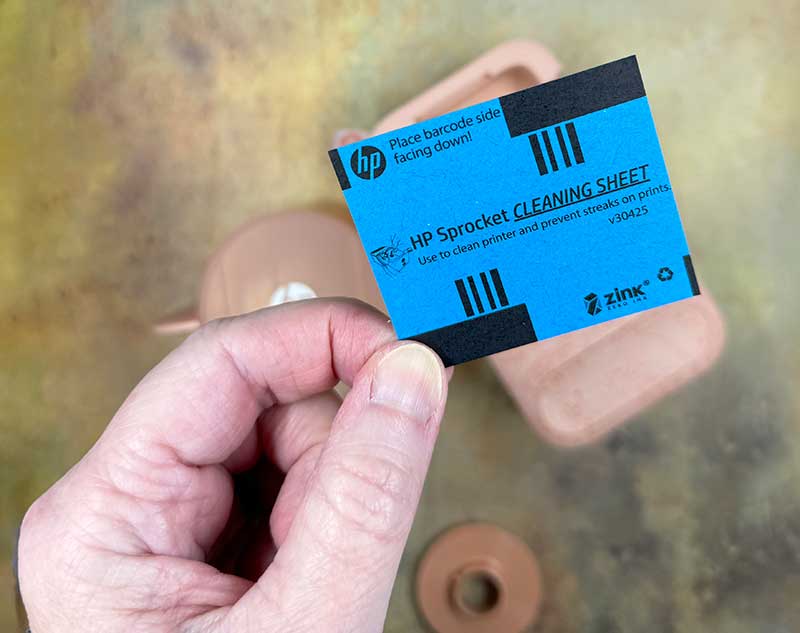
Before you load a roll of Zink paper into the printer, you first need to use the included cleaning sheet.
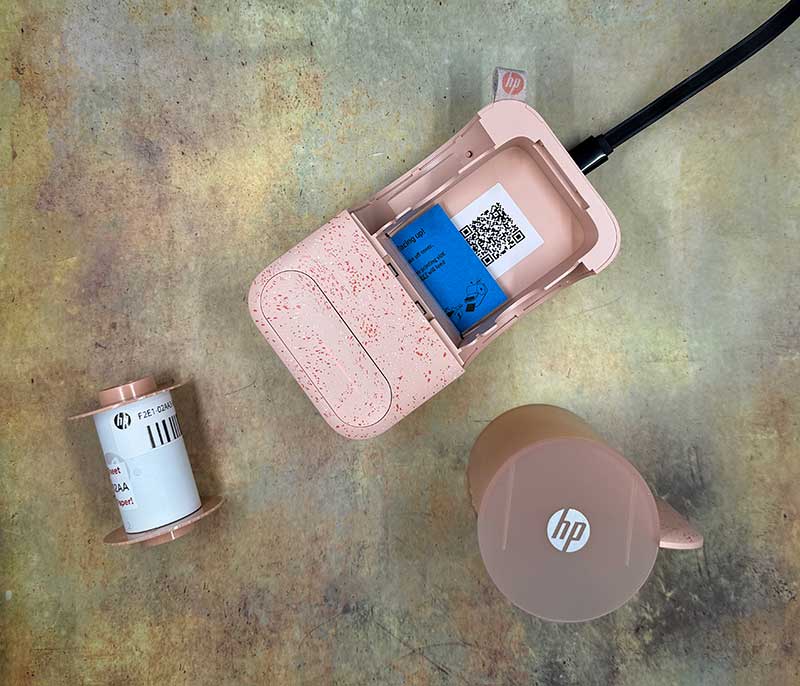
Placing the cleaning sheet with the barcodes face down, you feed it into the slot and then place the cover back in place.
As soon as the cover is clicked back in place, the printer automatically begins the cleaning process and pulls the sheet through the printer. You’re not supposed to discard the cleaning sheet because HP recommends that you do the cleaning process after every 10-15 prints.

After you do the cleaning process, then you can load the starter roll of Zink paper into the HP Sprocket Panorama printer.
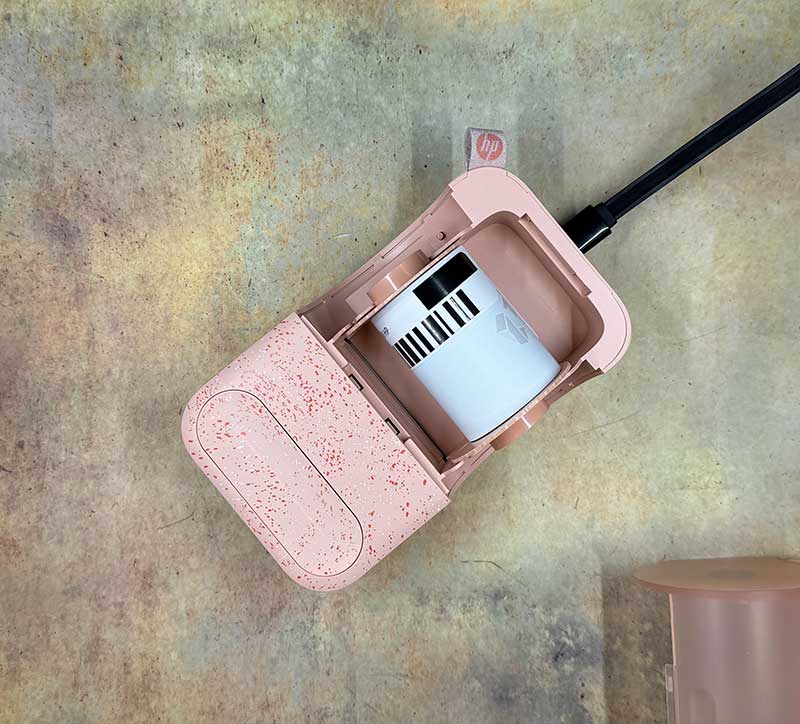
Like the cleaning sheet, you slide the paper into the slot in the printer and when you click the cover back in place, it will pull the paper into position.
Let’s create and print!
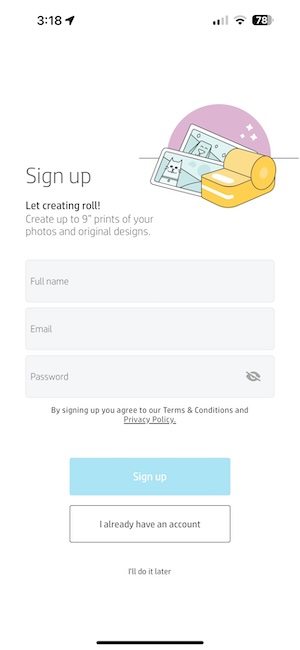
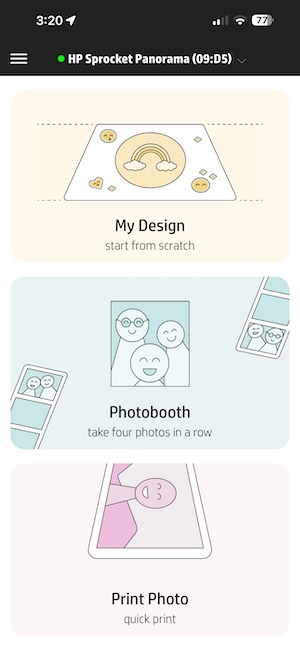
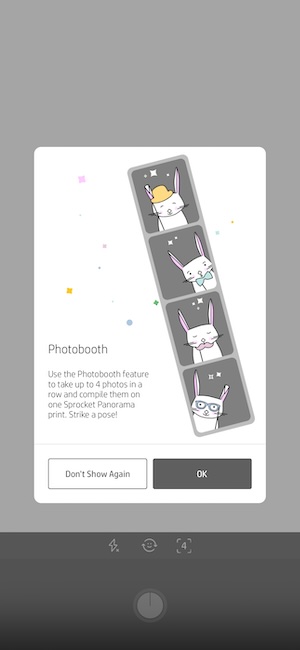
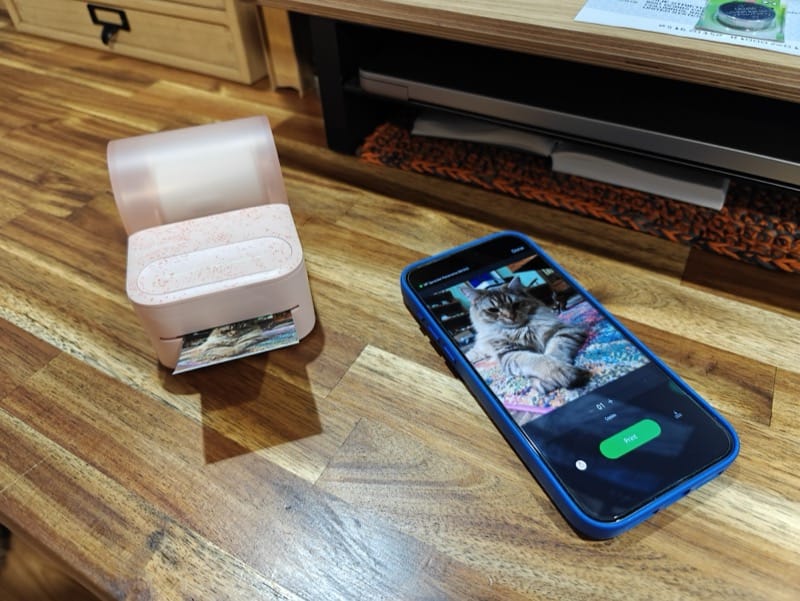
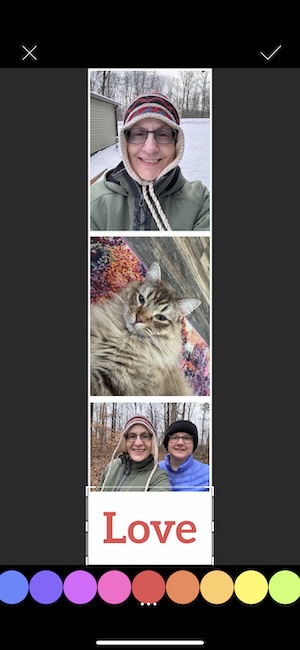
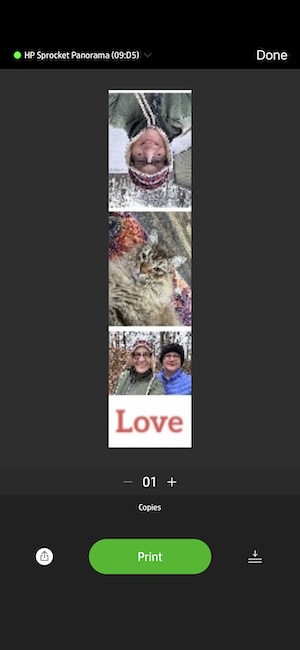
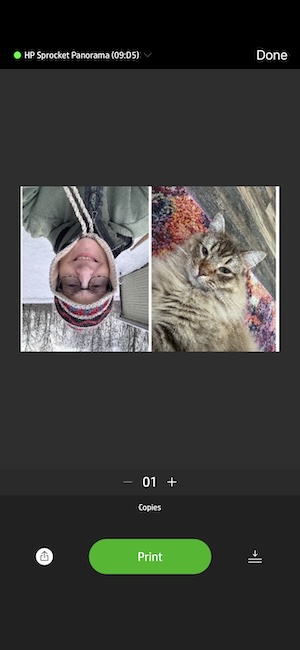
To print photos, you must install the HP Sprocket Panorama app on your phone or tablet. The first thing it asks you to do is sign up for an account. UGH. It gets super annoying having to sign up for an account for each new gadget you want to set up. With that complaint out of the way, the app is easy to use and lets you either create a new design with photos, graphics, and text, print four photos in a strip like a photo booth, or do a quick print of a photo from the photo gallery on your device.
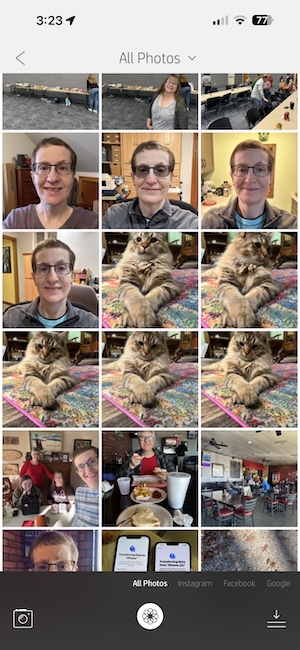
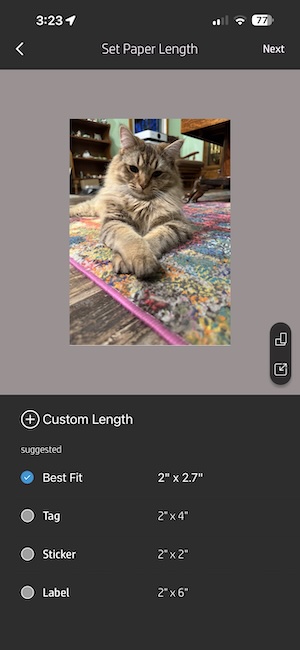
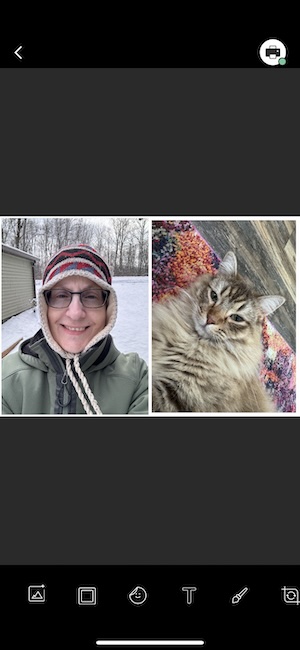
You have to give the app permission to your photo gallery and then you can choose what size print you want to print. You can also access photos from your Instagram, Facebook, or Google Photos accounts.
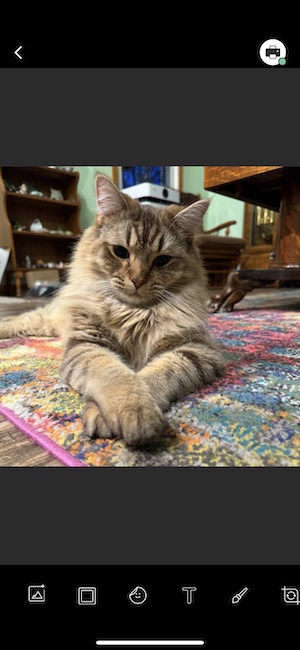
After you choose a photo, you can edit the photo and embellish it with a frame, graphics, and text. When you’re finished, you can press the printer button in the upper right corner and wait for the print to come out of the slot on the front of the HP Sprocket Panorama printer.
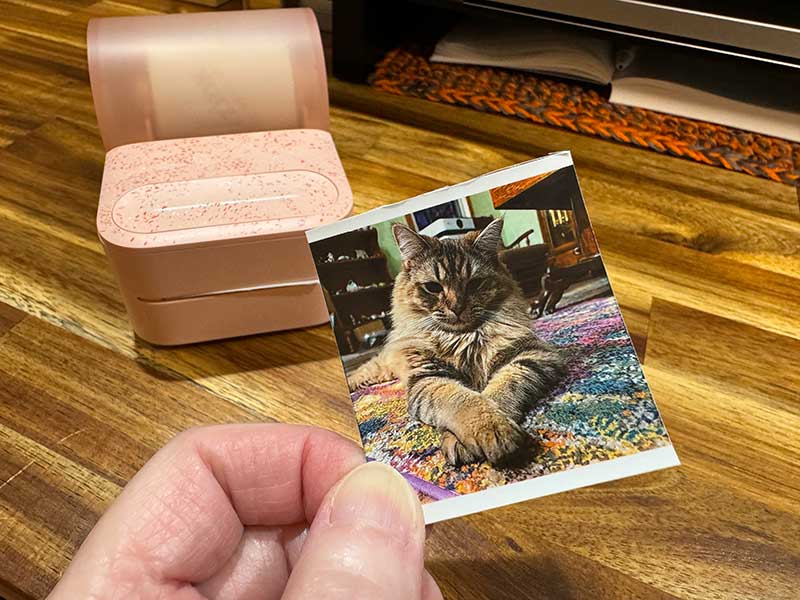
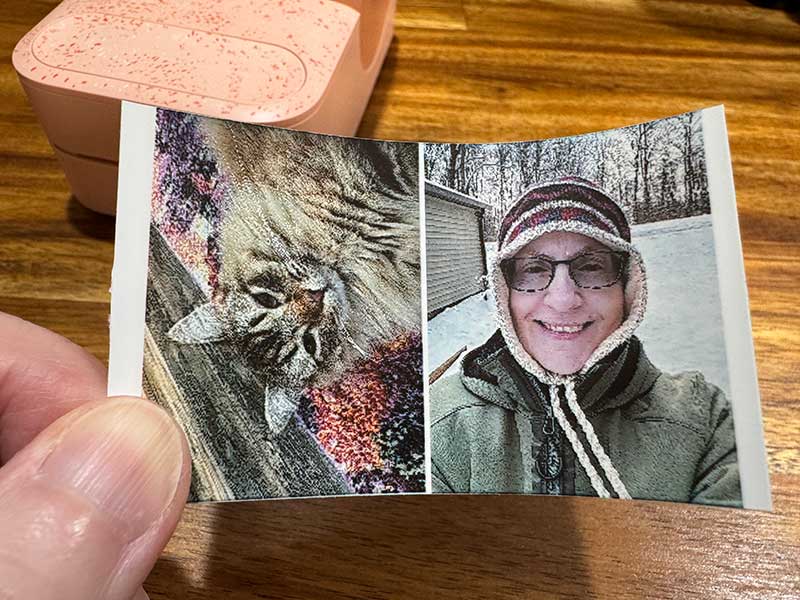
The print turned out pretty good. Maybe a little darker than what I see on my phone’s screen, but decent. The image above makes the photo look pixelated, but it doesn’t look that way in real life.
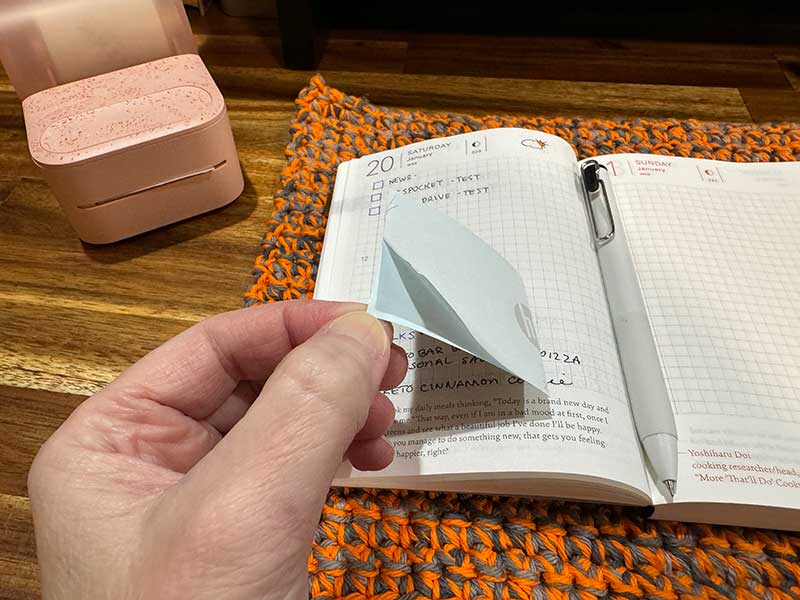
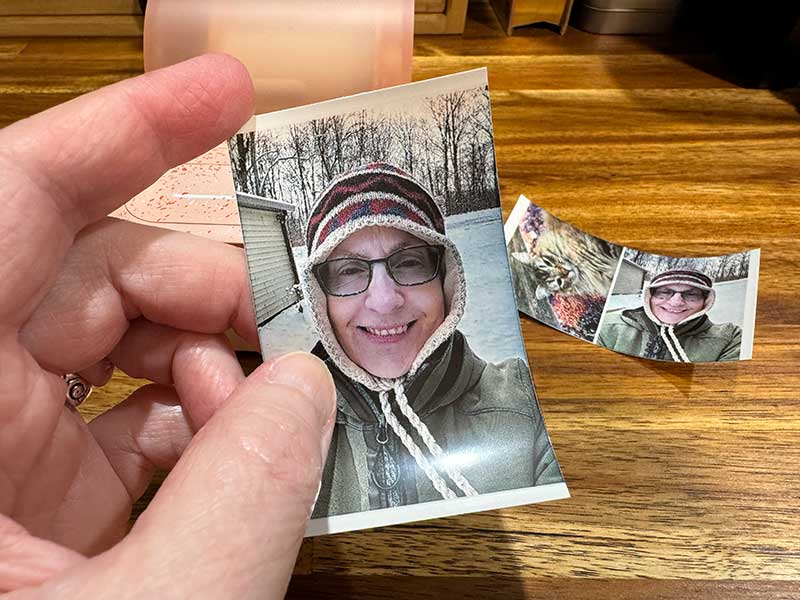
When the print is complete, you press the cut button on the printer to cut the photo. This takes a little effort to cut through the paper. But once you’re done, you’re left with a sticker photo. It’s a bit of a pain to remove the backing on the print, but with a little patience, it’s easily done.
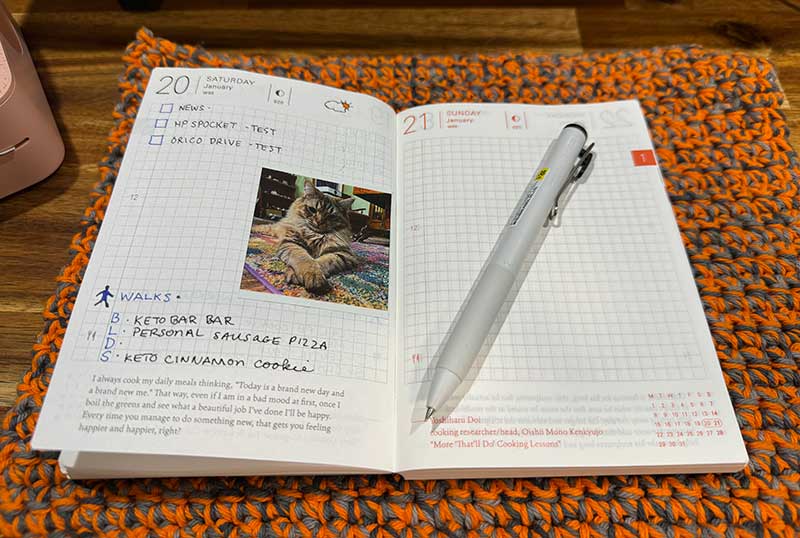
The Zink photo paper is thin enough to put in your journals without bulking up your book.

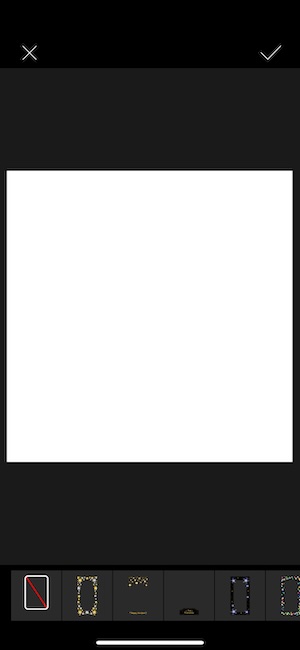
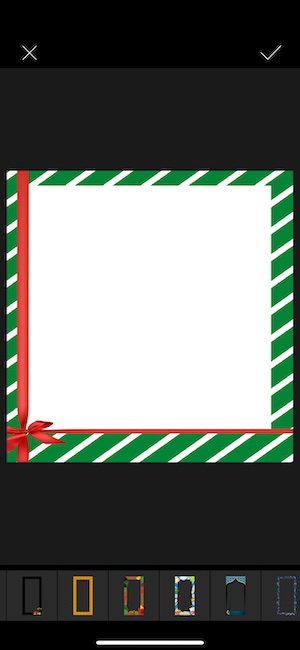
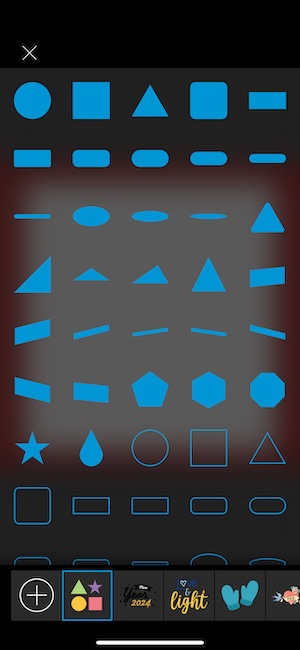
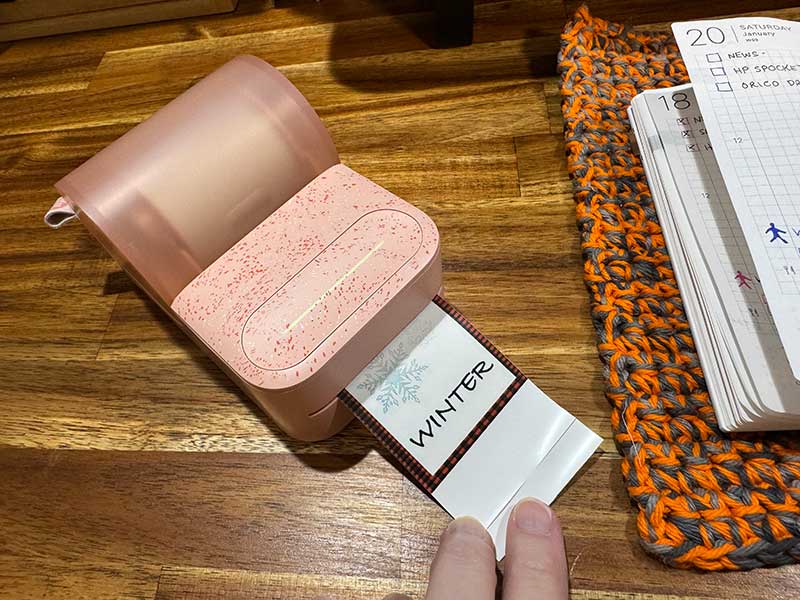
With the app, you can create/print photos from .5 inches long to up to 9 inches long. My next test was to create a picture from scratch. The app has a nice selection of basic frames, shapes, and graphics.
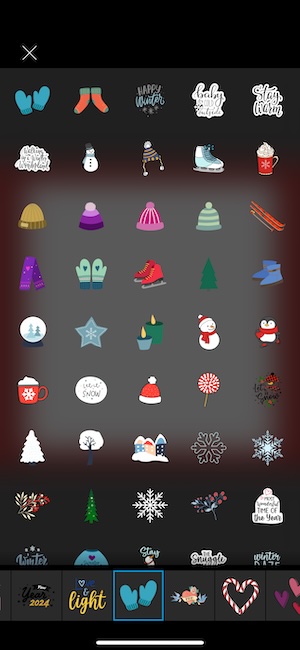
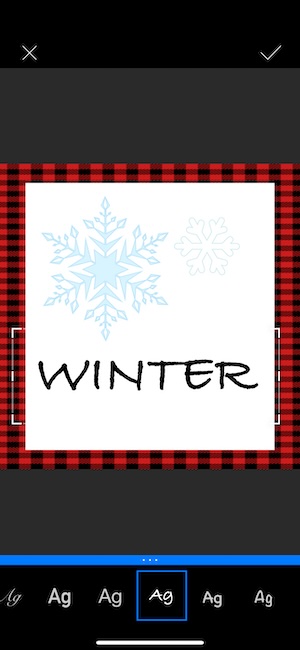
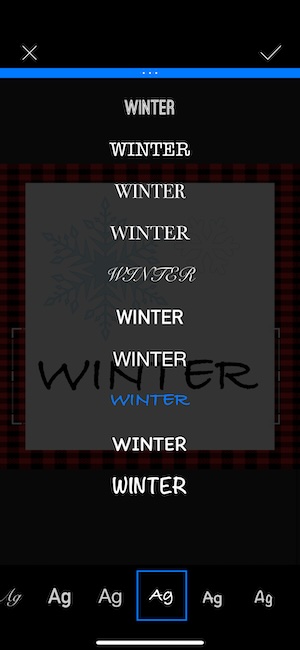
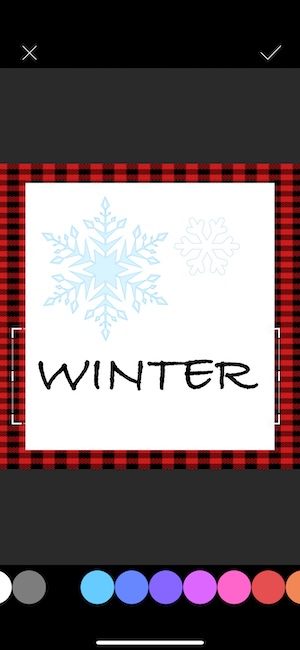
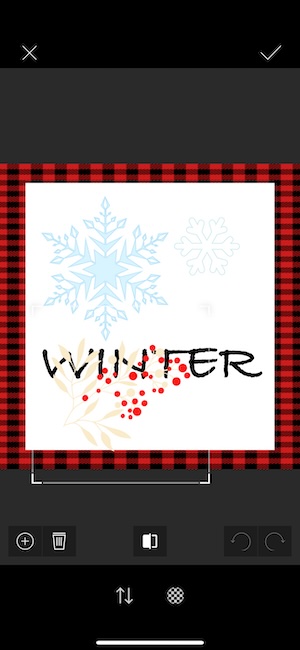
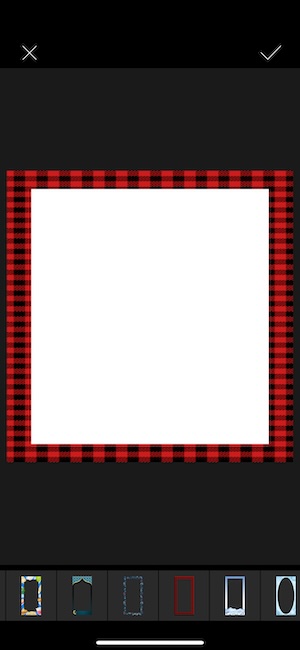
For this example. I picked a plaid frame and wrote the word WINTER in a chosen font. I also picked a couple of winter-themed graphics. Note that there’s no way (that I could figure out) to send a graphic behind another graphic. If you look at the last image in the gallery above, you can see that there’s a graphic overlapping the word WINTER (click it for a larger view). There’s no way to send that graphic behind the text.
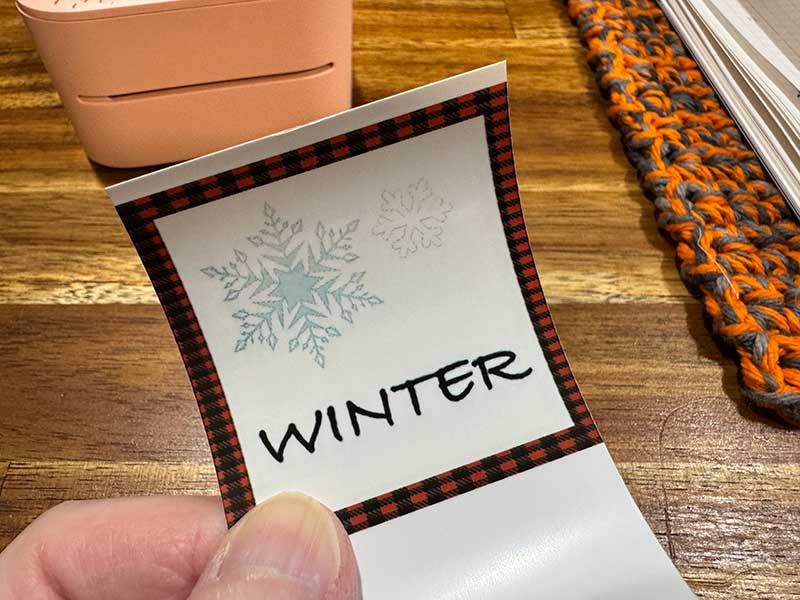
While you can use the HP Sprocket Panorama printer to make labels like you see above, I wasn’t all that impressed by the quality. The text turned out slightly fuzzy, and the graphics were way more pixelated than they looked through the app.

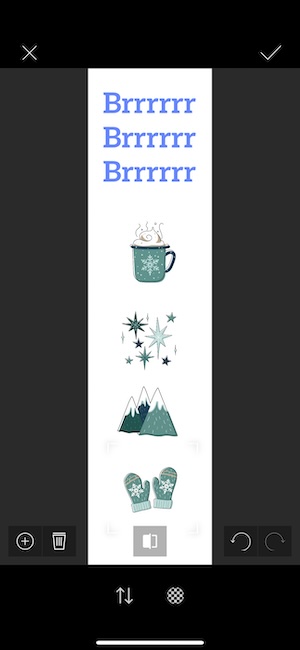
This is really obvious when I tried to print a .5 inch wide strip of text and graphics. Everything looked great in the app…
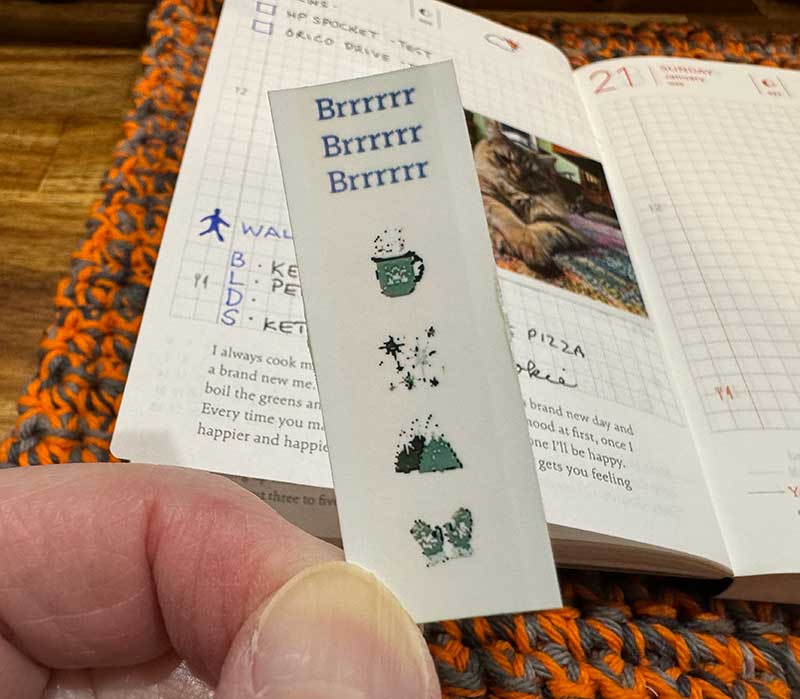
But the resulting print was super disappointing, as you can see above. The text is ok, but the graphics are terrible.
I thought maybe tiny photos would print better than the graphics, but nope. I didn’t even try printing this .5 inch strip of photos because the preview looked so bad.
I also noticed that the first image in the strip was rotated in the preview which was odd.
I tried two 1.5inch prints, and again, the first image flipped… But I went ahead and printed it.
Yikes! Talk about pixelation!
But a regular 2 inch wide by 3 inch wide print looks significantly better/sharper and is just fine for adding to journals, etc.
What I like
- Customizable size prints
- No ink needed
- Zink paper rolls are 197 inches long (enough for 65 3-inch prints)
What I’d change
- Better image resizing tech to prevent pixelation
- Fix bugs (flipped images) in the app
- Include a full roll of Zink paper with purchase instead of a starter roll
Final thoughts
If you don’t want to print images smaller than 2 x 3 inches, the HP Sprocket Panorama photo printer does a good job printing your favorite photos from your camera roll. The colors are good (maybe a little dark), and the images are only slightly grainy. Each roll of Zink photo paper is long enough to print about 65 2 x 3-inch prints at a price of about 61 cents a print. Compared to HP’s regular Sprocket printer, which uses sheets of photo paper at about .50 cents a print, I do like the Panorama because you can actually print 130 2 x 1.5-inch prints as long as you aren’t very picky about the image quality.
Price: $129.99 / $40 per Zink paper roll
Where to buy: Amazon
Source: The sample for this review was provided by HP.
![[MINI SIZE. ULTRA PORTABLE CHARGER]: Roughly the size of an AirPods Pro case, this smallest power bank packs 10,000mAh of long lasting power into a tiny, nano footprint. Easily slide this ultra slim, credit card size charger into your skinny jeans, a...](https://m.media-amazon.com/images/I/41rATpm6dyL._SL160_.jpg)
INIU Portable Charger, Ultra Mini 10000mAh 45W Fast Charging with Detachable Cable, Flight-Safe Travel USB C Power Bank External Phone Battery Pack for Xiaomi iPhone 17 16 Samsung S26 Google iPad etc
(as of June 18, 2026 20:05 GMT -05:00 - More infoProduct prices and availability are accurate as of the date/time indicated and are subject to change. Any price and availability information displayed on [relevant Amazon Site(s), as applicable] at the time of purchase will apply to the purchase of this product.)
Gadgeteer Comment Policy - Please read before commenting
Hello! I love all the info you have here! I am just wondering though, if you have used both the HP sprocket panorama and smaller HP sprocket, which would you say might be the better investment if you want to use it for journaling? I have heard the only real difference is that the panorama paper rolls are more cost effective, but I have also read that it is finicky and needs lost of calibration.
If you have any insight I would much appreciate your thoughts and time!
Hi Jessica, I’ve used both. I even reviewed the smaller Sprocket:
https://the-gadgeteer.com/2018/08/16/hp-sprocket-portable-photo-printer-review/
I prefer the smaller one if you like to take the printer with you when you travel. Otherwise, the you’re right, the Panorama is probably the better buy because the rolls of paper will last longer than the sheets.
Great review! I want a small color label printer for small glass containers, but if the quality is that poor with small prints that’s a dela breaker. Do yo know if HP has corrected this? As you stated seems like a software issue. Thanks.