REVIEW – Growing up, I had a few different construction toy sets. My favorite was, of course, my Legos. I always enjoyed them but over the years, my interests changed and I moved away from building things. Then along came my triplets and their younger brother. Over several birthdays, they acquired a few smaller Lego sets that led to me building for them. They never really got into them but it made me remember how much I loved them as a kid. But, with the price of the Lego kits I was interested in, I couldn’t justify it if it were just going to be a passing fancy. Then came JMBricklayer and I got to review their Mechanical Spaceman.
What is it?
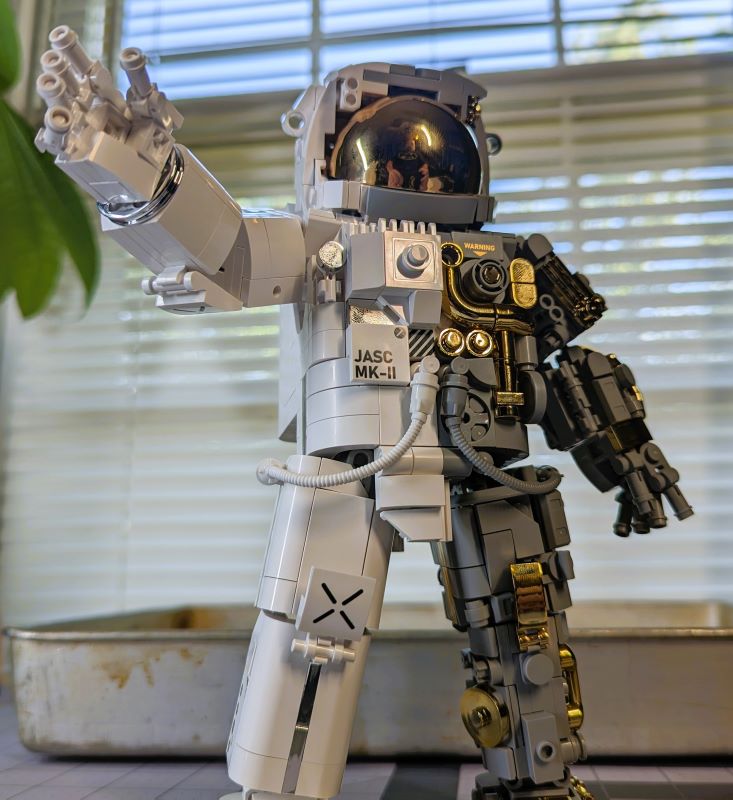
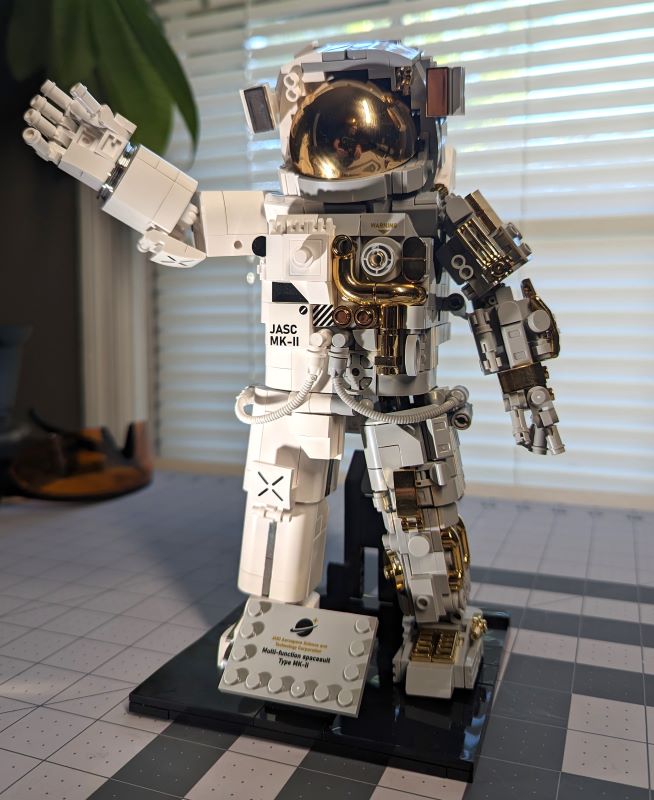
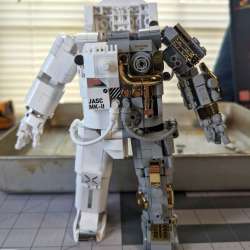
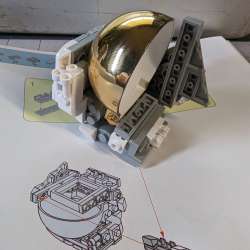
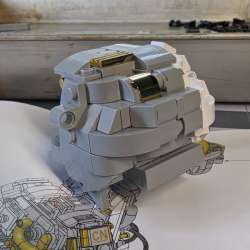
The JMBricklayer Mechanical Spaceman is a less expensive Lego-like building block system of an astronaut in a cut-away suit to show some of the inner components.

What’s in the box?
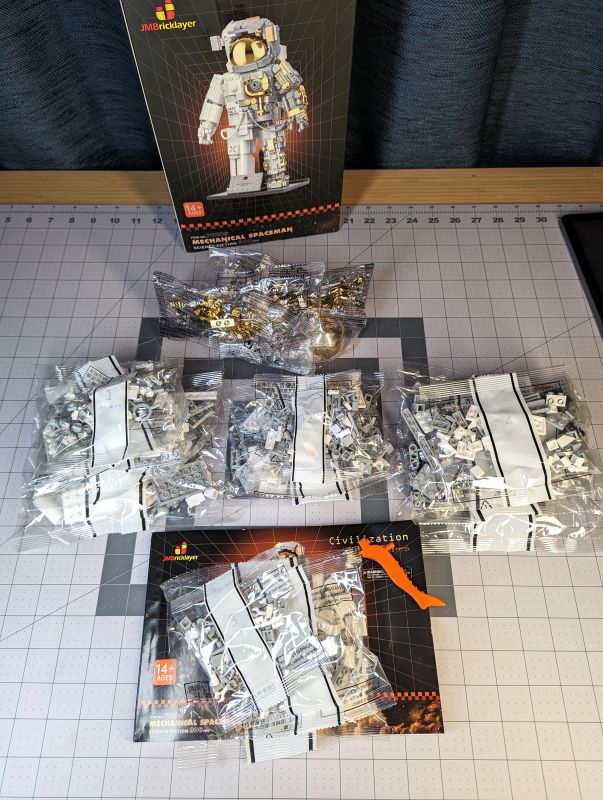
- 900 pieces in separate bags
- Brick separating tool
- Build manual
Hardware specs
- Materials – ABS plastic
- Net weight – 1.09 lbs
- Dimensions – 12.7 cm x 15.5 cm x 24.39 cm / 5 in x 6.1 in x 9.6 in
Design and features
As I said, it’s been years since I built any kind of set like this, so upon opening the box, I was impressed that the parts were separated into numbered bags that corresponded to the order in which to build. So, I separated them into stacks and grabbed the manual.
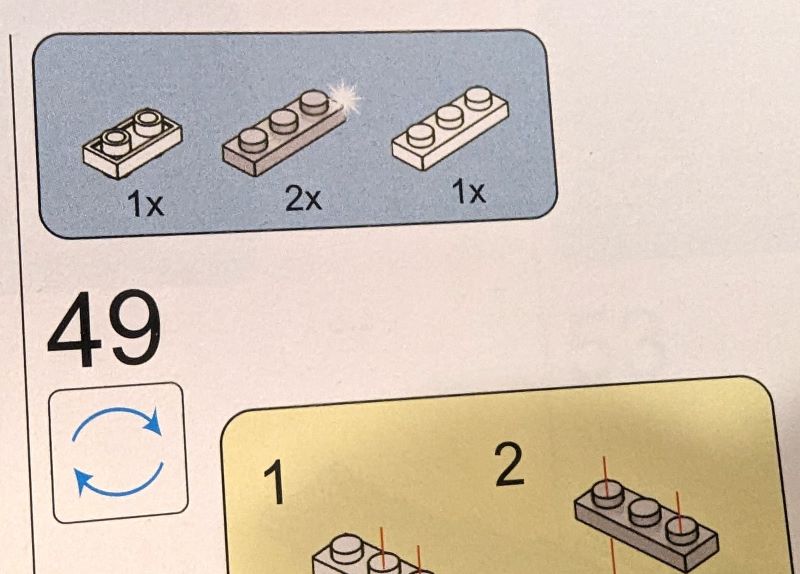
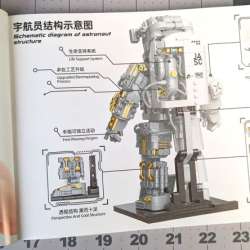
The manual is well laid out with great illustrations.
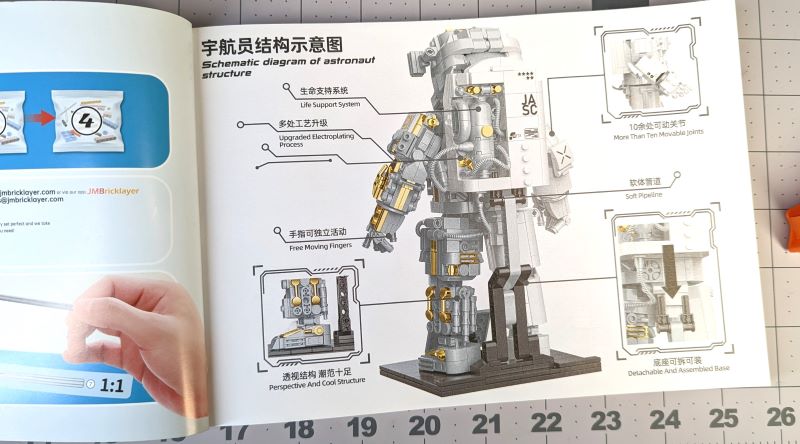
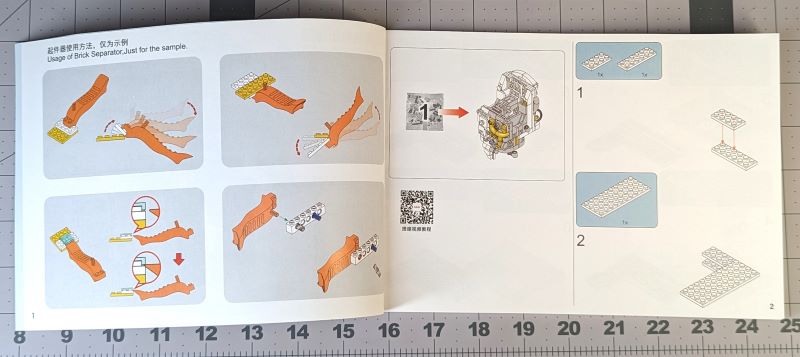
They even show you how to use the included brick-separating tool. Man, if I’d had this as a kid, my blocks wouldn’t have had so many teeth marks. I also like the fact they show you the result of building bags marked #1 before getting into the steps to get there.
The steps are precisely illustrated and easy to follow for the most part. I will admit there were a couple of times I got a little confused but for the most part, if you build in the orientation they show, you’ll get the job done.
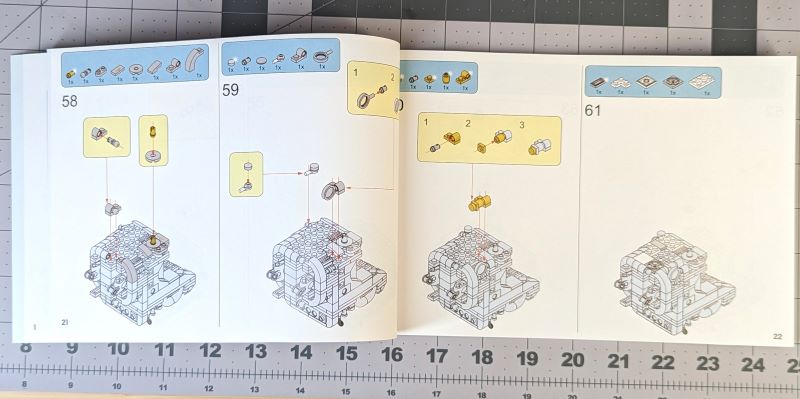
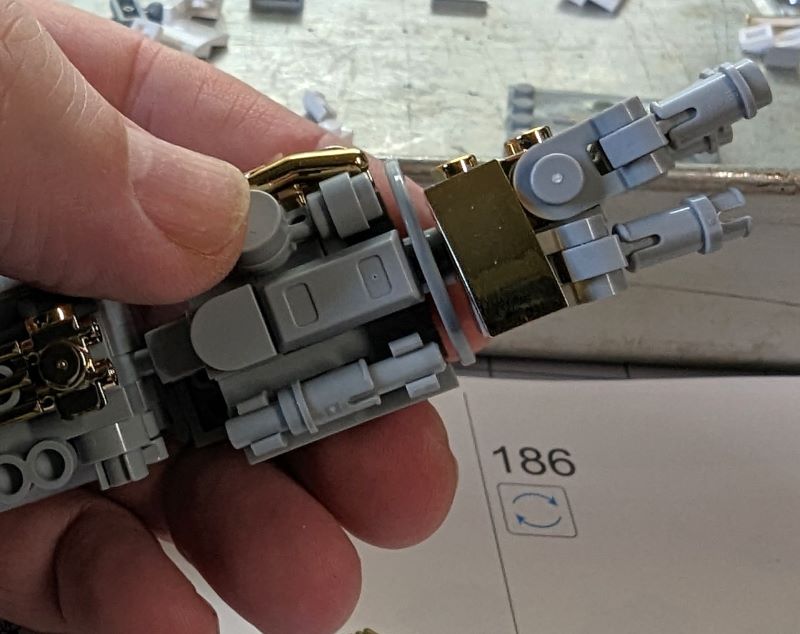
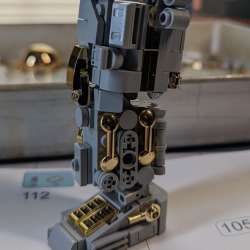
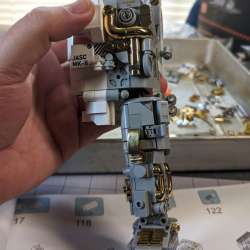
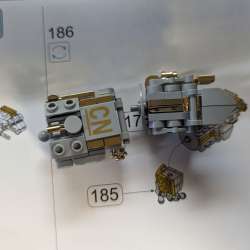
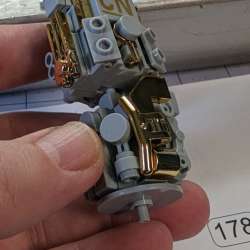
Another cool feature of the Spaceman build is the use of electroplated pieces in gold and silver. I was concerned with how I was going to know when to use silver versus grey, but JMBricklayer solved that by giving them a little bling in the manual. It’s a simple but effective solution.
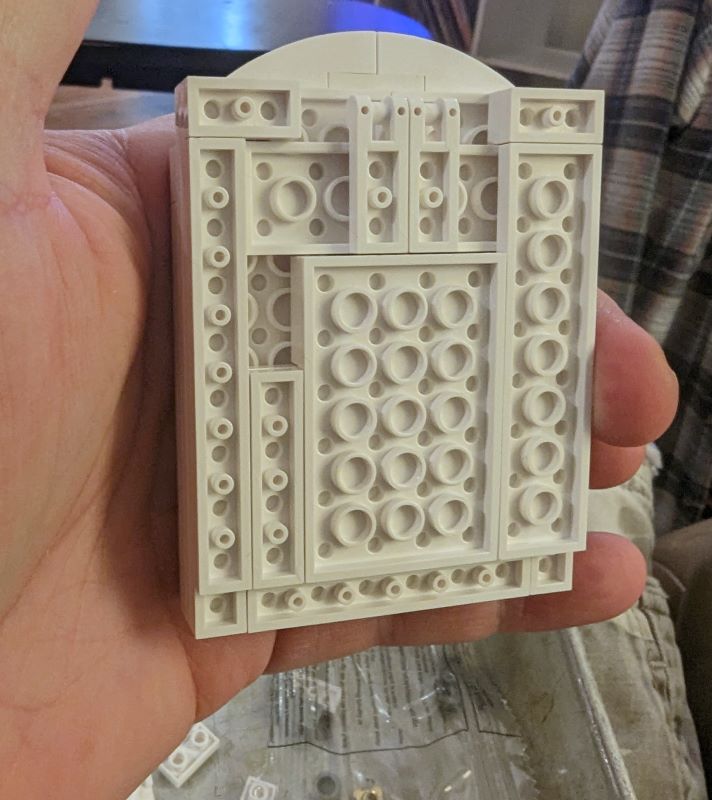
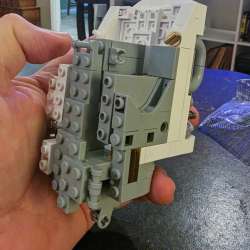
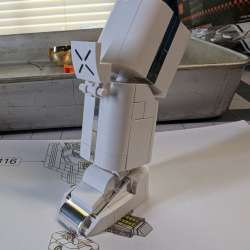
With that out of the way, I grabbed an aluminum baking pan (don’t laugh, it worked perfectly) and ripped open all the #1 bags. Then I got to building. The first thing I noticed about the pieces themselves was they were not as stiff as Lego blocks. They were softer and had more flex to them and therefore didn’t snap together as firmly. The included tool is made from the same plastic so it was way too bendable to be very useful in most situations when needed. But I’m older now so no using my teeth to separate them, my pocket knife worked fine. I also noticed the tolerances were not as fine so not all pieces fit perfectly together. The gaps between pieces varied and some were skewed a bit. It wasn’t a big deal. They did still fit together.
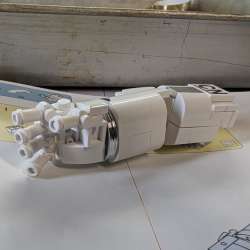
The biggest fitment issue I had was on the left arm where the hand attaches at the wrist. There’s a flat circle piece that goes between the arm and hand. I’m not sure if the post the slip onto is too short or the circle is too thick, but if I built it as intended the left hand would easily fall off.
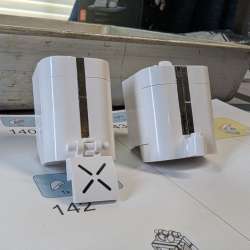
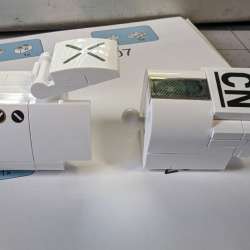
The second small issue was color matching. I couldn’t get a good picture showing it, but the white pieces differed. Some pieces were a cooler, brighter white than others. Not a big deal considering these aren’t at Lego prices, but it would’ve been nice if they all matched. The next issue I had was the electroplated parts bags were not numbered so I wasn’t sure which to use for specific steps. What I discovered is they were mixed, meaning I just needed to open them all to use them across multiple steps. Again, no big deal.
Other than those few niggles, the JMBricklayer Mechanical Spaceman was a lot of fun to build. I would probably say it took me about 6 hours to build. I didn’t get in any hurry. I put on some music, got into a zone, and built. It was surprisingly relaxing. Ultimately, there was a missing piece but it wasn’t a crucial piece, so I continued without it. I can contact JMBricklayer about it and they will send it according to their website. I may or may not request it. Again, it didn’t affect the build at all.
What I like
- It’s fun
- The price
- Great instructions
- Spaceman looks great!
What I’d change
- Pieces could be more rigid
- The fit
- Color matching
Final thoughts


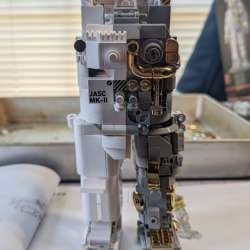
I think the Spaceman turned out great and so does my family. My wife even went on to the website and has picked out a few sets she wants. Color me surprised! So if I can get her started then maybe I can get some more sets myself. I’m looking at you Dragon head. If you’re into this hobby, check out JMBricklayer. If you think you might like this hobby, check them out. They’ve got several different sets, some are even remote-controlled. Their prices are certainly lower than the more famous brands and there are a few trade-offs, but I think they’re worth it for what you get and the fun to be had. Check out the gallery below for more on the JMBricklayer Mechanical Spaceman. I hope the amount of fun I had shows through.
Price: $53.99, currently on sale $43.99
Where to buy: JMBricklayer and Amazon
Source: The sample of this product was provided by JMBricklayer.

Now retrieving an image set.
2-Pack LED Video Light Kit, NiceVeedi Studio Light, 2800-6500K Dimmable Photography Lighting Kit with Tripod Stand&Phone Holder, 73" Stream Light for Video Recording, Game Streaming, YouTube
(as of July 14, 2026 14:09 GMT -05:00 - More infoProduct prices and availability are accurate as of the date/time indicated and are subject to change. Any price and availability information displayed on [relevant Amazon Site(s), as applicable] at the time of purchase will apply to the purchase of this product.)
Gadgeteer Comment Policy - Please read before commenting
Do you have the manual build? Can I please have it?