REVIEW – Bigger is always better! Especially when it comes to making 3D prints. The 3D printer market has exploded with innovations and printers with larger print beds being made available. I currently own the Elegoo Neptune 3 3D printer I reviewed this past June. That great self-leveling printer prints objects up to 220 x 220 x 280 mm in size. I have been wanting to print out this new below-the-seat box for my motorcycle to be able to store more tools under the seat. However, that print is too large for the Elegoo printer. When the Mingda Magician Max with its much larger print bed came up for review, I knew I had to try it out. Did it meet my expectations? Read on to find out.
What is it?
The Mingda Magician Max is a 3D printer with a 320 x 320 x 400 mm print bed. It has a direct drive extruder, dual z axis motors, and a self-leveling bed.
What’s in the box?
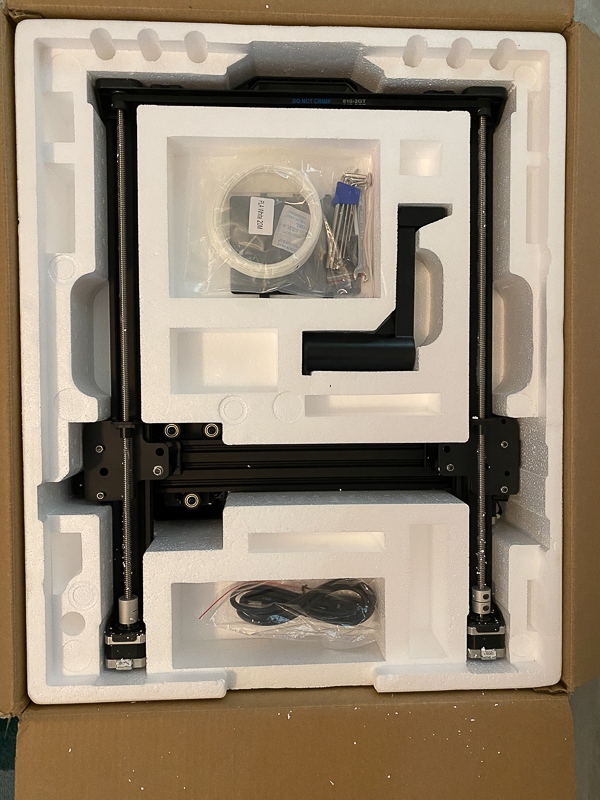

The first thing I noticed when I opened the box was that it was packed in styrofoam. I was horrified to find tiny pieces of the stuff everywhere. The Mingda Magician Max 3D printer was well protected, but I spent quite a bit of time cleaning out the bits and pieces from various parts of the printer. I am happy to say that I saw another reviewer post that Mingda is replacing the styrofoam with regular foam-type padding I have found in the other printers I have owned.
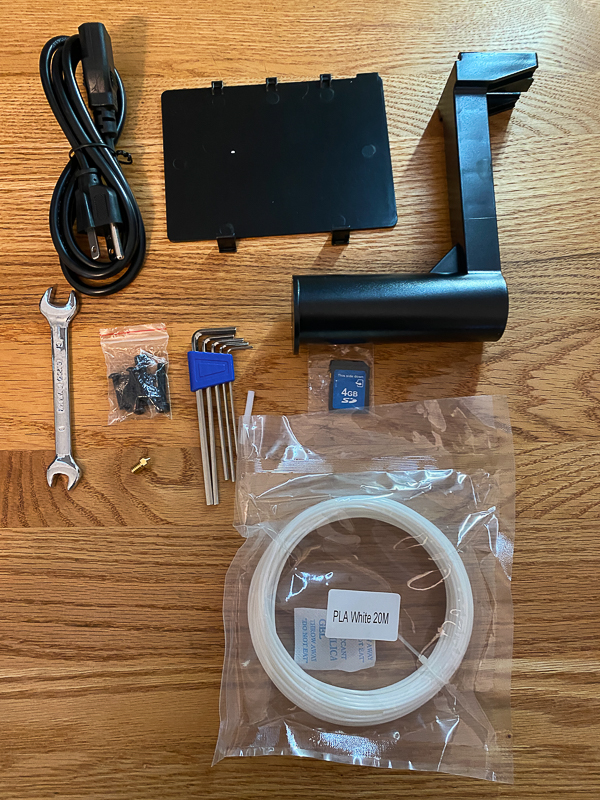
- power cord
- tool box cover
- filament spool holder
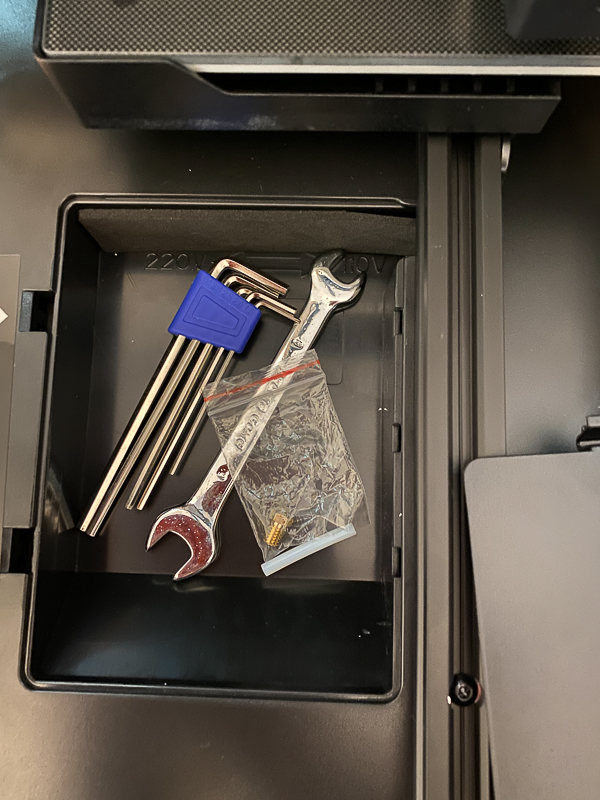
- tools
- bolts
- extra print head
- full size SD card with manual and example files
- sample filament
- Z bracket pre-built with print head and dual side motors installed
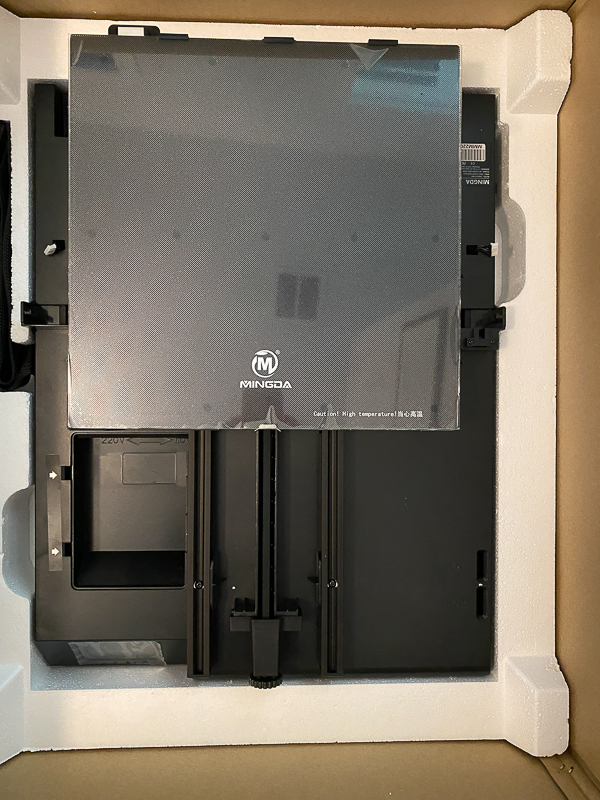
- print base
Hardware specs
- Print size: 32×32×40cm (15.7″×12.6″×12.6″)
- Calibration: Self-developed Automatic Leveling
- Filament diameter: 1.75 mm
- Printing material: PLA / ABS / PETG & TPU
- Nozzle size: 0.4mm default, wide range of other nozzles supported
- Extuder: Direct Drive,Double Gears
- Filament run-out detection: Support
- Resume Printing: Support
- Tool Box: Yes
- Max nozzle temperature: 260 °C/500 °F
- Max heatbed temperature: 110 °C/230 °F
- Average speed: 6-8 cm/s,2.3-3.1 in./s
- Control panel: 3.5 inch colorful LCD touch screen
- Print interface: SD Card,U Disk,USB-C
- Z-axis: Double threaded rod with synchronous belt
- Machine Weight: 10kg
- Machine Dimension: 55.5 x 43 x 66cm / 21.9*16.9*25.9in(X×Y×Z)
Design and features
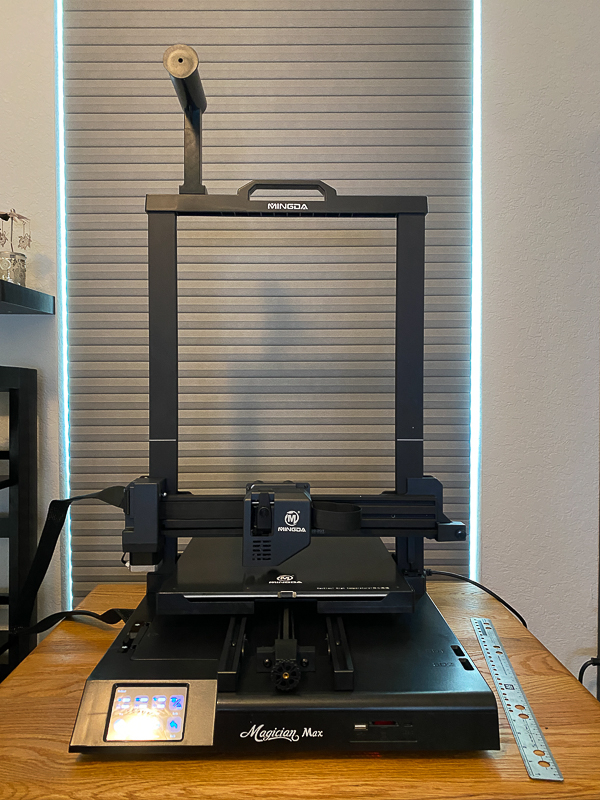
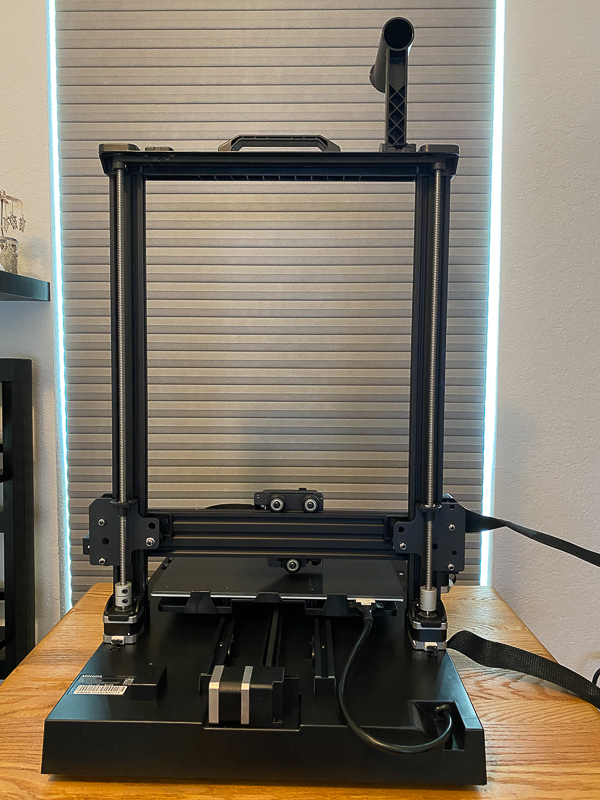
The picture above shows the front part of the Mingda Magician Max 3D printer. There are no knobs below the bed as the printer is self-leveling using the 16-point touch feature, just like the Elegoo Neptune 3. The print screen is built into the printer, which is a nice feature. I don’t like the screens that sit off to the side like an appendage. There are three ways to get the print files into the printer. You have the SD card slot, USB, and USB-C slot. There is a knob up front to adjust the bed movement’s tension.
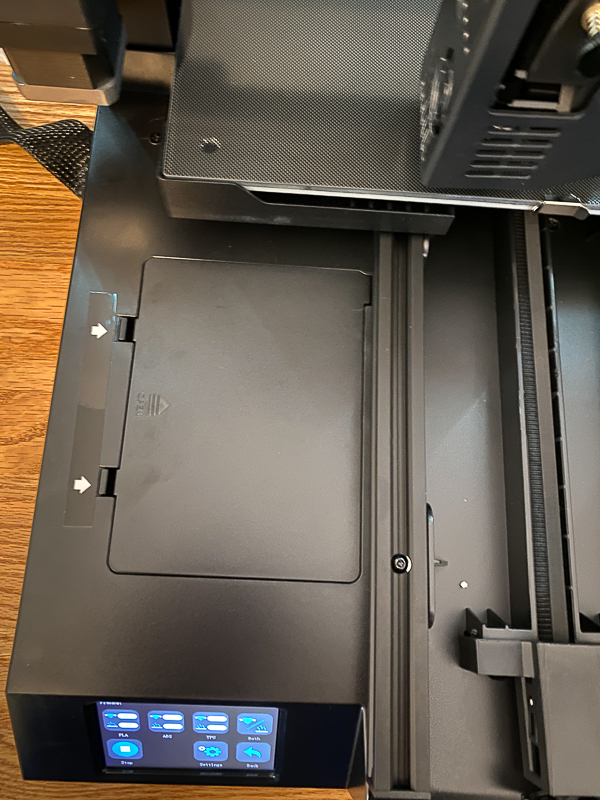
Under the bed and just above the screen is a toolbox area.
You can store a large amount of tools in there. Also in the back part of the toolbox, you will notice a flap of rubber coming up on the side. Behind that flap is how you set the voltage for the plug. It was already set for the US standard.
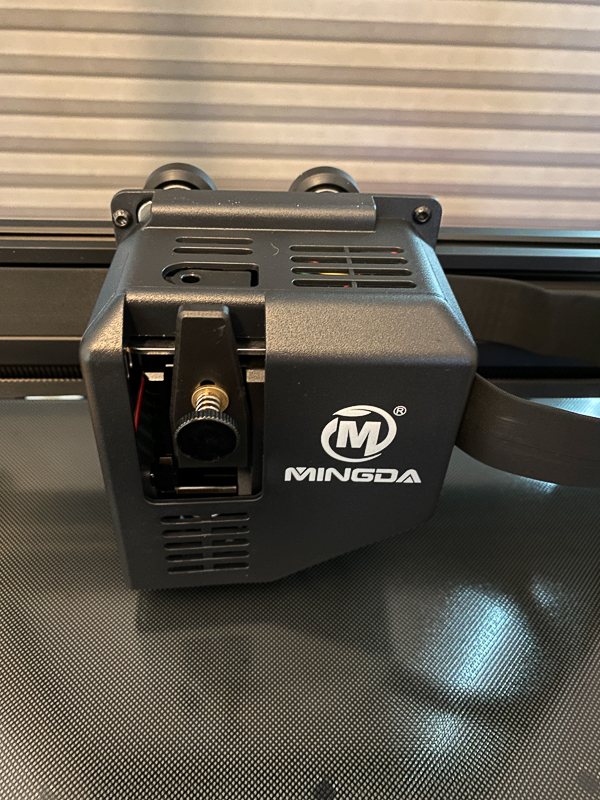
This is a close-up shot of the direct drive print head. I have never owned a direct drive print head. I can appreciate not having to mess with a Bowden tube. It makes the whole printer setup seem nice and clean. It also eliminates another area for potential mess-ups.
Next up is a shot of the back of the printer. In this picture, you can see the dual Z-axis motors. This is a very clean cable setup. The only large, unwieldy cable is the one that is going from the power to the print head. Because the printer is so large, there has to be a lot of excess cable to give the print head full range.
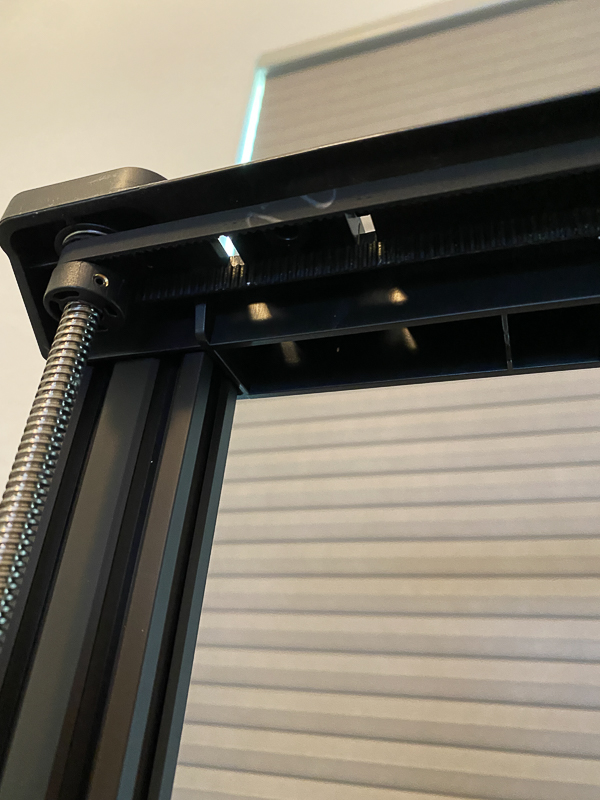
I took a picture of the underside of the top support. There is a nice cable drive connecting the two Z-axis motors to make sure they run in sync with each other.
Setup
Setup was the easiest yet for any 3D printer (this is my third) I have owned. One bolt on either side of the Z-axis towers bolted them to the base. The two smaller screws on the sides of the Z-axis to further stabilize the towers. The filament holder went on by snapping into place. I plugged in the various power cables, and I was ready to level the bed.
Leveling the bed was as simple as letting the bed and nozzle warm to PLA temperatures and selecting the level option in the menu. On my first few prints, I used the initial flow line printed on the left-hand side to get the Z-axis dialed into the right level by adjusting the Z-axis by baby steps in the menu.
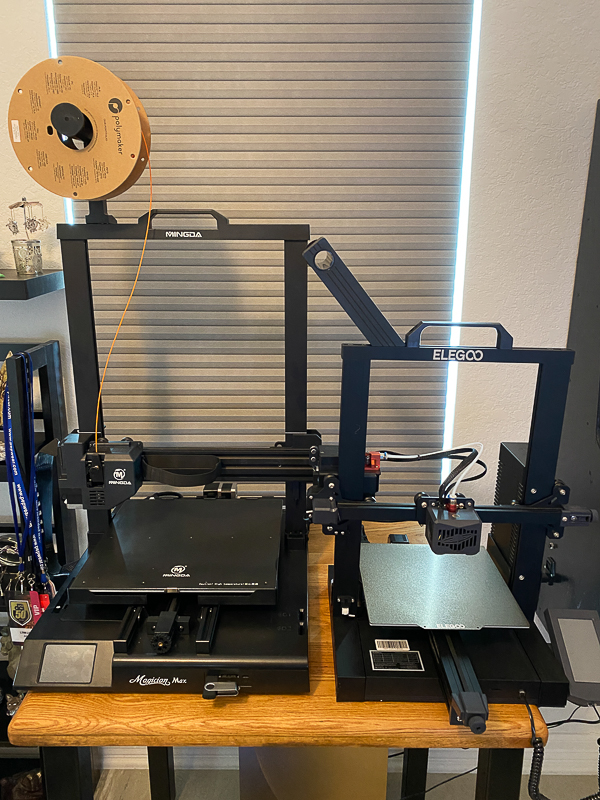
To get an idea of the size of the printer, I put it next to the Elegoo Neptune 3. You can see it is rather large in comparison!
Performance
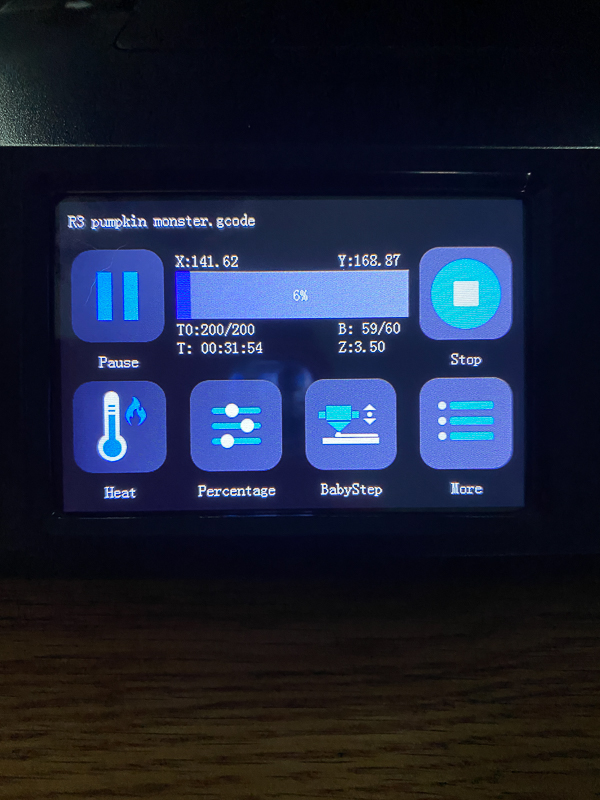
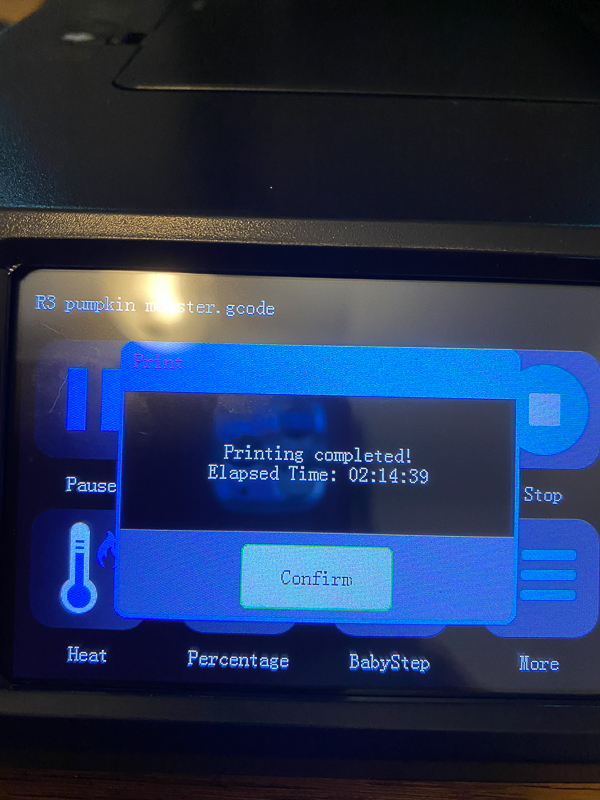
The Mingda Magician Max 3D printer has some nice features that let you adjust various things while you print. The one thing I wish it would show as the Elegoo does is the estimated time left to print. It only shows a percentage. The display shows a completed popup with the total elapsed print time when it completes a print. It also issues a loud beep that scared the bejeesus out of me! I was sitting with my back to the printer working on my computer, and I think I jumped up 5 feet.
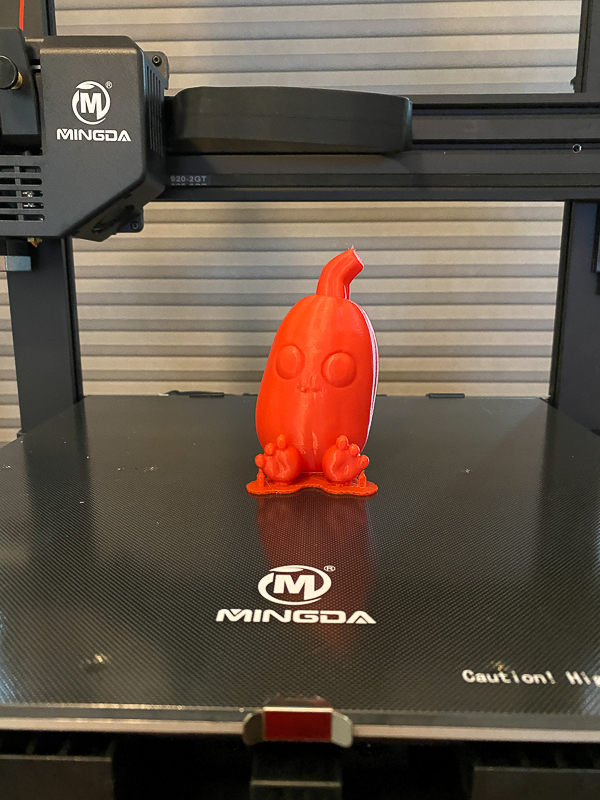
You can see I printed a ‘scary’ pumpkin. He came out very clean, and I was happy with the print. What caught me by surprise was how sticky the print bed is. I let the bed cool completely and had to work to get that little guy off the printer. My first printer from Creality had this same type of print bed, and I had to use hair spray on it to get things to stick.
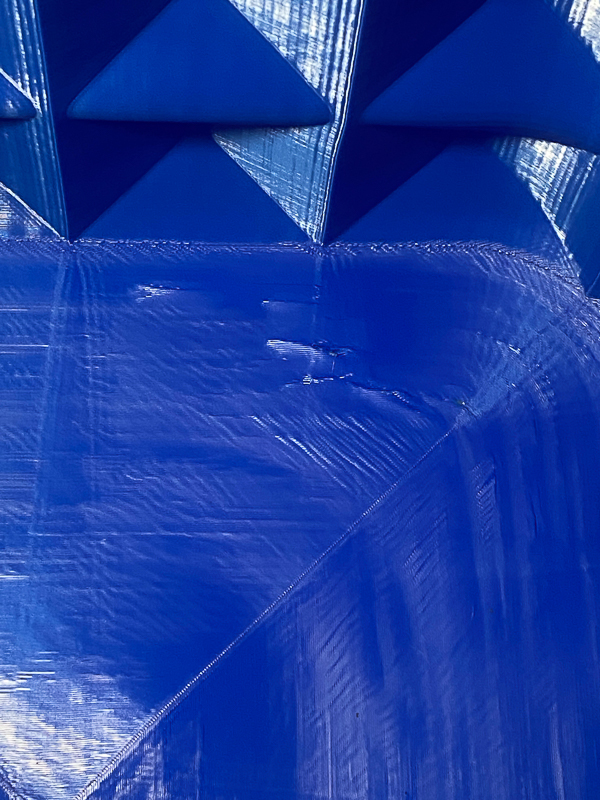
The next thing I tried to print was a large rectangular bucket I plan on using as a waste basket under my printer for filament fragments. I struggled with this. I tried to use a silk-type PLA first, but I had bed adhesion issues. The print was right at the full size of the print space. By the time it would get to the third layer of the base, I was having edges start to peel up. I switched over to some regular PLA. You can see in the picture above the top right corner had a bit of an issue. I used a temperature gun thinking maybe certain areas of the print bed were not heating up to the same temperature. The gun showed the same temperature on all four corners and the middle within a couple of degrees. So I am not sure what the issue was there.
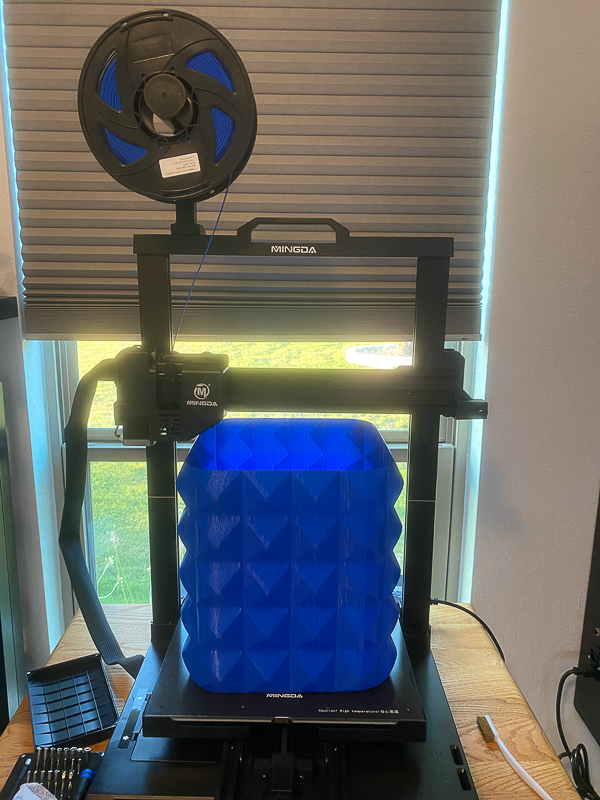
I used a ton of the silk filament and in an effort to get a large print, I decreased the print size down to 300 x 300 x 380 and finally got a print. That is a huge print!
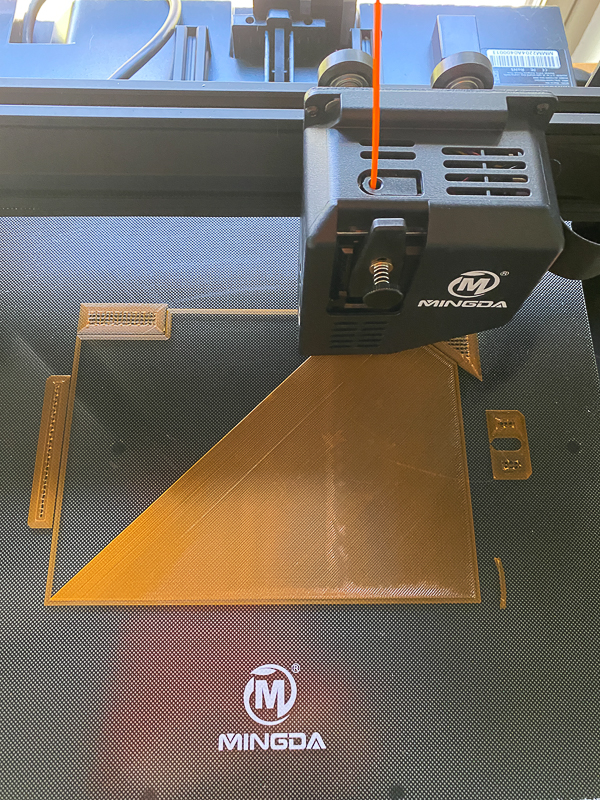
Next up, I used my first roll of PETG filament to print out my toolbox for my motorcycle. I wanted something that could handle higher temperatures. This is the first level of the print. You can see where there are support structures around the edges of the print due to some overhangs on the box.

Here is a picture showing the stock toolbox on the left and my printed toolbox on the right. Once again, I had to work to get the print off the printer. Using 91% Isopropyl Alcohol around the edges while the bed is still warm helped me get it off.
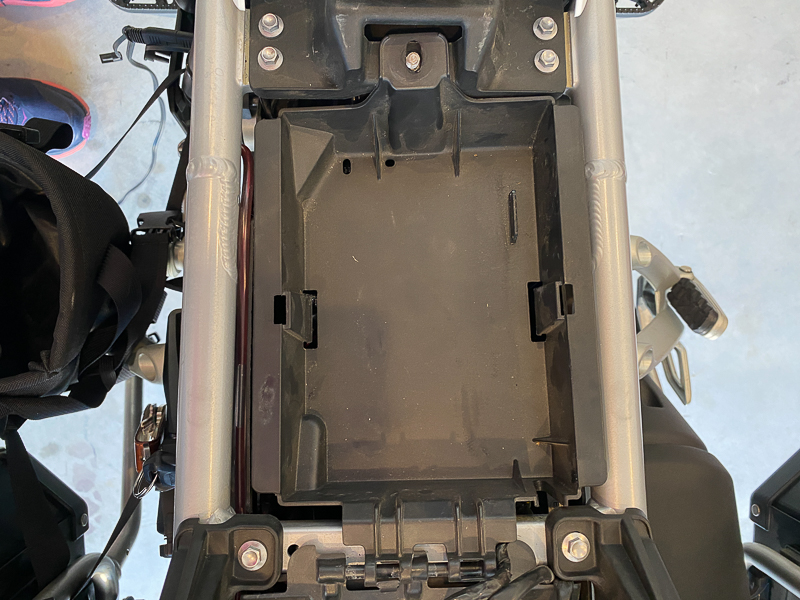
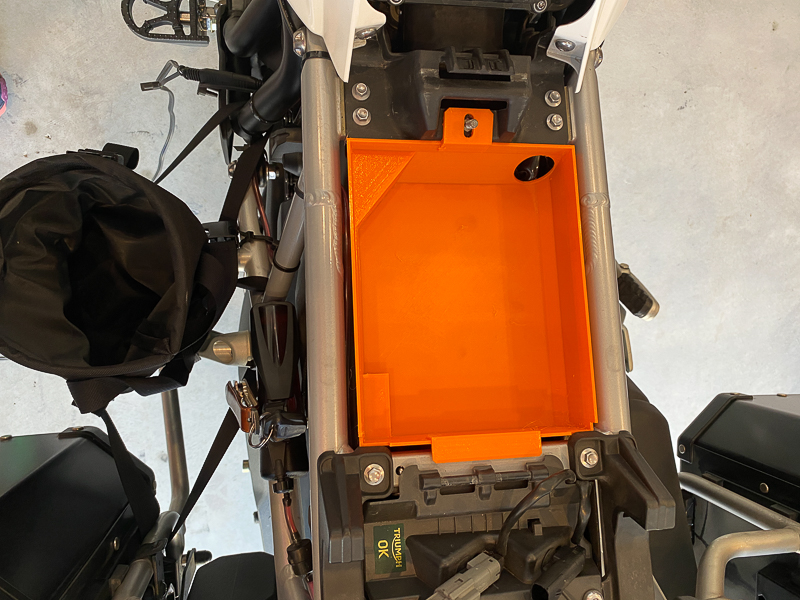
I have a picture of the stock toolbox on the bike and a picture of my new toolbox on the bike. It is much deeper and wider. I can now store an air pump I have under the seat!
I want to discuss a major issue with the Mingda Magician Max 3D printer for a few minutes. After printing the pumpkin, I printed out several calibration cubes. In the middle of doing those prints, the extruder stopped extruding and made clicking noises. I could remove the nut at the front of the extruder and drop the flap to see the gears. The gears were not moving, and there was that clicking noise. I sent an email to Mingda support. I am happy to say the next day I had a reply. They are in China, and all of my correspondence took a day for the reply to come back, but it was always within a business day. They sent me a video of how to take apart the extruder to get to the gears. I had to ensure the tiny lock nuts on each gear were tightened. This was easily an hour-long process, and thank God I had a good small tool kit I could use for all of the bolts. I found the gears to be tight. I reassembled the extruder, and it started to work for me.
It worked for about two prints, and I started to get the clicking again with no filament coming out of the extruder. This time the customer support recommended that I use glue when tightening down those lock nuts. Again an hour later, I found that the gears were tight. The problem was in the metal box that gets the power to turn the gears. It was just jammed in place and would not spin. I took it apart and then put it back together. It was then spinning freely. It has been working fine for me now after several prints.
What I like
- Super large print capability
- Self-leveling bed
- Direct drive extruder
- responsive customer support
What needs to be improved
- Offering a bendable PEI-type metal bed could help with the stickiness of the print bed.
- The print bed is slow to heat up. It takes a while.
Final thoughts
The Mingda Magician Max 3D printer is a great printer that has many built-in features that can print some really large prints. I think it is 3D printing in general and not just this printer, but you need to be prepared to do a lot of maintenance and support work yourself. You need tools available to take apart pieces and do maintenance work on them. I have seen several YouTube videos showing folks upgrading their printers, and you can’t be afraid to get your hands dirty and get down into the details. I will give an update later in the year on how the printer is holding up.
Price: $479.00
Where to buy: Mingda and Amazon
Source: The sample of this product was provided by Mingda.
Gerber Gear 22-47162N Fast Draw Folding Assisted Opening Pocket Knife, Fine Edge, Black
(as of June 18, 2026 18:57 GMT -05:00 - More infoProduct prices and availability are accurate as of the date/time indicated and are subject to change. Any price and availability information displayed on [relevant Amazon Site(s), as applicable] at the time of purchase will apply to the purchase of this product.)
Gadgeteer Comment Policy - Please read before commenting
Hi,
can you please post the link to the video of how to take apart the extruder. I have the same problem, my extruder makes a clicking noise and no filament comes out.
Thx
This is not the same exact link that I was sent. I am sorry I deleted it. It should help you out though. youtube.com/watch?v=iTLEoWdCX-w