REVIEW – I have dabbled in 3D printing but I have only used a Fused Deposition Modeling (FDM) style printer where a thin filament is heated and extruded onto a platform to build up your desired object. Stereolithography (SLA) is the other side of the 3D printer coin where a UV laser or light is aimed upwards to harden a photosensitive liquid resin in a tank, layer by layer to create an object on the underside of the build plate. Let’s see if the Creality Halot One Plus 3D resin printer can make me an SLA convert.
What is it?
The Creality Halot One Plus is their mid-price and mid-size liquid resin 3D printer with a maximum print size of 6.77 x 4.01 x 6.29 in (172x102x160 mm) using a 7.9 inch 4K Mono LCD with integrated UV light source.
What’s in the box?
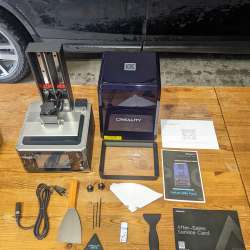
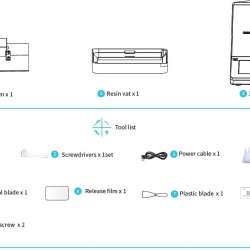
- Creality Halot One Plus 3D printer machine
- Instruction manual
- 650mL max resin tank
- Spare clear resin tank bottom
- 2x Resin funnels
- Metal spatula
- Plastic spatula
- 3x Allen wrenches
- USB stick (preloaded with slicing software, e-manual, and sample prints)
- Power cord
Specifications:
- Model Name: Halot One Plus
- Printing Methods: USB, Creality Cloud App, Creality Cloud Online, WiFi Printing
- Z-axis with dual linear rails
- XY Axis Resolution: 4320*2560 (4K)
- XY Axis Precision: 0.04mm
- Layer Thickness: 0.01-0.2mm
- Build Size: 6.77 x 4.01 x 6.29 in (172x102x160mm) Mono LCD 7.9 inches
- Print Speed: 1-4s/layer
- Light Source Type: Integrated Light Source (wavelength 405nm)
- Touch Screen: 5 inch touch screen
- Rated Power: 100W
- Rated Voltage: 100-240Va.c 50/60Hz
- Slicing Software: Halot Box, Lychee Slicer, Chitubox
- Compatible Resin: Common rigid photosensitive, standard resin, high hardness, high toughness, water washable, dental model resin
- Weight: 15.2lb
- Overall dimensions: 9.29in W x 9.5in D x 16.45 H
Design and Features:
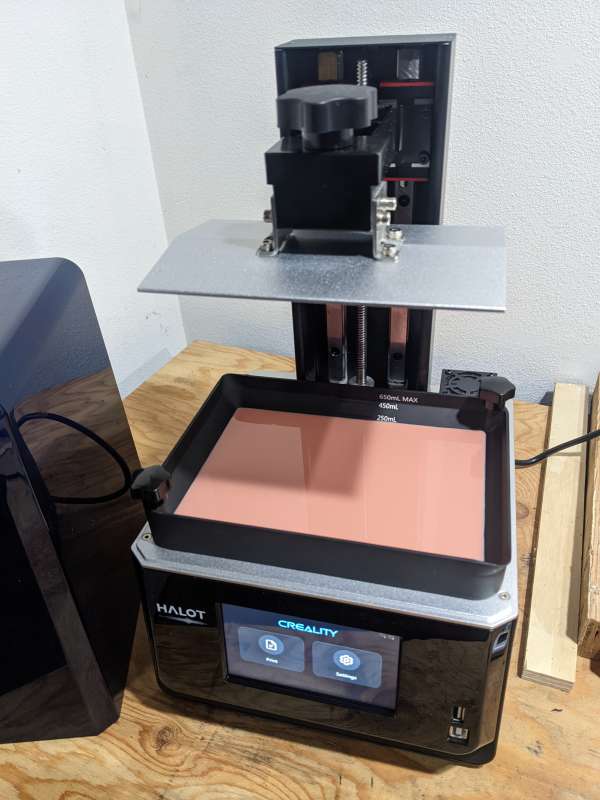
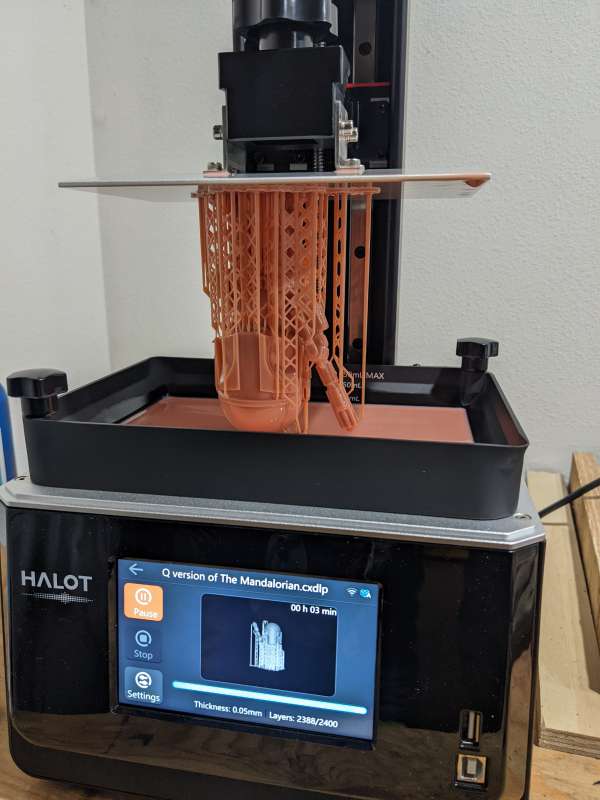
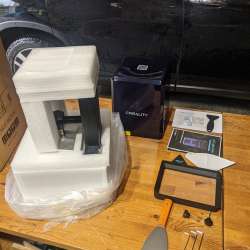
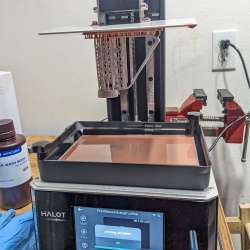
The Creality Halot One Plus was packaged safely and securely and after a quick scan of the manual all I had to do was loosen four hex screws with the included Allen wrench, navigate to the level plate function, and once it lowered to the bed, tighten the screws. I used the touch screen to connect to my WiFi, poured in some resin and I was ready to print. At this point, I inserted the included USB stick and could have chosen a simple sample print that was preloaded to start out but instead I used the printer’s 5 inch touchscreen to access the Creality Cloud and search for models through the printer. I selected a pretty cool Boba Fett and downloaded it to the printer which also sliced the file and it started printing. Total elapsed time between unboxing and printing was 15 minutes and I had to pause here and there to take pictures. It was the quickest and easiest 3D printer setup I have ever done.
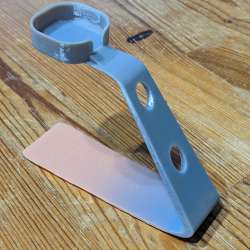
After Boba was done and cleared from the plate I downloaded the Creality Cloud app to my phone and set that up. I searched the app and selected a little stand for my Fitbit charger and opened the file, sliced it then I just hit send to Halot One Plus which I made sure was turned on and it started printing.
It does give you a warning that if you haven’t cleared the plate it could damage the machine so make sure it is clear and has enough resin before (note to self) you start your next job.
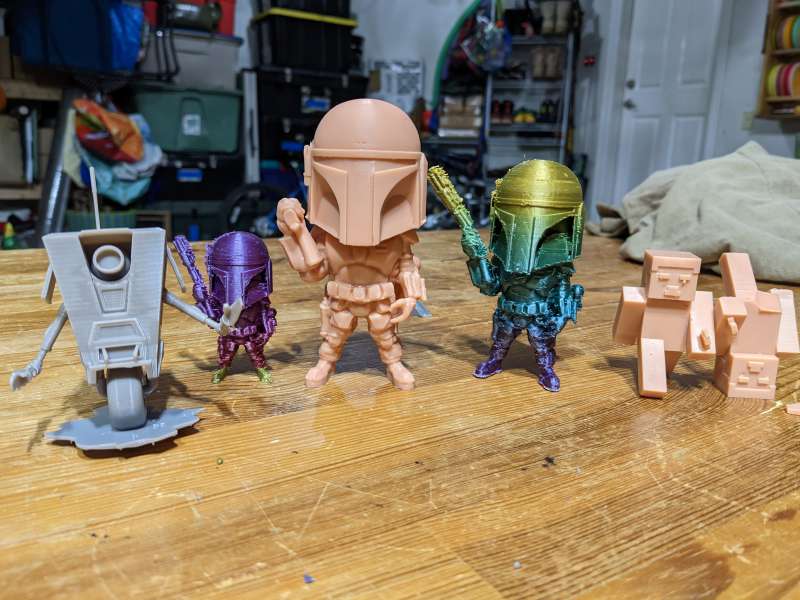
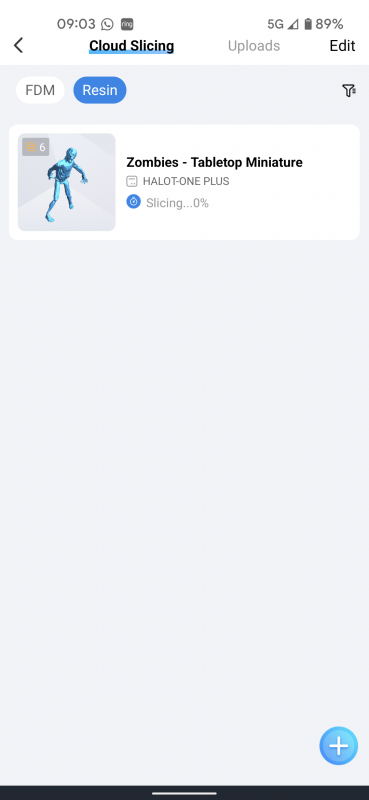
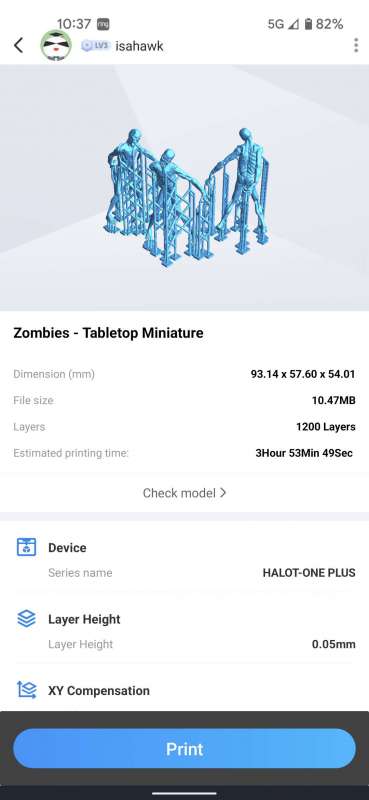
Still using the phone app I picked a zombie to print because my 7-year-old boy loves zombies. I selected the file, duplicated the zombie so there were 3 of them, auto arranged them on the build plate, sliced it, then sent it to the Halot One Plus. All from my phone which was pretty cool. I did the same thing with a model of the Mandalorian that I found.
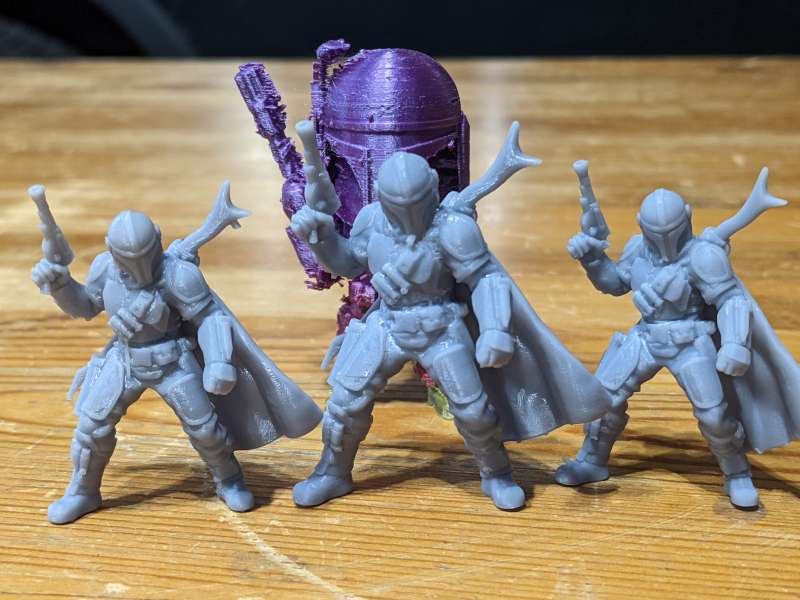
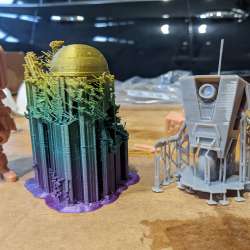
The third printing option is to access the Creality Cloud on your computer using your app login info. I selected Claptrap which is a little robot character from a video game I play. I opened the file, sliced the file, then sent it to the printer. The first three printing options were pretty easy since the Halot One Plus was connected to WiFi.
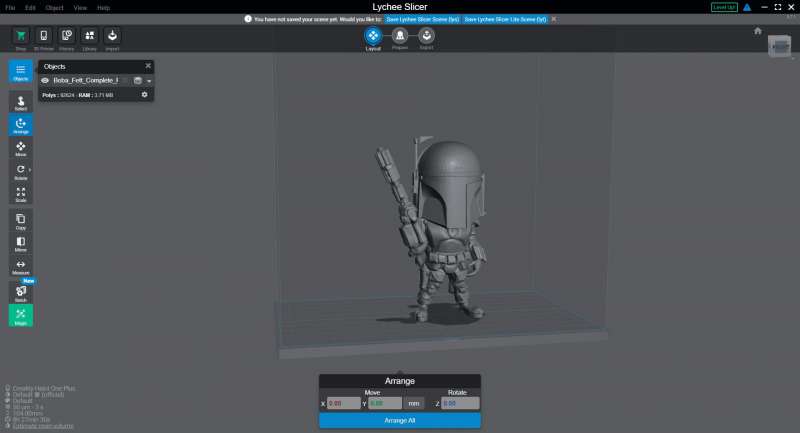
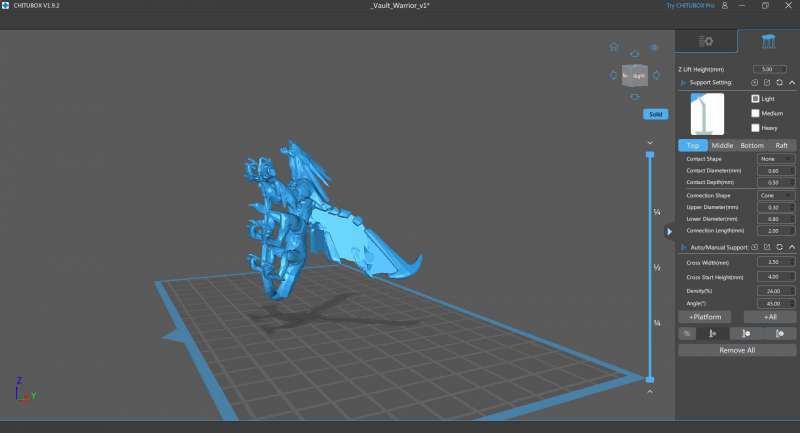
If you can’t or prefer not to connect to WiFi then the fourth and final option is to print using the traditional USB stick method. I found Steve from Minecraft for my son on Thingiverse and downloaded the stl file to my computer. I then chose between the three included slicing software options that were provided on the USB stick which are Halot Box, Lychee Slicer, and Chitubox. I installed Lychee Slicer and selected the Halot One Plus as my printer and the resin I was using which imported automatic settings. I then imported Steve into Lychee, made a duplicate, played with some other settings, sliced the file, then downloaded the file to the USB, walked to the garage, inserted the USB into the Halot One Plus, selected the file, and finally hit print. This seemed really inconvenient after being able to print directly from the Creality Halot One Plus and the phone app though.
I also found Lychee was very ad-heavy and a lot of features required you to pay to unlock them. I installed Chitubox and found it more user-friendly and had a lot more free features. The nice thing is you can try all three or use one of the many available on the internet.
Performance:
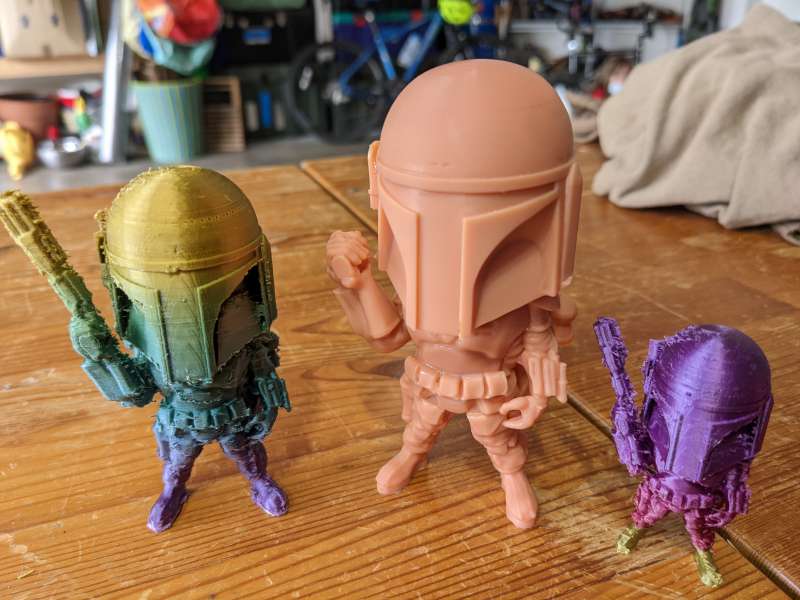
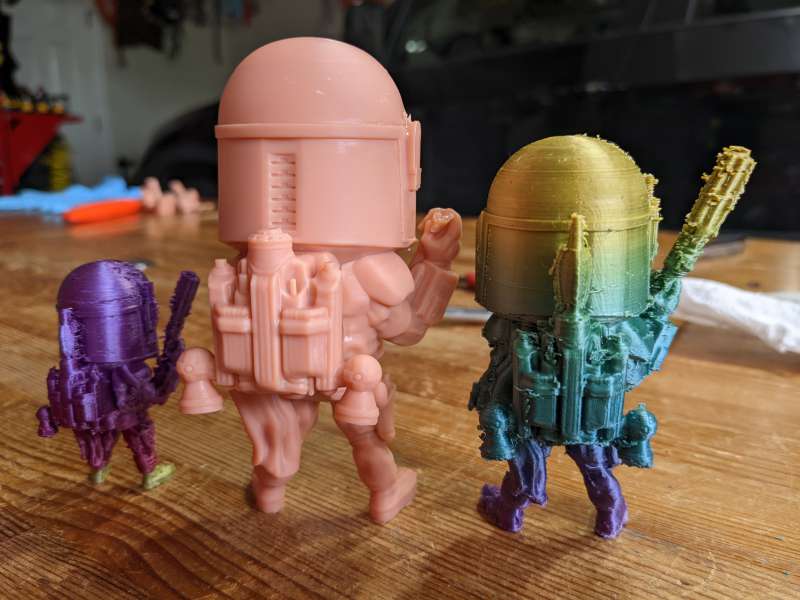
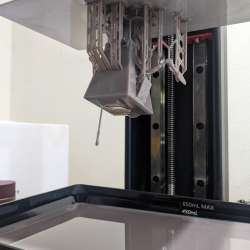
Boba took 11 hours and 13 minutes to print at full scale with 0.05mm resolution and 2400 layers which was pretty quick compared to my filament printer. To compare, I printed Boba on my Longer LK4 filament printer at 50% scale and it took 9 hours. If I printed him at full scale with supports it would have taken 24 hours on my filament printer. I also found the Halot One Plus was really quiet compared to the constant fan noise coming from my FDM printer. The one downside to SLA printing is the resin does have a slight smell. The smell can differ based on the type and brand of resin but all of them have a smell. I was using a water washable resin and found the smell is not really noticeable with the cover on but you can definitely smell it when you take the cover off. I have both printers set up in my garage but if you have to set it up in your house you will want a room with some ventilation. The problem is you don’t want to put it near a window or other source of UV light because when you take the cover off it will activate the resin still in the tank.
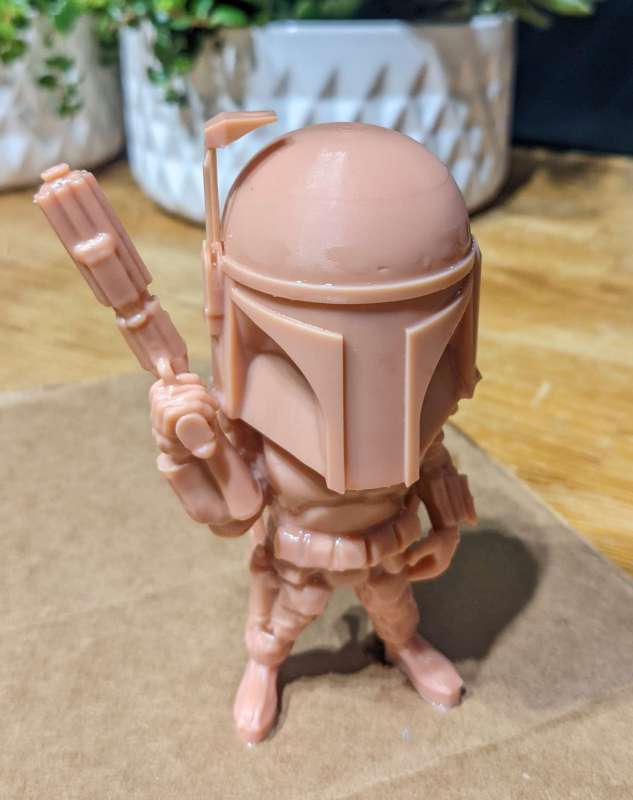
Boba came out super smooth without any undulations or shifting that you typically find with filament printers. I cut off the support structures and then washed him off with water in my sink. I let him air dry and then put him in the UV curing box I had to buy to make it easier to cure the models. SLA printing requires a little more post processing than filament. With filament, you pop it off the plate and snip or sand any supports and rough spots and you are done. With SLA you have to clean and then cure the resin to finish the model so depending on how serious you want to get you will likely have to invest in a washing station and a UV curing box. Creality does make a combination machine called the UW-02 Washing and Curing Machine that is currently $189 on their website. I did over cure (15 mins) the Steve’s and when my son placed one on the counter his sword and leg broke off. I now only give prints a five minute blast of UV and they seem to be a lot less brittle.
Keep in mind that only specific water washable resin allows you to wash it with water. Any other type of resin requires isopropyl alcohol to clean the models before curing. Like I said post production is more involved than filament but the quality you get is worth it.
I had zero misprints which I think is due to the Creality Halot One Plus using a fixed light source that operates on the X (left to right) and Y (front to back) axes which considerably reduces the moving parts and variables for error. The only physical movement occurs on the Z-axis (bed plate with dual linear rails) and only moves up and down so there’s less chance of failed prints compared to filament.
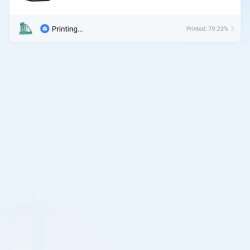
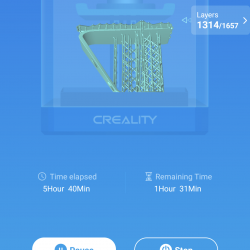
The Creality Halot One Plus has made me a believer in the benefits of SLA printing. The amazing convenience of the Creality Cloud app showed me what was possible with WiFi built in. The app shows a live status report of the model and showed me how many lines had been printed out of the total and the exact time elapsed and remaining. Details that are quite useful when waiting for something to finish. The speed and resolution of the prints were exceptional so overall I have been very impressed by the Creality Halot One Plus and will be using it a lot more.
What I like
- Quick and easy setup
- Incredible WiFi convenience with the Creality Cloud app
- High quality prints
What I’d change
- I really wish the Creality app allowed a phone notification when my print was done. For some reason, that feature is not available at this time.
- Make all features in the Creality Cloud app free especially if you are using one of their printers. To get all the features it costs $5.99 a month or $59.99 a year.
Final Thoughts
The Creality Halot One Plus 3D resin printer is a definite step up from my older FDM printer. It produces incredibly smooth and detailed prints and the WiFi capability is super convenient. Washing and curing are somewhat tedious extra steps but in my opinion, are worth it for error free high quality prints. At $399.99 the Halot One Plus isn’t necessarily cheap but I am now the cool dad in the neighborhood that can print zombies from my phone at will so that alone is worth it to me. The Creality Halot One Plus, therefore, gets a high recommendation from me if you are in the market for an SLA printer.
Price: $399.99
Where to buy: Creality store or Amazon
Source: The sample for this review was provided by Creality.



Gadgeteer Comment Policy - Please read before commenting
Love the Claptrap! JUST FOLLOW THE SOOTHING SOUND OF MY VOICE! The resin prints look really good in comparison to the filament. Do they have to be cured after the print?
Never mind, moron here. Totally missed the curing part.