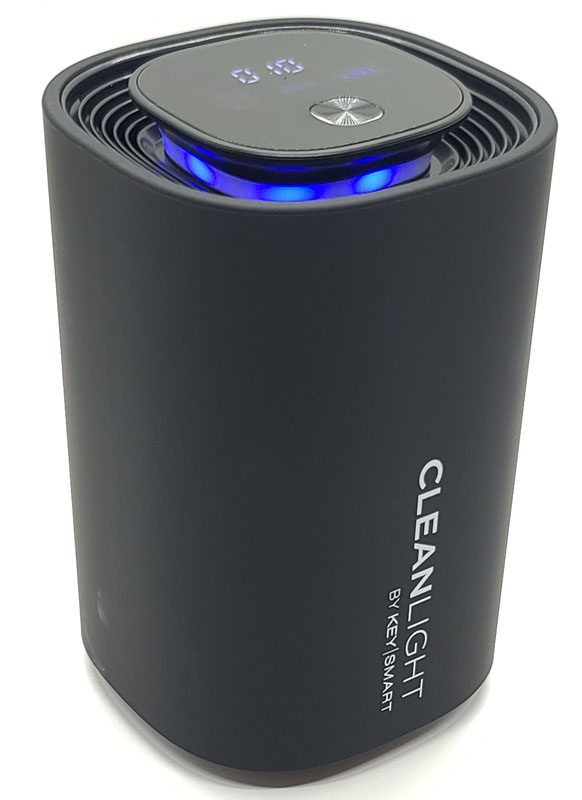
REVIEW – With apologies to The Hollies – ♩ Sometimes, all I need is the air that I breathe ♫. Ah yes, breathing – that most basic of activities. Breathing is certainly necessary for life, but sometimes, breathing can present health risks. When there is heavy particulate in the air, perhaps from smoke or pollen, breathing can be more difficult. Germs present another challenge since breathing them in can open you up to disease. Since we can’t just live in a purified air bubble all the time, it would be great if there was a way to clean the air that we breathe without a lot of muss or fuss. KeySmart, the maker of those cool EDC tools like key organizers, wallets, and backpacks, has developed a rechargeable and portable air purifier. Let’s see if this is a breath of fresh air.
What is it?
The KeySmart CleanLight Air Pro is a portable air purifier that uses UVC light and air ionization to remove 99.99% of germs, bacteria, and odors from the air around you.
What’s in the box?
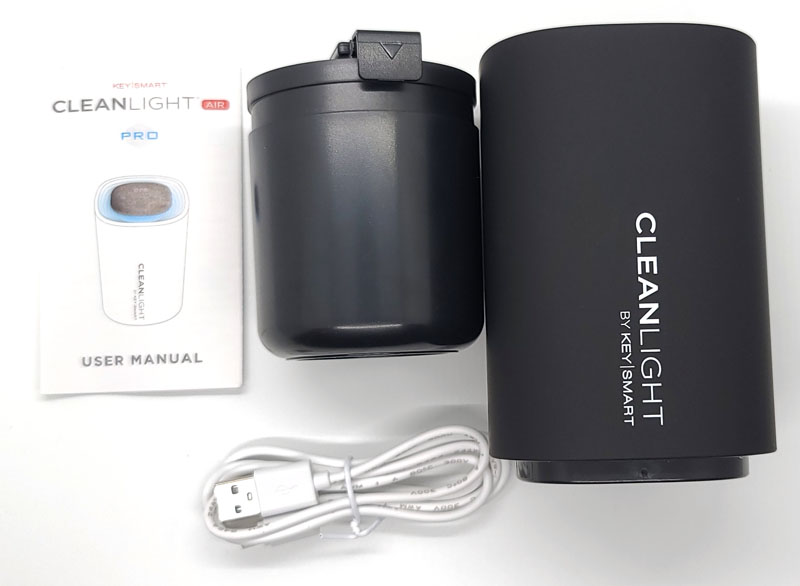
- CleanLight Air Pro
- Cupholder attachment
- USB-A to USB-C charging cable
- User manual
Hardware specs
- Dimensions: 3.15in x 3.15in x 4.6in (without base) – 8.11in (with base)
- Weight: 452g / 1lb
- LED Power: 4mW x 2, 260nm-280nm
- LED life: 10,000 hours
- Recharging input: USB-C
- Runtime: approximately 4 hours
- Recharge time: approximately 2 hours
- Battery capacity: 1800mAh
- Air quality reporting: EPA PM2.5 reference
- Fan Levels: 2 speeds
- Effective area: up to 1440 cubic feet (160 square feet in a room with an 8 – 9 foot ceiling)
Design and features
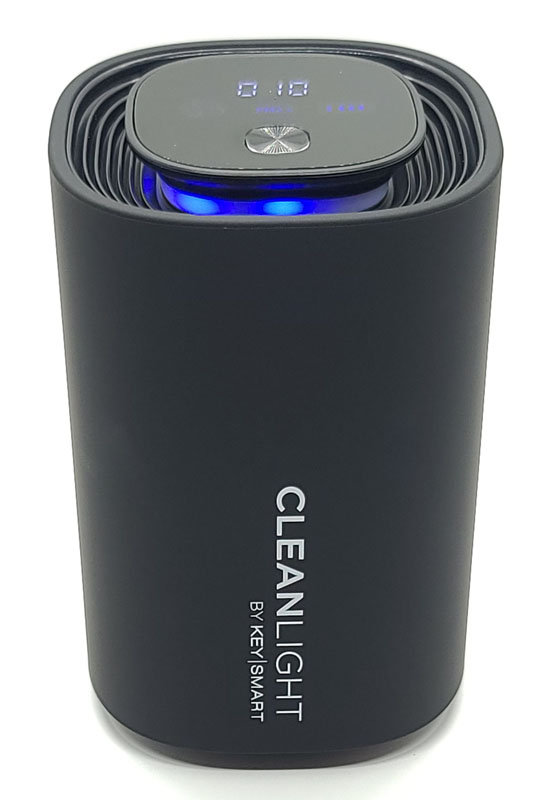
The CleanLight is a nice-looking device. The surface is covered in a soft-touch plastic/rubber that feels nice. It feels sturdy, but I wouldn’t want to drop it from too high onto anything hard.
You can see the blue halo light that is a visual indicator of air quality. More on that later. The ribs that circle the top form the output grille. This is where the cleaned air exhausts from the unit.
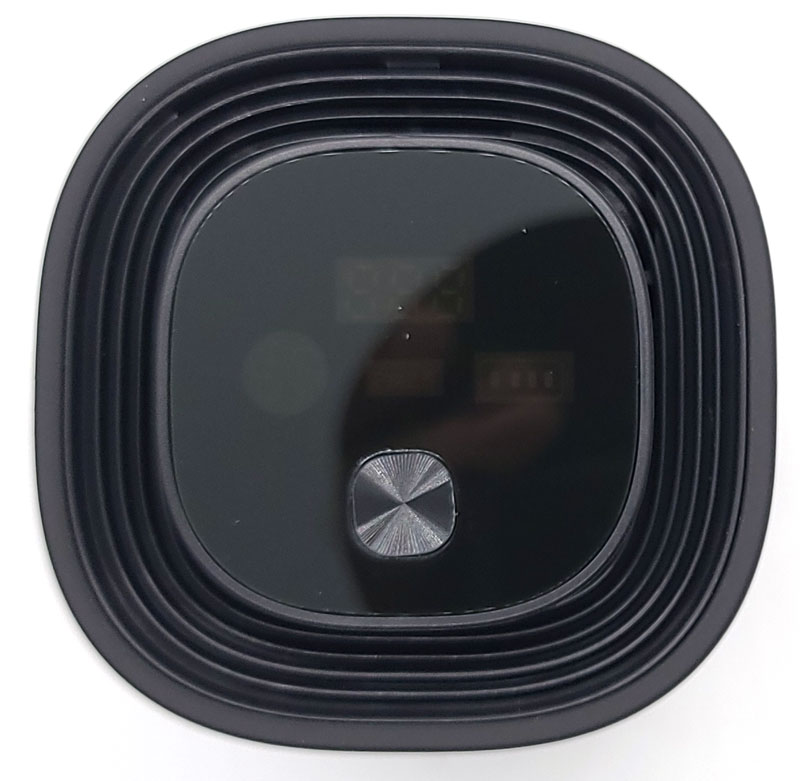
The top of the unit is very plain. The only thing visible with the power off is the power button.
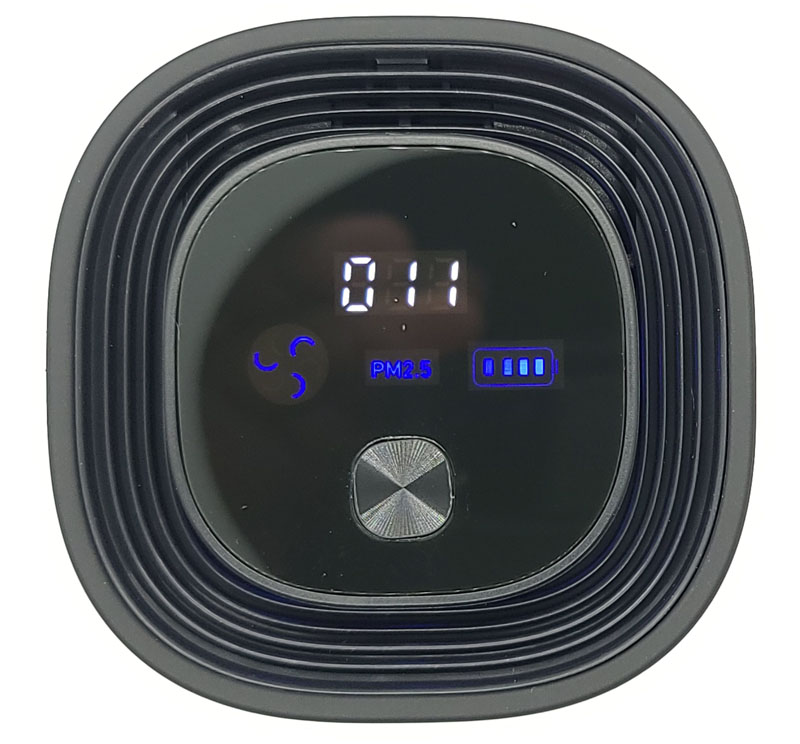
Pressing the button turns the unit on and sets the fan on low-speed mode. At the top, we see the PM2.5 air quality index number. Below that, from left to right are the fan animation (spins slow or fast to indicate fan speed), PM2.5 label, and battery charge indicator.
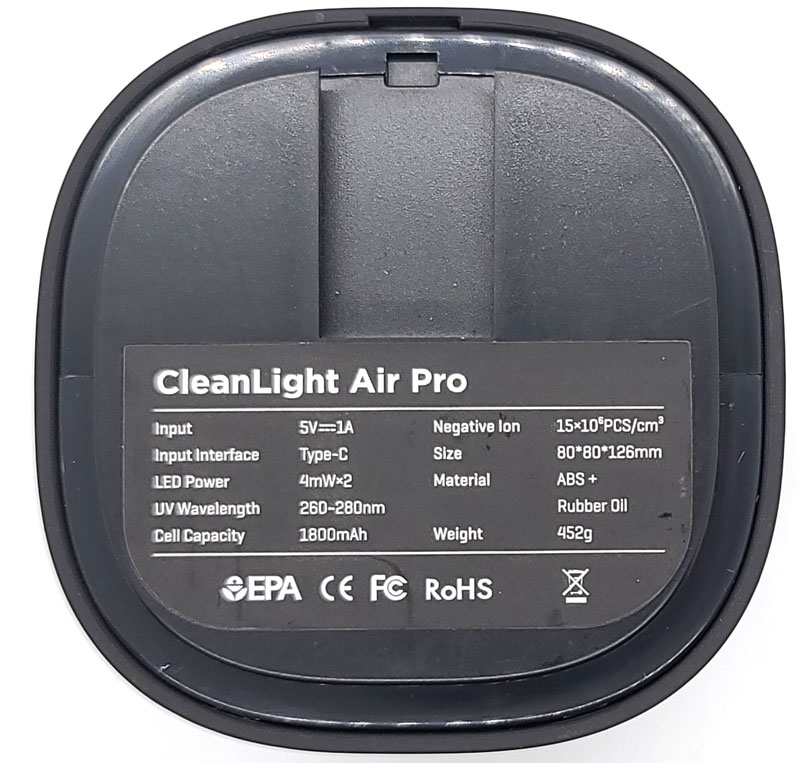
On the bottom, we find the cupholder adapter attachment notch and the requisite info label.
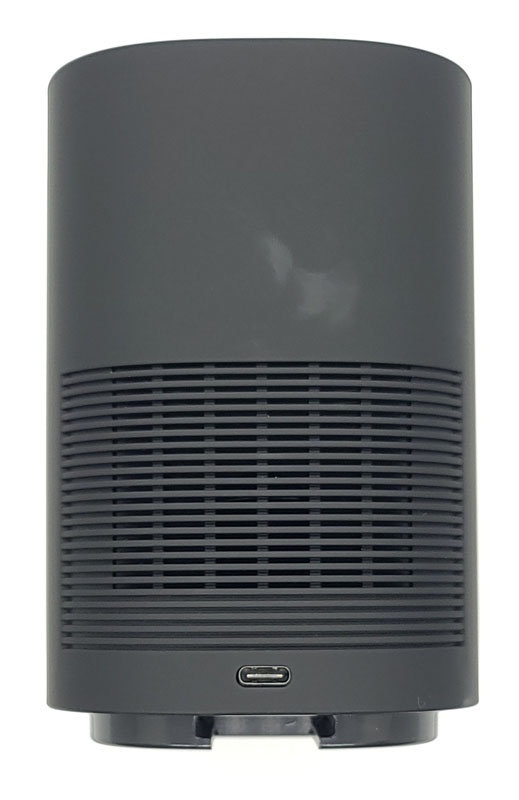
On the back, you can see the air intake grate, USB-C charging port, and cupholder adapter notch opening.
Speaking of that cupholder adapter, here it is.
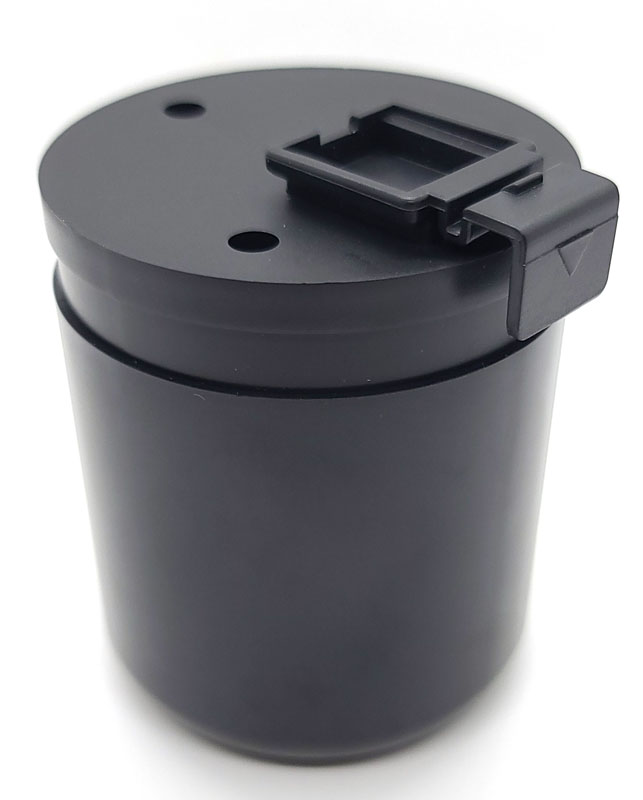
To attach it, slip the tab on the adapter into the notch in the CleanLight and push it together until it clicks.
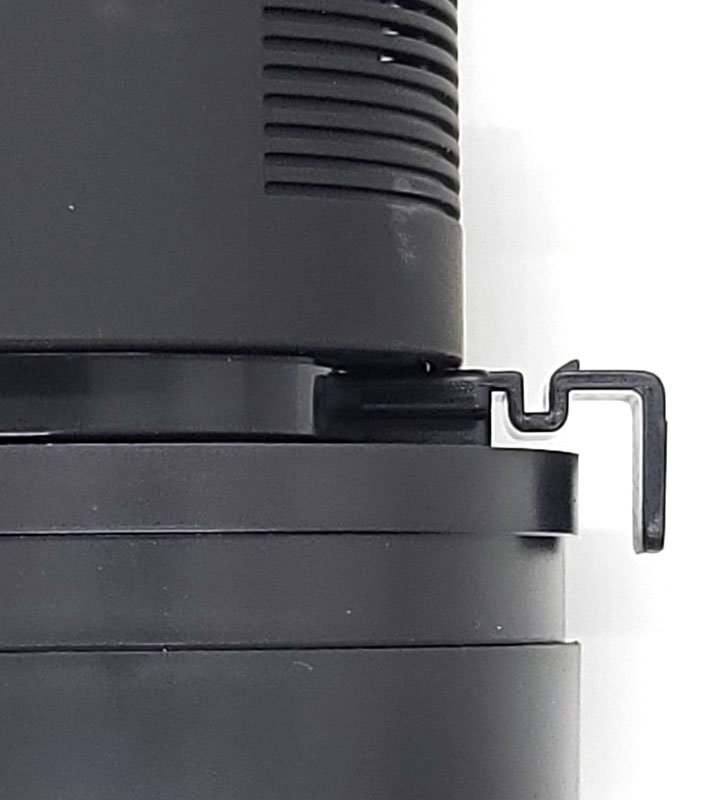
Here is the combined result.
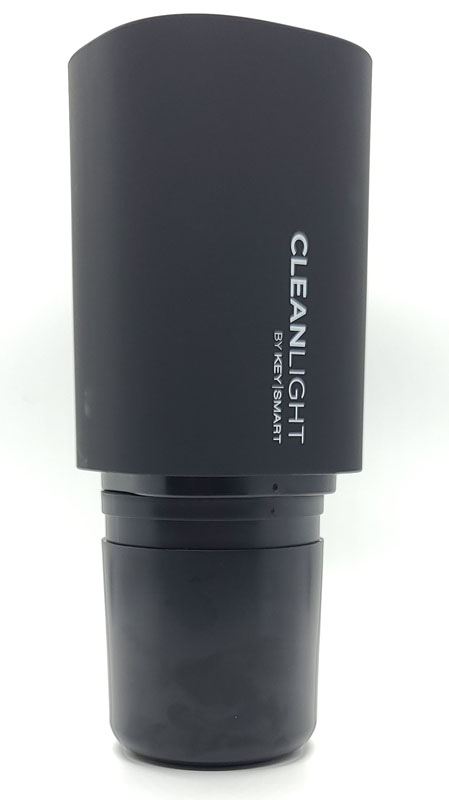
Did you notice my description of the filter assembly and replacement? No? That’s because there is no filter to replace. The ionization system needs no filter. Very nice!
Setup
The only setup needed is to plug in the USB cable and charge the unit. Once charged, you’re ready to get cleaning.
Performance
Here are the EPA PM2.5 air quality standards:
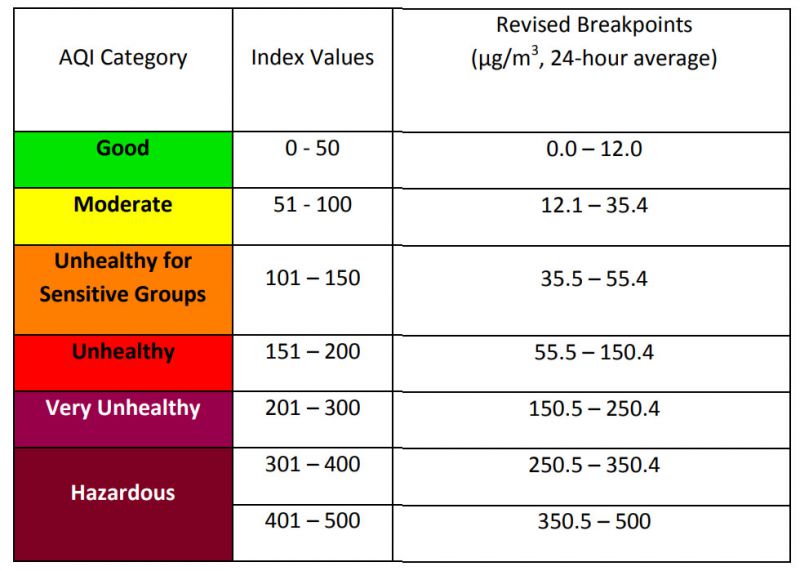
The CleanLight color display will show as follows:
- Blue: 0-50 – excellent air quality
- Yellow: 51-100 – good air quality
- Orange: 101-250 – moderate haze and particles
- Red: >251 – heavy haze and significant particle content
Turning on the unit in my house, it registers a pretty steady 10 to 11, so I guess that our air is pretty good. Yea! If our air wasn’t good, let’s talk about how the CleanLight actually cleans the air.
The cleaning process is a two-step operation. First, the air is drawn into the unit and passed through a UVC sterilization light. This is the same type of sterilization that hospitals use and that you can also find on home sterilization units like the Phone Soap sterilizer, Adonit Note-UVC stylus sterilizer, and the Coral UV 3-in-1 sterilizer. This light in the range of 260nm – 280nm can destroy the molecular structure of bacteria’s DNA and RNA, rendering it inert. Next, the air travels through an ionization chamber. The high-density negative ions that are produced attack positively-charged particles in the air, causing them to drop. Negative ions also attack proteins in any remaining bacteria, weakening or killing them.
In the documentation, it says that the CleanLight Air Pro can clean up to 160 square feet. Since we’re dealing with the air here, we really need to talk about effective cubic feet, not square feet. So I was unclear how big an area that this will effectively handle. For reference, a 12′ x 12′ room contains 144 square feet. A 13′ x 13′ room contains 169 square feet. But, if you factor in an 8′ ceiling height, the cubic feet jump to 1,152 cubic feet and 1,352 cubic feet, respectively. I assumed that they are talking about a 160 square foot area in an 8′ high room, so 1,280 cubic feet. I fired a message off to support on a Friday asking for clarification. Their website says to expect a reply in 1 – 2 days. True to promise, Sunday morning, I got a reply from Bryan in customer support confirming that the 160 square foot area is based on a standard room with an 8 – 9 foot ceiling. Based on that, the CleanLight should be able to handle a room with 1,280 – 1,440 cubic feet of space.
To test how well it cleans, I decided to try a really small area – specifically the area inside an 8-cup glass measuring cup. I fired up the CleanLight and set it on a table. Then, I lit a candle, let it burn for a moment, and blew it out. I held the measuring upside down over the candle, allowing the smoke to get trapped, and then placed it over the CleanLight. At just over four minutes, the video is a little long, but you can see how quickly it works.
You can see that the air quality number jumps very quickly from 13 to 925 and then begins to count down. When it gets down into the 20s, I took the cup off the unit. For reference, I was running the unit in high-speed fan mode so the video wouldn’t last so long. As the unit cleaned the air, you can see the numbers count down and the indicator colors change from red to orange to yellow to blue. Granted that there isn’t a great deal of air volume in this cup, but you can see that the contaminate level was crazy-high and dropped to next to nothing fairly quickly.
For a larger test, I closed off a room that measured about 9′ x 3.5′ x 8′ or about 250 cubic feet. I lit a couple of candles and then five or six matches and repeatedly blew them out to create smoke. The room quickly smelled like burned matches and was a little hazy. I turned on the CleanLight on high and it quickly registered a PM2.5 index of over 999. Unfortunately, that’s the top of its scale so I have no idea how much I had polluted the air. I let it do its thing and started a timer. At about 5 minutes, the count was down to 424, partly due to its cleaning and partly due to the smoke’s continued dissipation in the space. At 10 minutes, it only dropped to 384 and there was still a distinct aroma of smoke in the room. To be fair, the candles and matches could have smoldered slightly after I blew them out, but certainly not for 10 minutes. At 15 minutes, it was up to 390. At 20 minutes, it was back down to 384. At this point, I was somewhat disappointed as it didn’t seem to be accomplishing anything. Then, the air quality started improving essentially linearly. Here’s a table of air quality at five-minute increments.
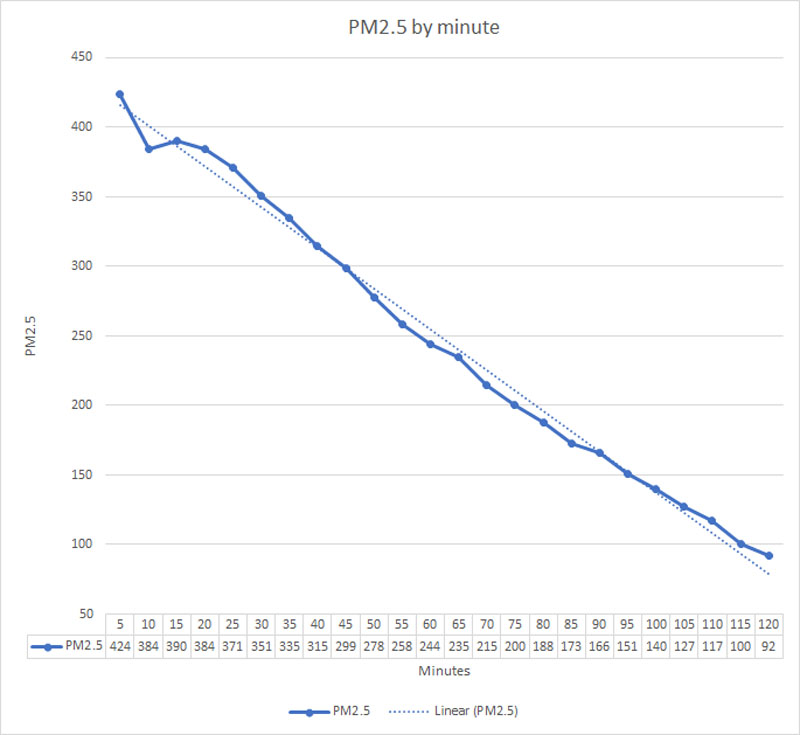
After two hours, I ended the test. While I certainly polluted the air in the room pretty significantly, even on high, the CleanLight only brought the air quality from bad to just decent air quality. I would have expected it to get under 50 into the good range. There was still a distinct odor from the burning matches from two hours earlier. In that amount of time, while running on high, based on the battery display, I used somewhere between 50% and 75% of the battery. That means the four-hour battery claim is definitely based on running at low speed.
I attached the cupholder attachment and tossed it in the Gadgetmobile, just to see how it fit.
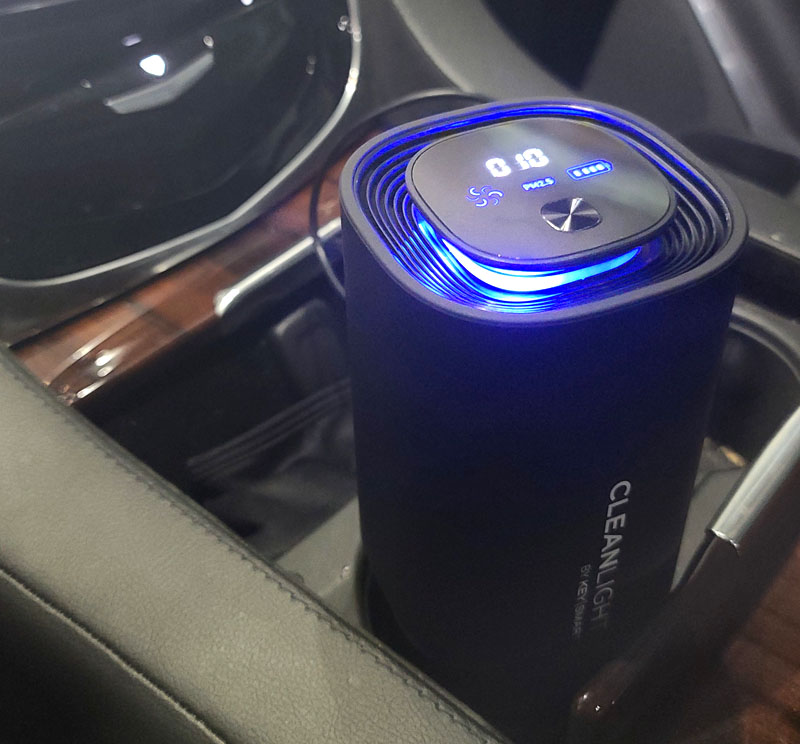
It fit quite nicely if you ask me. I also have a USB port right there so I can plug it in and let it clean the air continuously as I drive.
I can see this as something to bring along when going out to dinner. Just set it on the table and let it do its thing while you enjoy a meal out. It gives you a nice visual indication of the quality of the air that’s already there. If the numbers are too high, you might want to consider a different venue. Assuming that it is effective at killing airborne germs, that can be a good thing, but don’t expect it to quickly clean air that is contaminated with particles.
What I like
- Light and portable
- Quiet
- Realtime air quality indications
- No filters to replace
What I’d change
- Clarify the claim of the effective cleaning area in the documentation
- Based on my room test, the CleanLight’s ability to quickly clean particulate from the air is questionable
Final thoughts
In these times where we are all worried about what may be lurking in the air around us, the KeySmart CleanLight Air Pro portable ionic UV air purifier can help bring some peace-of-mind. Will anything guarantee that you are completely safe? Of course not. But, if the CleanLight Air Pro can add at least some level of improved air quality during times where you are out and about, how can that be a bad thing? Just don’t expect it to work miracles on really bad air.
Price: $179.99 – currently marked down from the $219.99 full retail price
Where to buy: KeySmart and Amazon
Source: The sample of this product was provided by KeySmart.


Gadgeteer Comment Policy - Please read before commenting
1.
1.Why do they sell filters for this unit if there aren’t any necessary?
2. How do you separate the base cup from the unit as it is locked into place?
The charging port seems to be broken
Is there another way to charge the clean light pro purifier?