REVIEW – With all of the challenges that kids face in today’s world, parents usually look for advantages that they can afford to provide as many educational opportunities for their children so that they are not only continuously learning, but also exploring all of their creative abilities. Robo Wunderkind is a company that makes these types of learning products for kids, including the Robo Wunderkind Education Kit that I am about to test and review.
What is it?
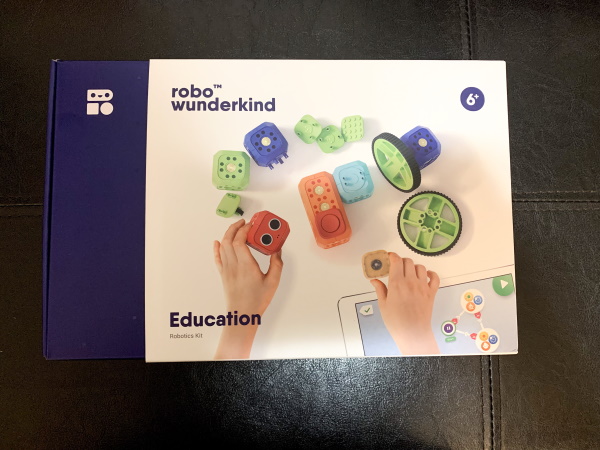
The Robo Wunderkind Education Robotic Kit is a fun product for kids to build and invent things based on their creativity by simply snapping the blocks together. The blocks allow them to create functional robotic devices.
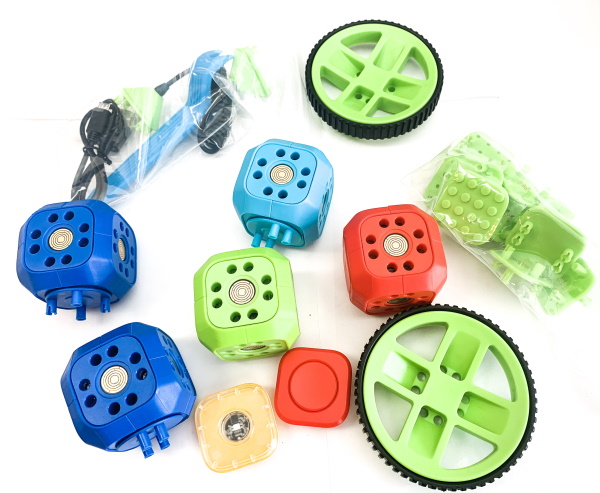
What’s in the box
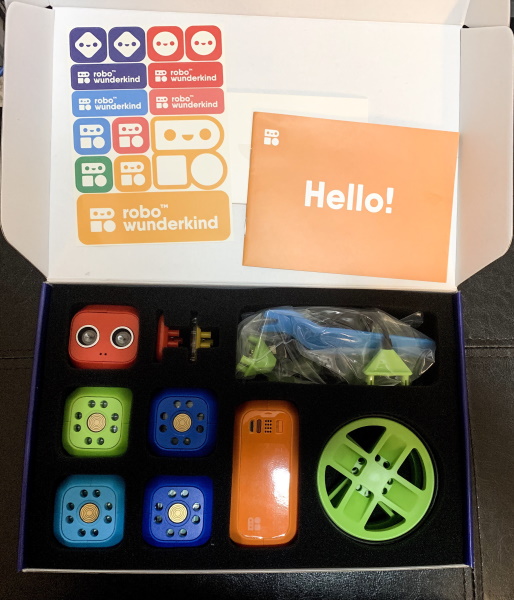
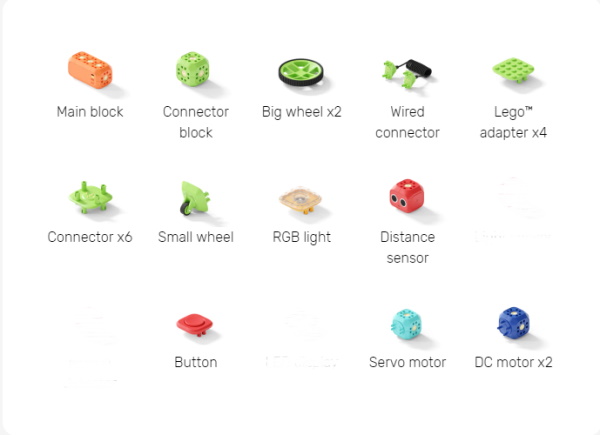
1 x Main Block
2 x DC Motor
1 x Distance Sensor
1 x Connector Block
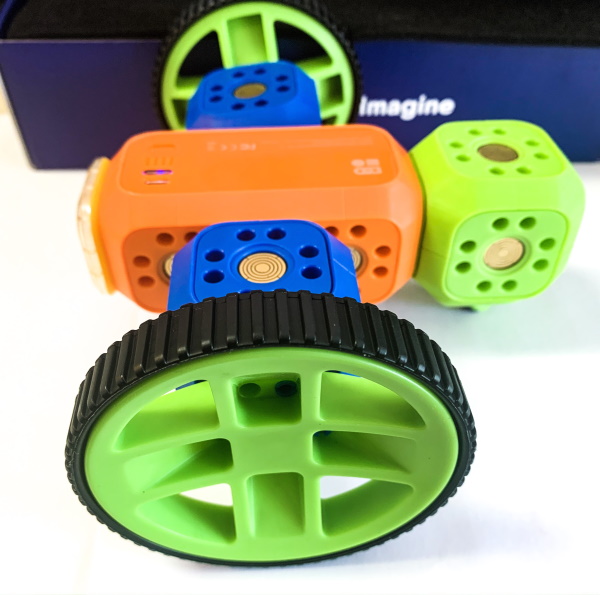
2 x Wheel
1 x RGB LED
1 x Servo Motor
1 x Button
1 x Wired Connector
1 x Small Wheel
4 x Lego Adapter
6 x Connector
Design and features
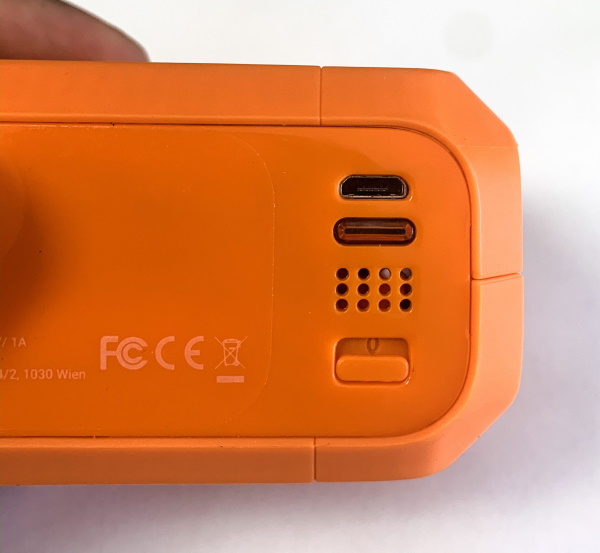
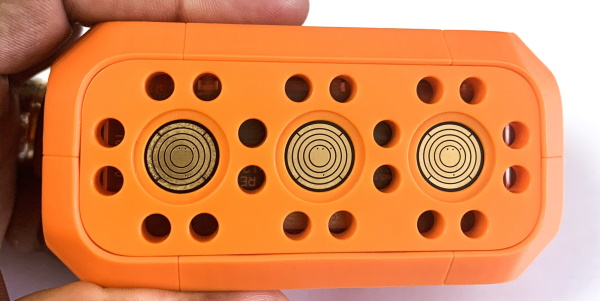
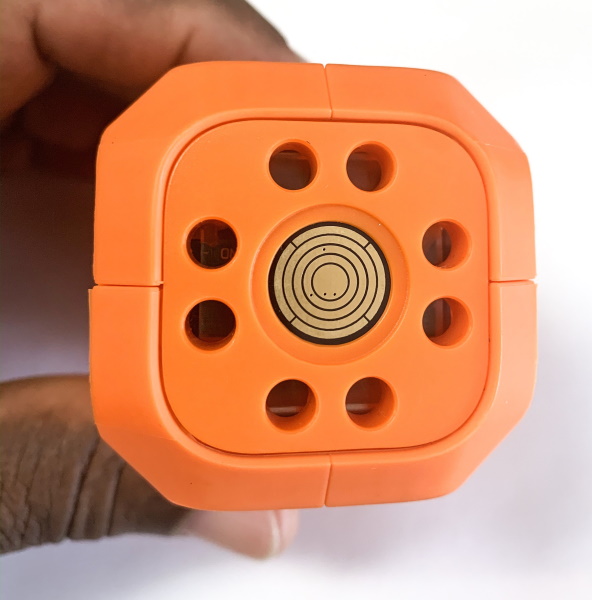
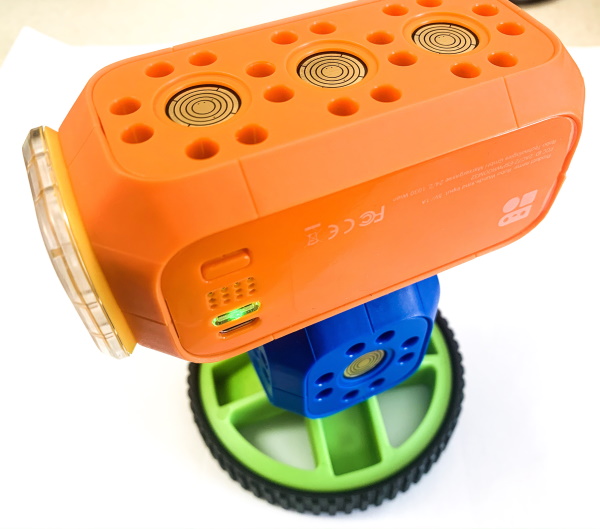
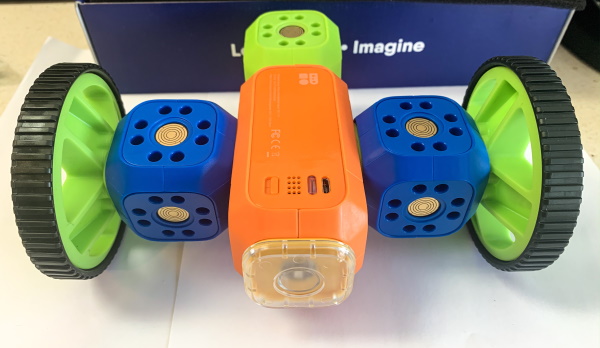
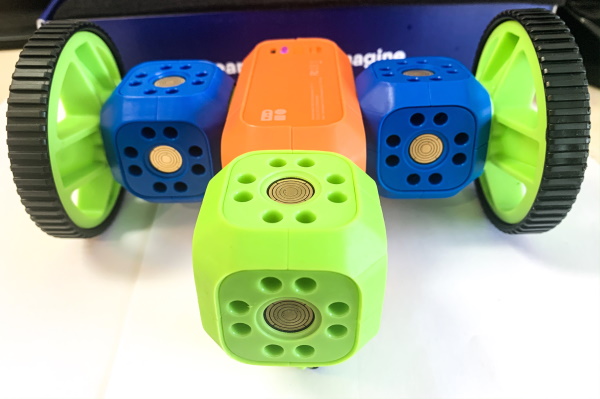
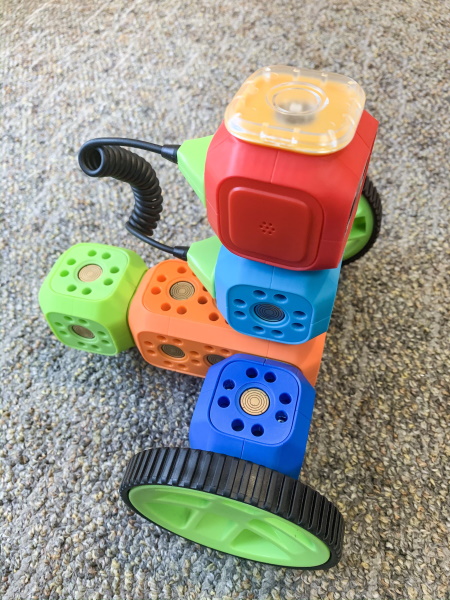
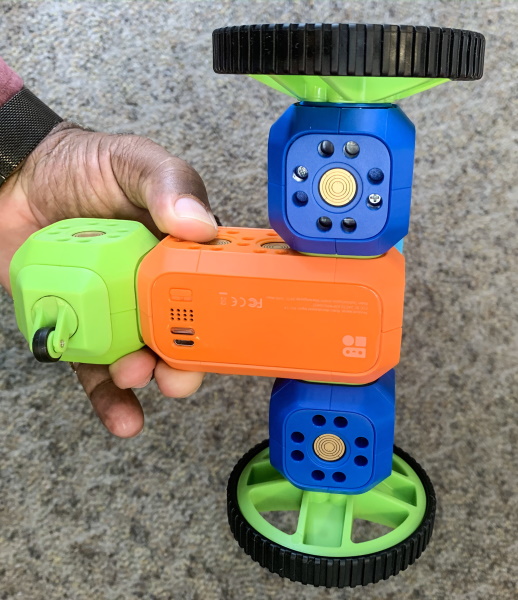
The Robo Wunderkind Education Robotics Kit consists of what I call modules, which are parts that snap together to create a powered robotic device based on your imagination and the parts/modules that are included in the kit. The main brain so to speak is the backbone connector that includes the built-in battery, power switch, speaker, micro USB charging port, and the main connection/contact points. The contact points are on every side of the main module with the exception of the side with the power switch, charging port, etc.
The rest of the parts/modules in the kit are used to create the types of robots you can imagine.
Performance
Once I took the parts out of the box, downloaded the suggested apps, and reviewed the video and info on the website, it was time to get to playing/creating with my kids. The first thing that I did was to charge the main module via its micro USB charging port. With the power switch off, there is no charging light but with it on, there is a blinking LED. I tried it both ways and left it charging for a couple of hours.
Once I was ready to start, I decided to try the easiest build first which I deemed to be the flashlight based on the designs I saw on the website. It requires the main block, the LED module, and the button module.
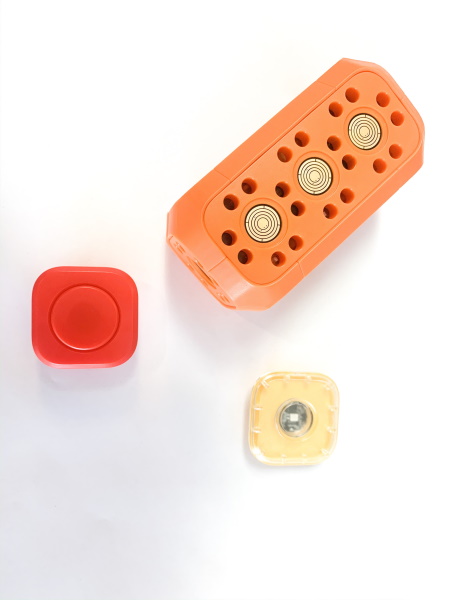
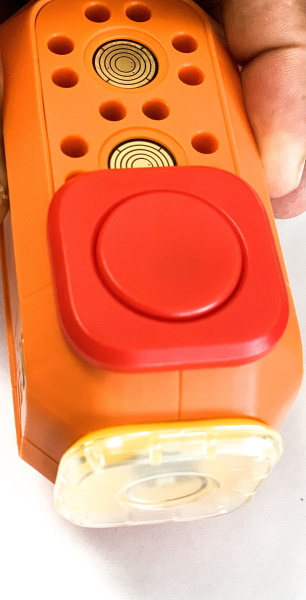 In theory, once I turn on the power on the main block and press the button on the red button module, the LED should light creating a flashlight. However, this did not work. After a few tries, I figured that there must be something wrong with the button module. I have submitted an email to the Robo Wunderkind support mailbox for assistance with this.
I must admit that the kids and I were a bit discouraged, but I decided to push forward and try another build. This time I decided to build one of the designs from within the Robo Live app.
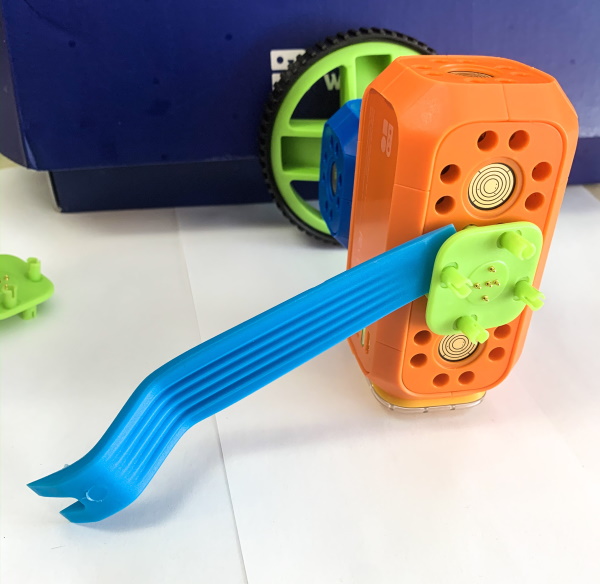
The kit includes a tool for the removal of the parts that snap together so that they will not get damaged trying to pry them apart. the tool works well and makes the task easy.
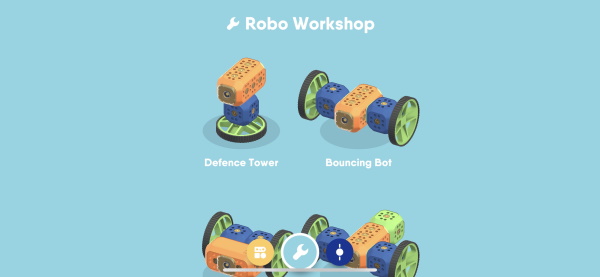
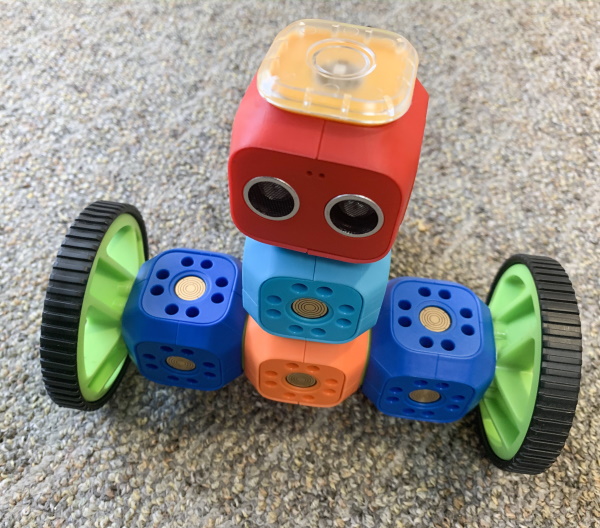
The build that we tried is called the defense tower. It was easy to build and worked as intended. When you first open the app and turn on the main module, it prompts you to connect to the Robo but touching the connect button in the app. It connects via Bluetooth and does so very easily. Every connection either via the app or when you snap the parts together provides an audible beep for confirmation.

Once the connection is made, the app checks the device and downloads and installs any available module updates from Robo Wunderkind, and confirms once the update is completed.


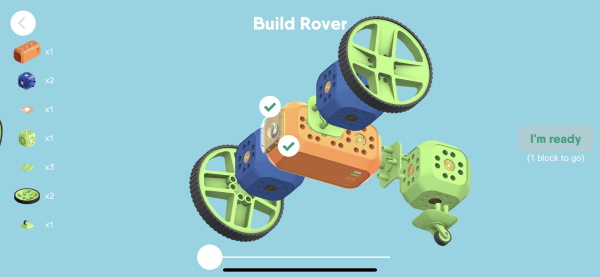
Once that was done, we followed the build diagram from within the app to built the robot. The app provides checkmarks when each part is connected correctly and lets you know when all of the required parts are attached and when the robot is ready to go!!

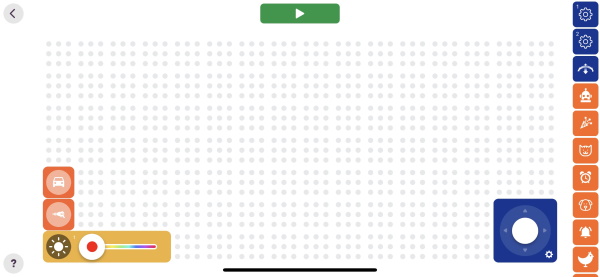
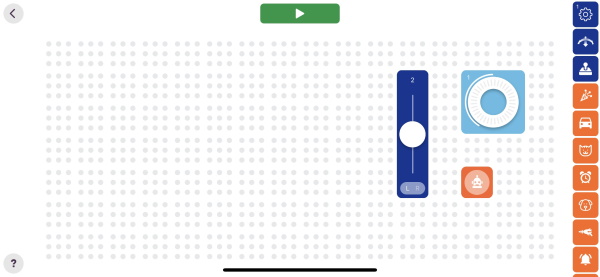
 The robot is then controlled via the next screen in the app.
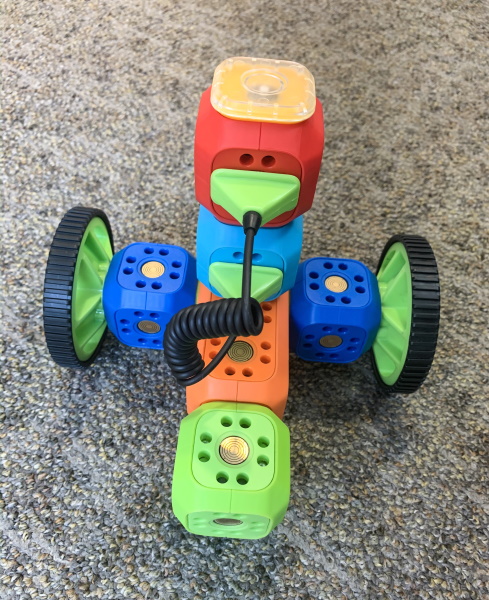
That was also an easy one, and the kids were beyond excited, so we moved on to another build and chose the Rover.
Similarly, the next screen in the app is the control screen.
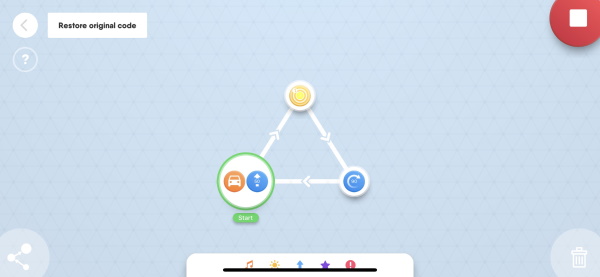
I also tried the Robo Code app to control the robot and to create new movement patterns.
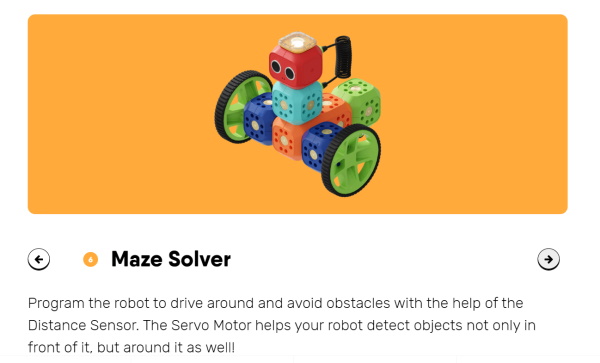
For the final test for this review, we decided to build the Maze Solver robot that we saw on the website. This robot uses a distance/object sensor to determine its movement and can move away from obstacles, etc.
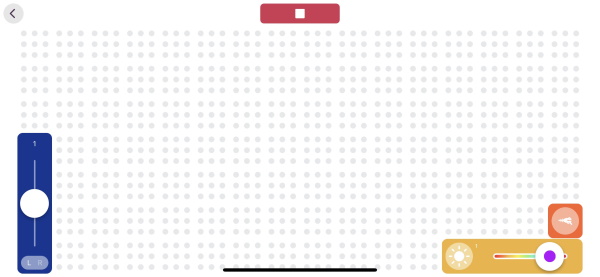
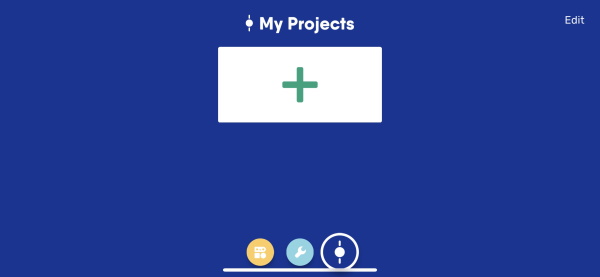
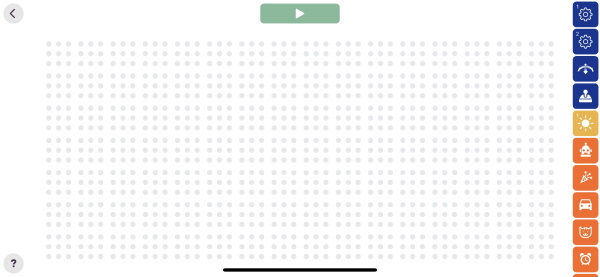
Since this design was not already preprogrammed in the app, I decided to use the Robo code app, added it as a new project and dragged the controls I wanted onto the screen to create my own control screen. I did have the option to save the movements that I created.
It is important for me to mention that while my kids who are 3 and 5 years old have loads of fun with this, they do experience difficulty using the app. A hardware remote control would fill this gap, but, I do know that they will figure it out soon. Also, this kit brings out the kid in me as well. 🙂
What I like
- The great kid-friendly design
- The ease of assembly
- The ability to create and save your own designs
- The ability to program and save movements
- The build quality
What I’d change
- Make expansion kits available to further stimulate and support creativity
- Make replacement parts readily available via the website
- Add a hardware remote control for kids that may experience some difficulty navigating via the apps
Final thoughts
When I first opened the box for the Robo Wunderkind Education Robotics Kit, I was not sure what to think. I downloaded the suggested apps, went to the website to get more info, and started to assemble the parts to match the examples provided. Just by the colors and the design, my kids were excited, and especially my son who seems to think that he can take just about anything ranging from my wife’s hair curlers to pieces of a clothes hanger, and create a robot. This kit is amazing for supporting and expanding the creative minds of kids. Since it does not come with a hardware remote control and needs to use the apps for movement, parental guidance is needed, and it does create some limitations for the child that can build but not yet properly control the movements via the cellphone screen and the apps. Otherwise, I absolutely love this kit and look forward to how and when Robo Wunderkind will expand the capabilities.
Price: $249
Where to buy: The Robo Wunderkind website and Amazon
Source: The sample for this review was provided by Robo Wunderkind.

Samsung 14" Galaxy Chromebook Go Laptop PC Computer, Intel Celeron N4500 Processor, 4GB RAM, 64GB Storage, ChromeOS, XE340XDA-KA2US, Student Laptop, Silver
(as of June 16, 2026 18:55 GMT -05:00 - More infoProduct prices and availability are accurate as of the date/time indicated and are subject to change. Any price and availability information displayed on [relevant Amazon Site(s), as applicable] at the time of purchase will apply to the purchase of this product.)