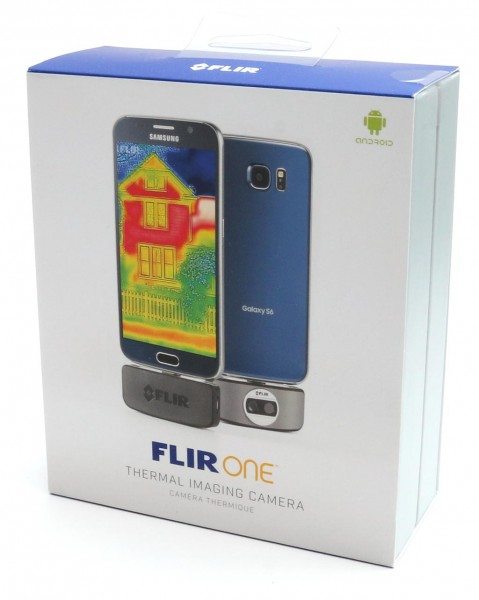
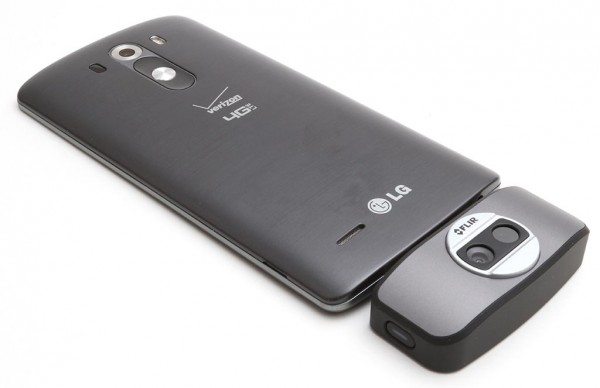
If you ever day dream about becoming a super hero who can see in the dark, through walls, ceilings and more, the FLIR ONE thermal imaging camera will make you feel like you that super power. Just plug it into your iPhone or Android phone and you’ll be able to see objects that give off heat even when it’s completely dark or the object is in a wall or ceiling. FLIR sent me the Android version of the FLIR ONE. It’s take it for a spin.
Note: Images can be clicked to view a larger size.
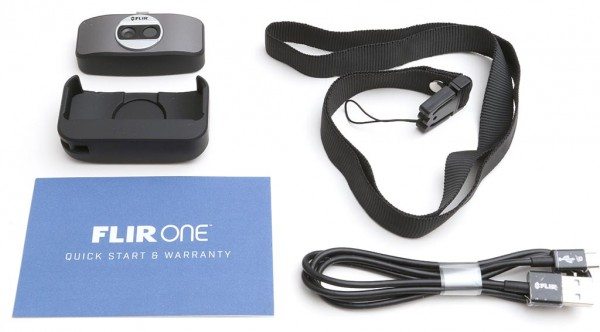
What’s in the box
FLIR ONE thermal camera with micro USB connector
Protective case
Neck strap
micro USB charging cable
Quick start guide
The FLIR ONE is a small plug-in thermal imaging device that is available in two versions. There’s an iOS version with a Lightning connector and an Android version which has a micro USB connector. I was sent the Android version.
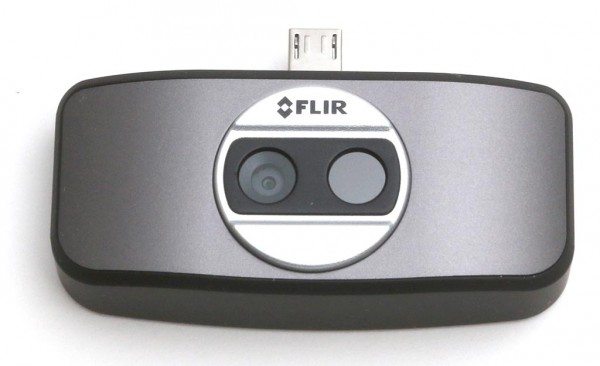
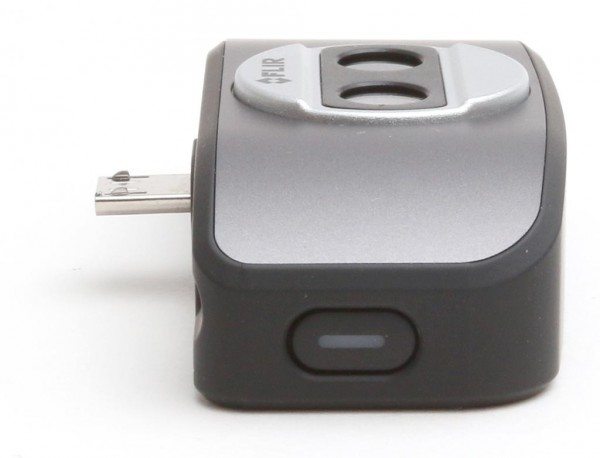
The FLIR ONE has a plastic case with dual cameras on the front. One lens is the visible light camera and the other one is the thermal camera.
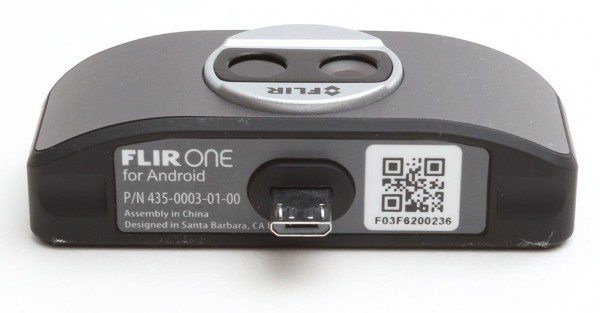
The Android version has a QR code next to the connector. I thought that scanning this code would take me to the Google Play store to download the required app, but it doesn’t do much of anything useful.
On one side of the camera is the power button which also has a status LED that blinks when the camera is powered on.
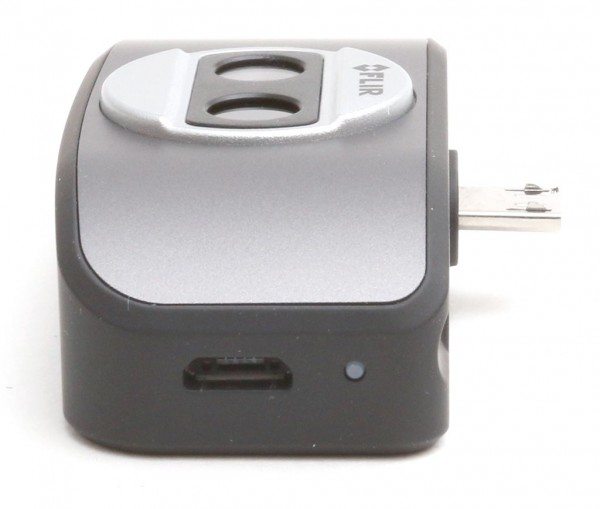
The opposite side has a micro USB port that is used to charge the camera’s internal battery. There’s a small LED next to the micro USB port which blinks as an indication that the battery is charging. The battery can be charged in less than an hour and lasts for about one hour before needing a recharge. Since it has a micro USB connector, it should be possible to attach a backup battery while it’s being used to extend the battery life. I didn’t have a backup battery to test this theory, but I did connect a micro USB cable attached to my computer while the FLIR ONE was also attached to my phone. It was able to function normally while also charging.
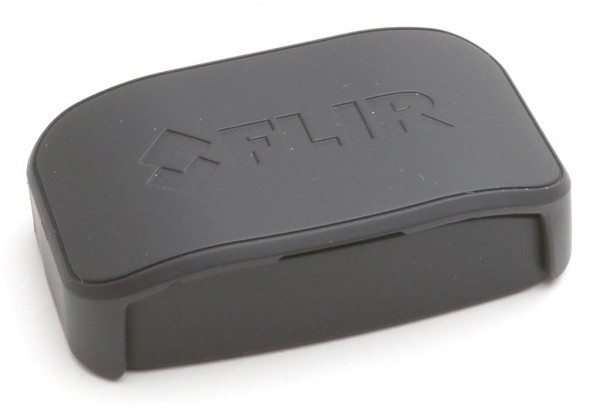
Included with the FLIR ONE is a snap-on protective cover.
To use the camera, you first charge the batteries. Then you download and install the free FLIR ONE app. When the app is launched it will prompt you to attach the camera and power it on. FYI: The micro USB connector is long enough that it may allow you to use the camera with a thin case on the phone.
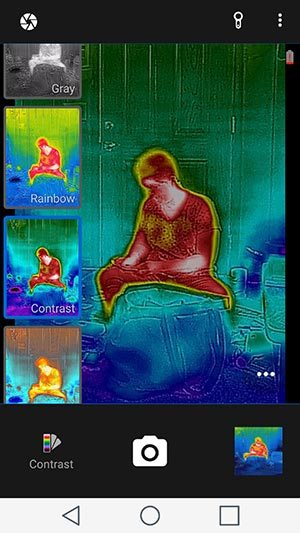
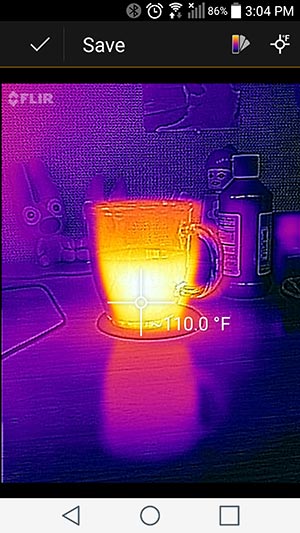
The app’s interface is very simple. It provides a live view from the FLIR ONE camera. A filter can be applied to the view to help you see different details such as hot spots and cold spots. From the app you can snap a picture or capture video.
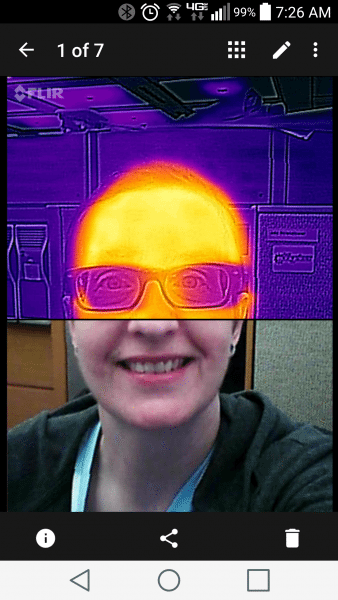
The FLIR ONE uses technology called MSX stitching which takes a thermal and a regular image at the same time and superimposes them together so you can see an outline of various objects. You can also scroll the image up to see the visible image behind the thermal image.
In addition to snapping regular photos, you can also take panorama photos and time-lapse video. There’s even a timer which provides a 3 or 10-second delay.
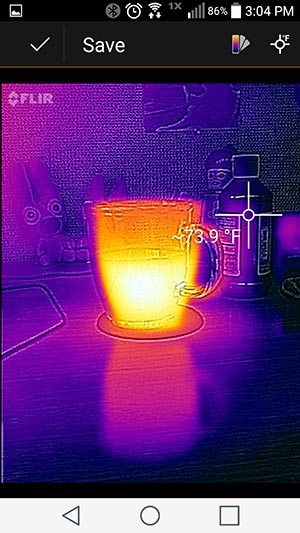
The app will also allow you to see an estimated temperature of the subject. The temperature data is saved along with the snapshot so that you can go back into the saved images and check the temperature of different areas of the image just by moving the cursor around the screen. Just be aware that the temperature data is an estimate and probably won’t be 100% accurate. I found the readings be off by several degrees when compared to my IR thermometer.
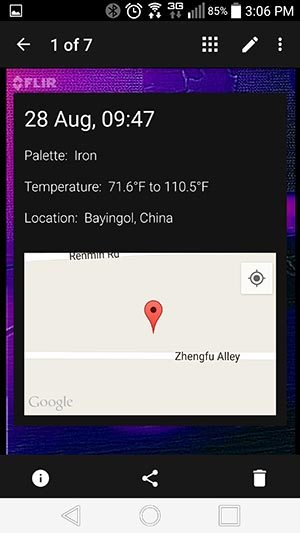
The app is also supposed to capture GPS location data but for some reason it thought I was located in China.
The camera does a self-calibration every 30 seconds or so, which can sometimes make the preview view freeze for a few seconds. This is not a huge issue, but it’s something to be aware of so that you don’t think the app has crashed.
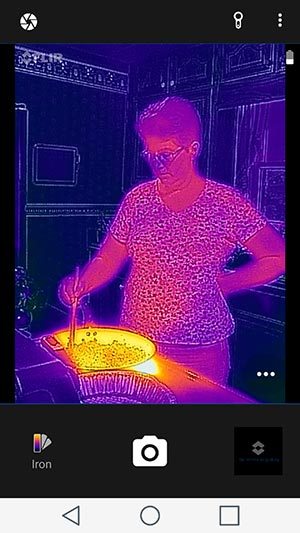
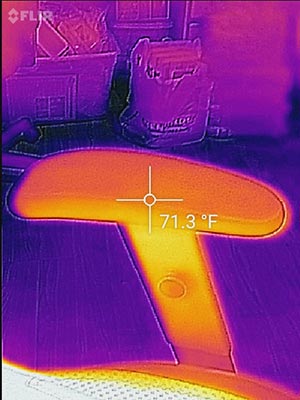
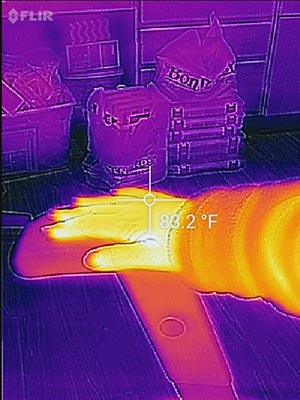
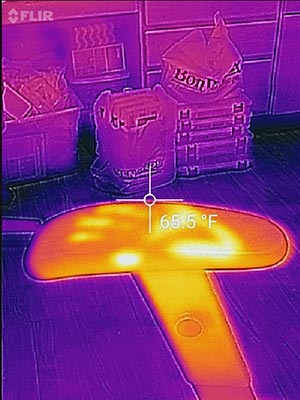
It’s amazing to see how much heat we put off. My hands are usually pretty cold most of the time, so I was surprised to see my hand print clearly defined on the arm of my chair after only resting there for a couple of seconds.
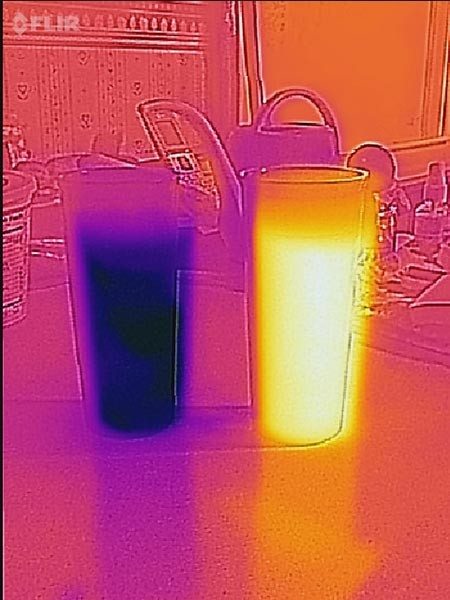
In the image above, the FLIR ONE shows the difference between a glass of ice water on the left and a glass of hot water on the right. Cool huh? I was able to see the air ducts in my walls because they showed up dark blue while the air conditioner was running. I was also able to see a critter in the woods one night that was investigating the area where we throw our table scraps. I was disappointed that I didn’t see a bigfoot in the woods or any ghosts wandering around the house. 🙂
The FLIR ONE thermal camera is a lot of fun to play with, but it can be used for more than just goofing around. It can be used as a diagnostic and detection tool to help you find drafts, water leaks, electrical panel problems, etc. The price may seem expensive, but when compared with other thermal cameras which can be thousands of dollars, the FLIR ONE is really affordable.
Update 09/16/15
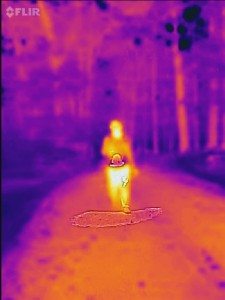
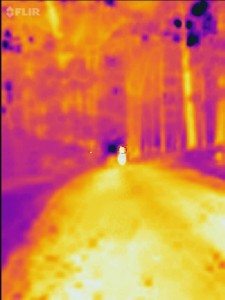
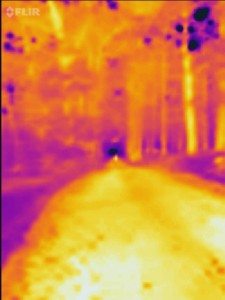
Larry and Scott asked about how how the FLIR performs with distant objects so I did a quick test.
I live on a long gravel road so in the first image above the person is about 12-15 feet from me. In the second picture they are 30 feet away and in the last image they are probably 100 feet down the road. Hope this helps.
Source: The sample for this review was provided by FLIR. Please visit their site for more info or Amazon to order one.



Gadgeteer Comment Policy - Please read before commenting
Did you try a panorama? Ars had issues with the panorama mode, as the colors are apparently relative, not fixed, so in a panorama ‘hot white’ in one place can be the same temp as ‘cold blue’ someplace else. (As long as they weren’t being imaged in the same frame.)
DStaal I did not try to capture a panorama. I’ll try that tonight and report back.
Thanks, I’m curious to see what you think. They also had problems getting it out of the snap-on cover. I’m guessing you didn’t have any problem with that?
I actually did have a problem removing the case at first because I was afraid of damaging the camera. But when I realized it wasn’t going to break, I had no issues after that.
It looks like the pano works as expected. See this example.
Thanks. They probably fixed their software or something. (Which I was wondering if they’d been able to do, which is why I asked. 😉 )
How good does it work outside at night, say with someone standing at 50 yrds, 100 yrds and so on?
I didn’t do testing with subjects that far away, but I was able to “see” a small rodent like animal from about 20 ft away. 100-300 feet might be too far for it to work but I can try it and report back.
I believe DStall is correct— the colors mapped by the camera ARE relative. As you slowly pan the camera the image seems to get “remapped” if a hot object suddenly comes into frame, giving a final panorama which may have inconsistent temperature readings. However, if you turn on “Lock Span” it seems to alleviate that problem. Lock Span “locks in” the range (or span) of temperatures in the scene, preventing the camera from remapping everything as you pan around. Speaking only for myself this seems to help, though not every panorama requires Lock Span. And by the way, I’ve had my FLIR One for over a month now and absolutely love it! I can’t recommend it highly enough.
Thanks for the report Julie. I haven’t seen anything like this in New Zealand and am very interested in your reporting of objects at a distance outdoors, both in built-up areas and forested scenarios.
I still need to do that. I’ll post an update this weekend.
I added an update with 3 images that show distant objects.
I tried a panorama with Samsung Galaxy S4 (TMO, Android 4.4.4). It doesn’t handle the accelerometer properly, subsequent frames appear at about 4 o’clock of the frame before, therefore always resulting in an error. Galaxy Tab S (Android 5.?) always displays the preview sideways, no matter how you rotate the tablet, has the same issue and displays the same error on panorama mode.
Editing: split screen doesn’t hold, and can’t save the split image; geolocation always begins in Kighizstan, jumps to the right location when asked but doesn’t show as saved. The saved picture, when viewed, shows the correct longitude but the latitude is blank. Dragging the temp indicator would better be done with the stylus, because your finger actually covers the spot. Need a “dragging handle” or arrows.
I also would suggest a choice to display a temperature reference scale (for the reference in the image) at least at the edit stage, as an alternative to spot temp display.
Also, the FLIR logo is weird and gives a “trial” or “sponsored” look to the image, not talking about when appears on a side or upside-down in rotated images. Oherwise a promising tool, hope the above issues will fade away soon with a future app upgrade.
Any idea what application option is addressed by the thin foam pad – one side with peel-off adhesive strip?
And to use the camera does one need to make the phone a wifi hotspot as noted in the help file? –
And attaching the camera – do not see palette icon on phone screen – rather an SD card file icon and a bottom task bar with options to handle photos.
Thank you for your insight and any help w/ my issues.
Kevin, did you get the iPhone version? Because my version didn’t have the foam pad and my version of the app doesn’t have an SD card file icon unless it’s been updated. I haven’t used it in while.
Hi, I was wondering if the app and camera work ok on a Galaxy S4. I want the camera but don’t really want to upgrade my phone yet.
I don’t have an S4 to test with the FLIR ONE, so I can’t tell you for certain if it will work. That phone isn’t listed as being tested by FLIR, but I bet it would still work… although they do mention that some older devices have issues with slow video recording.
Galaxy S4 with Android 4.44 works well with the camera. Also, using the FLIR TOOLS app to analyse inages and generate reports is a big plus.
I noticed that Amazon is selling this for $399 not $249 as you mentioned. Was this a promo? I still have a Galaxy S2 with Android 4.1.2 do you think it will work>
I’m not sure why it’s more expensive on Amazon, but it’s still $249 on FLIR’s site: http://www.flir.com/flirone/content/?id=69420
I can’t answer your question about the compatibility with the Galaxy S2. That device isn’t listed as one of the devices that has been tested with the FLIR ONE.
For Android, why is no one mentioning the fact that if your phone’s micro USB is mounted backwards it makes the device basically worthless unless all you want to do is IR selfies. No adapter, no ability to swap the plug 180 degrees, no choice to order a model that has the plug rotated 180 degrees. I am returning it ASAP because it is worthless without the ability to point it in the right direction.
I’m curious, what phone did you try to use it with?
I am using it with the Nexus 6P, and it is beautifully reversible grace to an adaptor I built myself (micro USB to USB type C)
anyone tested with asus padfone s model?