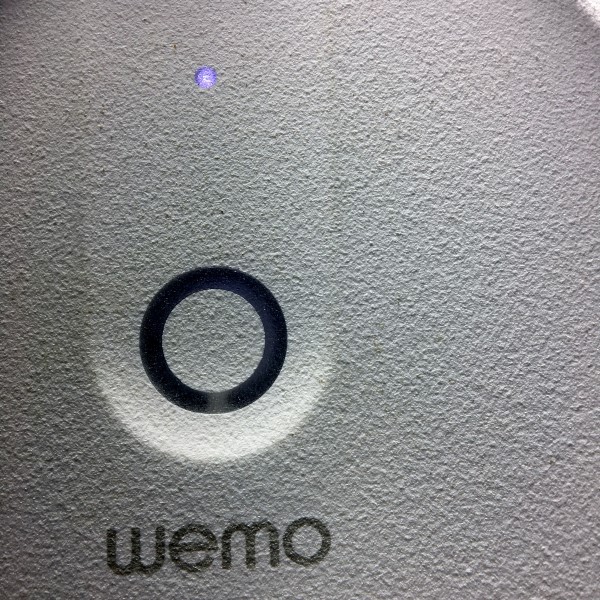
As I slowly add parts to automate my home, I’m always interested in the gadgets that are being released to make life easier or just cooler. The Wemo Dimmer is one of those devices that just makes sense.
The dimmer arrived in, okay, I’m man enough to admit, sexy packaging. Outside, the box is your run-of-the-mill cardboard color with some white graphics showing the Wemo logo, a line drawing of the dimmer, and a diagram of “suggested” dimmer settings with such settings as “3 AM bathroom run.” It made me smile. Inside, the box is an almost shocking shade of green. A green that could wake up a sleepy Gadgeteer! Lots more with graphics adorn the tri-fold enclosure. Opening the package reveals the elegantly designed dimmer switch and a slot marked “get set.”
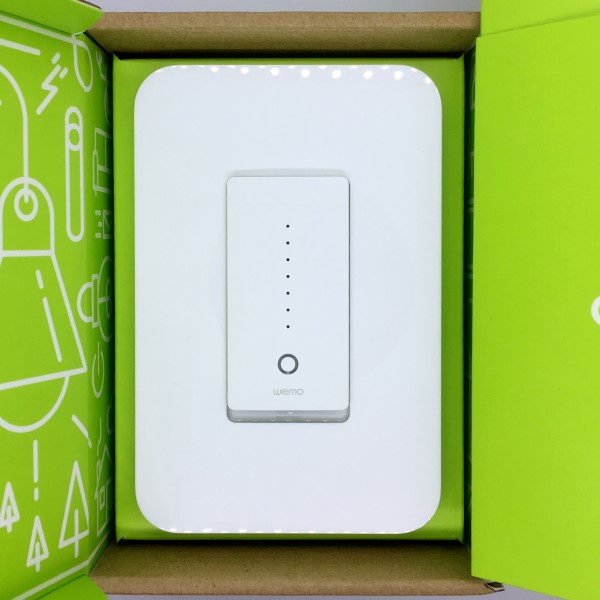
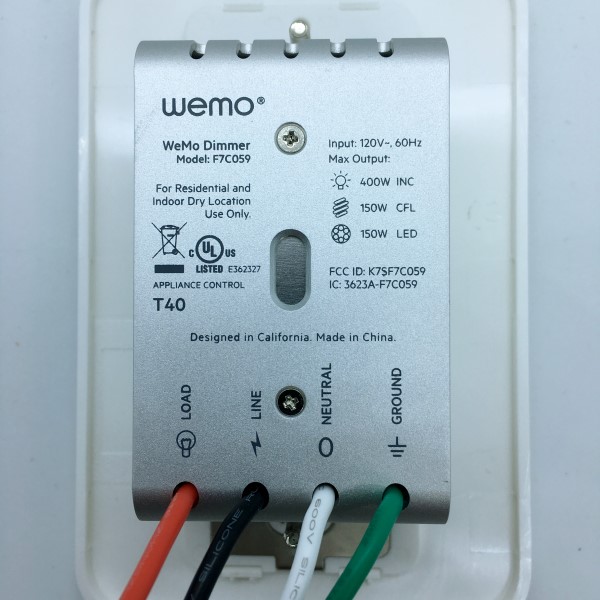
Wemo’s “Let’s go” manual is a comprehensive instruction manual for installing the dimmer. Graphics and text are easy to understand, waking an installer, even a novice, through the sometimes frightening aspects of home wiring this installation requires. The kit even includes the wire nuts and labels to make sure (no pun intended) wires don’t get crossed.
I had no trouble identifying the wiring and what needed to be done to replace a hallway ceiling lamp switch, probably the most often used switch in my home. Turning off the circuit breaker, I removed the old-style switch and wired the WeMo. One note of caution: the Wemo Dimmer is considerably more bulky that the switch it’s replacing. If there are additional wires in the back of your electrical switch box, you might have a challenge fitting everything back in. Tucking the wires back as far as they will go helps. Make sure you don’t pop the wire nuts off when you do this or you will likely get a surprise when you turn the breaker back on. Of course, if you’re uncomfortable doing this wiring yourself, ask a handy friend or hire a professional. Above all, please be careful.
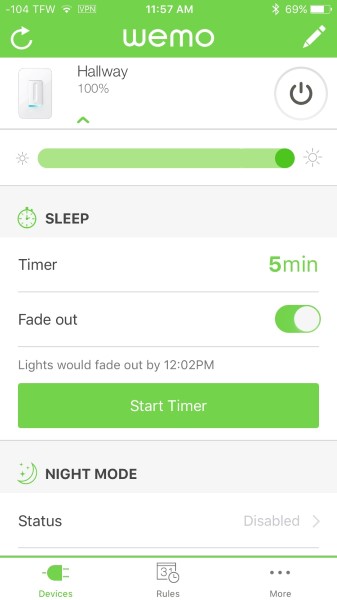
Once the switch was in and the juice turned back on, the Dimmer flashes some funky disco lights and settles into a flashing blue. I downloaded the app and followed the instructions from the manual. Similar to many typical smart devices, my phone connected to the Wemo Dimmer’s WiFi and walked me through setting my bulb type, pairing with Alexa and connecting to my home network. At no point did I feel lost and the entire process progressed very smoothly.
Now the fun part. Now that the dimmer was paired with Alexa, I could issue voice commands to turn on, off or even set a brightness percentage. Pretty slick! I fiddled around with the app and found I could access any lamp function I desired on my home network and through cellular 4G with very little lag. I even connected through a VPN in Thailand and found the same, fast, results.
Moving on, I was able to set timers, set the app to turn off the light after a specific time, and put the dimmer into “Away” mode to randomize turning the light on and off for home security. The app also connects to IFTTT, but I have yet to see what goodies I can find. It seems Wemo really thought things out. Well done.
So far, I am thrilled with the ease of use, functionality, and reliability of the Wemo Wi-Fi Smart Dimmer Light Switch. Given the opportunity, I would gladly replace every switch I have with them.
Updates 11/16/17
The Wemo Wi-Fi Smart Dimmer has become part of the family. My wife and daughter love asking Alexa to turn the light on an off and I’ve added an IFTTT applet to turn the light on when the garage door opens so we no longer enter a dark house. I wish I had a house full of them!
Source: The sample for this review was provided by Wemo. Please visit their site for more info and Amazon to order.


Gadgeteer Comment Policy - Please read before commenting
One thing I wish that WeMo would add would be a switch that would be able to retrofit an existing 3-way switch.
I concur – our electrician was trying to be nice and set up most of our lights with dual switches (using 3-way switches). I can’t automate the most important lights in our house. 🙁