We are in the middle of a popular photo explosion, in case you’ve been hiding under a rock for the past decade. Not since the introduction of the Brownie camera in 1900 has there been such interest in photography by the general public. For $1 (about $30 in today’s money), normal everyday people could make this new thing called a “snapshot” and share it with friends. Today, with no processing and printing needed, this happens instantly, rather than in a few days when the roll is finished, sent off, and returned. With this amazing power comes tools to make our photos even better than the smart lens systems and photo software built into our cameras already does. I was offered a copy of a program called Photolemur that is able to clean up rough camera shots and bring out the data that is there.
Note: Photos may be tapped or clicked for a larger image.
I came to photography late in life. When my Lovely Bride and I went on one of our first real vacations sans-kids in 2001 to the Berkshires, I bought a Kodak DC3400 Zoom. It inspired me to walk around with a camera, and soon I was moving up to better and better hardware, learning all the little bits of info I could about lenses, fstops, aperture, depth-of-field, bokeh, filters (the glass kind, not the software kind), and photo-editing software. Much of the hardware we use today automates much of that manual adjustment into a half-press on the shutter or a tap on the touch screen to activate auto-exposure and autofocus. The framing and composition of the photo still takes a good eye, or, at least, an attention to the craft. But the post-processing is still a maze of adjustments and exposure curves. I can do it if I have a particular shot that I want to go deeper with than the simple “enhance” button on most software, but Photolemur takes this to a new level.
The app itself brings up a single window with the directions: “Drop photo here or Import.” The “Import” button just pulls up a file picker dialog box.
Once you drag/drop or import an image, some type of software magic happens, and soon, your image shows up with a “Before/After” bar that you can drag from left to right to see all the changes that the software will do. There’s a button on the right lower corner that lets you export (rename, move to other drives, etc.)
That’s it. You either like the transformed photo or you don’t. I choose some of my first photos to show here, since they were taken with a very old camera, by a newbie photographer, and just to revisit some nostalgia on my part. I’ve got a few of these framed around the house, and have even sold prints of one.
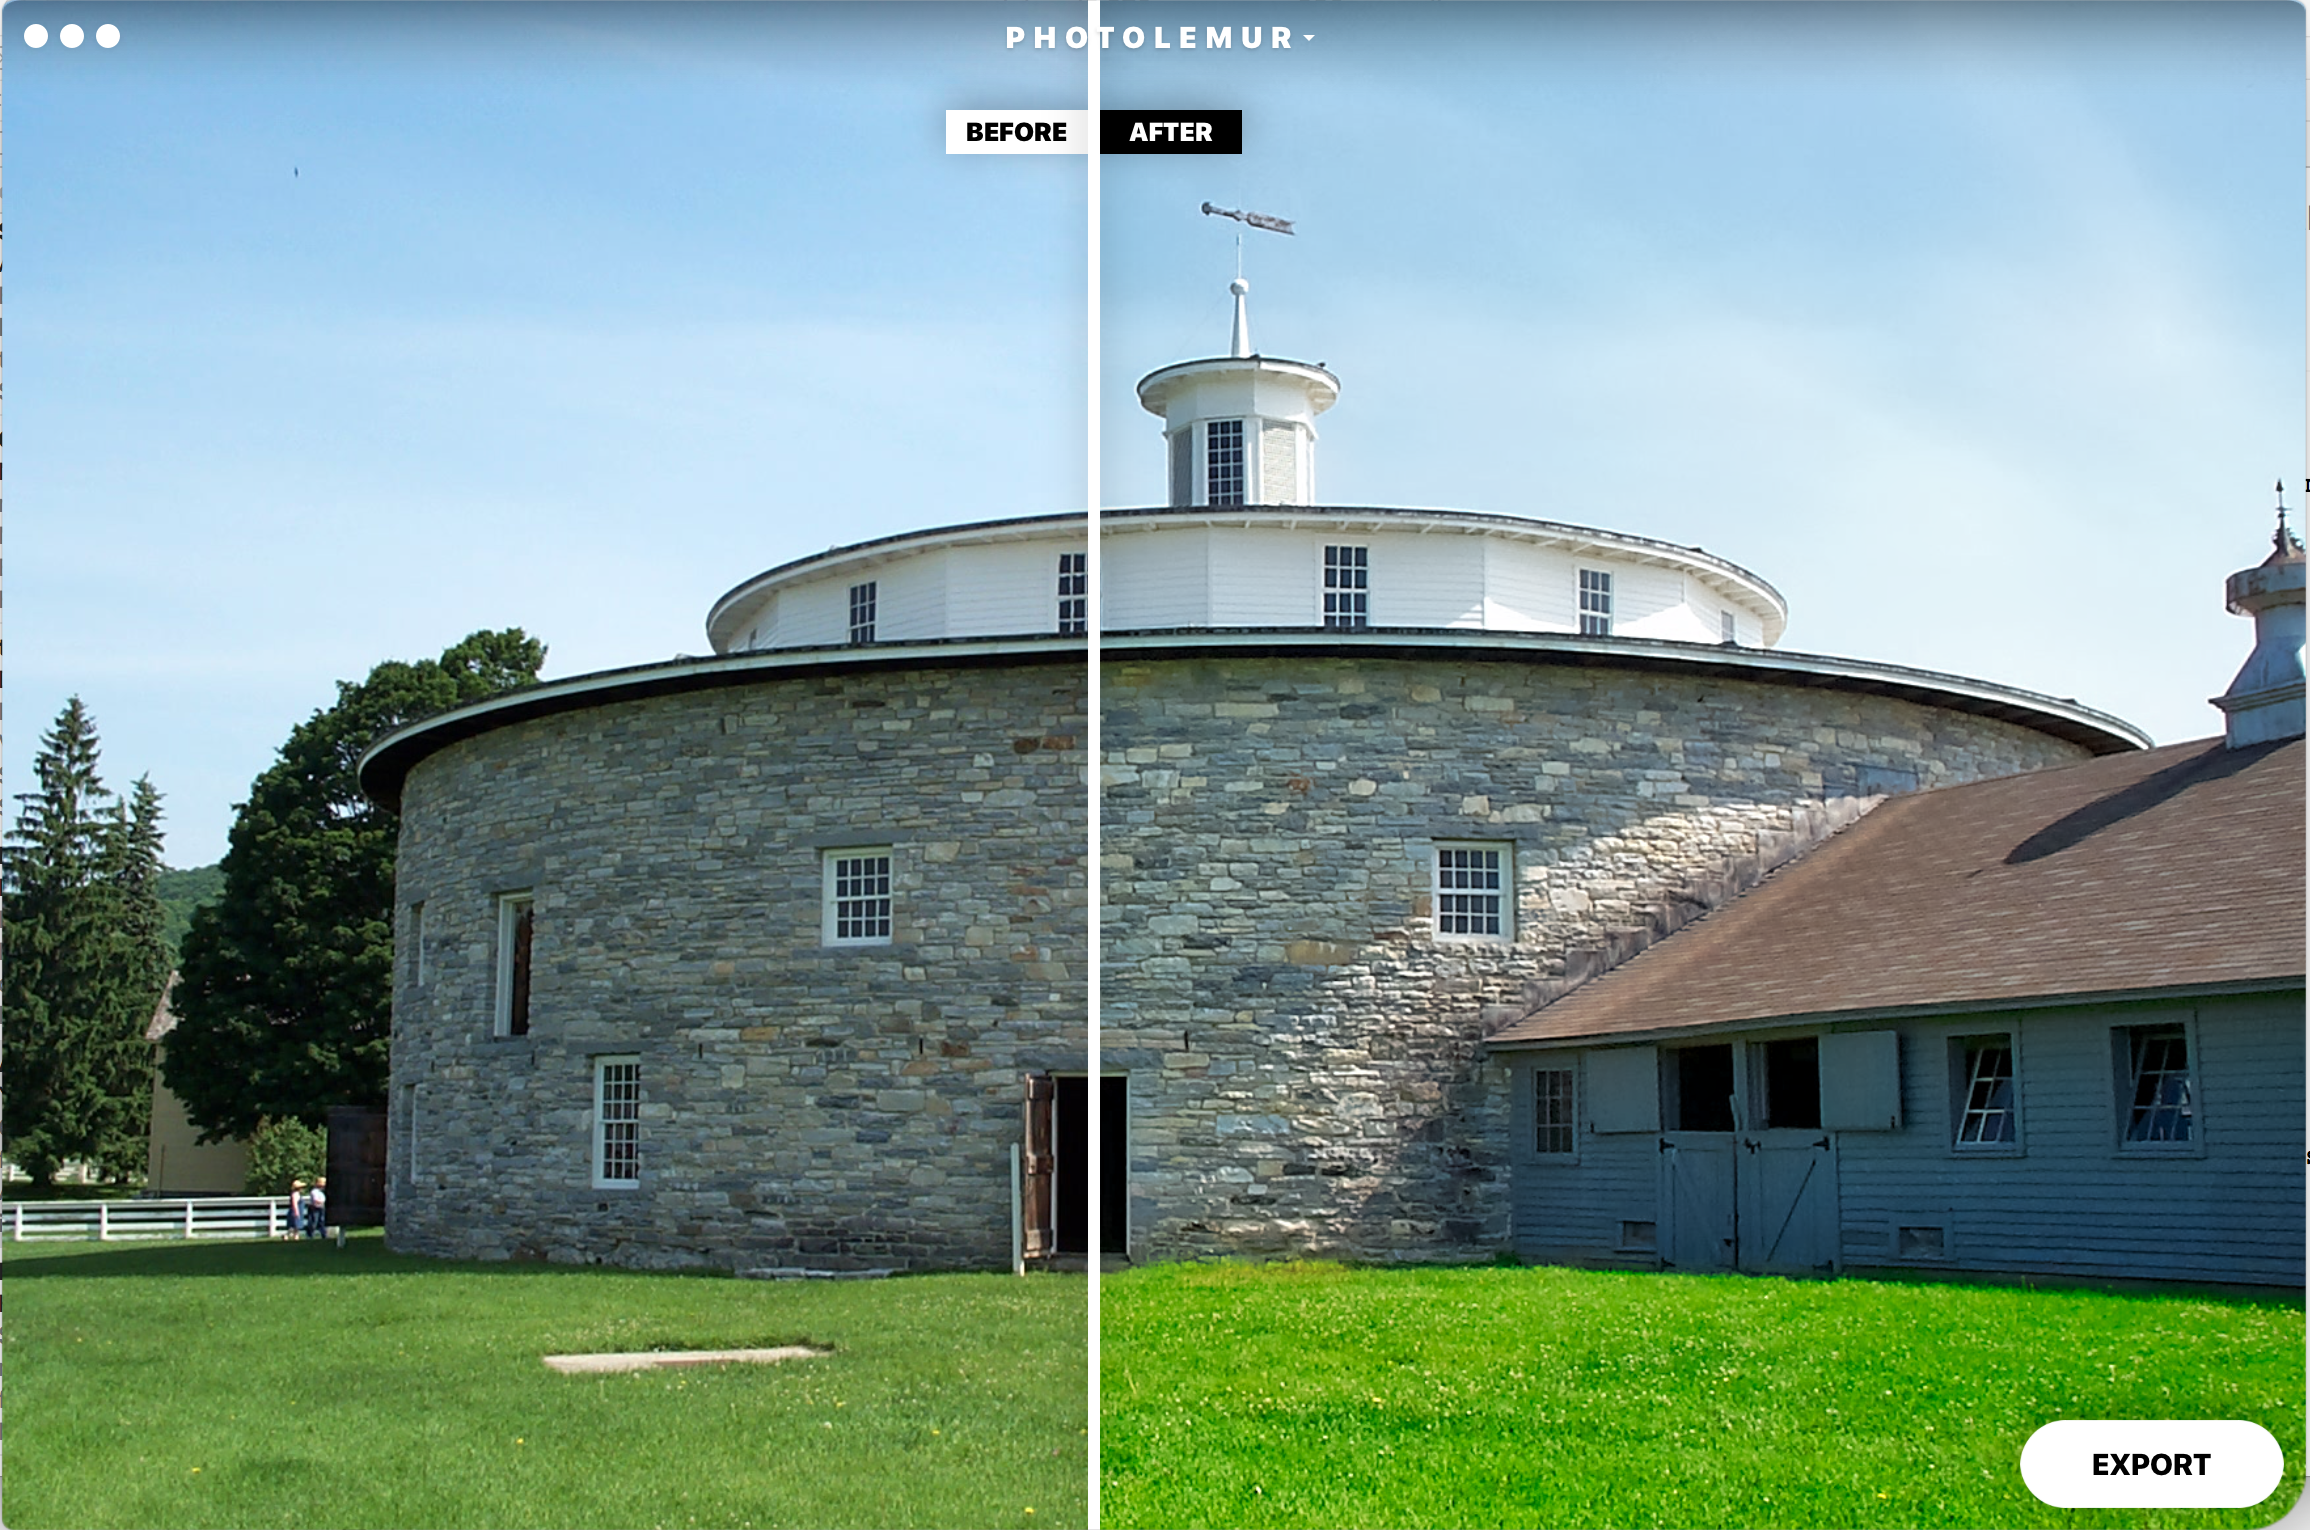
The round stone barn above is from a Shaker Village in Western MA. Note the vibrancy of the grass and the better definition of the stones on the After side. I like the improvement here. But full sun with large blocks of color is pretty easy. Let’s walk inside.
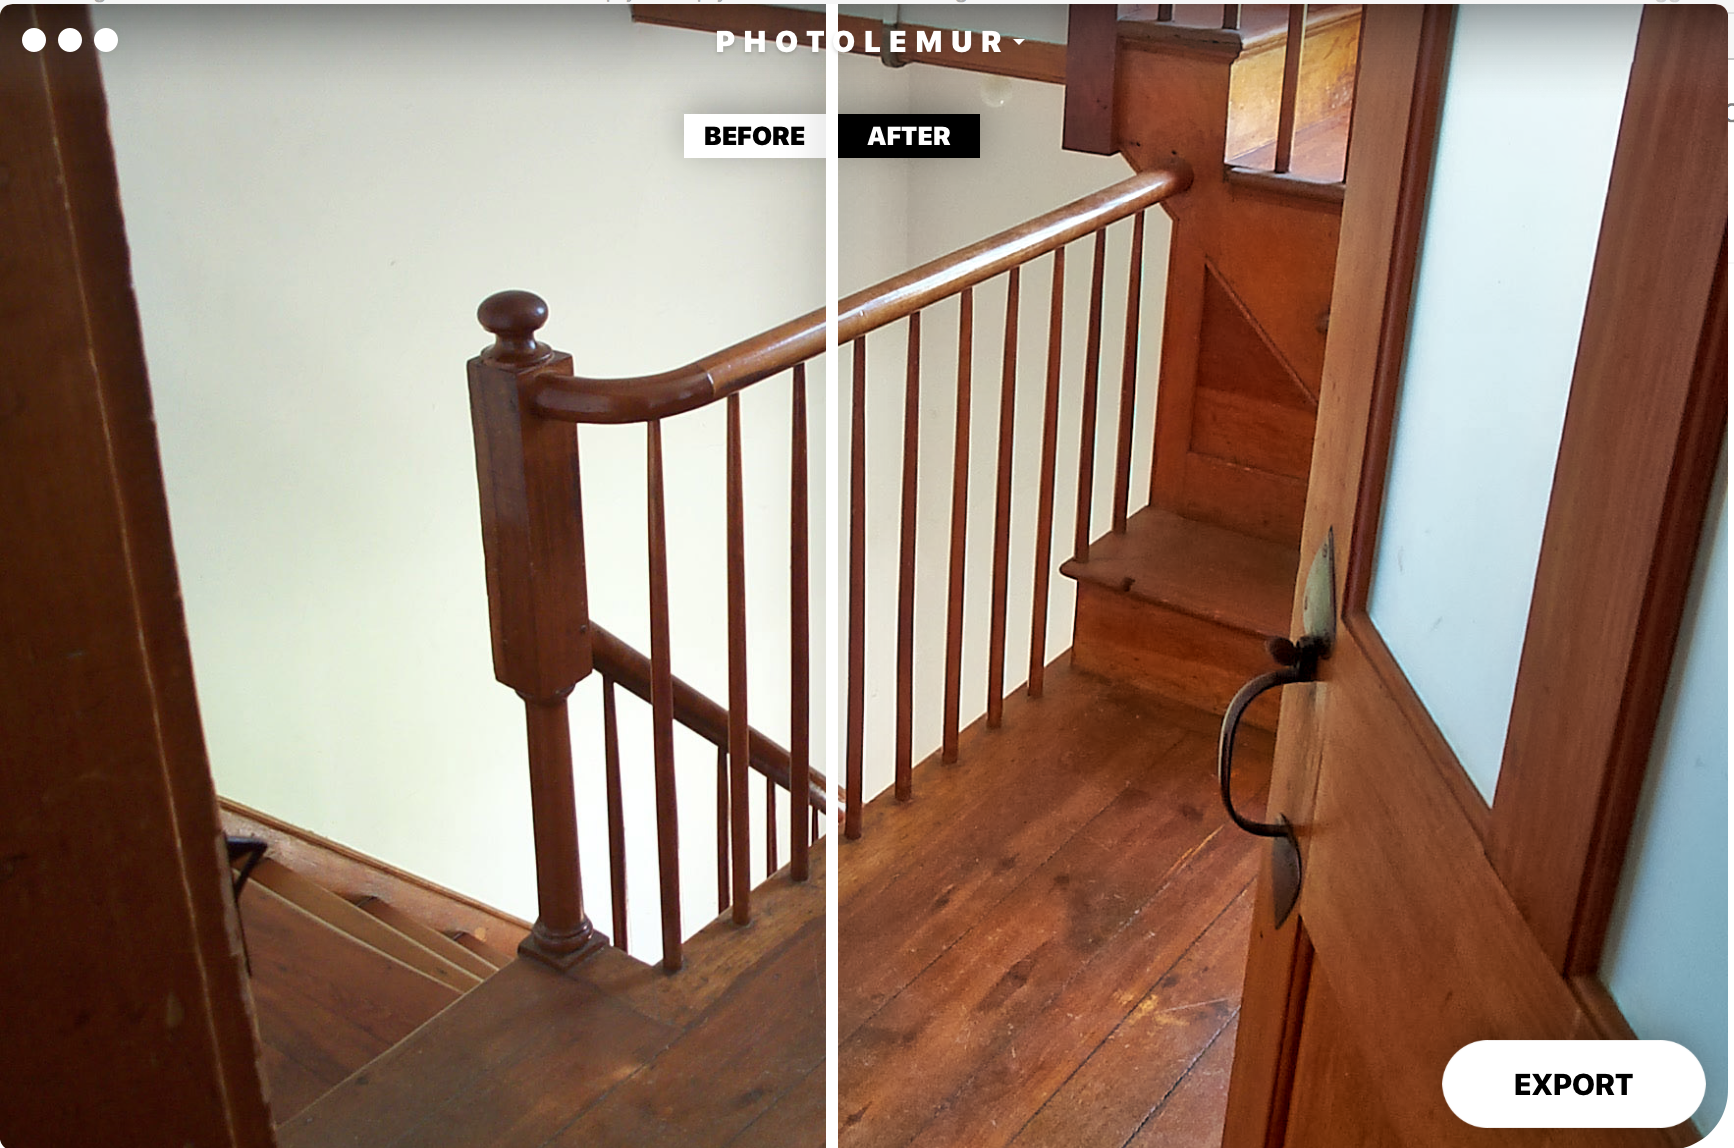
The back stairs out of the kitchen were behind a partially closed door. The wood grain attracted me, as did the light. I like how Photolemur brightened the wood without losing the crispness of that grain. The newel post on the left was helped immensely, but it’s easier to see the difference in the floor.
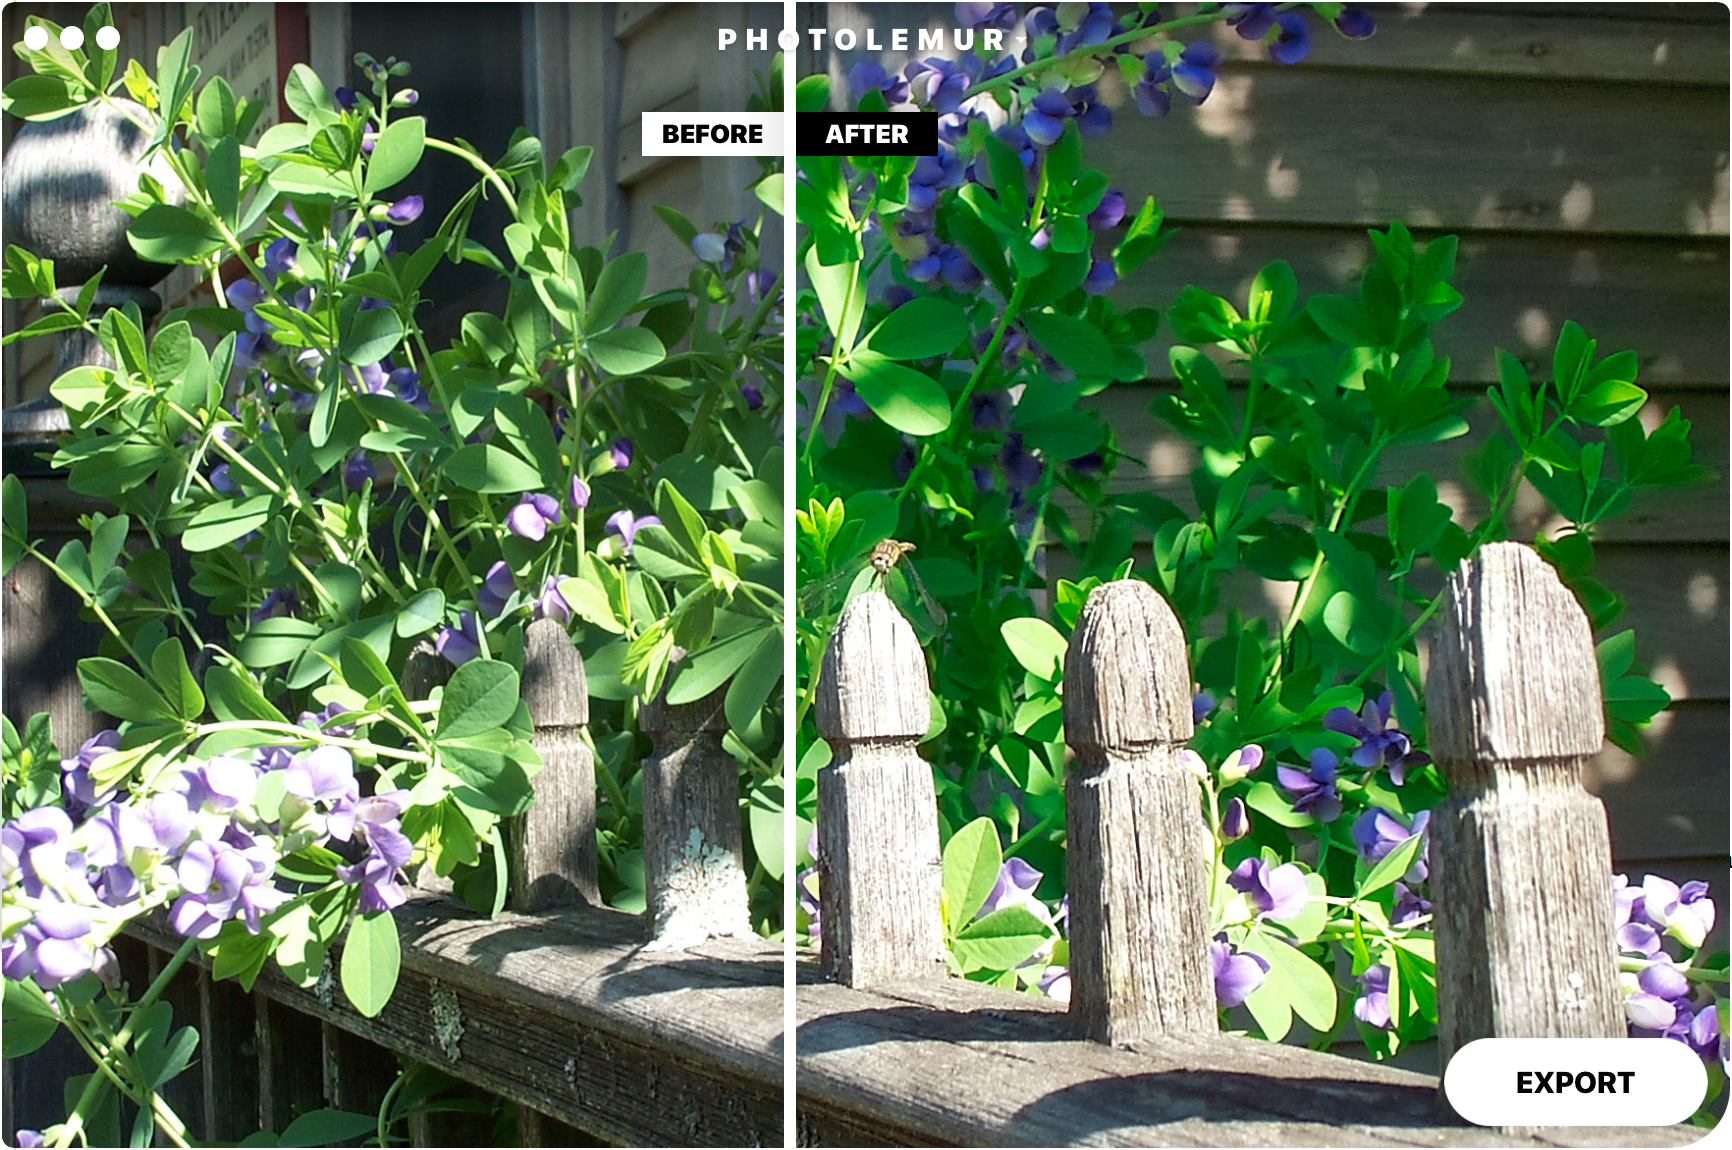
Bright sun again, and, being one of the first dozen or so shots I had taken, I really over-exposed that middle post. But I caught the dragonfly sitting on it, and that was my goal. The green of the background flowers of this “After” shot is too artificial to me. Those leaves are soft and fuzzy, and the software makes them out to be slicker.
A few months after this, my job sent me to New York City to lead a software launch. (This was August of 2001 – before 9/11.) This was the view outside my room.

That building on the right that is split shows how well the software pulls the details out of the shadows. I’m happy with this improvement. (This is from the New Yorker hotel looking out across 8th Avenue if I recall correctly. If I stuck my head out the window and looked right, I could see Madison Square Gardens.)
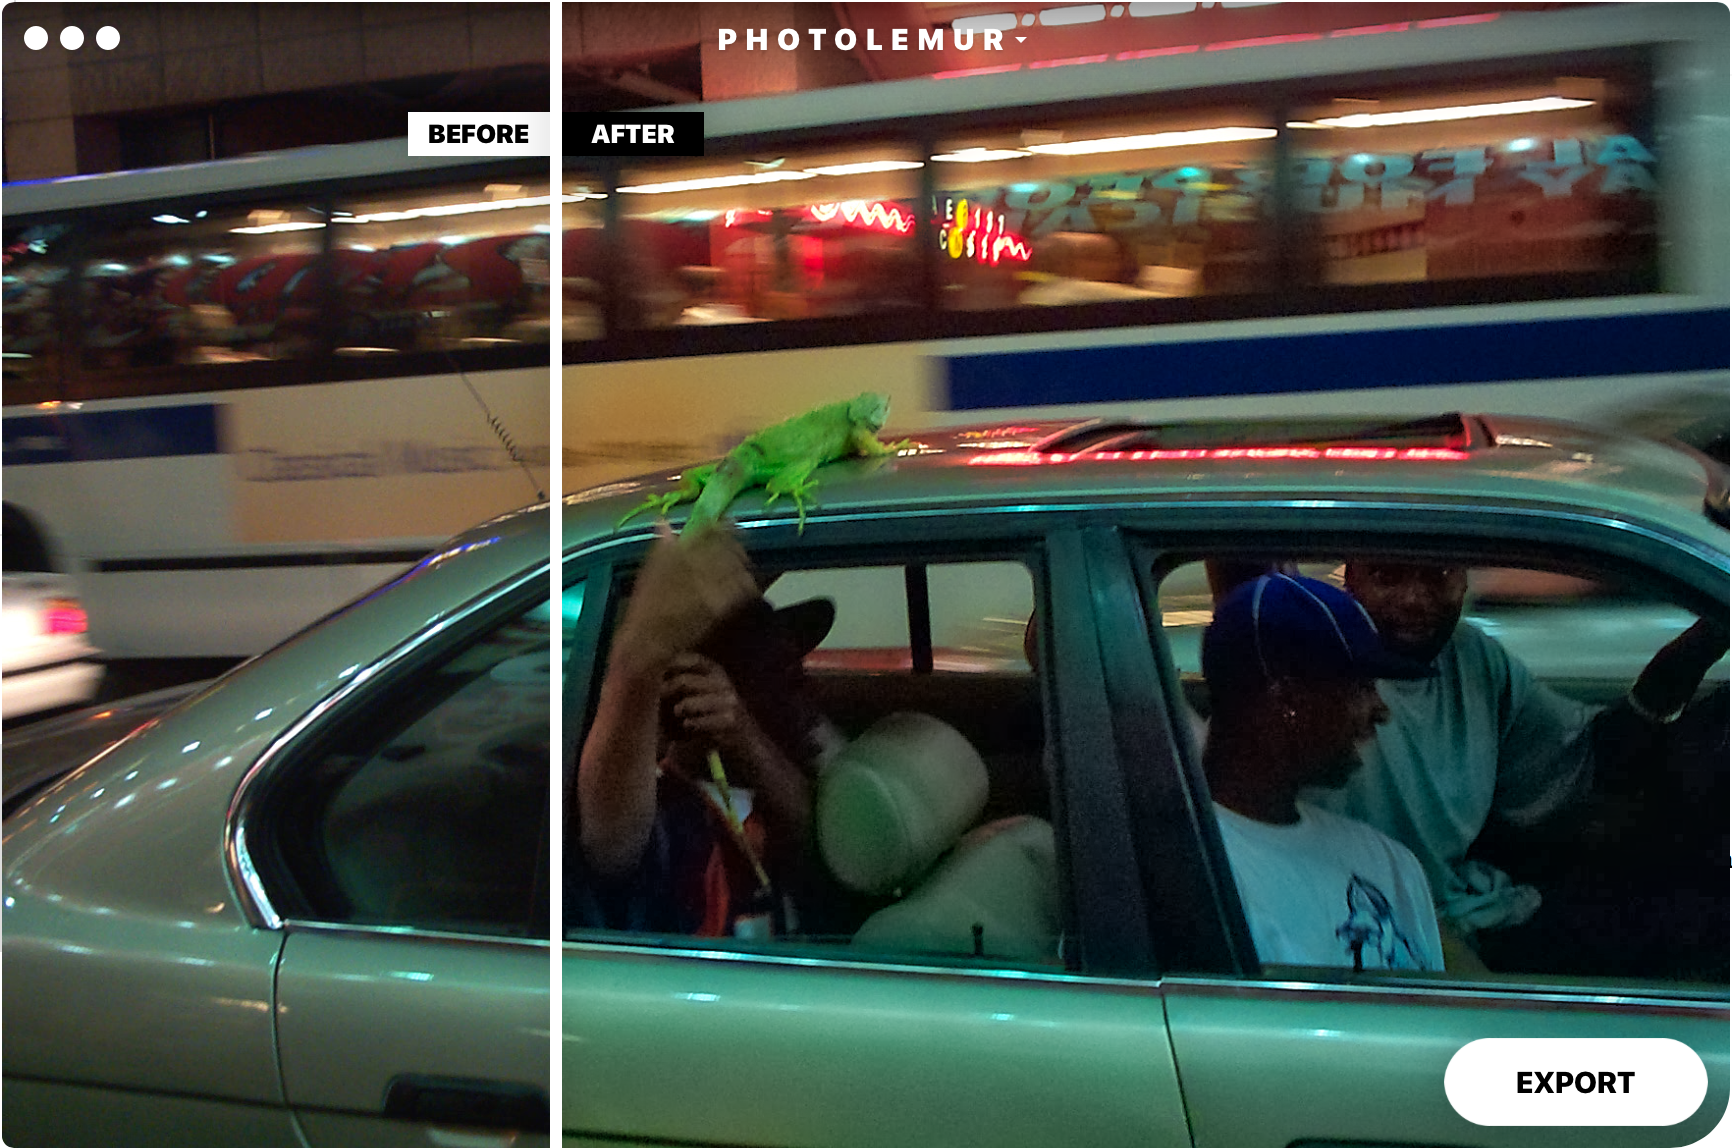
We went up to Times Square and walked around after dinner. Three guys with an iguana passed by on Broadway as my group was standing on the curb, and I fired off a shot. Photolemur really helps pull out colors here. (It was about midnight, with loads of neon, motion, and shadows.) Check out that look on the driver’s face. I never saw that before.
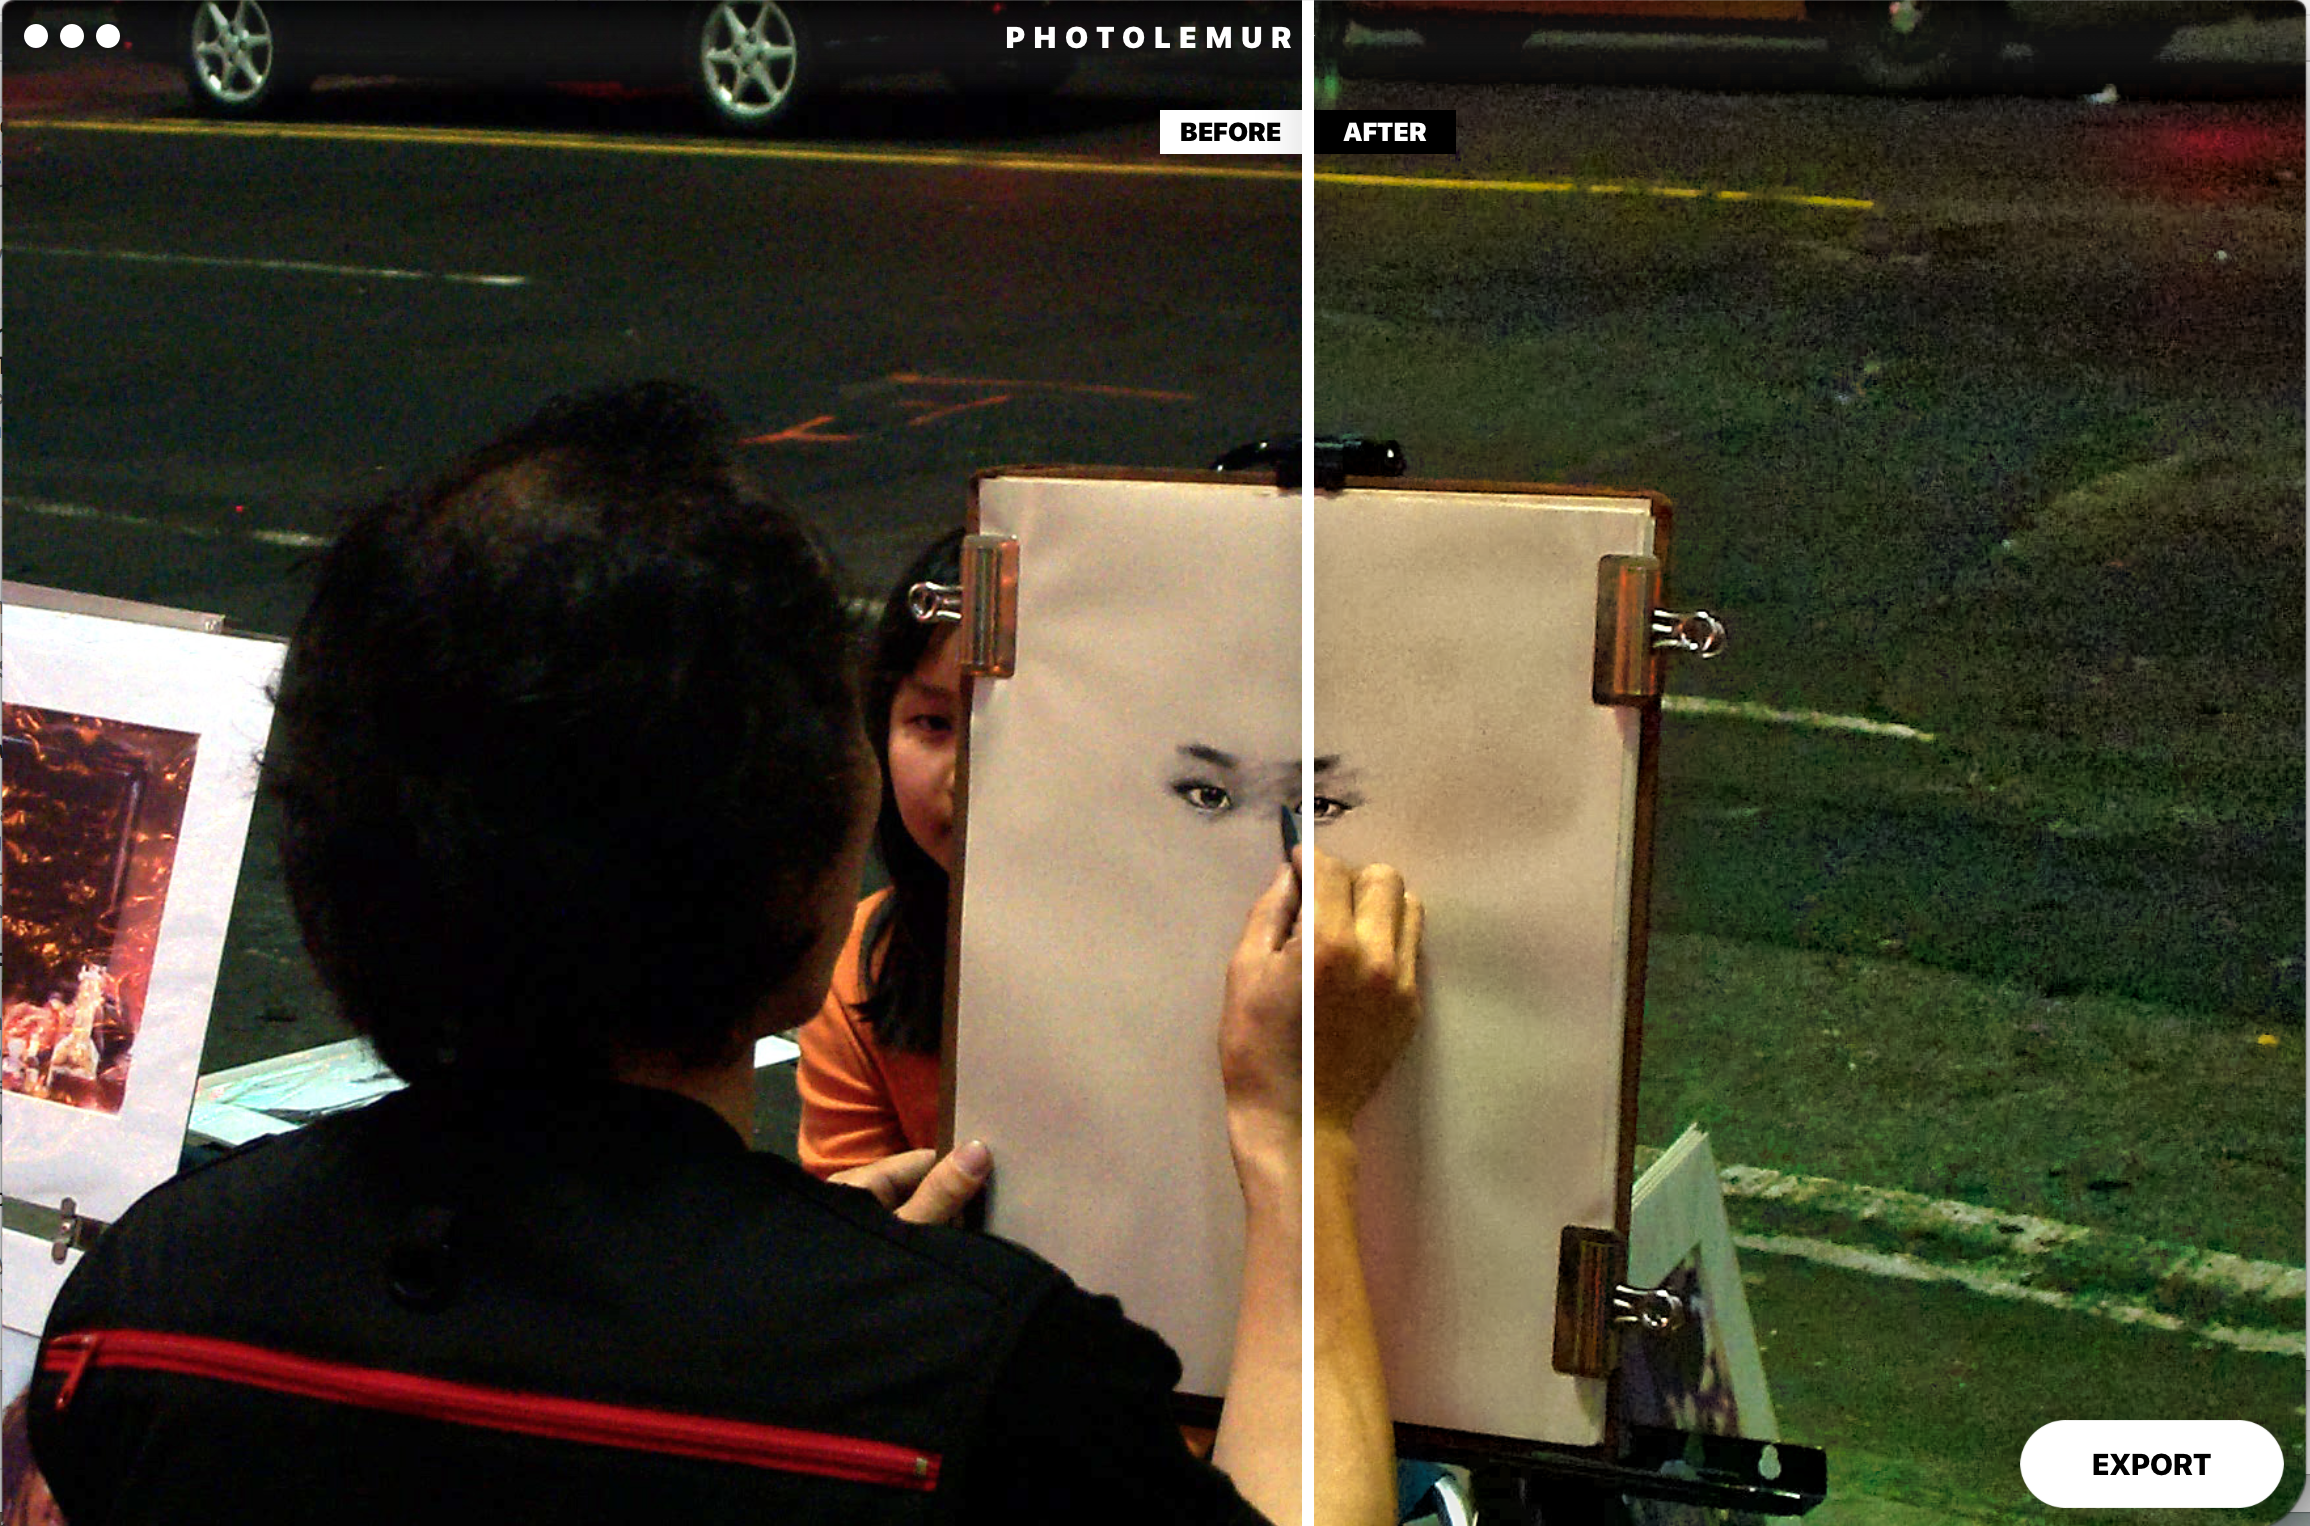
Further down the block, things were a little quieter, and I captured this charcoal artist at work. The software over-compensates in this shot, to me. The roadway and even the artist’s arm have a bit of a green cast.
Next night, I walked over to Rockefeller Plaza, as one does. It was late summer, so the ice rink was replaced with a restaurant and dance floor.
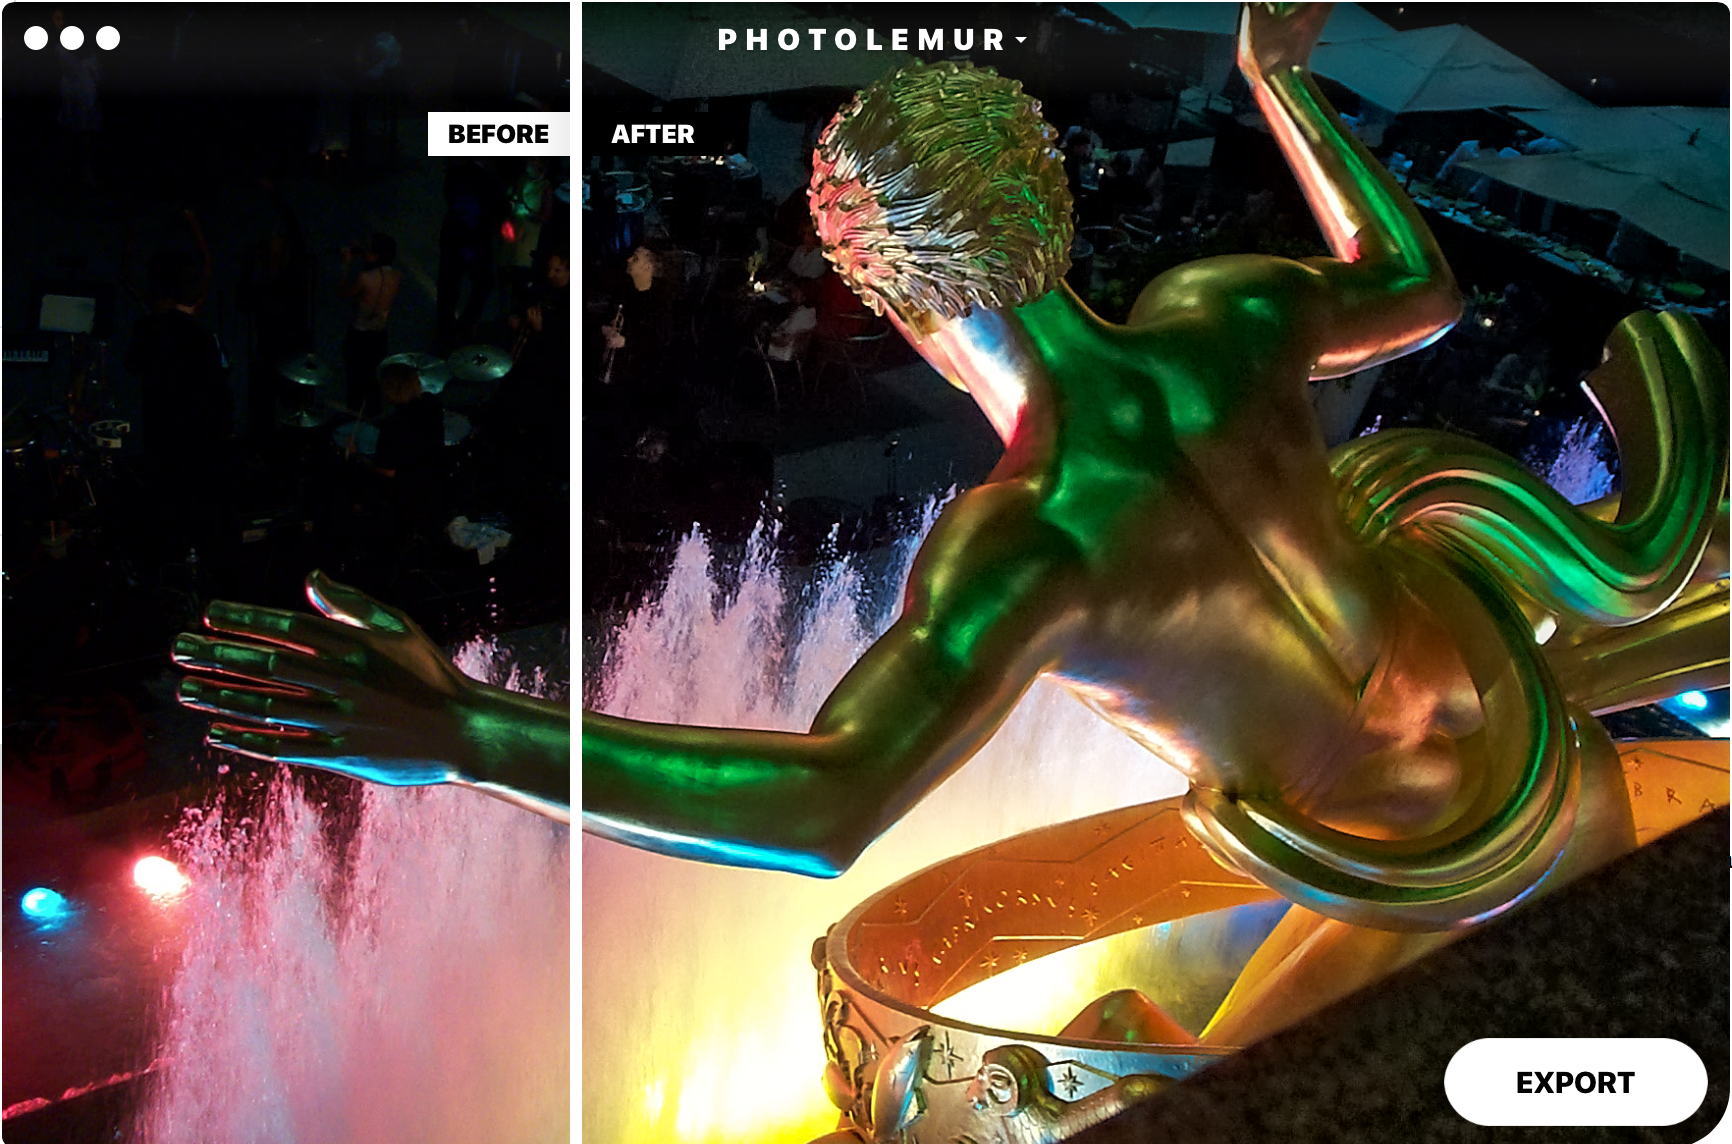
This shot from behind the iconic statue of Prometheus has a few better highlights, but the background detail is far improved. There is another band member to the left of the trumpet player, and those little globs floating above Prometheus’ left hand are cymbals from a drum set. You can see them clearly in the After shot!
So, as you can see, Photolemur can pull some amazing data out of what may be a pretty decent shot to start with. It combines color saturation, brightness, and contrast based on how it’s algorithm interprets your photo subject. Sometimes it’s spot on, but sometimes, it goes a little overboard.
If you’re not “into” photography, or just want to run through a batch of photos, you may really like having a simple drag and drop solution to processing your pics. If you’ve spent a lot of time learning Photoshop, Aperture, LightRoom, or The GIMP, or even Graphic Convertor, you may feel you can do as good or almost as good a job as this. With the subscription pricing, you could sign up for a month or so after a vacation, run through your photos, then unsub. At $36 a year, it’s still cheap by the standards of normal boxed software, even if it is a one-trick pony. If you’ve migrated to iOS or Android for more of your photo and post-processing, moving it over to an actual computer just to tweak details may be more than you care to do.
Source: The sample for this review was provided by Photolemur. Please their site for more info.

HP 14 Laptop, Intel Celeron N4020, 4 GB RAM, 64 GB Storage, 14-inch Micro-edge HD Display, Windows 11 Home, Thin & Portable, 4K Graphics, One Year of Microsoft 365 (14-dq0040nr, Snowflake White)
(as of April 27, 2026 12:10 GMT -05:00 - More infoProduct prices and availability are accurate as of the date/time indicated and are subject to change. Any price and availability information displayed on [relevant Amazon Site(s), as applicable] at the time of purchase will apply to the purchase of this product.)
Apple 2026 MacBook Air 13-inch Laptop with M5 chip: Built for AI, 13.6-inch Liquid Retina Display, 16GB Unified Memory, 512GB SSD, 12MP Center Stage Camera, Touch ID, Wi-Fi 7; Midnight
(as of April 27, 2026 17:12 GMT -05:00 - More infoProduct prices and availability are accurate as of the date/time indicated and are subject to change. Any price and availability information displayed on [relevant Amazon Site(s), as applicable] at the time of purchase will apply to the purchase of this product.)Product Information
| Price: | Sold as a subscription. Currently $4/month billed monthly, or $3/month billed annually. |
| Manufacturer: | Photolemur |
| Requirements: |
|
| Pros: |
|
| Cons: |
|
Gadgeteer Comment Policy - Please read before commenting
Good day! Can you fix the link to app’s homepage at the end of an article, pls? It’s broken right now.
Thank you for letting us know, I just fixed it.
Thanks for reviewing the software I might get it! But, really it helps if we see full image comparisons. Not half a skyscraper and a portion of plants with a dragonfly etc. obviously it looks better but it is a weighted coverage.