Since the demise of the Heathkit, I’ve lived with an emptiness in my gadget life. However hope springs eternal, so when I heard about the Calculator kit from SpikenzieLabs, I was prepared to do whatever it took to review it. Thank goodness I was selected and could now feed my kit-building addiction. Hopefully my excitement is justified.In the Jurassic period of technology (1960’s), kit building was big business. Kits were available for various devices from Radio Shack, Lafayette Radio, and the big guy, Heathkit. My first build was a capacitive discharge ignition add-on for my 1969 Plymouth Satellite. Not only was it fun, but it saved me from needing a plug and points change every 3000 miles. In those early years, kit building usually got you a product at lower cost and maybe higher specs than off the shelf. My first microwave oven was a Heathkit and was very well priced at $400 in 1969, plus I had the benefit of being able to repair it if necessary.
Over time, as more manufacturing moved overseas, the price advantage eroded. Also, as the technology moved from discrete components to more integrated assemblies, there wasn’t much to “build” anymore. Eventually we got to the point that it was cheaper to toss a broken product than repair it, which eliminated one of the major benefits of kit building. The only benefit left was the fun of building, but that doesn’t seem too big a market and the major electronic kit sellers stopped producing kits.
SpikenzieLabs is trying to address the “fun” kit building market with their products, especially with the calculator kit. Now, if all you want is a 4-function calculator, you don’t want to purchase this kit for $43. You’d be better off calling AAA for an automobile insurance quote, and they’ll send you a free calculator. However, if you enjoy building something and want to learn how things work, this might be for you.
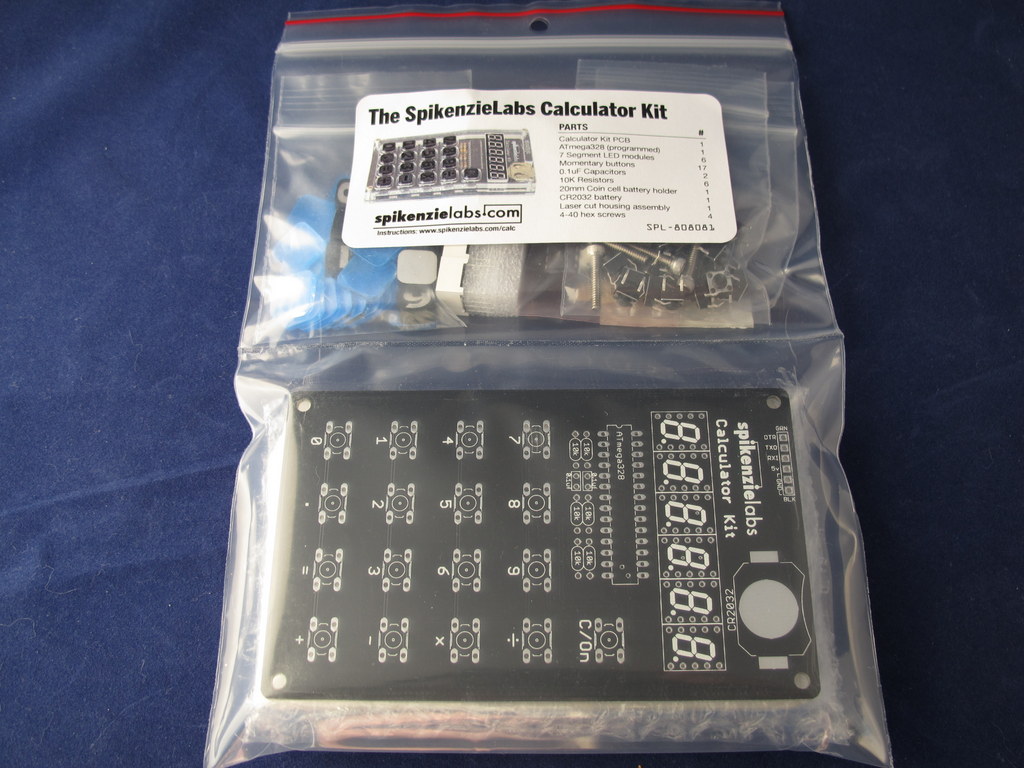
The calculator kit arrived packaged in a zip lock bag.
Features:
- Add, subtract, multiply, and divide
- It is easily modified using the Arduino IDE
- Six bright red 7-segment LED modules
- Powered by a single CR2032 battery
- Instant-on
- Automatic sleep
- Extra long battery life
- Layered laser cut acrylic case
All the components for the calculator are included, but you’ll need some other items for assembly:
- Soldering iron (I used a 40 watt iron with changeable tips)
- Solder (I used lead-free 97% tin)
- Diagonal cutters (to cut off the excess leads)
- 5/64 allen wrench
- Masking tape (used to hold pieces together when assembling the case)
There are no instructions included with the package, so you’ll have to go to the SpikenzieLabs web site to download the PDF. I printed them out and marked off each step as it was completed.
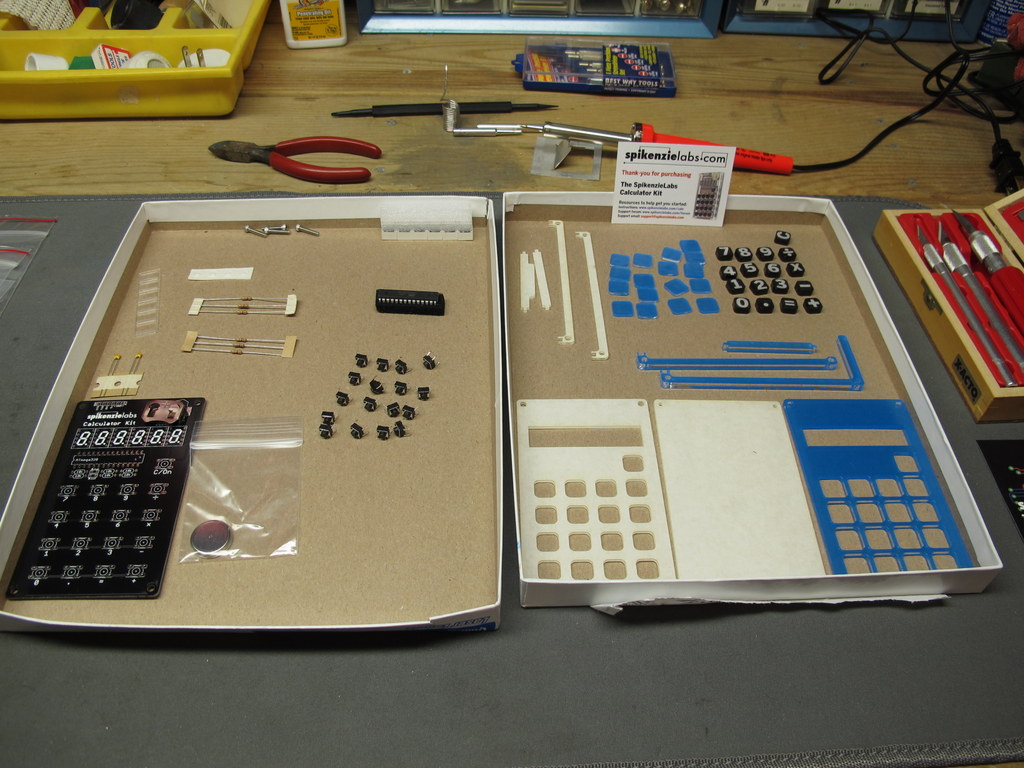
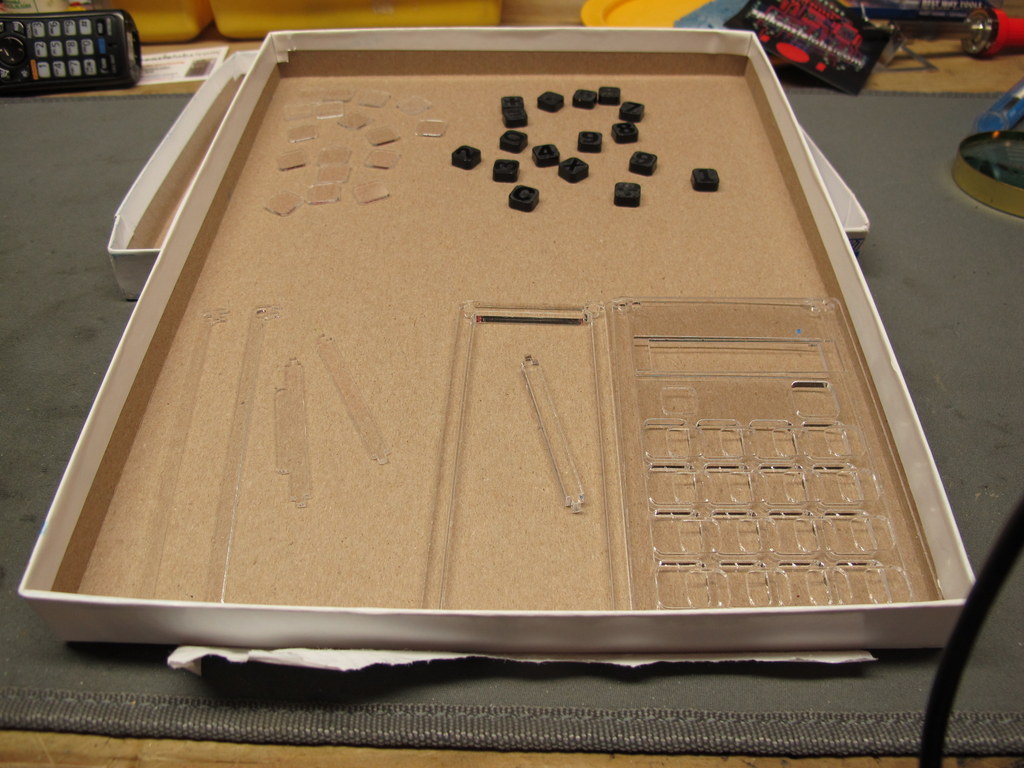
The first thing I did was to inventory the parts. This is easy to do if you lay out the pieces by their chronology in the build. First you’ll build the circuit board and then you install that into the case. What the photo shows above is my approach to keeping the parts from disappearing. I used an empty letter size paper box to keep the parts on my workbench. Once I had all the pieces in place and the soldering iron powered up, I began the build.
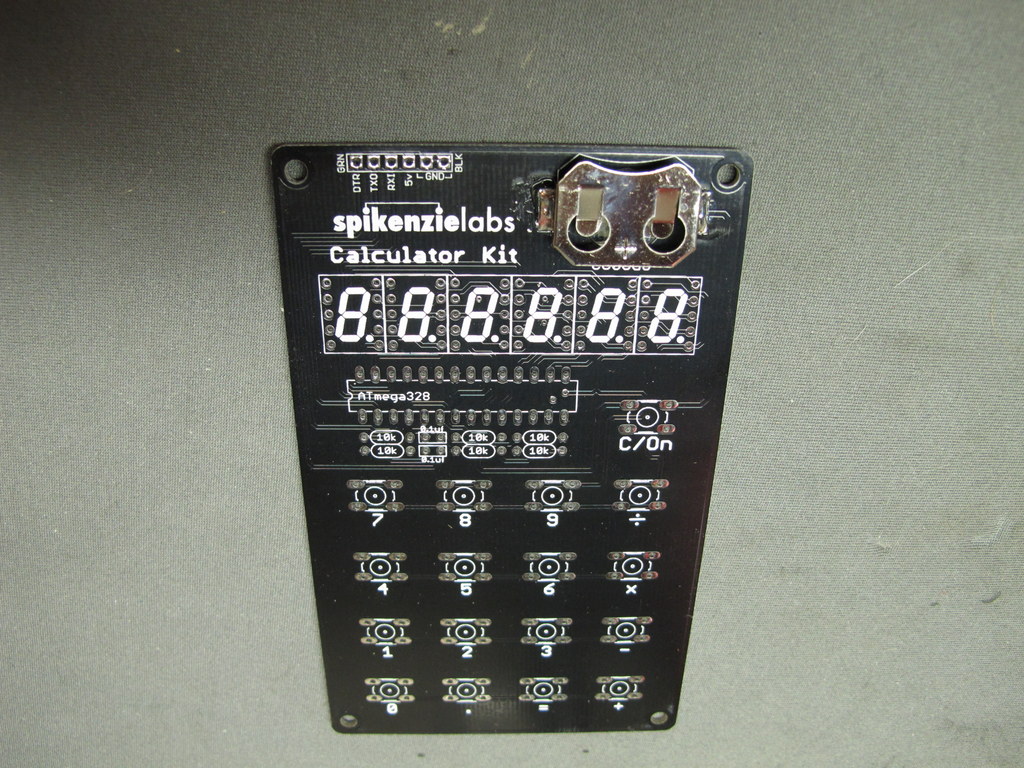
The first solder joint you make is the battery holder attachment to the PCB (printed circuit board). You’ll notice from the photo that all the places for the components are clearly marked on the PCB.
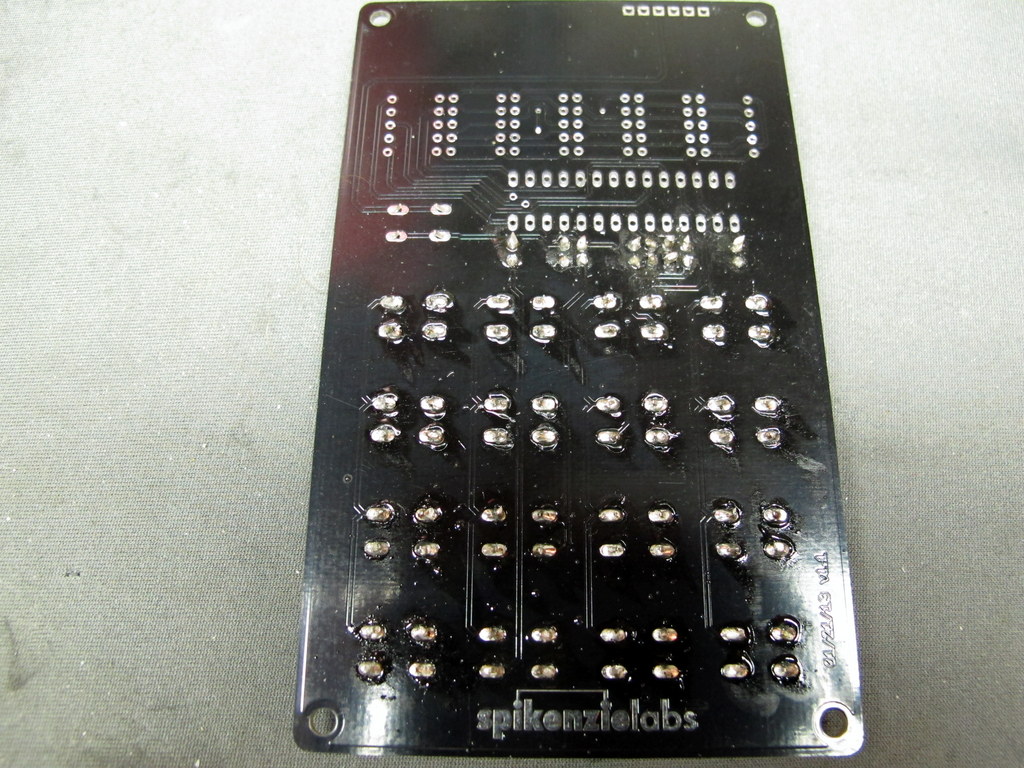
This is the back side of the PCB after I have soldered in some of the components and clipped the excess leads. Notice at the top there are the connections for the IC and seven segment displays. CAUTION: if you have no experience soldering electronic components to a PCB, you might want to practice on something else. Many of the connections on this PCB are very close together and it is easy to make a solder bridge, causing the device not to work. My best advice when soldering this kit is to have PATIENCE. Although I built the calculator in a little less than 3 hours, I spread it over 2 days.
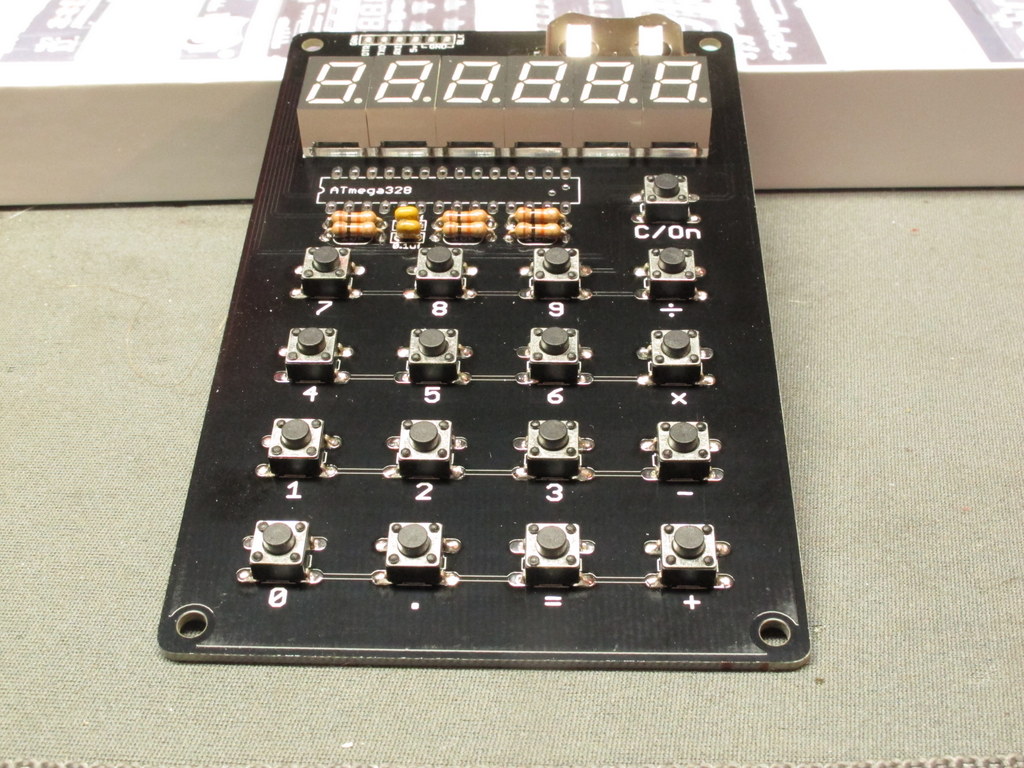
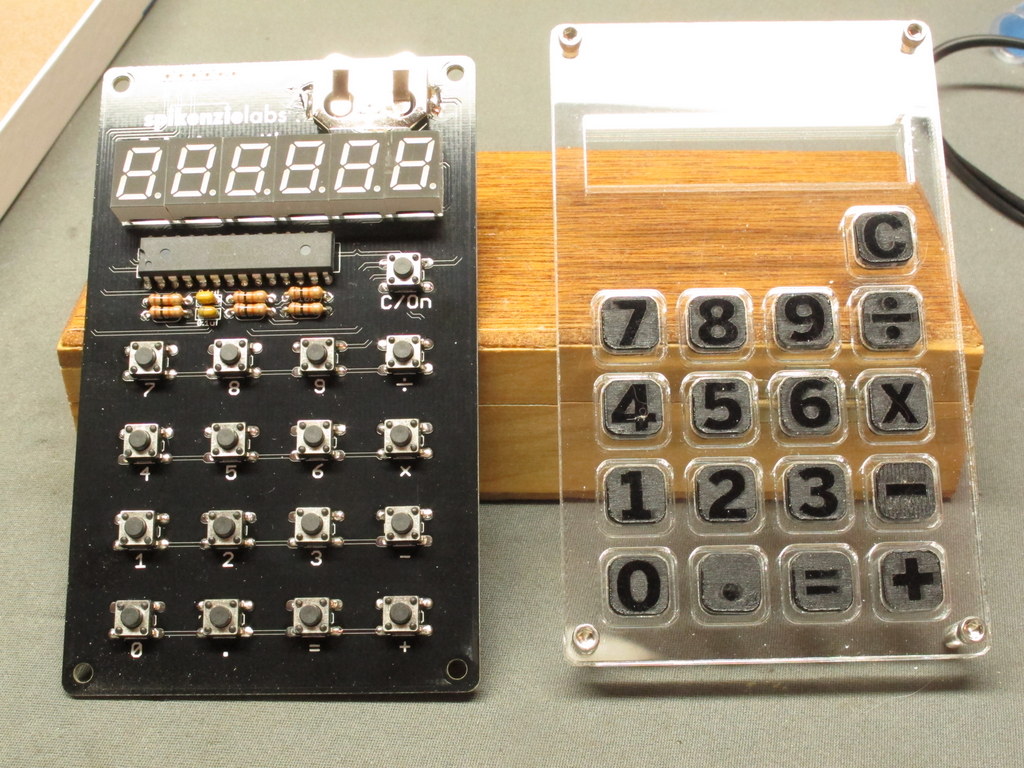
At this point all the electronic components are installed except the IC.
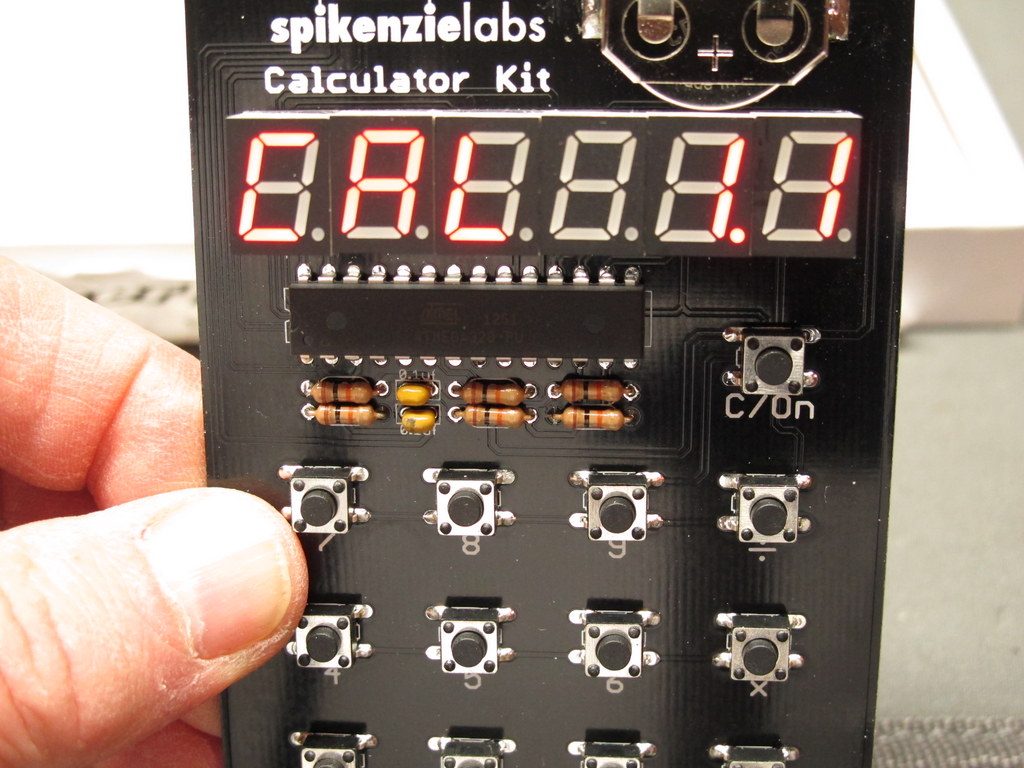
Everything is now soldered in, and it’s time to give the calculator the “smoke test”. After installing the battery and if you’ve done everything correctly, the display will show CAL and the firmware version, in this case 1.1. So far, so good.
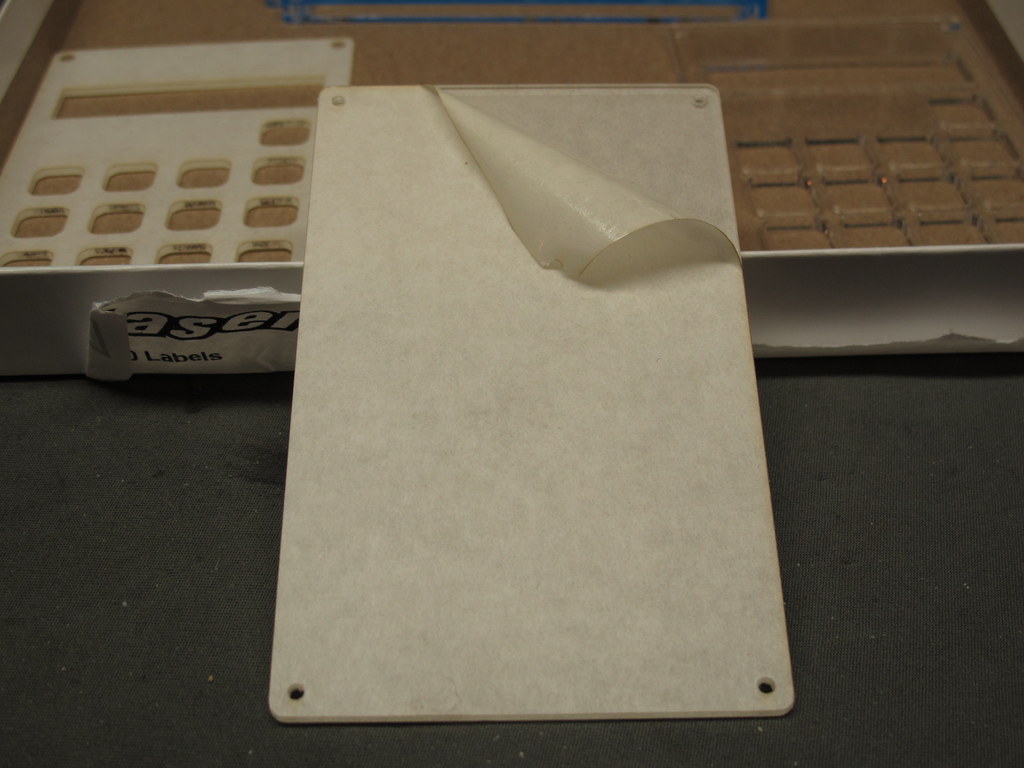
Before you can assemble the case, you have to remove the protective paper from both sides of each piece of plastic. Like Andy Chen pointed out in his review of the Solder Time II watch, this is the most time consuming part of the process. If you use anything harder than the plastic to remove the paper, you will scratch it. A fingernail seems to be the best option, but it is tedious.
The peeling business took me over an hour. For some reason it’s very difficult to get the paper started. Here all the plastic is ready to go.
The next step is to temporarily assemble the back and front pieces to act as a template to install the buttons. The buttons have sticky tape on the backs.
The last steps in the process are assembling the calculator into the case. This is made like a sandwich starting with the back plate, then some spacers, the PCB, some spacers and finally the front plate with the buttons. It sounds simple enough, but I could have used a third hand. I suggest you do the assembly over a container so that if any pieces fall, you can easily find them.
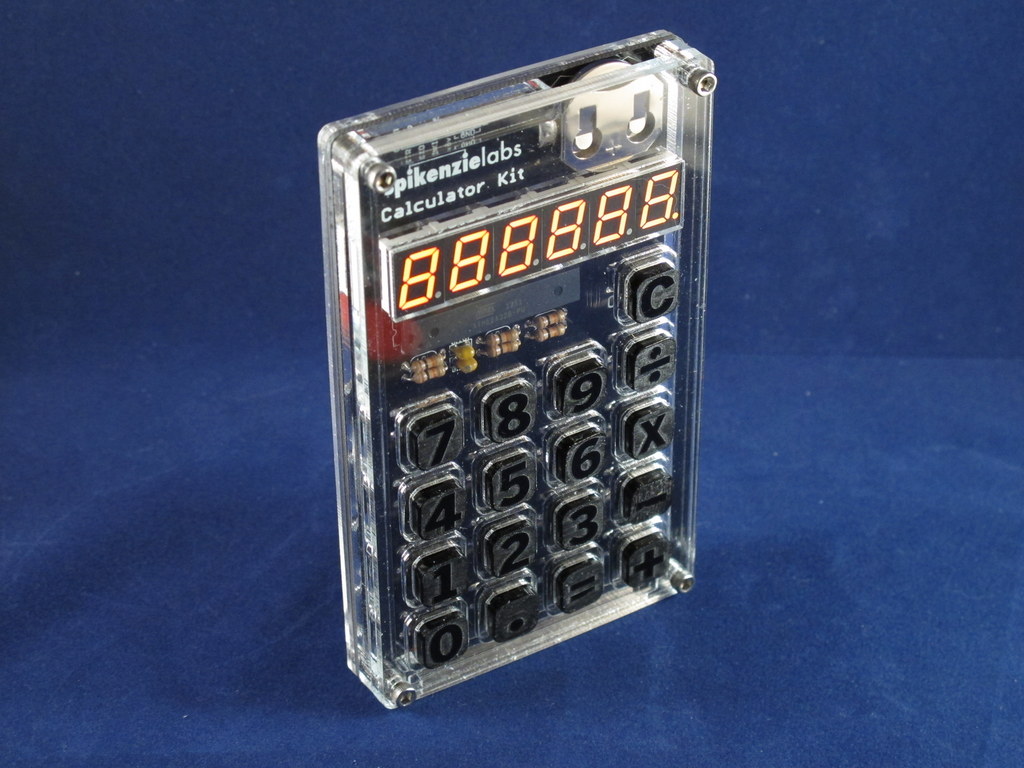
When you’re finished, you’ll have a product that showcases your soldering abilities.
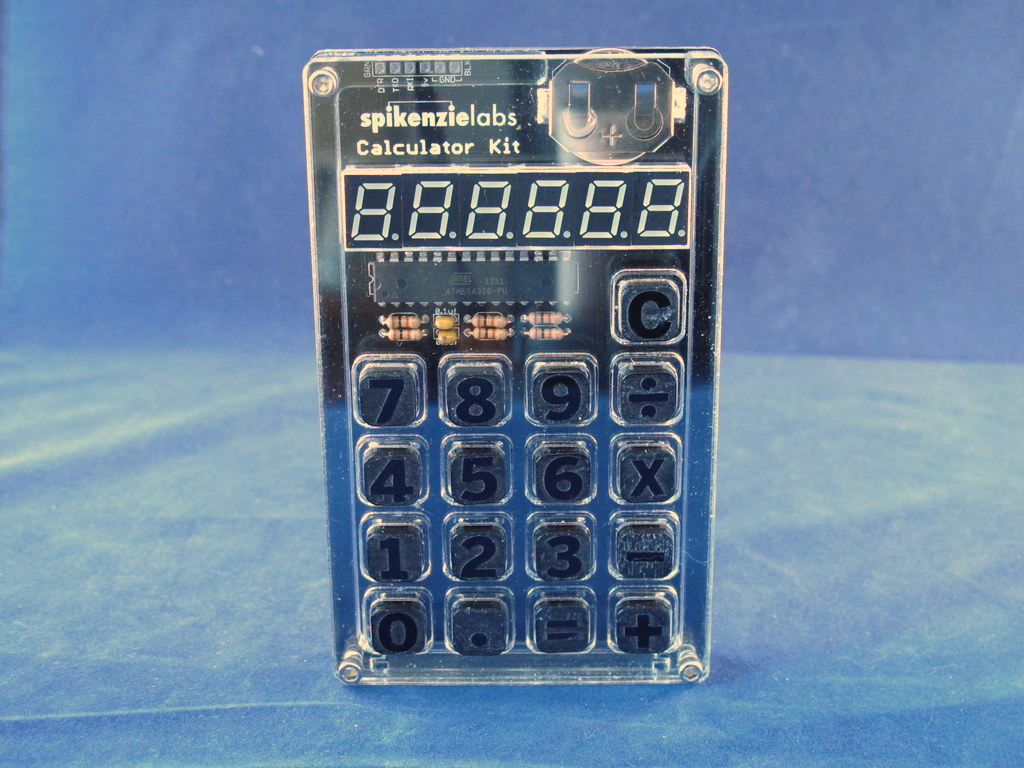
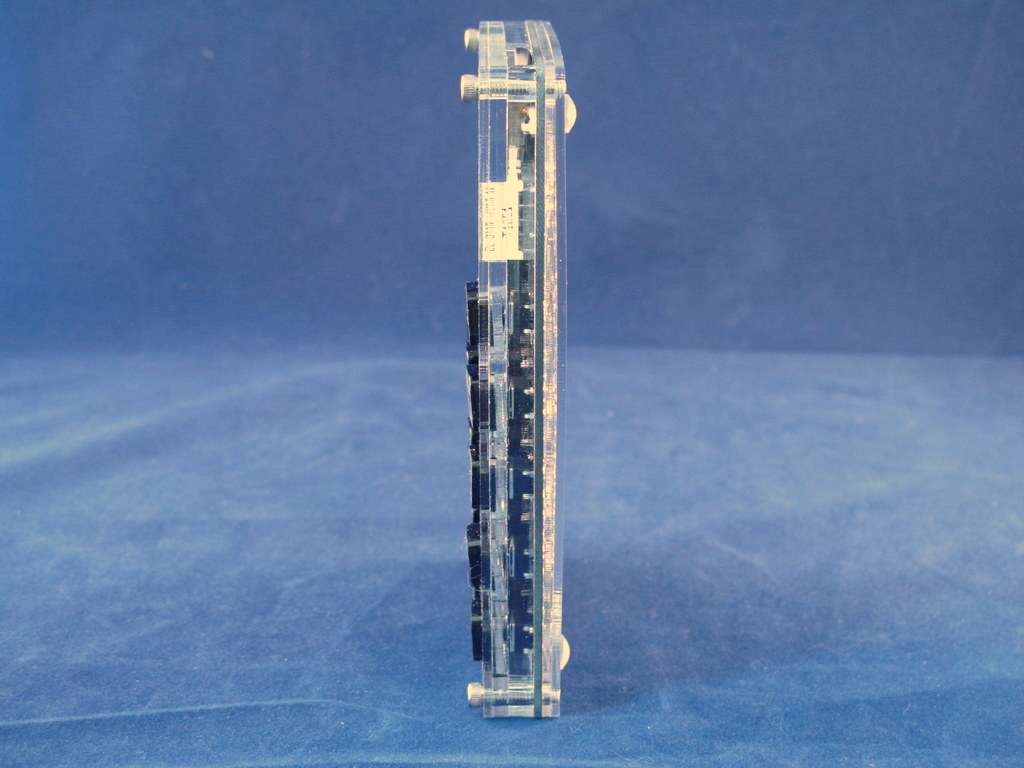
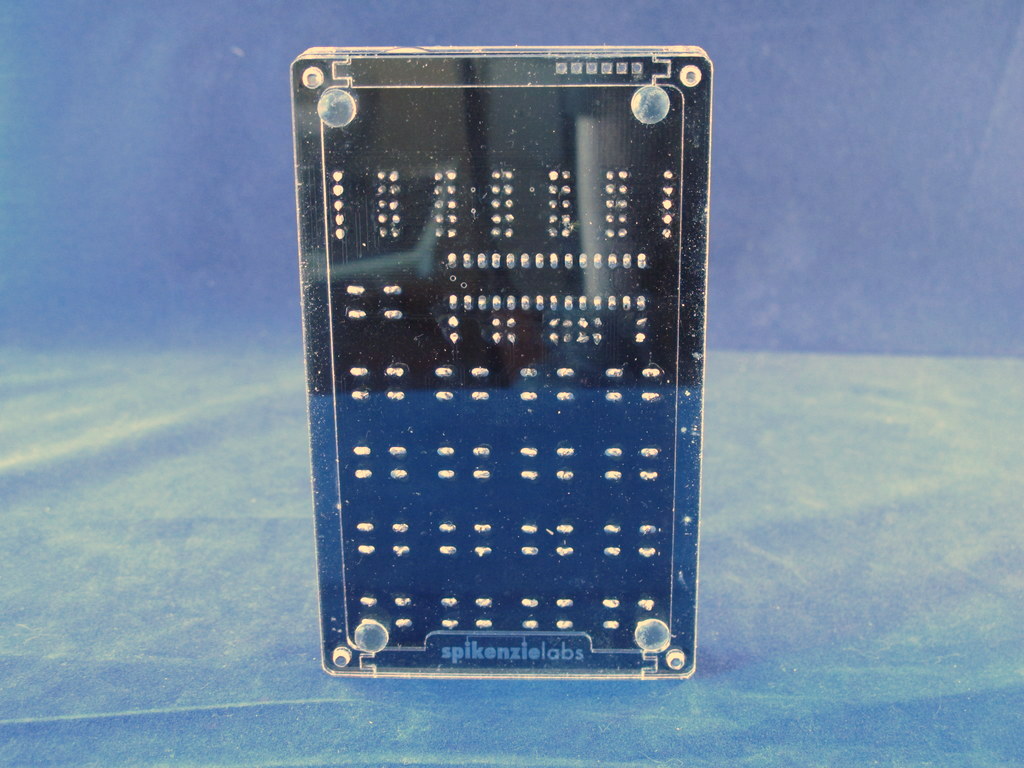
The clear plastic allows all the components to be seen. The final assembled unit has a retro look and feel about it. A note about the features of the calculator: it is hackable, but that’s beyond my abilities. The 4 functions pre-programmed are fine for me.
I admit, I really enjoyed building the calculator. Aside from the fact that I can take pride in my handiwork, it is also a functional device, and then there is the cool factor. My biggest problem is keeping it from getting “borrowed”. If you want to bump up your geek creds, you should consider the SpikenzieLabs Calculator Kit. When your contemporaries pull out their smartphones at the next meeting to do some math, you can bring out the SpikenzieLabs calculator. Guess who’ll get noticed!
Product Information
| Price: | $43.95 |
| Manufacturer: | SpikenzieLabs |
| Retailer: | SpikenzieLabs |
| Requirements: |
|
| Pros: |
|
| Cons: |
|
Gadgeteer Comment Policy - Please read before commenting
Now this is something I might buy!
Thanks for the in depth review!!!