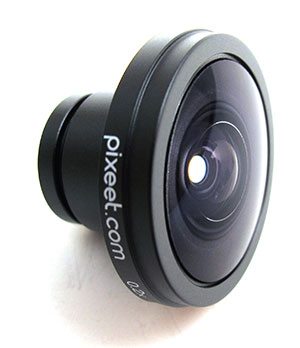
 I often say how much I like the iPhone 4’s camera. It takes very good pictures considering that it has a 5 megapixel fixed lens. It’s no DSLR, but I find that I take many more pictures than I ever have before, mainly due to the fact that it’s always in my pocket or gear bag. I must not be the only one, because there are quite a few photography accessories that have been designed specifically for the iPhone. The one I’m going to show you today is the Pixeet Panorama iPhone Lens Kit.
Note: Click the images in this review to see a larger view.
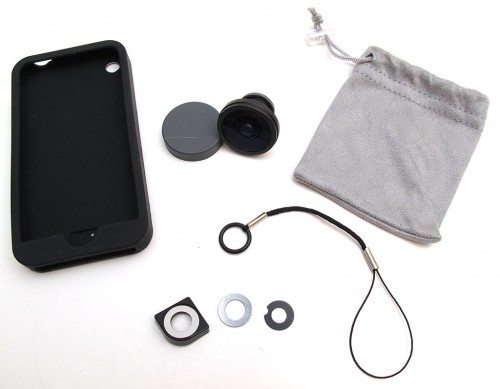
Package Contents
Pixeet fisheye lens
Protective lens caps
Drawstring pouch
Silicone iPhone case
Stick on steel lens attachment rings
Lanyard
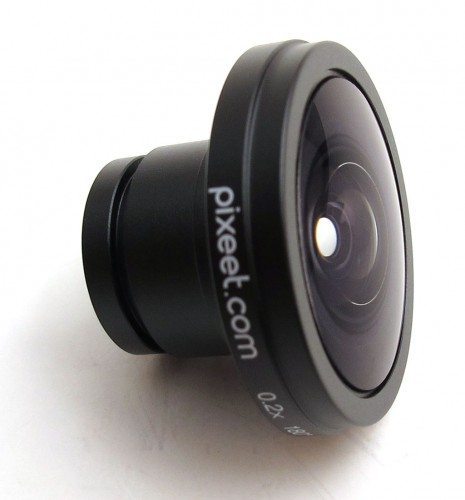
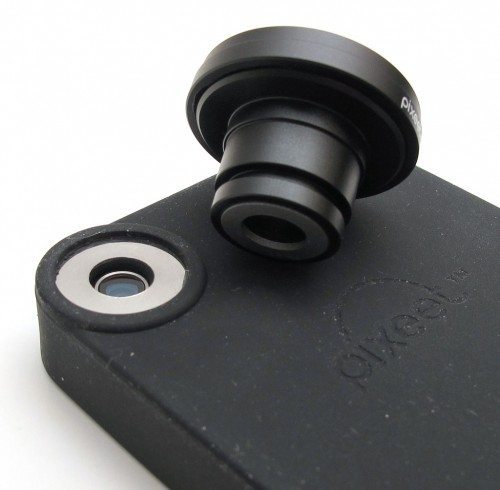
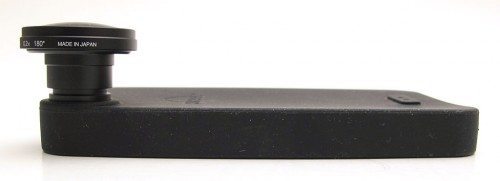
The Pixeet fisheye lens looks pretty professional for an iPhone accessory. The case is made of aluminum and the lens is made of optical glass.
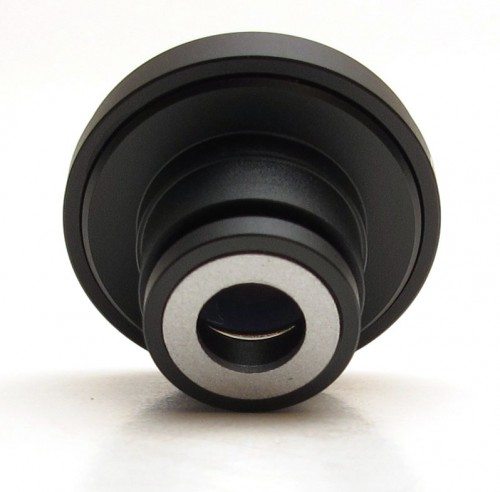
The base of the lens is magnetic.
To attach it to your iPhone, you can use the included silicone case / skin, that has a metal ring over the phone’s lens.
The lens magnetically sticks to the ring, holding it in place.
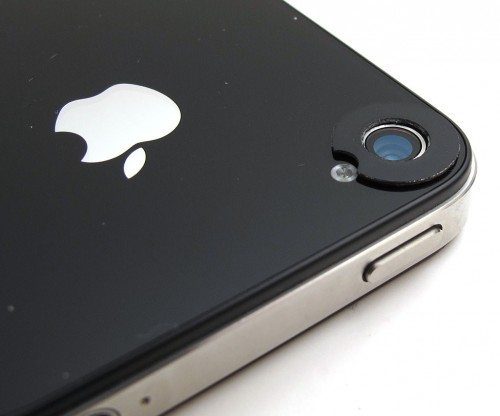
If you don’t want to use the case and aren’t squeamish about sticking an adhesive ring to your phone, you can use the one included in the package. There’s even a notch in the ring for the LED flash.
Once you’ve attached the lens to your iPhone, the next step is to download the free Pixeet app.
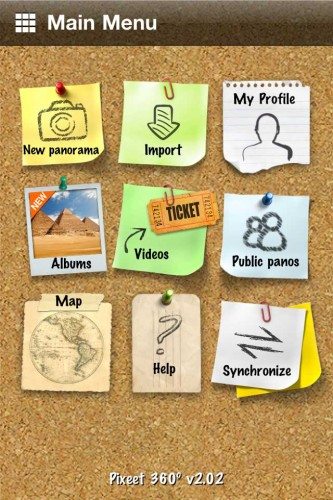
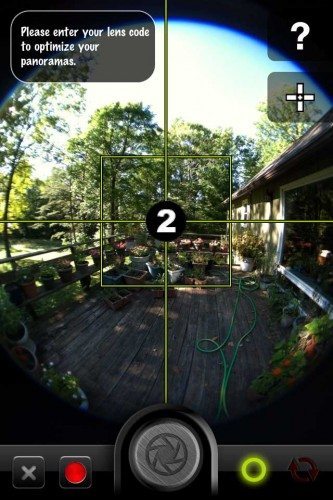
The Pixeet interface is pretty simple to understand. Just click the New Panorama button to get started.
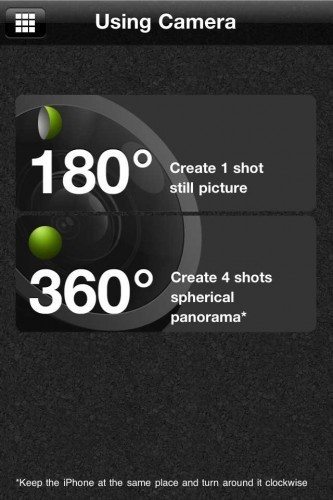
You can then decide if you want to create a 180 or 360 degree panorama. The 180 degree panorama only requires one image, while the 360 requires 4.
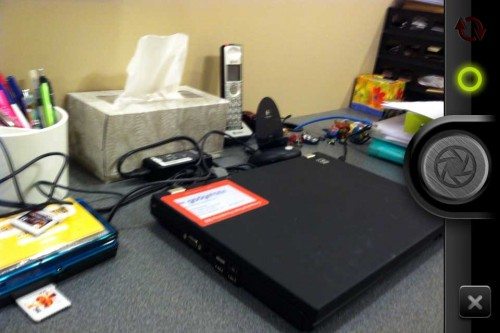
To take a 180 degree panorama, you hold the phone in landscape orientation. If you forget, the Pixeet interface will remind you with the green / red orientation indicator (see image above). Line up your shot and press the onscreen shutter button. That’s all there is to it.
Here’s a shot without the Pixeet lens.
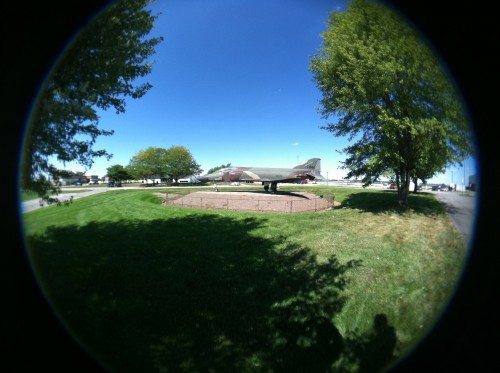
And here’s a shot with the lens attached using the iPhone’s normal camera app. Notice how it looks circular and sorta of warped? That’s where the lens gets the name “fisheye”.
Here’s another example without the lens…
And with the lens.
Here’s a completed 180 degree panorama:
Pretty cool right? 360 degree panorama’s are even better… except that they require 4 images instead of 1.
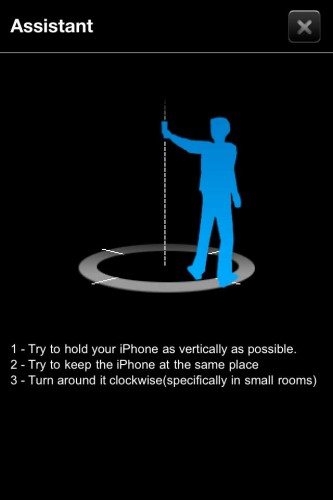
To capture a 360 degree panorama, you have to hold the phone in portrait orientation and rotate a quarter turn for each shot.
The app will indicate which way to rotate and will help you line up your shots. It’s not difficult to take the 4 shots, but if you’re in a public place taking them, it might make you feel a little weird twirling around.
Here’s an example of a 360 degree panorama:
Your panoramas can be viewed through the app’s interface, or you can sync then to a free account on the Pixeet website.
The free account allows you to upload up to 50 panoramas per month. Pro accounts have no limit, higher resolution and commercial features so that you can add your own branding and audio to the panoramas. The price for the pro account is $19.90 per month or $199.9o per year. That yearly price will also get you a free upgrade to iPhone 5 hardware. That’s a lot of money for the pro account, but I can see realtors opting to pay it so that they can create virtual tours of homes.
I was a little apprehensive of the fact that there didn’t seem to be a way to archive the panoramas off the Pixeet website. However, with a little digging, I found that you can download the images that can probably be loaded into other software to recreate the panoramas if needed.
The Pixeet fisheye lens is a fun accessory to have for your iPhone. It’s not extremely expensive and offers some unique photographic options.
INIU Portable Charger, Smallest 22.5W 10000mAh Power Bank, USB C in/Output Fast Charging 3-Output Mini Battery Pack Charger with Phone Holder for iPhone 16 15 14 13 12 Samsung S23 Google iPad Tablet
22% Offtomtoc Sling Bag Crossbody Backpack EDC Daypack for Men Women, Chest Shoulder bag for 2024 14" MacBook Pro M4, 13" MacBook Air/Pro, 2025 11" iPad A16/Air M3&M2/Pro M4, Daily Use, Work, Travel- S Size
$60.99 (as of May 17, 2025 19:01 GMT -04:00 - More infoProduct prices and availability are accurate as of the date/time indicated and are subject to change. Any price and availability information displayed on [relevant Amazon Site(s), as applicable] at the time of purchase will apply to the purchase of this product.)Product Information
| Price: | $49.90 |
| Manufacturer: | Pixeet |
| Pros: |
|
| Cons: |
|





![[From INIU - the SAFE Fast Chage Pro] Experience the safest charging with over 38 million global users. At INIU, we use only the highest-grade materials, so we do have the confidence to provide an industry-leading 3-Year iNiu Care. [22.5W Speedy Char...](https://m.media-amazon.com/images/I/416nS4GRFtL._SL160_.jpg)
