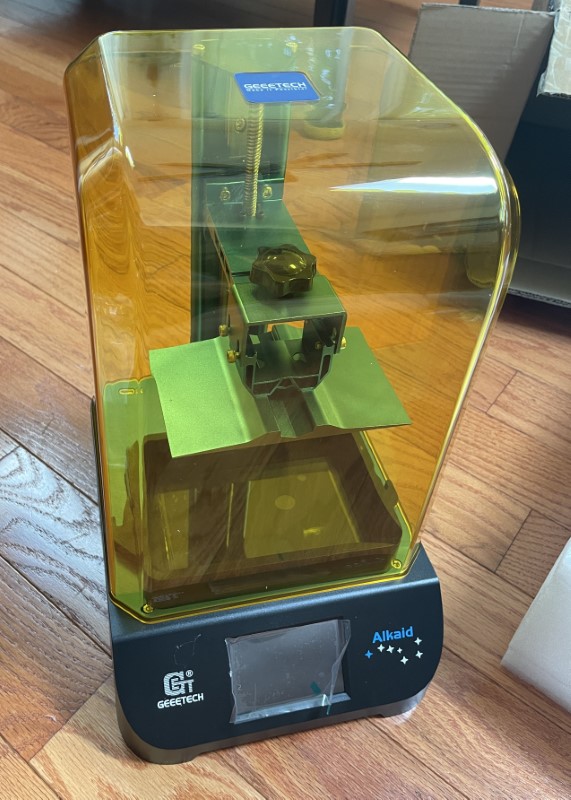
REVIEW – I’ve been working with 3D printers for several years, but reluctant to dive into resin printing because of the cost and complexity. Geeetech’s sub $100 Alkaid printer was just the incentive I needed to dive in. Is it any good? Join me for a peek!
What is it?
The Geeetech Alkaid is a 3D printer capable of forming objects one layer at a time using liquid resin that is hardened using an integrated ultraviolet light source.
What’s in the box?
- Geeetech Alkaid Resin 3D printer
- USB stick with software
- Hex wrench
- Tweezers
- Power adapter
- Power cord
- User manual
Hardware specs
- Model: Geeetech Alkaid
- Printing technology: LCD light curing surface forming technology
- Print volume: 82 x 130 x 190mm (3.23 x 5.1 x 7.5 inches)
- XY resolution: 0.051mm
- LCD size: 6.08in
- LCD resolution: 2560 x 1620 pixels (2K)
- Z-Axis precision: 0.001mm
- Layer thickness: 0.01 to 0.2mm
- Printing speed: 30mm/hour
- UV lamp: Rated power 45 watts
- Resin: 405nm ultraviolet curing
- Slicer software: Chitubox
- File Type: CTB
- Working Temperature: 10 to 35°C (50 to 95°F)
- Working Humidity: 30 to 70%
- Power: Input – 100 to 240VAC. Output – 12 volts, 5 amps
- Connectivity: USB type A
- Touchscreen: 3.5-inch full color
- Machine size: 286 x 226 x 372mm (11.26 x 8.9 x 12.3 inches)
- Machine weight: 4.2kg (9 lbs 4 oz)
Design and features
The Geeetech Alkaid Resin 3D printer arrived with outstanding protection in heavy foam.
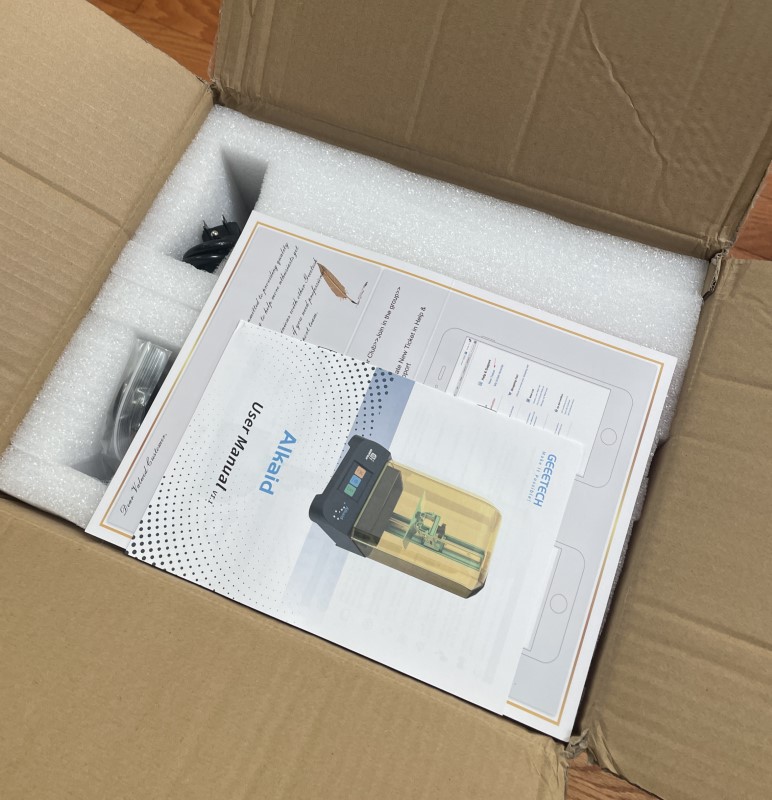
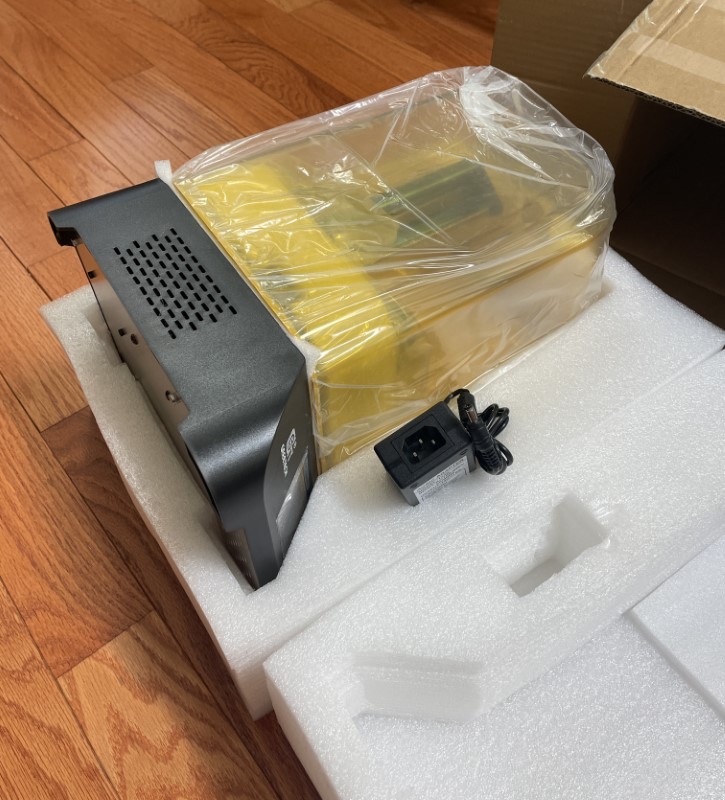
Unlike other printers I’ve used, The Alkaid requires very little assembly.
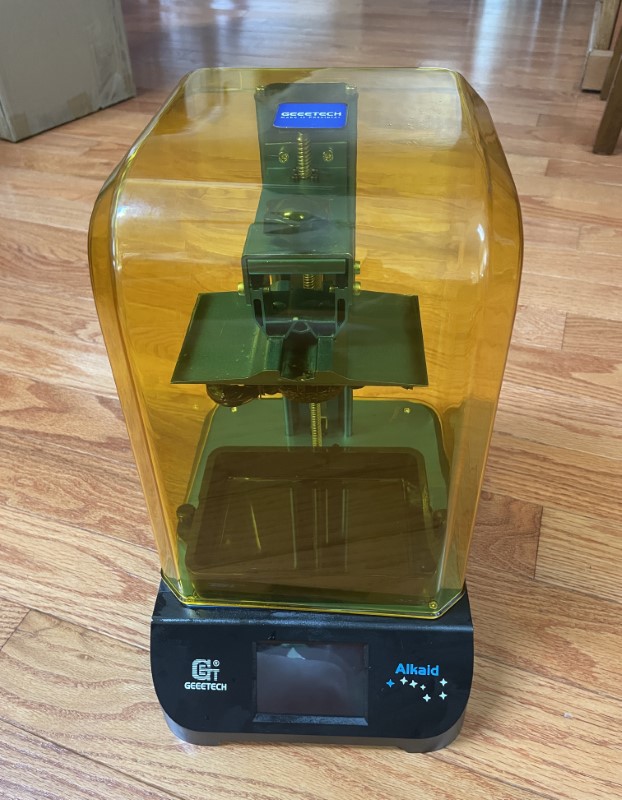
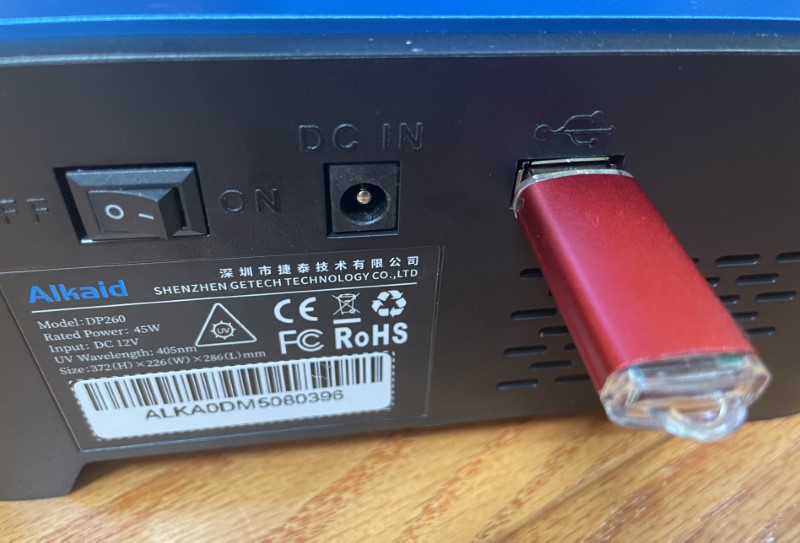
The cable plugs into a port on the back of the printer. The switch and USB-A socket are also on the back.
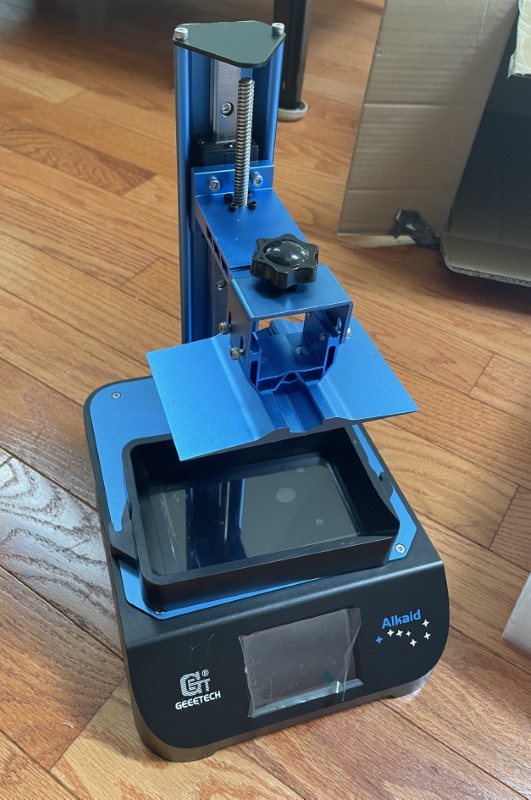
The supply tray and Z-axis are accessible under the yellow UV-light filtering cover. The resin used in the printer will harden when exposed to ultraviolet so it’s important to keep extraneous light out of the box. Accidentally cured resin can be a mess to clean up and “glue” moving parts together rendering the printer inoperable. Resin spilled onto the LCD plate can block the printer’s curing lamps and prevent successful printing too so it’s important to keep the Alkaid clean.
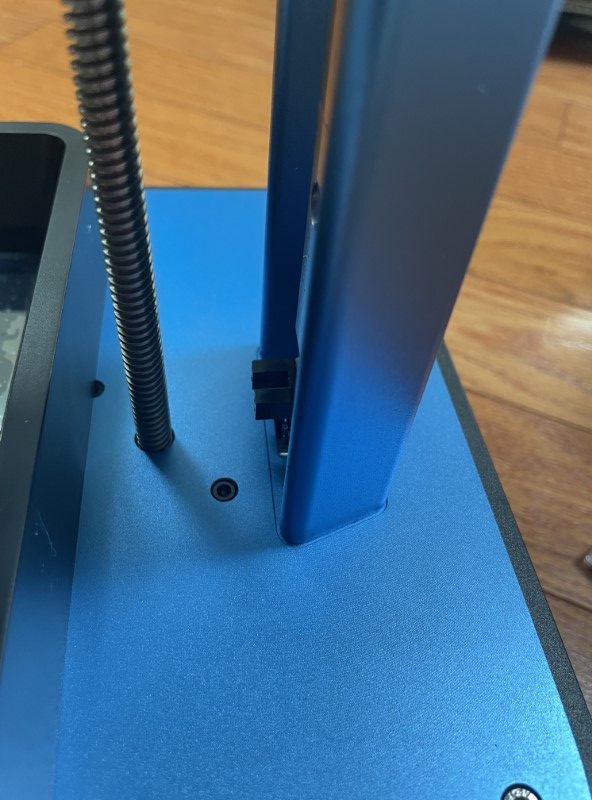
The Z-axis screw doesn’t have an upper limit switch, so use caution with the slicer settings and during manual movement.
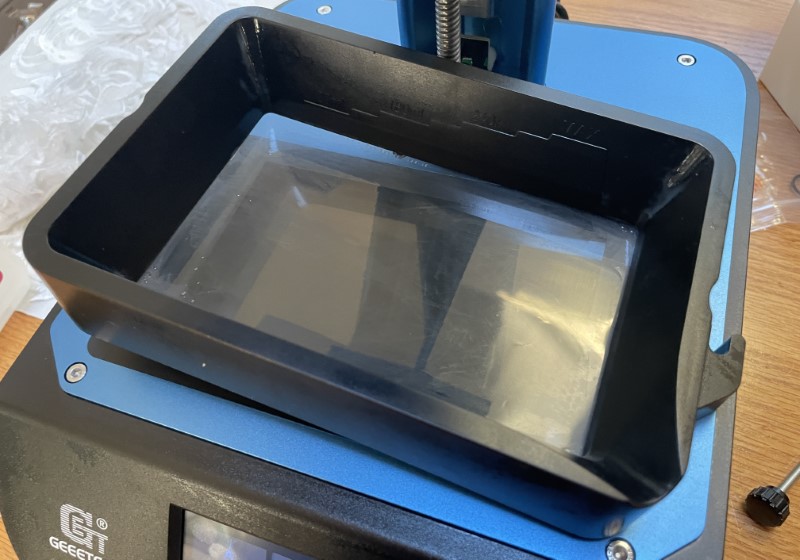
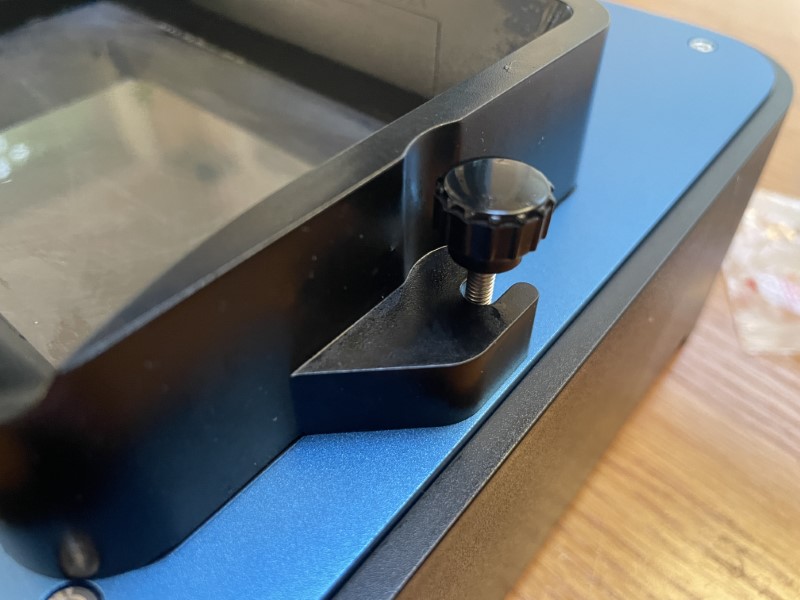
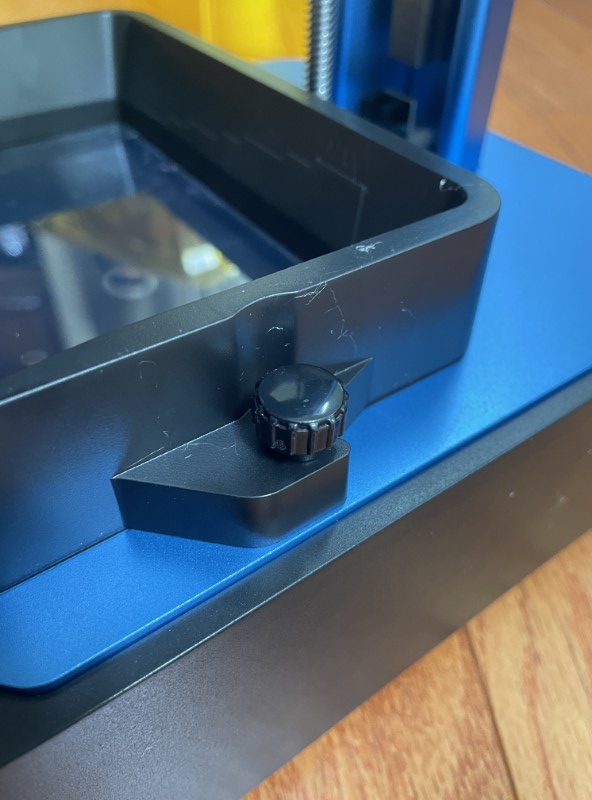
The resin reservoir is held in place with thumbscrews.
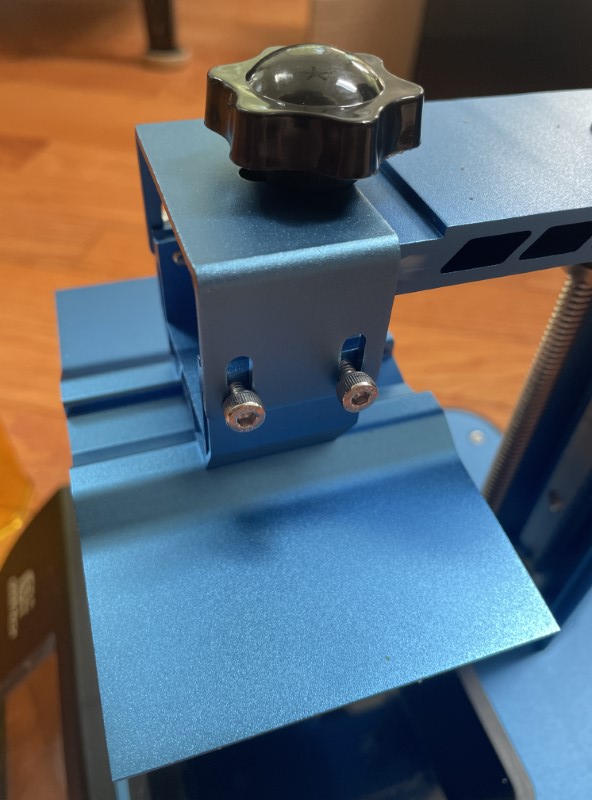
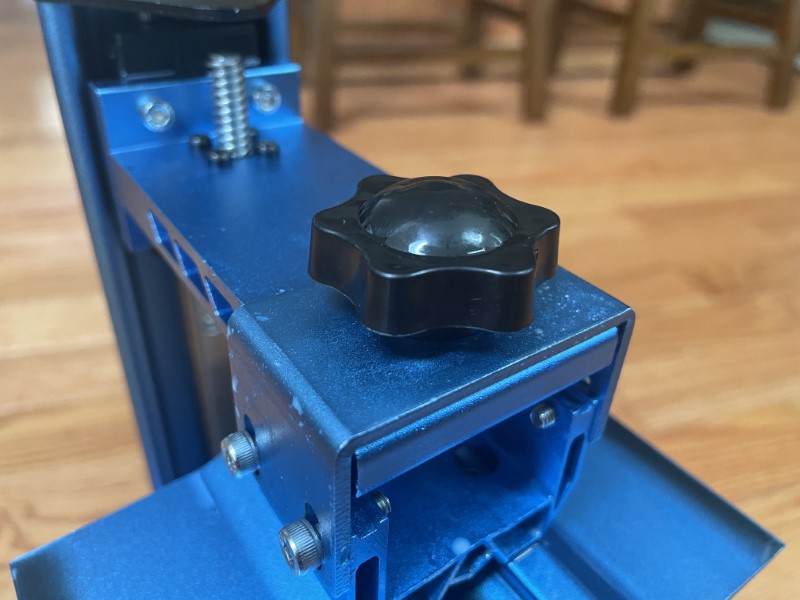
One of the few things that require setup is the Z-axis home position, but don’t fret because it’s shockingly easy. Loosen the hex screws on the sides of the build plate support, press the “Home” icon on the “Z Move menu,” and the plate moves to the lowest position. Hold the plate in position and retighten the screws. It takes only seconds. The print surface can be easily removed with a single retaining knob.
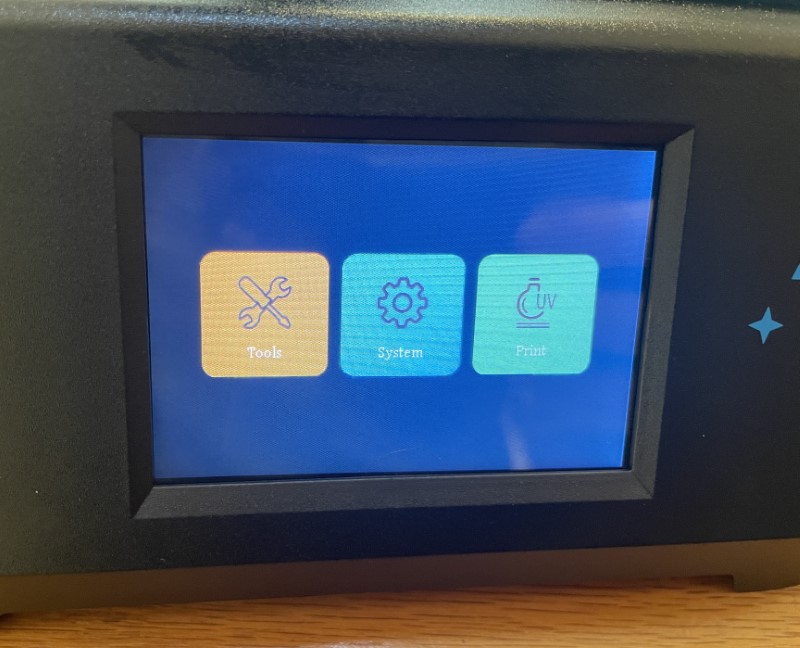
The full-color touchscreen is responsive. The first menu contains “Tool,” “System,” and “Print”
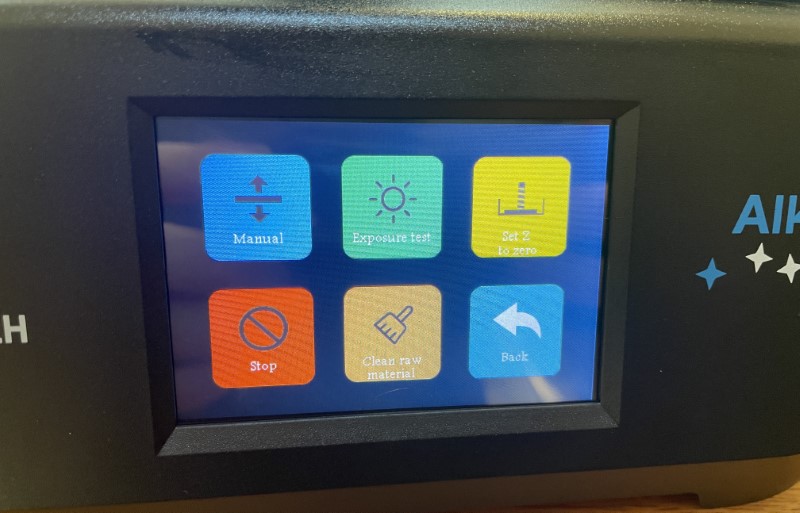
The “Tool” menu accesses buttons for “Move Z,” “Exposure,” “Set Z=0,” “Stop,” “Clean,” and” Back.” Set Z=0” doesn’t do anything because homing is automatic. “Stop” cancels any current operation.
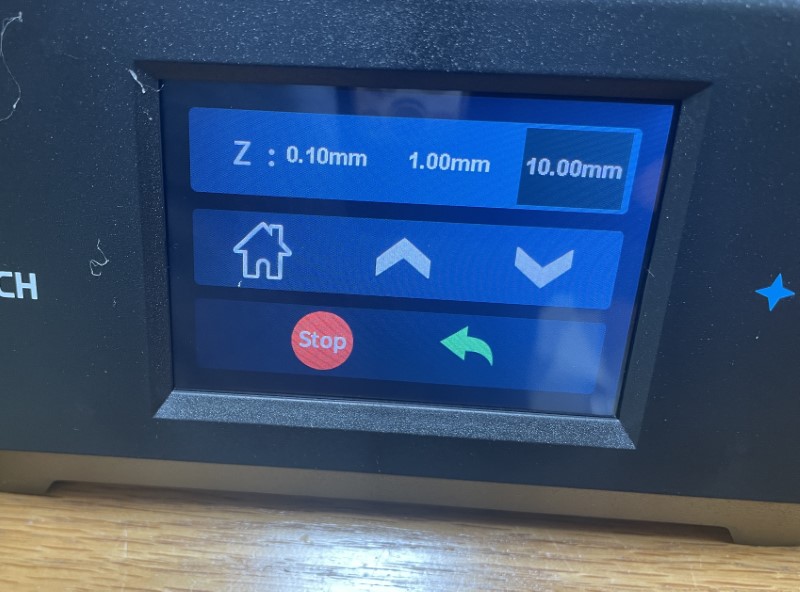
The “Move Z” menu homes the axis and moves up or down in increments of 0.1, 1, or 10mm.
“Exposure” sets the amount of time the LED pixels turn on and off to allow the resin to be exposed to UV light. Different formulas of resin require different exposures.
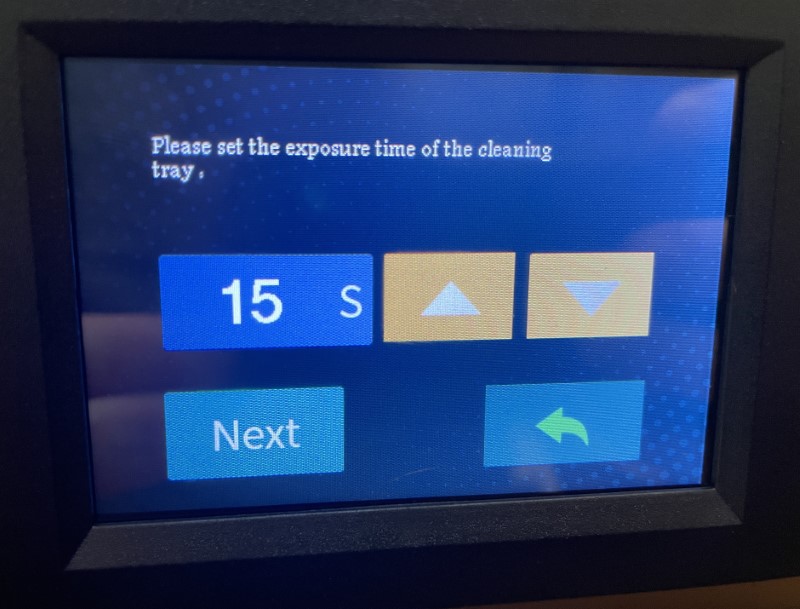
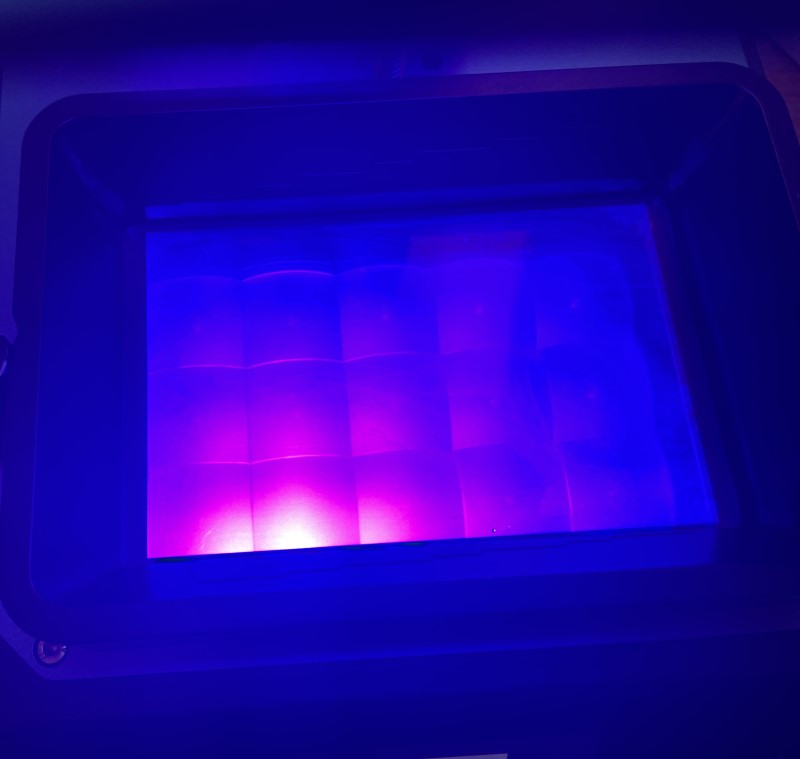
“Clean” activates the Geeetech Alkaid Resin 3D printer’s UV lamp to cure any resin in the supply tank. The hardened resin is easier and much less messy to remove.
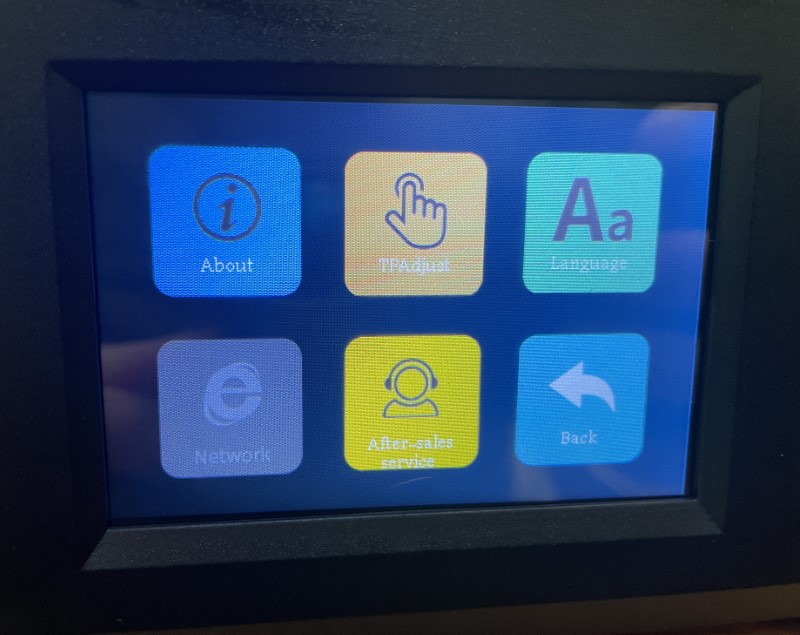
From the home screen, “System” opens configurations for “Information” (machine ID, hardware, and software versions), “Calibration” (touchscreen tuning), “Service” (help from the manufacturer), “Language” (Chinese or English), and “Network” (not enabled on the Alkaid)
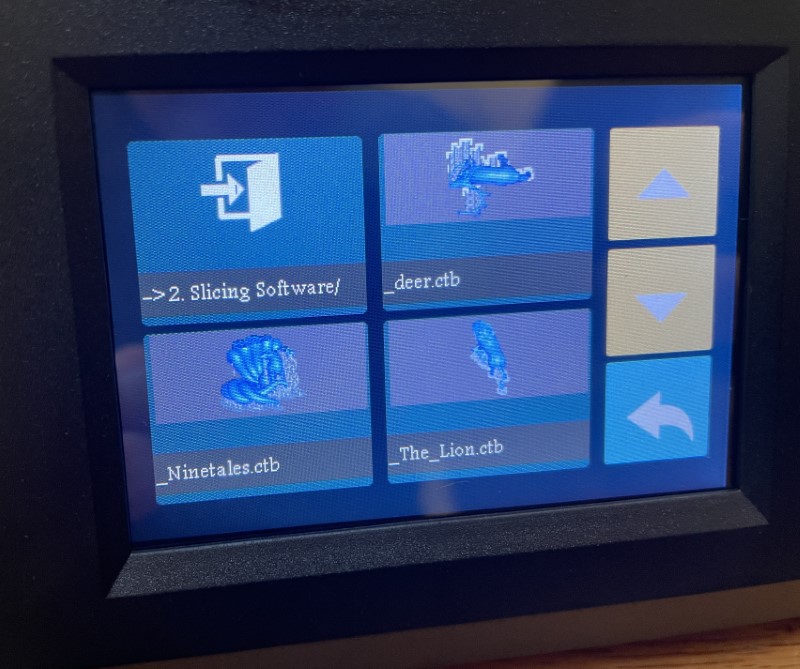
“Print” opens a menu to navigate the contents of the USB memory stick. Geeetech includes several test files, all figurines. I used some of them to test the Geeetech Alkaid Resin 3D printer, but generally, they’re not my cup of tea. I was able to navigate to and start printing the Eiffel Tower. I think it’s very handy to see an image of the model that will be printed. Great job, Geeetech!
Unlike an FDM (Fused Deposit Modeling) printer that deposits molten plastic layers by moving the X-, Y-, and Z-axes, resin printers like the Geeetech Alkaid Resin 3D printer use ultraviolet light to cure special resins and require movement only of the Z-axis. LCD (liquid crystal display) pixels are cycled to allow light to penetrate through the supply tray’s clear base and harden the resin. The material first adheres to the print surface that is gradually raised and the process is repeated to aggregate hardened material into successive layers.
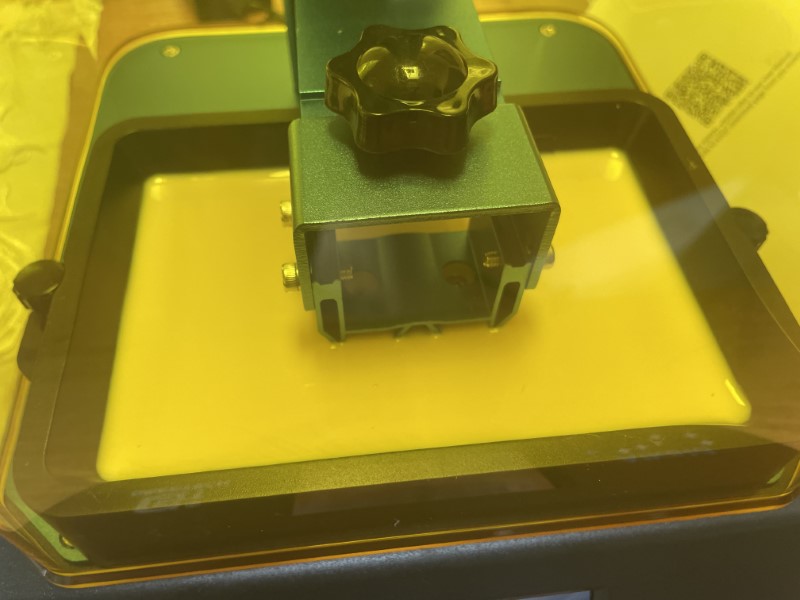
A few comments on resin printing – It’s messy and toxic, gloves should be used, cleanup is critical, and there is a pronounced odor. The process involves many… many… many paper towels.
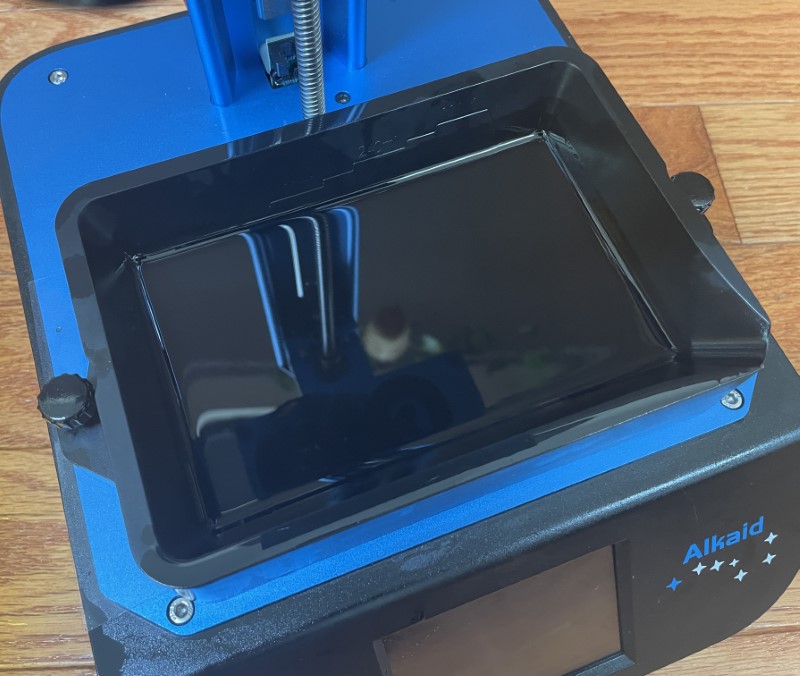
Geeetech provided a bottle of resin for testing (thank you!). My first attempts were unsuccessful. The first few times, the exposure settings weren’t ideal and only two of the tower’s feet formed properly. The second time, three legs, but I managed to break one taking it off the print surface. Here are a few of my unsuccessful attempts…
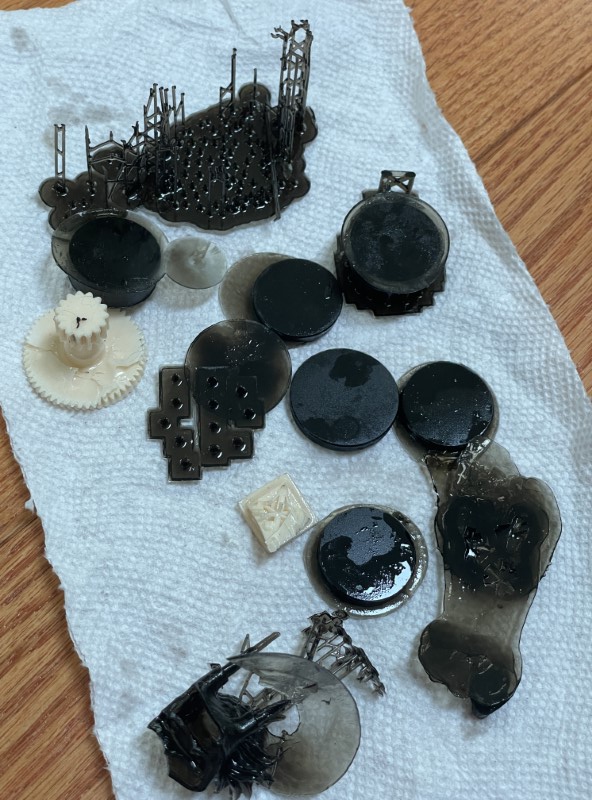
Next, I increased the base and layer exposure times and tried another Geeetech test with the following results 😛
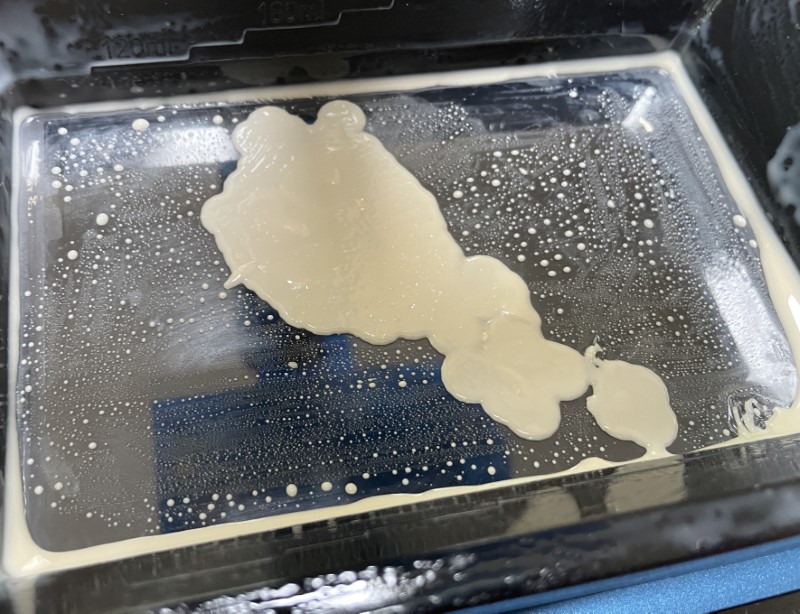
No joy there either. From here, I tried some exposure tests that successfully stuck to the print surface and tried again, but still failed This time, when I tried to remove the material that was stuck to the resin tank, punctured a small hole in the resin tank… The results were catastrophic. The leaked resin between the tank and the LCD screen was cured during the next print attempt. I spent hours trolling for solutions and tried everything suggested to remove it, but alas, it wasn’t going to happen. Geeetech was gracious to send me a replacement to try again…
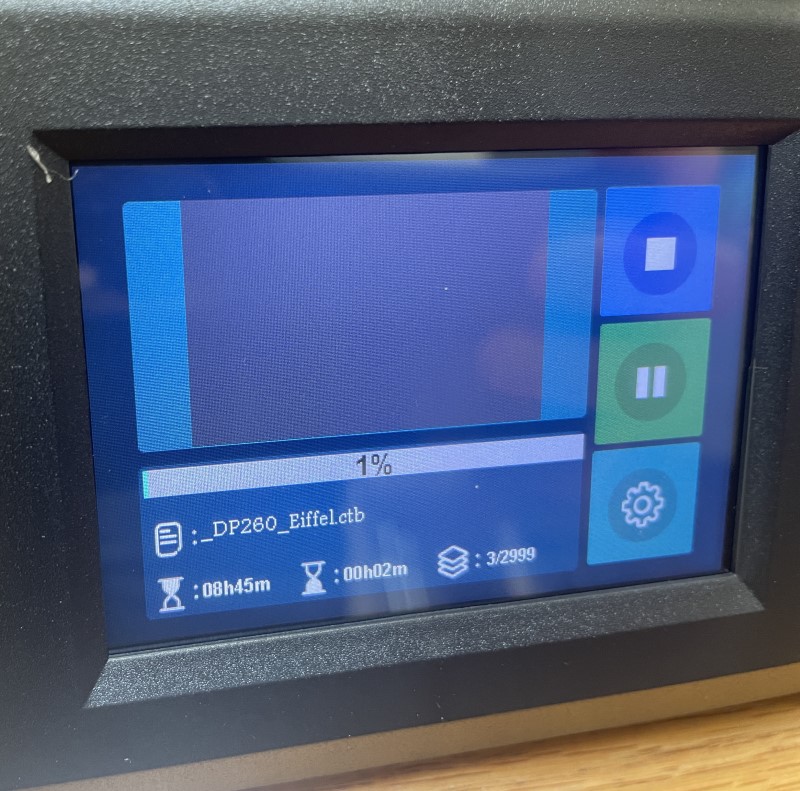
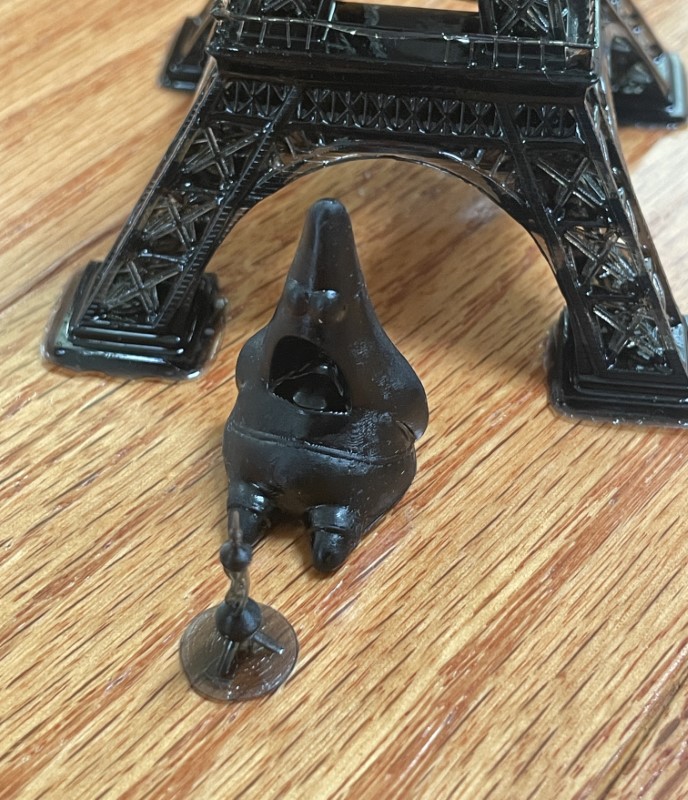
I didn’t have much use for the flesh-colored resin Geeetech provided so I bought some black and tried again. The first attempt, The Eiffel Tower print was successful! Yay!
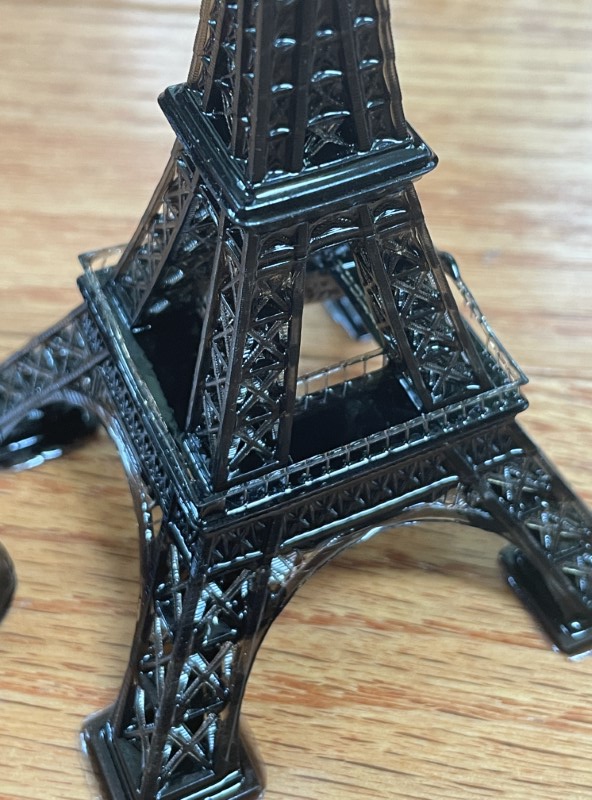
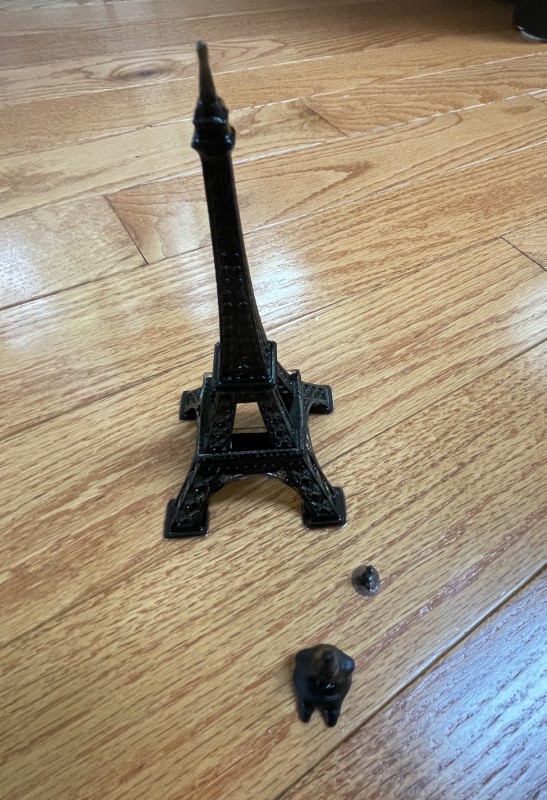
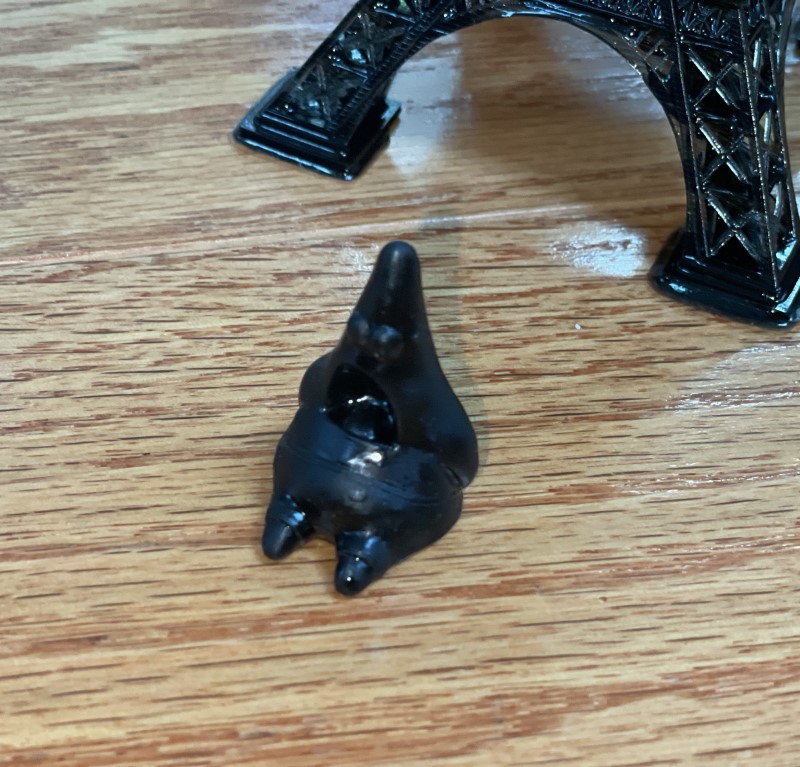
A teeny tiny Patrick Star was the next out of the ooze. Cool!
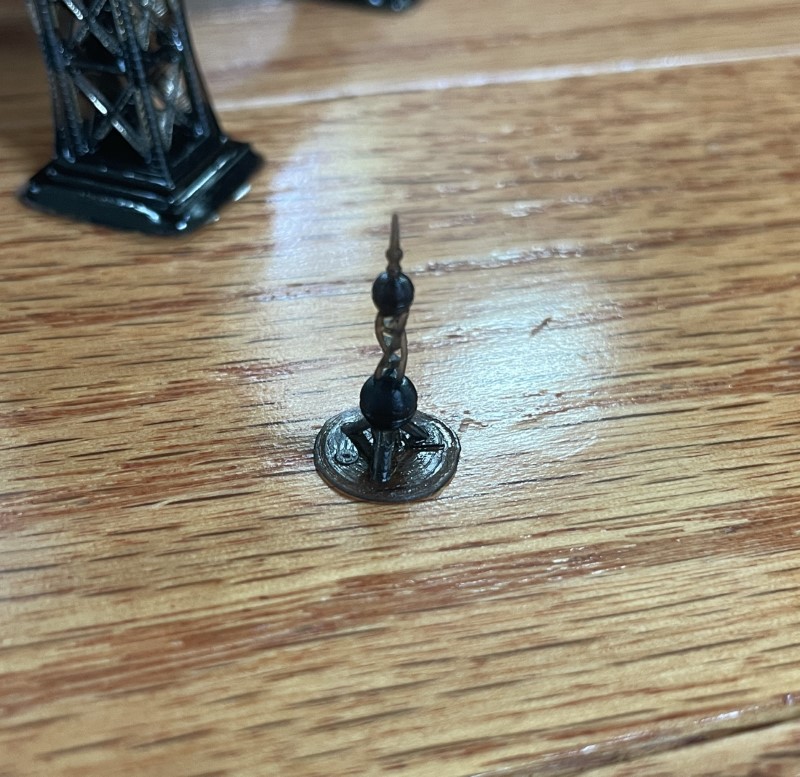
As a resolution test, an 18mm version of the Oriental Pearl Tower. The resolution is outstanding!
There are thousands of printable files in various corners of the internet to generate a lifetime of 3D printing joy, but I‘m familiar enough with Fusion 360 to create designs of my own. I designed this arm for the GPS in my car and loaded it into Chutubox (the slicing software that Geeetech provides on the USB stick).
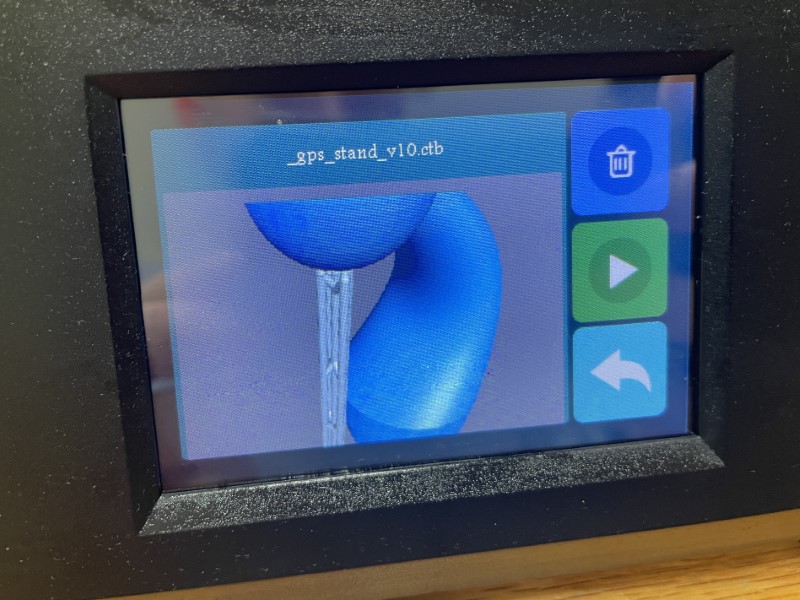
Speaking of Chitubox, I found the software easy to use and the manual illustrates how to configure the printer’s specifications. STL (stereo lithography) files can be opened, manipulated, and sliced. The only snag was the default file type, CDPDLP, isn’t readable by the Alkaid printer. All I needed to do was change the file format to CTB and save the file to the memory stick and I was off to the races… slowly…
After a few initially successful prints, I started running into trouble again. Cured resin wouldn’t stick to the print surface or would fail mid-print. I tried several dozen times with little success. I replaced the resin and FEP tank base, cleaned, polished, calibrated, and followed oodles of instructions and recommendations from dozens of experienced resin printer enthusiasts. Admittedly, I’m a novice and can use all the advice I can get.
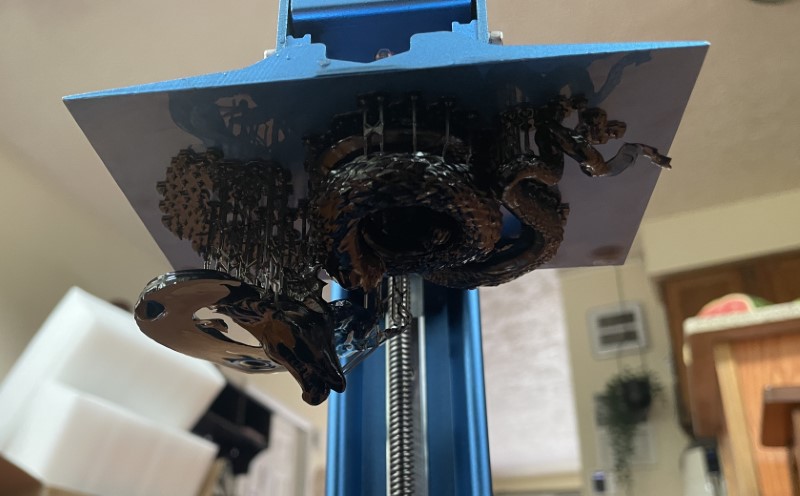
With FDM (filament) 3D printing, if the material isn’t sticking to the print surface, it takes only a few moments to know something is amiss. With resin, the print surface needs to rise above the top edge of the tank before there’s enough room to see that it’s not working. For me, it was an exercise in patience. However, when everything is working properly, the prints happen very fast (just a few hours for most), the Geeetech Alkaid Resin 3D printer is remarkably quiet, and with only one motor, is easy to maintain.
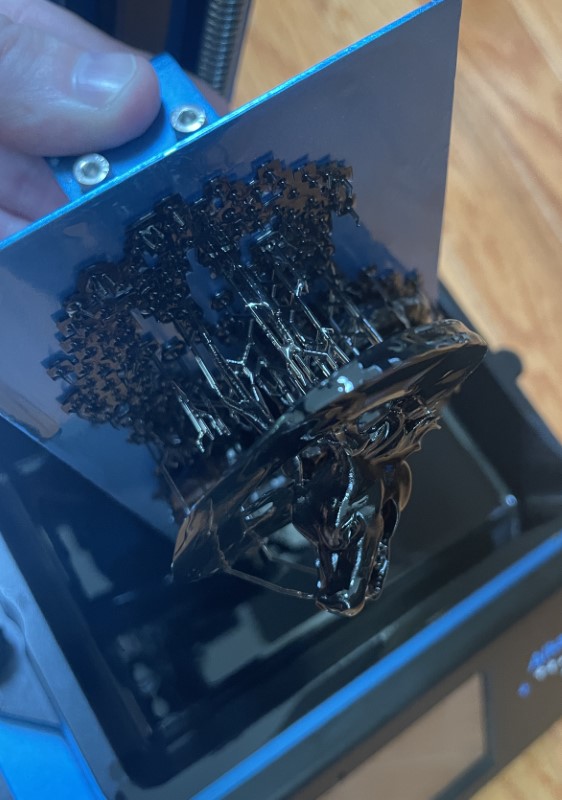
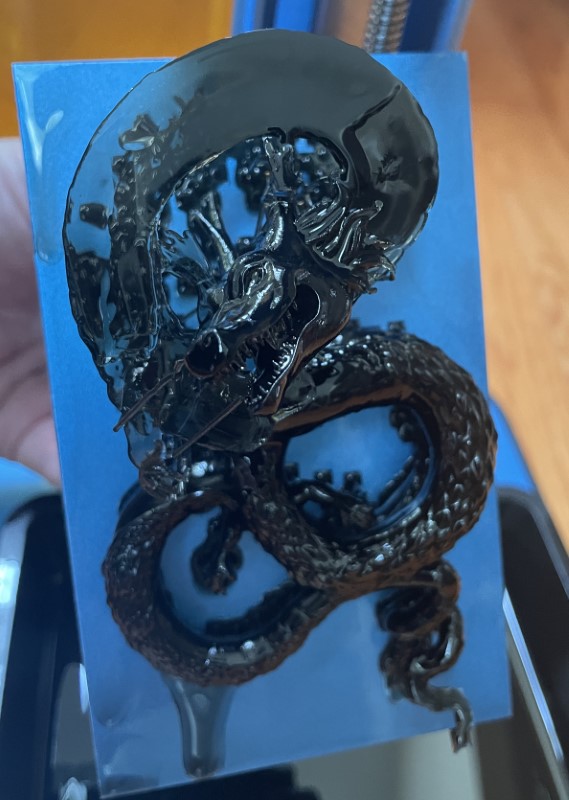
There are numerous articles about post-curing and washing, but I found for what I was doing, some isopropyl, warm water, and soap were enough. I suppose that if I were painting my prints finalization would be more critical. I put my prints in the sun for a few hours and was satisfied with the results.
What I like
- Great for entering into the world of resin printing without breaking the bank.
- Replacement parts are available from Geeetech
- Good customer service.
- The Chitubox software is easy to use.
What I’d change
- I would have preferred the USB socket to be on the front.
Final thoughts
At just under $100, The Geeetech Alkaid Resin 3D printer is an excellent value to join into resin printing fun. It takes time, finesse, patience, and a degree of fiddling, but I found it can produce some outstanding results. The resolution is fabulous, parts are available, it’s easy to maintain (although messy 🙂 ), and with practice (or in the hands of a more experienced craftsperson than me) could be a capable and useful tool for making your 3D printing dreams come true. Thank you, Geeetech!
Price: $99.00
Where to buy: Geeetech
Source: The sample for this review was provided by Geeetech


Gadgeteer Comment Policy - Please read before commenting
Those results look great! Is the resin expensive?
The resin I bought was in the $25/liter price range with many different colors and properties available