REVIEW – I got my first 3d filament printer back on 6/27/2022. It was the Elegoo Neptune 3 that I was able to review for The Gadgeteer. Since then, I have also had a chance to review the Mingda Magician Max printer and the current printer in my arsenal, the Creality Ender 5 S1. The common thing I have noticed with all three printers is the bursts of printing 3D objects that I seem to go through. The printer will sit idle for a few months, and then I will come up with something I need and go into a printing frenzy. Being the lazy person that I am, I have a very bad habit of leaving the last spool of filament I printed with sitting out on my printer for weeks at a time before putting it back up with a silica bag to keep out moisture. During the three weeks, it sat sitting on the printer in our, on average, 50% humidity home, the filament slowly soaks up moisture. Something everyone quickly learns is that you want to keep your 3d filament as dry as possible. When PLA filament gets too ‘wet’ it often results in ‘stringy’ prints. There are tons of options to build your own boxes to heat the filament to dry it out. People have also used dehydrators and their ovens. Not wanting to have plastics spreading their fumes in the oven I cook food in, I jumped at the chance to review the new Sunlu FilaDryer S4.
What is it?
The Sunlu Filadryer S4 is a 3D printer filament dryer that can hold up to four spools of 1kg of filament. Its rollers allow you to feed filament directly to your printer. You can even feed filament to multiple printers at the same time while drying it. It can dry multiple types of filament, including PLA, PETG, Nylon, and TPU.
What’s included?
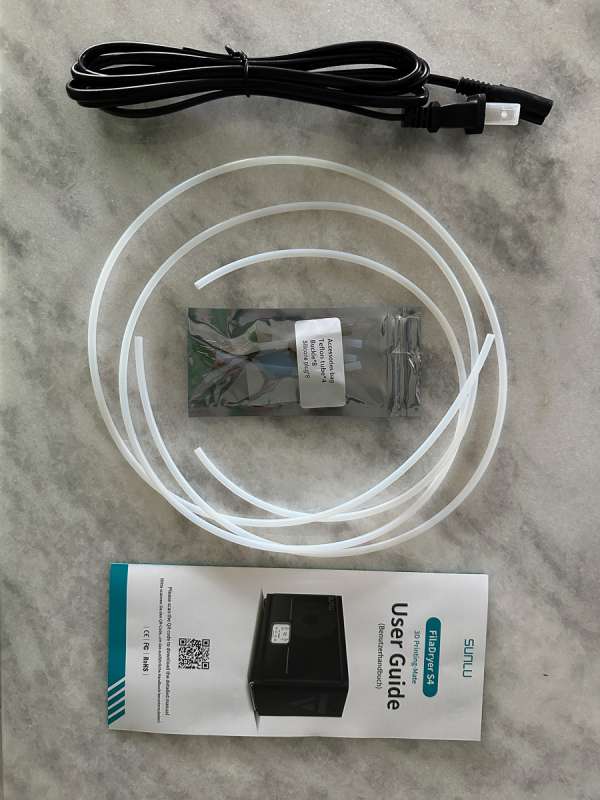
- 1* S4 Sunlu drying box
- 1* power adapter
- 1* user manual
- 2* Teflon tubes (100cm)
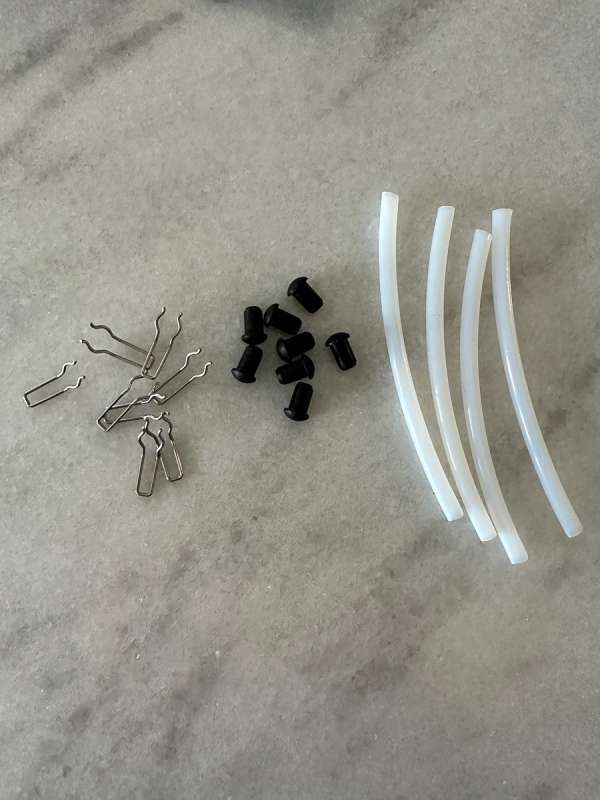
- 4* Teflon tubes (8cm)
- 8 rubber plugs for holes used to feed out filament
- 8 metal clasps to hold telflon tubes in place
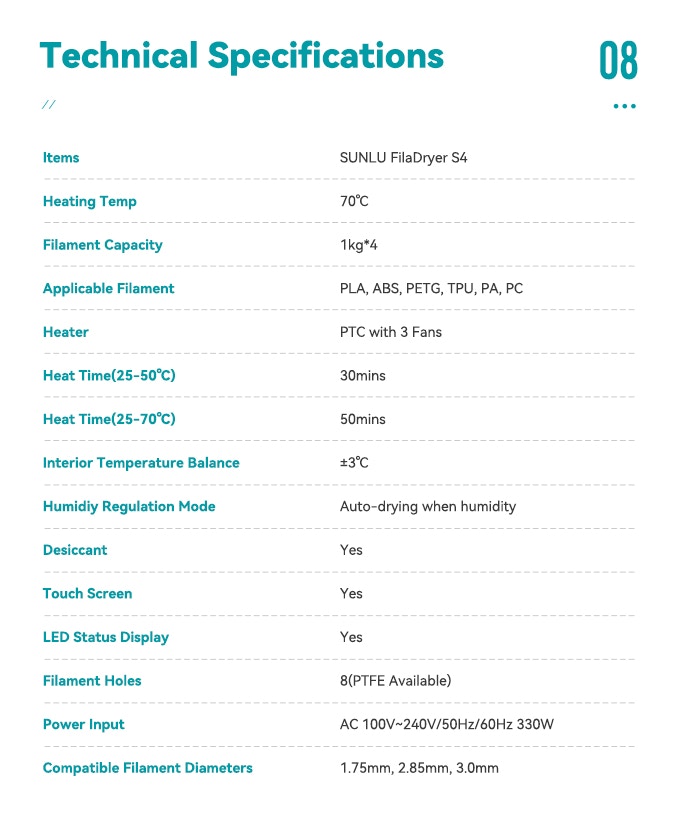
Tech specs
Design and features
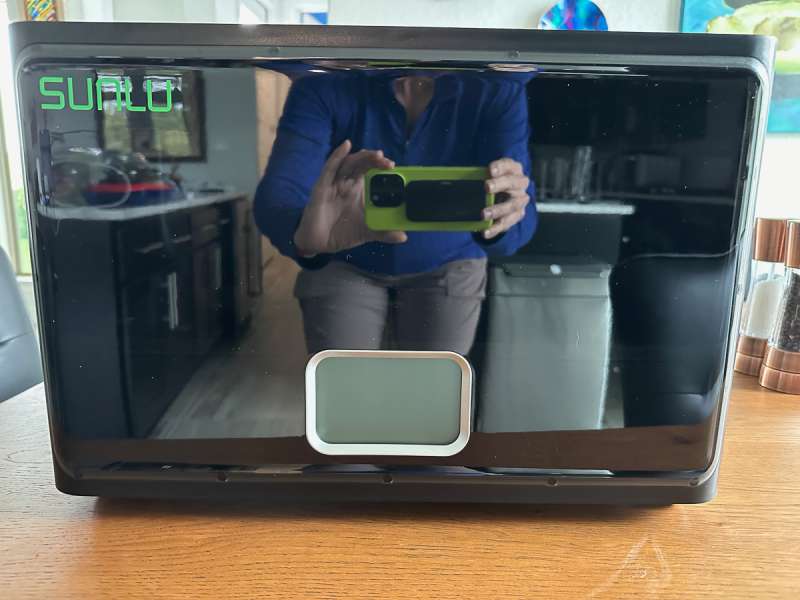
The Sunlu FilaDryer S4 filament dryer is essentially a large rectangular box. It is eighteen inches wide, eight inches deep, and twelve inches tall. The front of the unit has a display screen and the Sunlu logo on a very shiny background.
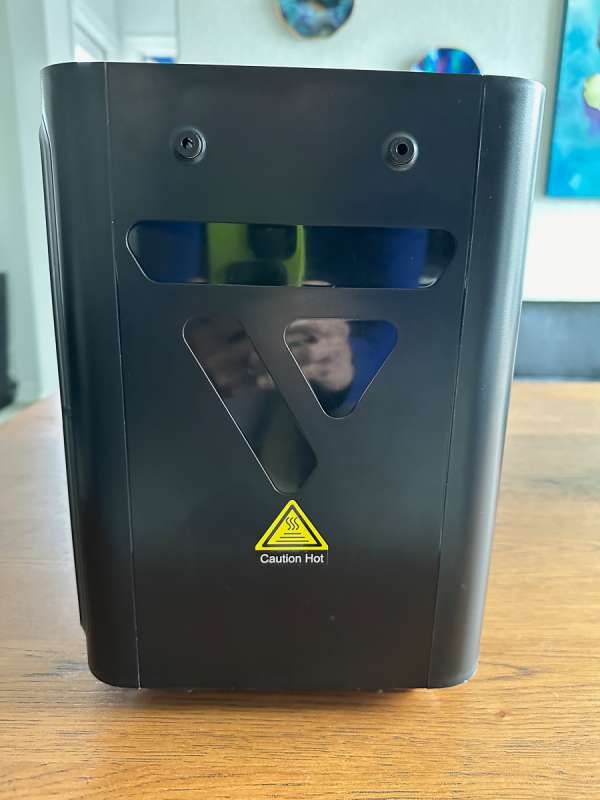
Both the left and the right-hand side of the dryer have two holes in which you can feed the filament from the dryer directly to a printer. The shiny parts on the sides look like windows but are simply decorative.
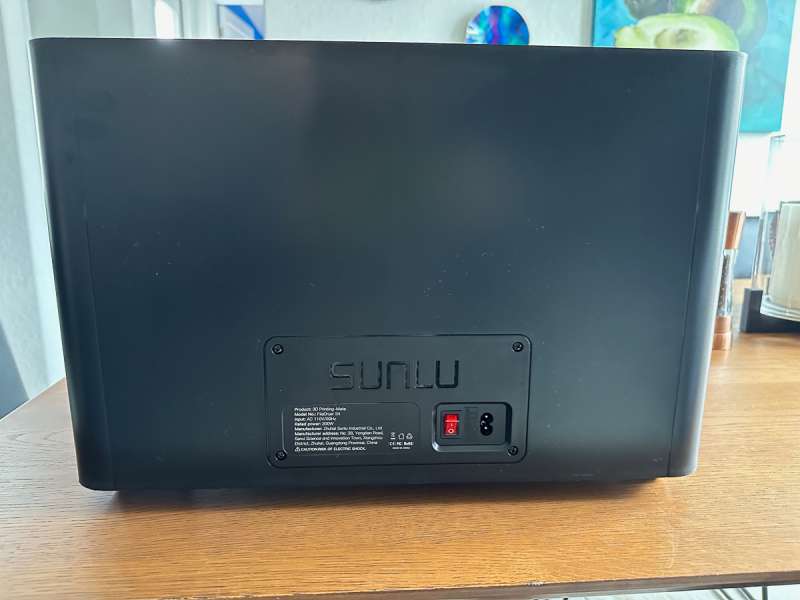
The back of the dryer is plain and simple. There is a port for the power plug, and the power switch.
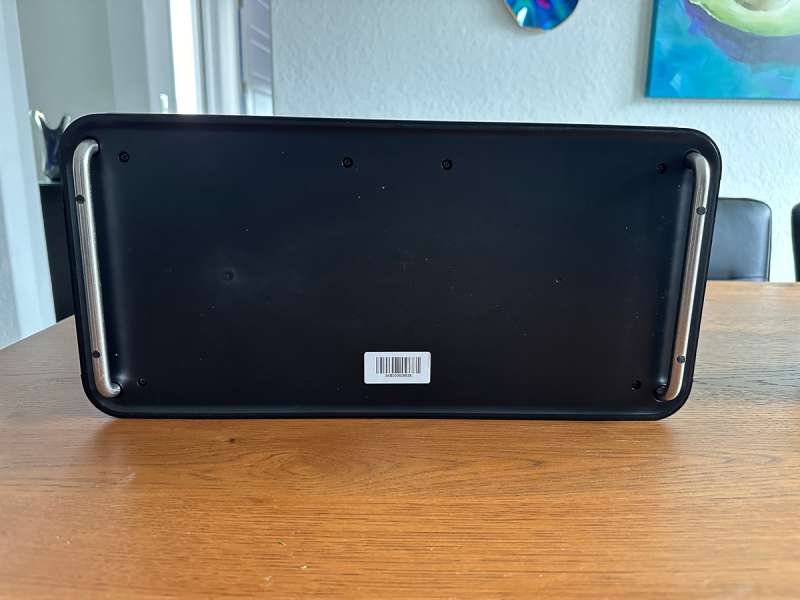
The bottom of the Sunlu FilaDryer S4 filament dryer has two heavy-duty metal legs with rubber feet. I am sure it was designed this way because the box can get warm. I will note that even when I had the box heated up to its highest temperature, I could still put my hand on the sides and top. I would not want to leave anything resting against or on top of the box for any period of time while it is heating, though.
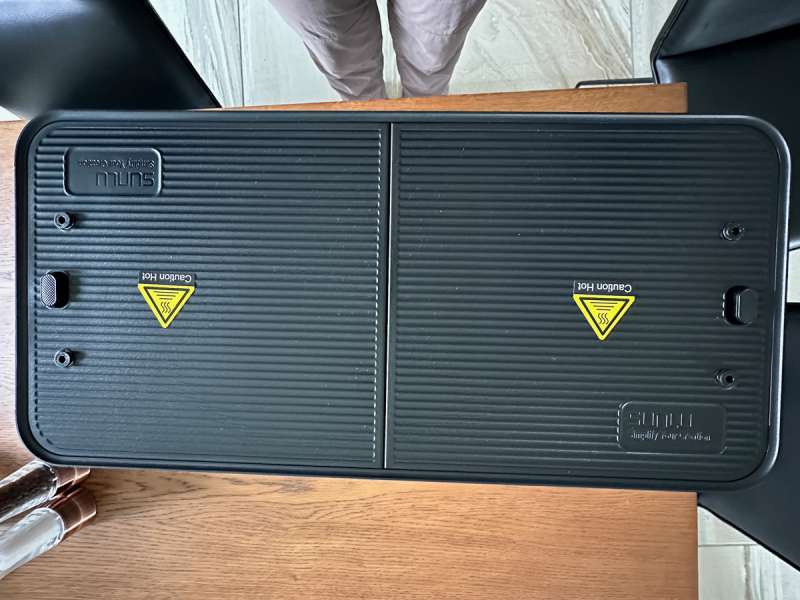
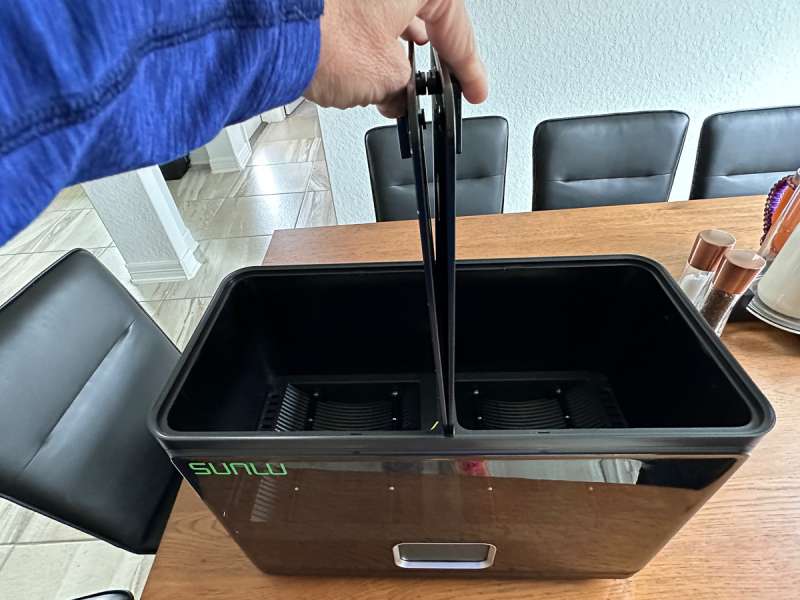
The top of the box consists of two doors that open from the left and right side. They pivot up towards the middle. The latches work by pushing the latch towards the middle of the box. I do wish the latches were a bit larger to make it easier to grab and pull the door open. Someone with larger fingers may have an issue grasping the tiny latch. You will also notice both sides have two additional ports for feeding out the filament from the box. So you have options from both the sides and top to feed filament to a printer.
Opening one side of the dryer reveals the four pairs of rollers on the bottom. Each spool has two sets of rollers to support each side of the spool. It allows the spool to freely spin when you feed the filament outside the box. You can also see the air vents in the middle of the two spool rollers and more vents on the side of the box. There is another smaller section of vents just below the warning triangle. These vents are where air is sucked into the dryer from around the spools. Two fans are in the middle of the unit on the bottom on either side of the warning triangle. They blow the warm air out.
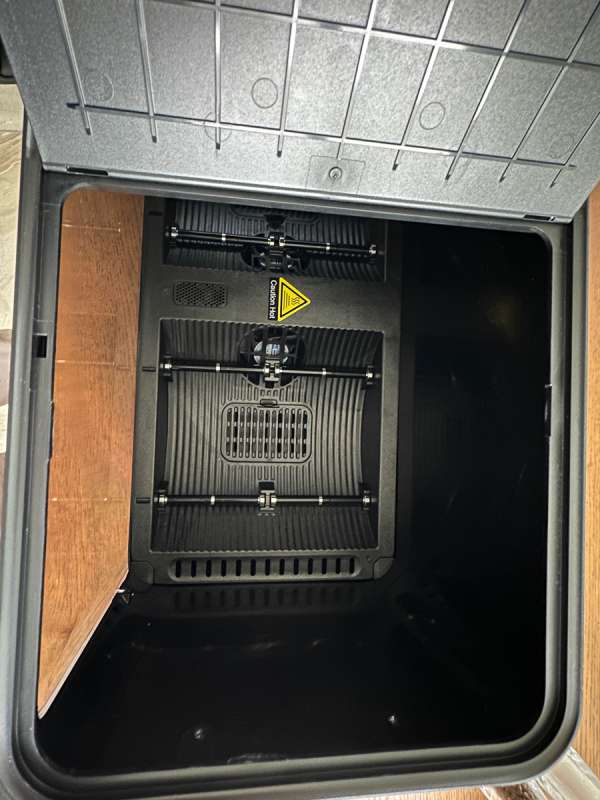
I took a picture of me holding both doors open so you could get an idea of how the dryer doors work.
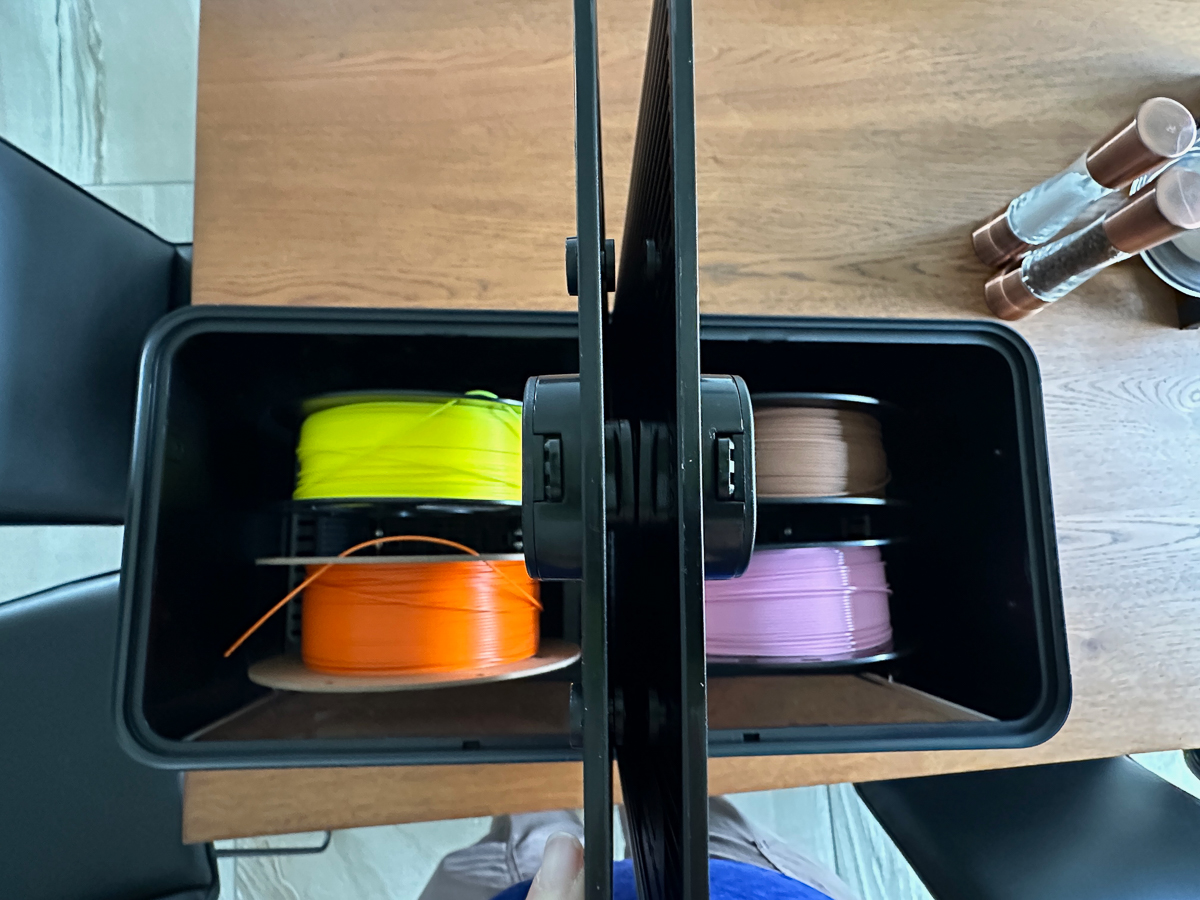
You can place two spools of filament on each side. I have loaded four spools of PLA in the picture below.
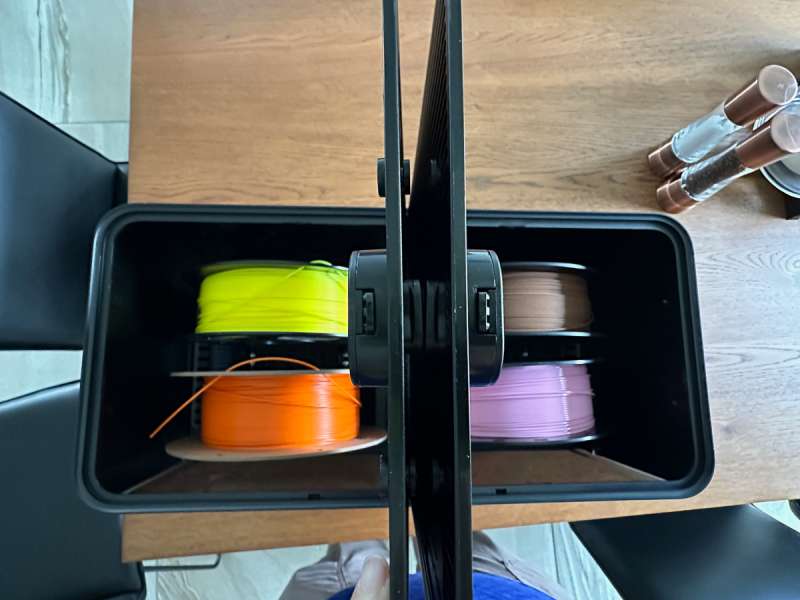
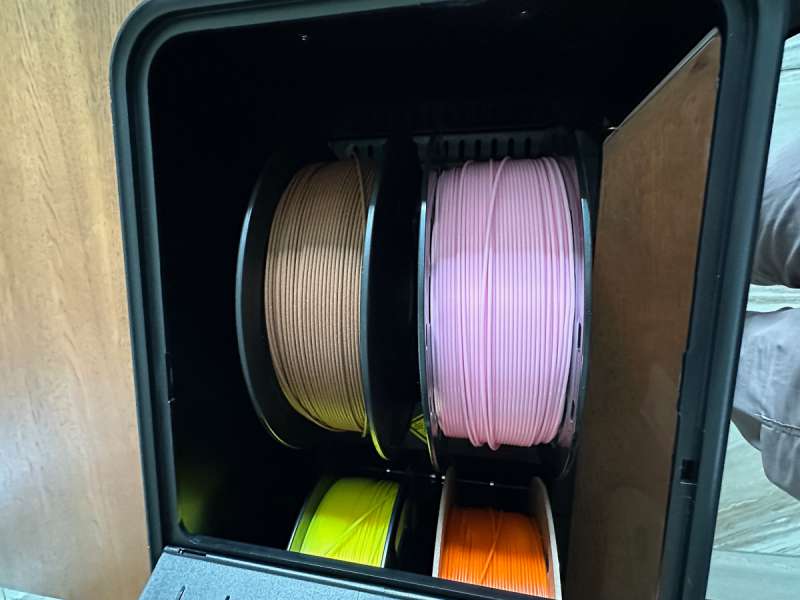
Here is a close-up picture of one side with two spools loaded. You can see some good space between the two spools and the sides of the Sunlu FilaDryer S4 filament dryer box. This should allow for good air flow.
Next, let’s talk about the display. When you first plug the drying in, you only get the power button to display. It is a touch screen. Single pressing the power button turns the dryer on, and a quick double press will turn it off.
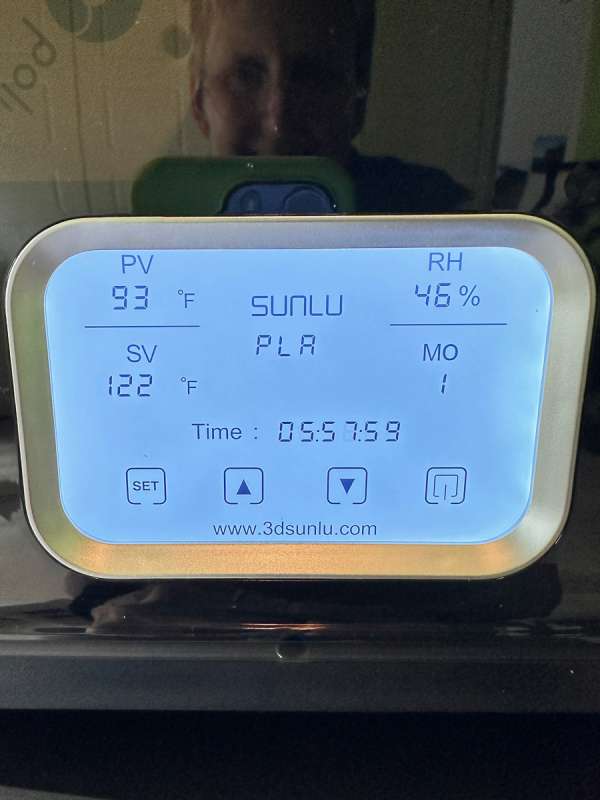
Turning the unit on, the screen lights up in a light blue color, and you are presented with the following information. You can choose to display the temperatures in Fahrenheit or Celsius.
- PV – present value – This displays the current temperature in the box.
- RH – relative humidity – This displays the current relative humidity in the box.
- PLA—The display currently shows the filament type. You can cycle through the supported filament types, and it will automatically set the recommended drying temperatures.
- SV – Set value – This is the temperature in which you want to dry the filament.
- MO – Mode – mode one will run the dryer for the set time. Mode 2 will run based on the relative humidity in the box. When the humidity hits 30%, the dryer will automatically come on. Mode 1 is used when you want to dry out wet filament. Mode 2 would be used to maintain the condition of the existing dry filament and possibly print directly from the box.
- Set – pressing the set button will cycle through the settings described above. You can then use the up and down arrows to change the value of the setting.
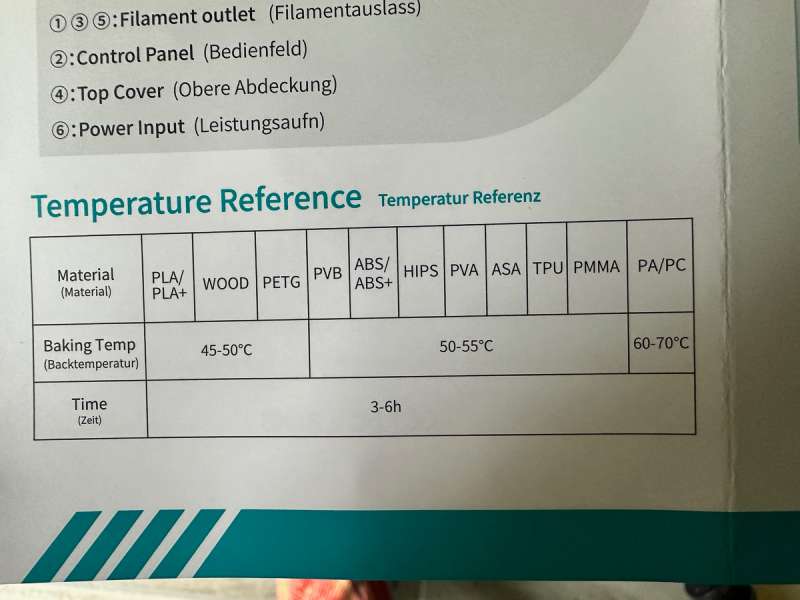
Below is a quick reference provided in the manual indicating the recommended temperatures to dry various filament types.
Performance
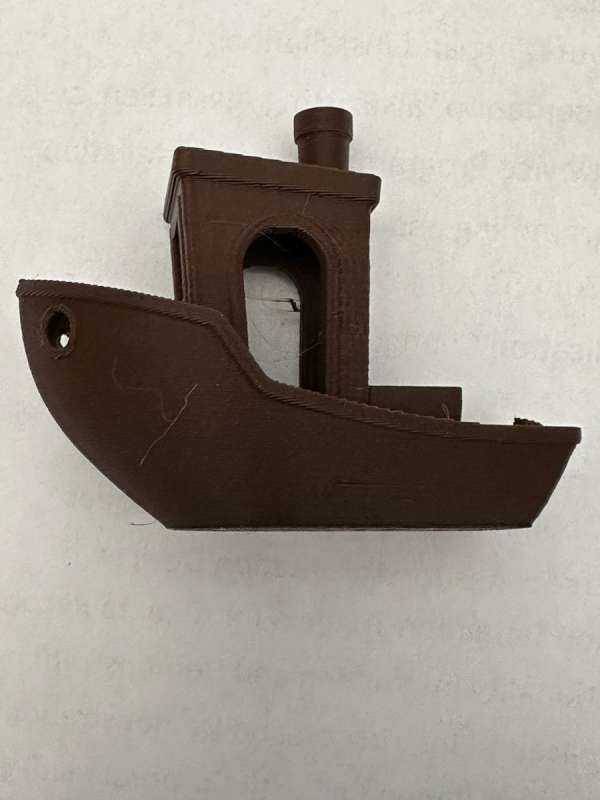
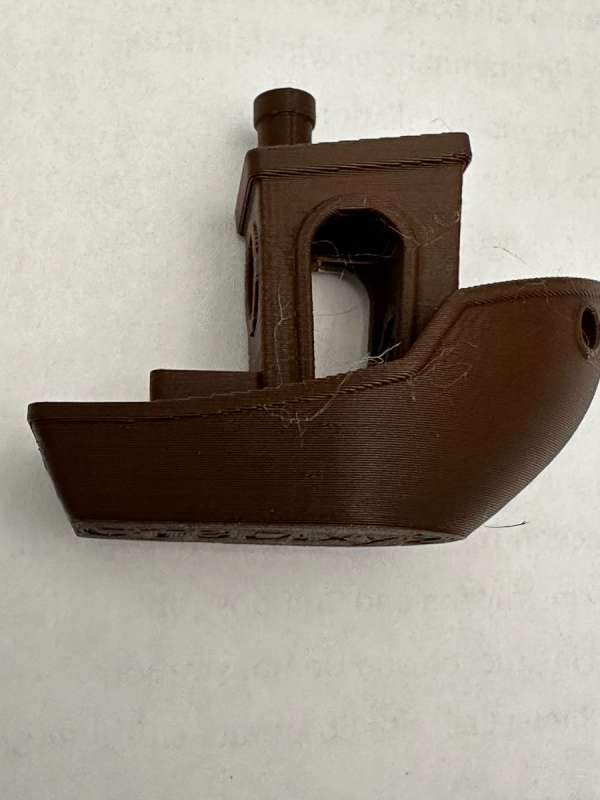
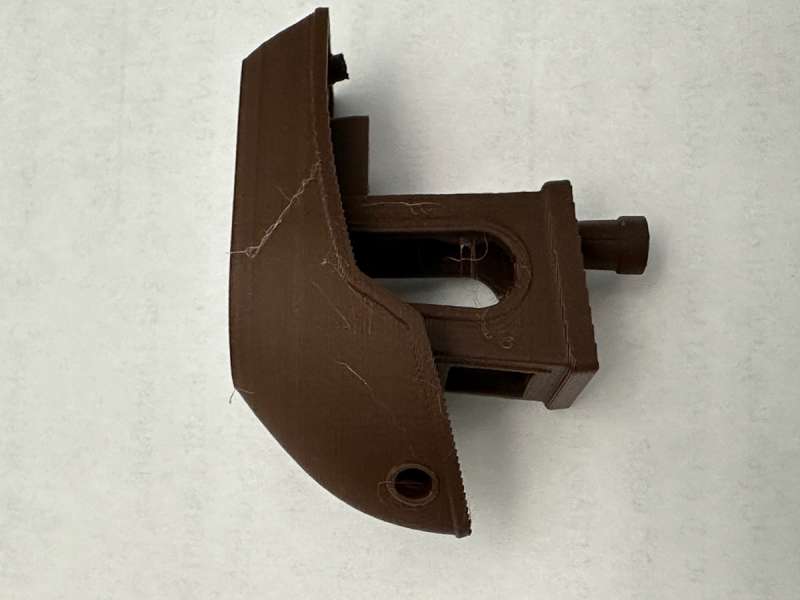
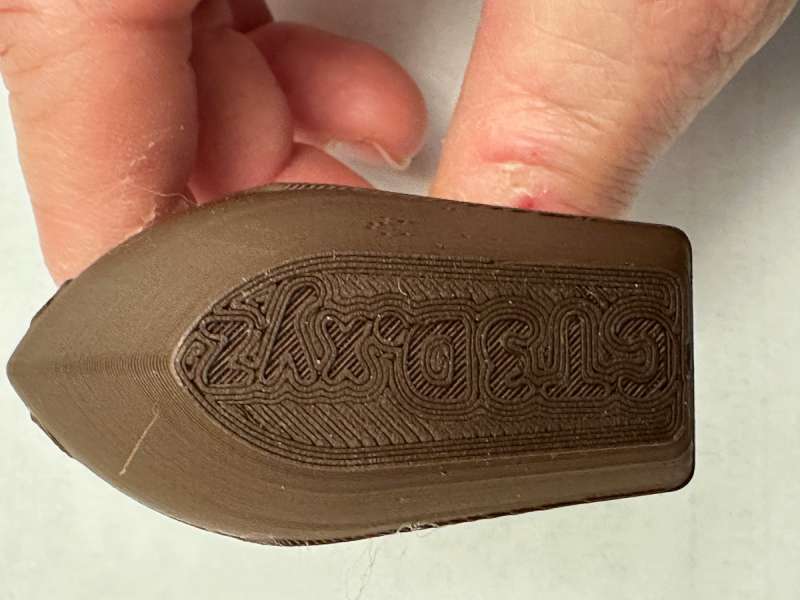
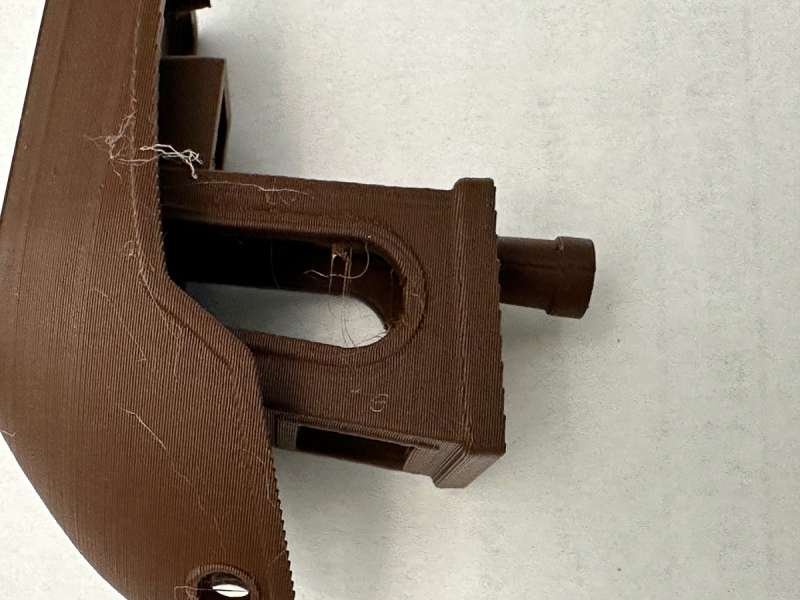
The first thing I did before loading any filament into the Sunlu FilaDryer S4 filament dryer was to ensure I had some wet filament. I left a spool of brown PLA out in my garage for about 4 days in 80 to 100 percent humidity. We had very foggy mornings and misty days for several days. Even our indoor humidity during the summer stays around 50%. I then brought the filament into the house, loaded it into my Ender 5 S1, and printed a ‘benchy.’ The ‘benchy’ is a standard 3d test print designed to test and benchmark 3D printers. It uses no supports and prints in under an hour and a half on my S1. The pictures below show that I had a lot of stringing where filament strands stretched across the arches and open areas. The hull also had some pitting. The stringing of PLA is a sure sign that you have a wet filament.
Before I stuck the filament in the box, I wanted to show you what the plugs look like in the filament feeding holes. The user manual recommends not putting the plugs into the dryer when running and only using them when using the box as storage. The plugs will prevent existing humidity from the box from being expelled.
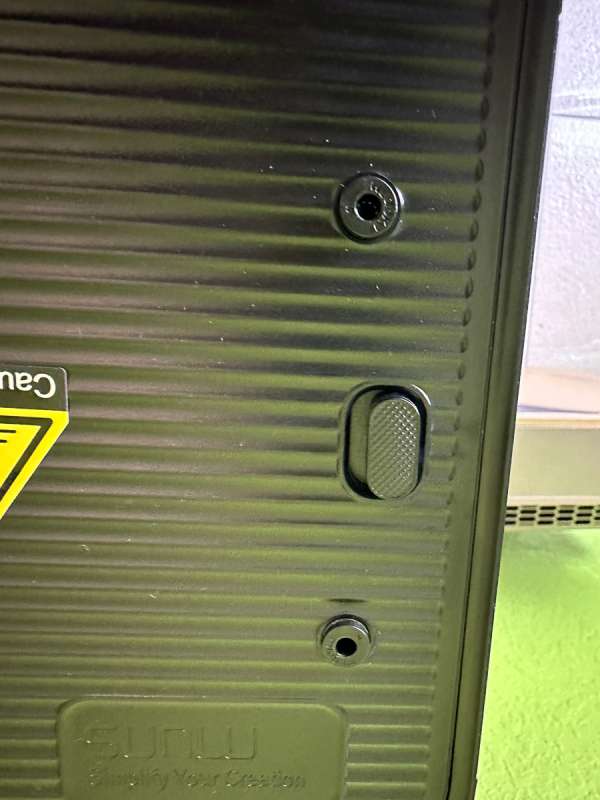
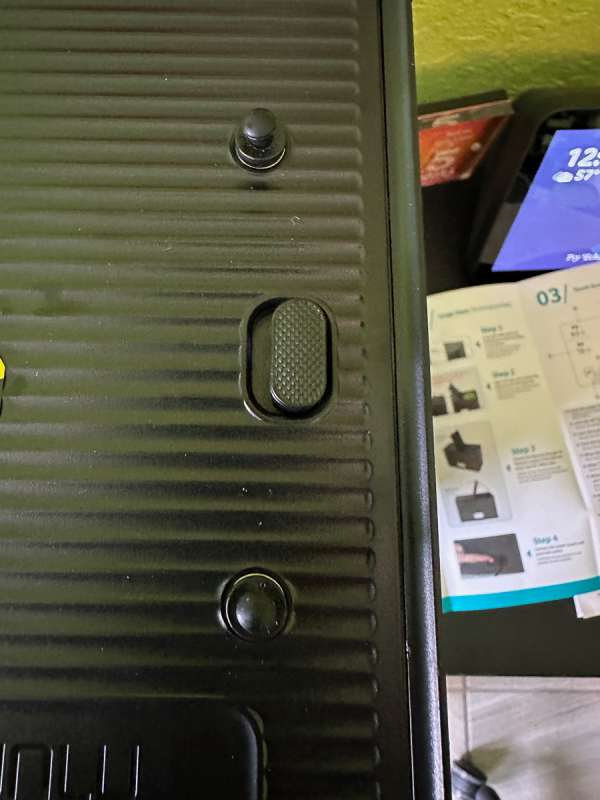
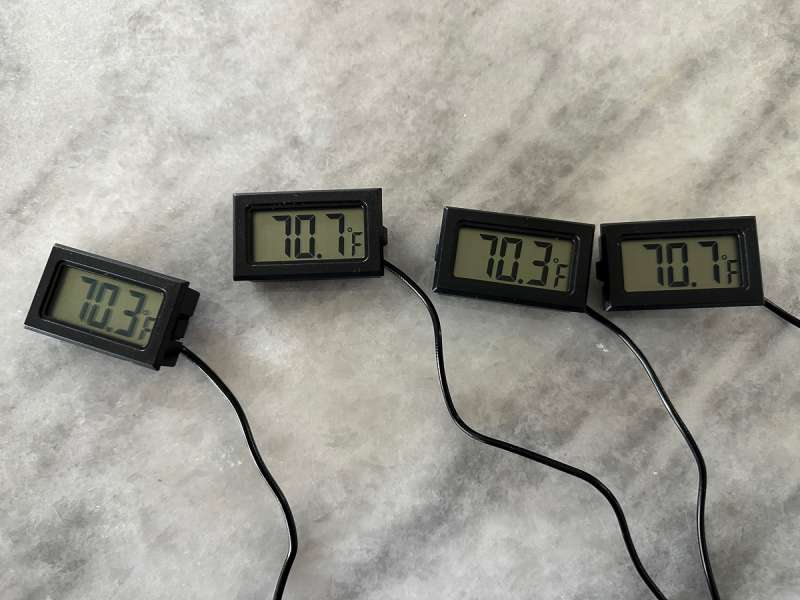
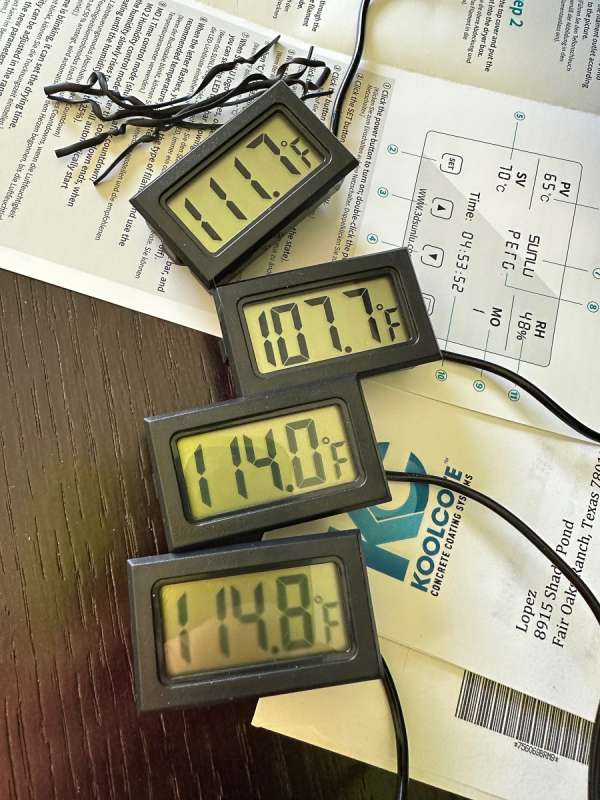
I also purchased some temperature monitors with external probes from Amazon that I could use to test the box out. I received six of them, but since they were so cheap, I wanted to try to find four that were closest in temperature to each other. I laid out all six on my bar with the probes dangling below the counter. The picture below shows the four I picked.
I taped the four probes into the four corners of the Sunlu FilaDryer S4 filament dryer box about halfway between the top and bottom of the box. I put four rolls of filament in the box and set the temperature to 115 degrees Fahrenheit.
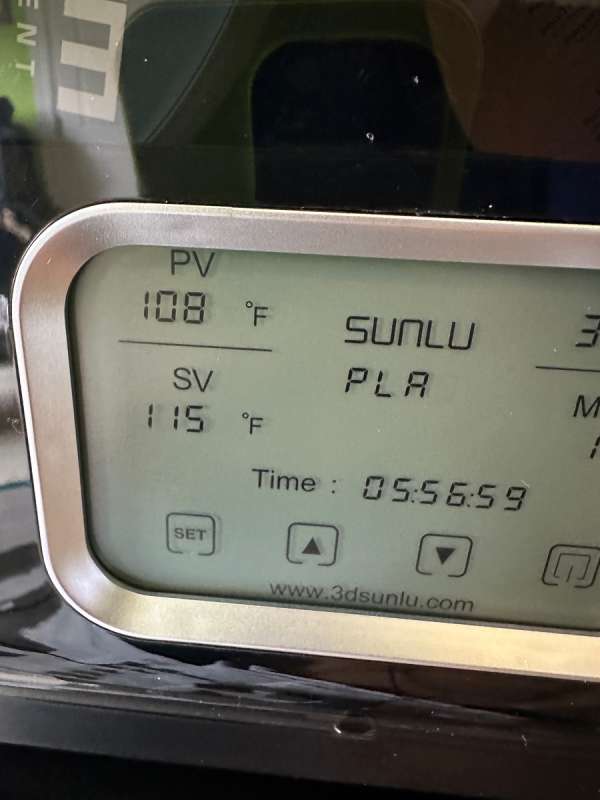
After about three minutes they were already starting to warm up significantly.
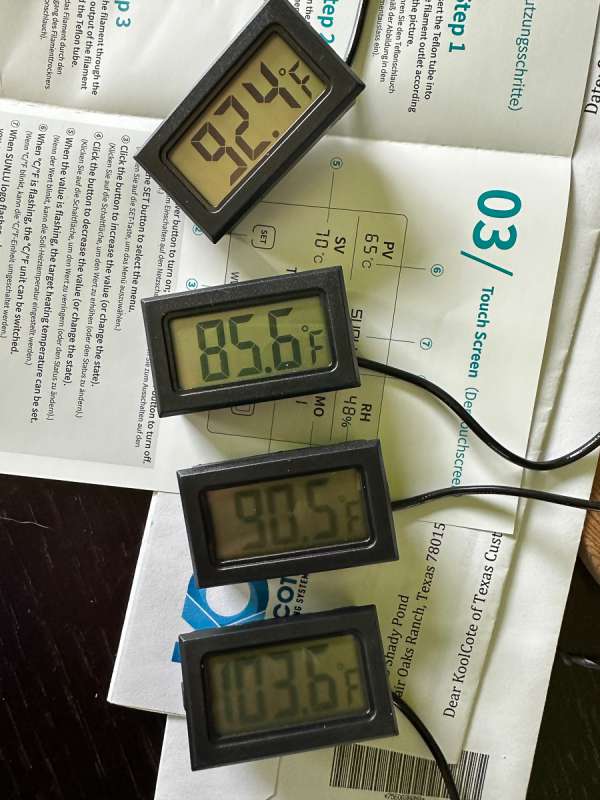
After about 26 minutes, this is what the monitors read. The Amazon description reads a plus or minus two-degree temperature accuracy for them.
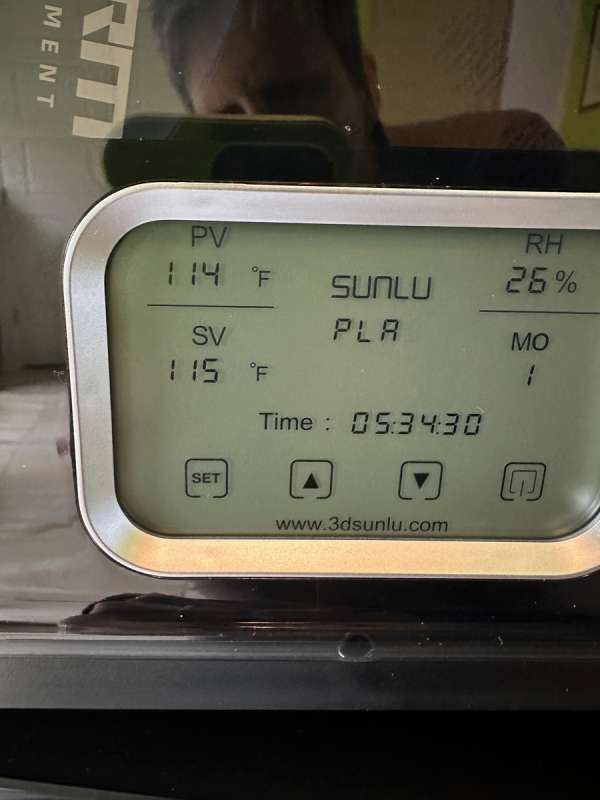
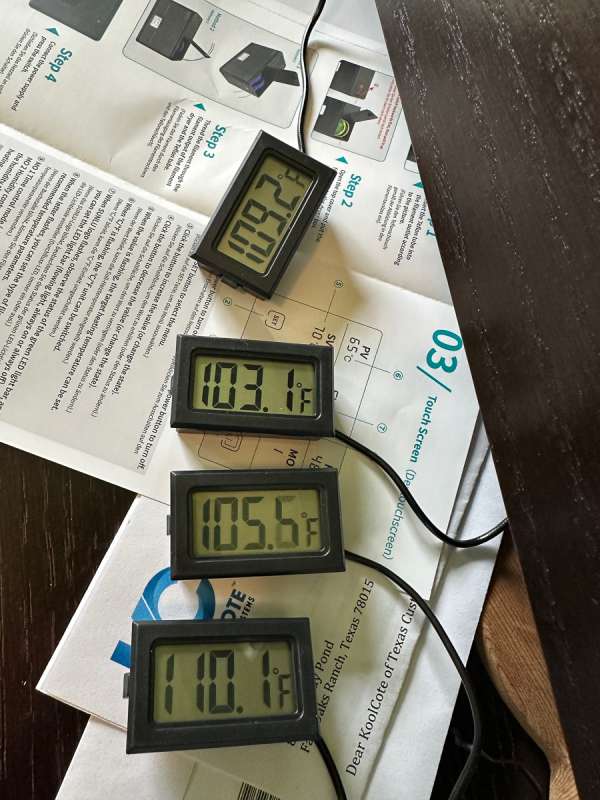
With only two and a half hours left, the monitors were showing this.
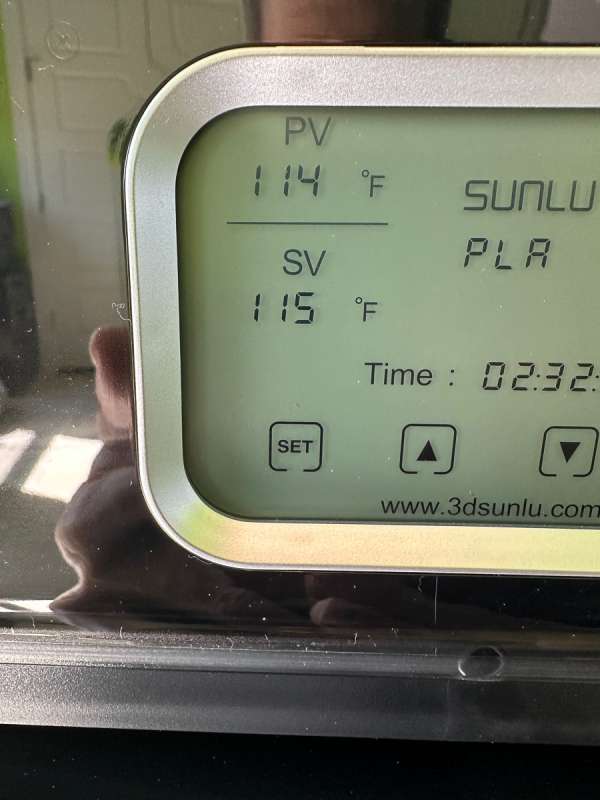
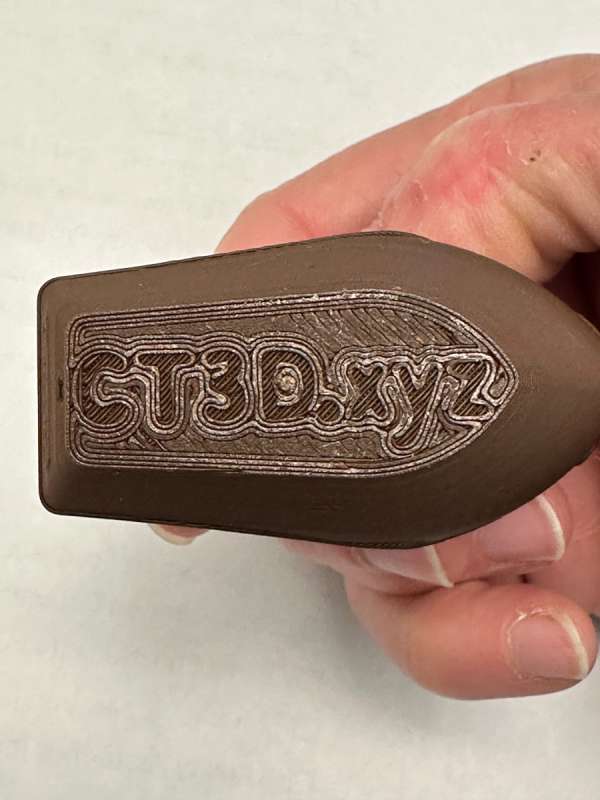
When six hours were up, I pulled the filament from the box and loaded it into my printer. The pictures below show the resulting ‘benchy.’ It is a much cleaner and more accurate print.
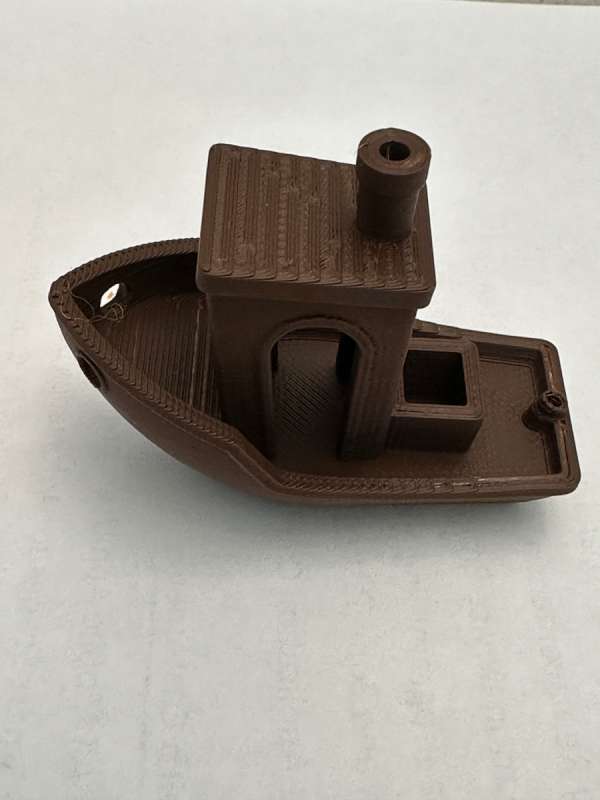
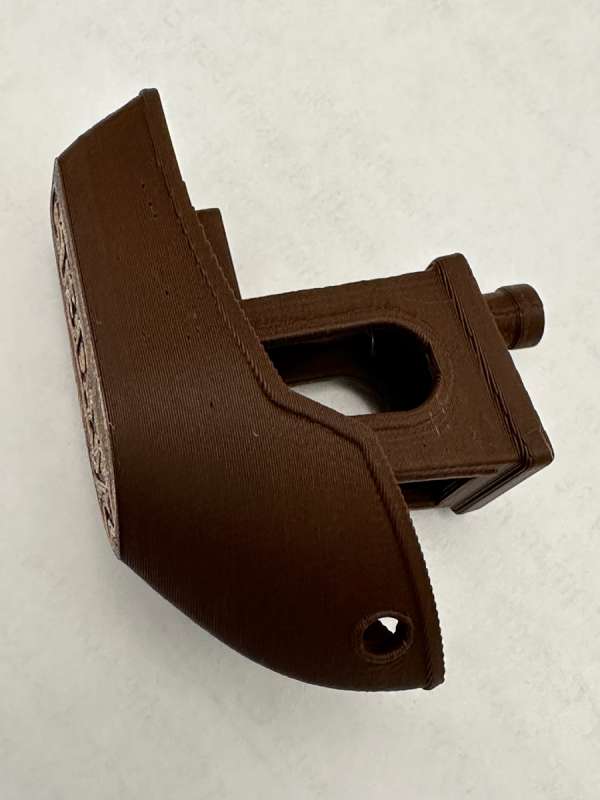
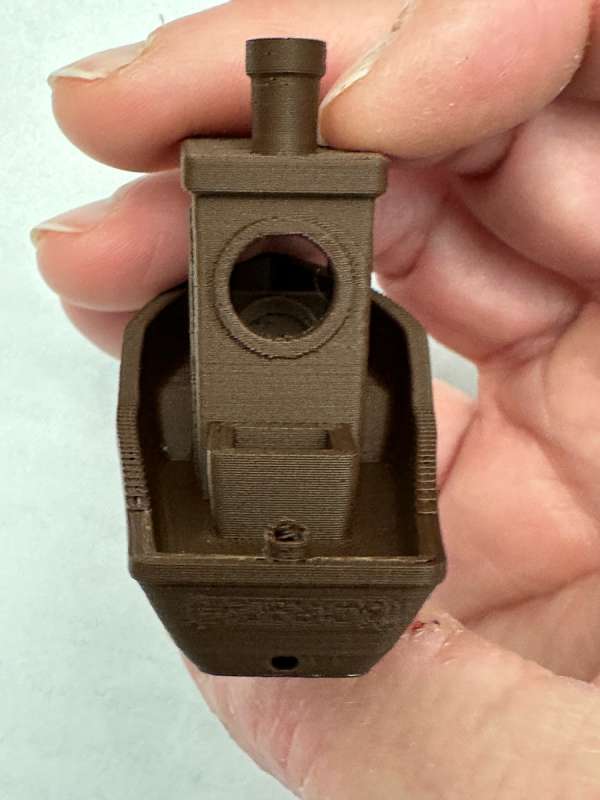
When I removed a spool from the Sunlu FilaDryer S4 filament dryer, I found that the empty area would read at the indicated present value temperature. I also found the fan to be a bit noisy in my silent home office. I downloaded a decibel reader to test that. The normal noise level in my office is around 38 decibels. When I turned the dryer on, it reached 62 decibels. The noise did fade into the background, but I would not want it running while I was on a zoom call.
I also tested mode 2 by leaving the box running in that mode. The dryer turned on automatically when the relative humidity in the box reached 30% and turned off when it dropped to 25%.
What I like about the Sunlu Filadryer S4
- It can dry up to four spools of filament at a time.
- It is much more efficient and hygienic than my oven.
- You can feed from the dryer directly to your printer if you have the proper setup.
What needs to be improved?
- Possibly insulate the box a bit more to have less fan noise.
Final thoughts
If you live in a humid environment and have problems with wet filament when 3D printing, I don’t think you can go wrong with purchasing the Sunlu FilaDryer S4 filament dryer. Many manufacturers make single-spool dryers, but with the advent of multi-color printing, the S4 dryer is ready for your printing needs. The dryer just came out of its Kickstarter and is ready for purchase in the United States.
Price: $159.99
Where to buy: Sunlu and Amazon
Source: The sample of this product was provided for free by Sunlu. Sunlu did not have a final say on the review and did not preview the review before it was published.



Gadgeteer Comment Policy - Please read before commenting
Thank you. That was a very thorough and complete review.
Thanks, I appreciate the review. Did you perhaps measure the humidity inside while running the dryer?
I did not have any external humidity sensors that I could use. I feel pretty confident that the display on the dryer was pretty accurate since I did not get any stringing at all with my PLA. I even let it sit in the dryer for a week in maintenance mode (anytime it got above 30% the dryer would kick on) and when I printed it looked great.