
The Mission Continued
ARTICLE – A while back, I got the opportunity to build a custom mechanical keyboard with a budget of $300, where I got to source all my own parts. I had a lot of fun picking out switches, stabilizers, and barebones keyboard kit. With my budget, I decided to go with a barebones kit so I could get the case, PCB, and foam all in one go. It seemed to be the most cost-effective.
I won’t go back through what my requirements were. If you’re interested, check out the first article. Did I get everything I wanted? Was I ultimately happy with what I got? Yes and no. Read on to find out why.
The Haul
So, what did I choose to build my almost end-game keyboard? Here’s my list.
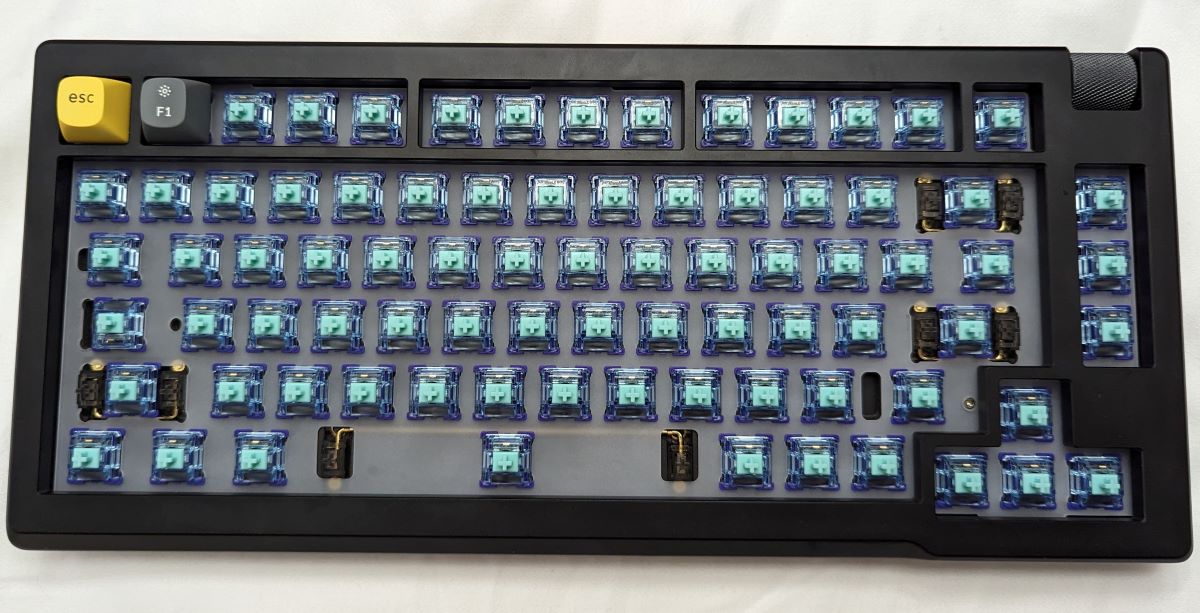
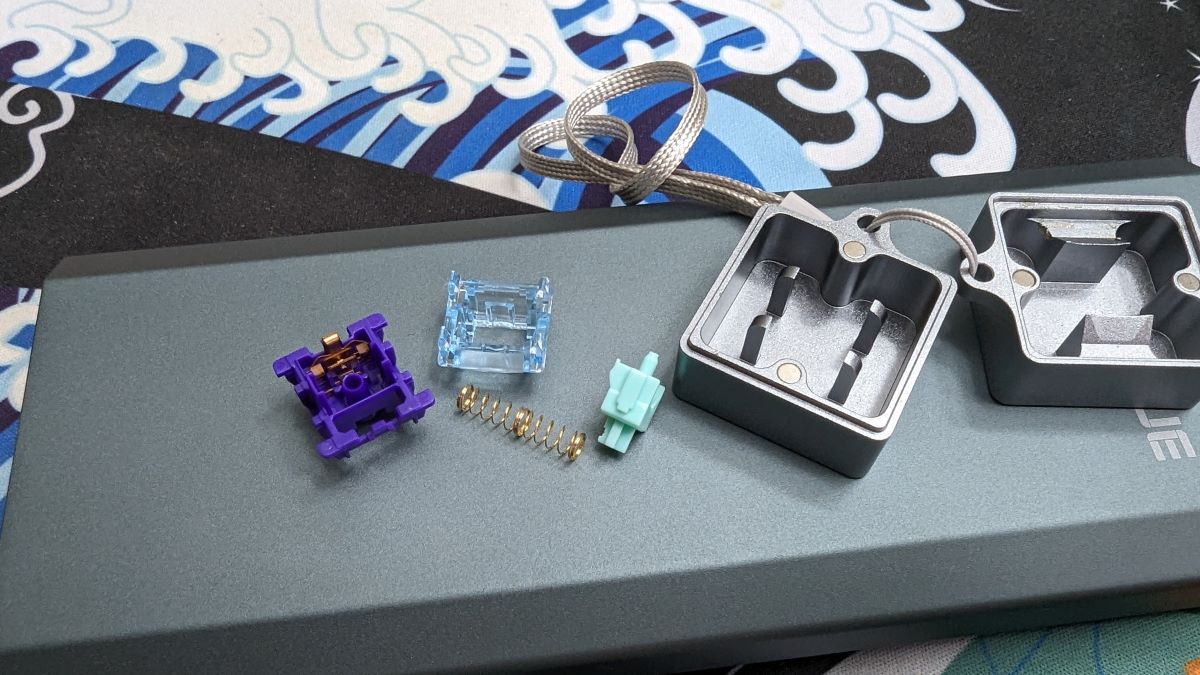
- The switches were an easy choice for me. I got Gateron GoPolar Azure Dragon V3 Tactiles from Lume Keebs. I was able to get 90 for $58.50 plus $6.33. So, with shipping that works out to .72 cents a switch. Not the cheapest switch available, but definitely not the most expensive either. I can’t really explain why I had to have these switches; I mean there are tons of tactile switches out there. I had no previous experience and there’s not a lot of talk on the forums I visit about them. All I can say is, reading the description, they sounded like what I wanted, the reviews on the site were saying all the right things, and they’re pretty! No, I don’t care that you can’t see them with the caps on. I know they’re there and they make me happy.

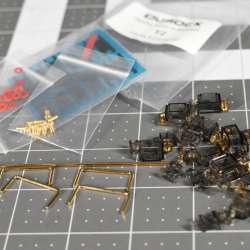
- The stabilizers I chose were Durock V2 PCB smokey gold-plated screw-ins. I have to admit that I’m not up on all the different stabs out there, nor do I know what the “experts” say are the best. I do know that Durock is a reputable company and have read good things about their products in the past. I figured it was a good bet and I was right. I got them from Mechanicalkeyboards.com, here.
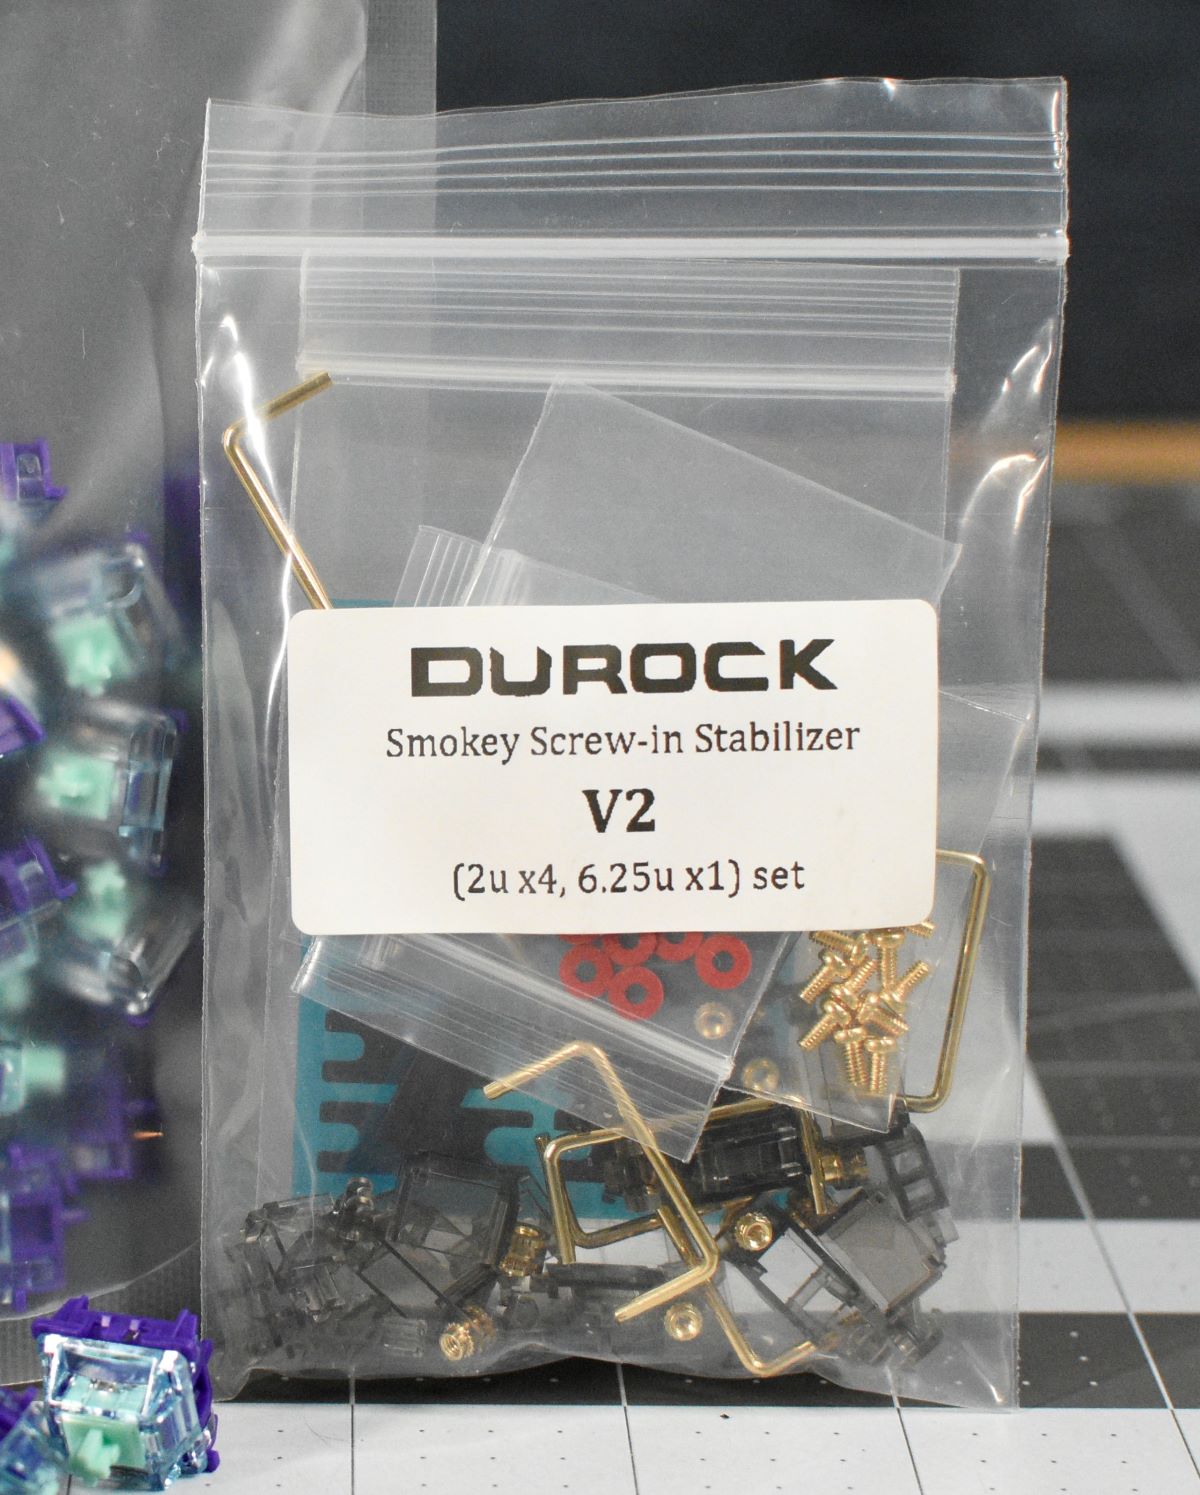
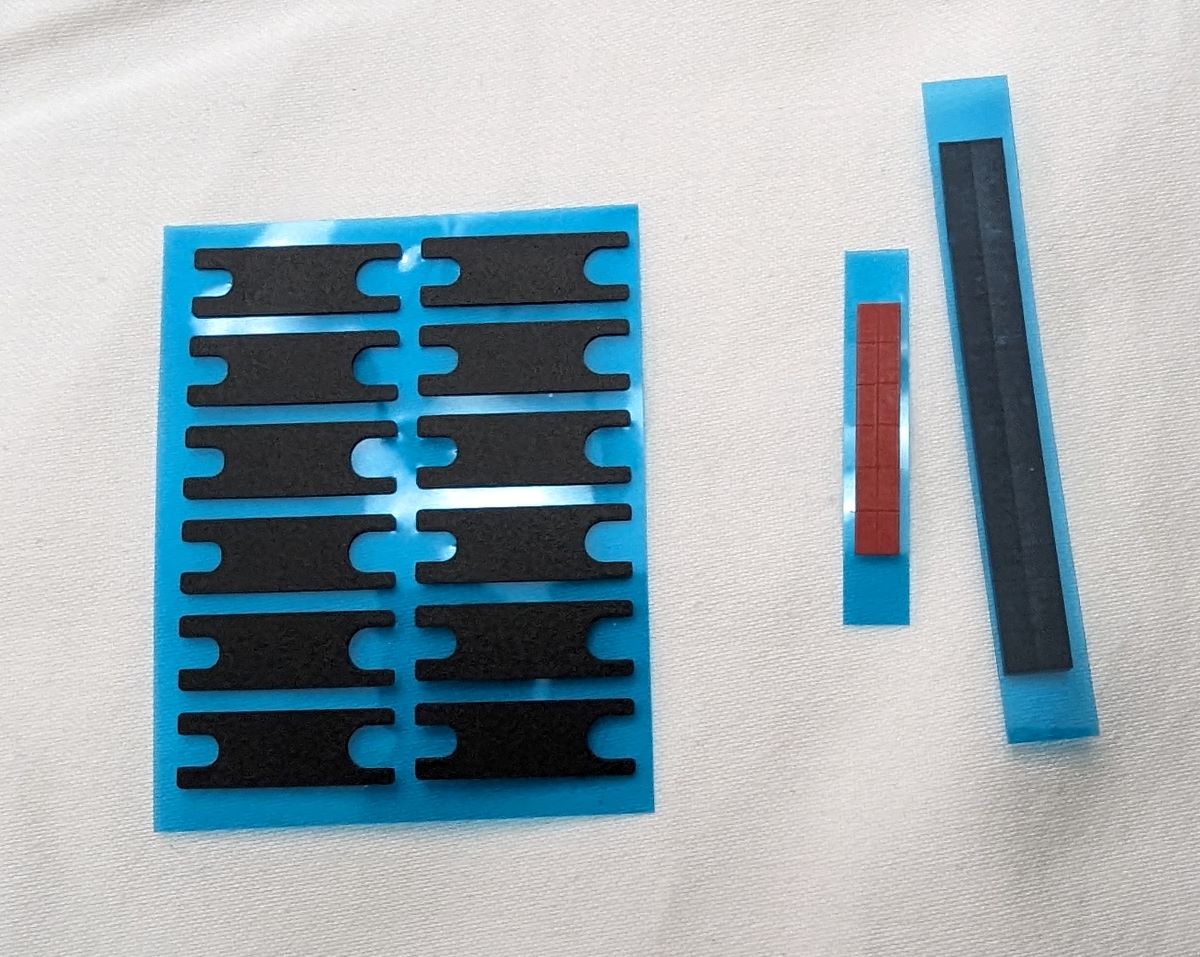
Included with the stabilizers was a foam kit that I had never seen before. After some searching, I found that it’s called a Soul Mate tuning kit. I never knew this was even a thing, but I should’ve guessed. Keyboard nerds will try anything in search of less rattle or ping. The stab kit came out to $23.20 with free shipping.
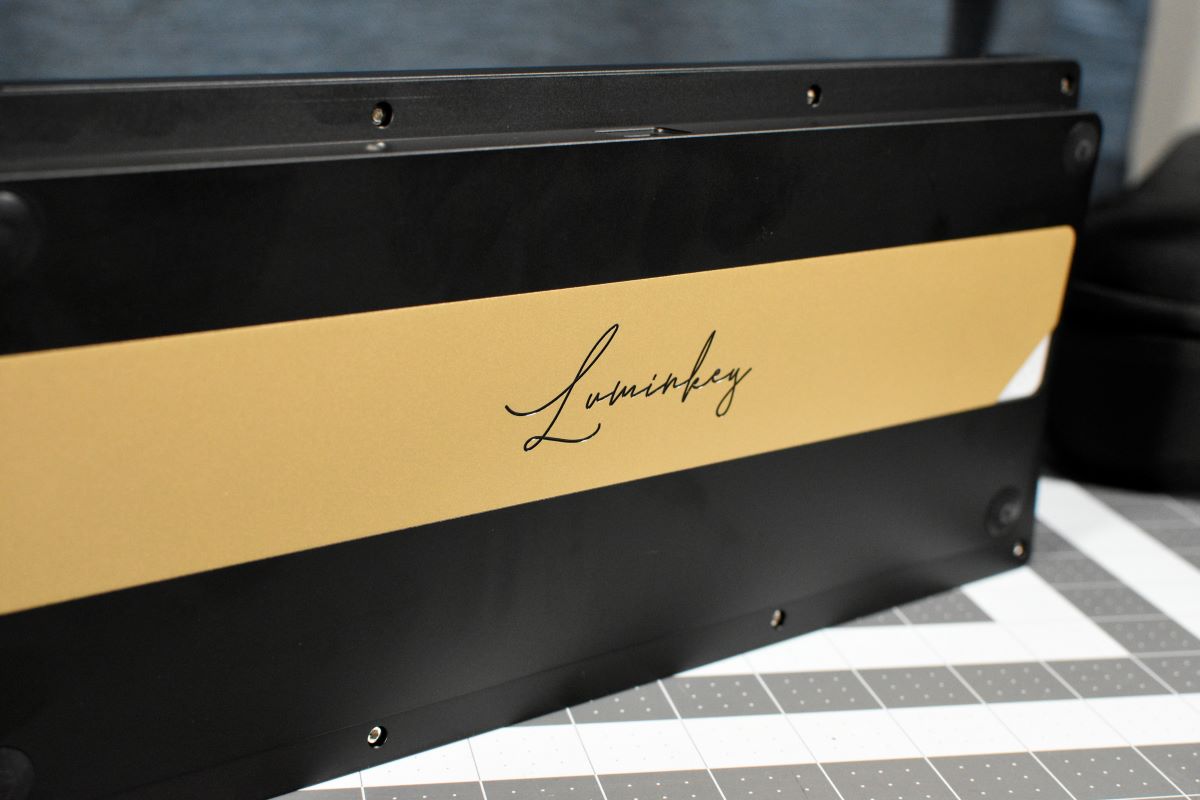
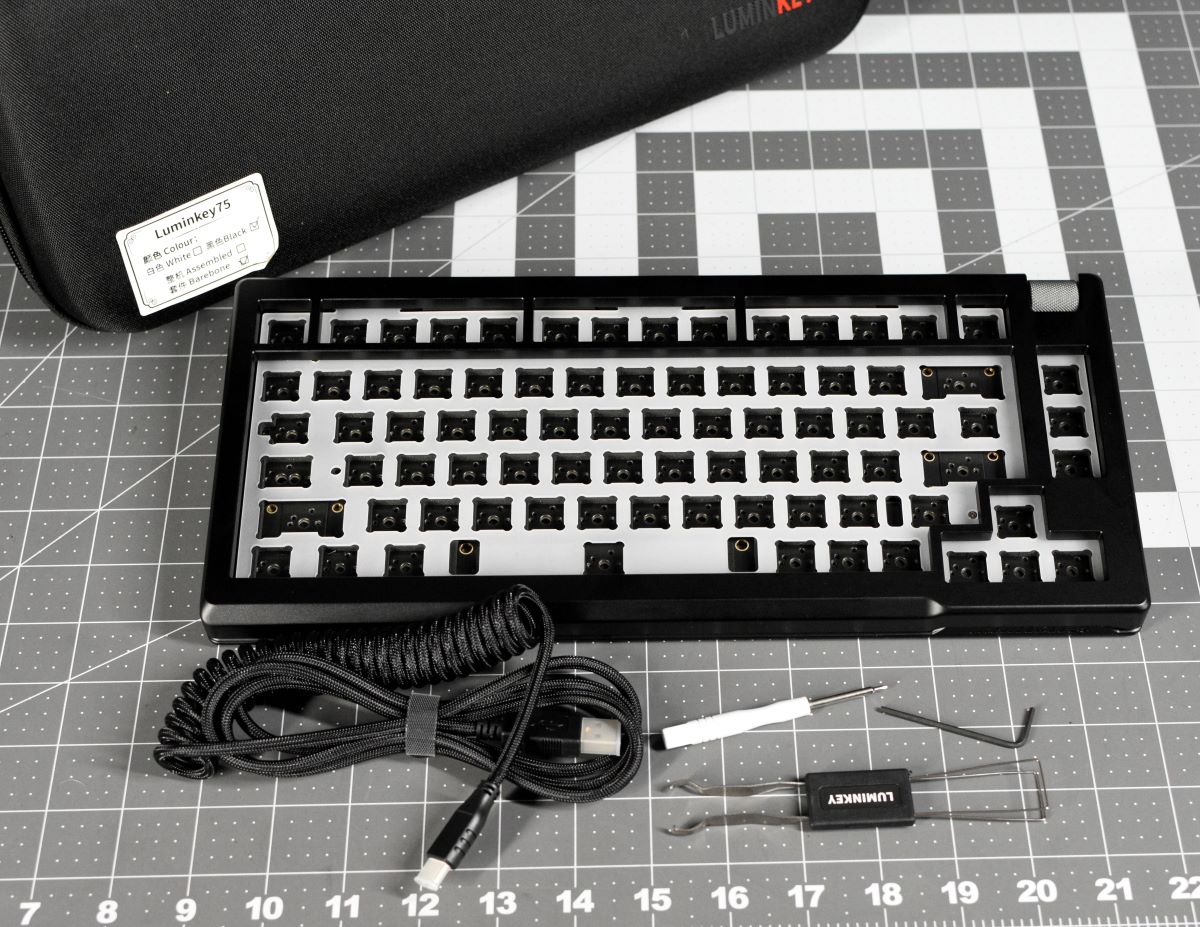
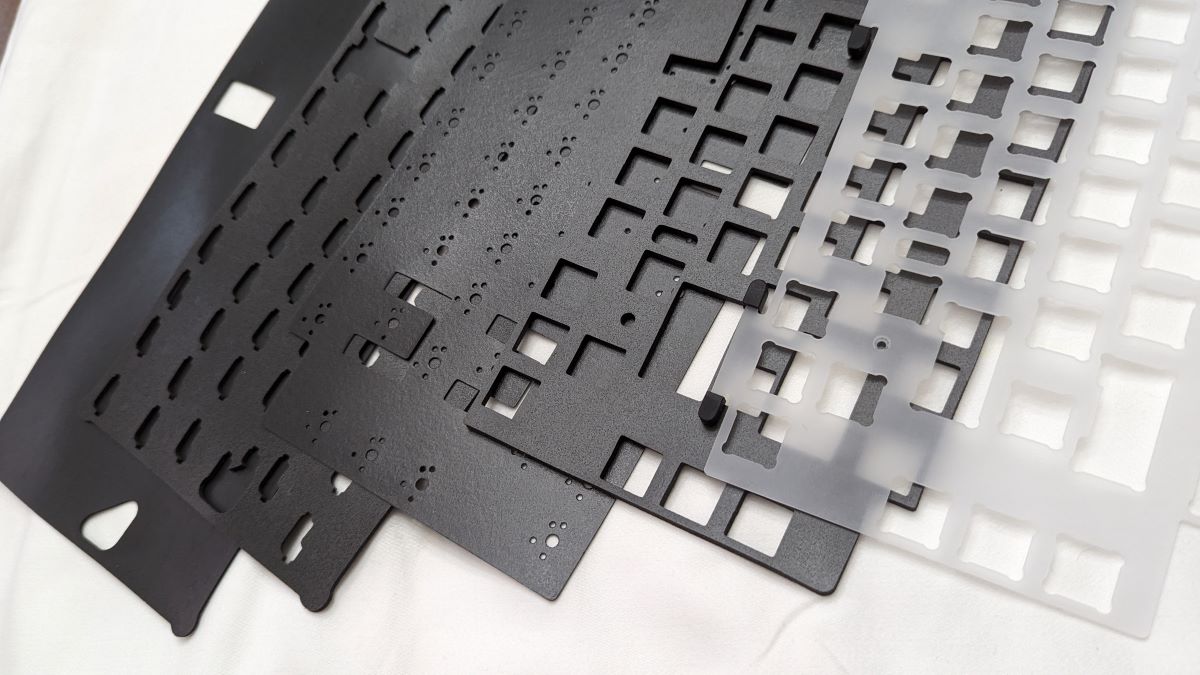
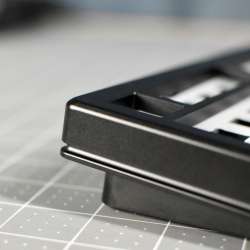
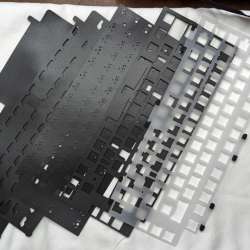
- The biggest expense was the barebones keyboard kit, and rightly so. This is the base for everything. It has to be built well, look good, sound good when complete, include a great PCB, top plate, and all the foam for tuning the sound. This is what I spent the most time researching. There are millions of choices out there (I may be exaggerating here, but you get my point), some costing up to 4 figures. I knew I had to be reasonable to keep within my budget. Ultimately, I landed on the Createkeebs Luminkey75 black aluminum kit, again from Mechnicalkeyboards.com for $199 with free shipping.
Here’s a list of features that fit almost all my requirements:
-
- CNC machined anodized black aluminum case
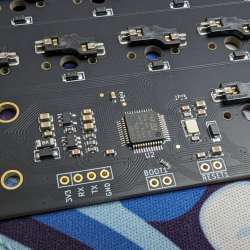
- Programmable with QMK and VIAL
- Gasket mount design
- 5mm polycarbonate plate
- Brass weight
- 7 degree typing angle
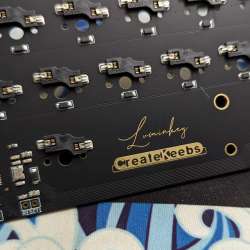
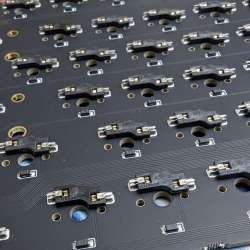
- 6mm hotswap PCB
- 75% layout with a programmable scroll wheel
- Poron foam sheets
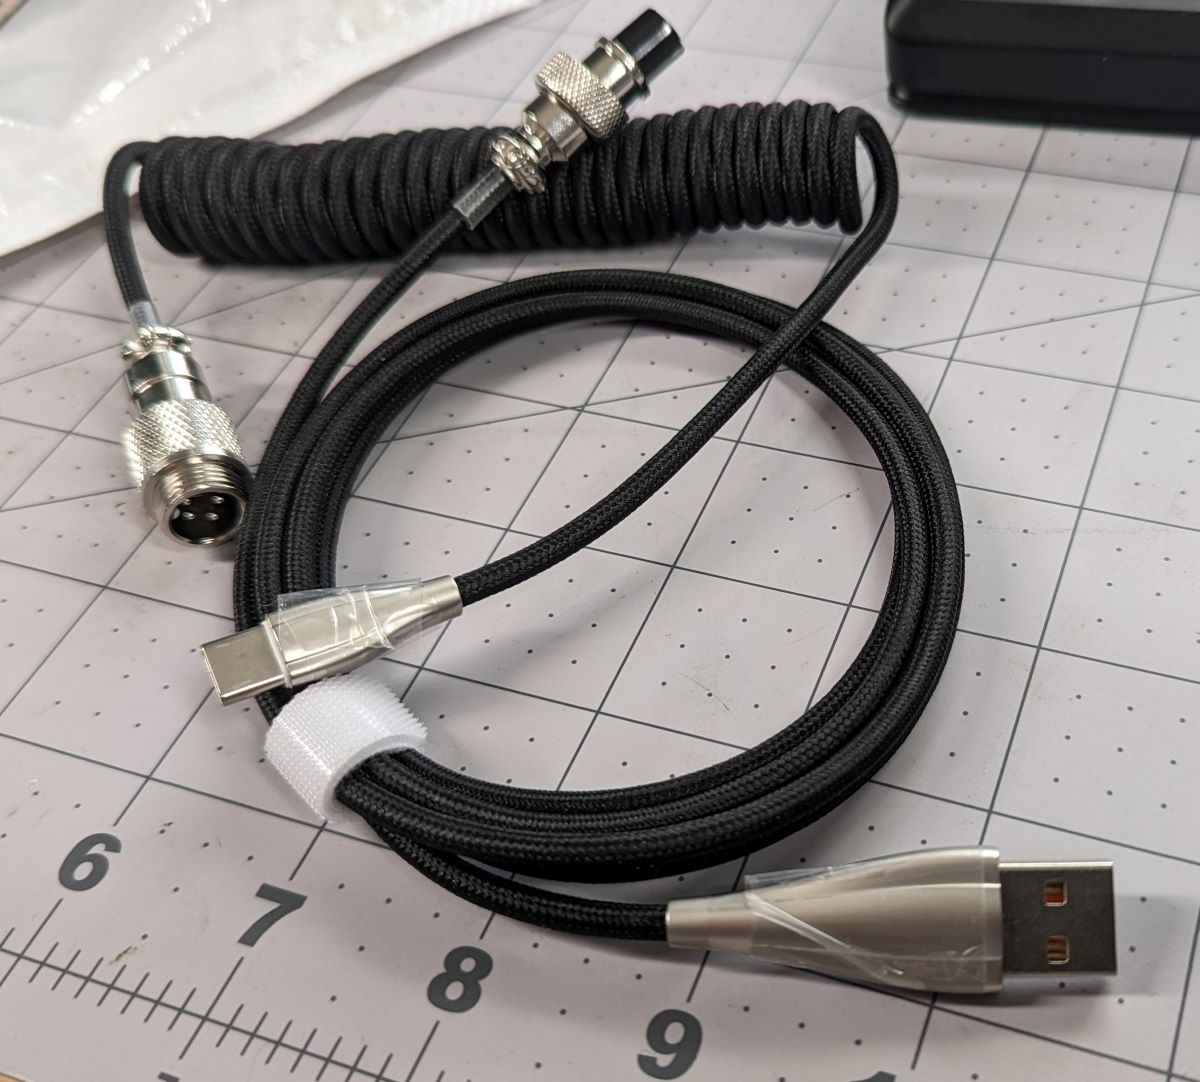
- The last purchase was a coiled USB C to USB A cable with metal aviation connectors. Here I had to be careful. I only had about $13 dollars left to play with, so I decided on an inexpensive cable from Amazon by Gunmjo. Never heard of them, but reviews were good enough, it was only $12.85, and if I didn’t like it, then no big loss, I’d just return and use something I had on hand. If you’re interested, you can find it here.
The grand total was $299.85. Nailed it! I came in under budget with 15 cents to spare. Since everything I bought was in stock, I got all my parts within about a week so that left the next part of the mission.
The Build
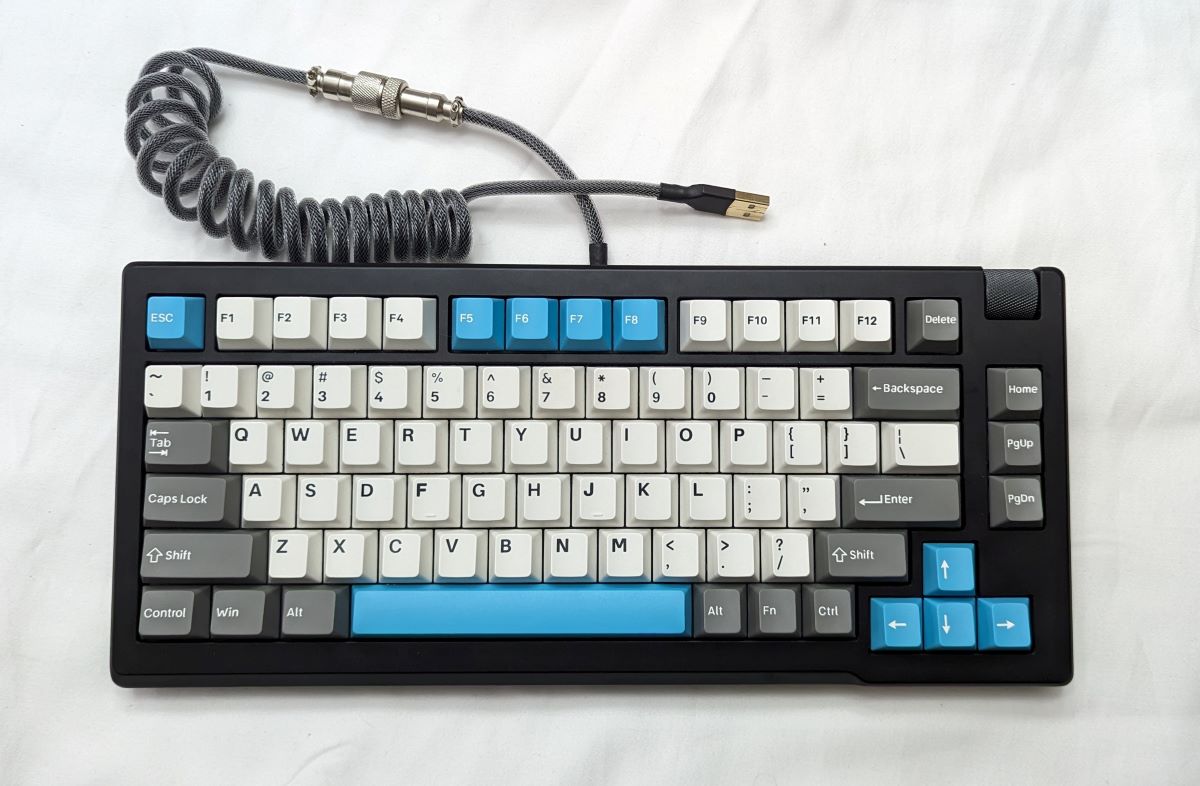
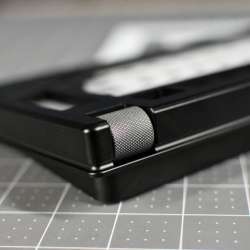
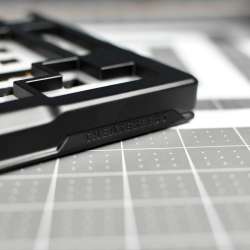
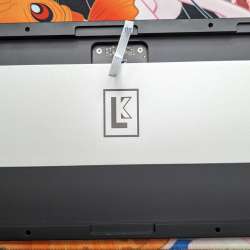
I was like a kid on Christmas. I had all this keyboard goodness surrounding me and I couldn’t decide what to open first. Finally, I decided on the Luminkey75. OOOWHEE! It’s pretty! Black anodized, fully CNC aluminum case and a brass weight to boot. AND, and, and it came with a zippered case, a coiled black USB cable, and tools for disassembly. I hadn’t seen anywhere in the description that it came with all that!
Knowing what the other parts and pieces looked like, I opened the cable I got from Amazon to see if the $13 cable was going to cut it. The picture online looked fine, but you never know. Sure enough, the actual cable did NOT look like the picture online. The USB connectors looked like they were designed in the 90’s. I was not putting that on my build and with the cable that came with the keyboard, I wouldn’t have to. Needless to say, the Gunmjo cable got returned.
The only unanswered question was what keycaps to use? I had decided to use something I had on hand. I had some on a Keychron keyboard I really liked so I’ll just swap them over.
Unfortunately, I didn’t take into account that some of the different function keys like control, alt, and others were too large to fit on the right side of the keyboard. UGH. No worries, there was another set I liked almost as much that I had gotten from a friend. Oof. The F8 key was missing and had been replaced with something similar enough that I had noticed until now. I then tried to make a set combining a couple with the same profile. No dice. I ran into the same problem.
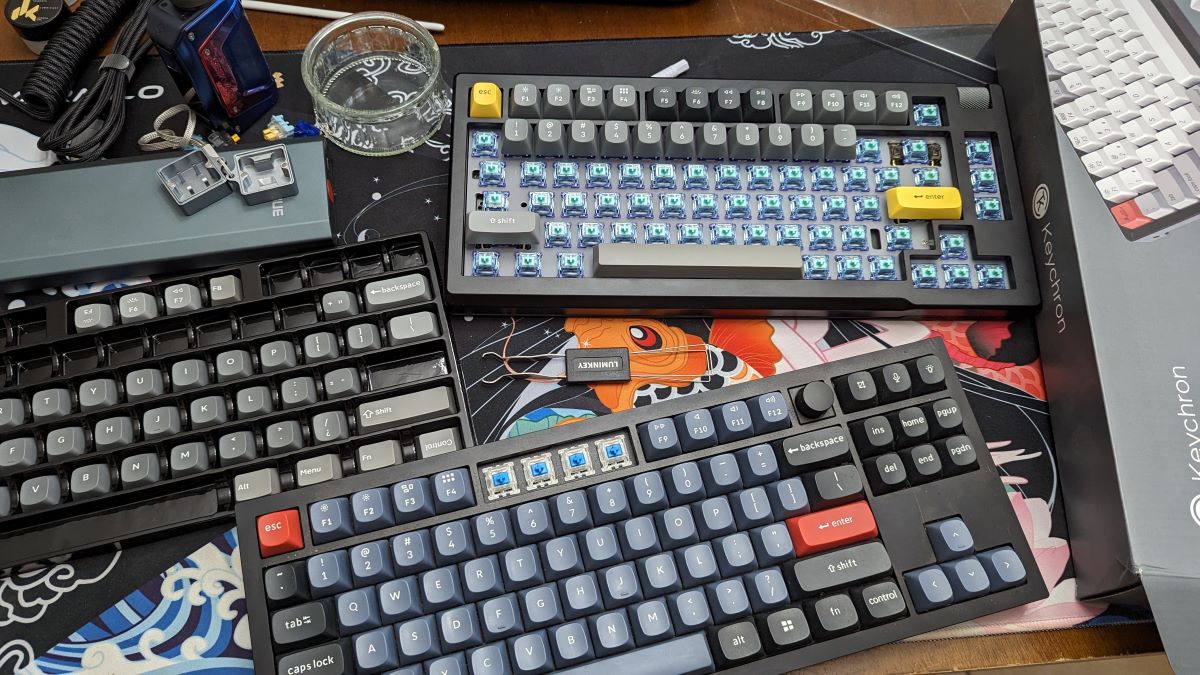
Ok, fine, I have something else I can use, but not particularly the colorway or profile I wanted to use for this build. So that’s what I did. It was another Keychron set so at least I’m still using quality keycaps.
The Debrief
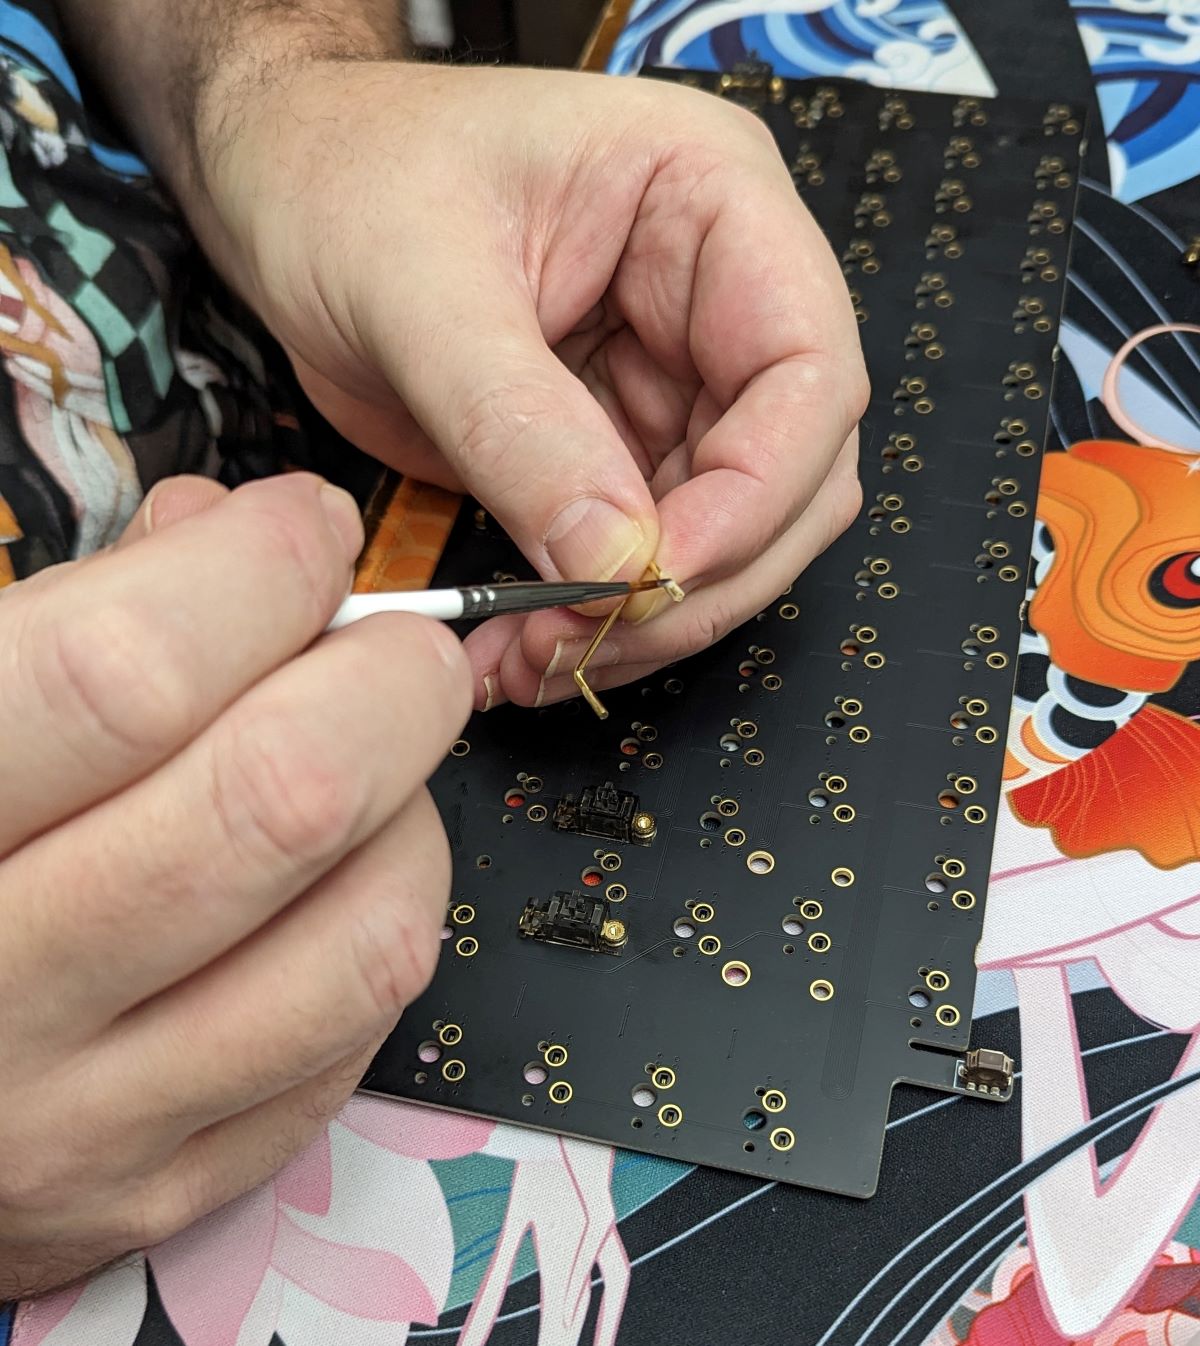
One of my daughters helped me put it all together. Yes, I have been able to convert all my kids to keyboard nerds like me. We had no problems assembling my new baby.

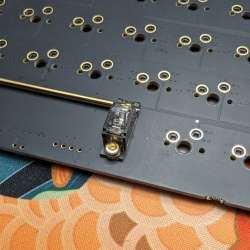
I had never used screw on stabs before since this was actually my first real build but had no real issues figuring out how to install them. I did lube them but opted to not use the Soul Mate kit. I’m going to hold onto it so if I start to experience any rattle, I know I have them in my back pocket so to speak.
I also opted to use all the included foam layers. I really wanted to use the Luminkey as is first to see if the sound profile is good by default or if I was going to have to play around with taking some out and/or doing mods.
The Azure dragon switches felt great as is, but I was curious to see if lube would help them at all. So, I did lube a couple of the extra ones and installed them in with the others. What I found was it dampened the tactile bump a little too much for me. I knew this was a possibility with tactile switches which is why I didn’t start going all crazy and lubing them all straight out of the box. Again, I can always go back and do it if I decide I want to, but for now, I’m quite happy with the stock Azure Dragons.
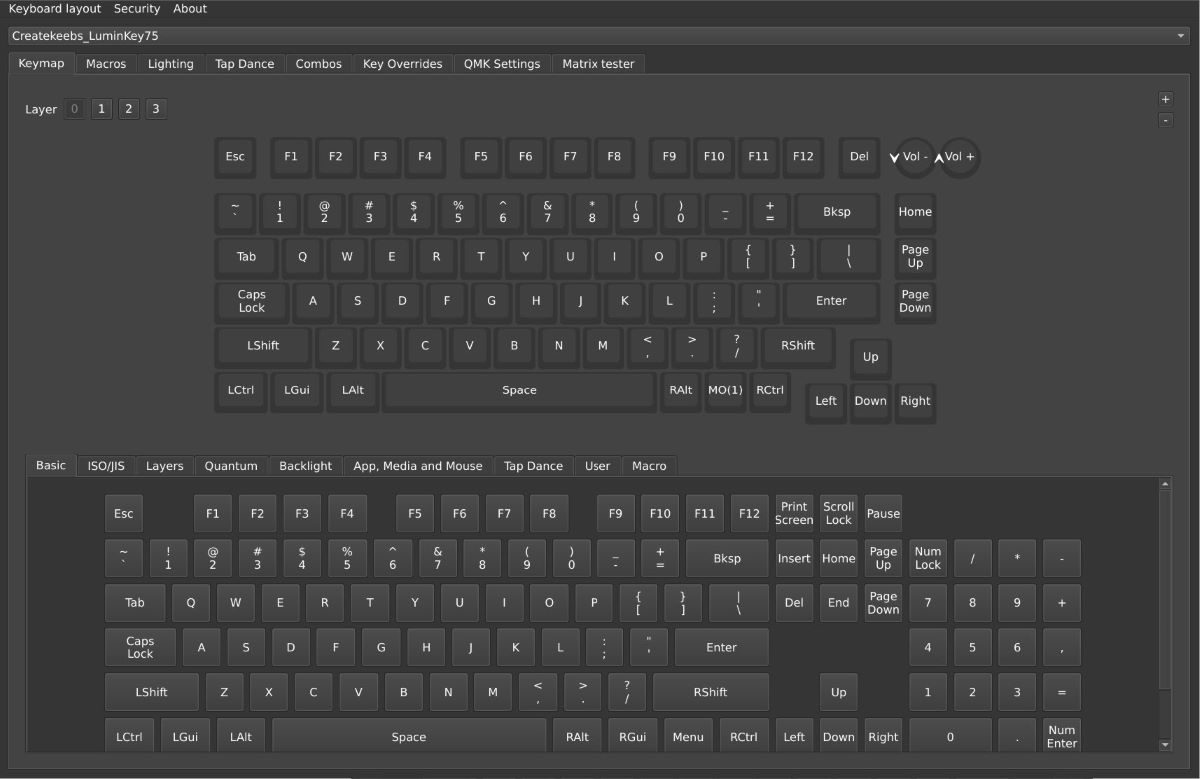
I already had to make concessions for the keycaps and there were a few I had to make when choosing the barebones kit. Ideally, I was looking for a monolithic case with everything accessible from the top, but I wasn’t able to find one I liked when compared to the Luminkey. No biggie, I willingly made that compromise. The other compromise I had to make can be chalked up to not reading the description carefully enough. I wanted a kit that was QMK and VIA compatible. What I got was one that was QMK and VIAL compatible. I didn’t even realize it until I used my new keyboard the first time and went to the VIA web app page. It wasn’t recognized at all. I was confused. How could this be? Checking the description of the Luminkey online I saw my mistake. Now what? I never used VIAL before and I didn’t want to have to install a separate program to change macros or keybinds. I can happily say VIAL has a web app as well, does everything that VIA does as far as I can tell, its interface just isn’t as pretty. Catastrophe averted.
Final Mission Report
Overall, I will say the mission was a success.
I was able to build a lovely beast of a mechanical keyboard for just under budget. I feel like I was able to hit enough of my requirements to make me happy. Is there anything I would change? Yes, but it’s only the keycaps. I really wanted a set with a taller, rounder profile but this all came down to me thinking I had what I needed and not thoroughly checking to see if I actually did. Other than that, I can say I’ve built an endgame keyboard, at least for now.


Oh, c’mon! You didn’t think a keyboard nerd would build one keyboard to rule them all and just stop, did you? There’s always something new coming in this hobby, just like many others. There’s always something else to try and I review a lot of keyboards for The Gadgeteer. The good thing is I get to switch out to a new keyboard often. The bad thing is that I have to swap out to a new keyboard often, which requires I put my Luminkey off to the side for a while. But that just means, it’ll be “new” longer and I’ll appreciate it more when I switch back to it. I hope you enjoyed this little trip and I hope I can do something similar in the future. If any of you have comments or suggestions for parts, pieces, or different keyboard manufacturers we’ve never covered here at The Gadgeteer. Let me know below. I’d love to hear.
And speaking of hearing, here’s a sound test. Note that the keycaps have been changed because I’m currently reviewing them.
L39 Ultra Slim UV Protective Filter for Leica Q3 43 Q2 Camera with Moisture-Proof Case & Removal Tool 19 Layers Mulit-Coated UV Ultraviolet Filter 99.3% Light Transmission Water Oil Scratch Resistant
(as of June 23, 2026 06:35 GMT -05:00 - More infoProduct prices and availability are accurate as of the date/time indicated and are subject to change. Any price and availability information displayed on [relevant Amazon Site(s), as applicable] at the time of purchase will apply to the purchase of this product.)