REVIEW – As a proud Gen Xer, I still have an inordinate amount of memories stored on “old media”. Over the years, I’ve painstakingly converted VCR tapes to MP4s, CDs, and records to MP3s, and scanned countless photos, all with varying degrees of success. Despite my background as a digital artist, photo scanning, in particular, has always been an arduous task for me. The scans never look as good as the originals, the process is difficult, and it seems to take forever.
However, all that changed once I tried out the Vivid-Pix Memory Station. This all-in-one system comes with a high-quality overhead scanner as well as specially designed software to make photo scanning and restoring much easier for the uninitiated. While the high cost of the $630 system may limit its appeal to educational or public institutions, if you’ve accumulated a ton of photos over the years, the price might be worth it.
What is it?
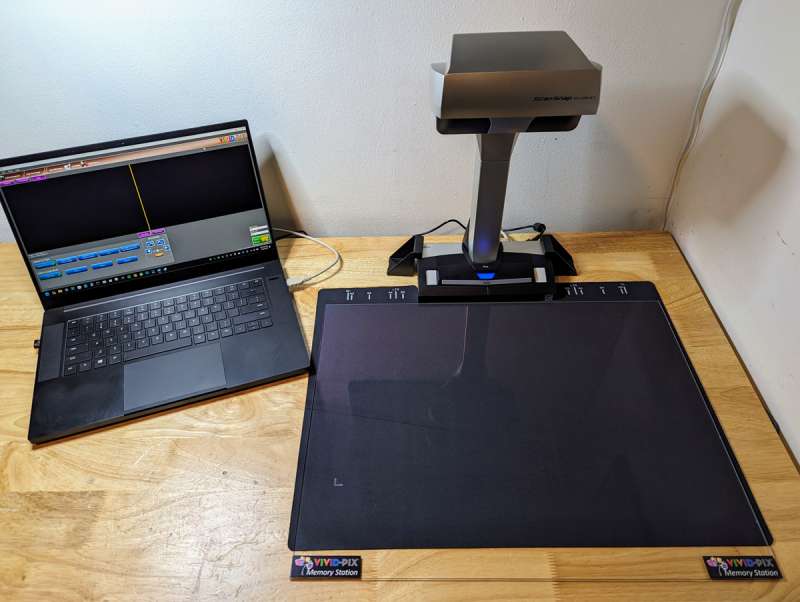
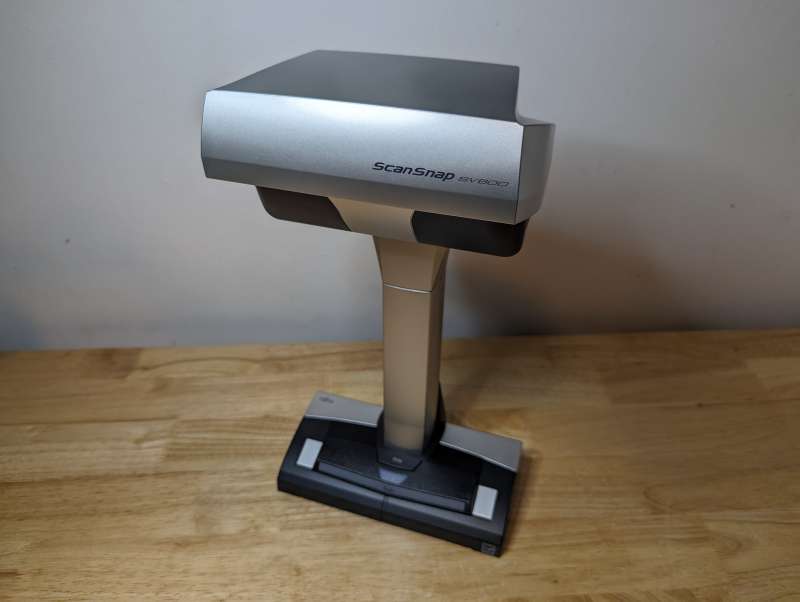
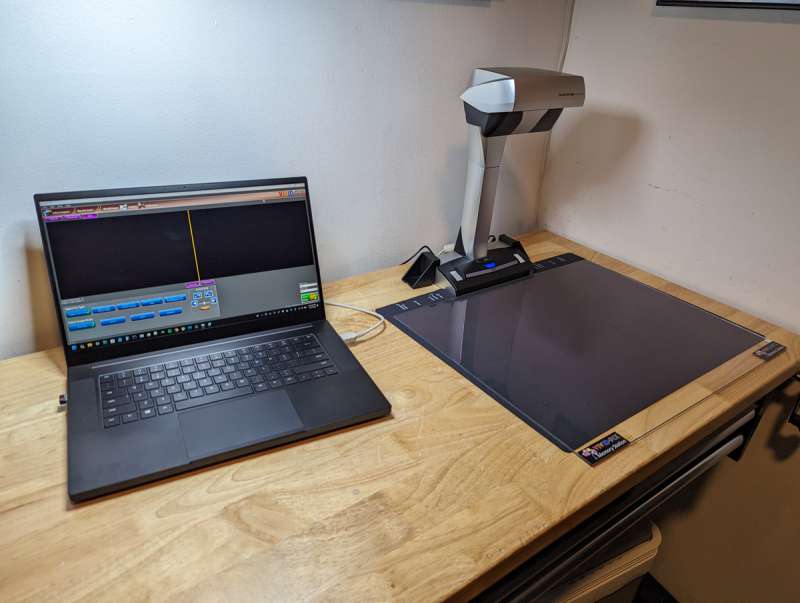
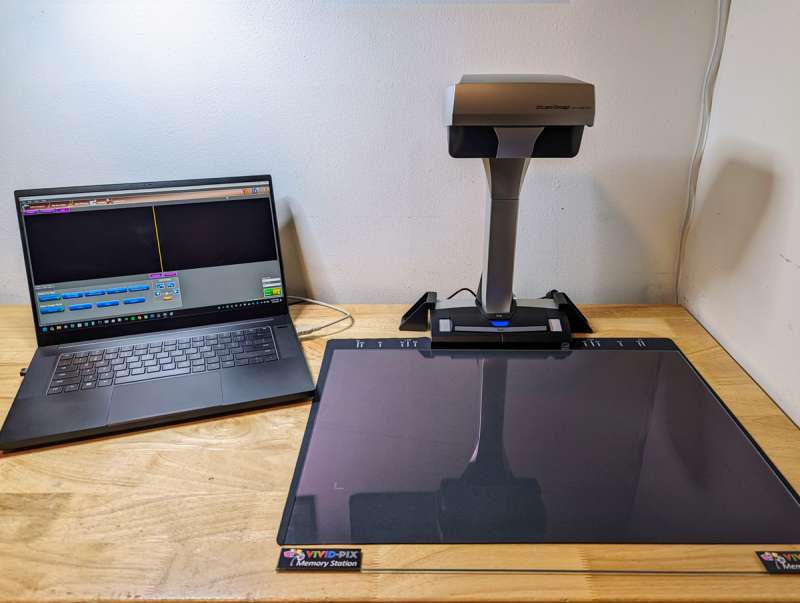
The Vivid-Pix Memory Station is a scanning system that includes the ScanSnap SV600 Scanner and the Vivid-Pix RESTORE Imaging Software. The ScanSnap SV600 is an overhead optical scanner that uses CCD optics and LED illumination to make it easy to quickly scan several photos at once as well as documents, books, and magazines. The Vivid-Pix RESTORE software is designed to simplify photo restoration, cropping, and color adjustment. Sold as a package, the system is geared more toward educational or public facilities like schools, libraries, or nursing homes as opposed to personal home use.
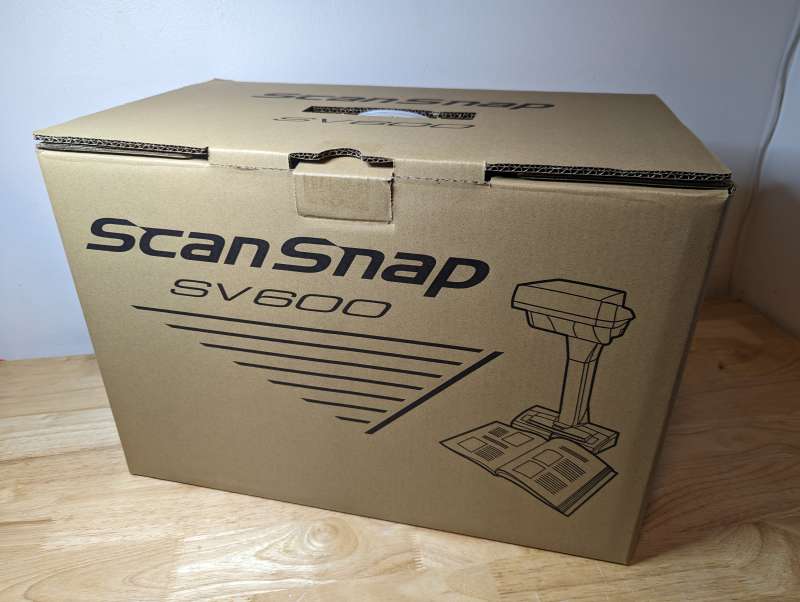
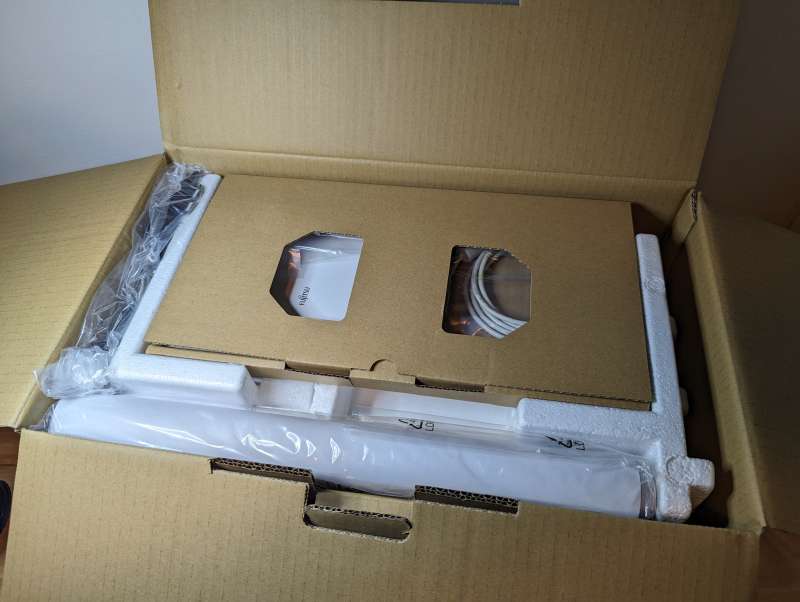
The ScanSnap SV600 Scanner arrives in an appropriately large cardboard box with plenty of foam inserts inside to protect the delicate components of the scanner while in transit. The Vivid-Pix RESTORE Imaging Software arrives as a download link via email.
What’s in the box?
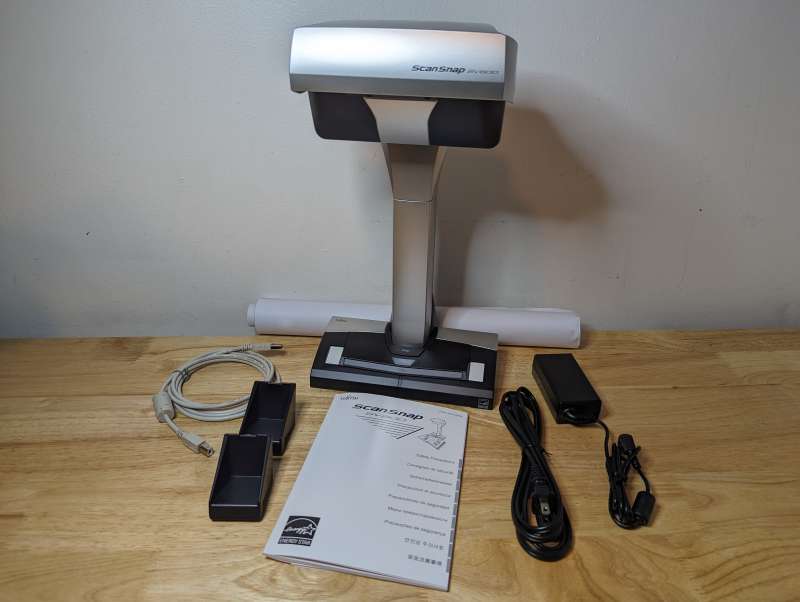
- ScanSnap SV600 Photo/Document Scanner
- Vivid-Pix RESTORE imaging software (downloaded from website)
- 12V DC Power Supply
- USB-A to USB-B data cable
- User manual
- Scanner mounts
- Fabric background scanning mat
- Acrylic image stabilizer
Hardware specs
- Scanner Type: Overhead photo and document
- Brand: Ricoh ScanSnap
- Model Name: SV600
- Media Type: Paper, Photo
- Connectivity Technology: USB
- Scanning Speed (A3 Landscape)
- Auto mode: 3 seconds / page
- Normal mode: 3 seconds / page (Color / Grayscale: 150 dpi, Monochrome: 300 dpi)
- Better mode: 3 seconds / page (Color / Grayscale: 200 dpi, Monochrome: 400 dpi)
- Best mode: 3 seconds / page (Color / Grayscale: 300 dpi, Monochrome: 600 dpi)
- Excellent mode 3 seconds / page (Color / Grayscale: 600 dpi, Monochrome: 1,200 dpi)
- Scanning Color Mode: Color, Grayscale, Monochrome, Automatic (Color / Grayscale / Monochrome detection)
- Image Sensor: Lens reduction optics / Color CCD x 1
- Light Source: White LED + Lens illumination x 2
- Optical Resolution:
- Horizontal scanning: 285 to 218 dpi
- Vertical scanning: 283 to 152 dpi
- Document Size:
- Maximum: 432 x 300 mm (17.0 x 11.8 in.)
- Minimum: 25.4 x 25.4 mm (1 x 1 in.)
- Paper Weight (Thickness): 30 mm (1.18 in.) or less
- Power Requirements: AC 100 to 240 V, 50/60 Hz
- Power Consumption:
- Operating Mode: 20W or less
- Sleep Mode: 2.6W or less
- Auto Standby (Off) Mode: 0.4W or less
- Operating Environment:
- Temperature: 5 to 35 °C (41 to 95 °F)
- Relative Humidity: 20 to 80% (Non-condensing)
- Dimensions (W x D x H): 210 x 156 x 383 mm (8.27 × 6.14 × 15.08 in.)
- Weight: 3 kg (6.62 lb)
- Driver:
- ScanSnap specific driver
- Windows: Does not support TWAIN / ISIS
- MacOS: Does not support TWAIN
Design and features
The design of the ScanSnap SV600 is simple and functional. The device is basically a large digital camera, magnifying lens, and LED mounted on top of a stand.
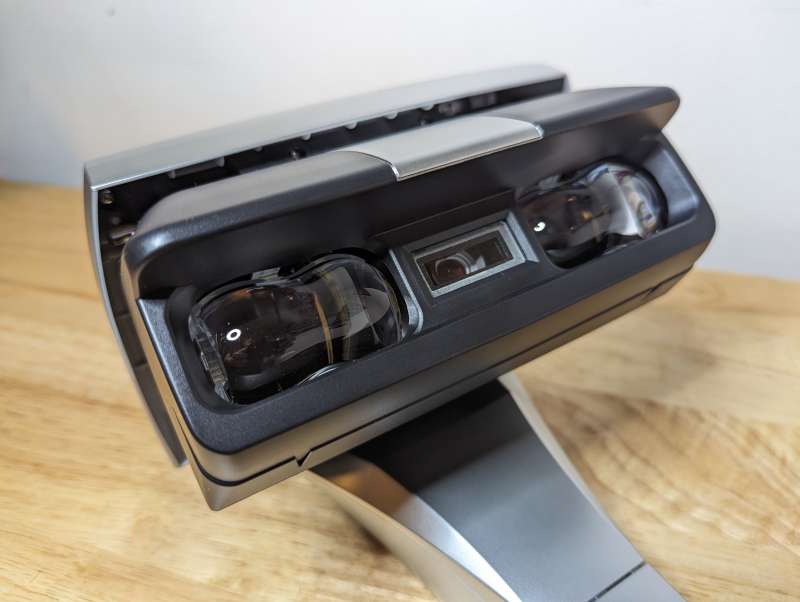
The “head” of the ScanSnap holds all of the vital technology encased in gray and black ABS plastic. The CCD linear image sensor, which handles all of the scanning, is located at the center of the device. The sensor has an enhanced depth of field lens to keep the same focus at different angles while scanning.
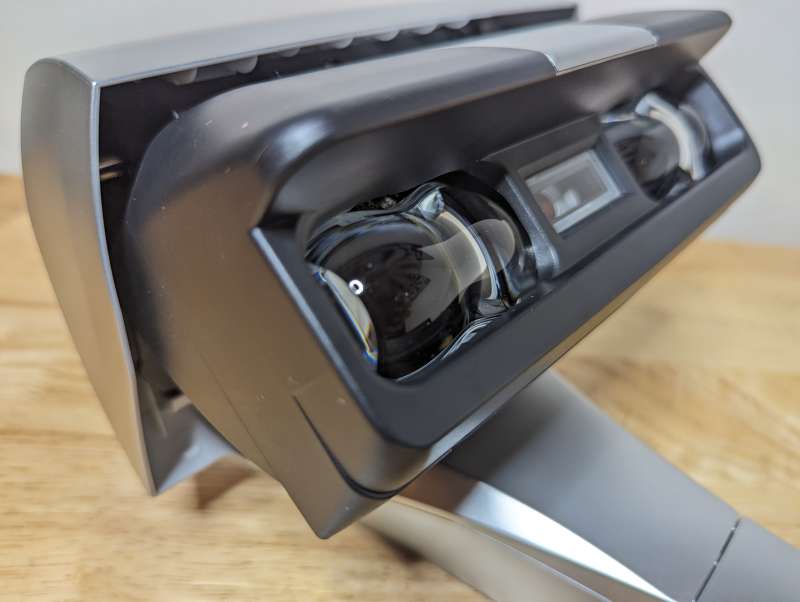
The LED lamps are located on either side of the sensor behind thick round glass lenses. The powerful LEDs are magnified by the lenses to maintain consistent brightness unaffected by surrounding light.
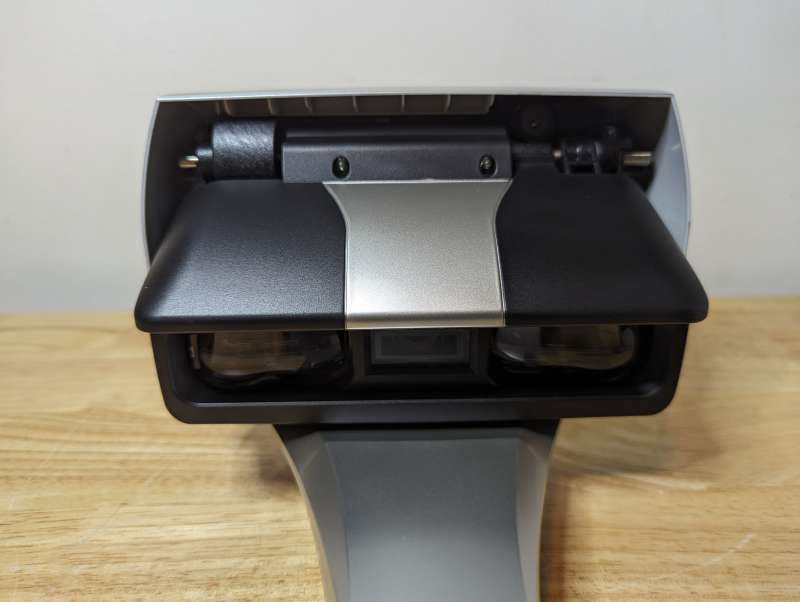
The head itself rotates up and down to capture the full scanning area.
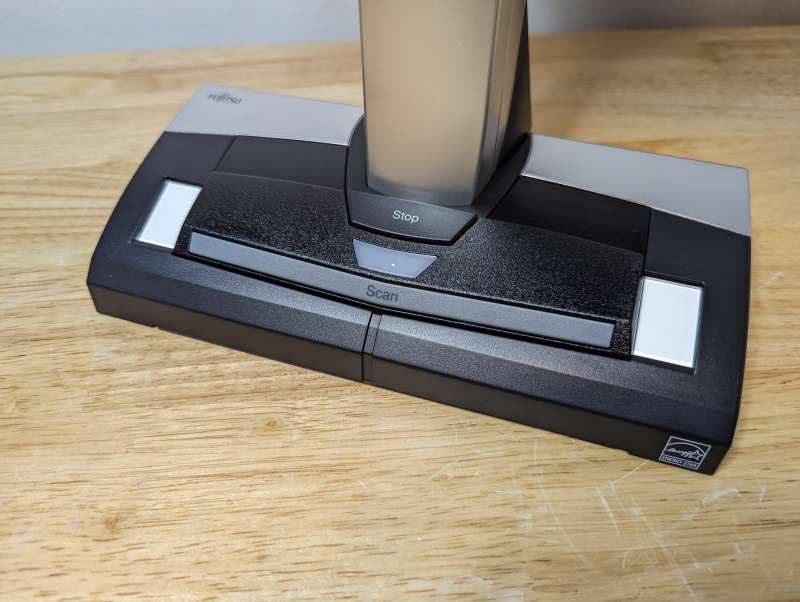
The base of the ScanSnap has a large “Scan” button to automatically start scanning and a “Stop” button for canceling a scan in process.
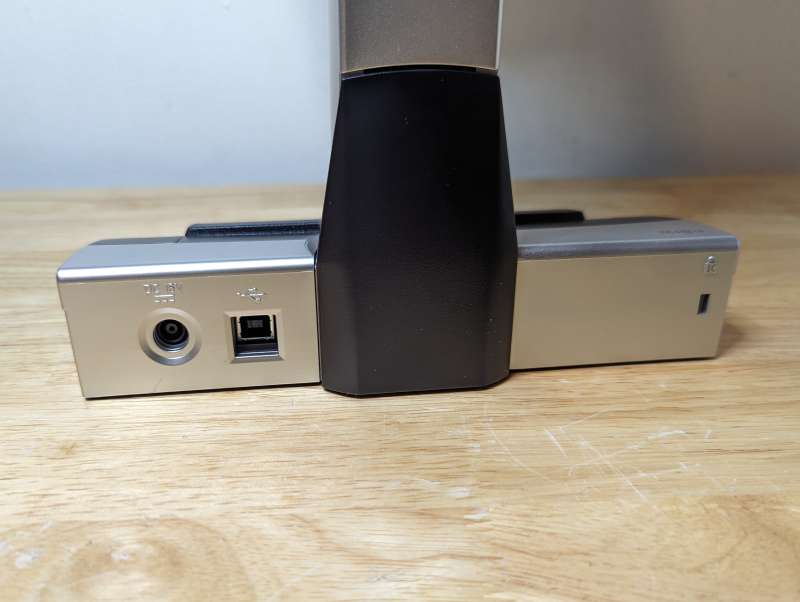
Behind the base is a USB-B port for connecting the scanner to a computer and a small 12V power port.

Included with the ScanSnap is a USB-A to USB-B data cable.

There’s also a small power brick and power cable for powering the scanner.

Two small stabilizing braces are included for securing the ScanSnap in place using adhesive tape.
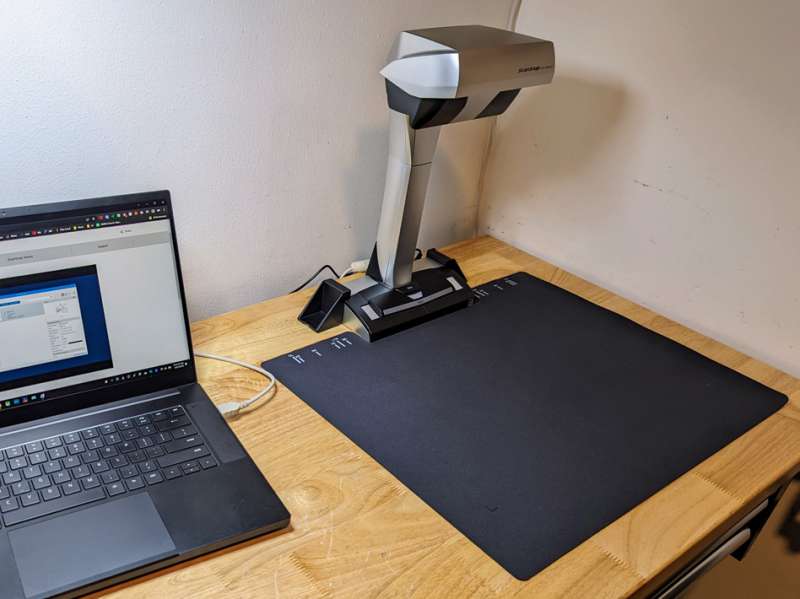
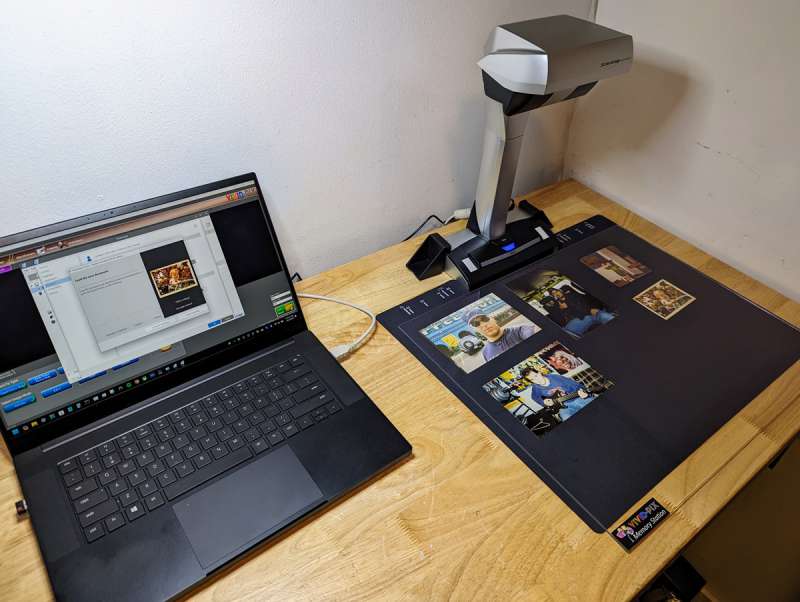
As part of the Vivid-Pix Memory Station a black fabric background mat is provided to keep photos and documents in place while providing a high-contrast dark background for better scan results.
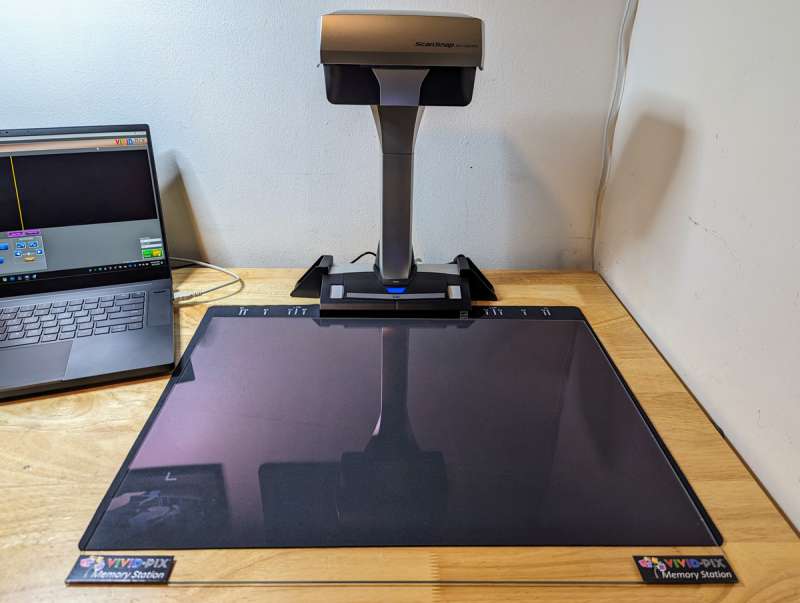
An optional accessory for the Memory Station is an acrylic sheet to lay on top of photos keeping them perfectly flat for better scans.
Setup
Setting up the Vivid-Pix Memory Station is relatively easy, the device itself just needs to be connected to a computer and power source. If you’re using the acrylic sheet, simply lay it over your photos once they’re placed on the black scanning mat.
The more involved part of the setup is downloading, registering, and learning to use the RESTORE scanning software. The program isn’t the most intuitive and it looks like a throwback to 90s era software design. But, oddly enough, that retro look and feel makes it pretty simple to use once you understand the options.
Performance
To test the Vivid-Pix Memory Station I dug out a few old photos of myself from various points in my life. While the scanner is listed as being able to crop out ten photos at a time during scanning, I found that the most reliable amount of photos to scan at once is five. Spacing the photos an inch or so apart made it easy for the scanner to easily identify the edges and crop them properly.

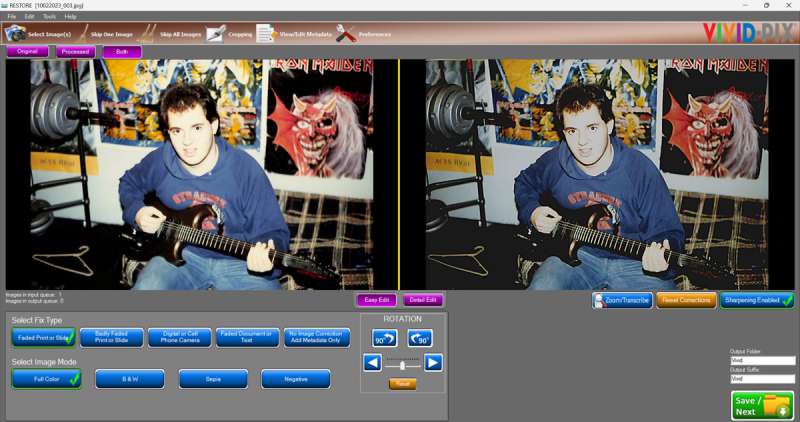
To start, I used a photo of a cherub faced version of your author from around 1972. The photo has yellowed through the years and the edges are curled and distorted, an excellent challenge for the scanner.

Using a preset option I was able to correct the photo’s color and address some of the blurriness and age-related damage.
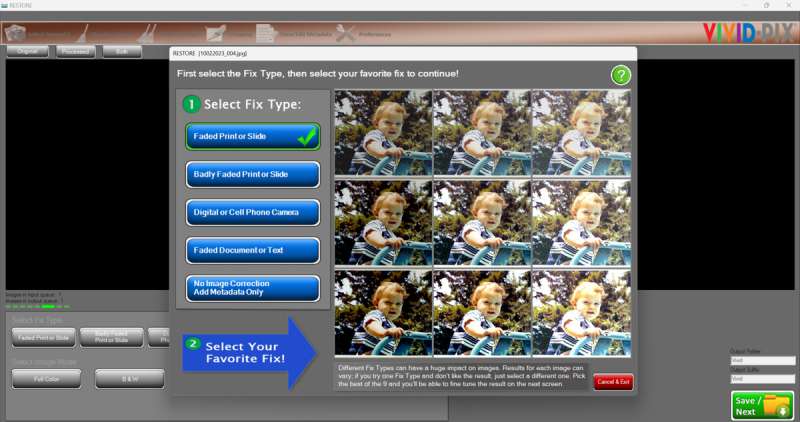
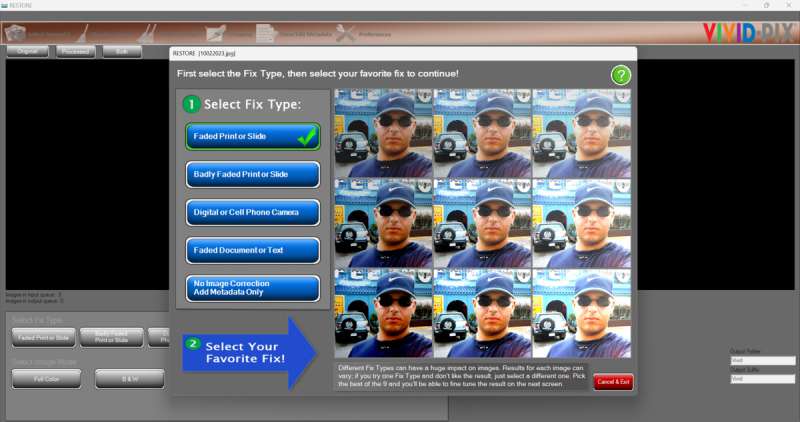
After selecting the type of correction, the software lets you choose the version you prefer, or you can opt to dive in and make finer adjustments.

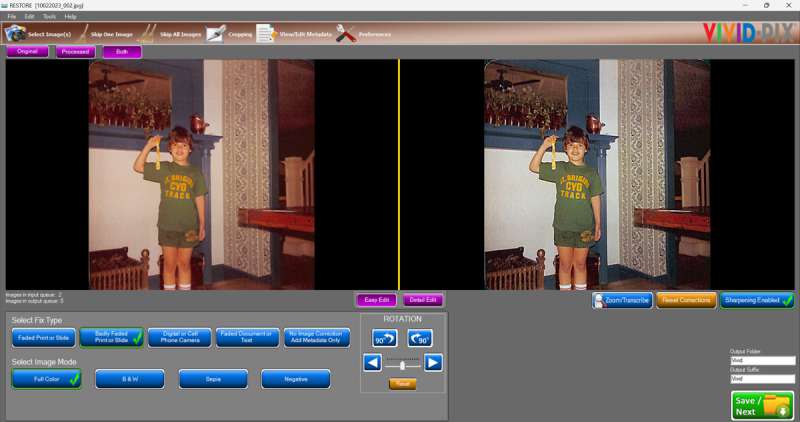
The final photo looks significantly better than the original, and it didn’t require hours of retouching. While the quality isn’t on par with what I could achieve in a program like Photoshop, the convenience was well worth the tradeoff.

For the next test I found a photo of myself celebrating one of my few athletic achievements. This photo too had yellowed with age and wasn’t as in focus as I would have preferred.
The software was able to change the yellows of the background to a more accurate off white and brought in a little more detail overall.

Again, while not a perfect restoration, for the time it took and taking into account that I’m recommending this system for bulk scanning, I’m satisfied with the results.

Jumping forward to my college years, I found a photo with another challenge, blown out detail and poor skin tone representation.
I struggled with this one a lot and wasn’t able to find a perfect preset to use to address the issues.

The software was able to correct the skin tone slightly and added back some details into the blown out areas. I think using some of the more granular options would help improve photos like this even more.

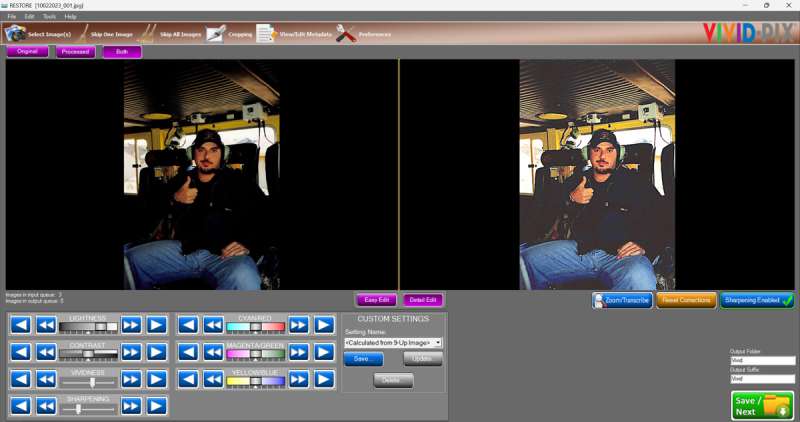
Using a photo from my time in the military, I tested the software’s ability to correct a blurry image with high contrast and some color defects.
The software employed a typical sharpening algorithm to fix the blurriness and bumped up the saturation of the colors a bit to make the image pop.

Definitely an improvement over the original, but the color defects remained. Fixing those might have been asking too much of the plug and play approach the software takes.

For the final test I used a photo from my firefighting days that had some very dark areas with little detail.
With this one I opted to manually make adjustments to try and tease out some detail and color.

While not perfect I was able to pull out the blue color of my jacket and add back some edges where before none existed.
Overall, the Vivid-Pix Memory Station performed adequately in my testing with allowances for quantity over quality. The software was able to address most old photo issues using preset fixes and allowed me to make manual adjustments for more troublesome issues. I do admit though, I may have a more critical eye for the restored versions of the photos having worked for many years as a digital imaging artist.
What I like
- Scan quality of device is good
- Ability to scan up to five photos at a time is useful
- Can also scan books and magazines
What I’d change
- Software is poorly designed and not intuitive
- System takes up a lot of space
- Very expensive, more appropriate for commercial settings as opposed to personal use
Final thoughts
The Vivid-Pix Memory Station is well-suited for settings such as schools, libraries, and community centers. However, I have reservations about recommending it for personal use. While it is effective and relatively user-friendly, the $629 price tag might be too expensive for most consumers, particularly when there are other more affordable alternatives available. That said, the system is a great option for those who may not have the technical knowledge or patience to scan large amounts of photos with traditional flatbed scanners. Having the ability to scan books, magazines, or other large documents is an added bonus.
Price: $629.98
Where to buy: Vivid-Pix
Source: The sample of this product was provided by Vivid-Pix.

Canon Canoscan Lide 300 Scanner (PDF, AUTOSCAN, Copy, Send)
(as of June 18, 2026 06:14 GMT -05:00 - More infoProduct prices and availability are accurate as of the date/time indicated and are subject to change. Any price and availability information displayed on [relevant Amazon Site(s), as applicable] at the time of purchase will apply to the purchase of this product.)
Gadgeteer Comment Policy - Please read before commenting
what is the cost of the scanner?
Do you recommend the acrylic to hold the pics in place?
Would I be able to scan t-shirts and other non-flat items?