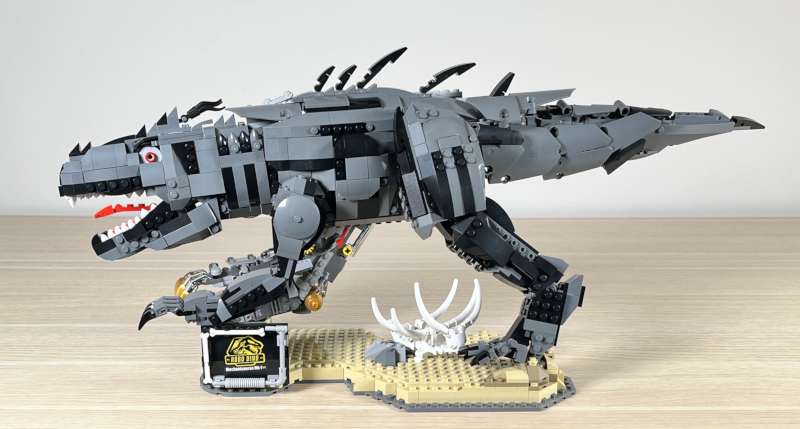
REVIEW – Is it possible to have too many building block sets? I doubt it. I’m looking for another fantastic set to join my lakeside lodge and my massive lighthouse. I’m hoping that the new T-Rex from JMBricklayer will find a home on my bookshelf.
What is it?
The JMBricklayer T-Rex Dinosaur is a LEGO-compatible building block set (model 70101) that features a prehistoric animal that is half reptile and half machine. This set contains 1470 pieces, mostly in shades of gray and black, and one sticker; this set is an upgrade of their original t-rex. The vast majority of the pieces, with a few notable exceptions, are small, and many are similar to LEGO Technic pieces. JMBricklayer’s motto is “Joy Makes Brillance,” and their mission is to help builders “reap the rewards of their ideas.”
What’s in the box?
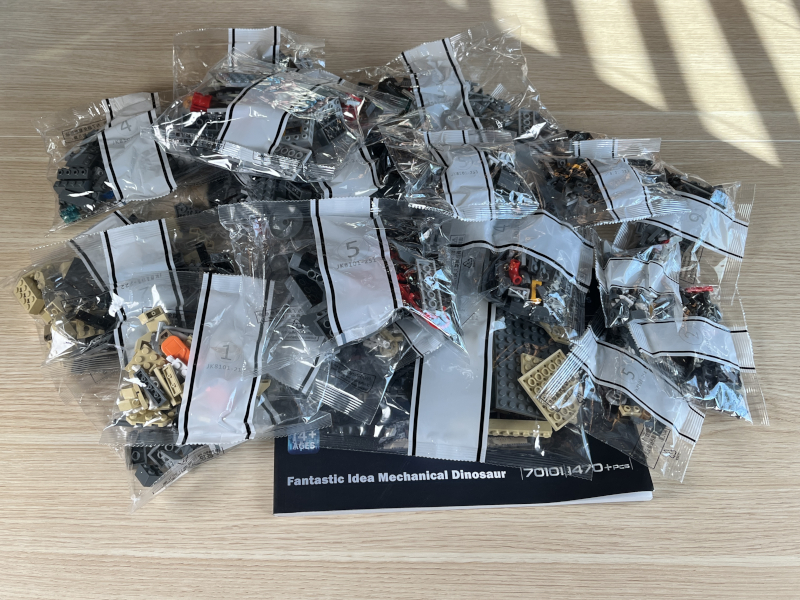
- 1470 pieces
- A brick separator
- A 118-page manual
- One sticker
Design and features
When it comes to the design of LEGO alternatives, there are a handful of questions that always need to be answered:
Are they compatible with LEGO? Yes, this set is totally compatible with LEGO. I connected various pieces to LEGO pieces, and everything connected as I would expect it to.
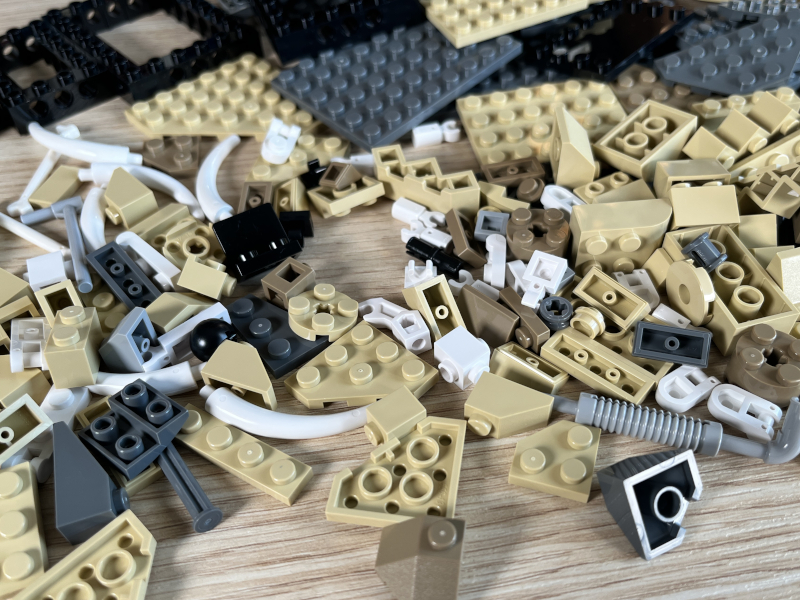
Are they of the same build quality? Just like the Chameleon set, these are some of the best off-brand building bricks that I have seen. Most of this set is made from smaller pieces, and they are nearly identical to LEGOs in build quality. The larger, flat pieces have a bit more flex in them, but they are still very good. I am happy to have these pieces in my LEGO collection.
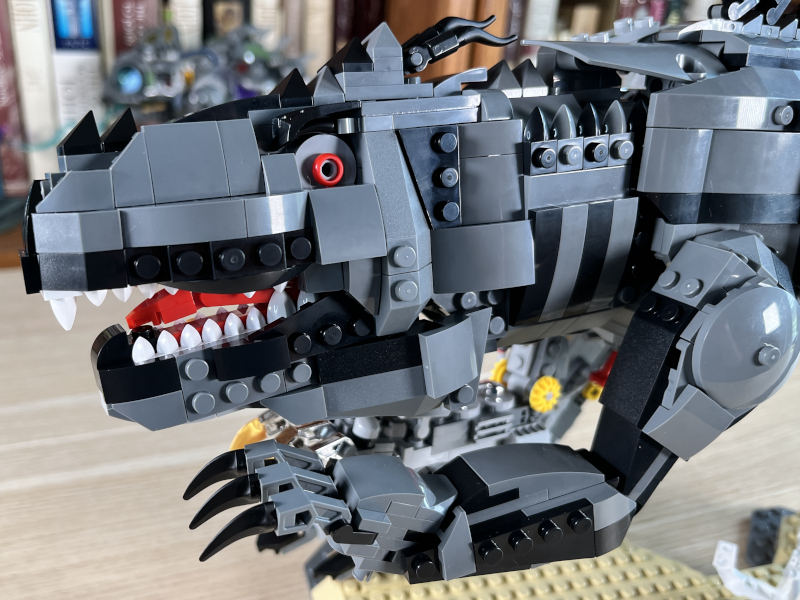
Do they fit tightly, or do they come apart easily? These pieces are just as tight as LEGO pieces. I don’t recall any of these pieces popping off on their own or failing to fit together well. The precision on these pieces is very consistent.
Are they cheaper in cost than LEGO? Yes, much cheaper. I couldn’t find an exact match with which to compare the T-rex, as LEGO doesn’t have any good dinosaur sets right now. As a typical example, the t-rex in this Dinosaur Breakout set is excessively simplistic and made from a handful of large, pre-molded pieces. The best comparisons that I could find are similar-sized sets of vehicles.
- X-Wing – 1560 pieces – 15.4 cents per piece
- John Deere Skidder – 1492 pieces – 13.4 cents per piece
- Yamaha Motorcyle – 1478 pieces – 16.2 cents per piece
In comparison, the T-rex is a cool 6.1 cents per piece, less than half of the competition. That’s a good deal, especially for the number of bricks.
How do the instructions compare?
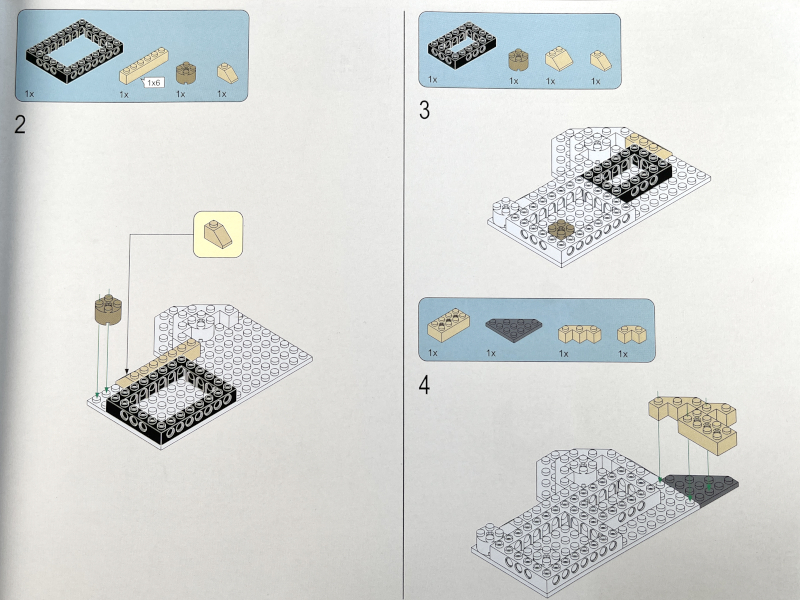
The instruction manual is clear and easy to follow. Previous steps are in white, and the new steps show the colors of the new pieces, making it easy to see where to add them. There are several places where the instructions show multiple angles to help me attach something complex; there were a few other places where I wish they had done the same, as I was uncertain where one assembly was fixed to another. I found two mistakes. In step 240, the pieces physically could not be added next to each other because of the studs, so I called an audible and made a minor adjustment; in step 296, the piece is one stud shorter than shown, but it doesn’t make any difference. Despite these small details, I am happy with the instructions.
The sticker (for step 35) was not found in a bag but was tucked into the manual on the first page; it’s easy to miss if you’re not looking carefully through everything. The instructions also include info on how to measure axle pieces, how to use the included brick separator, and where to go for support. This dinosaur is half reptile and half machine, but unlike the instructions for the Chameleon, there isn’t any backstory for it.
Setup
There are six major sections in the manual for building the T-rex. Each of the various bags has a number on it corresponding with one of the sections, making it easier to find the right pieces.
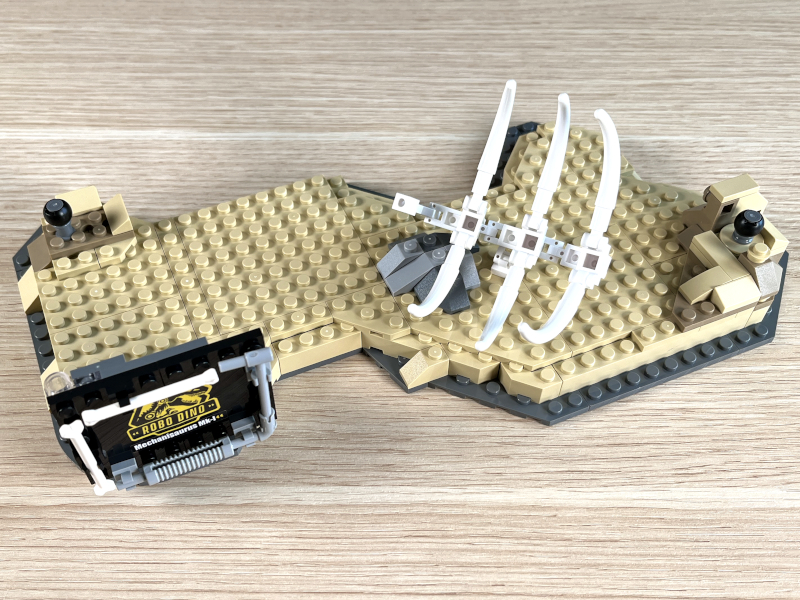
The first major section is the base. It uses mostly beige pieces that represent sand and features the carcass of the t-rex’s last victim and a pair of knobs that will be used later to support its hind feet. The base itself is very solid, though the bones are a bit flimsy. The color differences were very clear in the manual, making it easy to assemble. I found a pair of stickers on page 16 that corrected mistakes in printing, so it’s cool to see that JMBricklayer is addressing problems.
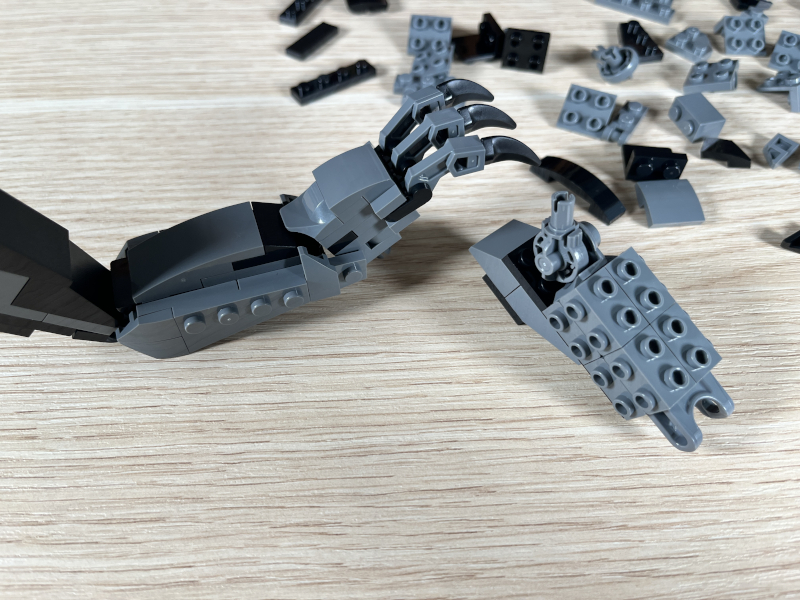
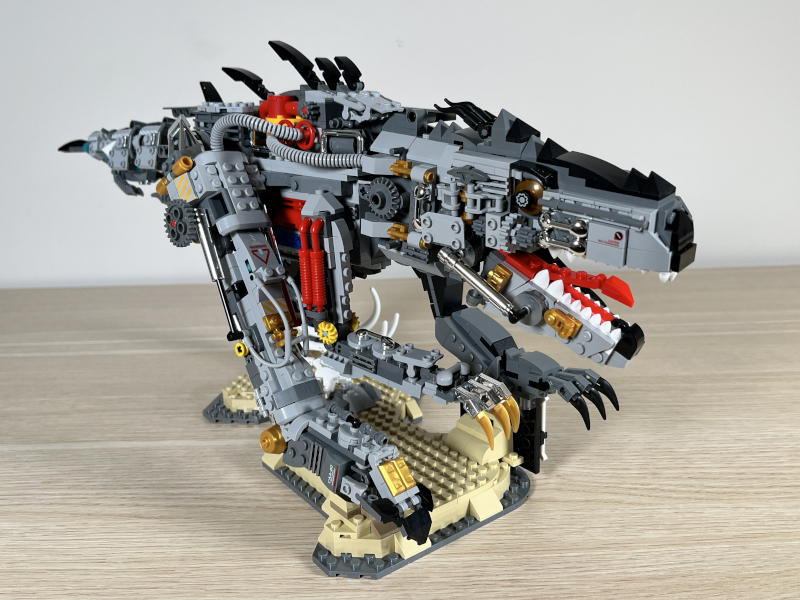
The second major section is the legs from the reptile side of the T-rex. All the joints in the legs are functional, and the legs seemed very beefy. As demonstrated in this picture, every part of the t-rex design demonstrated good use of the SNOT techniques; the designer did a very nice job of using bricks to create a dinosaur without it overtly looking like a lot of bricks. Well done!
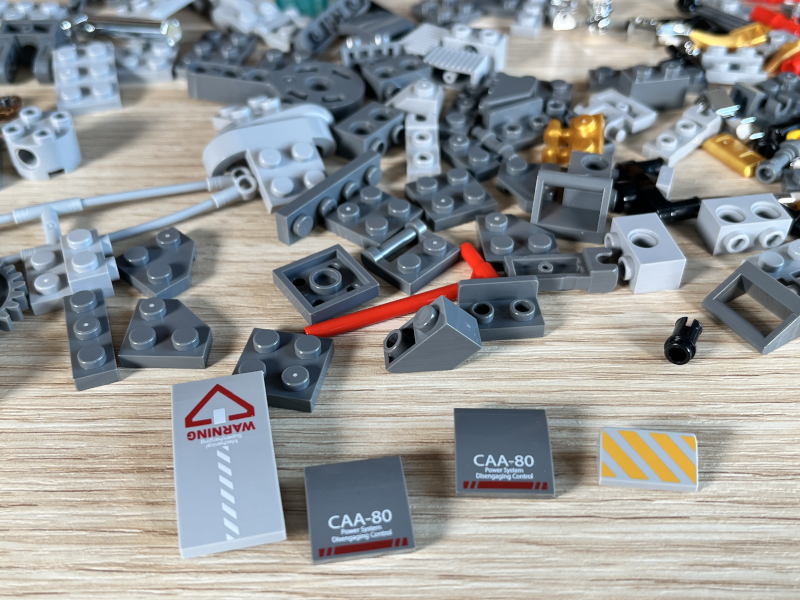
The third major section is the legs from the mechanical side of the T-rex. One of the first things that I noticed when opening these bags was that some of the pieces had colored printing on the bricks themselves. I like this idea much more than having to put on a bunch of stickers.
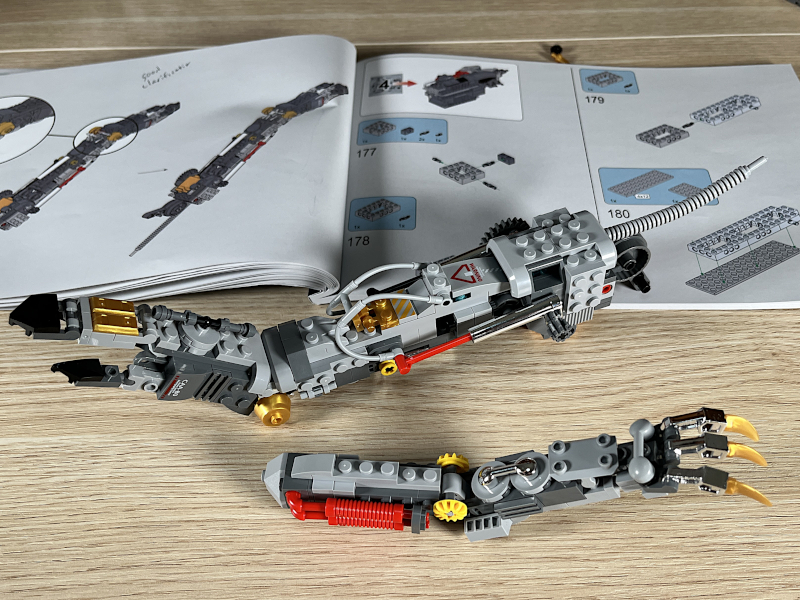
The mechanical legs are not as beefy as the physical ones, but they are way cooler in aesthetics. With pistons and tubes and gears, they look like they are for a mechanical monster!
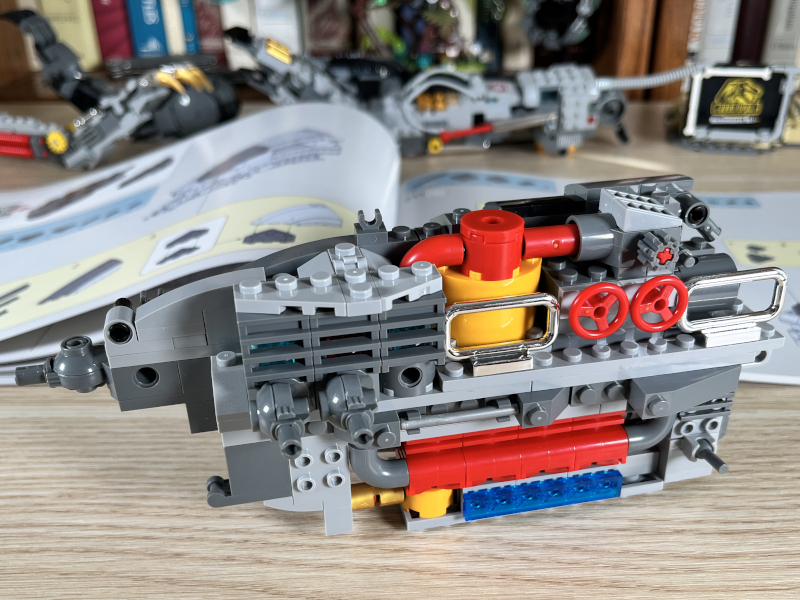
The fourth major section is the first part of the body. For most of this section, it honestly doesn’t even look like a dinosaur; it kind of looks like a spaceship instead. I continued to be impressed by how solid this build is.
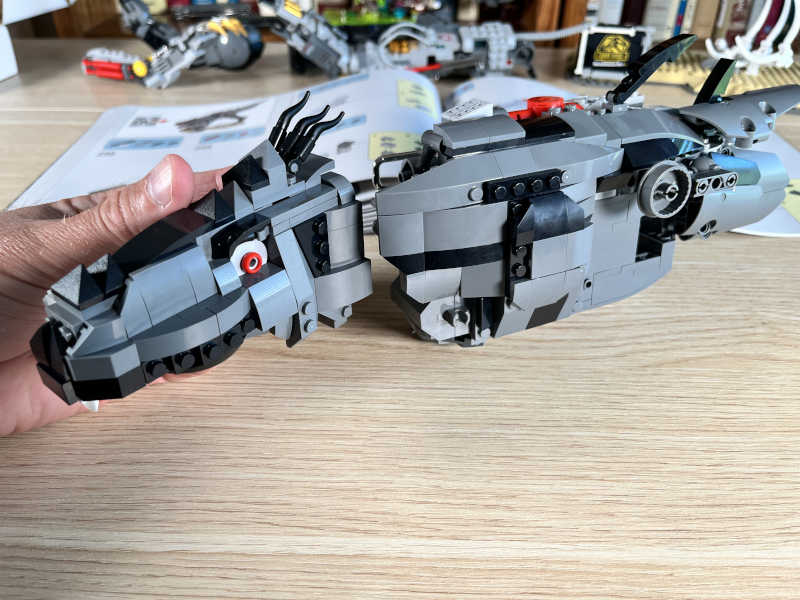
The fifth major section finishes the body and builds most of the head. For much of this section, I was building the underside of the dino body, literally building it while holding it upside down. The body never really looked like a body until the very end; the suspense was great.
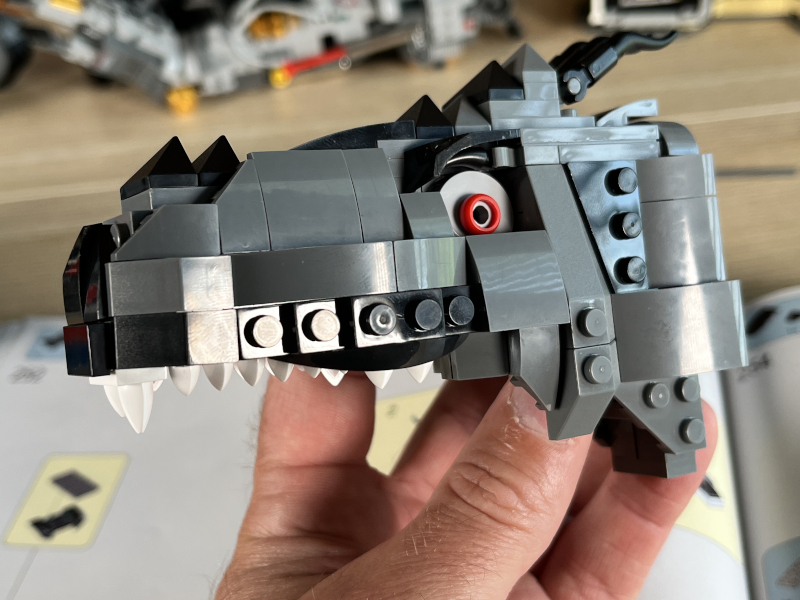
It wasn’t until I had built this much of the head (step 256) that I finally realized that it was, in fact, the head of a dino.
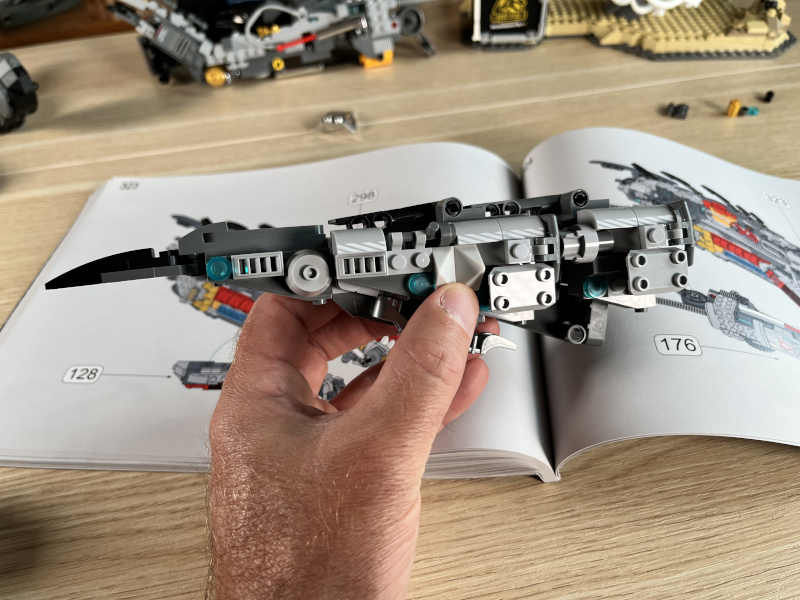
The sixth and final section built the tail and the lower jaw and then connected everything together. The tail is surprisingly long, nearly as long as the rest of the body.
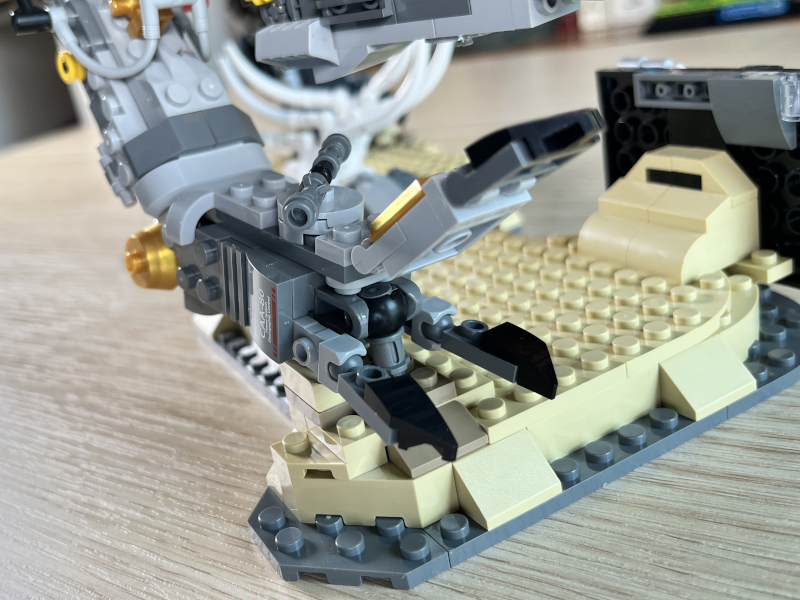
At long last it was time to attach all the assemblies together. As I have mentioned several times, each individual assembly is very solid; thus, the final result is a dinosaur that is surprisingly heavy. The vast majority of the weight rests on two ball joints, each of which is under the rear legs.
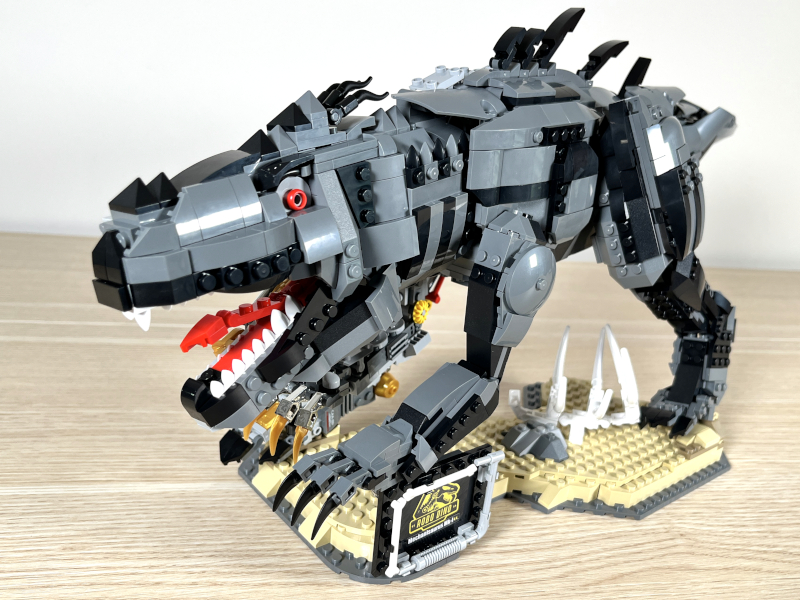
This makes for a structure that is rather unstable, which is why the left front leg rests on top of the sign. Bringing it all together was easily the most difficult part of the build. It would have been very handy to have a second person, one who could have supported the weight of the body while I positioned and connected the legs properly. As it was, several pieces fell apart, and I had to modify one of the legs and some of the sand to make it all work. Finally, it was done.
Performance
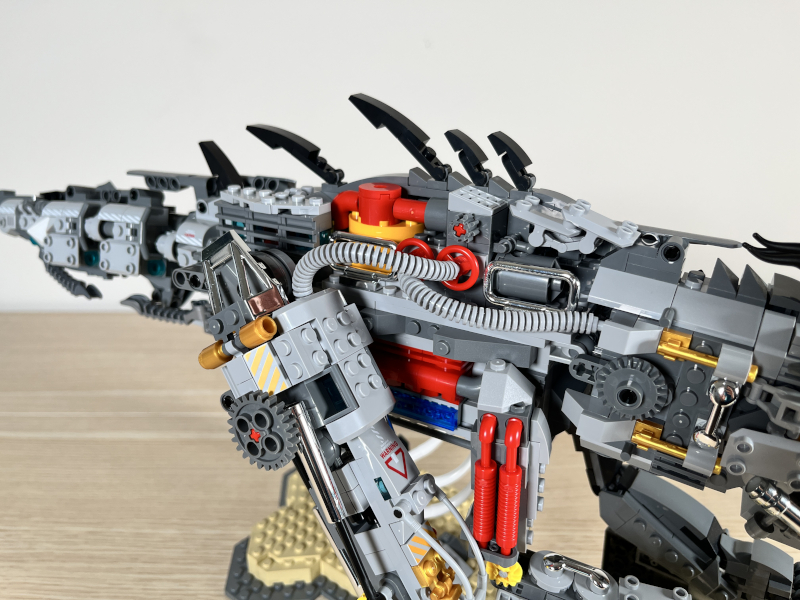
This is an absolutely sick set! The head, jaw, tail, arms, and legs can all be repositioned, at least a little bit, due to the use of joints. Both sides, physical and mechanical, are finished. There are claws, eyes, spikes, and everything. It’s an insanely cool design. I especially love the mechanical side of this beast. The attention to detail is magnificent; there are so many clever and colorful pieces here.
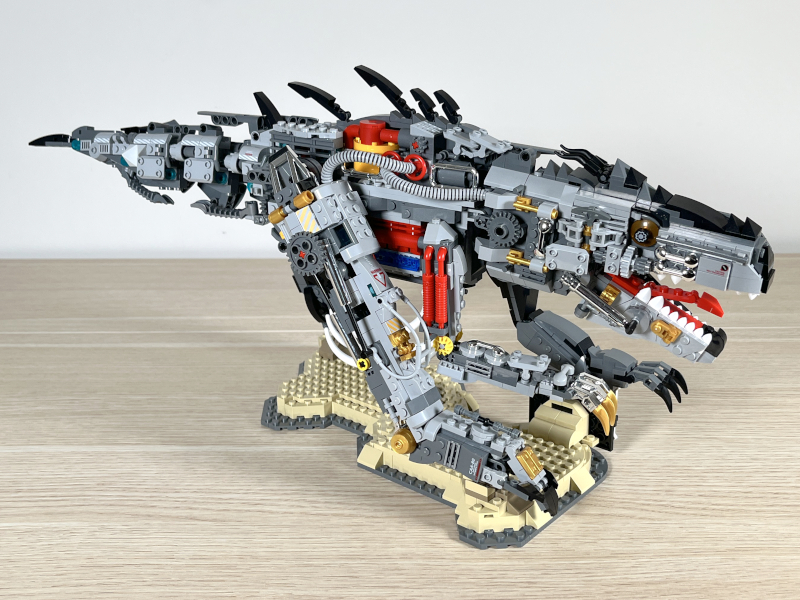
This is a big set. It’s 22 inches from the nose to the tip of the tail and 10 inches tall. It’s also much too wobbly. With all of the weight resting on two places and only one extra touchpoint for stability, this dino is not very steady. If I so much as blow on him, literally, he starts oscillating back and forth. I am scared to add this to my bookshelf-top collection, as I feel like there’s a good chance that it would fall over if I bump the bookcase. I think the only way to fix this is to remove the joints from the legs and replace them with solid connections. The joints are super cool and allow a builder to slightly reposition the t-rex, but they aren’t as stable as I would like. If you plan to build this set and keep it on display, you’ll probably want to think of a way to improve its stability.
What I like
- T-rex!
- Solid, well-build sections
- Large design
- Working joints
- Cool mechanical-looking parts
What I’d change
- Find a way to make it more stable
Final thoughts
JMBricklayer has created another amazing building block set with this mammoth t-rex. There are nearly 1500 pieces, most of which are fairly small, leading to a very detailed design. I love the way that it’s a living reptile on the left side and a mechanical monstrosity on the right side. The final build is quite large at 22 inches front tip to tail, but it’s unfortunately a bit unstable as well, as all the weight rests on two ball joints. This set is designed for displaying more than playing, and if you plan to display it, you’ll probably want to use your creativity to make it more stable. Either way, this is a great set with a lot of great pieces.
Price: $89.99
Where to buy: JMBricklayer’s online store (save 15% with code VIPGAD15 expires 12/31/2023) and Amazon (save 15% with code: JMIESU15 expires 9/20/2023)
Source: The sample for this review was provided by JMBricklayer.


Gadgeteer Comment Policy - Please read before commenting
Seems really awesome, maybe I’ll have a second childhood?