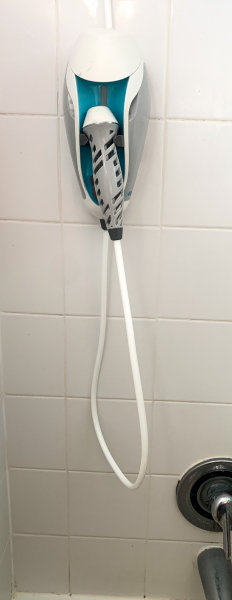
REVIEW – I pay a lot of attention to the care of my teeth and I floss every day, twice daily. One thing that I hate about conventional flossing is that at times it makes my gums bleed. I have often thought about buying a Waterpik as an alternative but I never got around to it. I now get the opportunity to test the Toothshower 2.0. Let’s see how it goes.
What is it?
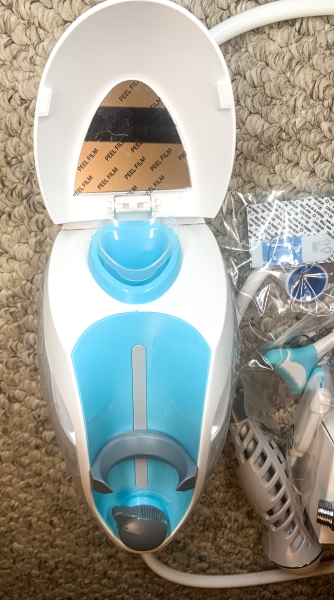
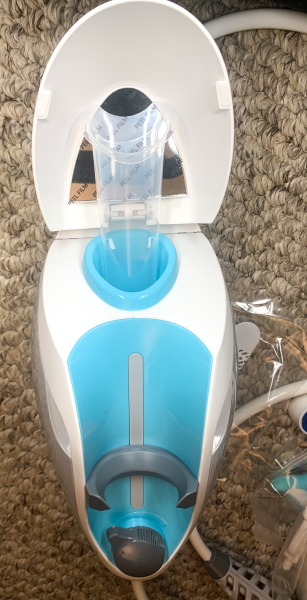
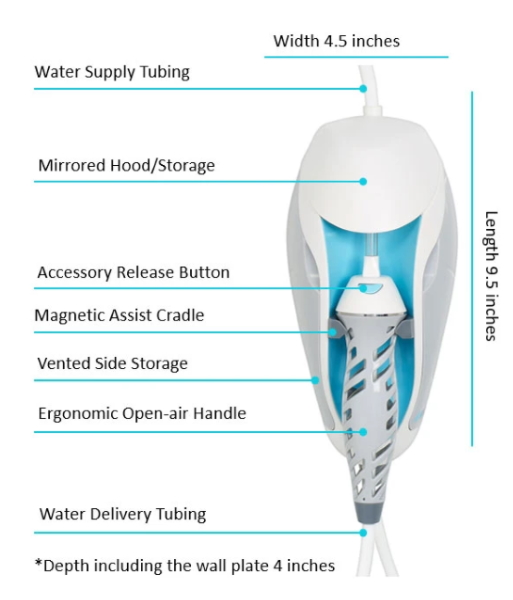
The Toothshower 2.0 offers an enhanced Open-air Handle Design and a more robust Magnetic Handle Cradle. It allows you to control water pressure on the console with an easy to turn Comfort Pressure Dial. Additional accessory storage and/or travel-size toothpaste storage is available under the mirrored hood.
What’s in the box
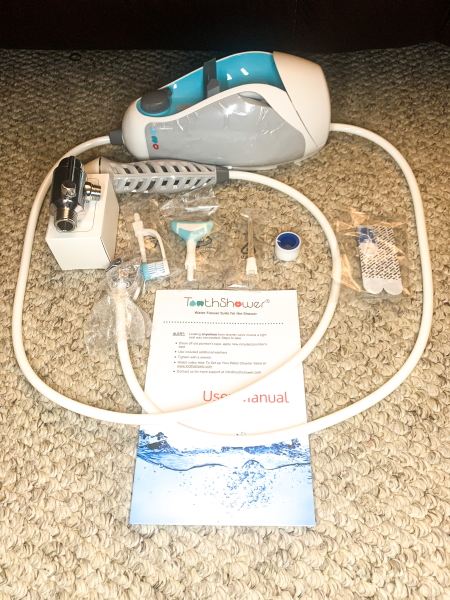
1 x Toothshower 2.0
1 x Irrigating Standard Tip (White)
1 x Irrigating Gum Massager (White)
1 x Irrigating Dual-Headed Toothbrush (White)
1 x Wall Plate
1 x Custom Diverter
1 x Plumber’s Tape
1 x 3M Command Waterproof Cord Clip
3 x 3M Command Waterproof Bath Adhesive Strips
1 x User Manual
Design and features
Features
- EASY FLOSSING: For healthier gums, fresher breath, and happier teeth with less effort (Dentist and Dental Hygienist Approved) Customer Reviews.
- ATTACHES TO YOUR SHOWER: Saving counter space, no mess, endless water supply with no water reservoir to refill.
- NO BATTERY OR OUTLETS NEEDED: Powered by your shower with adjustable pressure dial, and shower-temperature control for comfort.
- INCLUDES MULTIPLE ACCESSORIES: Standard Water Flosser tip, irrigating Dual-Headed Toothbrush, and revolutionary 7-stream Gum Massager, which cleans around orthodontics and implants.
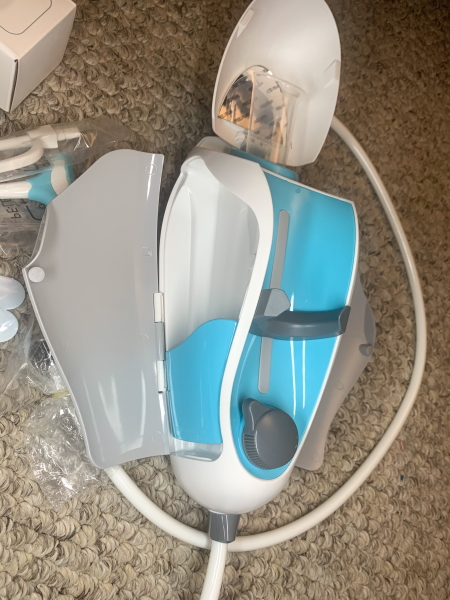
The main section of the Toothshower 2.0 is made of plastic and comes with everything you need to use it. It has a built-in cradle for the handle, compartments for storing accessories, a mirror, and the wall mounting accessories. It also has a dial to control the water pressure.
Performance
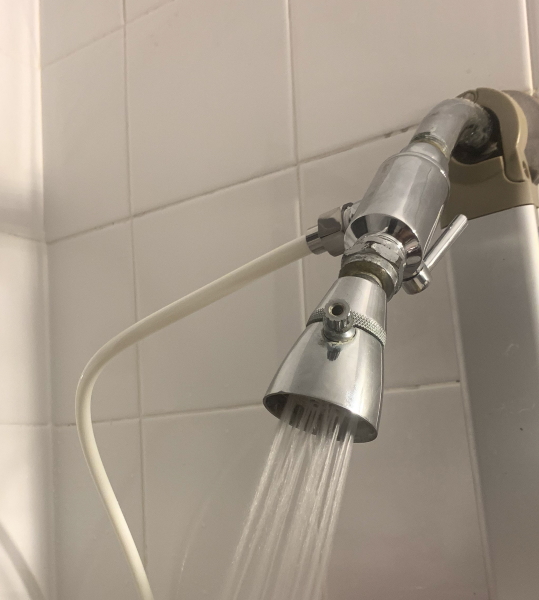
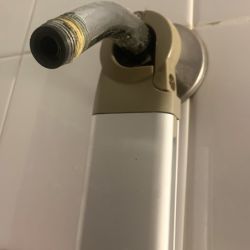
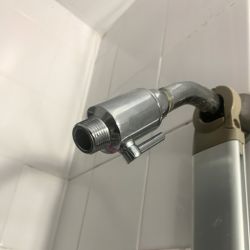
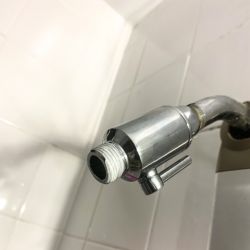
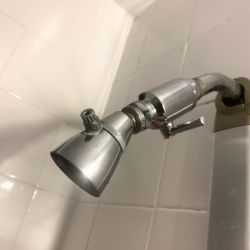
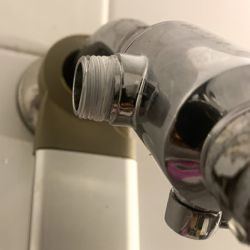
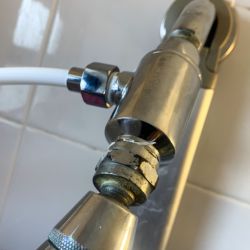
Before using the Toothshower, it has to be installed in the shower. The only connections that have to be made are the Diverter in between the shower pipe and showerhead and the hose from the Toothshower to the diverter.
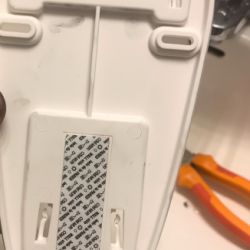
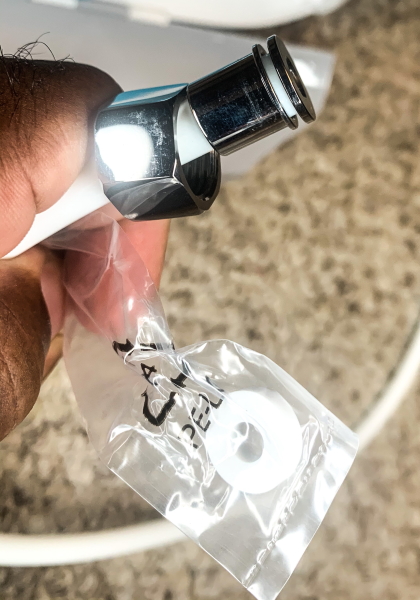 The following are photos of my installation process:
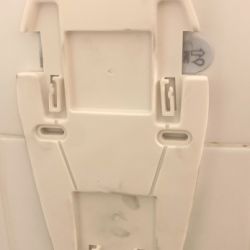
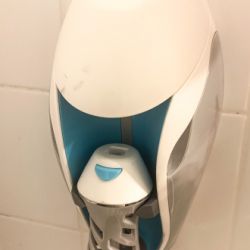
Once the diverter is installed, the next step is to install/attach the Toothershower to the shower wall/tiles:
Once installed correctly, the shower can be turned on with, and with the diverter closed, all of the water will flow through the showerhead.
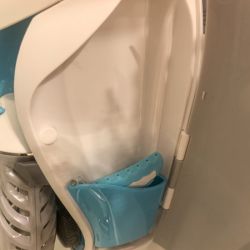
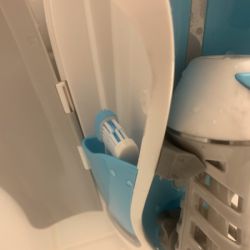
The Toothshower has compartments on each side that work well to hold several accessories:
The Toothshower 2.0 in action:
What I like
- The design
- The relatively easy installation (As long as you are somewhat a DIYer)
- The function and effectiveness
- The instruments provided
- The availability of additional accessories
- The built-in storage for the accessories
What I’d change
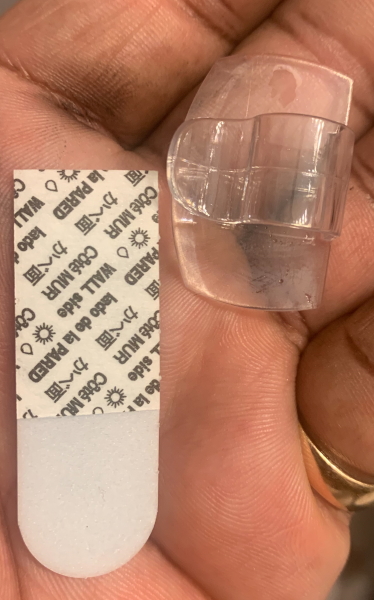
- Include additional adhesive strips should any get damaged during installation
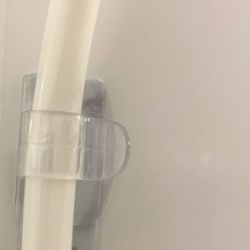
- A cord clip with a larger surface to attach to the shower wall. Mine came off which may be a combination of damage to the tape along with the small surface area for attachment.
Final thoughts
When I first saw the Toothshower 2.0 I was not convinced that it would be for me and that I would like it. Well, I will readily admit that I was wrong. This device is easy to install and after a few uses, I look forward to using it especially for flossing and gum massaging. The toothbrush also works well and the fact that it does not need batteries is fantastic. I give it a well done and two thumbs up!!
Price: $119.99
Where to buy: Toothshower and Amazon
Source: The sample for this review was provided by Toothshower.


![Find your way seamlessly during runs or rides with turn-by-turn directions from Google Maps on Fitbit Charge 6[7, 8]; and when you need a snack break on the go, just tap to pay with Google Wallet[8, 9]](https://m.media-amazon.com/images/I/41RLn0a8gxL._SL160_.jpg)
Gadgeteer Comment Policy - Please read before commenting
So if your shower is on the opposite side of the bathroom from your sink, the hose might not reach. Or you could clean your teeth while showering.