
REVIEW – We’ve all heard tales of the minor fender-bender that somehow becomes a major lawsuit. Several years ago, I decided to install dashcams in my vehicles as unbiased observers to highway shenanigans. I was interested to see how Vantop’s H610 10-inch mirror camera would perform.
What is it?
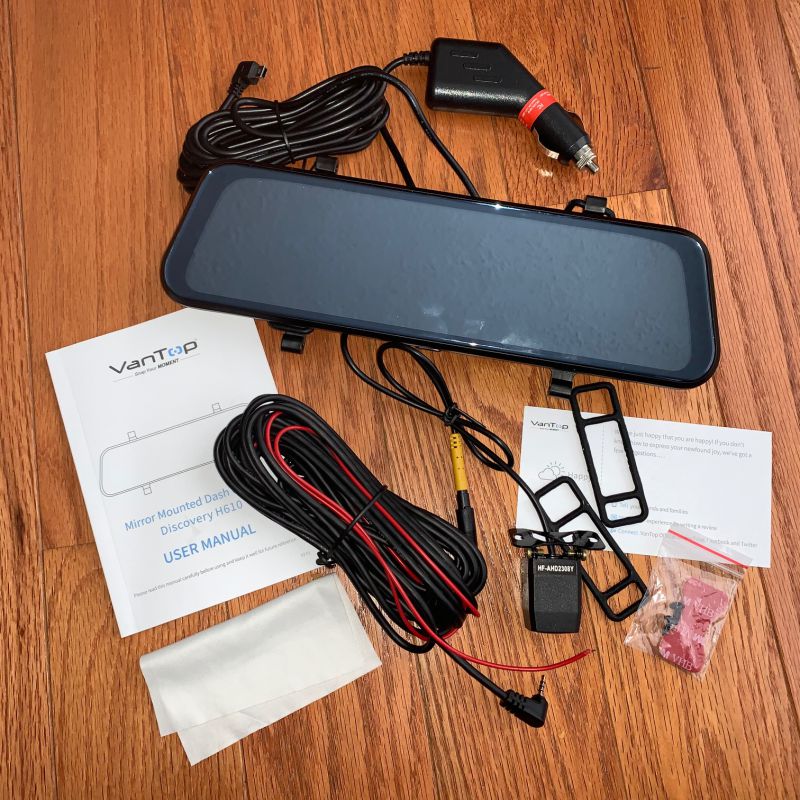
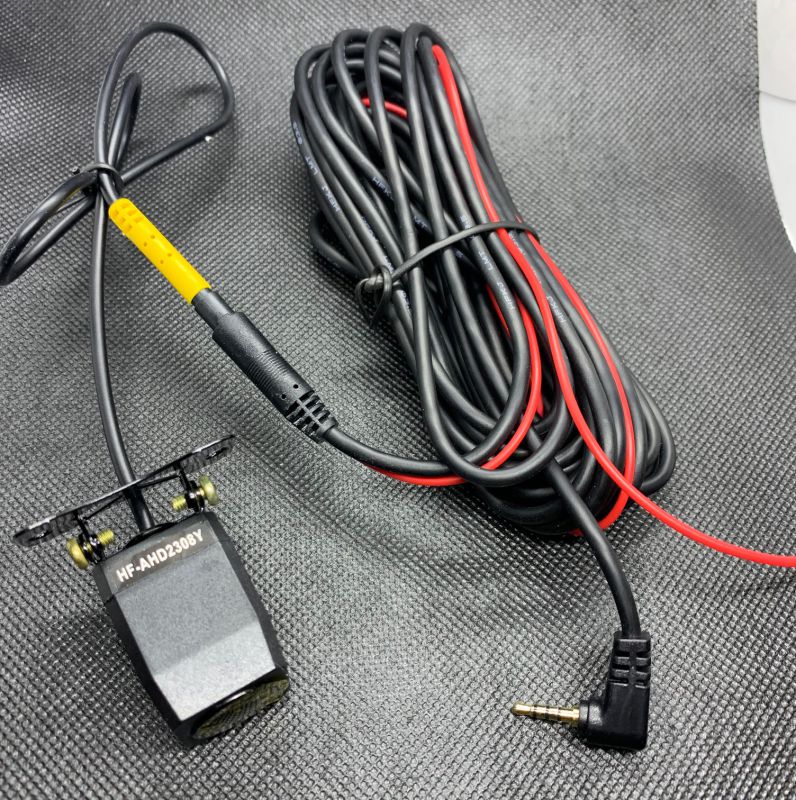
The VanTop H610 10-inch 2.5k mirror dash cam is a self-contained front camera and display that is affixed to a vehicle’s mirror. A rear camera and extension cable is included. The device simultaneously records video from both front and rear cameras for later playback.
Hardware Specs:
- 10 x 3.8 x 1.5 inches
- 66-inch touch display
- 320 x 1280 screen resolution
- ARM Cortex A7 processor, Hi3556 chipset
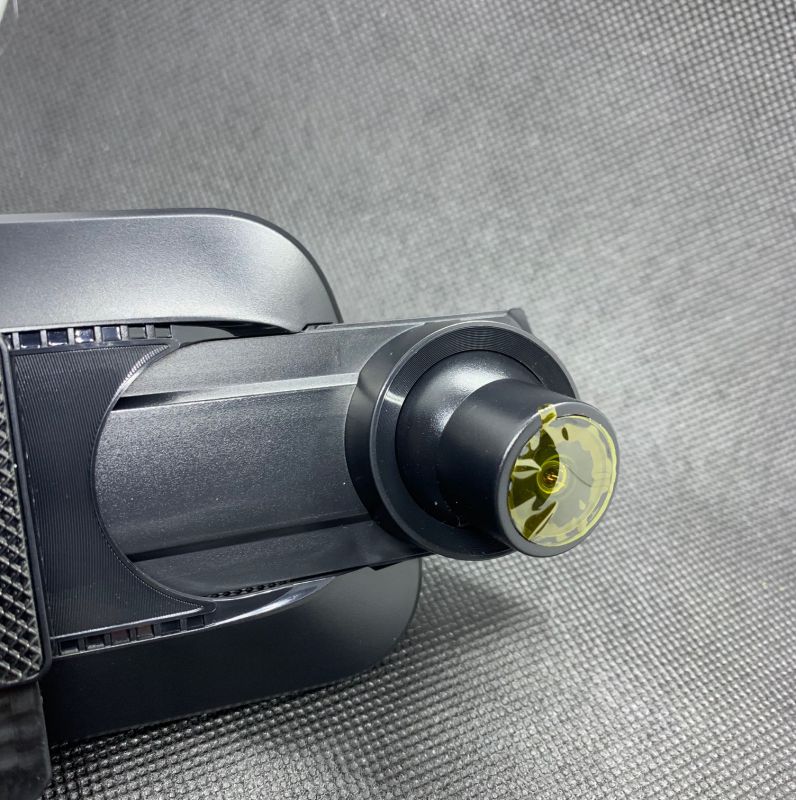
- Front camera: IMX335 STARVIS Sensor, 160° wide angle
- Rear camera: FH-2308Y, 140° wide angle
- Supports 128GB SD cards, class 10 and above
- Loop recording
- 12-24VDC input voltage car adapter, 5V, 2.5Amp output
- -4° to 140°F working temperature
- Video format: MP4, JPG
- Simultaneous 2560 x 1140P and 1180P recording, front and rear camera
What’s in the Box?
- Mirror body/display/touchscreen with an integrated front camera
- Rear-facing camera and extension cord
- Rear camera mounting tape and screws
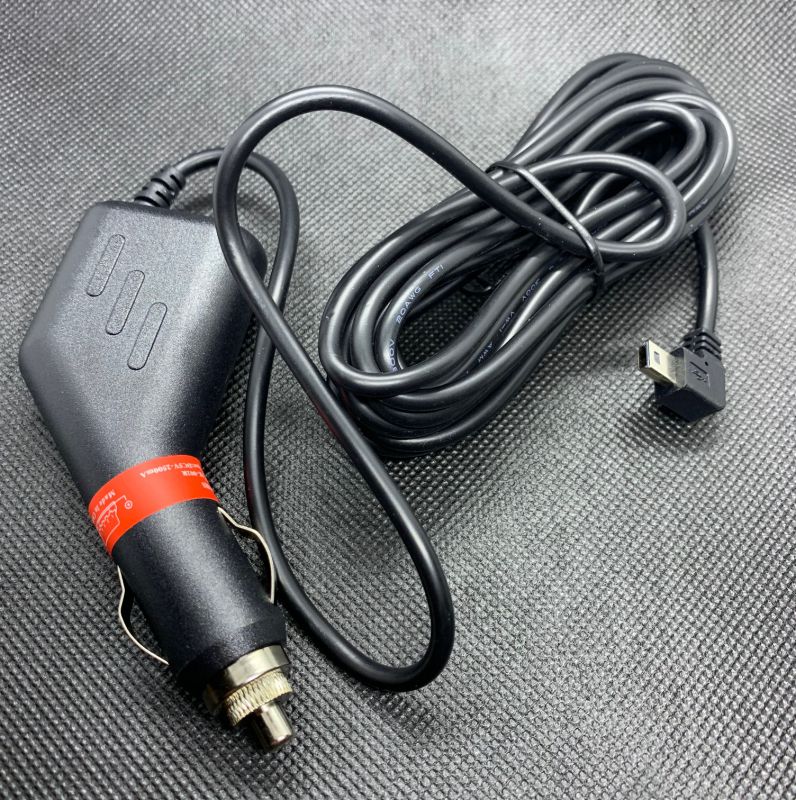
- Car charger
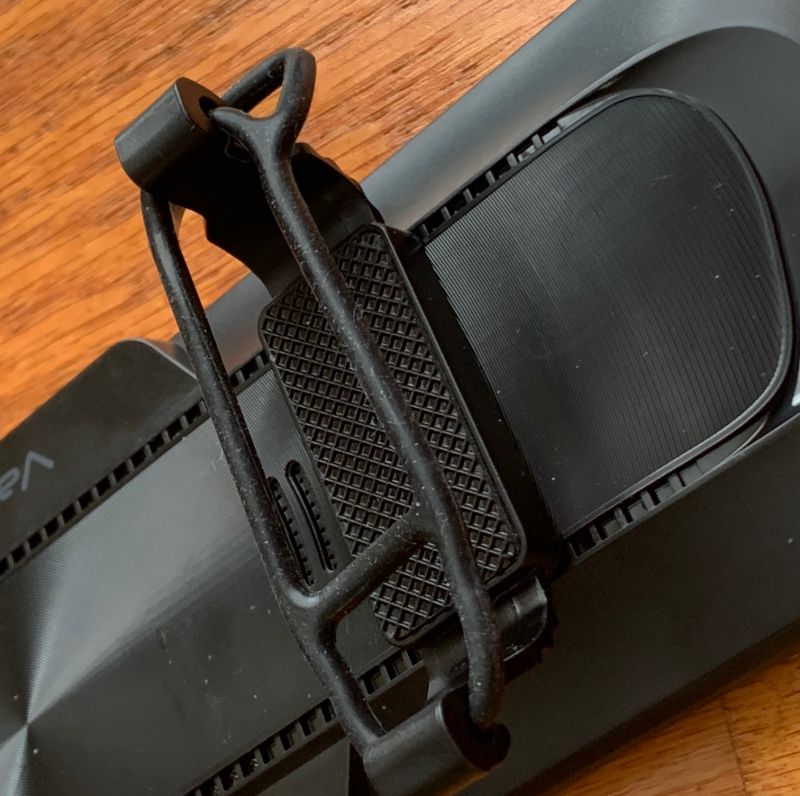
- Front camera mounting straps
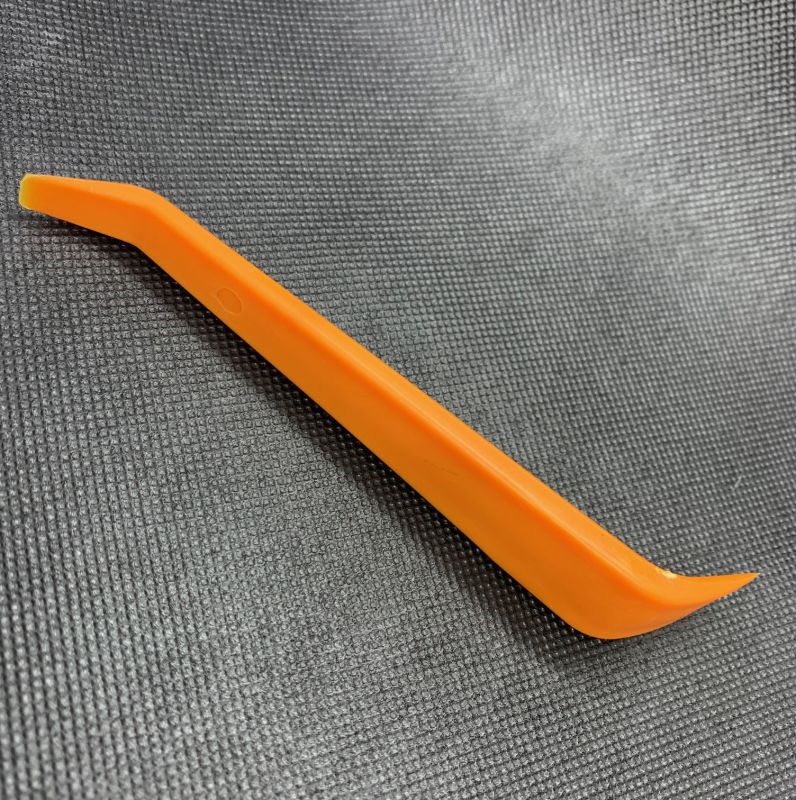
- Trim tool
- Cleaning Cloth
- User Manual
- Customer service card
Design and Features:
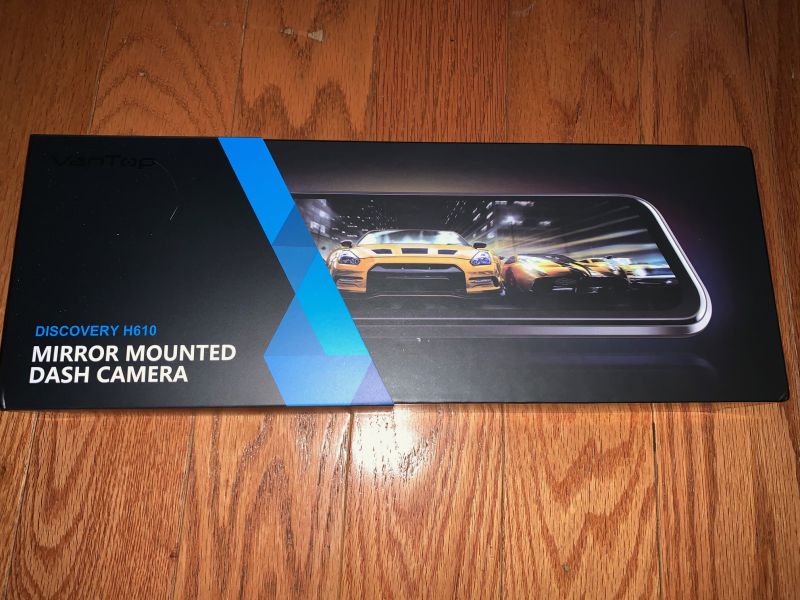
The VanTop H610 arrived in a swanky black box wrapped in foamy goodness.
Installation was easy and only took a few minutes. I used the included trim tool to tuck the exposed wires under my vehicle’s moldings.
I don’t like exposed wires so I took extra time in hiding the wires to the rear camera. I also elected to use Velcro.
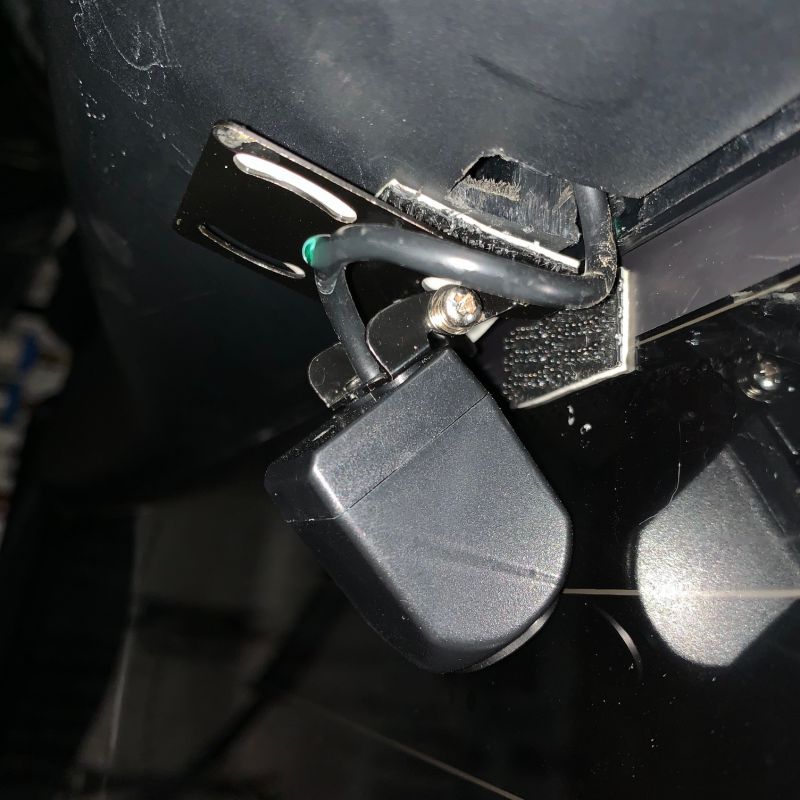
There is an extra wire that can be optionally connected to the reverse lamp. With this wire connected, the camera will automatically switch to view the rear camera when the vehicle is placed in reverse.
In my case, I elected to mount the camera inside the car. I chose this location carefully because it falls inside the rear windshield wiper path and near one of the defroster stripes. Since the camera takes the place of the existing rear-view mirror, it’s essential the camera view stays unimpaired. If the rear camera were mounted outside the car, road dirt could block the camera, creating unsafe driving conditions. Keep your camera lenses clean, boys and girls…
That being said, with the display turned off, the display is reflective and can act as a conventional mirror, but you will lose the prism “dimming” or other features the original mirror provided.
Remove the protective screen protector before operating.

There is a GPS port covered by a small inspection sticker. This port is disabled.

The front camera/mirror is easily attached over the existing mirror using the included straps.
The front camera is mounted on a swivel and extension bar that can be positioned to provide the optimal view of the oncoming road.
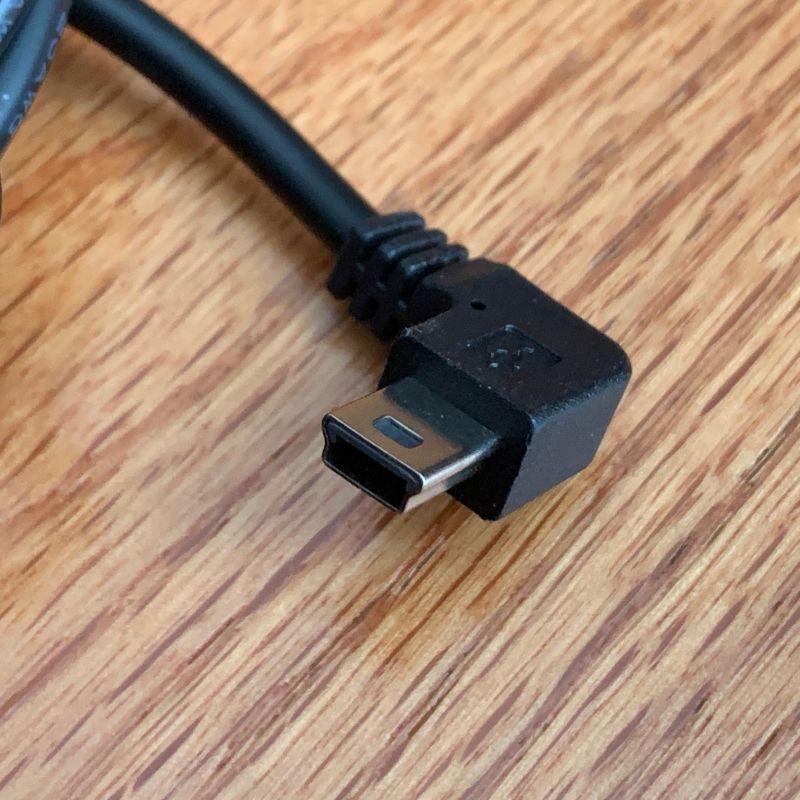
The power supply uses a Mini-USB connector.
The power cable is long enough to route under a typical dash, up the roof pillar, and across the roof to the camera.
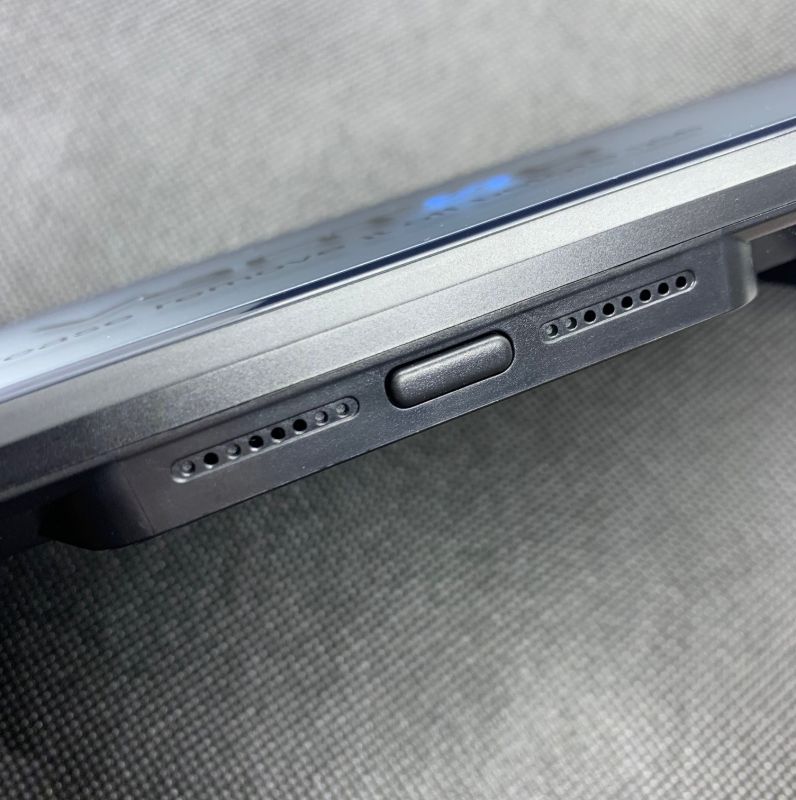
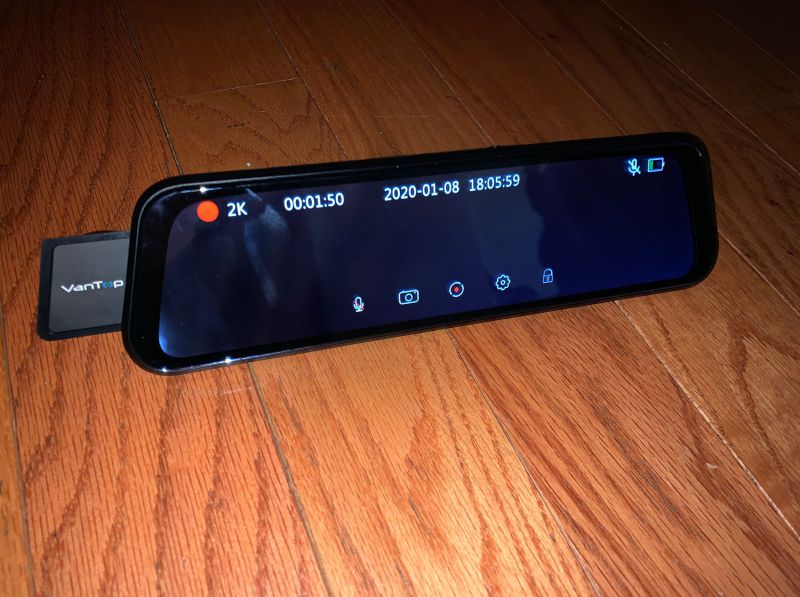
There is a single power button on the bottom.
Powerup takes a few seconds, accompanied by an optional audio tone. Keypresses sound like the dial-pad buttons on a touchtone phone. I found these sounds distracting and turned them off.
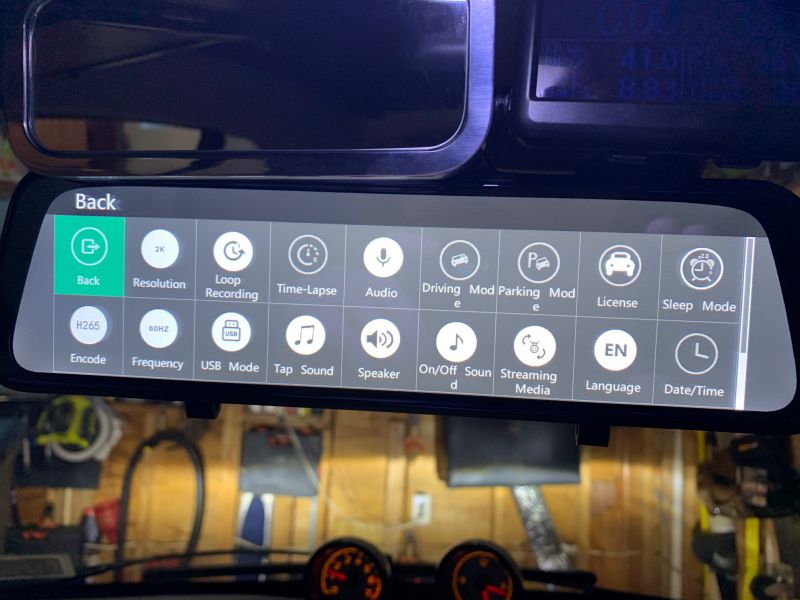
The setup menu can be accessed to format the SD card, sounds, camera resolutions, loop recording modes, time-lapse recording modes, sounds, speaker volume, language, set the date and time, format the SD card and revert to factory settings.
Once I had the settings configured to my liking, I took a few weeks to get to know the H610. Like all new devices, reading the manual is the best place to start.
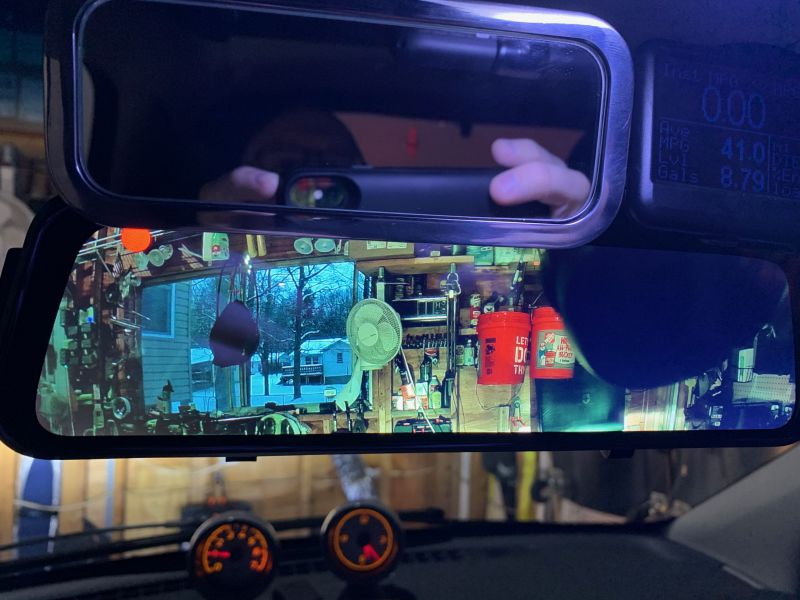
Swiping up or down on the left portion of the display changes the display “angle.” Because the display is lower resolution than the camera, the user can select the portion of the camera’s view that is of use. For example: when parking my car, I was able to view the lowest portion of the camera’s view to make sure I was between the lines and not too close to the curb. When driving, I would use the middle of the camera’s view that most closely resembled the view I had using a conventional rear-view mirror.
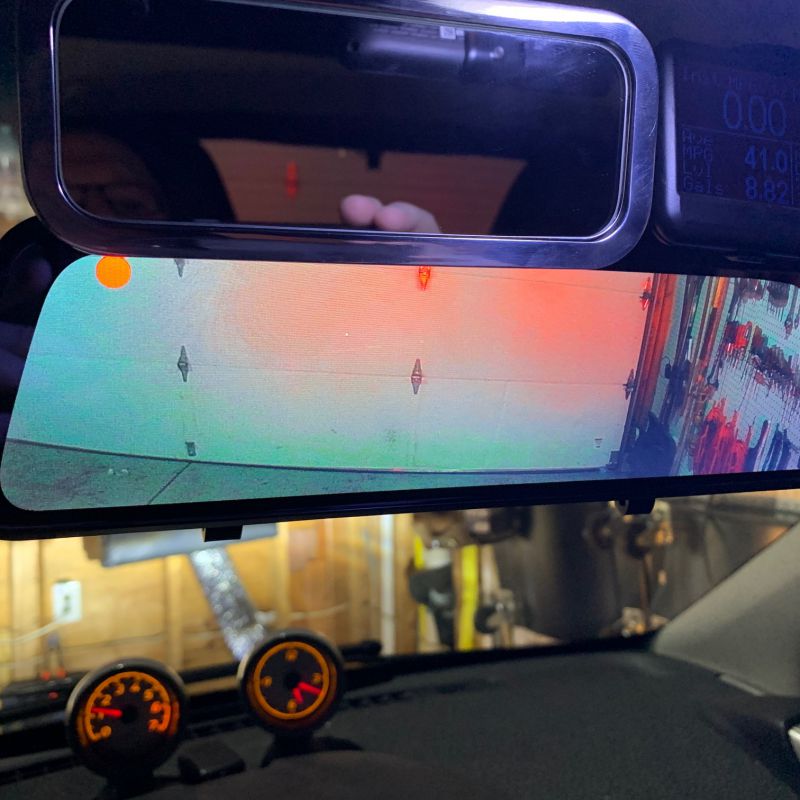
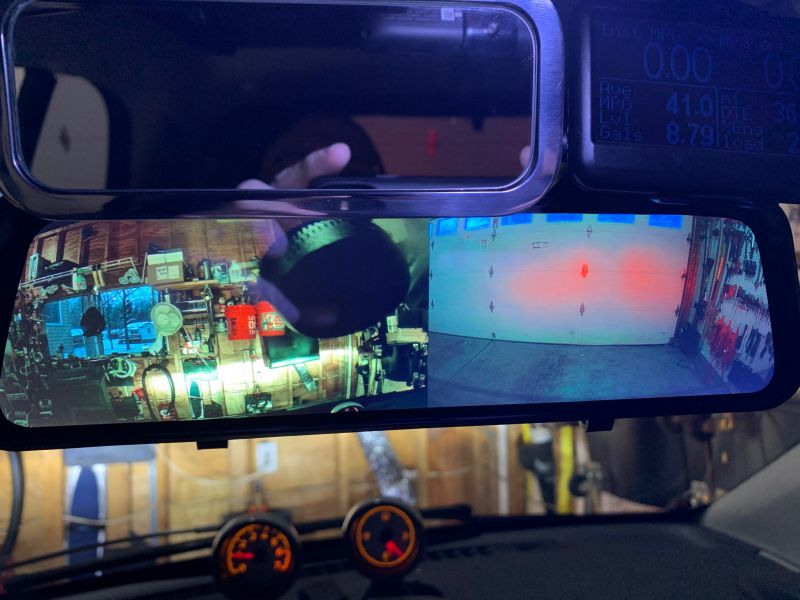
Swiping up/down on the right of the display changes the brightness. Swiping left/right on an empty portion of the display changes the display to front/rear/both cameras/playback mode.
I loved looking at my “mirror” and not having my view encumbered by headrests, luggage, or items I had placed in my car’s trunk area. I also appreciated the wide viewing angle that I found made a big difference in eliminating some of the blind-spots my car has. It should be noted that the display does not perfectly duplicate the viewing angle of a conventional mirror and “objects may be closer than they appear,” but with copious side-view mirror use in conjunction with the display, I found the display of better utility than a conventional rear-view mirror.
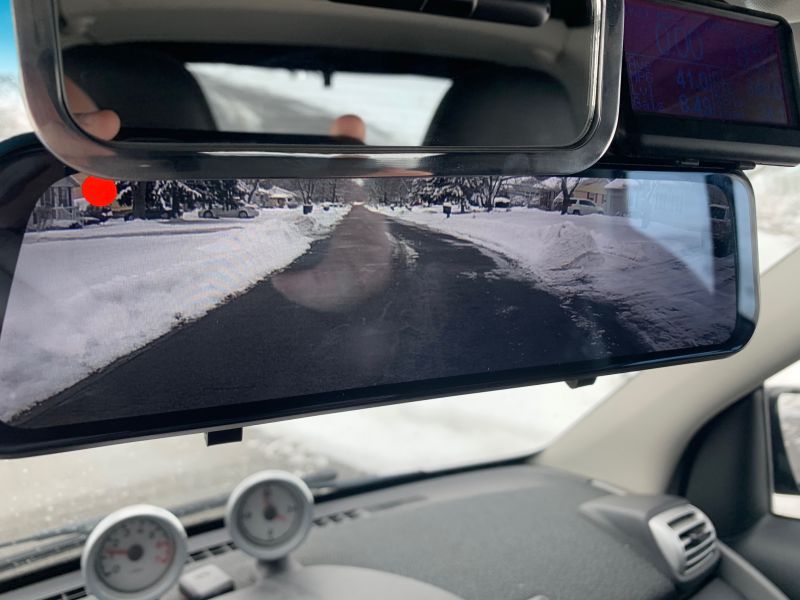
Another unexpected bonus is that once the display is attached, there is no need to adjust the mirror again. The viewing angle is always good, regardless of the driver’s height, seat position, or amount of slouching.
The H610 is also equipped with impact sensors that lock the current file should the vehicle experience an unexpected jolt. I found the lowest setting prevented most nuisance (hitting potholes, mostly) file locks, but should be enough should I experience a fender-bender.
With the car parked, thanks to the internal battery, the sensors can be configured to activate the cameras and start recording should the vehicle experience an unexpected bump. This feature gave me a great peace-of-and it’s rewarding to know that a careless motorist, shopping card commando, or door dinger’s insurance might need to cover damages that might otherwise have been “hit and run.”
The screen displays a small camera for taking still images. Video and picture files can be viewed on the H610, or by extracting the SD card and using a computer or device capable of reading.JPG and MP4 files. Quality was outstanding for both.
As they say, the proof is in the pudding. Here are sample videos of the front and rear cameras during the day and at night. The large black object in the top right of the forward camera’s screen is my vehicle’s rain sensor.
Front Camera, Day:
Rear Camera, Day:
Front Camera, Night:
Rear Camera, Night:
What I Like:
- Easy installation
- High-resolution images
- Internal battery and automatic activation
- Abundant configuration options
What I Would Change:
- Change the sounds to something less distracting
- Enable GPS capabilities
Final Thoughts:
VanTop has done a great job of implementing many desirable features into its H610 dashcam.
Price: $99.99
Where to buy: VanTop and Amazon
Source: The sample for this review was provided by VanTop.

Now retrieving an image set.
2.5K Mirror Dash Cam with Carplay&Android Auto,10" Rear View Mirror Camera for Cars/Trucks with Voice Control/ 64GB Card/Touch Screen/Parking Monitor/Reverse Assist/Dual Loop Record/WDR Tech
(as of April 3, 2026 15:27 GMT -05:00 - More infoProduct prices and availability are accurate as of the date/time indicated and are subject to change. Any price and availability information displayed on [relevant Amazon Site(s), as applicable] at the time of purchase will apply to the purchase of this product.)
Gadgeteer Comment Policy - Please read before commenting
When the screen is off, how well does the mirror function? Does it offer a good reflection, similar to a normal rear view mirror, does it look a bit dull?
With the display off, the mirror is less reflective than a traditional mirror. I find it’s similar to the prism position in a traditional mirror (the position that prevents headlights from being blinding at night) .
Can the rear camera grid lines be adjusted to fit vehicle and if so how does one do it
Wayne, I’m not aware of any grid lines, but you can alter the portion of the image on the display. Only a portion of the full video that is being recorded appears as live video. you can scroll up or down to view a different portion of the available resolution. I find this particularly helpful when parking my vehicle – I scroll down to get a better view of what’s hiding behind my bumper.
Your photo looks like you cut a hole in the interior roof for the wires – that’s more installation than I’d like.
But not sure how else you’d get around it, the wires have to go somewhere.
This dash backup cam exceed my expectations Great resolution and easy to operate.The customer service at VanTop is top shelf. Well worth the money.
Where can i buy one besides amazon???