REVIEW – Home security is all the rage today. Yi, maker of the Yi Home Camera 3 standalone security camera is jumping into the full system fray with their Kami product.
What is it?
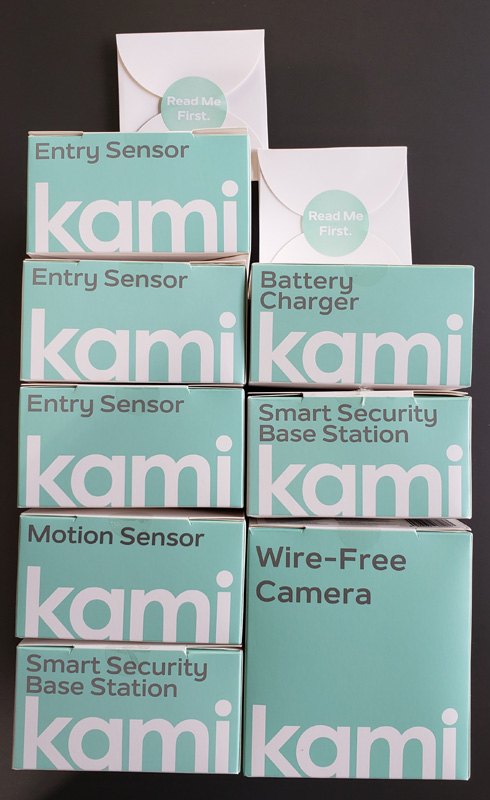
Kami is a modular do-it-yourself home security system. I was sent the base system that includes the base station, three entry sensors and a motion sensor as well as their wireless HD camera.
What’s in the box?
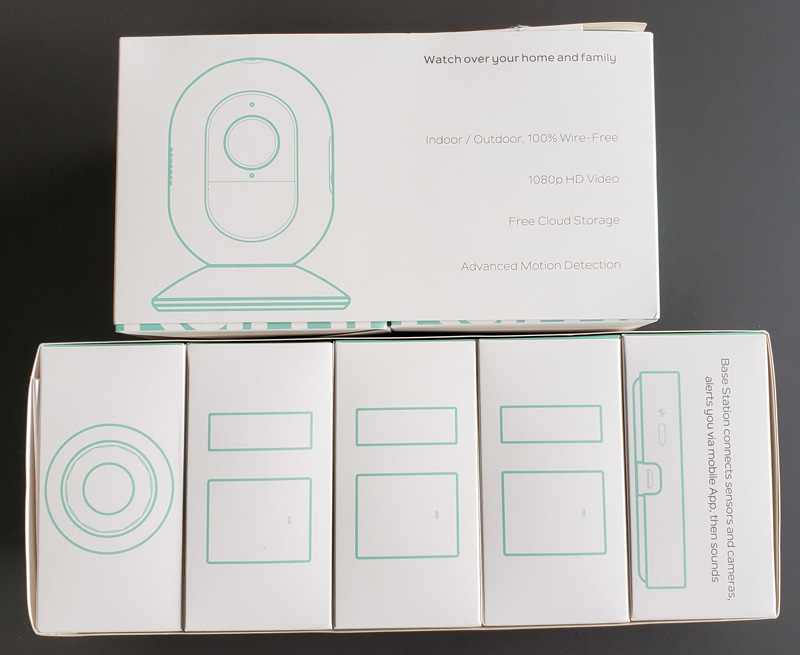
More correctly, what’s in the boxes – there were seven in total.
Box 1 – base station
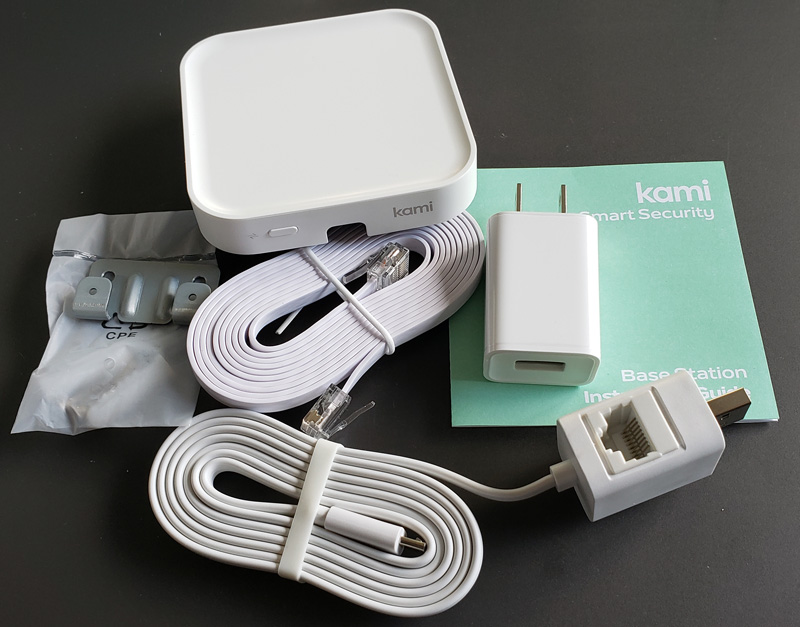
- Base station
- USB power adapter
- USB power cord with Ethernet adapter
- Ethernet cable
- Wall mounting kit
- Instruction guide
Boxes 2,3,4 – entry sensors
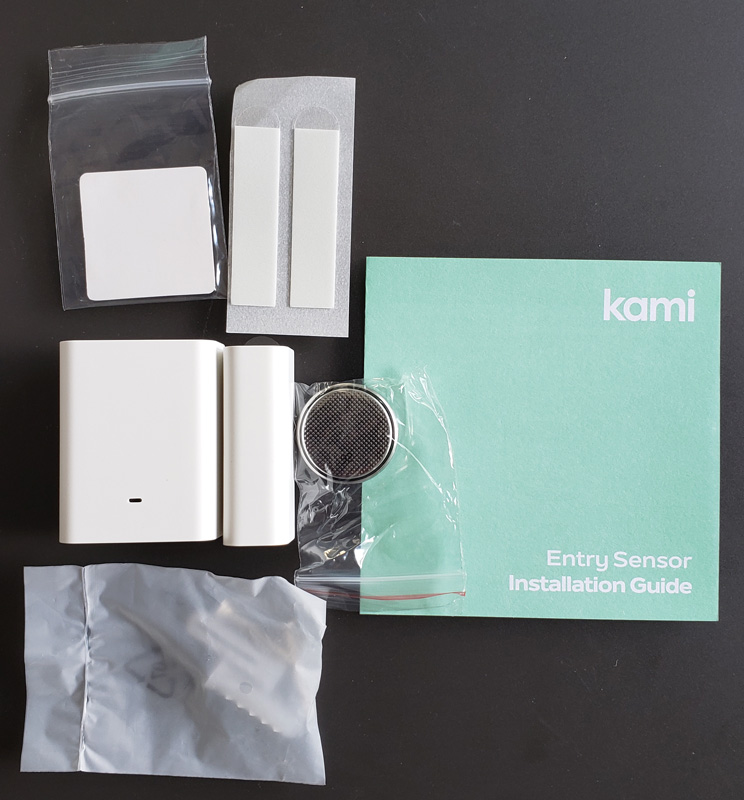
- Three identical boxes that contain:
- Entry sensor base (larger)
- Entry sensor remote (smaller) with adhesive pad attached
- Adhesive strips for base
- Base mounting screws
- Reset pin (not pictured because it’s under that square cardboard piece – doh!)
- Installation guide
Box 5 – motion sensor
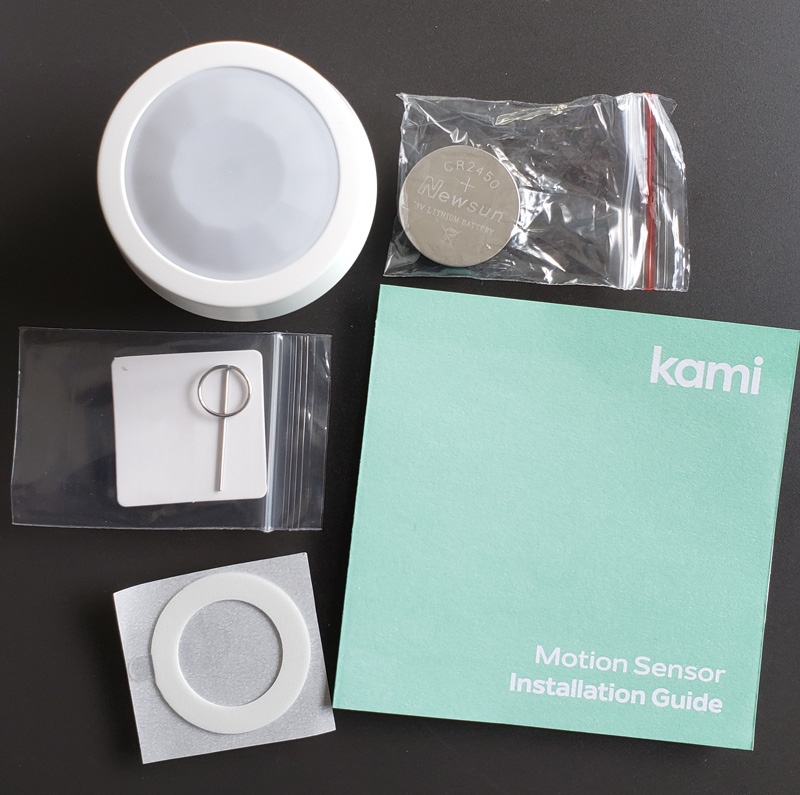
- Motion sensor
- Adhesive circle
- Battery
- Reset pin (pictured this time!)
- Installation guide
Box 6 – another base station
- Exactly like box 1
- Can be used to set up different zones with different home/away or schedule profiles
Box 7 – wire-free camera
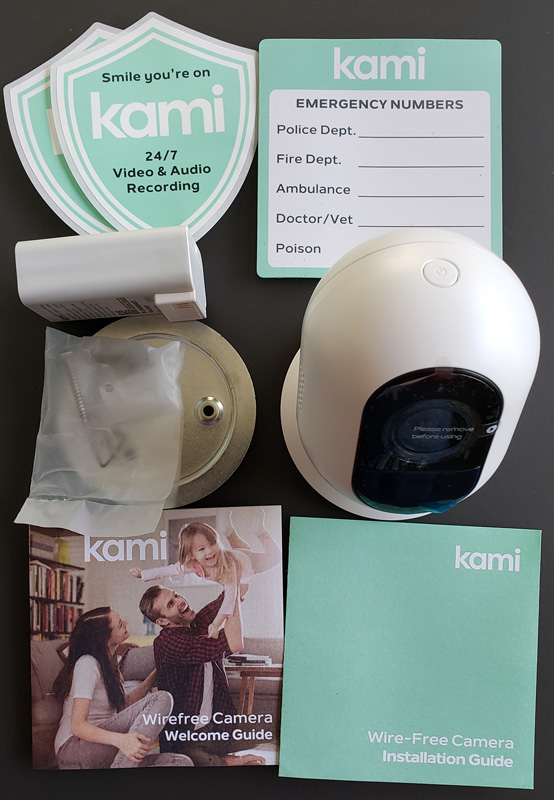
- Wire-free camera
- Magnet base
- Rechargeable battery
- Mounting plate
- Mounting screws
- Emergency number magnet
- 2 x Kami video surveillance warning stickers
- Welcome guide
- Installation guide
Box 8 – wire-free camera battery charger plus a spare battery
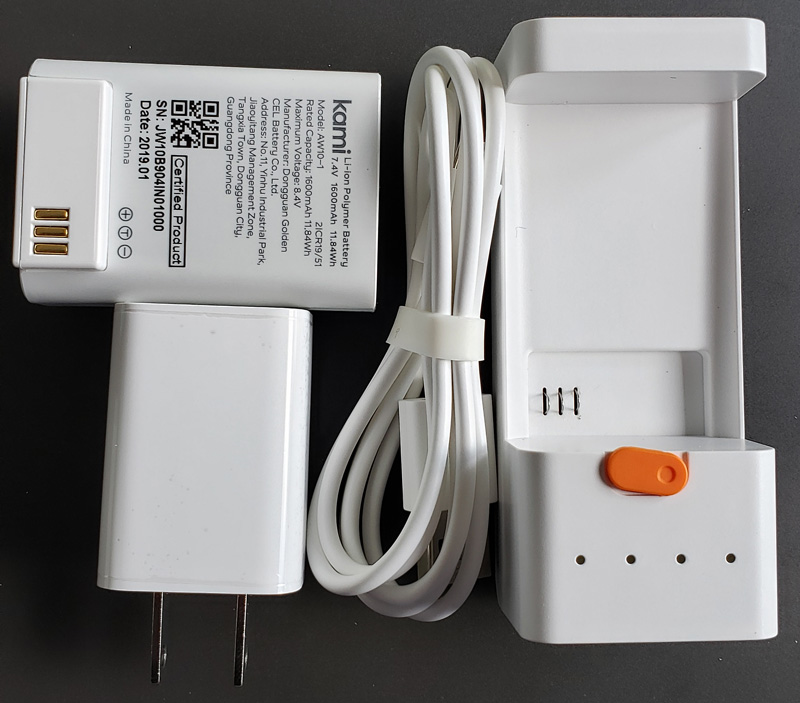
- Battery
- Charger
- USB power adapter
- USB cord
Hardware specs
Base system
1x Kami Smart Security Base Station:
Wired Network: RJ45
Wireless Connection: 2.4GHZ Wi-Fi
Operating Temperature: 0-45° Degree Celsius / 40°-115° Fahrenheit
Power input: DC 5V/1A
3 x Kami Entry Sensor:
Battery Type: CR2450
Operating Temperature: 0-45° Degrees Celsius / 40°-115° Fahrenheit
1x Kami Motion Sensor:
Battery Type: CR2450
Operating Temperature: 0-45° Degrees Celsius / 40°-115° Fahrenheit
Wire-free camera system
1 x Kami Wire-Free Camera:
Infrared night vision: 18 feet
Camera viewing angle: 113° degrees (H), 59° degrees (V), 140° degrees (D)
Video specification: 1080P / 20fps
Operating temperature: 14-122 Degrees Fahrenheit
1x Kami Smart Security Base Station:
Wireless connection: 2.4GHZ Wi-Fi
Operating temperature: 32-113 Fahrenheit
2 x Battery:
Rated capacity: 1600mAh/11.84Wh
1 x Battery charger:
Rated power: 9W
Design and features
The Kami system is designed to be modular – you add what you need for your specific installation. Let’s take a look into the setup.
Setup
Base station
The first thing to do is to download the IOS or Android Kami Home app from the appropriate store. Once installed, set up a Kami Home account. This is where I ran into an issue. As a Yi Home camera user, it turns out that the Yi Home and Kami Home accounts are the same things. So, I simply logged into Kami Home with my Yi Home credentials.
Now, to get a base station installed. The base station must be plugged into a router. Luckily, I had a couple of ports available on one of my eero remotes.
Design flaw here:
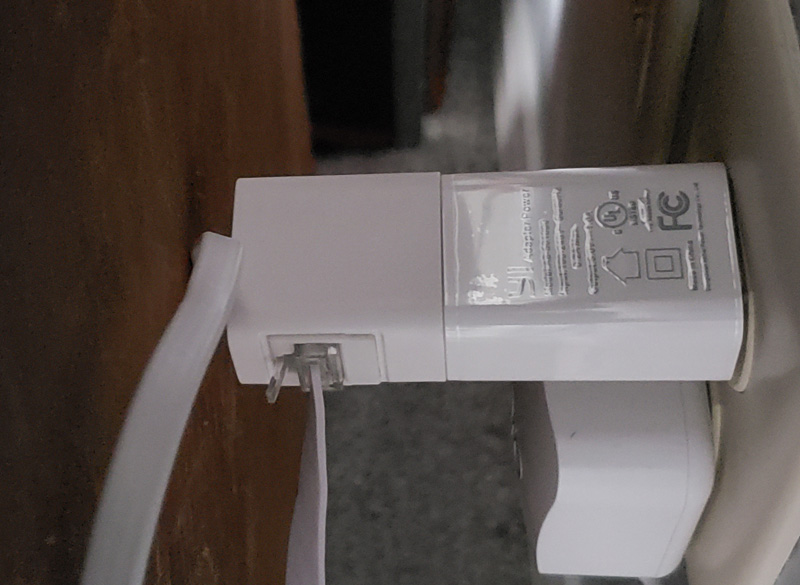
The Ethernet adapter/power cord combo plugs into the end of the USB power puck, creating a two-inch-long monster that is impossible to hide behind furniture without moving said piece quite a distance from the wall.
To start the setup, choose what it is you are installing.
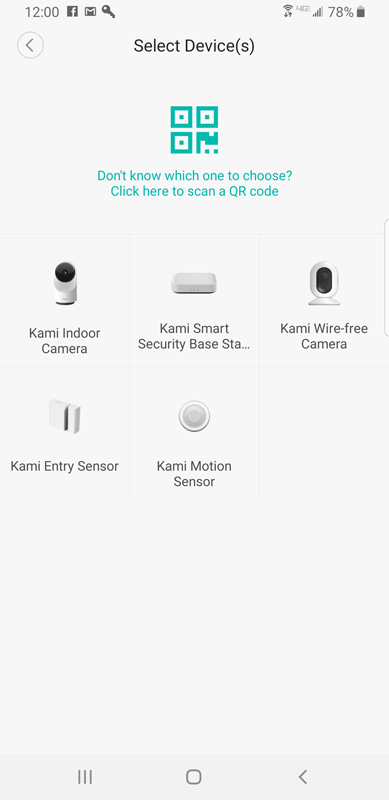 After getting everything plugged in, Yi’s usual, excellent, voice prompts from the device lead you through pairing. In the app, I chose to add a base station. The app found the base station immediately and paired as expected.
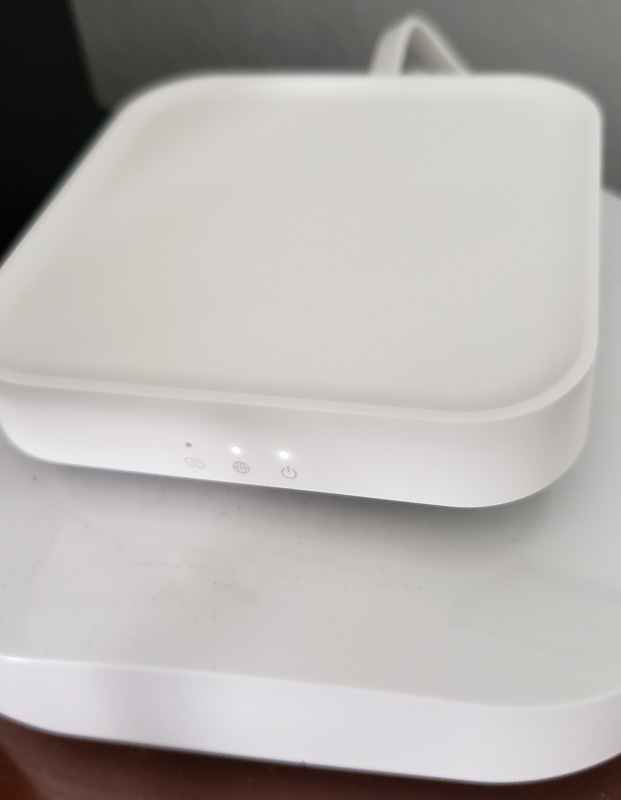
The base station is very small. Here it is sitting on top on my eero router.
Entry sensor
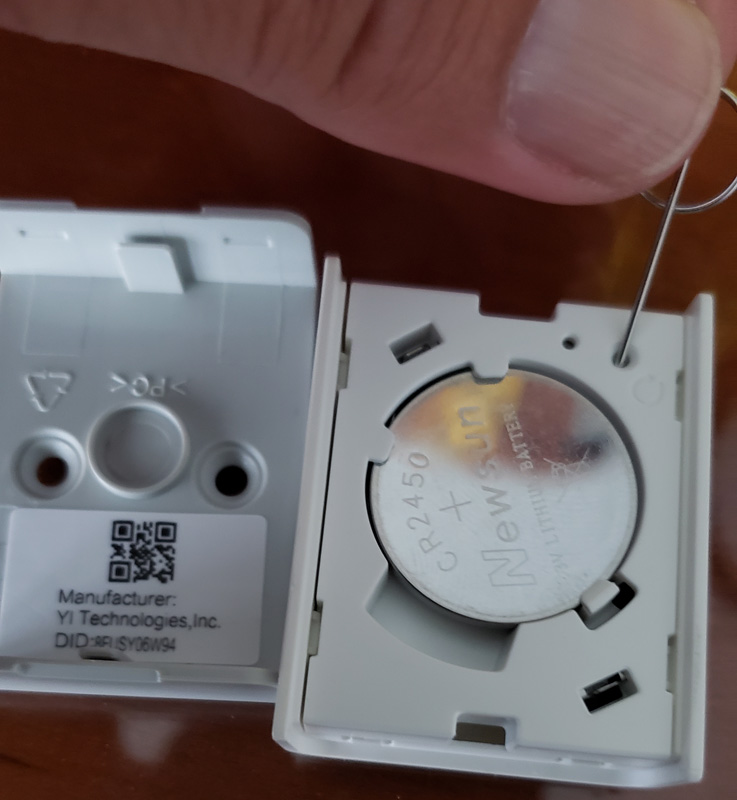
Again, set up is pretty simple. Choose to add an entry sensor in the app, and the app leads you. Open it up, install the battery – battery orientation is pictured in the app, place it near the base station and scan the QR code inside the cover. Then the app prompts you to push the reset button with the included reset pin. There is a little green light to the left of the reset hole. Once flashing, confirm that in the app and the base station reports verbally that the sensor is paired.
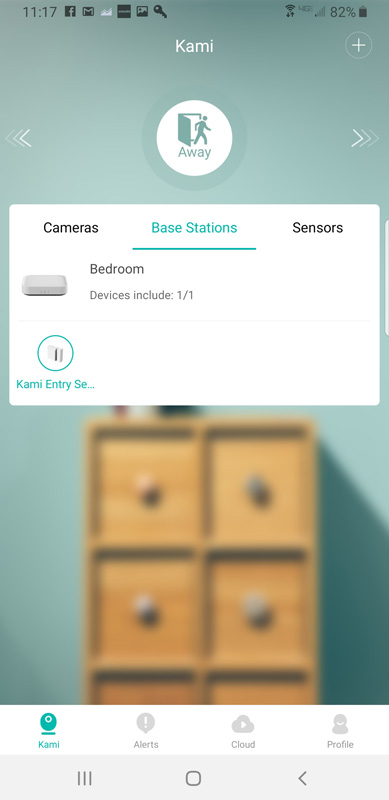
The app shows devices as they are added.
And, the app provides mounting instructions:
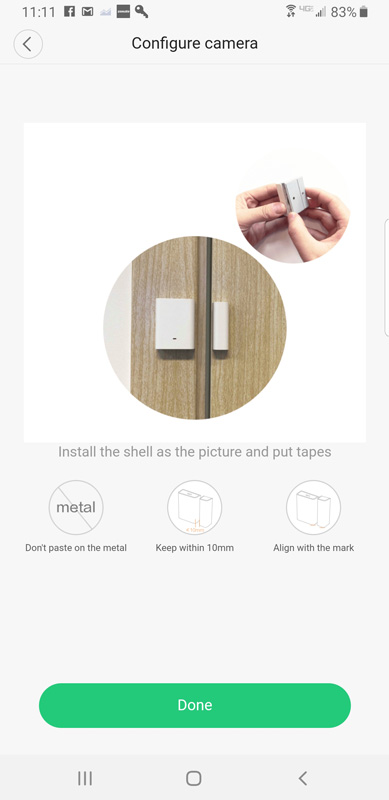
That last item – align with the mark – refers to marks on the two parts of the sensor that need to be matched up.
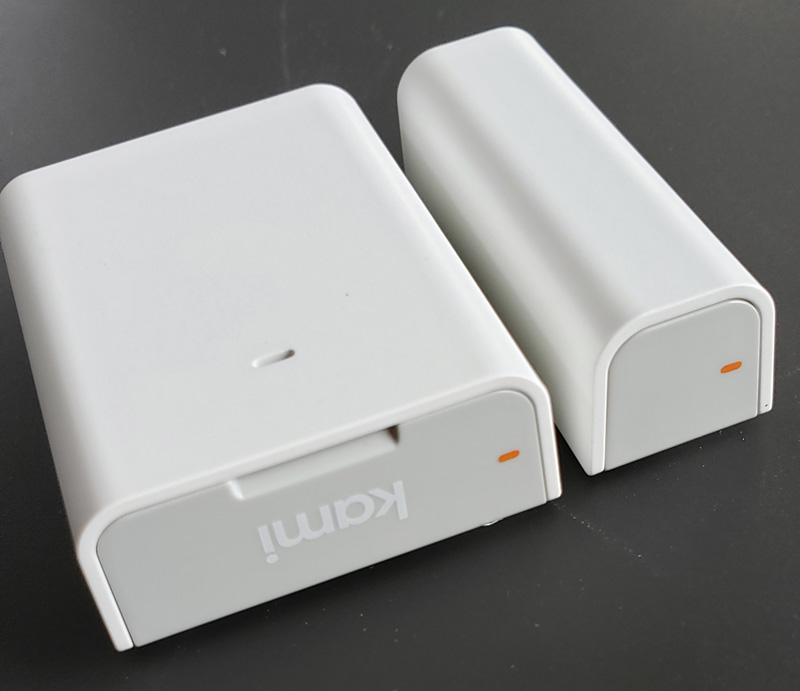
Motion sensor
Setup for the motion sensor followed the same steps as the entry sensor.
Start by twisting the back off. I couldn’t do it. Then, I saw the lock indicator.
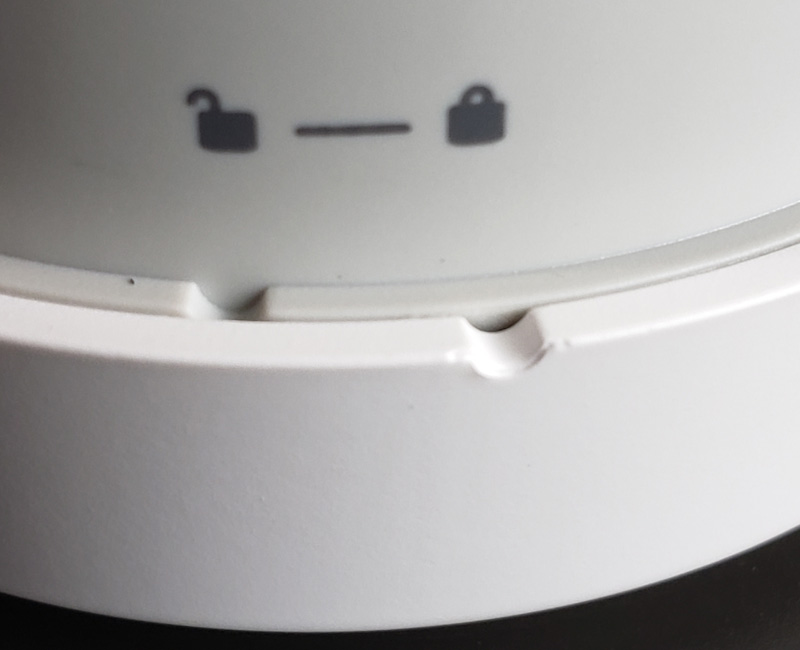
After I twisted it to the unlock position, the back came off easily.
Here is a view of the green LED I mentioned above that flashes after hitting the reset button, indicating it is ready for pairing.
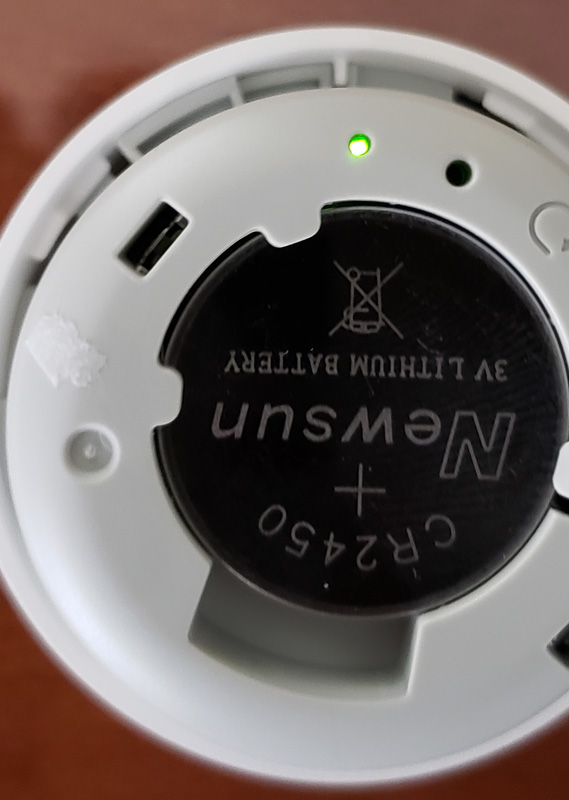
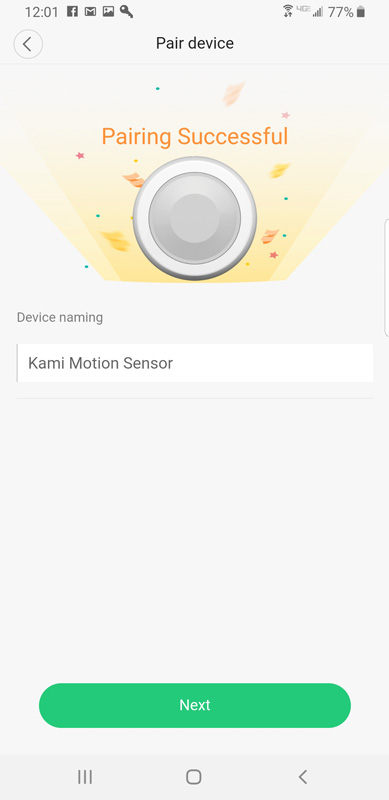
Each device confirms when it pairs.
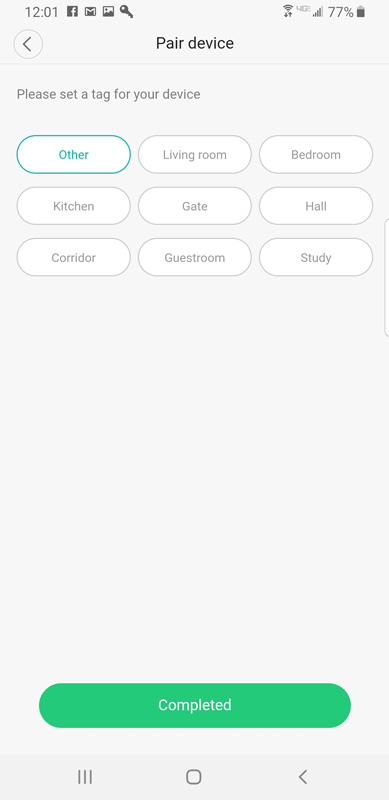
You can set a location tag for each device.
Camera
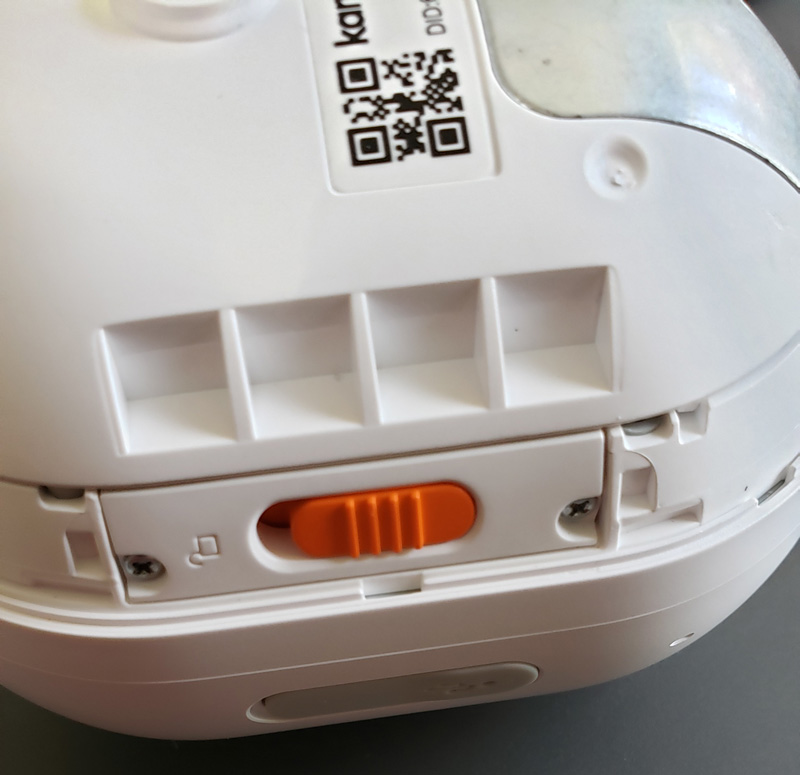
Camera set up is essentially the same as the other devices. Pop off the back to access the door lock for the battery compartment.
Swinging open the door, we find the battery compartment.
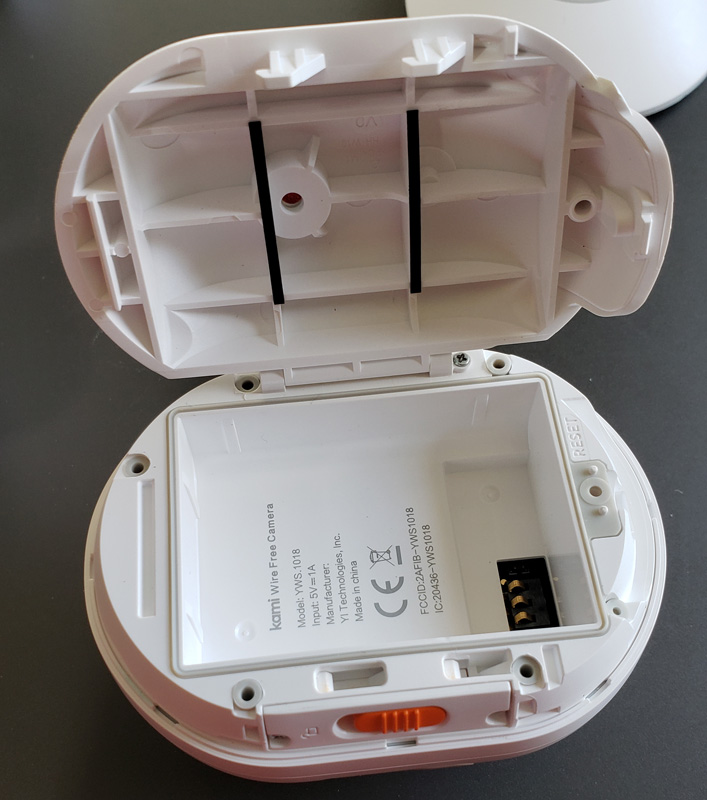
The battery drops in and immediately powers up the camera. Its voice prompt tells you it is powered up.
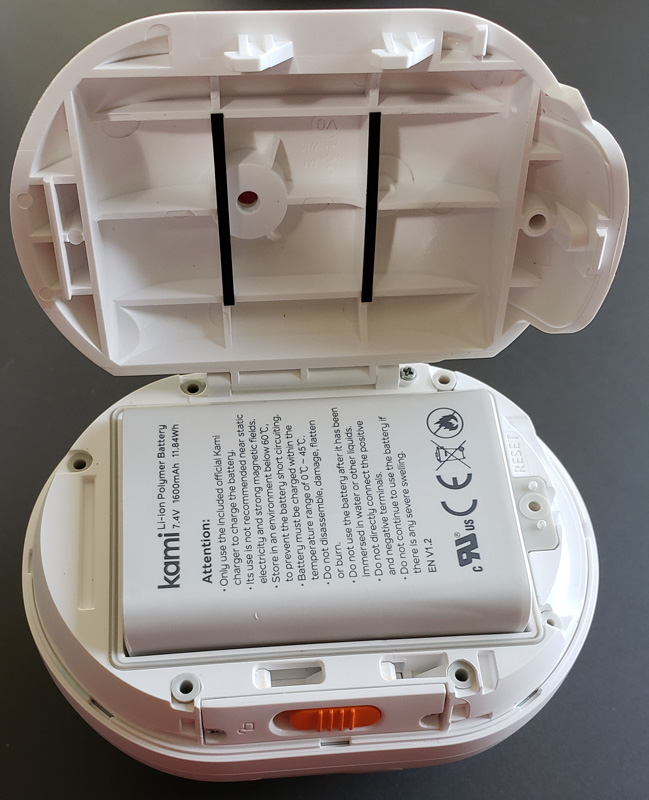
After closing the unit and placing it on the base for stability, place it by the base station, press the main button on top and the app leads you through automatic pairing. Both the camera and base station’s voice prompts report that the pairing is complete.
One note – the camera is an indoor/outdoor camera, so you can use this to monitor your outdoor spaces.
Battery charger
There is no setup for the battery charger – just plug it in and pop in a battery to charge. Four LEDs report charging progress.
Performance
After installing an entry sensor, I moved the entry sensor parts apart and back together to test operation.
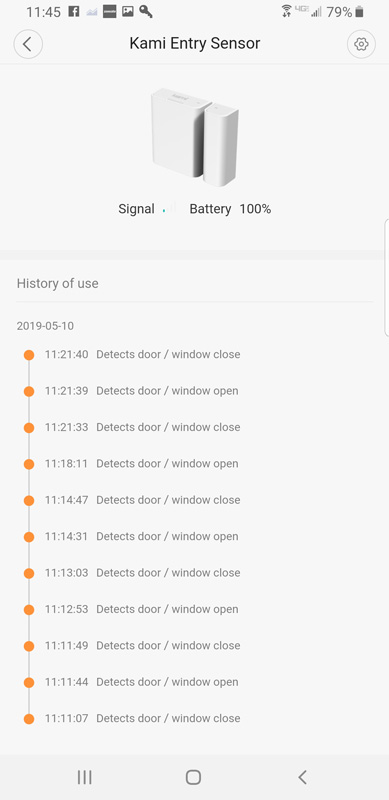
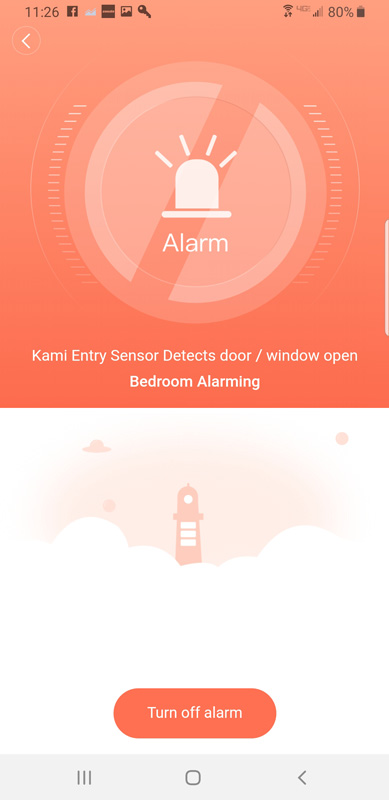
The app recorded each event. When the system was in away mode, the base station started audibly alarming minutes before I received an alert in the app. Eventually, I got an alert and was able to see the alert and silence the alarm.
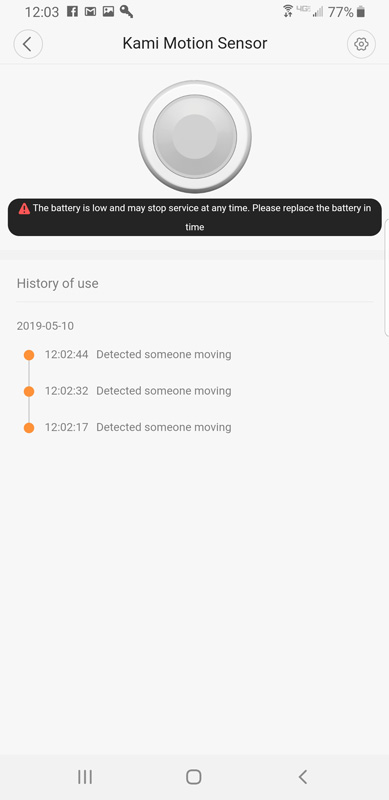
I also tested the motion sensor. It picked up motion successfully, but looks like they sent an old battery!
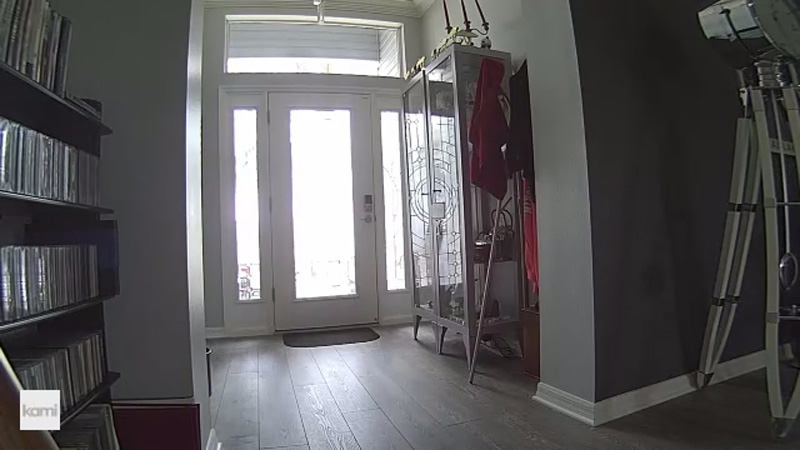
After adding the camera, it produced good quality video and images.
The camera does not have an SD card slot, meaning that you cannot save any video without subscribing to the Kami Cloud recording service. Pricing runs from $66 to $199 annually depending on how long the videos are saved and whether it records full-time or only motion activated recording.
There are two modes, home, where alarms are silenced and away, where alerts trigger the base station alarm and app notifications, To change to/from home and away mode, you slide the icon to the right to activate away mode and to the left to activate home mode.

After just a few days, the battery in the camera died. I was surprised how quickly it died, but it probably really wasn’t fully charged. Still, there was no notification from the app. If there was from the camera, it happened at night or when I wasn’t home, so there was no way to know. I only discovered it when I looked in the app and saw the camera was offline. Speaking of notifications, the app seemed to regularly sleep and notifications from motion would only come in sporadically, and then, in groups.
Finally, after the battery died in the camera, I expected to drop in the other battery and be back in business. Nope. I put in the battery and got the verbal welcome message. I checked the app, expecting to see the camera back online. Nope. The camera didn’t come back online after I put in the battery. I tried it multiple times with the camera right next to the hub. Nothing. I finally deleted the camera from the Kami hub and went through the pairing process again. Still nothing. I followed the procedures in the app exactly as I did for the initial pairing and I could never get the camera to pair again.
What I like
- Simple set up
- A comprehensive set of sensors for a reasonable price
- Good quality camera
What needs to be improved
- The alarm is somewhat quiet
- Phone alerts are slow and inconsistent
- The entire system is in home or away mode – no mode for home, but still armed, like a night sleep mode
- No SD card in the wire-free camera, so no recording without paying to subscribe
- Wire-free camera wouldn’t come back online after the battery died
- No options for central monitoring – alerts are audible from the base station and in the app
Final thoughts
Overall, I am not impressed with this DIY security system. The setup and installation are simple and the sensors and camera all work well until the battery dies. The alerts take some time to reach your device and the only other alarm is a somewhat muted alarm at the base station. With no options for central monitoring, it is limited to audibly alerting inside your home and on your phone. Plus, you are required to pay for cloud recording, since there is no SD card option on the camera. It is not documented in the app, but it does include six months of cloud recording.
With spotty alerts and problems when battery-powered devices lose power, I can’t really recommend this system.
Price: Base system: $99.99; Wire-free camera system: $109.99
Where to buy: Amazon – base system and wire-free camera system
Source: The sample of this product was provided by Yi Technology.


Gadgeteer Comment Policy - Please read before commenting
An update – after I wrote this, an app update produced a notification and link for free cloud recording service for the first six months. After that, the rates I mentioned apply.
Thank you for living in the world of tedium that this “security” system apparently created for you. This thing is not a “fire-up then forget” styled system, not for me, as it sounds like one those ‘Baby sitter required’ devices!
Hi Gary,
Does the Kami wireless camera version works with the existing YI app?
Sorry, I can’t answer that, Robert. When I was testing seven months ago, it did not. At first, I got double notifications – one in the Kami app then one in the Yi app, then it stopped and just worked in the Kami app. When I talked to support, they indicated that Kami and Yi were separate apps and would not work together. Since I have abandoned the Kami system, I can’t tell you what the current state of affairs is with Kami and Yi.
I have a question. My camera lags in sending me text on motion detection but I want to leave the app on because I’m using it as a nanny cam but it is very noisy! Sounds like a dog chewing a bone. What is causing that?
Barbe:
We are an independent review source and have no information to be able to provide tech support for any of the products we review. I recommend contacting the manufacturer’s support site for assistance.
Unfortunately, I have no way to diagnose what might be happening.
Garry