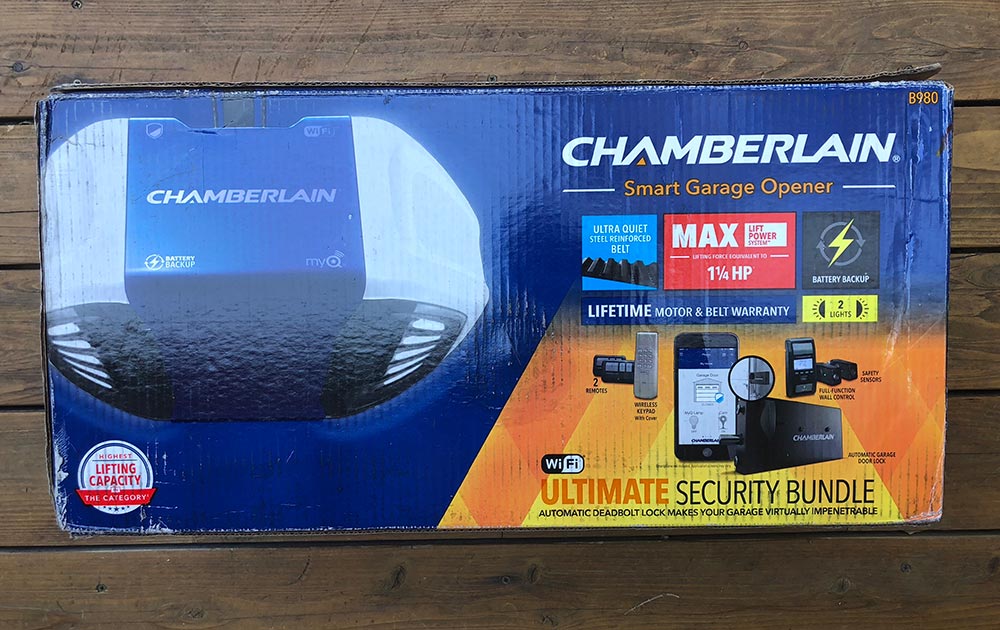
REVIEW – Did the box grab your attention? Hope so. Garage door openers are challenging to shoot for headline photos. Do you need a new garage door opener? You might given how much they’ve improved in the last few years.
What is it?
Chamberlain’s Ultimate Security Bundle is a garage door opener with app connectivity, safety sensors, a backup battery, an internal deadbolt, two car remotes, and an external keypad.
Hardware specs

What’s in the box?
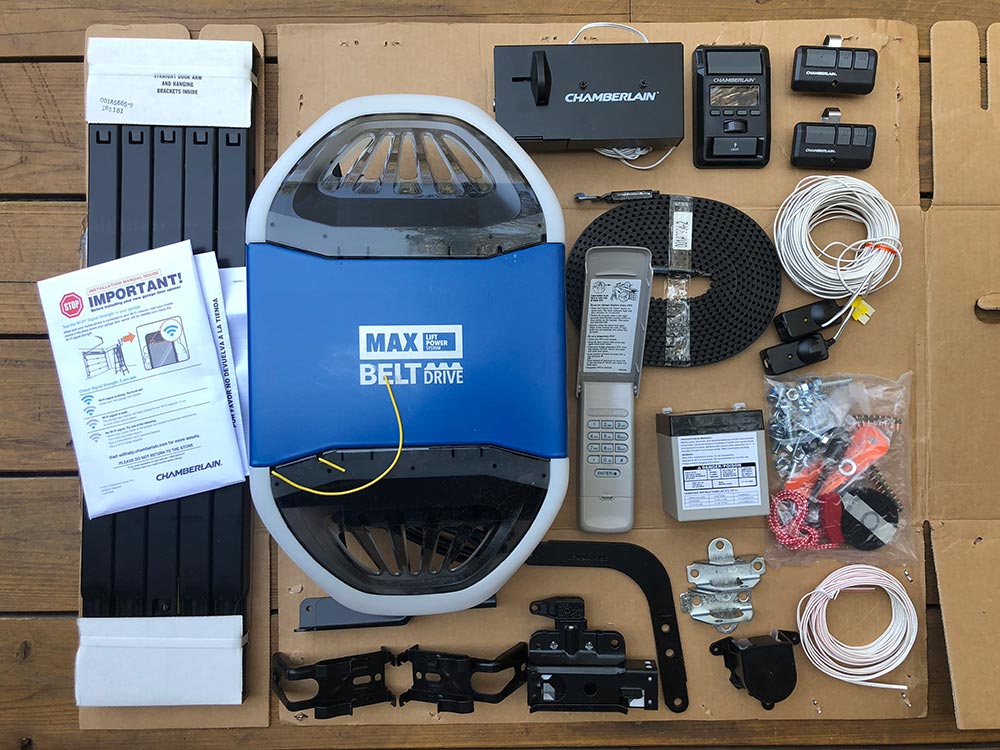
- Items covered in the next section
Design and features
Design of a garage door opener is all about functionality. It has to work. Chamberlain has clearly done that here, and when installed it looks pretty good too.
The key features here are…
- Wifi connectivity with App control and status updates
- Belt drive which makes it quite a bit quieter
- Back up battery so you can operate the door without power
- Remotes! – Wall mounted remote, two car remotes, external keypad, App control and Homelink compatibility
- Safety sensors to avoid accidents
- Deadbolt for extra security
Setup
The bulk of the review here is actually the install. It took me about 4 hours, with some self-imposed trouble. Here goes…
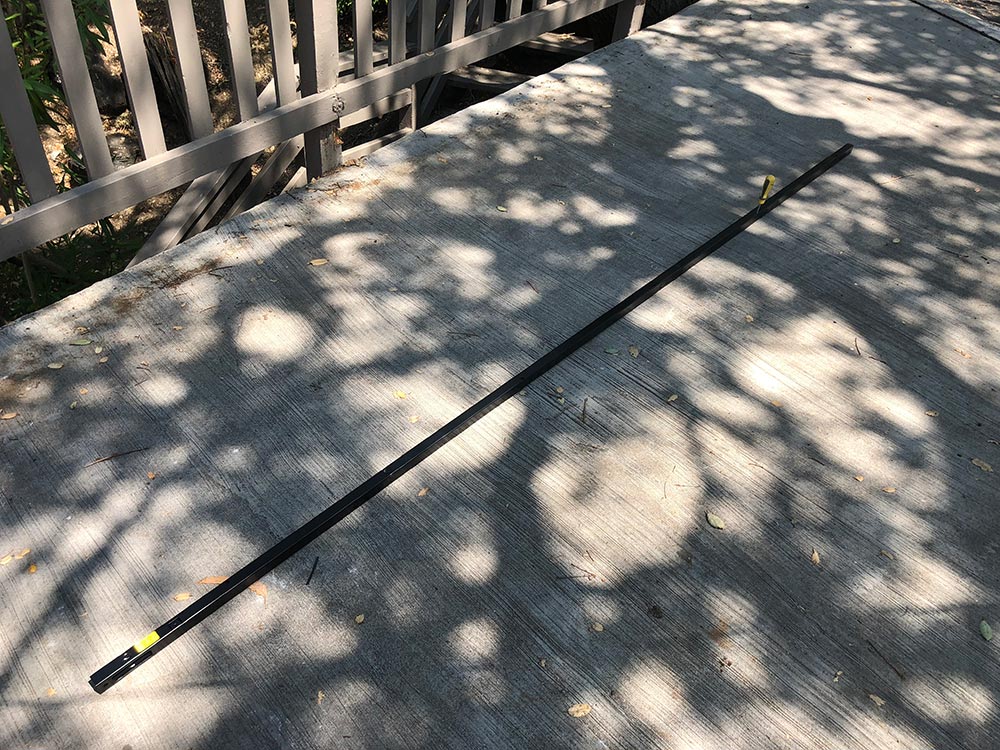
Installation starts by assembling the track that that will run along the ceiling by connecting the different sections.
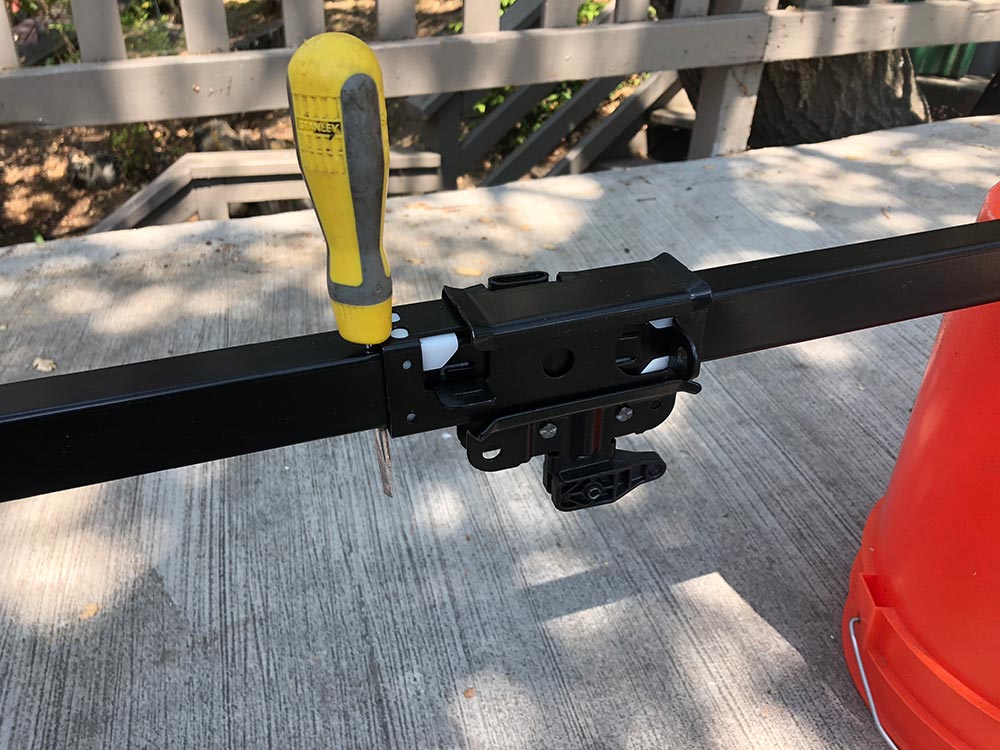
Use a screwdriver to anchor the trolley (during assembly) that will eventually lift and lower your garage door.
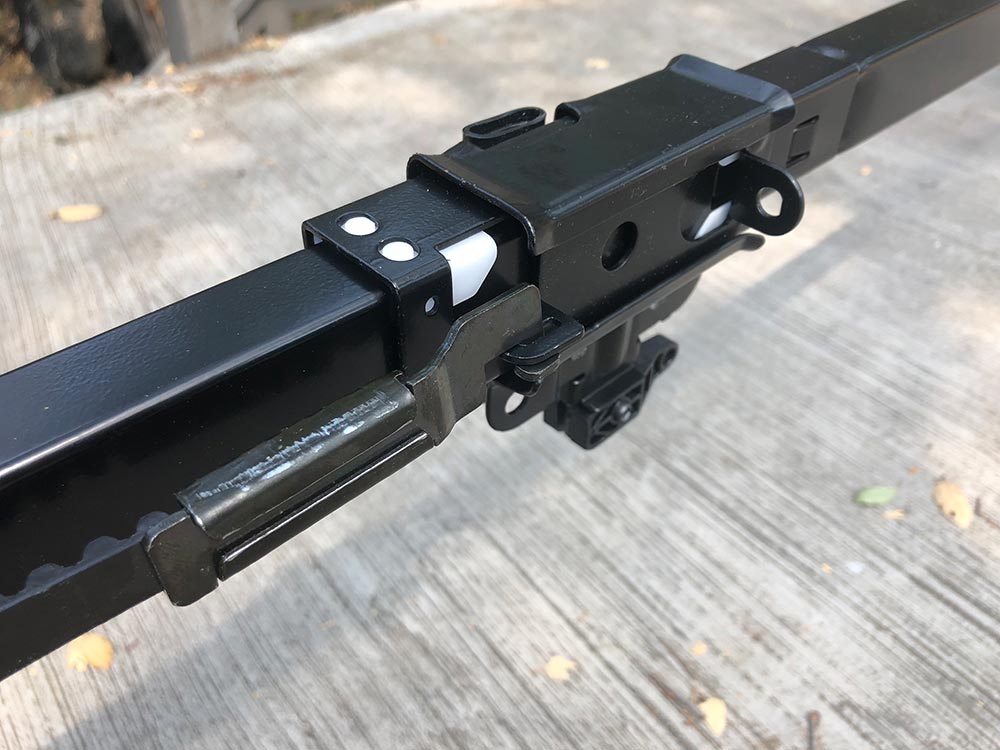
Insert the mount for the opener into the end of the track.
Bolt the motor onto the mount with the two black bolts shown in the below photo.
Starting to come together.
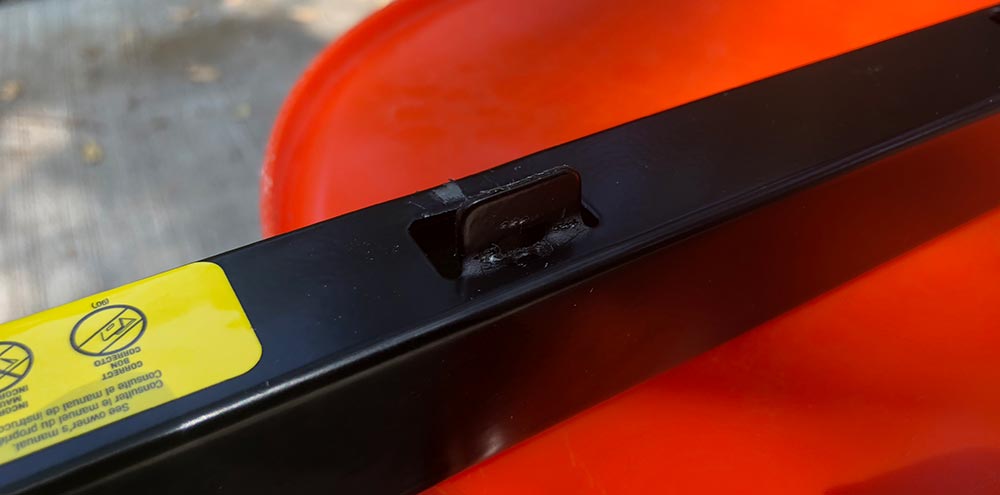
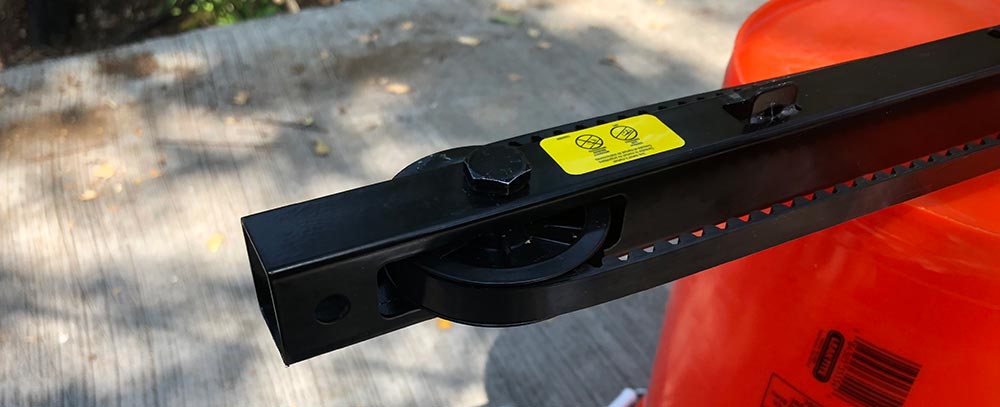
Bend up this little tab to act as a physical stop for the trolley.
Attach one end of the belt to the trolley with a sideways insert with a 90º twist.
Feed the belt through the slot, then install the pulley.
Wrap the belt around the gear on the top of the motor.
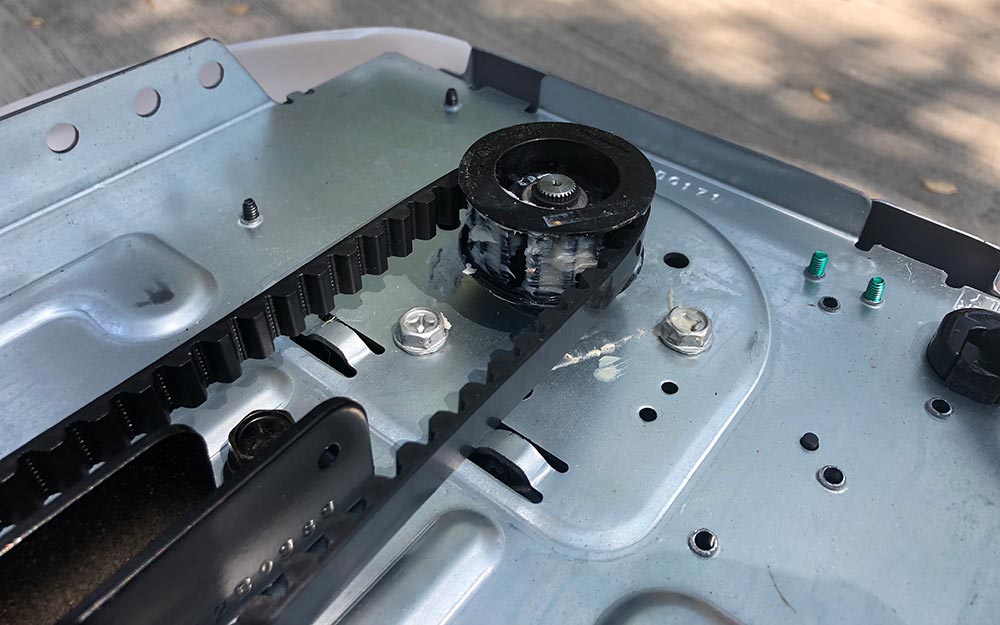
Connect the other end of the belt to the threaded rod with the bicycle style chainlink.

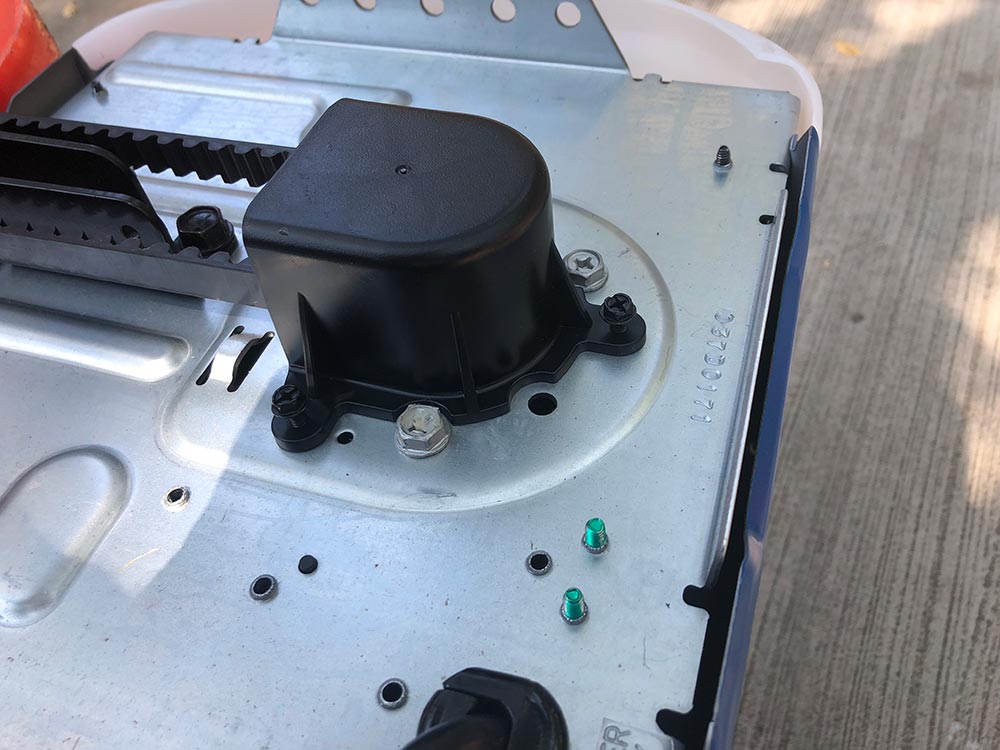
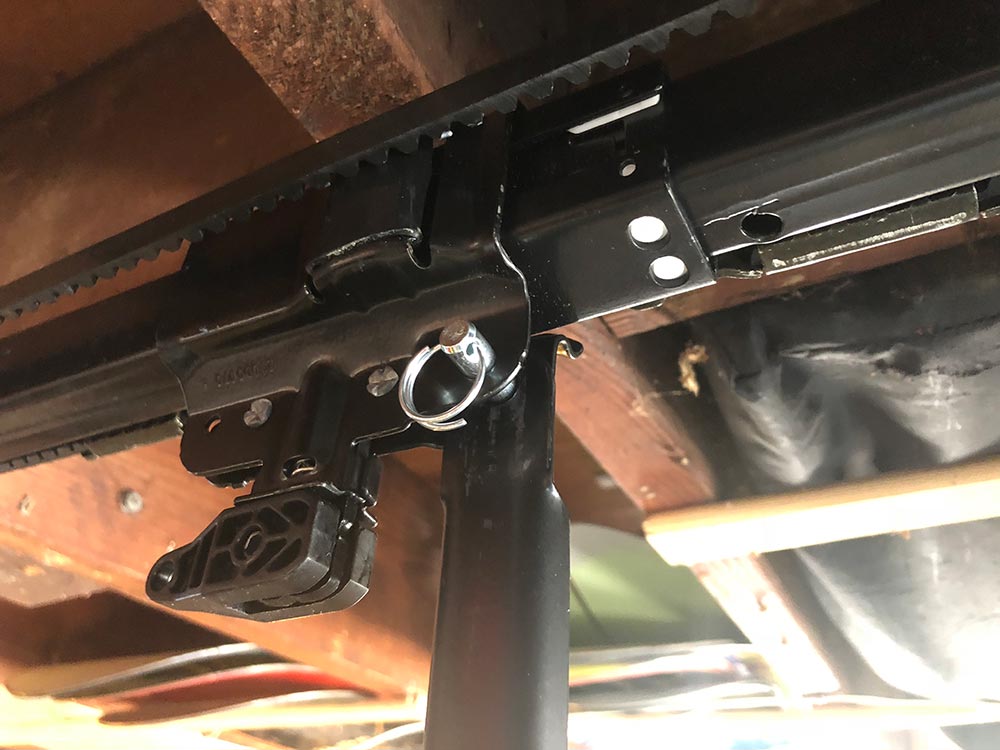
Slide the threaded rod through the trolley and anchor by threading the spring nut on hand tight, then follow the instructions for snapping the ring nut against the trolley.

Install the gear cover with the provided screws.
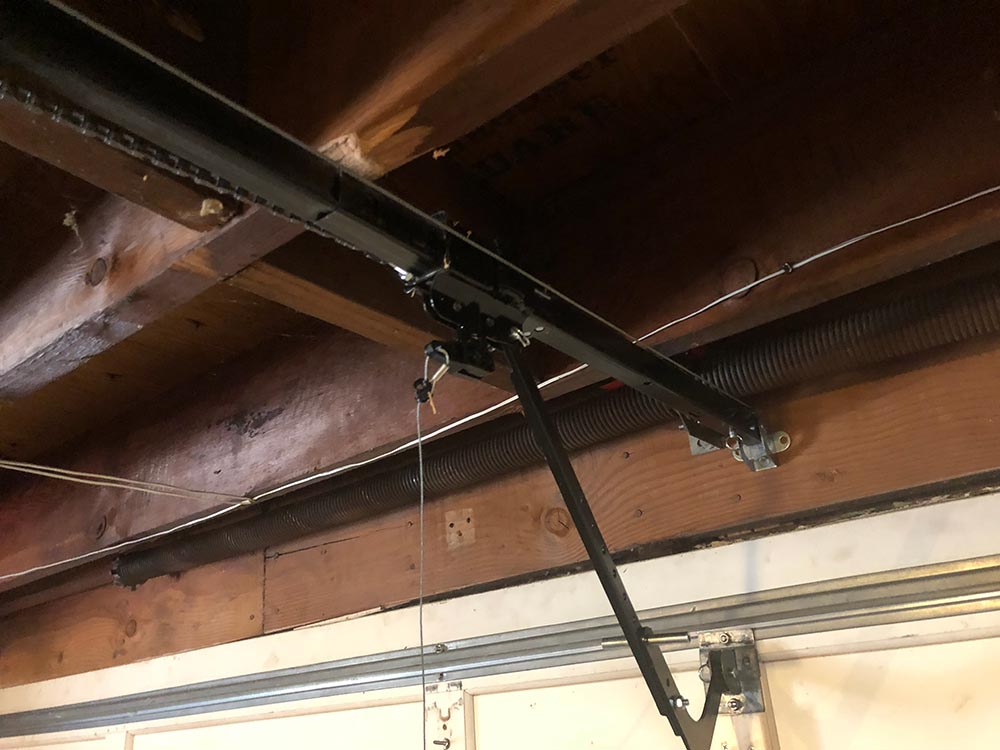
At this point, it’s ready to install, so that means removing the current garage door opener. Incidentally, mine was also a Chamberlain although I’m unclear as to how old. It was starting to get quirky and would reverse direction about a foot before closing 3 out of 5 times. You can see from the photo below that my ceiling is unfinished dark wood. My garage door has a huge coil spring across the top of the door to assist in lifting and lowering which fortunately did not need to be messed with.
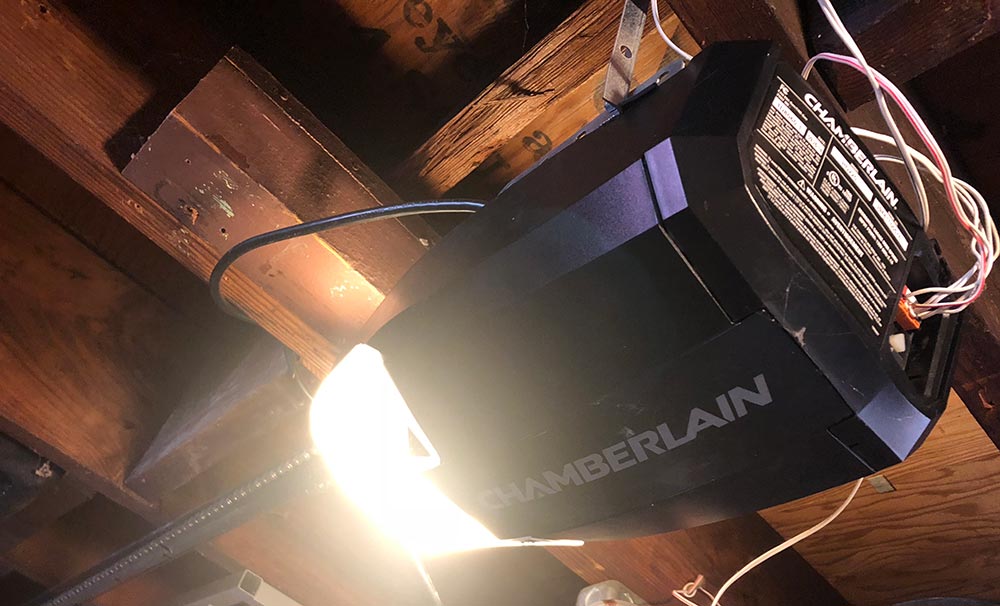
Here’s the old motor unit to be replaced. It had a front facing light which didn’t help visibility towards the back of the garage.
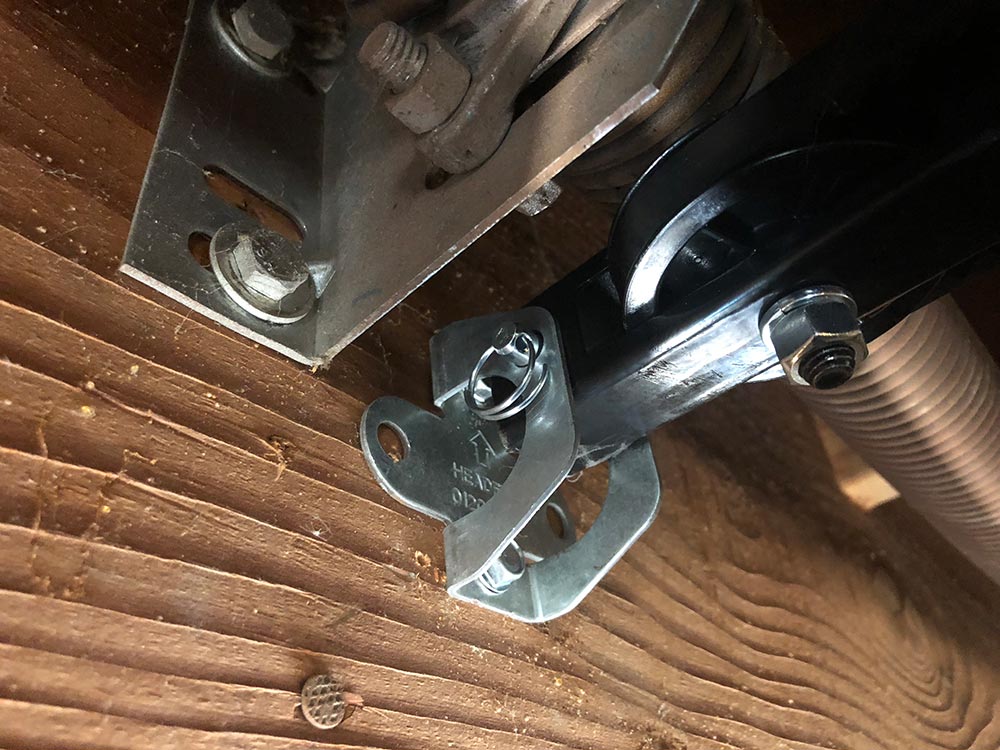
A lot of the hardware was similar or the same, but I reinstalled almost all of it. This anchor for the track I moved closer to centerline of the door to correct some of the issues I was having with the old one suddenly reversing. Mount the track to the anchor with the pin and lock ring. This step makes lifting the heavy motor end of the system much easier.
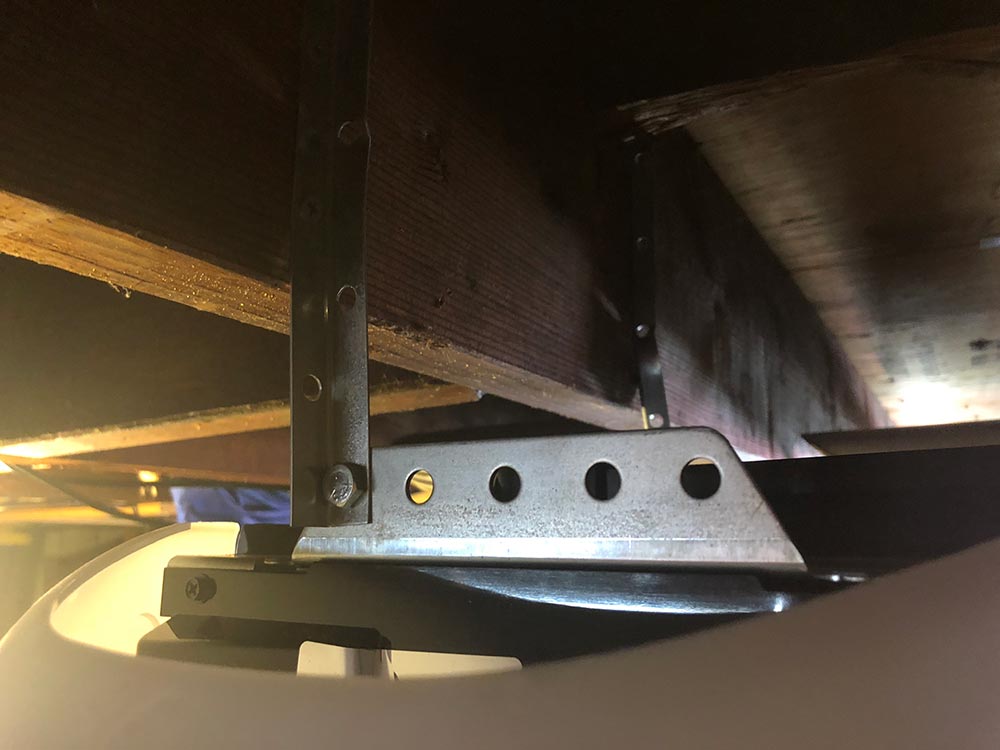
These mount joists are the previous ones, but I did move them up a bit to make sure everything was level. They mount to the side rails on the motor with anchor bolts.
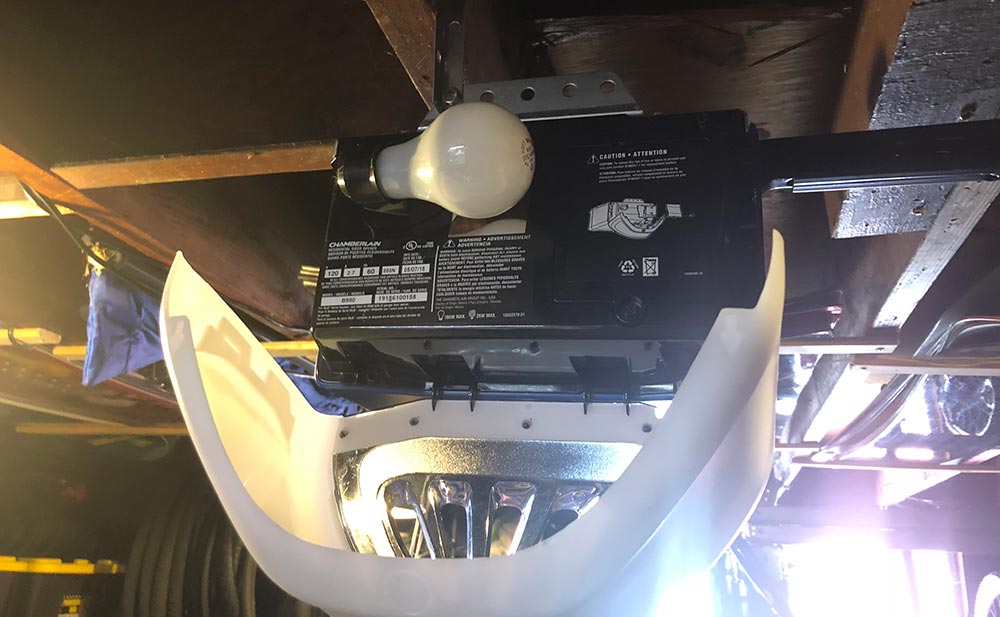
Install the light bulb onto each side.
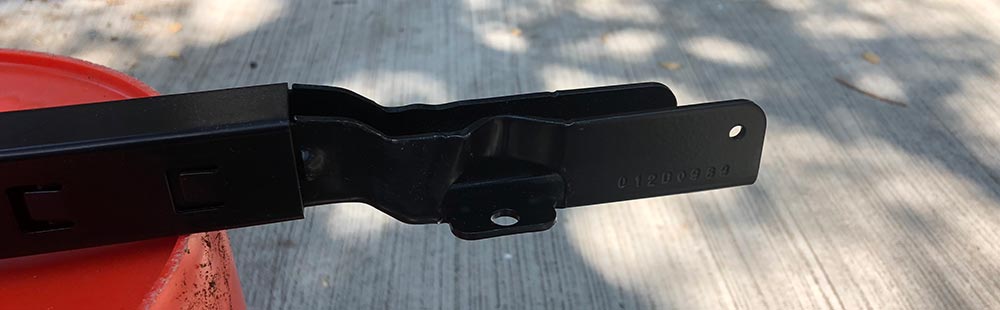
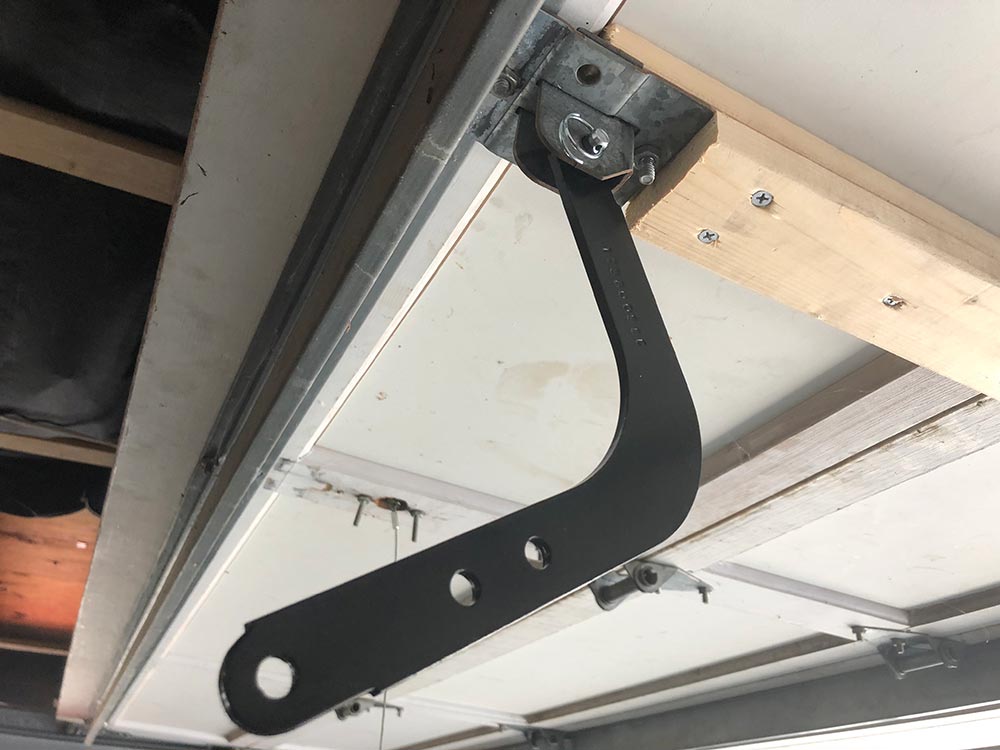
You now need the door in the up position after installing the lift bracket which has this bent shape to help make the turn. My garage is low enough that I later cut up a tennis ball to mount on that bend as I did manage to crack my head on it once during install.
The straight arm mounts to the trolley with a similar cotter pin at which point you both the two sides together.
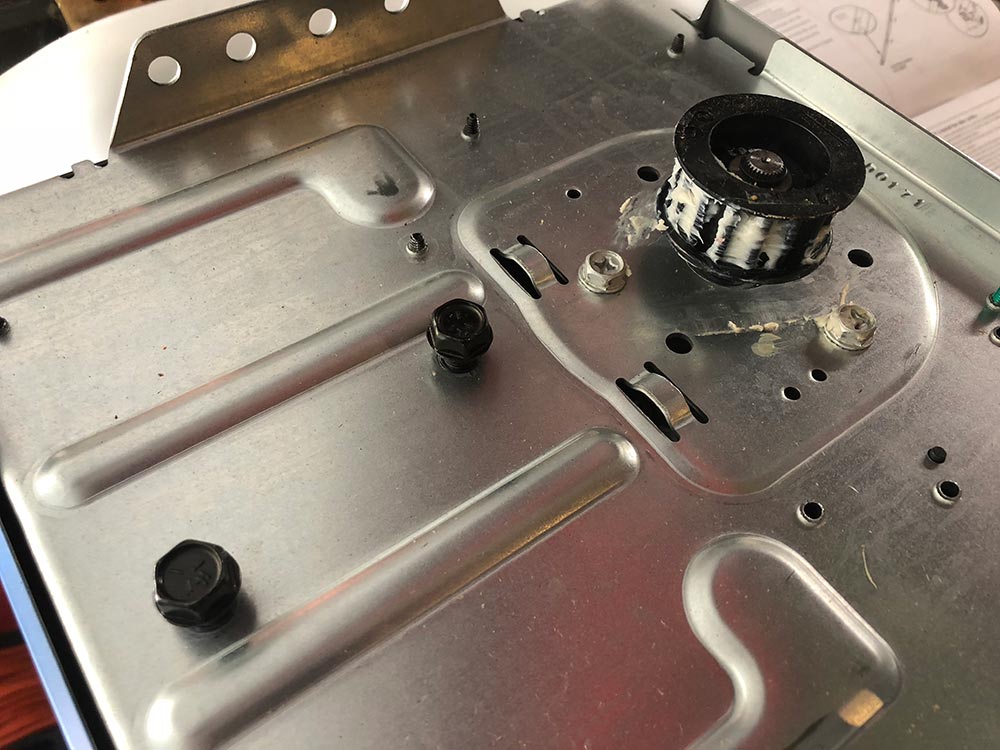
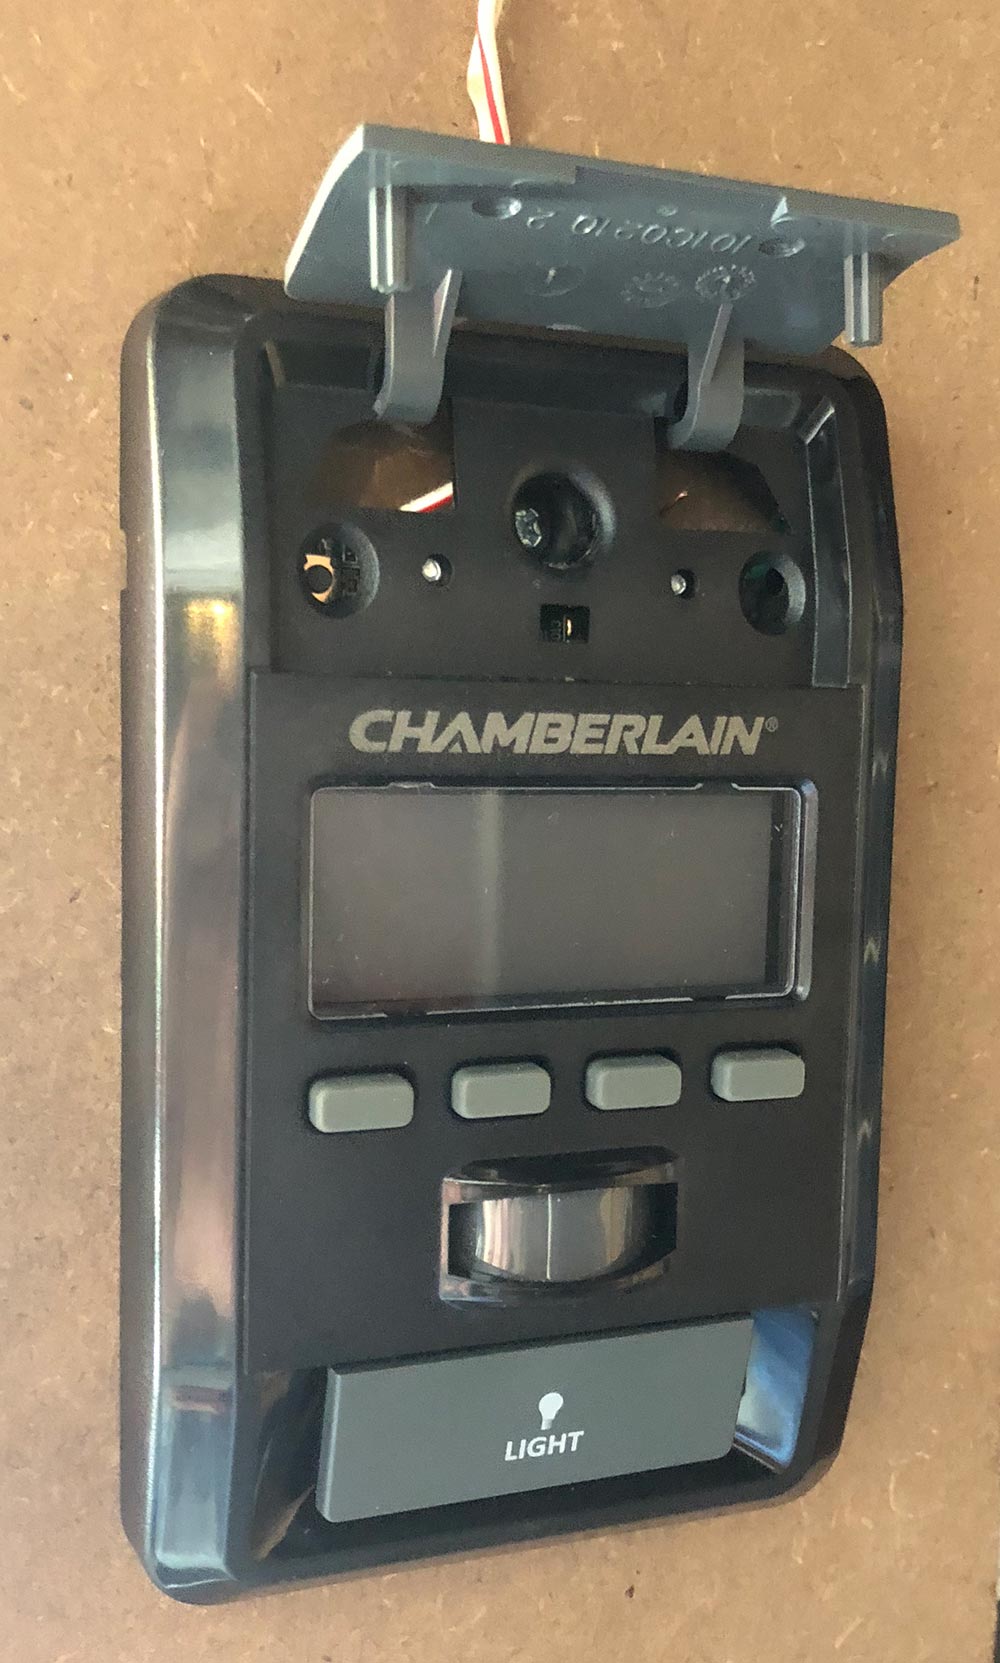
Next you need to run the power lines for the door control. I used the lines that were already there. The mounted panel is shown here.
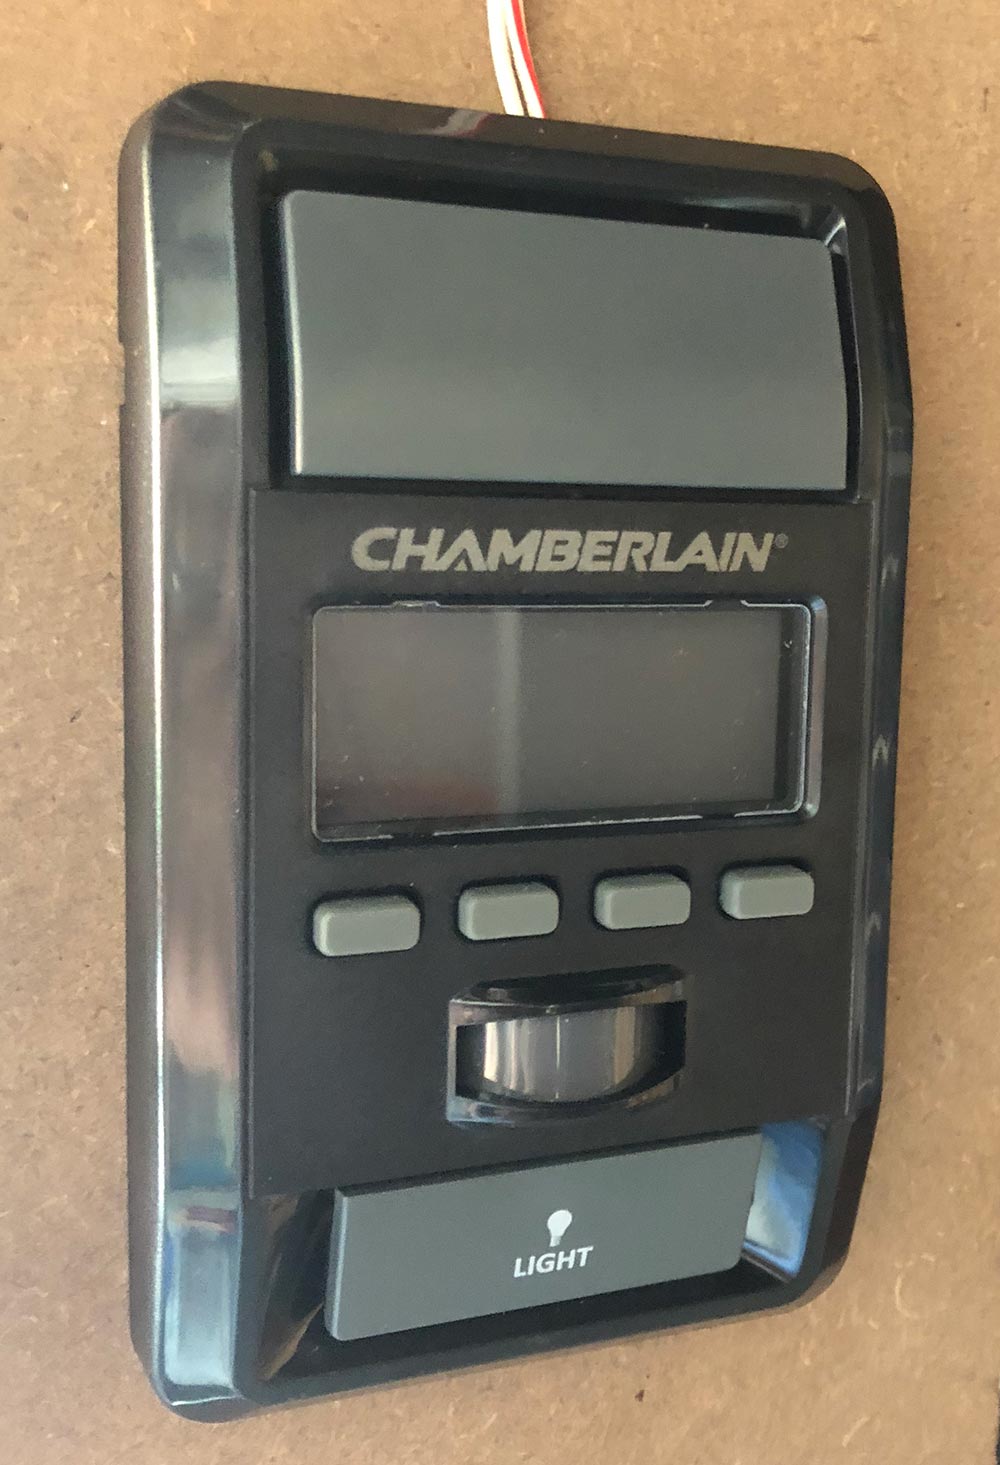
It’s mounted with a screw that you find by lifting the door actuator button.
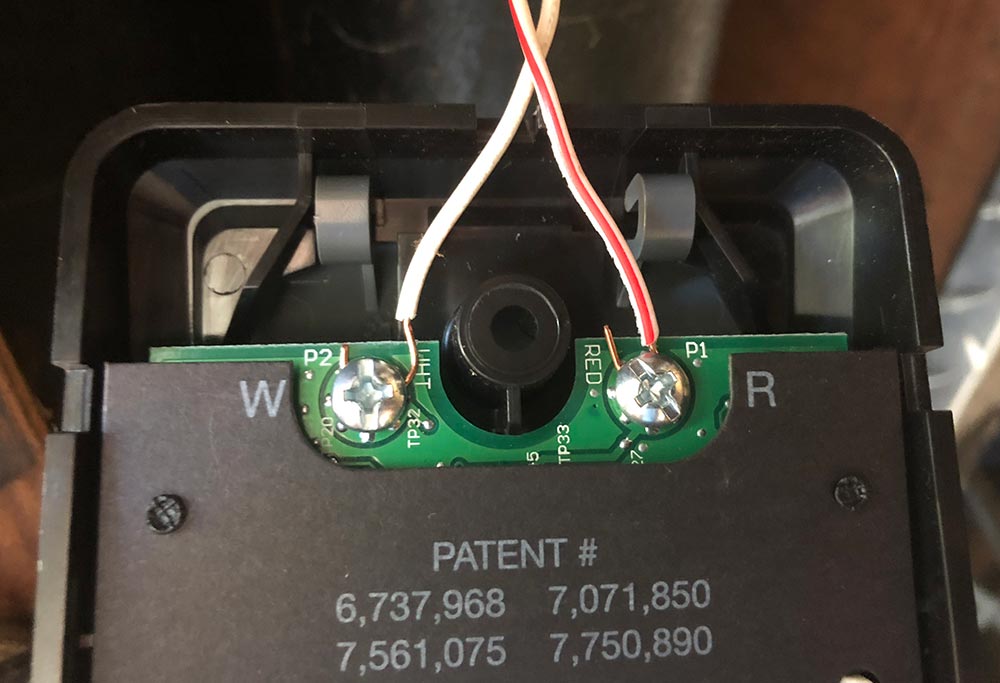
On the back side are the two contact screws you need to connect the wires to.
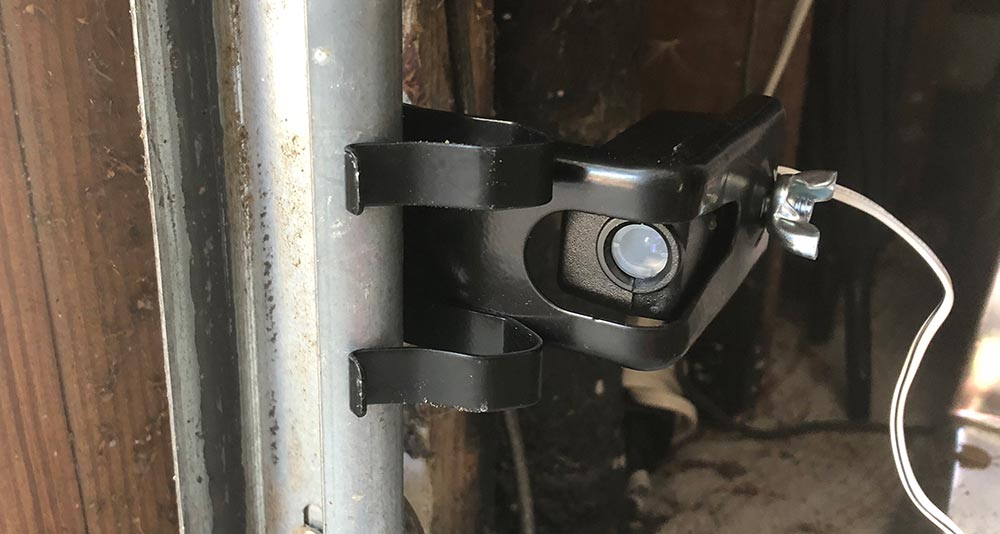
The safety sensors are there to make sure the door doesn’t close on objects or people (or for you to kick a foot at as you realize that one thing you forgot to grab as you left). These can be mounted directly onto the garage door rails or onto the wall next to them. For this part of the install, I reran all the wires and decided to get crafty with my staple gun. I clearly went to fast and pierced the cable a few times and had to pull one of them completely down and replace with the old wire to finally get it working. What’s the saying? “Measure twice, cut once?”
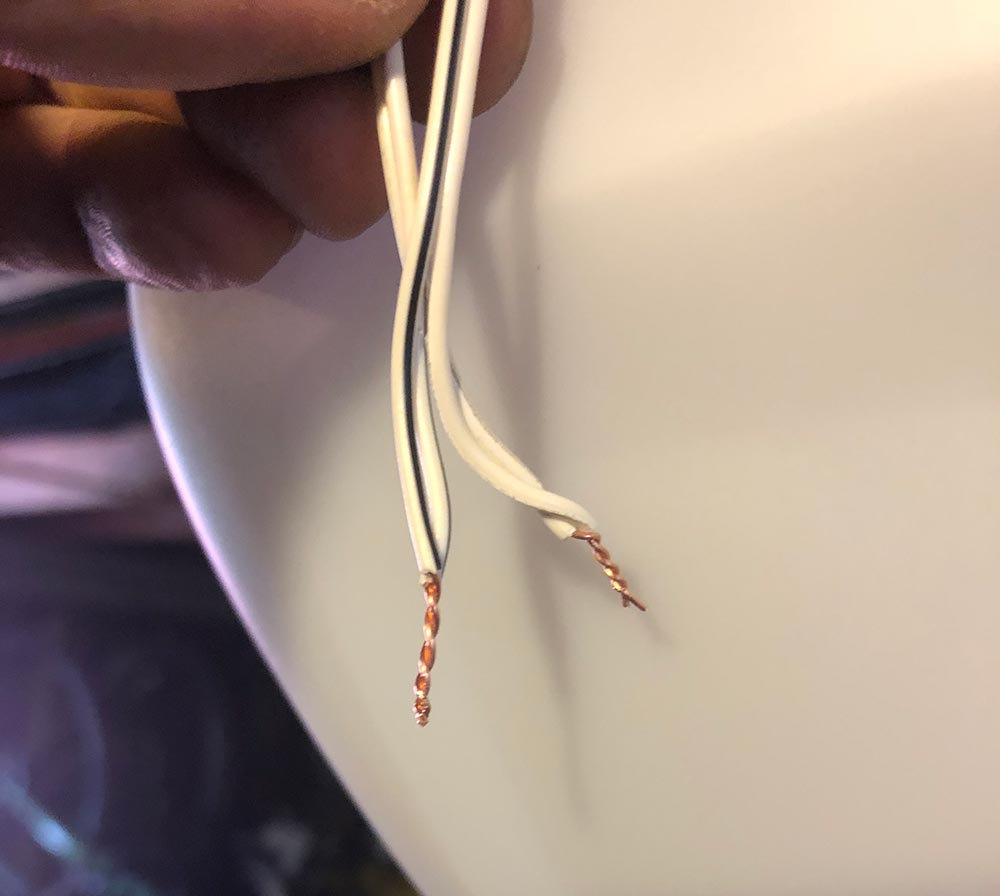
Pair up the leads from the two sensors and twist them into the corresponding pairs before inserting into the proper terminal on the opener.
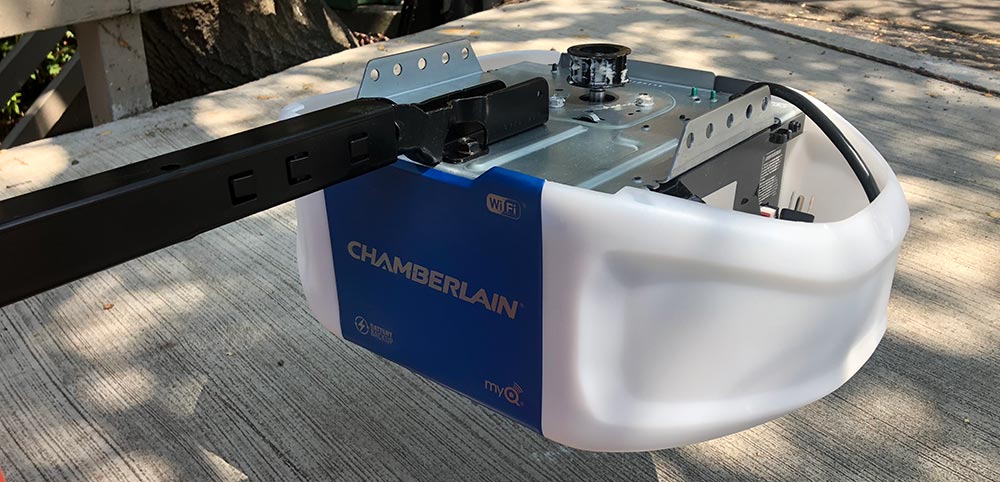
Here you can see those wires in the right two positions next to the ones previously run for the door opener. You can also see the controls you’ll use to set the final open and closed positions of the door.

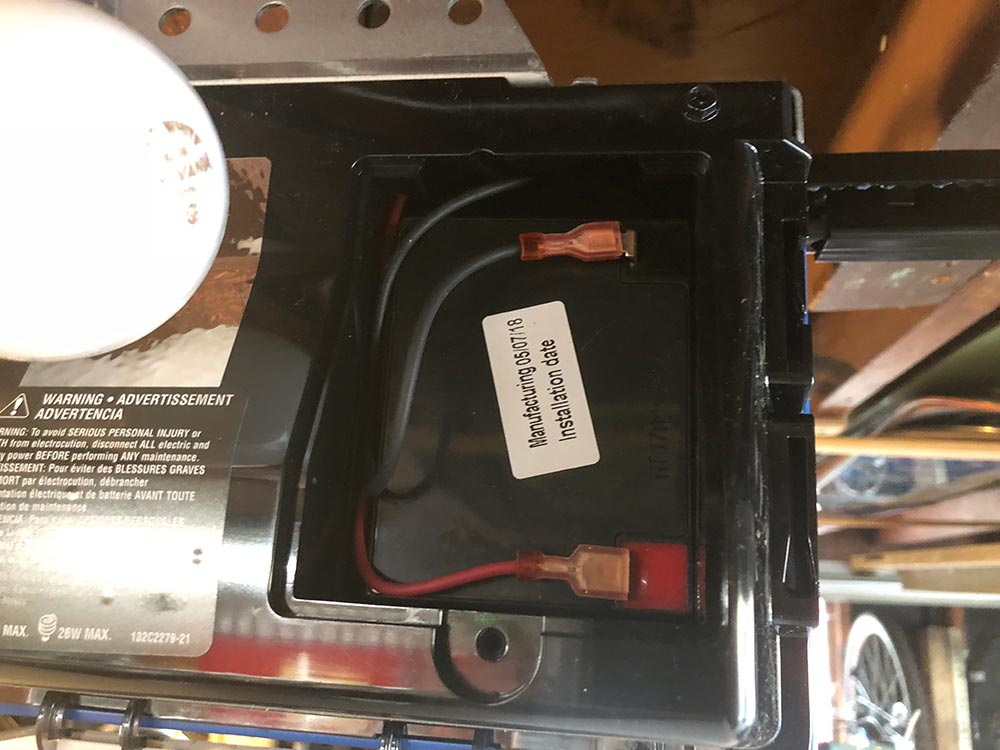
On the other side of the opener, install the large backup battery and connect those terminals. You’ll run a quick test to verify that the opener can now run on auxiliary battery power.
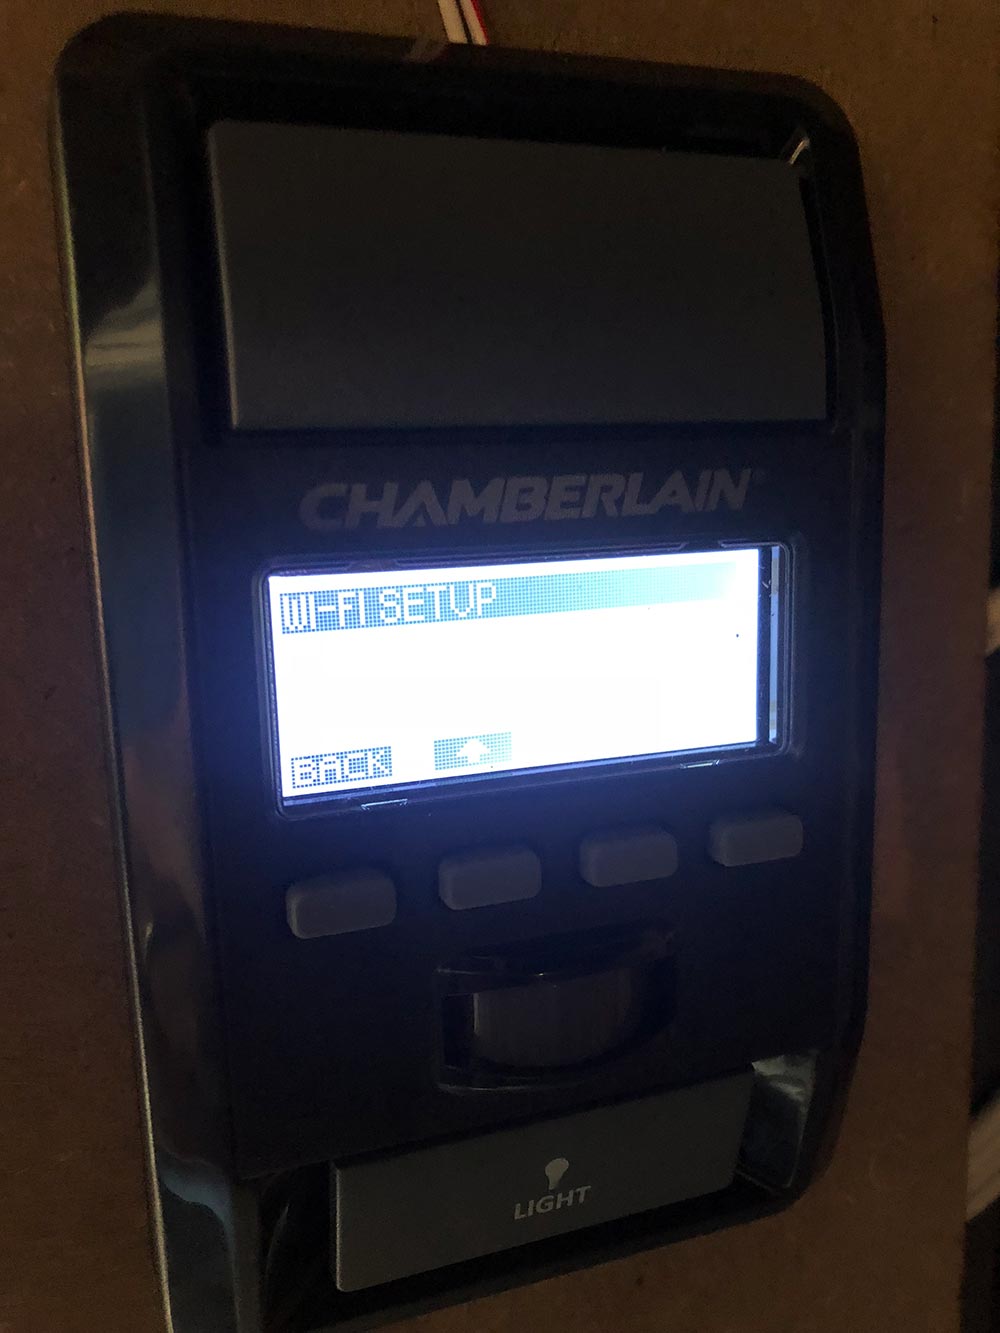
Back on the door opener you’ll connect to wifi and complete the connectivity setup.
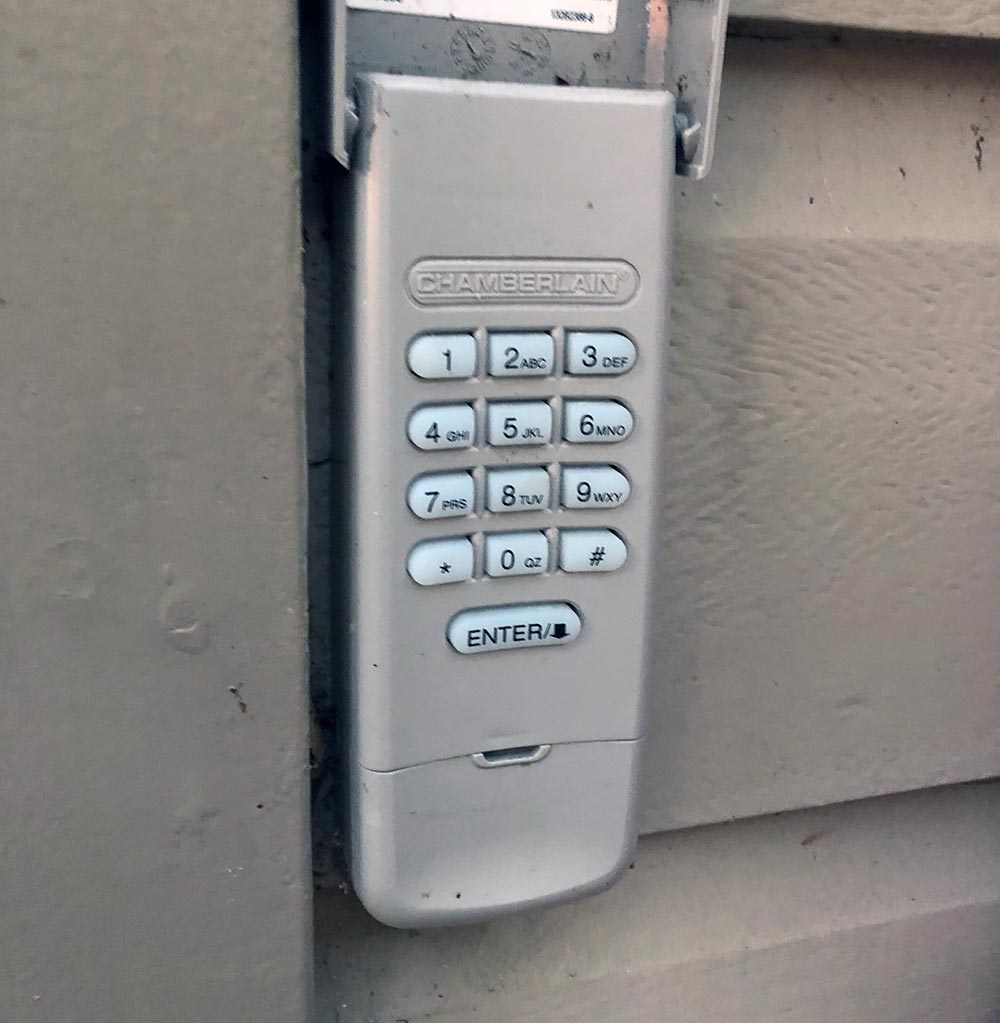
Once that’s done you can use the same menu to set up the pairing for the keypad remote shown here. The two car remotes are already paired and ready to go.
The system also comes with a deadbolt which I haven’t seen on a garage door before. It wires up similarly and mounts to one of the rails to basically deadbolt your door from lifting. Only a quick 3/4″ hole to drill. There was a pretty big disclaimer in the instructions that you must have an entry door to use this feature. My garage does not, so I didn’t feel comfortable testing this out. I actually have an externally mounted quick release key from Chamberlain installed from getting locked out before when we lost the only visor remote shortly after moving in. It’s basically a removable key core that yanks a cable connected to the manual release on the trolley. Pretty handy unless you lose that key.
Okay. The App is as simple as downloading and creating a login. I’ll show some screenshots in the next section. Let’s move on to how it works.
Performance
In short. Huge improvement over the old Chamberlain model I replaced. That one was definitely installed a bit crooked, but I wouldn’t have figured that out without installing a new one. My old model was a chain drive. This belt drive model is significantly quieter, and smoother. It closes completely and in the fully open position, it’s completely out of the doorway. The dual lights are brighter than what I had before which is a huge help in my dark garage.
As for reliability, garage doors are something you don’t really think about until they aren’t working properly or break entirely. I’ve been using this for a full month and it’s doing exactly what it’s supposed to do and then some. The wall mounted opener has the time and the temperature which while not necessary is actually pretty handy.
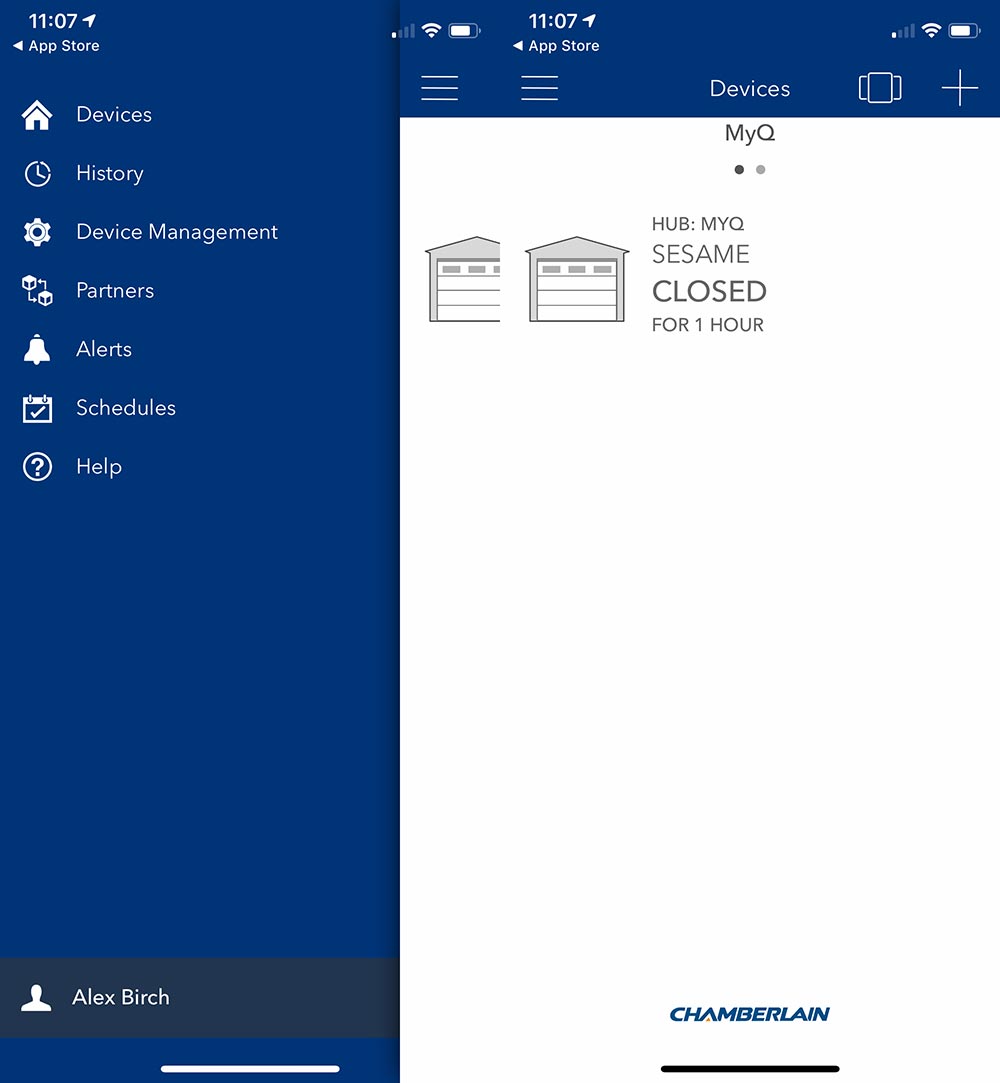
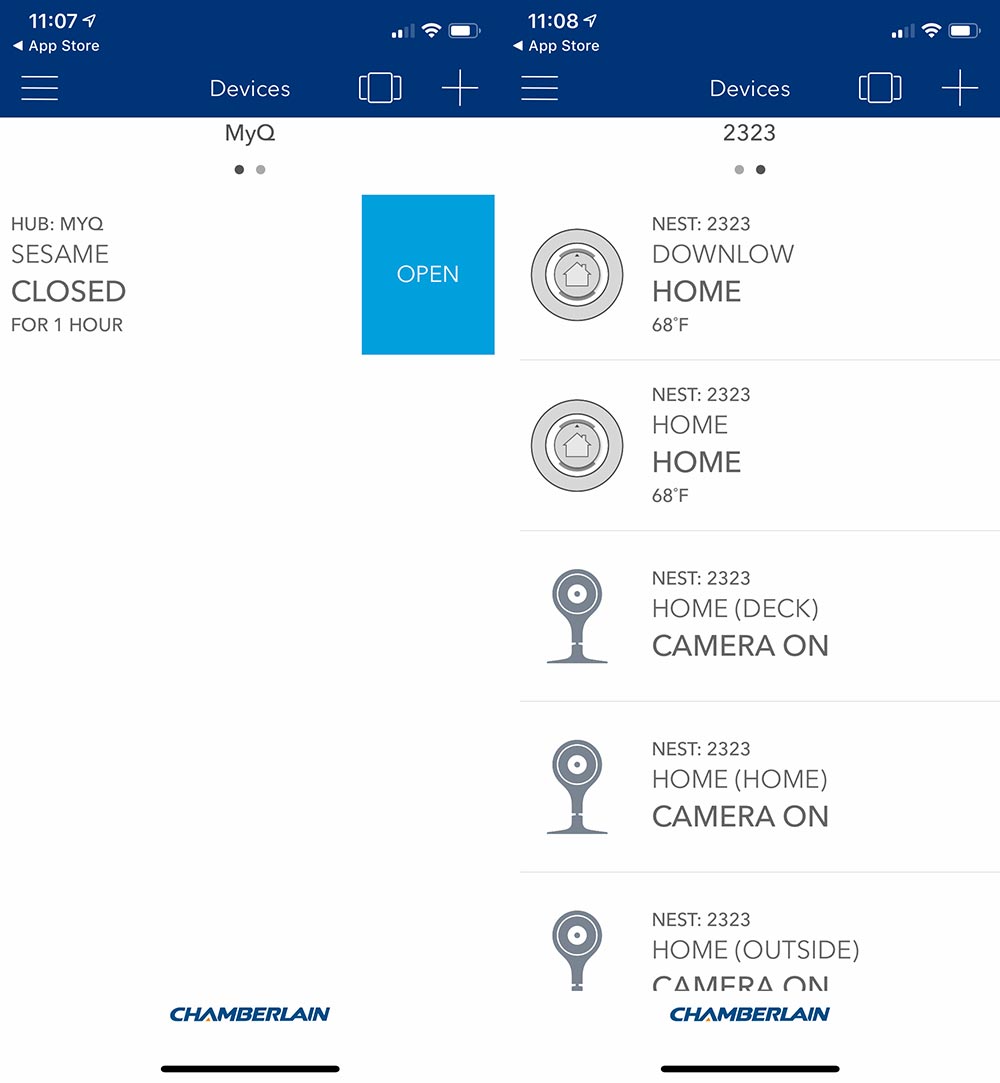
The App allows me to check if I closed the door, and then actually do it without needing to trudge out to the garage. Here’s what the app looks like, and yes I named my garage Sesame.
Chamberlain partners with Nest, Wink, Xfinity Home, Google Assistant, IFTTT, Alpine, Clare Controls and Eve Connect for Tesla. I paired mine up with Nest to find the reverse of what I was looking for. Instead of being able to see and control the status of my garage from within the Nest App (which I’m in with some regularity) I can control my garage and see my Nest devices in the Chamberlain app which I’m not sure why I need to do.
Hmmm. I haven’t played around with IFTTT, but that’s likely next.
We recently got a new car and the plan was to actually park a car in the garage, something that we have not done previously. The new car has Homelink functionality and I was able to train it easily using the visor remote. The car has the ability to auto open and close the garage at a set distance. This seemed amazing and actually was for most instances. I’d open the garage, get in the car, back out and the garage door would close as I pulled away. On returning the garage door would open right as I pulled up. Great, right?
After leaving one morning, we turned around realizing we had forgotten a couple items. Pulled into the driveway and the door started opening, so I stopped it and closed it from the car controls. As we pulled away, we crossed that distance threshold and the door started opening. It’s then I figured out that it was just toggling the open/close and had no knowledge of which position the door was in. Needless to say I turned it off as it’s not to hard to hit the button when you need to. I do think this is an issue on the car side of the equation as the Chamberlain App definitely knows if the door is up or down.
What I like
- Relatively easy install (clear instructions!)
- Quiet and smooth operation
- App integration – Status awareness
- Automation partnerships
What needs to be improved
- Nest integration should be bi-directional
- Bundle option without the deadbolt?
Final thoughts
I’m very happy with Chamberlain’s product here. The instructions were very well written and easy to follow. As long as you aren’t installing a whole garage door for the first time, it’s a pretty easy task to take on. I would feel comfortable telling most people that they could handle the install themselves. As I mentioned previously, this is one of those products that just hangs in the background and does its job. Chamberlain has added some useful additional features and created a product that worth upgrading to. For me, the peace of mind of knowing I can get into the garage if the power is out, and even just knowing the garage door is down is well worth it.
Price: $348
Where to buy: Chamberlain.com and Amazon.
Source: The sample of this product was provided by Chamberlain.

Zip Ties Assorted Sizes(4”+6”+8”+12”), 400 Pack, Black Cable Ties, UV Resistant Wire Ties by ANOSON
(as of June 22, 2026 22:11 GMT -05:00 - More infoProduct prices and availability are accurate as of the date/time indicated and are subject to change. Any price and availability information displayed on [relevant Amazon Site(s), as applicable] at the time of purchase will apply to the purchase of this product.)
Gadgeteer Comment Policy - Please read before commenting
No Alexa integrations?
Not directly that I saw. You could use IFTTT, but probably not as convenient. I’ll update if I find out differently.