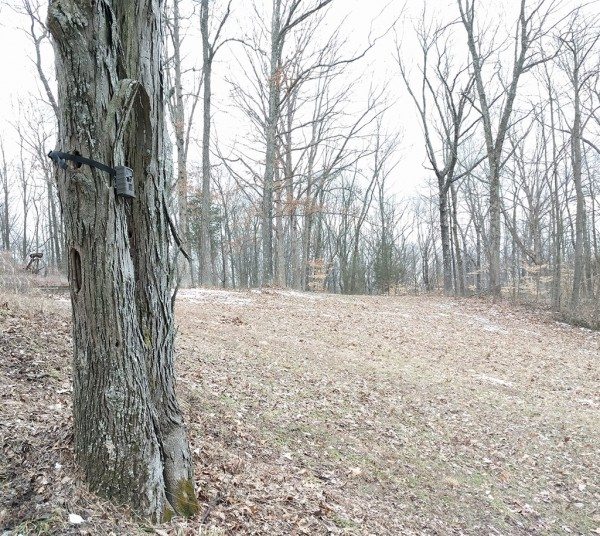
Home security cameras are perfect for keeping an eye on the interior and exterior of your home, but how can you easily find out if there are animals (or people) creeping around in your woods or yard without having to run Ethernet cables for communications and wires for power? One way is to setup a trail cam like the Annke C301 720P Digital Game Cam Trail Camera that was sent to me for review. I’ve had it attached to a tree in my woods for a few days, so let’s see if I captured Bigfoot or something a little smaller.
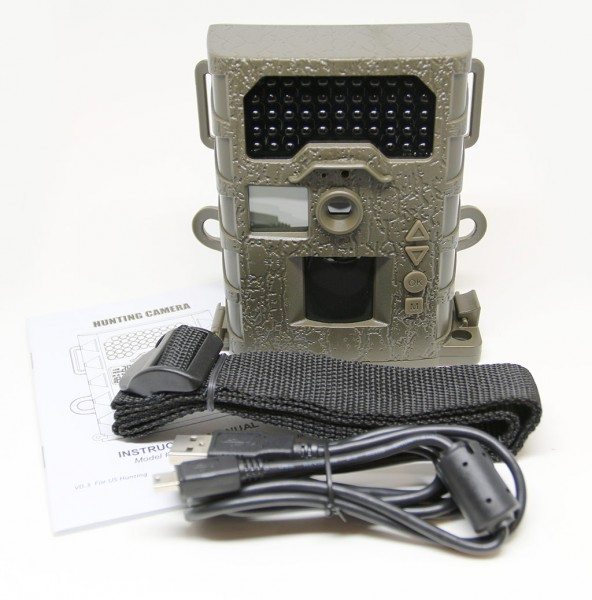
What’s in the box?
Trail cam
USB cable
Strap
User manual
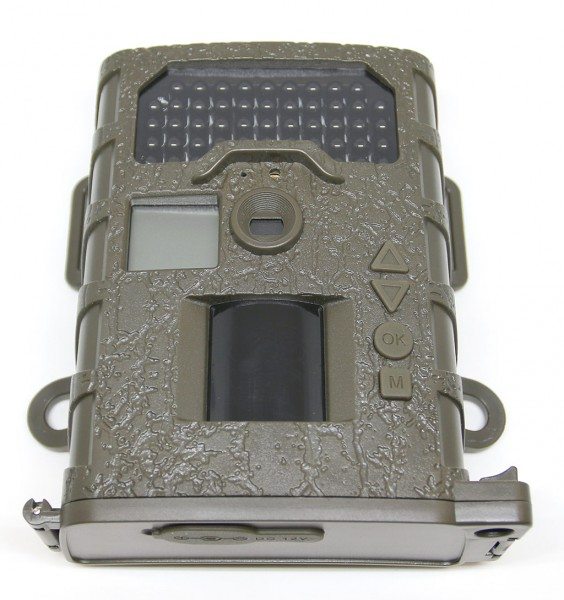
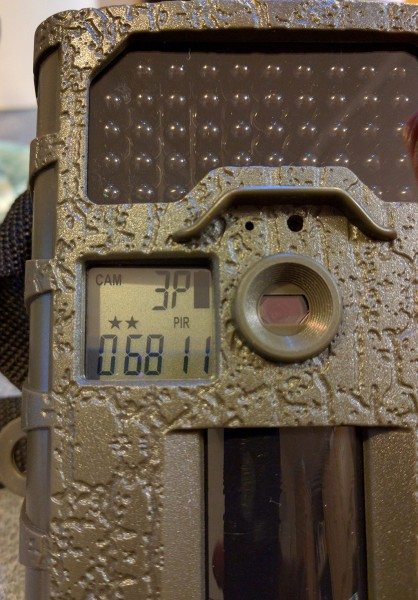
I’ve seen trail cameras before, but never had the opportunity to try one. So I was excited to set one up to see if any unusual critters wander around in my woods at night. The camera is made of a brownish green plastic that looks rugged and easily blends in well when attached to a tree. The front of the camera has a large infrared LED panel at the top to provide night vision. Below it is the camera lens and below that is the PIR (passive infrared) motion sensor. There is also a small mono LCD display to the left of the lens and four buttons that are used to configure settings.
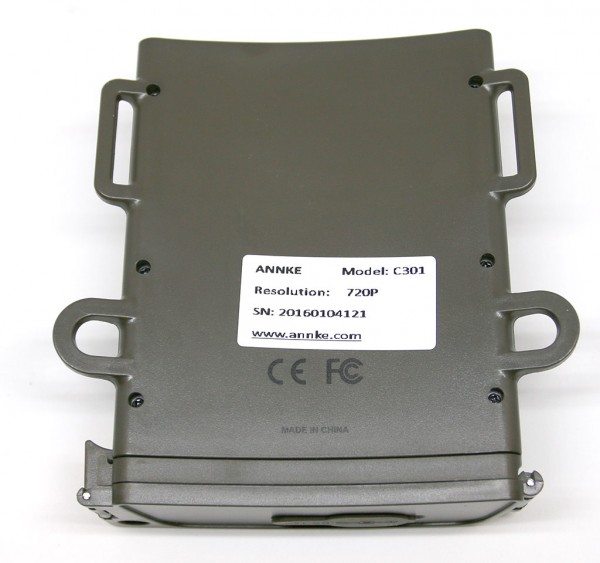
The camera has a slight curved shape and several hooks that enable it to be attached with the included strap to round surfaces like tree trunks or posts.
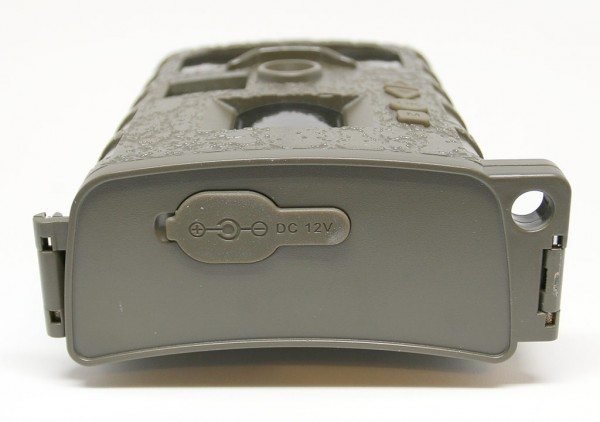
The bottom of the trail cam has a rubber cover that allows access to the power connector inside the camera. Note that the camera does not come with an AC adapter. It is powered by batteries.
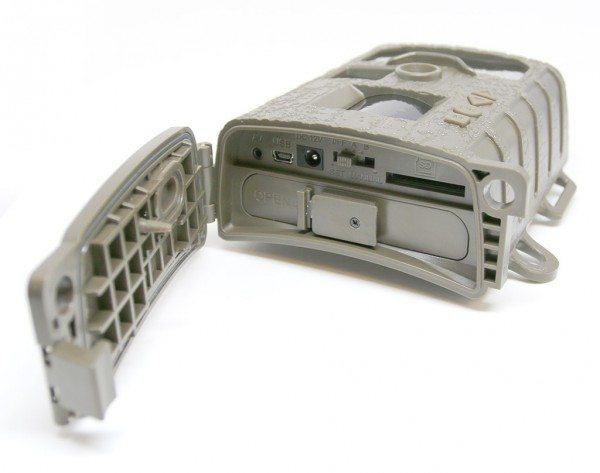
The bottom of the camera can be unlatched to reveal the AV out port, USB port, 12V power port, settings switch, SD card slot and battery tray. The bottom cover has a hole for a lock to prevent someone from tampering with the settings.
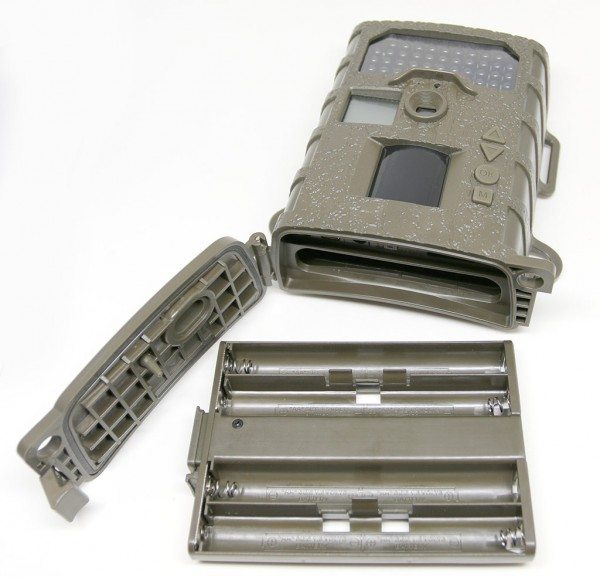
The camera can be powered with an optional AC adapter (not included) or by 8 AA batteries (also not included). I opted for batteries and used Eneloops.
Once you’ve loaded the batteries into the battery holder, you can use the selector switch to customize settings include time, date and the desired camera mode. The camera has three recording modes:
Camera mode will take a 3MP picture when motion is detected
Video mode will record a 10 second 720p video clip (with audio) when motion is detected
Time lapse mode will take a 12MP picture every minute
These are the default mode settings, but you can switch the camera to manual to customize some of the individual settings.
The small display on the front of the camera shows the current recording mode and the battery status. The battery icon is in the upper right corner. When it’s solid, it means the batteries are full, blinking means they are half full and if the icon is gone, it means the batteries are low.
The camera can operate in temperatures of 14 – 104F (-10 to 40C), so it should work fine outdoors for most areas. I tested during the past week when the temps ranged from the 20’s at night up to the 60’s during the day. The camera was also outside during a heavy rain storm and snow. The weather didn’t seem to have any effect on the operation.
Positioning the camera can be a challenge. The first time I setup the trail cam, I had it too high and didn’t capture any video at all because it was too high to detect motion in the yard in front of it. The camera does have a laser aiming feature, but it’s almost useless because it just flashes a red laser dot several feet in front of the camera. It’s almost impossible to see the dot because it doesn’t stay lit.
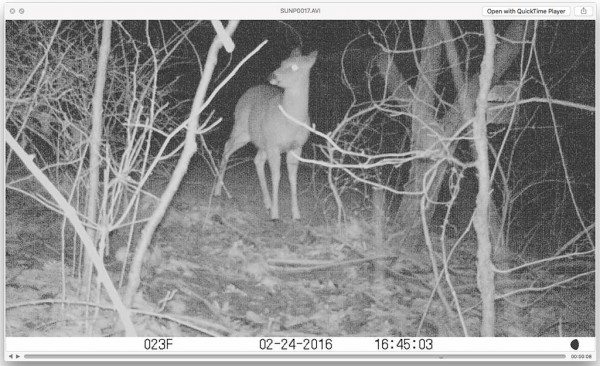
Check out a few video clips that I combined to show video quality during daylight and night time.
The trail cam’s video quality didn’t blow me away, but it was good enough to identify the type types of animals that tripped the motion detector sensor. You will notice that the IR LEDs are too bright when the subject gets too close to the camera (see the deer in the last 10 seconds of the video).
I also tested the time lapse feature which takes a 12MP image every minute. I was hoping that the internal software would then create a video of all the images, but I was disappointed to see that you have to do that yourself with 3rd party software. The time lapse feature just stores individual 12MP JPG images on the SD card. Note that the trail cam can only accept up to a 32GB SD card. That means that a 32GB card can store about 7600 images which will only give you a little over 5 days of time lapse photos.
The Annke C301 720P Digital Game Cam Trail Camera is easy to use, seems rugged enough to be outdoors in freezing temps for an extended period of time and can capture decent video. I’m sure there are many other trail cameras on the market that have more features and better video quality, but the price of the Annke is low enough that almost anyone can afford one if they want to try out a game, trail, hunting camera.
Source: The sample for this review was provided by Annke. Please visit their site for more info and Amazon to order.



Gadgeteer Comment Policy - Please read before commenting
Do not buy an Annke Trail Camera, their customer service is terrible, they send you another camera but it only works for a day and then stops working and even tho it is in warranty, customer service jeeps just saying out of warranty which is not true, please don’t get caught like us. Regards Hazel and Mike