When you review gadgets like I do, product images are just as important as the words I write. Not to pat myself on the back too hard, but I think I do a pretty good job when in it comes to product photography. I have no illusions that I’m a professional macro photographer though, and I’m always trying to find ways to tweak my shots to make them better. I just found a tool that has elevated my macro game and I couldn’t be more excited. It’s the Orangemonkie Foldio portable photography studio. Photojojo was kind enough to send me the Folio to review. If you do any type of small product photography, you’re going to want one.
Note: Images can be clicked to view a larger size.
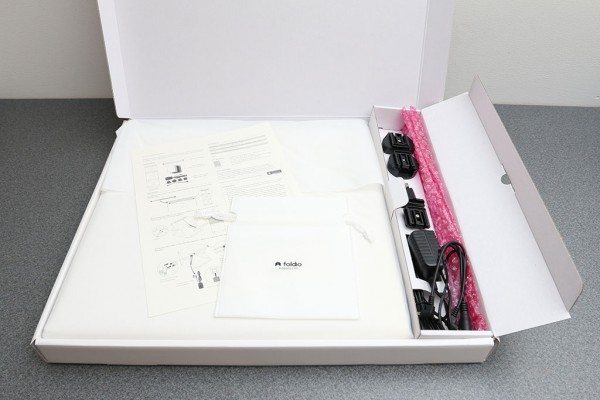
The Foldio is available in two sizes. I was sent the 15″ size which comes with two LED light strips. Photojojo also sells a smaller Foldio that is 10.2″ and only has one LED light strip. An AC adapter with an international adapter set is also included with the portable studio.
A set of four colored backdrops comes with the Foldio.
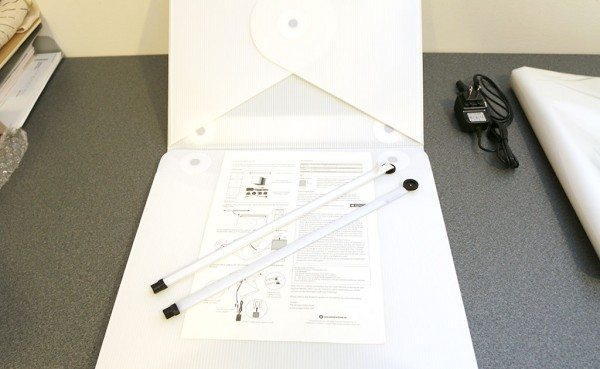
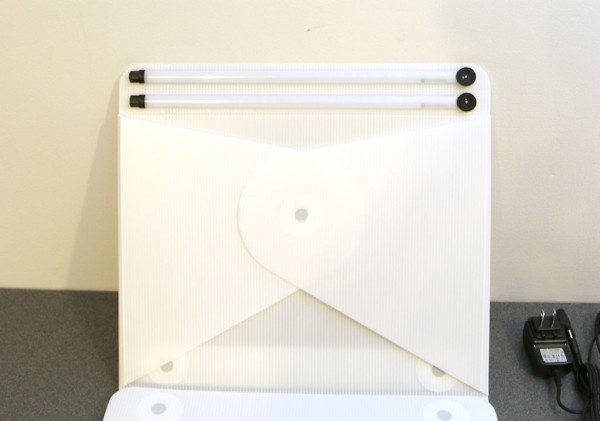
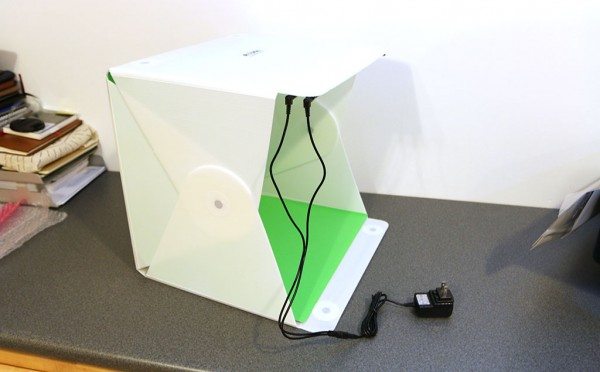
The Foldio itself is a box made of white plastic which looks similar to corrugated cardboard. The box has magnets in the sides to make it very easy to setup and then fold back down when you’re done. To start using the Foldio, you first need to attach the included LED light strips.
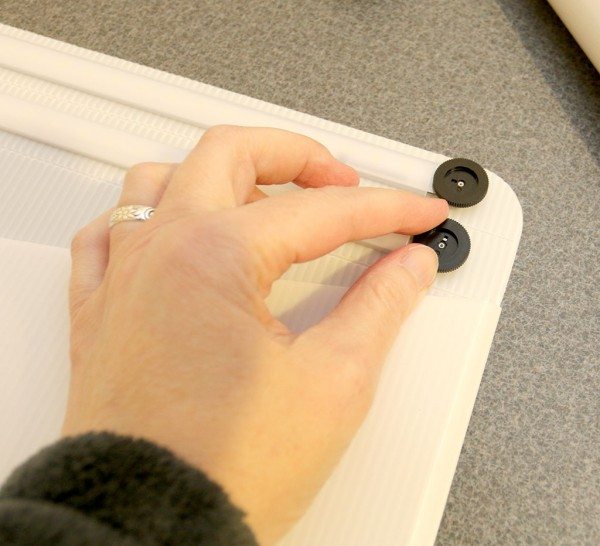
The LED strips have peel and stick adhesive on the back which makes it easy to stick them in place on the edge of the Foldio. You want to make sure to orient the ends with the AC adapter ports on the same edge. You also should think about which side to to put the AC ports. I didn’t think about it when I setup my Foldio and I put them on the side farthest from an available outlet. Oops.
On the opposite edge of the LED strips, you’ll find a wheel that lets you adjust the LED brightness level.
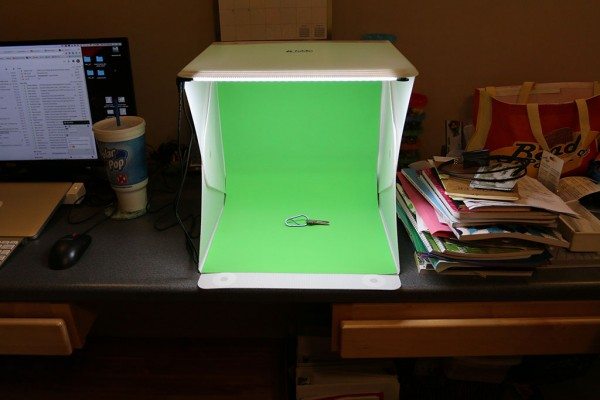
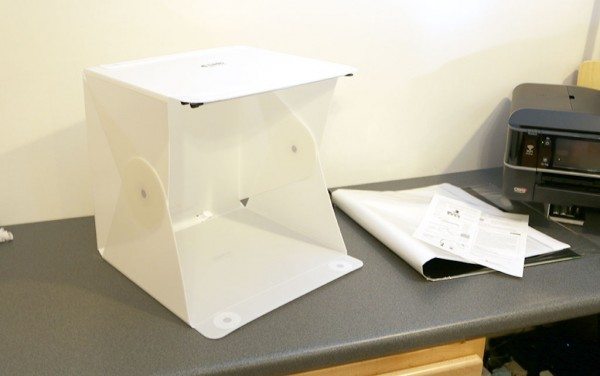
Here’s the Foldio setup and almost ready for use. All that’s missing is a backdrop.
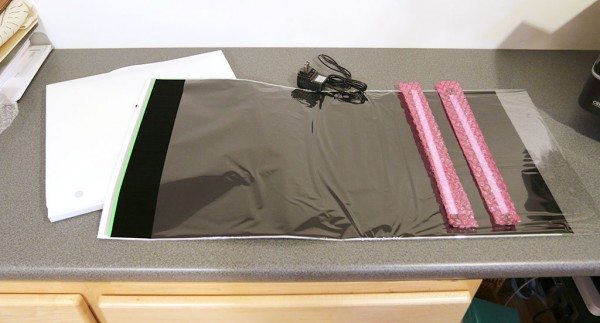
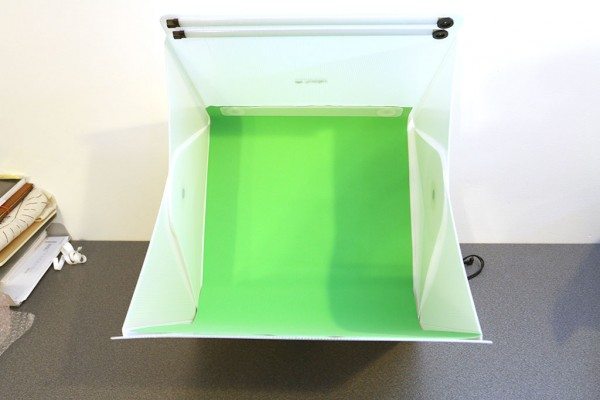
The Foldio comes with green, black, white and grey back drops. A magnetic strip holds the edge of the backdrop to the top back edge of the Foldio so that the backdrop hangs behind and under the item you want to photograph. You can even create your own backdrops using fabric, paper, etc.
All that’s left in the setup is to attach the included AC adapter with the correct plug attached.
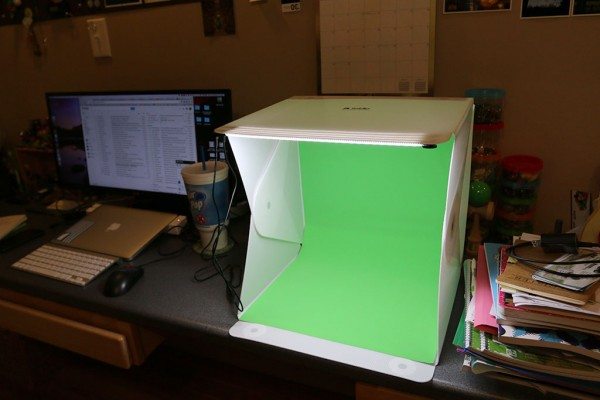
When everything is setup and plugged in, you have a bright box to place your item.
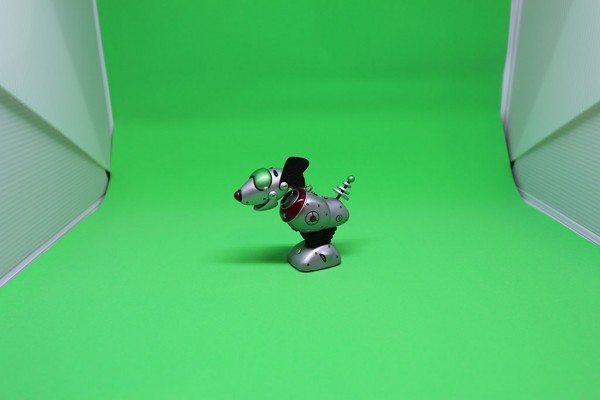
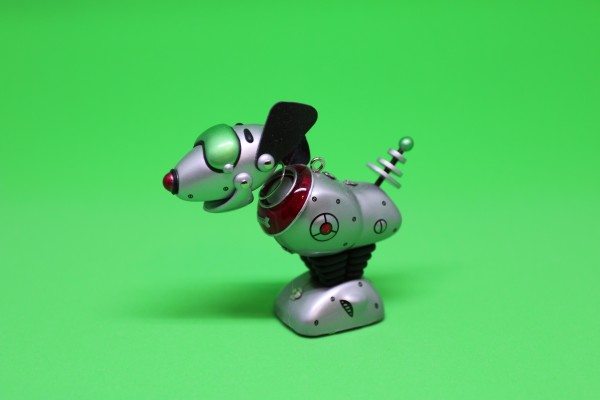
You can then adjust the brightness of the LED strips by turning the adjustment wheels. Then it’s just a matter of taking the pictures with your camera. What follows are a few samples.
What I like about the Foldio is that the background is seamless and smooth. Until I received the Foldio, I have been using different colored poster board as a background. Back in 2007 I wrote a little how-to article about my macro photography setup and have been using the same techniques all this time. My camera equipment has changed since then, but not the way I do things.
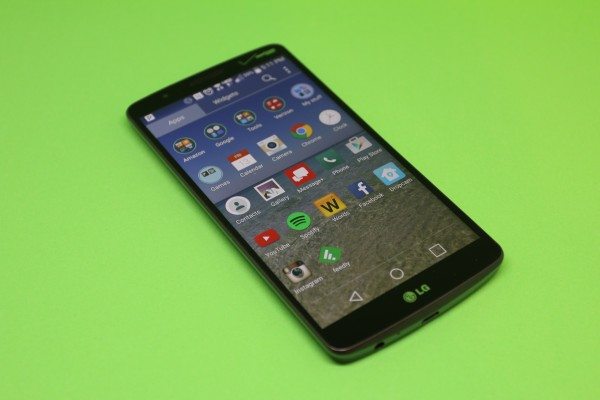
The image above is what really has me happy and excited about the Foldio. The ability to take pictures of smartphone screens without glare or flash washout is priceless to me.
The Foldio isn’t just for gadget reviewers like me. It’s perfect for someone who likes to sell products on sites like Ebay, Etsy, etc. I don’t know how many times I’ve complained about the horrible images that people use when they are trying to sell something.
There’s even a Folio app for iOS users that provides a real time Chroma key that will let you change the background on an image. I haven’t tried that app since my main phone is Android and they don’t have an Android version of the app. I also don’t use my smartphone to take my product shots.
The only thing I can think of that would improve this product would be to add a power switch for the LED strips so you don’t have to unplug the AC adapter in between shots.
I’ve been using the Foldio for a couple of weeks and I love it. For me this is one of those “where have you been all my life” kind of products. It’s going to be added to my Julie’s favorite gear page ASAP!
The Foldio portable photography studio is the perfect tool for anyone who needs to photograph small product for fun or business purposes. It’s easy to setup, fun to use and easy to store when you’re not using it. Now I want another one that is three times larger for big product photography 🙂
Update 12/15/16
Still loving this little light box setup. I don’t use it with all my product shots, but I do use it frequently when I need to capture a phone screenshot because it’s so much easier to capture phone screens with this method instead of using a flash bounced off the ceiling. I do still wish there was a power switch in the power cable and I also would like to have a longer power cord. But other than those two things, I am quite happy with this photography tool.
Source: The sample for this review was provided by Photojojo. Please visit their site for more info.
SD Card Reader for iPhone iPad, Oyuiasle Digital Trail Camera SD Card Viewer with Dual Slot for MicroSD/SD, Lightening&USBC Dual-Connector Memory Card Adapter for Photography, Plug and Play
33% Off36 Slots Memory Card Case Water-Resistant Anti-Shock Memory Card Wallet for 24 Micro SD SDXC SDHC TF Cards and 12 SD SDXC SDHC Cards
31% OffProduct Information
| Price: | $75 for the large size reviewed here, $49 for the 10.2 |
| Manufacturer: | Orangemonkie |
| Retailer: | Photojojo |
| Pros: |
|
| Cons: |
|



Gadgeteer Comment Policy - Please read before commenting
Julie, I bought the original smaller version during the Kickstarter campaign. It uses a 9V battery instead of the AC adapter, so it is truly portable. I love it, it is a very nice compact unit that is easy to set up. I really like the looks of this one, mainly due to the larger size and capability of using AC power instead of batteries.
I don’t have enough space to keep a dedicated “assembled” tabletop studio like this, so it really works well for me. It is a snap to set up and take down. And taking good photos is really a piece of cake. Even if you are a rank amateur, you can get decent pics.
How do you store the backdrops? Do you fold them up with the Folio? I’m still keeping everything in the box it shipped in. It just occurred to me that I might roll them up and put them in tube. Like an old wrapping paper tube or something similar.
I store the foldio on top of a small cabinet tucked under an area of my desk that wraps around the entire room, so I just lay them on top. I admit that since the backdrops are larger than the folded unit it makes it difficult to store, I am afraid to put a crease in them. I do have a larger Velcro-type studio that I bought years ago that has external lights, and I bought some optional backdrops that came in a plastic tube as you described. It works fine, I think that is the best way to store them.
Are there any other backdrops available from the company?
When I did professional studio photography we always had a green backdrop and also a blue one. This helped avoid problems if a model had green eyes that we didn’t want to disappear in knocking out the background.
For instance, the little toy you show has a green ball at the end of the tail and green glasses. Those could be problematic when knocking out the backgorund.
Also is there a way to position the lights so there is no shadow under the product? Again, the toy shows a shadow that would need extra care when working in Photoshop to knock out the background.
Finally, one grey is very limited. Does the company offer slightly different colors of grey? And do they offer gradients of grey. You’d be surprised how professional an image looks with a gradient background.
I’m asking these questions partially to see if Julie knows the answers. And partially to alert the company, if they are reading them, that separate backdrops for sale would be terrific. Black, White, Grey, and Green are fine as the Basic kit. But additional backdrops makes the product even more professional
They only offer 4 backdrops: White, Gray, Black, and Green. Of course, you could make your own from colored paper, fabric, etc. I think I mentioned that idea in the review.
As for changing the location of the LED strips, I suppose you could place them anywhere on the roof of the box. But they are designed to be stuck once, not moved around. That makes me think of an improvement for Folio3 – magnetic light strips and a magnetic roof for easy movement of the LED strips.
I am SO ordering one RIGHT NOW… and I’ll try playing with the LED strip placement. Maybe even magnets.
You’ll love it. 😀
Oh nooooo the storefront checkout is down for me! (For now)
Worked! coupon code “santa” gives $12 off (for now)
That’s a good deal!
I just got mine! I think I found a simple solution to the LED on/off thing.
I just happened to have these lying around:
Simple on-off switch (originally for LED lights, ironically)
http://www.amazon.com/Inspired-LED-controls-control-Lighting/dp/B002MYAIJA
Short jumper cable
http://www.amazon.com/Interconnect-Inspired-LED-Lighting-Systems/dp/B004OM3PFM
Totally works!
Cool. I’ll have to find something similar.
Wow I love this portable studio! It looks perfect for small product photography.