When it comes to home networks, I always prefer a wired internet connection over WiFi. When you’ve got a bunch of unmarked cables hidden behind the walls, you need all the help you can get. I’m not an IT professional, but I thought I’d add the Fluke Networks LinkSprinter to my “bag of tricks” when it came time to complete the Ethernet wiring in my recently remodeled home.
Disclaimer: I am not an IT professional! I’m what you call a homeowner who probably knows enough to get in trouble.
For the last year, contractors have been pounding away at remodeling our “new” purchase: A home built in the 1930’s. Naturally, I asked for Ethernet wiring in several rooms, all tied back to a point in the garage. What could go wrong?
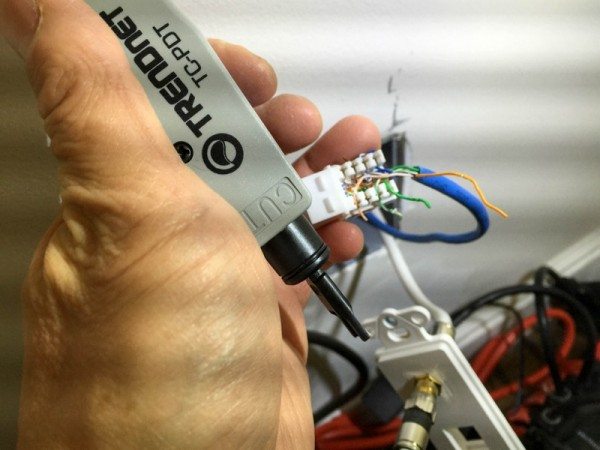
If you don’t do the work yourself, anything goes! When we moved in, I discovered none of the cables were labeled or terminated. In the photo above, I discovered one connector was “done” but the wires weren’t even punched down! (That’s me finishing the job). Time to dust off some old wiring skills, and unbox a new toy: The Fluke Networks LinkSprinter 300.
(Side note: That strange light shadowing comes from my DeWalt cordless LED work lamp, which apparently my camera picks up as stripey.)
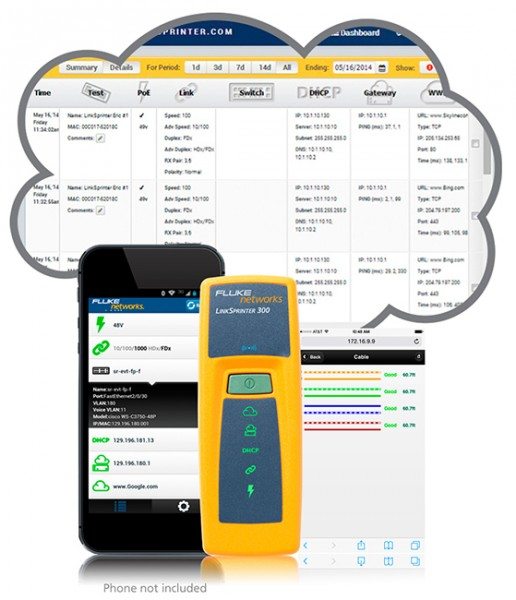
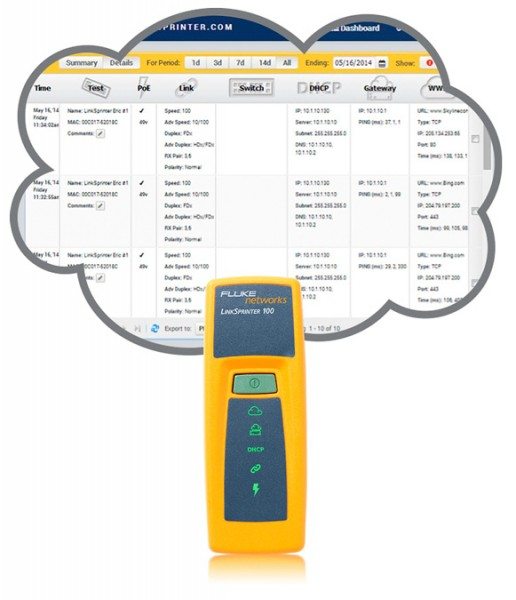
- Power Over Ethernet (PoE) Tester
This network tester can become a PoE tester that checks to make sure you can power a phone, security camera or Access Point through a specific port. The LinkSprinter Network Tester can even run without batteries on PoE. - Link to the Switch
Perform a switch test, which will indicate the switch name and port your cable connects to. Know your available speed and duplex settings. - DHCP Connection
Confirm that the DHCP server is running and responsive. Request an IP address, get your subnet information, troubleshooting DNS, and identify the default gateway and DNS server. - Gateway Connection
Verify the gateway/router address and reachability by pinging the device three times. - Internet Connection
Confirm cloud connectivity or internal service reachability. Use for DNS server troubleshooting and verification and application port connectivity. - LinkSprinter 100, 200, 300
- Diagnose and test Power over Ethernet (PoE), Link to the switch, DHCP, Gateway, and Internet connection
- Get VLAN, switch name, and port information via CDP/LLDP/EDP for your managed switches
- Expert network troubleshooting techniques delivered to color graded LEDs
- All test results are sent to the Link-Live Cloud Service
- Get detailed test results sent directly to your email
LinkSprinter 200, 300 adds:
- Access your test results through your phone’s browser by connecting to the built-in Wi-Fi access point with the LinkSprinter 200 and 300.
LinkSprinter 300 adds:
- See cable fault, distance to open, short
- Blink hub port
https://youtube.com/watch?v=nS-JYoScXBQ
(No that’s not me. I only wish I had hair that awesome.)
I was given the LinkSprinter 300 to test, which adds Wi-Fi and the ability to “see” the distance of the cable. More on that shortly (no pun intended).
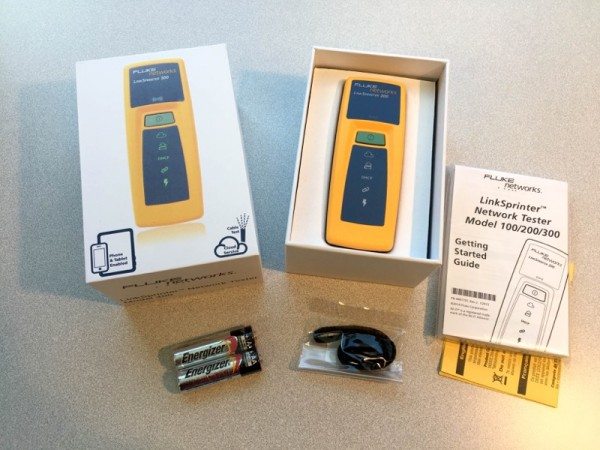
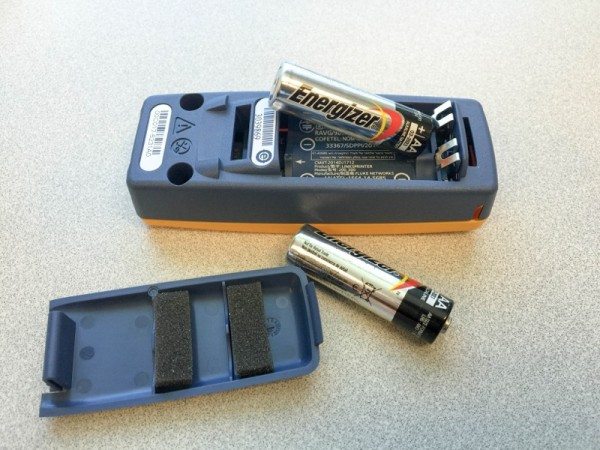
The LinkSprinter 300 takes two AA batteries (included!) although it can be used without batteries over a Power over Ethernet (PoE) setup.
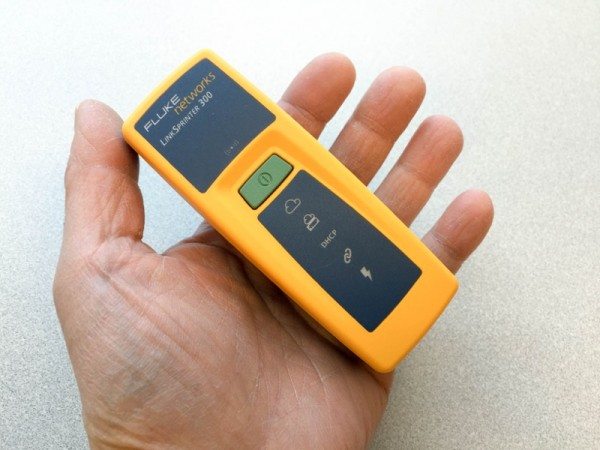
It’s small… Fits in your hand, or pocket. 4.36” x 1.6” x 1.28” (11.07 cm x 4.06 cm x 3.25 cm)
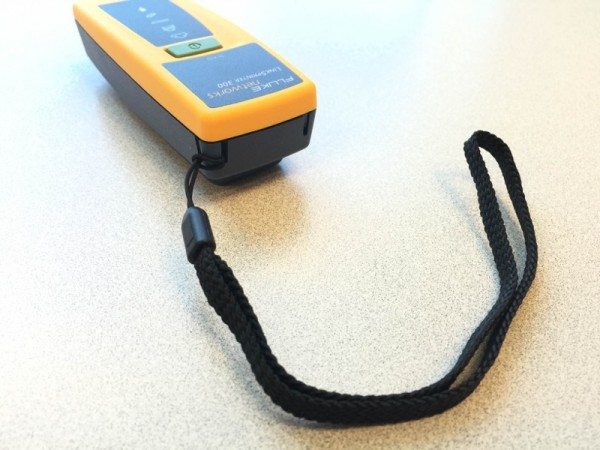
Comes with a wrist lanyard. Nice touch!
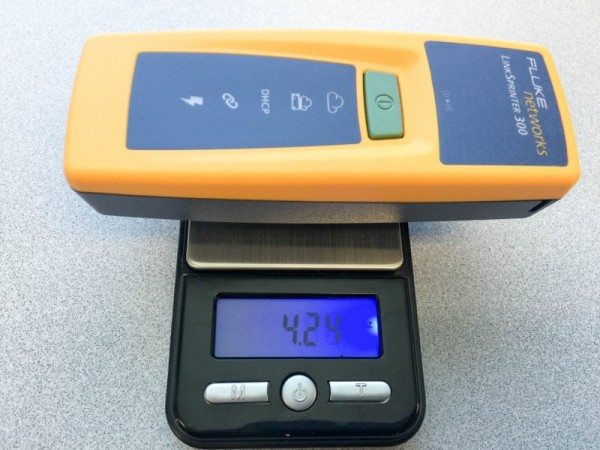
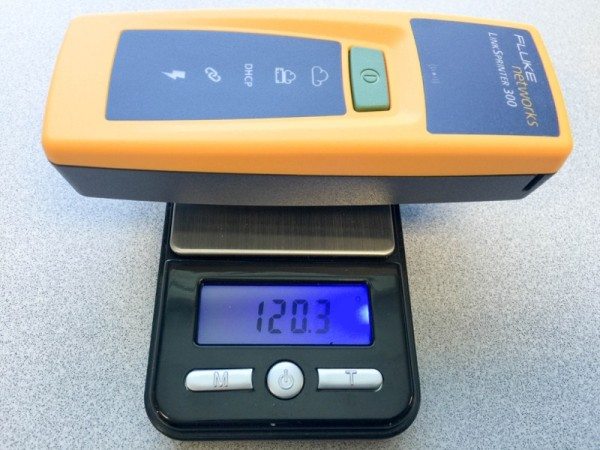
Doesn’t weigh much. Over 4 ounces (12g) with batteries.
So what’s the big deal? A handheld tester with flashing lights? Well, the LinkSprinter series can actually give test results via the Fluke Networks Link-Live Cloud Service. A basic version (“Essentials”) is free to use and lets you manage, sort and analyze network test results, filter results by time, user, network, errors and more. A more detailed version (“Job Pro”) requires a paid subscription and lets you organize by Job Folders, attach photos, and more reporting options.
https://youtube.com/watch?v=vy-E0098YX8
Or if you prefer, view test results on your mobile device via Wi-Fi (models 200 and 300). That’s exactly what I did.
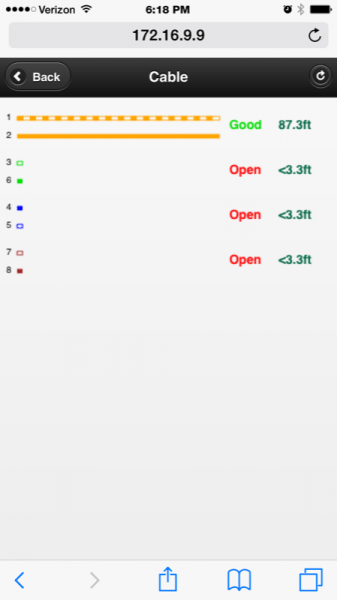
The first thing I did was plug the LinkSprinter 300 into the wall outlet I was testing with a short test cable, and it saw over 80 feet of “good”, and… the rest “open”? This was my first clue that the LinkSprinter 300 could “see” a very long run of the orange pair coursing through the walls, but only 3 or so feet of the others. That’s how long the test cable I was using. Well, at least I knew my jumper cable was good!
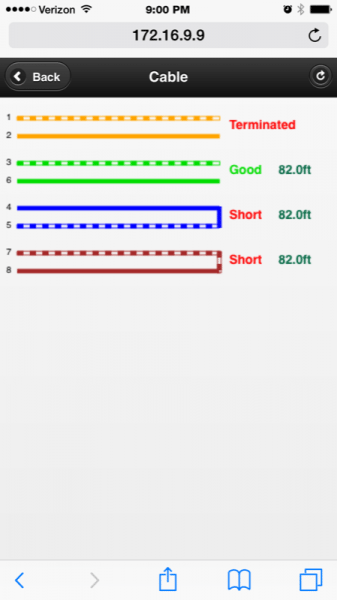
I went to bed and tried again the next day. After half an hour of swearing and swapping cables, I was rewarded with 82 feet of “Good”! But this time, I had two shorts! Where? Well, looks like at the end of my run!
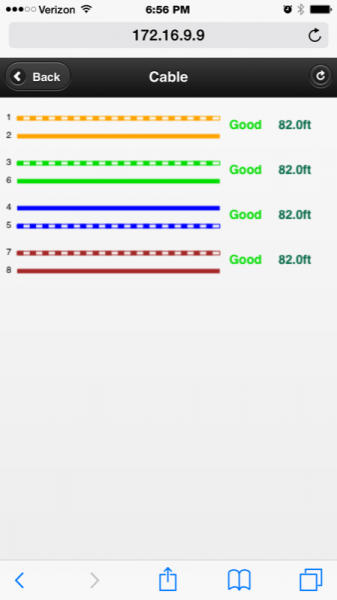
This time I unplugged my routers, switches and everything else and re-made a possibly bad RJ-45 connector. All pairs “good” this time.
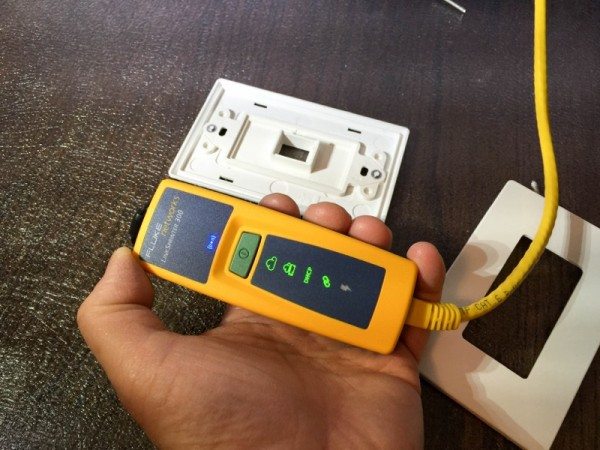
On the handheld itself, I see all green lights. (The lightning bolt icon is for PoE, which I’m not using).
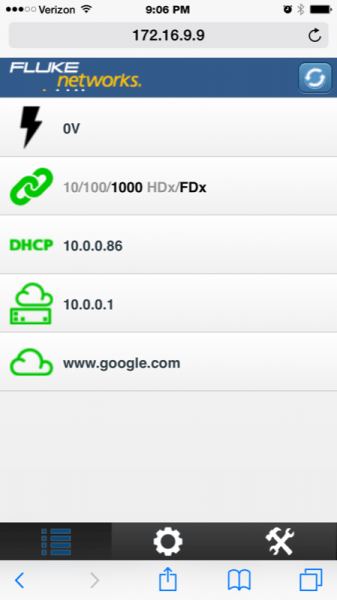
The smartphone screen also reflects this as well.
I’ve only scratched the surface of what the Fluke Networks LinkSprinter 300 can do. I could have done this job with my venerable “tone and probe” sniffer but it would not have revealed as much so quickly. Yes the LinkSprinter was complete overkill for what I was doing, but the ability to view the what’s going on down the cable (number of feet, shorts) is invaluable when you’ve got unmarked cable buried behind the walls. I’ll be using both in my regular arsenal of home network troubleshooting from now on.
Source: The sample for this review was provided by Fluke. Please visit http://www.flukenetworks.com for more info.
NETGEAR 8-Port Gigabit Ethernet Unmanaged Essentials Switch (GS308) - Home Network Hub, Office Ethernet Splitter, Plug-and-Play, Silent Operation, Desktop or Wall Mount
25% OffTP-Link 8 Port Gigabit Ethernet Network Switch - Ethernet Splitter | Plug & Play | Fanless | Sturdy Metal w/ Shielded Ports | Traffic Optimization | Unmanaged | Lifetime Protection (TL-SG108)
10% OffProduct Information
| Price: | $399 |
| Manufacturer: | Fluke Networks |
| Requirements: |
|
| Pros: |
|
| Cons: |
|



Gadgeteer Comment Policy - Please read before commenting
As a network Tech/Admin, I have to say this. Ahhhgggggggggggg. I do have to say thank you for conforming to one of the wiring standards. I find so many houses that have no standard. However the little danglies on the keystone jack need to go. If you flip the tip over (or possibly another in handle) of your punch down you will find one with a one sided blade. This blade will cut the cat5/6 cable off neatly as you punch it down. (just make sure you have blade on the OUTSIDE of keystone, or you will cut the cable off and have to start over)
I still need to do my new house. My last house has one of the most awesome cable jobs on the planet. 🙁 and my renters don’t even use it. 🙁
Oh yes. In that top photo of me holding a punchdown tool, the untrimmed keystone jack were as I found it. I whipped out my iPhone for the photo, thinking, “nobody will ever believe me unless I take this ‘before’ photo.”
How does it determine the length of the cable? Do you have to specify cable type or anything for it to calculate that?
Cat5 and Coax are manufactured to a very strict specification. A tester like this will measure the resistance on the wire. Since the tester can assume the cable is in spec it can use that to make a fairly accurate estimate on length. This rough calculation is generally within about 2-5 feet. Higher end testers will allow you to specify more detail about cable. Cat5/Cat6, Shielded,Un-shielded, Solid core/Stranded Core. These will allow for extremely accurate lengths, but honestly for most of us, within a foot or two is close enough.
Very cool. That’s what I guessed but wasn’t sure if it was possible!
The LinkSprinter actually uses Time Domain Reflectometry to determine the length of the cable. Essentially, electrical pulse is sent down the cable and when it reached the end, an “echo” is returned. The time it takes the echo to return is used to determine the length of the cable. All copper cables have characteristic Nominal Velocity of Propogation (NVP) that is used on more accurate testers to more closely calculate the distance. Mid-span cable faults, like a nail through your Cat-5, are also pinpointed in this way.
The banding in the photo comes from the Blinky nature of LED lighting.
LED lights are not on steady like incandescents.
Taking the picture with the flash on while covering the flash might help. You need a longer exposure time to get rid of the Bands.