
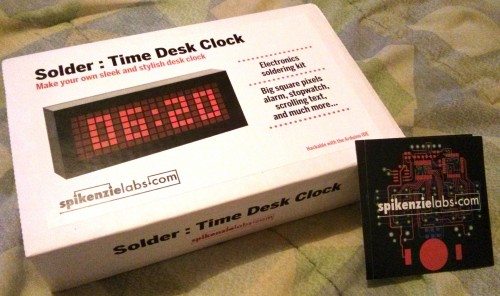
I am a huge fan of the DIY/maker movement that has come up recently. Every year since 2010, my significant other and I enjoy going to Maker Faire in Queens, NY. It sparks my interest in what people create and hack, and gives me ideas of my own. There are many vendors that show off DIY kits of various kinds, and one of them was from Spikenzie Labs. At Maker Faire I learned how to solder with their Solder: Time Watch kit, so when I had a chance to assemble the Solder: Time Desk Clock, I grabbed the opportunity!
Note: Images can be clicked on to view a larger size.
I received the kit in the mail, along with some stickers from Spikenzie Labs.
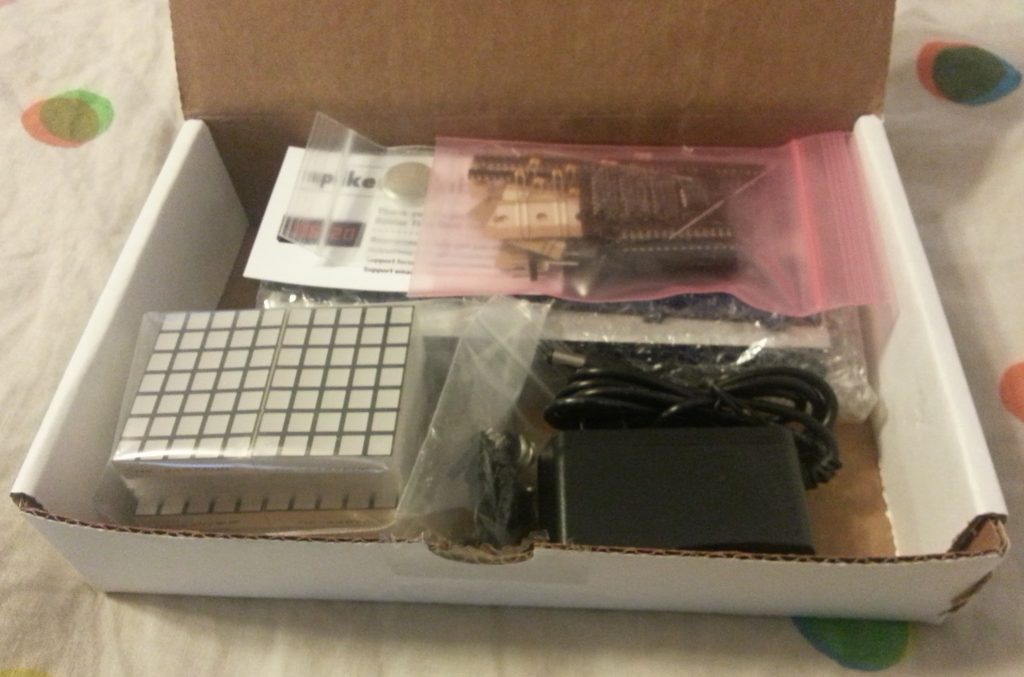
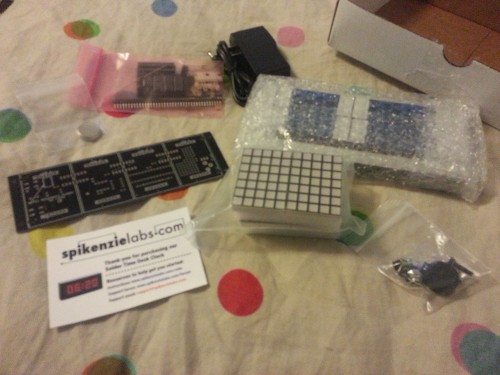
All the pieces needed to build the clock were included, along with a card giving a link to the instruction manual. The clock is hackable, with features listed as:
- Re-program with the Arduino IDE
- Free Digital I/O Pins 4 (of which 2 are used for Serial)
- Free Analog Input Pins 2
- I2C Port
- All pins broken in a convenient header
- Built in proto-area
- Two Sets of PCB mounting holes
- Optional “break-off” mounting holes
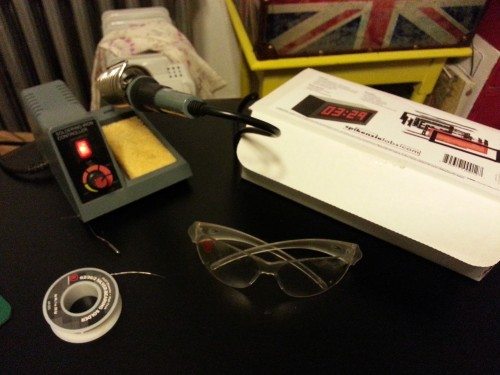
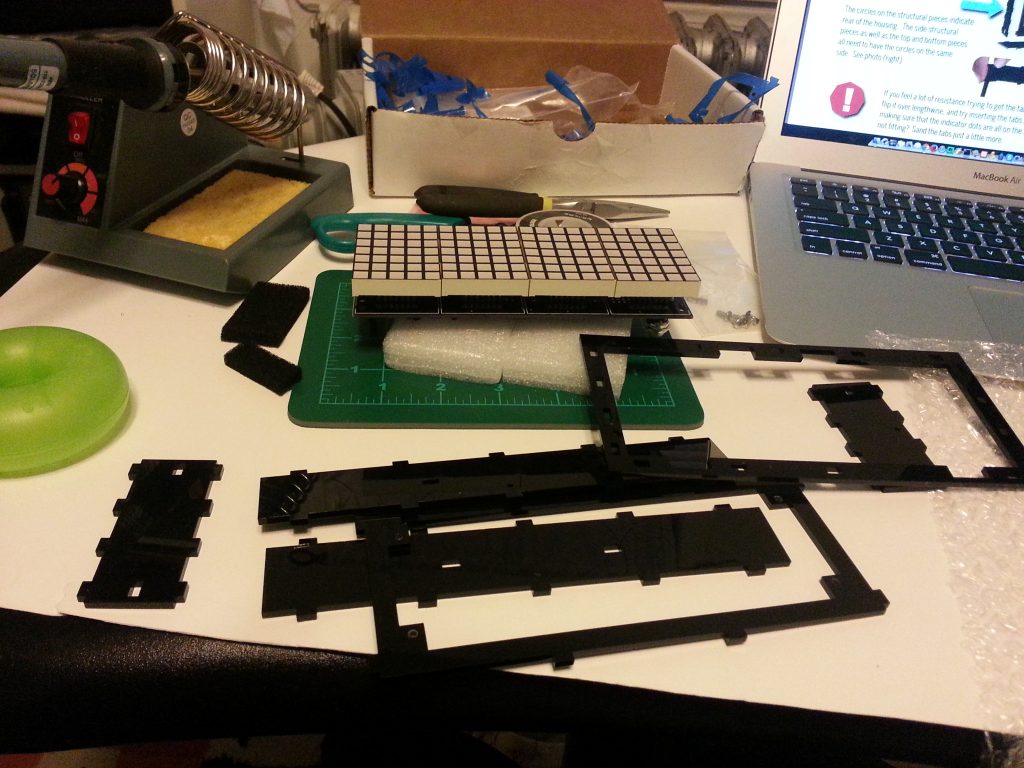
I got out my soldering iron, solder, wire snippers, googles and clock. Time to assemble!

I found the instructions to build the Solder: Time Desk Clock to be very clear and easy to follow along with photos provided. I’m not a hardware expert by any means, but anyone can follow along to build this even if you haven’t really soldered too much before. If you know the basics in soldering, you can build it!

I took my time to solder throughout the week after my day job, and some weekends. I finally was ready to test my clock. I hooked up just the LED modules and tada; it lit up! Seeing the LED display turn on was really rewarding, as there are many points of failure when soldering so many tiny components.
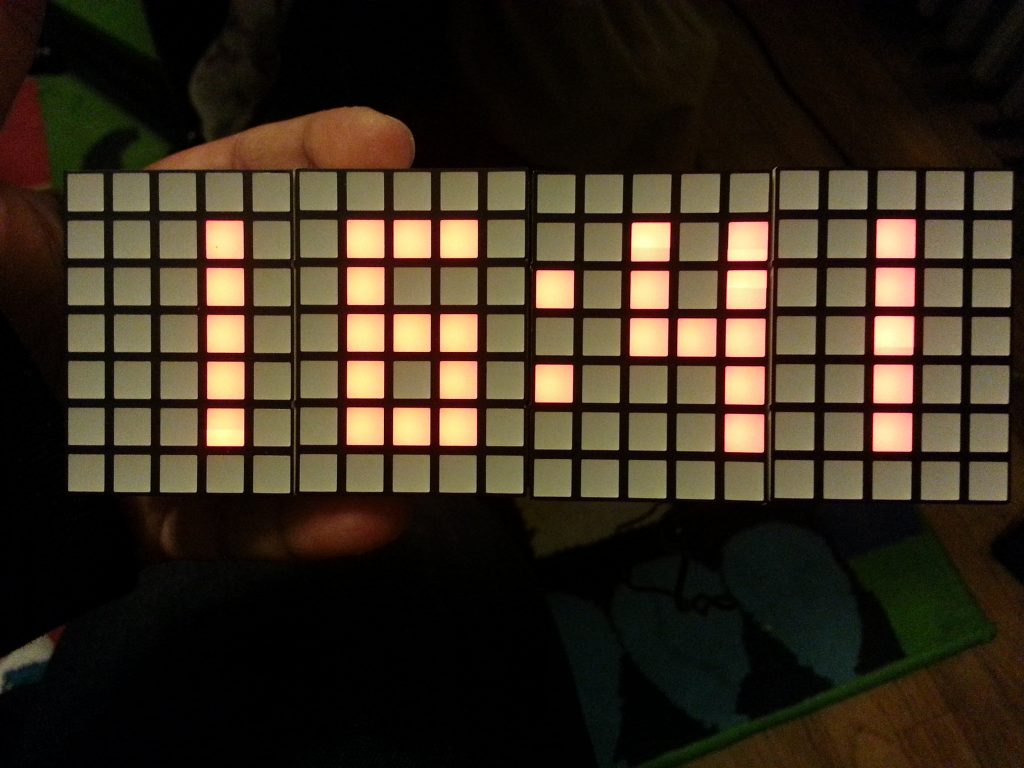
I then adjusted the time before continuing, to ensure it was keeping time.
Moving on to assembling the casing of the clock, there were many laser cut acrylic parts.

I pressed them together with as much ease as I could, but alas, the back face did crack from the pressure – I needed to sand the plastic a bit more. I was bummed, but not too worried since I still had another acrylic face to attach.
A couple of hours later, I was completely done!
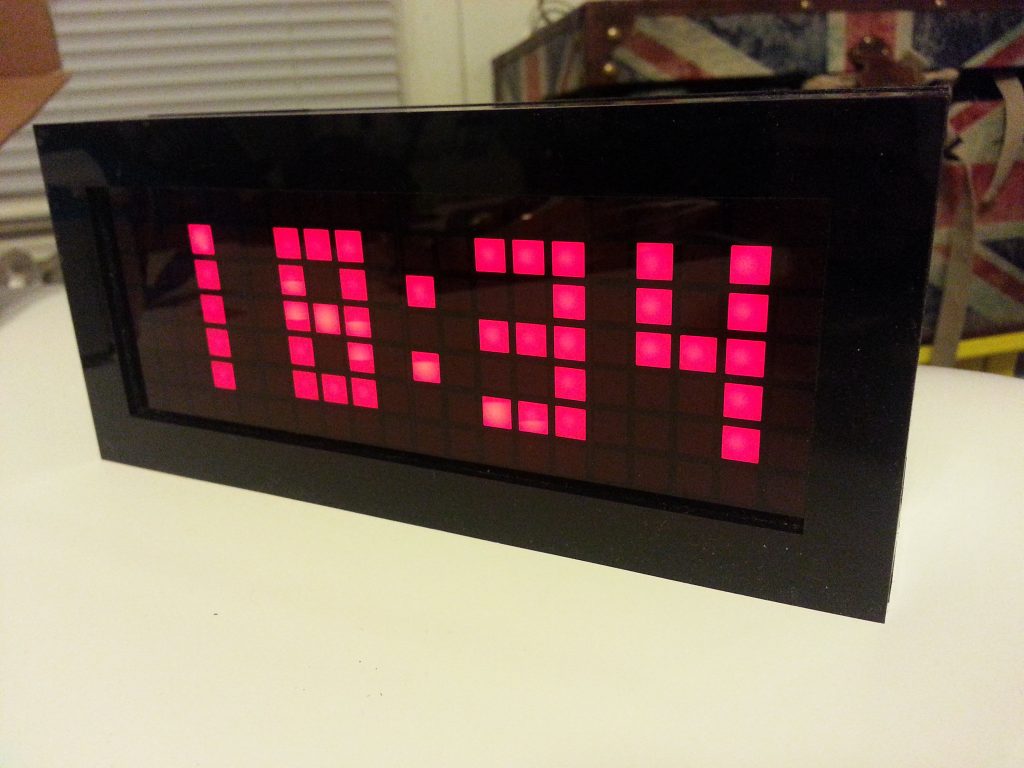
Here’s the front of the clock, completely assembled with red acrylic cover.
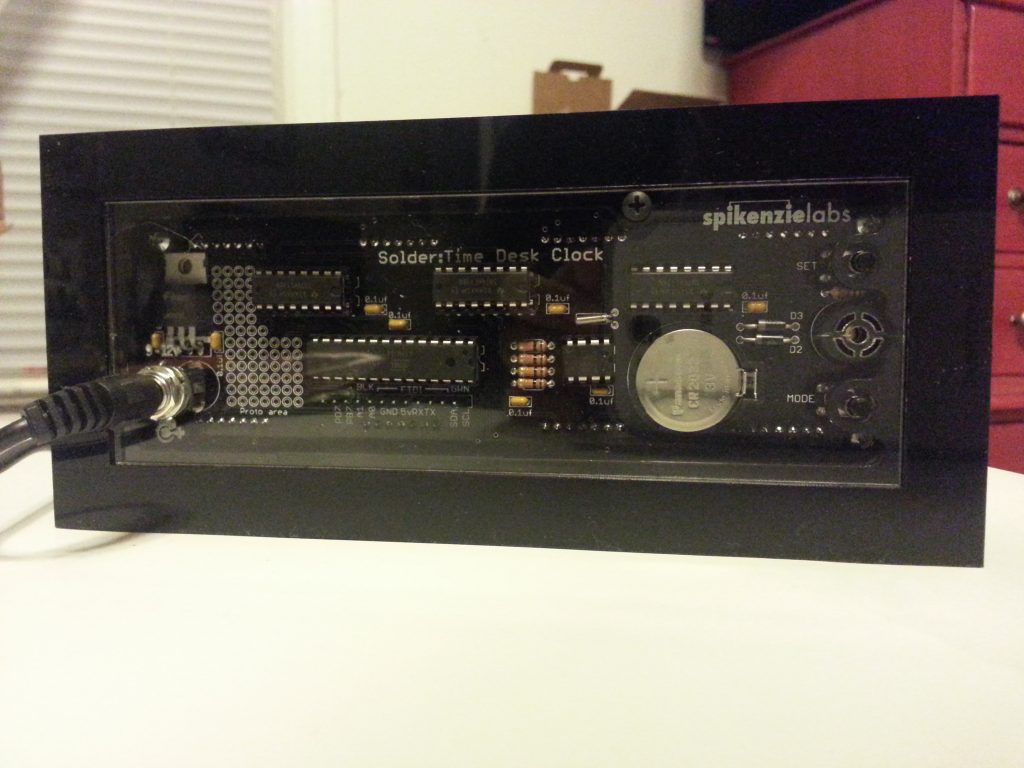
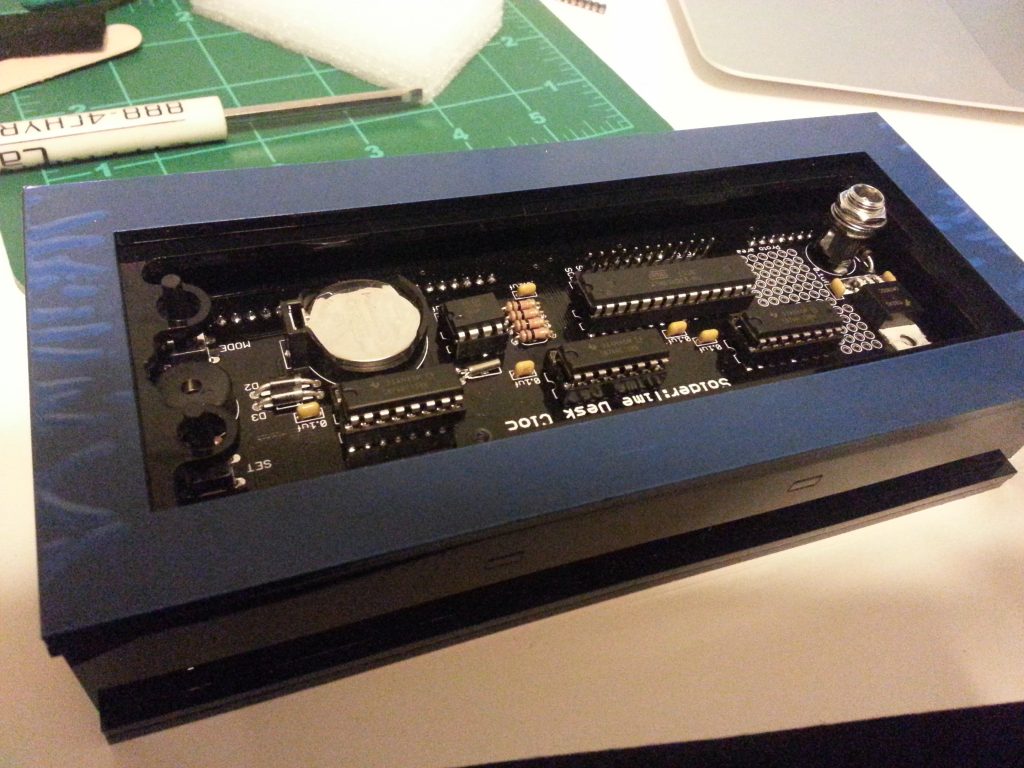
I like that you can see your work in the back through the clear acrylic cover.
I had lots of fun assembling this Solder: Time Desk Clock. The kit comes pre-programmed, or you can customize it with your own code. The Spikenzie Labs website includes some Arudino sketches for you to work with, along with schematics and the interface menu diagram. The Solder: Time Desk Clock is available online for about $89.95 via their website spikenzielabs.com, makershed.com or adafruit.com.

KRTALS Magnetic Wallet Cell Phone Card Holder for Phone Case with Mag-Safe, Stronger Magnetic RFID Leather Phone Wallet Stick on Series of iPhone 17/16/15/14/13/12 and Pro/Promax, White
(as of June 26, 2026 16:59 GMT -05:00 - More infoProduct prices and availability are accurate as of the date/time indicated and are subject to change. Any price and availability information displayed on [relevant Amazon Site(s), as applicable] at the time of purchase will apply to the purchase of this product.)
ESR for MagSafe Wallet with Stand, RFID Blocking, MagSafe Ring Included, 5 Cards Holder for Phone Case, Slim Magnetic Wallet for iPhone 17e/17/16/15/14/13/12 (Not for mini), Selected Samsung, Black
(as of June 26, 2026 16:59 GMT -05:00 - More infoProduct prices and availability are accurate as of the date/time indicated and are subject to change. Any price and availability information displayed on [relevant Amazon Site(s), as applicable] at the time of purchase will apply to the purchase of this product.)Product Information
| Price: | $89.95 |
| Manufacturer: | Spikenzie Labs |
| Retailer: | Maker Shed |
| Requirements: |
|
| Pros: |
|
| Cons: |
|
Gadgeteer Comment Policy - Please read before commenting
Can you say “Heathkit”?
Saw this clock at Maker : Faire Queens New York as well. Picked one up as well as some other cool kits.
I’m working on a timing hack, to turn it into a competitive chess clock, and ordering another that I am going to hack into a clock radio.
The matrix modules look much better in person, I guess LEDS do not photograph all that well. One thing you didn’t mention is how solid it is. Feels like a block of acrylic!!
A little pricey, but I am impressed with the quality and thought they have put into this. The first thing that impresses me are they are using DIP sockets for the IC’s. most kits do not use these because they add costs to the product. Someone very skilled at soldering would have no problems soldering the IC’s directly to the PCB. This product is aimed at people new to electronics. It is not hard to destroy an IC while learning to solder. DIP sockets eliminate this problem for people new at electronics and/or soldering.
This price is very high for a “clock kit” but you are not buying JUST a clock. You are buying a development platform that can be reprogrammed and modified into anything you can dream up. The device uses an arduino IC. You can add your own inputs and outputs. Redesign your clock into a mini pong game, MP3 alarm, or special message marque.
If you are looking at a very simple clock, look at something like this http://www.ebay.com/itm/like/291027417473?lpid=82 it has one function, a clock.
I love seeing people work on projects like this.
@Tom, it sure does! It’s a heavy clock, lol. @Andrew, yep, cool stuff!
Love anything with a grid.