Cameras, 35mm film or digital, can be very expensive investments. Then you have to start buying other equipment, like lenses and filters, that add to the price. Since most cameras built in the recent past have built-in flashes, it seems that adding a speedlight to your setup is often something that can wait until you’ve gotten everything else you need. The problem with the built-in flash is that they often point directly at the center of your field, and they don’t have a lot of power. You often seem to end up with photos with a hot spot in the middle and a dark background. If you aren’t very artistic (like I’m not) and tend to take “snapshots” with a person in the center of the image, you can end up with photos that look like mugshots.
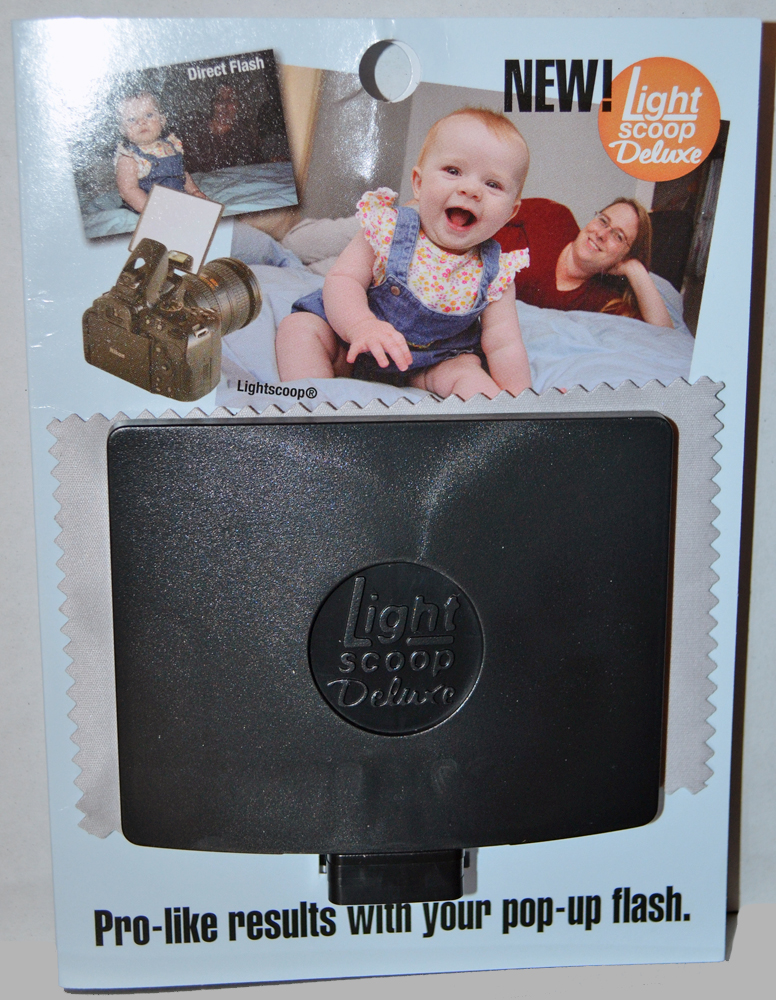
Several years ago now, I reviewed Professor Kobre’s Original Lightscoop with the Nikon D80 camera I had at the time. The Lightscoop was designed to redirect the harsh light from a 35mm SLR or a DSLR’s built-in flash and bounce it off a light-colored ceiling or wall to better light your subject. The D80 was starved for light, and the Original Lightscoop was a great addition to my camera kit, because the Lightscoop was able to bounce the light from the built-in flash off my ceiling to better illuminate the subject. Since that review, a couple of new Lightscoops have been introduced, including the Lightscoop Deluxe, which is intended to work like the Original but to require less room in your camera bag.
All images may be clicked for a larger view. Images of the Lightscoop have been edited, but the images of my daughter and the pottery tree haven’t been edited at all.

The Original Lightscoop was a fixed-position mirror that redirected light from the built-in flash to bounce off the ceiling. It, in effect, created a brighter ambient light, so your subject was washed in light from all directions instead of just getting a blast of light from the front. It was available with a silver mirror or with a gold mirror for warmer lighting effects. If you wanted both, you had to find room in your camera bag for both of the rather large items. The Lightscoop Deluxe is much smaller, flatter, and easier to fit inside your camera bag.
It comes with a microfiber cleaning cloth, an instruction sheet, and a reusable plastic pouch for storage.
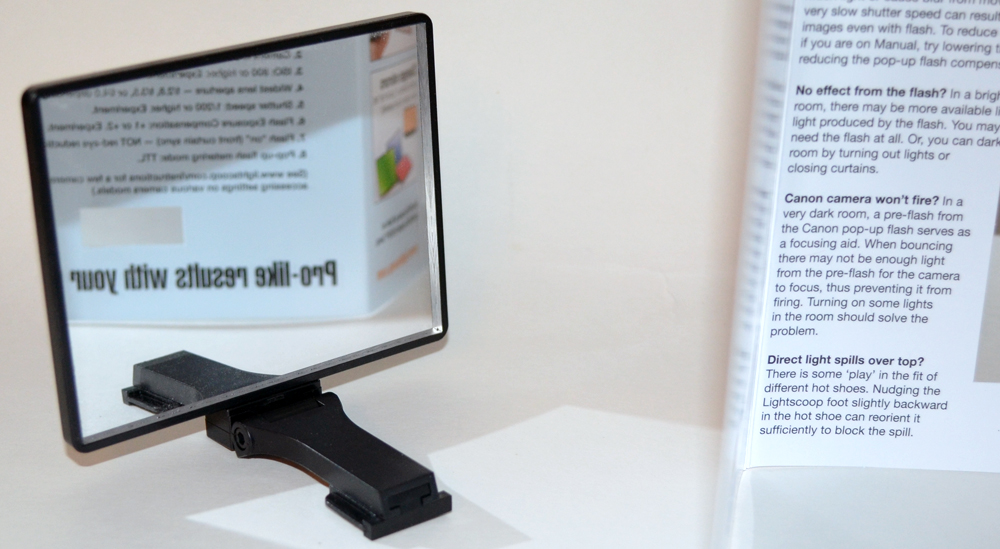 The flat mirror is attached to a black plastic arm. The mirror has some adjustment range. You can tilt it back, but the instructions warn you shouldn’t try to force it past its natural stop, and you can swivel it side-to-side to redirect the light to the side walls instead of the ceiling. Instead of having to buy an entire new Lightscoop Deluxe so you can have the warming version, you can buy mirrors that replace the silver mirror. You just pop the mirror off the mounting arm and replace it with a gold warming mirror, or a blue, red, or green mirror for lighting effects. The extra mirrors are available separately or in money-saving kits.
The mounting arm slides onto a special hot-shoe cover (included) that can be used as the permanent hot-shoe cover for your camera.
I no longer have the Nikon D80. It was replaced with a Nikon D3100 and a Nikon D5100. Both of these cameras have better light-gathering abilities than the old D80 did. I normally use the D5100 for everything these days. It gathers light so much better than my old D80 that I don’t even need to use studio lights to take review pictures any more. For this evaluation, I used D3100 with the Lightscoop Deluxe; it needs more illumination than the D5100 does to get good images.
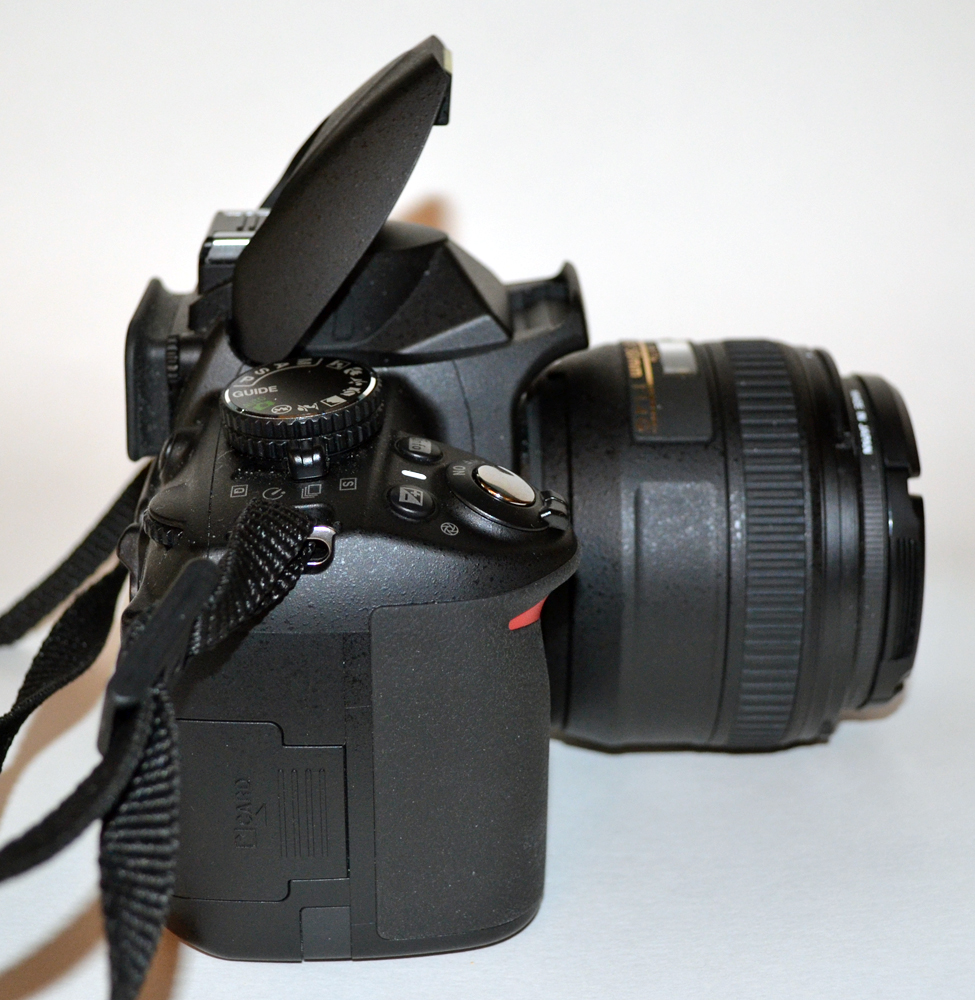
 Here’s my D3100 showing its built-in flash (top) and the SB-400 AF Speedlight external flash. You’ll notice the SB-400 has a light source that can be angled, and I always use it pointed toward the ceiling, as shown in the image here. The D3100 has an AF-S Nikkor 50mm F1.4 lens, which is a pretty fast lens.
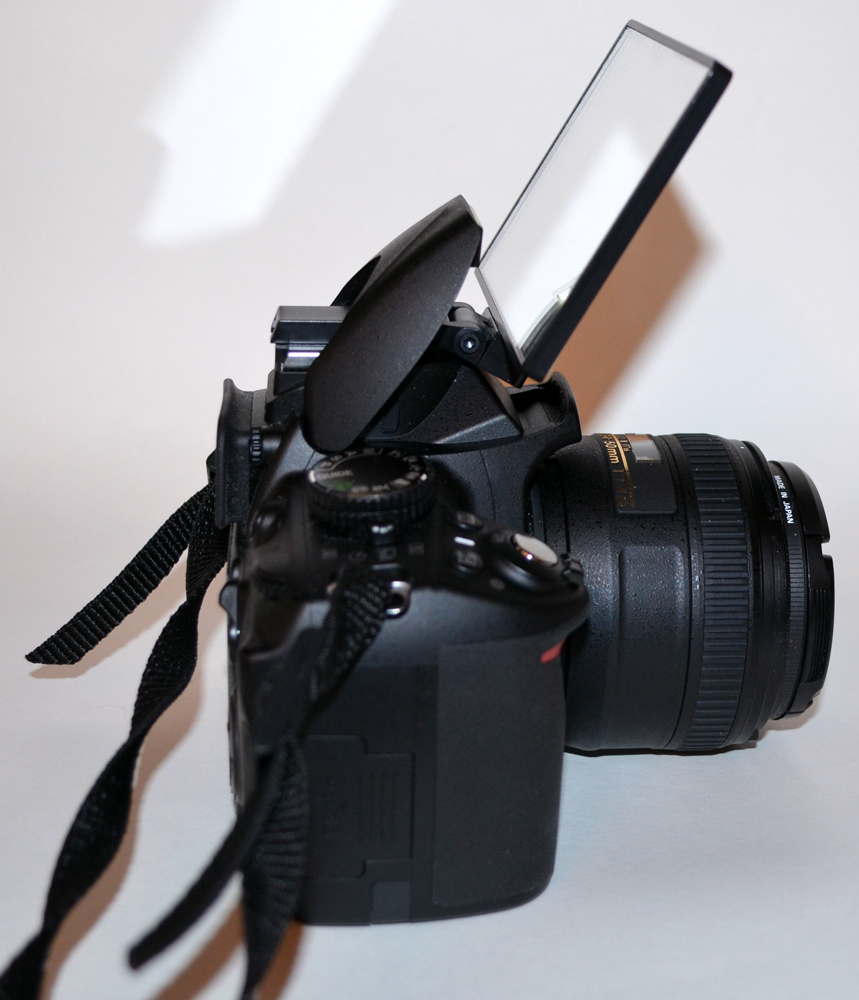
Here’s the Lightscoop Deluxe in place. The mirror is tilted back away from the flash as far as it goes. Since angle of incidence is equal to the angle of reflection, I’m afraid more of the reflected light will go behind me instead of above me to the ceiling.
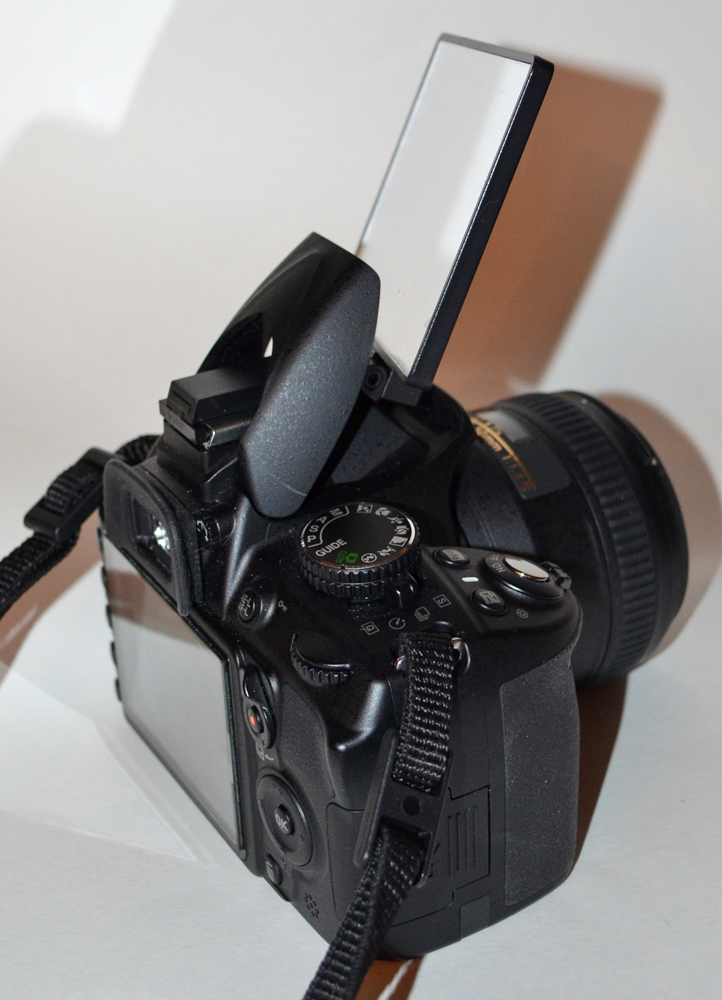 It’s perhaps hard to see, but the mirror can be swiveled from side-to-side to reflect light off light-colored walls. My walls are light blue, but they are too far from my subject – and too covered with dark furniture – to use for reflection. I bounced off the 8-ft ceiling.
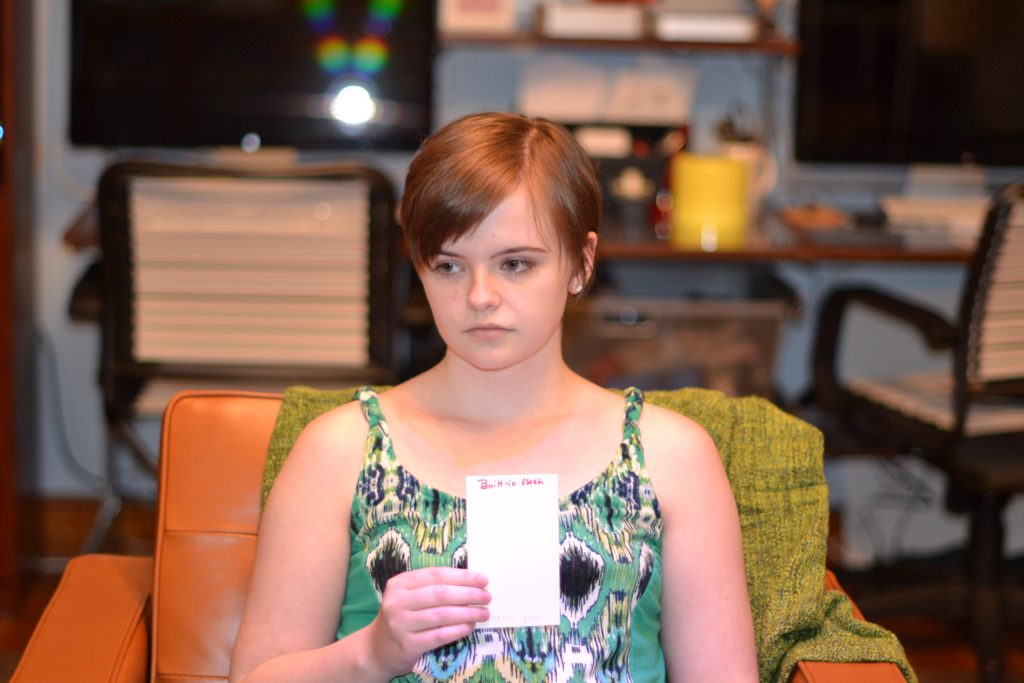
 Here’s Rachel as illuminated with the built-in flash. Since I’m a point-and-shoot kinda gal regardless of the kind of camera I have, I used the camera on auto everything. You can see the room is pretty well lighted behind Rachel, but it has a pretty good bokeh so only Rachel is in good focus. The lighting is a bit harsh, making her white shirt and pale skin “glowy” and a bit over exposed.
 Here’s Rachel using the external flash. The background is a bit darker, and the lighting on her face is a little softer.
Instructions for the Lightscoops give you specific settings for your camera. You don’t use automatic mode, but you just set things up once and don’t change them once you get the camera settings adjusted. I used the specified settings for camera exposure mode, ISO, and shutter speed, etc., and I set the lens at its widest aperture, as instructed. The last adjustment is to set your flash exposure compensation to +1 or +2. My D3100 maxed out at +1, so instead I decided to try it at 0 and +1 compensations.
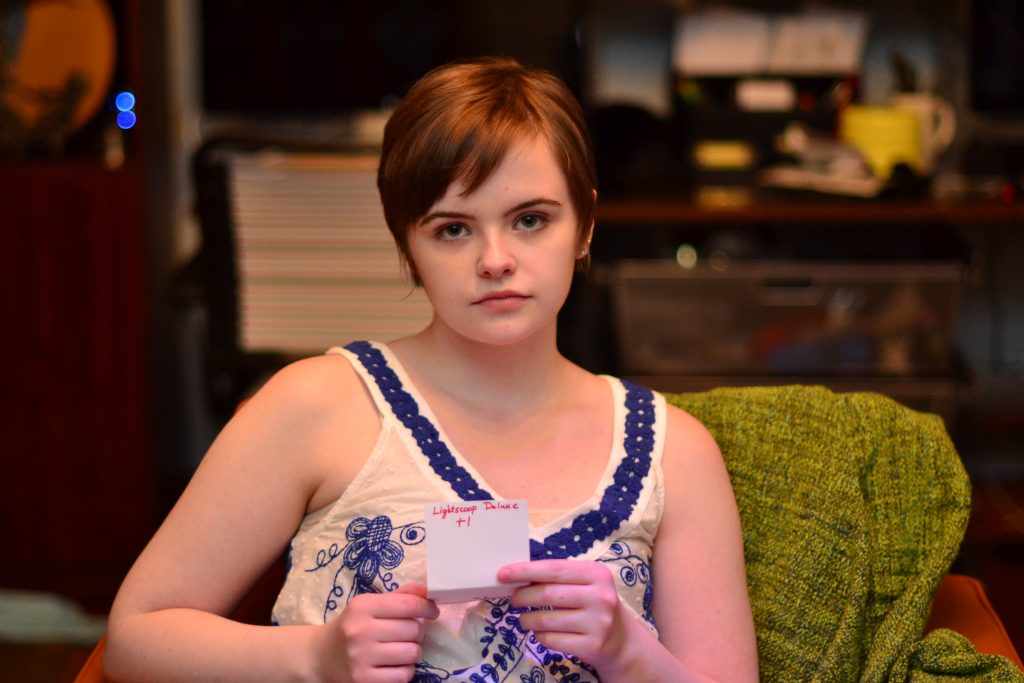 Here’s the +1 compensation. This picture is darker than either of the previous two. The background is disappearing behind her, but her skin is no longer too pale and glowy. I think going just above +1, if it were possible with the D3100, would be perfect. I do like this picture, though. Just a tiny tweak in Photoshop to lighten it a bit, and it would be perfect. You can always lighten a photo a bit, but you can’t do much with over-exposed photos.
 Here’s the image taken with no flash exposure compensation. It’s a bit too dark, but at least she’s not glowing – a problem with the sun-fearing Cloninger family. 😉
 Once again, I tried photographing a pottery bonsai tree (made by my nephew, Michael Buchanan) as my inanimate subject. It’s sitting on a cabinet that puts it directly at my eye level, so the built-in flash is aimed almost directly at it. In this image, I can see details for most of the trunk of the tree, but I can’t see details in the top.
 The external flash bouncing off the ceiling illuminated the top a bit better, but I lost lighting at the top of the trunk.
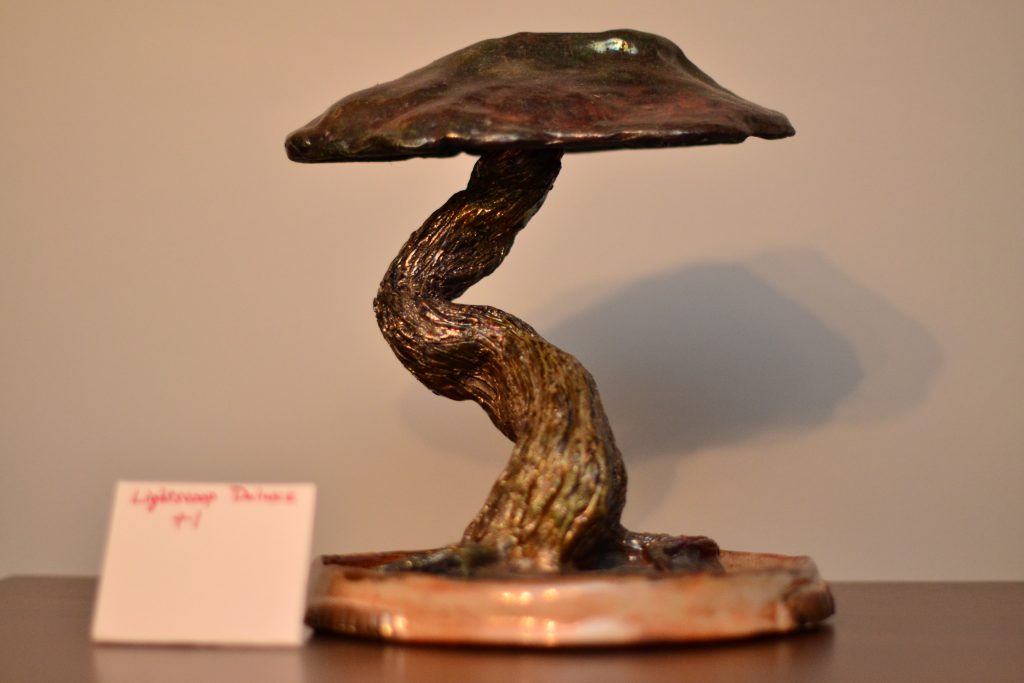 Because the built-in flash isn’t as powerful as the SB-400, the top doesn’t get as much light with the Lightscoop at +1 compensation. The top of the trunk is darker, too.
 With no extra flash compensation, the tree is pretty dark. The “umbrella” of the top prevents the light from reaching the trunk.
For this still life, I think perhaps the built-in flash worked best, but that may have been because it was aimed directly at the trunk.
Because my D3100 didn’t allow a +2 flash exposure compensation, I decided to go off on a tangent and try using the Lightscoop Deluxe with my camera in fully automatic mode. I took these photos on a different day, so Rachel was wearing different clothes. I decided I would take photos with the built-in flash, external flash, and built-in flash with Lightscoop Deluxe for a better comparison.
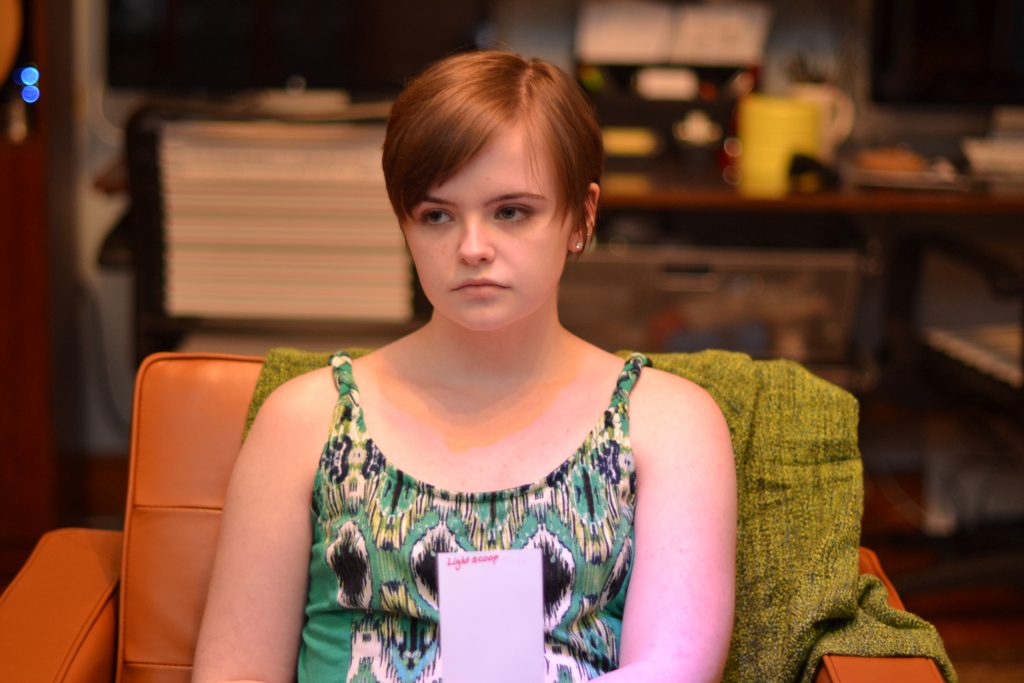
 Here’s the built-in flash. Without the bright, white shirt, the image doesn’t look quite so washed out.
 Here’s the external flash. The more powerful SB-400 makes her skin look a bit more washed out.
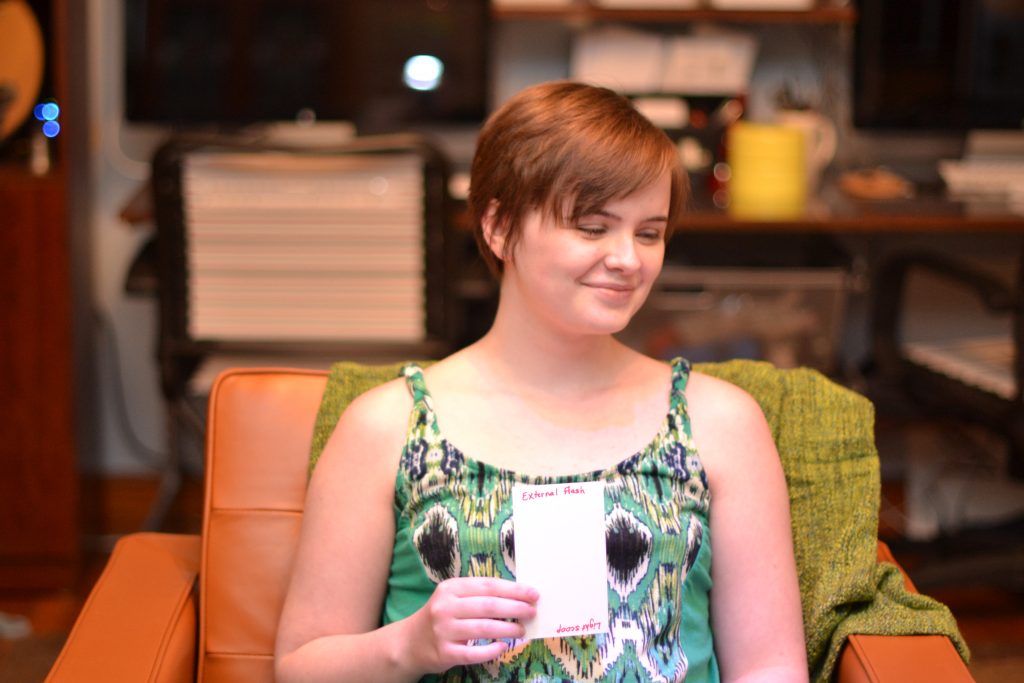
 Here’s the Lightscoop with the camera set at fully automatic. Her skin isn’t overly glowing, but her face is pretty well lighted without looking like a mug shot. (Well, her expression looks a bit like something you’d see in a mug shot. If only someone made a mood lightening accessory for the camera.) While the background isn’t a black hole, it is fading into shadows, but that’s a good thing for a portrait like this. I mentioned that I always use the SB-400 with the light aimed at the ceiling, and the Lightscoop Deluxe allows me to do essentially that – bounce the light off the ceiling – with the built-in flash.
Depending on your camera equipment, the Lightscoop Deluxe may be just what you need to take better pictures in situations where you need a flash. Good external speedlights are expensive, and that money may be better spent towards an extra lens or a tripod. With the Lightscoop Deluxe, you can add the bounce feature to your camera’s built-in flash for better flash photography. It’s small enough to fit in a small camera bag without crowding out other accessories, and you can even add color filter effects for less than the price of some filters.

Zip Ties Assorted Sizes(4”+6”+8”+12”), 400 Pack, Black Cable Ties, UV Resistant Wire Ties by ANOSON
(as of July 8, 2026 04:46 GMT -05:00 - More infoProduct prices and availability are accurate as of the date/time indicated and are subject to change. Any price and availability information displayed on [relevant Amazon Site(s), as applicable] at the time of purchase will apply to the purchase of this product.)
STREBITO Electronics Precision Screwdriver Sets 142-Piece with 120 Bits Magnetic Repair Tool Kit for iPhone, MacBook, Computer, Laptop, PC, Tablet, PS4, Xbox, Nintendo, Game Console
(as of July 7, 2026 14:45 GMT -05:00 - More infoProduct prices and availability are accurate as of the date/time indicated and are subject to change. Any price and availability information displayed on [relevant Amazon Site(s), as applicable] at the time of purchase will apply to the purchase of this product.)Product Information
| Price: | $36.95 |
| Manufacturer: | Professor Kobre's Lightscoop |
| Retailer: | Professor Kobre's Lightscoop |
| Requirements: |
|
| Pros: |
|
| Cons: |
|
Gadgeteer Comment Policy - Please read before commenting
Janet, thank you so much for your nice comments about the Lightscoop. We’re thrilled that you’re a fan, and we hope that other photographers will join in on giving it a try!
Best, Mary
CEO, Lightscoop