
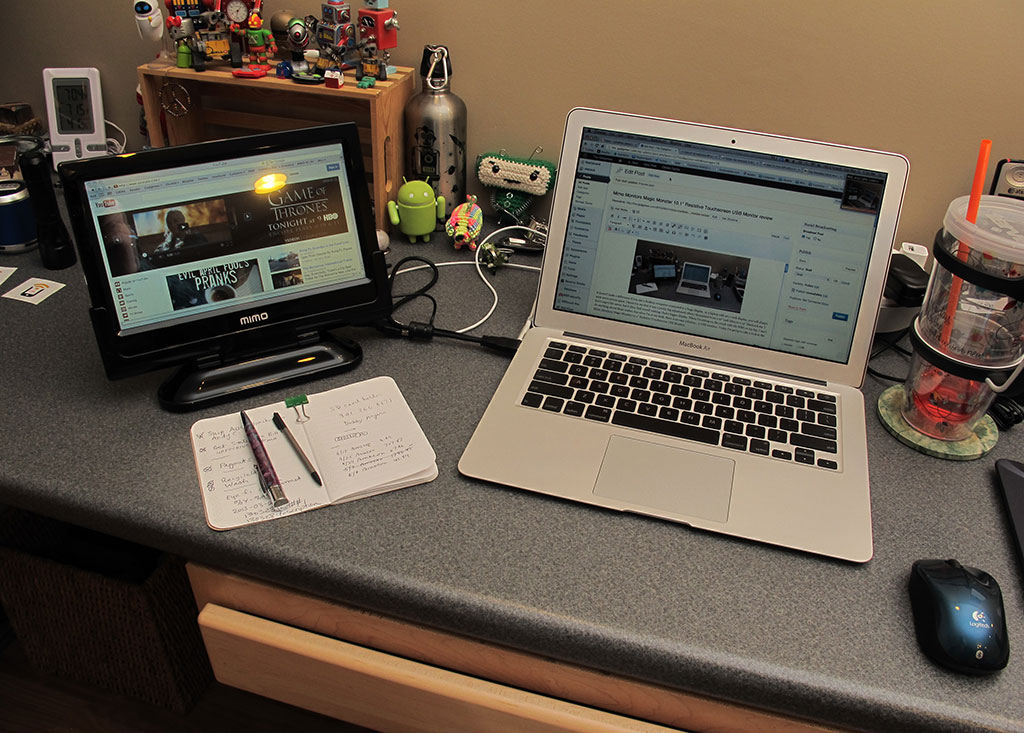
It doesn’t make a difference if you use a desktop computer connected to a huge display, or a laptop with an 11 inch display, you will always want more screen space. I know for me that it was a pretty big adjustment when I downsized from a 27″ inch iMac to a 13″ Macbook Air. I don’t regret the move, but I often find myself wishing I had a bigger display. When I’m sitting on the couch with the MBA on my lap, I can’t do anything about those wishes, but when I’m at my desk, there is an easy solution… a USB monitor. Today I’m going to take a look at the Mimo Monitors Magic Monster 10.1″ Resistive Touchscreen USB Monitor.
Note: Images can be clicked to view a larger size.
Hardware Specs
Display size: 10.1 inches
Display resolution: 1024×600
Brightness: 200cd/m2
Contrast ratio: 300:1
Response time: 16ms
Dimensions: 10.4 x 8.3 x 5.8 inches (264.2 x 211.92mm x 147.5mm) [including Base Dock]

What’s in the package?
10″ USB monitor
Base
USB cable
Mounting screws and attachment knob
Driver CD
I’ve reviewed 2 other USB monitors (see related links below), but this is the first USB monitor that I’ve reviewed that also has a resistive touchscreen. If you have a smartphone or tablet like an iPhone, iPad, or Samsung Galaxy S3, you have used a capacitive touchscreen before. But a resistive touchscreen is a little different. I requires pressure to register a tap. Some might say that resistive touchscreens are old school because that’s what the old Palm Pilots and other PDAs had back in the day.
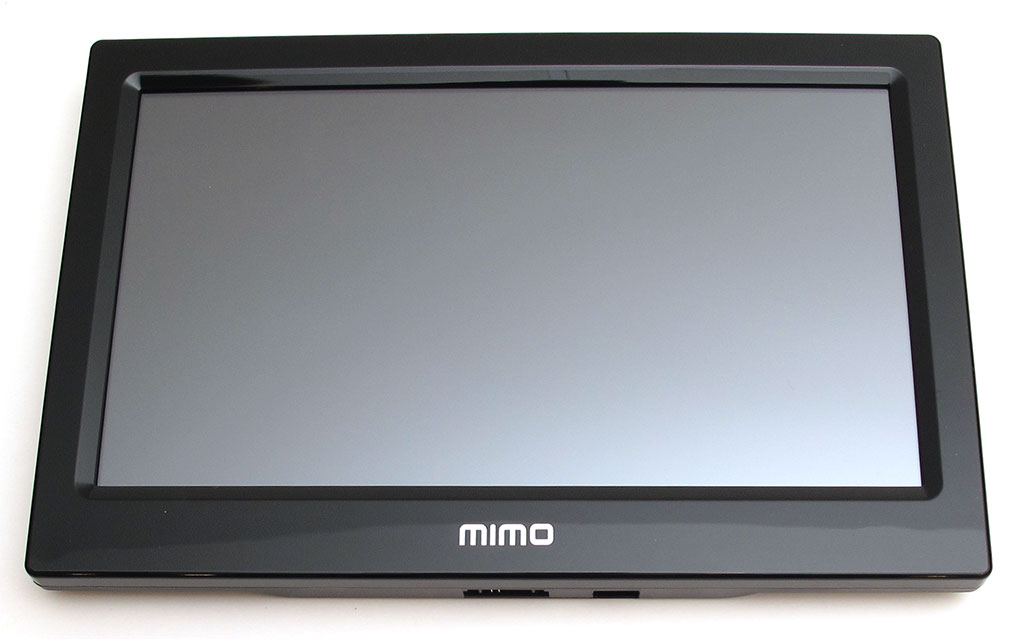
The Mimo Magic Monster is a very nice looking USB monitor. Of the 3 USB monitors that I’ve reviewed, I would say that I like the look better than the others. The monitor itself is separate from the base.
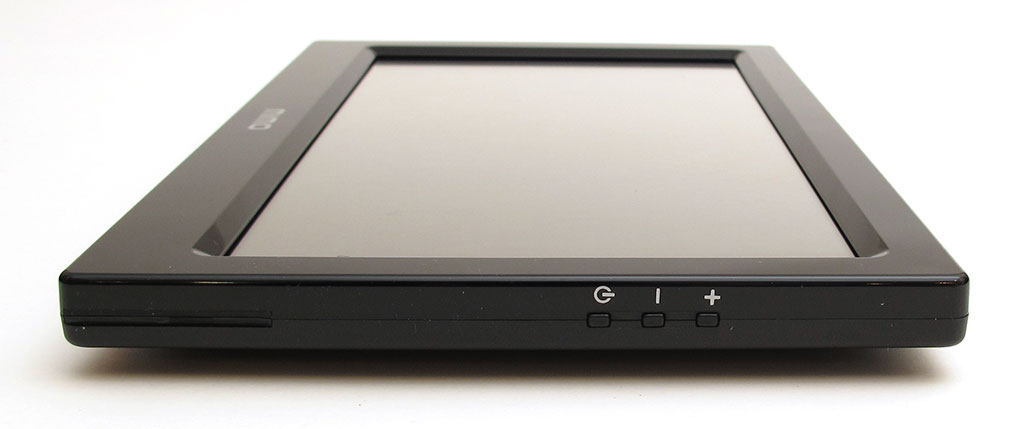
Except for the Mimo logo on the front, there are no other buttons on the front face of the monitor. The only controls are located on the right side. There’s a power toggle and brightness adjustment buttons.
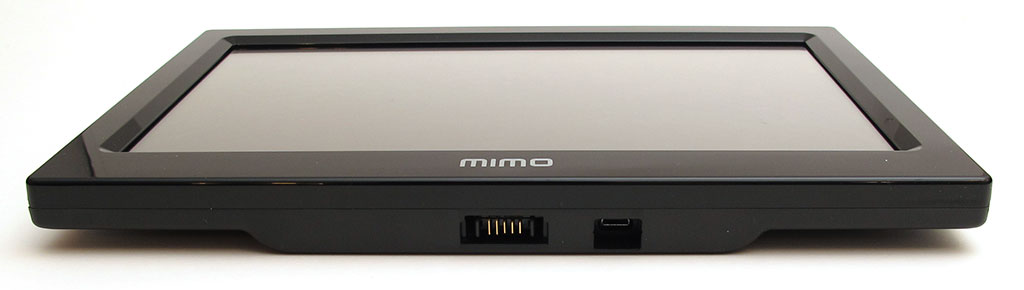
On the bottom edge is the docking connector and a mini USB connector which is used when you want mount the monitor instead of using the included base.
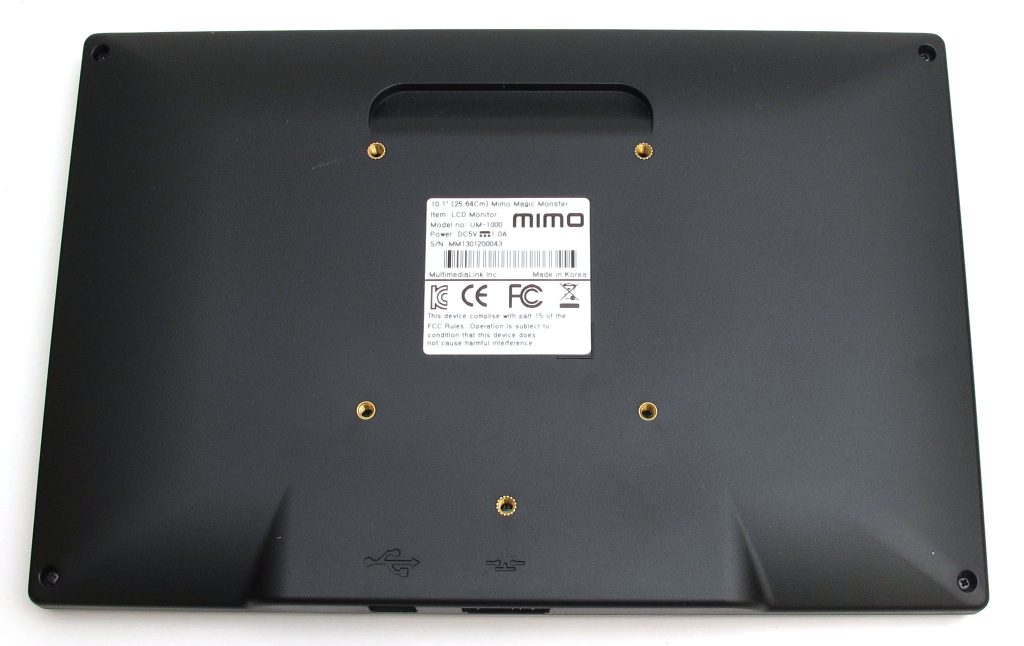
On the back you will find a VESA 75 mounting system with 4 threaded sockets. The lower center socket is for the base.

The included base is really nice. It is heavy with a triangular shape that makes it very stable.
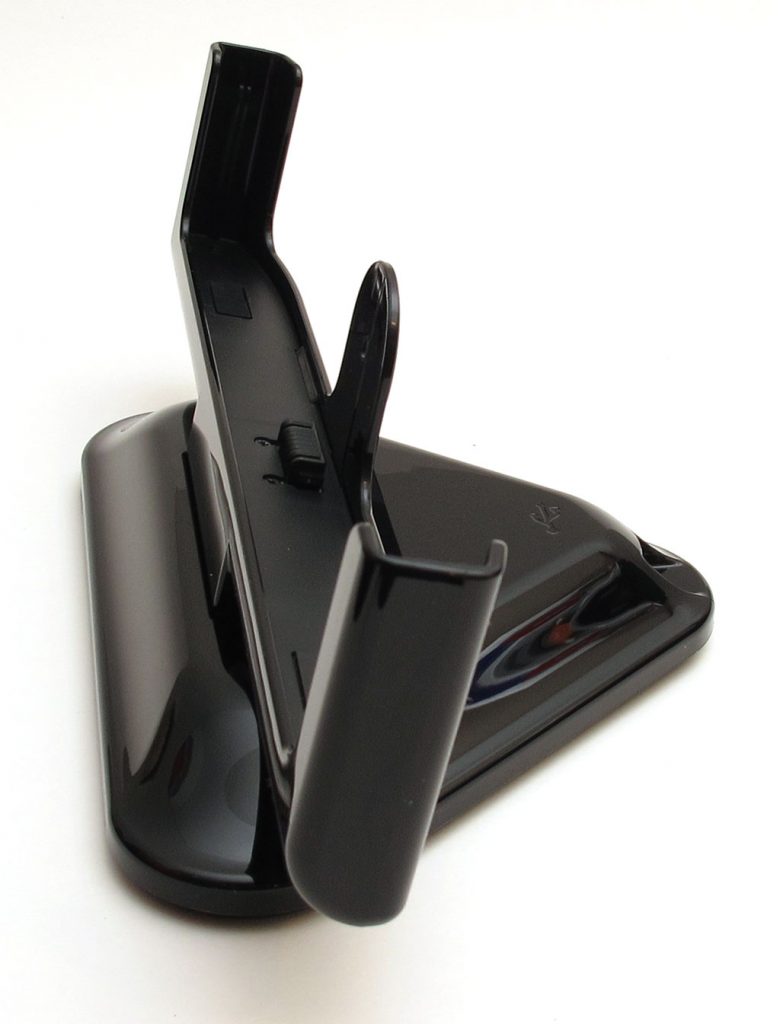
A shallow frame holds the monitor.

The monitor easily attaches and detaches from the base.
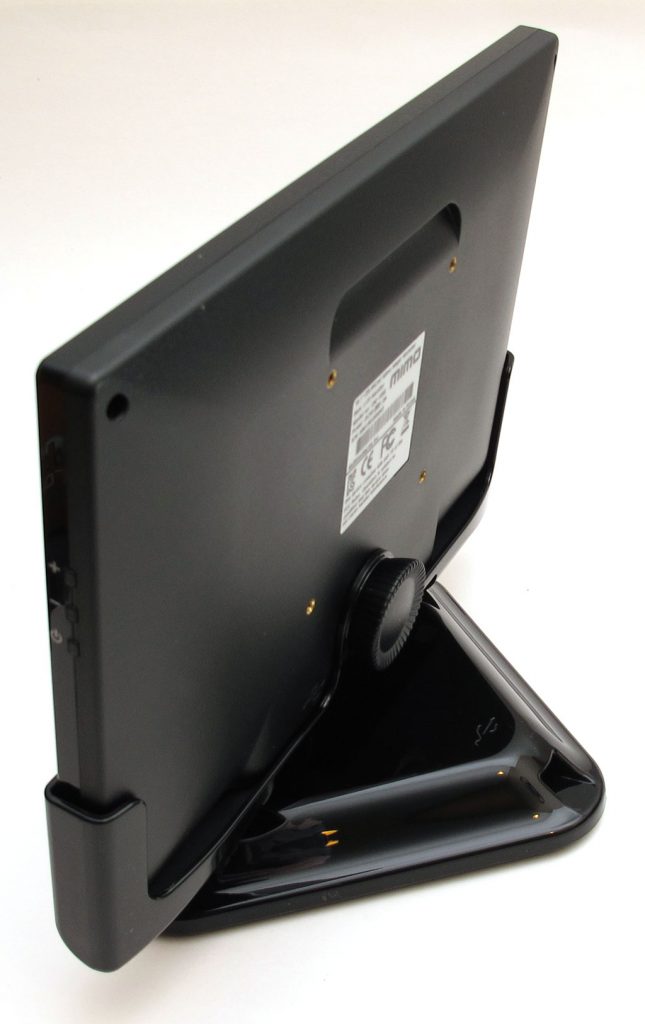
A plastic knob screws into the center socket to prevent the monitor from being removed from the base by accident.
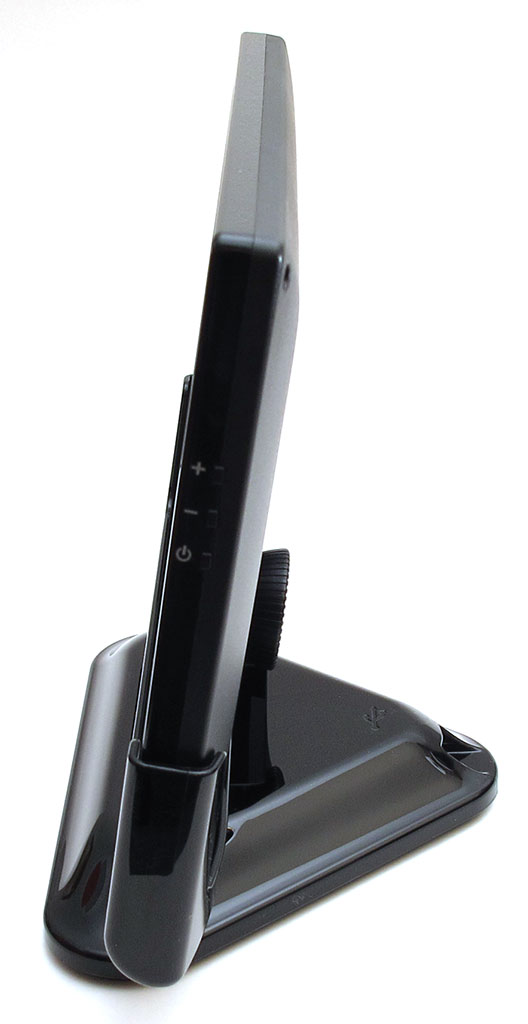
In addition to stability, the base also offers an adjustable viewing angle. You can set it to almost 90 degrees as shown here.
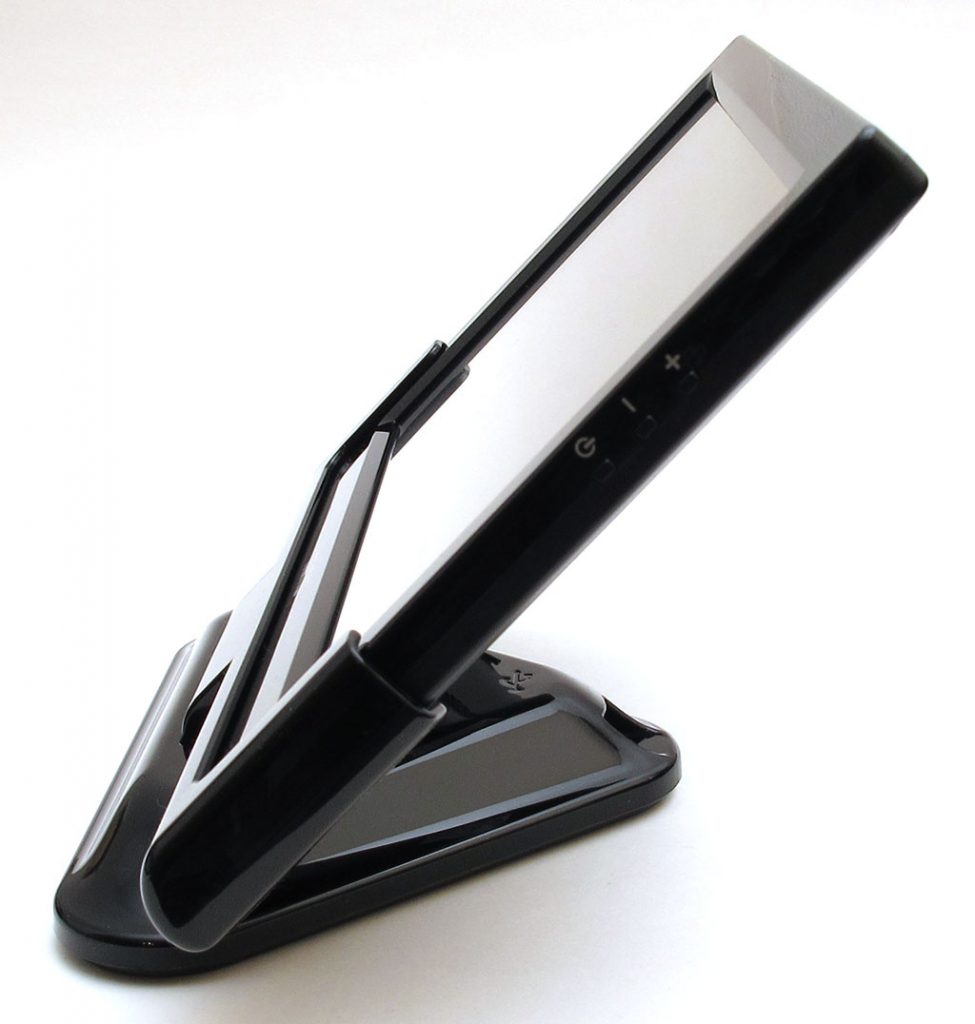
Or as low as 45 degrees and all points in between.
Also in the image above, you can almost see the USB port in the base which is built into that back point. The monitor comes with a USB Y cable that has 2 connectors on one end and a mini USB connector on the other. The mini USB connector plugs into the base or the bottom of the monitor and the other 1 (or 2) connectors plug into your desktop or laptop computer. Most newer computers only require one USB connection. That’s all that I thought was needed to connect the Magic Monster to my 2yr old Macbook Air.
The Magic Monster isn’t quite plug and play when used with a Mac. Just like the 2 other USB monitors that I’ve reviewed, I had to install a DisplayLink driver first.
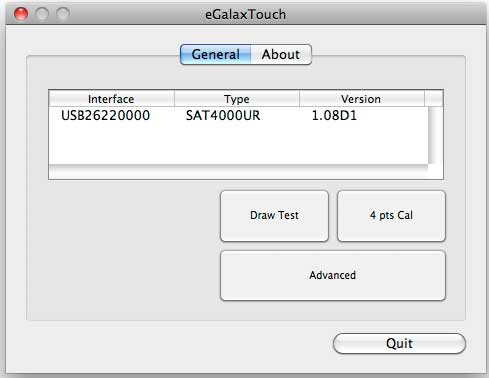
Then a 2nd eGalaxTouch driver had to be installed to enable to touchscreen support.
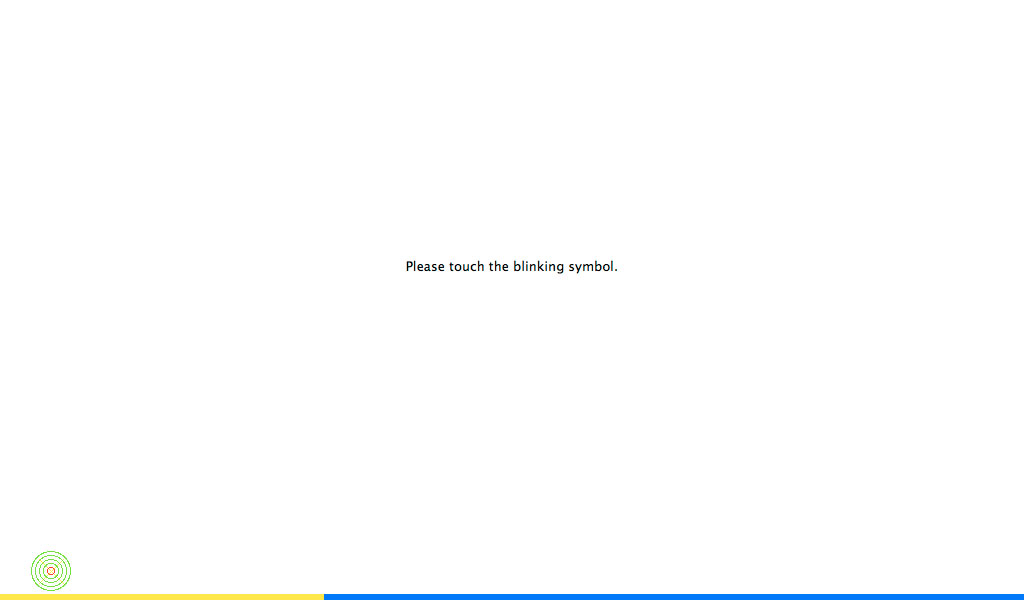
After installing the drivers and a quick touchscreen calibration, everything is ready to go.
As a monitor, the display, while small, is vibrant and crisp. However, it is also glossy, so you may have problems with glare. When I first started using the Magic Monster, I was pretty happy with it. That happiness didn’t last long though. I started having issues as soon as I tried using the touchscreen feature with certain websites. For example, using Chrome as my browser, I was unable to use a stylus or even a mouse to interact with sites like Facebook and Dropcam. But stand alone applications like Tweetdeck just worked fine. To be honest, I can’t really see the point of using the touch screen for what I’d be using the monitor for, so I wasn’t all that bummed with the touchscreen inconsistency.
Things went downhill when the monitor started to toggle on and off for no reason. The Mimo’s display would turn off, which would then cause my Macbook Air’s display to blank out with a solid Blue screen a couple of seconds later. Then after a few more seconds, the Mimo would turn back on. This happened very frequently and I couldn’t quite pinpoint the cause. At first I thought it was problem with the DisplayLink driver, so I unconnected the Mimo and connected the Lenovo ThinkVision USB monitor. I used the Lenovo for hours and it never spontaneously toggled power once. The problems with the Mimo immediately started happening again after plugging it back in to my Macbook Air. I was sure there was something wrong with the monitor, so I contacted Mimo and they said to plug in both USB cables into my Macbook Air. I hadn’t needed to use both connections with the other 2 USB monitors I had reviewed, which have larger displays, so I didn’t think it would make a difference. I was wrong. That fixed the power toggle problem… But, the Y part of the cable that ships with the Mimo isn’t long enough to plug into the USB ports on either side of the computer. I ended up using the Y cable from the Lenovo, which is long enough.
I had high hopes for the Mimo Magic Monster USB monitor because it’s one of the nicer ones I’ve looked at. I like its heavy base, adjustable viewing angle and touchscreen feature. Unfortunately it requires 2 USB connections to my Macbook Air which uses up all the available ports. The touchscreen feature leaves a lot to be desired too. This USB monitor might work much better on a Windows machine (I plan to try that soon and update the review with my experiences) but with my Macbook Air, it’s more trouble than it’s worth and I can’t recommend it for the Mac platform.

Zip Ties Assorted Sizes(4”+6”+8”+12”), 400 Pack, Black Cable Ties, UV Resistant Wire Ties by ANOSON
(as of June 23, 2026 14:15 GMT -05:00 - More infoProduct prices and availability are accurate as of the date/time indicated and are subject to change. Any price and availability information displayed on [relevant Amazon Site(s), as applicable] at the time of purchase will apply to the purchase of this product.)
STREBITO Electronics Precision Screwdriver Sets 142-Piece with 120 Bits Magnetic Repair Tool Kit for iPhone, MacBook, Computer, Laptop, PC, Tablet, PS4, Xbox, Nintendo, Game Console
(as of June 23, 2026 20:25 GMT -05:00 - More infoProduct prices and availability are accurate as of the date/time indicated and are subject to change. Any price and availability information displayed on [relevant Amazon Site(s), as applicable] at the time of purchase will apply to the purchase of this product.)Product Information
| Price: | $249.99 |
| Manufacturer: | Mimo |
| Requirements: |
|
| Pros: |
|
| Cons: |
|