Longtime Gadgeteer readers may remember that I had previously
mentioned how researching my family’s genealogy has become more than
just a hobby. Fortunately genealogy was also my uncle’s
passion, and when he died his vast collection of research materials
was donated to Angelo State
University‘s West Texas
Collection. Having local access to his files has been a helpful
source of collaboration to my own research, and his work has helped
me to flesh out the details of long gone relatives’ lives. I have
spent many hours at the West Texas Collection gathering documents,
pumping dimes into their Xerox machine to make copies that I would
later have to scan into my home computer. Because there is no
public scanner available, I haven’t even been able to start making
copies of the many available family photos. A quick email to
Suzanne Campbell, the woman in charge of the collection, ensured
that if I could bring my own scanner I would be allowed to use
it.
When Julie reviewed the
DocuPen R700, I thought that something similar might be a
possible solution for my needs. But I also knew that any
portable scanner whose results relied upon the steadiness of
my hand as its wand was passed over the items being copied,
would always have far from satisfactory results. Because my hands
have always been notoriously shaky, I needed a full-featured
scanner, but one that was preferably self-feeding.
Sometimes it seems like the things that I need are years
away from being invented, but every now and then I am pleasantly
surprised to find that the exact item that I want is available now.
Such was the case when I stumbled across the Plustek OpticSlim M12; I
could almost see the fireworks and hear the Hallelujah
chorus…
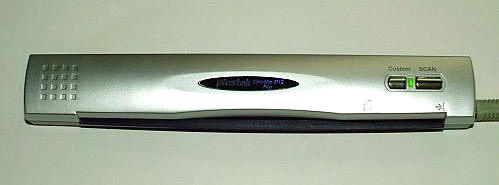
Measuring 10.75″ long x 1.75″ wide x 1.25″ thick, the OpticSlim
M12Plus weighs just 11.3 ounces. The scanner’s body is composed of
silver and dark blue plastic, and it feels very well made. There is
no creaking when the scanner is squeezed, and its body does not
flex when it is torqued. Due to its small size and light weight the
scanner is very portable, and it should be easy to find a spot to
keep it in almost any laptop bag.
Included in the package are the scanner itself, a wall mount
kit, a base stand, a carry pouch, the setup/application CD-ROM,
user manual (PDF file), a calibration sheet, a sheet of sensor
cleaning paper, the USB cable 150cm (59.05″) and a quick start
guide.
Specifications
Interface: USB 1.1
Technology: Advanced Color CIS (Contact Image
Sensor)
Resolution: Hardware optical 600 dpi
Scanning Modes: Color: 48-bit input, 24/48-bit
output, Grayscale: 16-bit input, 8/16-bit output, B/W: 1-bit
Max. Scanning Area: 216 x 355mm (8.5″ x 14″) Legal
size
Net Weight: Approx. 330g (scanner only)
Dimensions (D x W x H): 274 x 47 x 33.8 mm
(scanner only)
Scan Speed: 3 pages per minute
Scan Mode: Single Pass
Cable Length: 150 cm
Power Consumption: 1.2 w idle; 2.2 w during
scan
Paper Sensor: Photo interrupter (reflective
type)
Regulatory Certificates: CE, FCC-B
System Requirements: IBM
Compatible PC, with Pentium or faster CPU, CD-ROM Driver, One
available USB Port, 64 MB RAM (128MB recommended), 160 MB free HDD
space (260 MB recommended), High Color graphic card (VGA or
higher), Microsoft Windows XP, Me, 98, 2000
The Scanner comes bundled with the following software:
| NewSoft Presto! PageManager 6.07 Powerful document management software for OCR, PDF creation, or format conversion to Microsoft Word or Excel.
NewSoft Presto! ImageFolio NewSoft Presto! Mr. Photo ABBYY FineReader 5.0 Sprint OCR
Plustek PDF Tool |
Setting up the scanner is fairly simple. The included setup disk
should be run and its included files installed. Once setup is
complete, the scanner will remind the user that it should be
calibrated; it is also a good idea to run the sensor cleaning paper
through the scanner after the initial calibration.

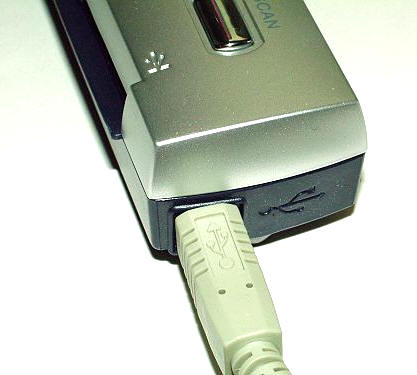
The scanner is powered by a USB cable that is plugged into the
left side…
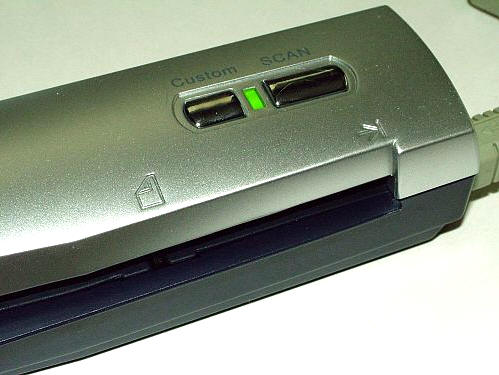
…and there are just two buttons on the top, labeled Custom and
SCAN. When the scanner is plugged in, the green LED between the two
buttons will glow. As an item is being scanned, the green LED will
rapidly blink.
Clicking on the newly created scanner icon in the system
tray…

…will reveal the various options available.
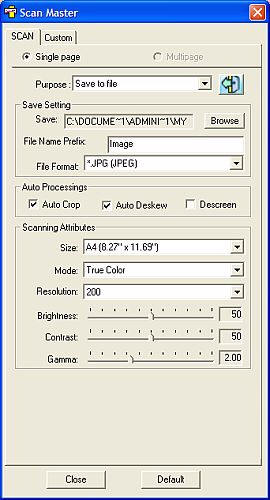
The SCAN button tab corresponds to the SCAN button on the top of
the scanner. These options allow the user to set what will happen
when the SCAN button is pressed; whether the scan will be saved to
file, and if so what its location will be, or whether the scan
should be emailed, copied, or sent to Presto! Page Manager6 or
Presto! Image Manager 4 – two of the included programs. In this
window, a prefix for scanned images can be chosen, as well as the
file format in which the user wants them saved. Those choices
include .JPG, .TIF, .PCX and .BMP. Auto Processing choices
including “Auto Crop”, “Auto Deskew” and “Descreen” may be selected
or deselected, and the size of the image being scanned may also be
chosen; choices from “A8” to “Legal Size” are given, I tend to keep
it on “Letter Size”. “True Color” “Grayscale” and “Text” are the
three Modes offered, and resolutions from 100 to 600 may be
selected. Additional settings for Brightness, Contrast and Gamma
are available.
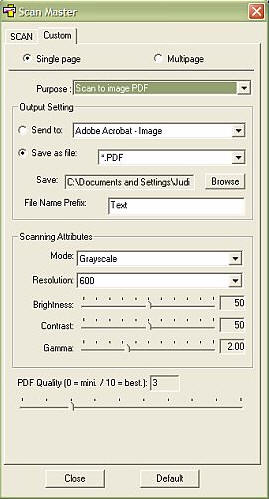
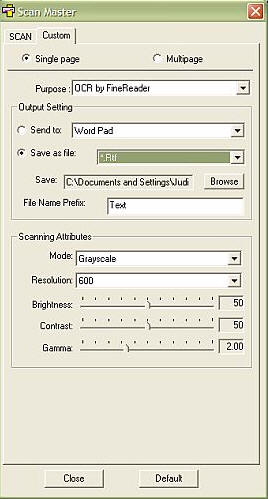
The Custom tab corresponds with the Custom button on the top of
the scanner; options set here will go into effect when the Custom
button is pressed. This is where the user can select whether the
file should be saved as a .PDF document, or whether it should be
scanned for editing as a .TXT or .RTF file. Once again, “True
Color” “Grayscale” and “Text” are the three Modes offered, and
resolutions of 300, 400 or 600 may be selected, and additional
settings for Brightness, Contrast and Gamma are available. There is
also a slider for adjusting PDF quality.
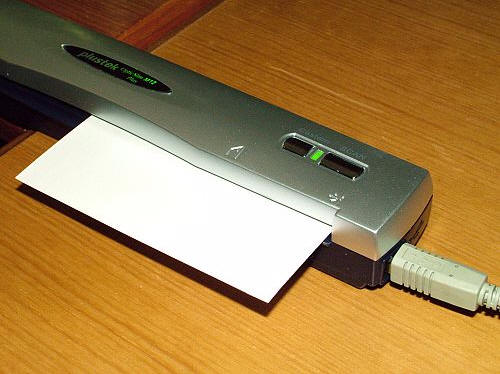
Once the user’s selections have been made, scanning can
commence. Items to be scanned should be placed facedown in the
feeder and lined with the right side edge. Pressing the SCAN button
will cause them to begin feeding into the scanner.
While the scan is happening, a small window will display on the
computers screen showing the progress. Once the scan is complete,
the end result will be located in the folder that was specified in
the Output Settings.
As I mentioned, my main need for this scanner is to reproduce
documents and photos on my computer, so let’s take a look at how
well it manages that task. We’ll start with a scan of the map of
Gettysburg. I have the scanner set to save the file as a .JPG, and
the size of paper as “Letter”. I left the Mode as “True Color” and
set the resolution to 600. 600 takes a little bit longer to scan
than setting the resolution to something lower would, but when
dealing with scans of copies, I prefer the best resolution
possible. I’ll warn you now that clicking the thumbnail will open a
picture measuring 3.22MB. Smaller sized scans are possible with
lesser resolution settings.
Here is the result:
Here are some examples of older photos that I scanned. This is a
photo of my mother and her Chinese pen-pal, Yo Min Shao, in
December 1960.
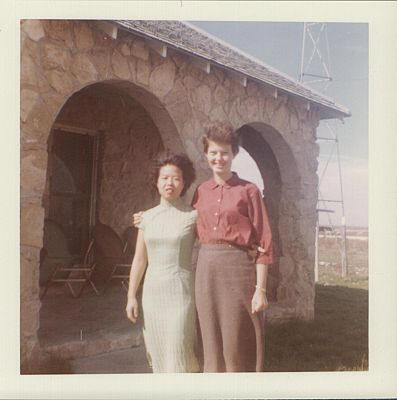
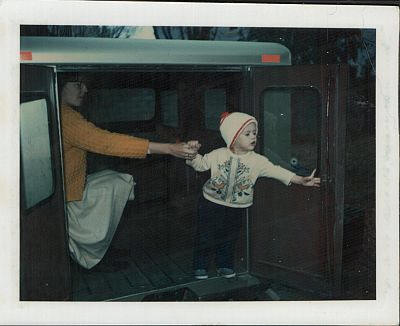
This picture of my mother and me is from a very late 60s
Polaroid that measured 2mm thick; the scanner had no problem
accepting and scanning this photo. Wasn’t I a little cutie? ;0)
I really like that the OpticSlim M12 includes the option to
create Portable Document Format or PDF files. PDF files are similar
to .JPGs in that they retain all of the fonts, formatting, colors
and graphics of the original documents, but they are easily opened
and shared by anyone with a PDF viewer. Most people are familiar
with Adobe Reader, the free PDF viewer; well, this creates files
that can be viewed with that program. Click
here to see a scan that has been saved to PDF. For those
wondering, it is the 1863 Company Muster Roll for my 3rd
great-grandfather, Ashley Wood. He was wounded at Gettysburg and
died days later.
I should mention that this document, when scanned at 600
resolution and PDF quality “10” weighed in at 17.5MB. On 200
resolution and PDF quality “10”, it was still 5MB. On 200
resolution and PDF quality “4”, it was a manageable 646KB. For my
personal use, I’ll stick with the highest quality scans – but due
to bandwidth concerns our readers will only get to see the 200/PDF
“4” version, which I still think looks really good.
Another feature is the ability to scan documents straight to a
text editor via the ABBYY FineReader 5.0 Sprint OCR software. Click
the first thumbnail for 300 resolution scan of the original
text…
…and here
is the RTF file generated by the software.
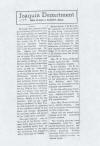
The editable scan may not seem that impressive, until one
realizes that it is a copy of a copied newspaper article; I find it
amazing that the text was as legible as it was. In its newest
incarnation, it would certainly not be that difficult to go in,
edit and clean up a bit.
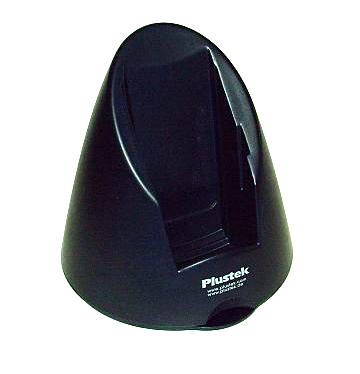
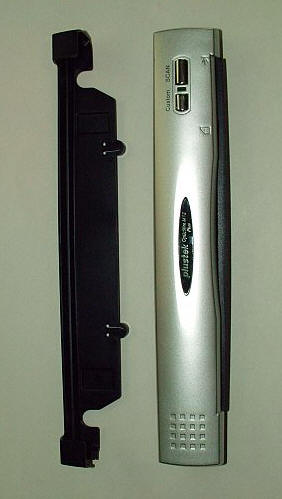
Also included with the OpticSlim are a few handy accessories.
The first is a base stand which measures approximately 4.5″ tall x
4.25 wide. The base is hollow, and composed of dark blue
plastic.
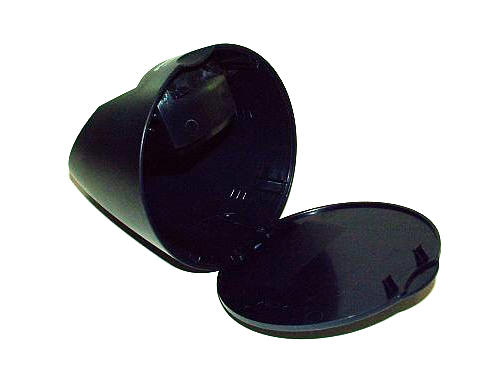
Hidden in the bottom of the base is a clever storage compartment
for the USB cable.
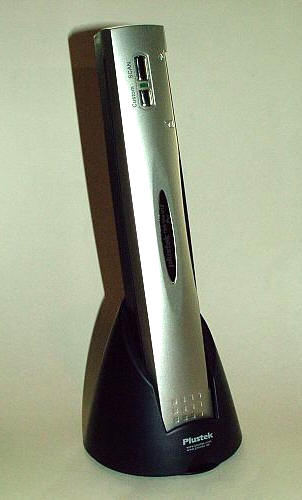
Here is the scanner being held in its base, which is a great way
to keep a clean desktop.
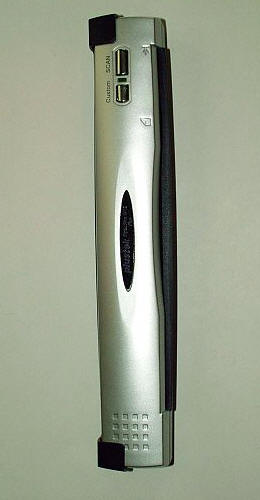
For those with no desktop area to spare, there is an ingenious
wall mount. What makes this mount so cool is that the scanner is
fully functional when placed in the mount.
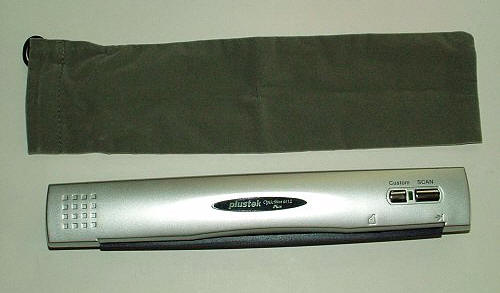
Something that road warriors will appreciate is the velour
travel pouch for keeping the scanner dust-free when in a laptop
bag.
Overall, I can’t think of anything bad to say about the
Plustek OpticSlim M12Plus, other than that it has a cumbersome
name. The scanner is very small, almost ridiculously easy to
operate, and it gives a wide variety of choices for generated
output files. The scans produced are very good, and I can’t think
of a better travel companion for anyone that needs the ability to
generate scans in some of the oddest places. For amateur
genealogists such as myself, it is the greatest thing since sliced
bread.
Trullypine Laptop Cooling Pad with 12 Quiet Fans, Slim Portable for 12-17.3 Inch Laptop Cooler Stand with 5 Height Adjustable, Ergonomic Gaming Cooling Fan Pad with Two USB Ports & Phone Holder (Gear)
$22.29 (as of January 14, 2026 17:37 GMT -06:00 - More infoProduct prices and availability are accurate as of the date/time indicated and are subject to change. Any price and availability information displayed on [relevant Amazon Site(s), as applicable] at the time of purchase will apply to the purchase of this product.)i2 Gear USB Reading Lamp with 14 LEDs Dimmable Touch Switch and Flexible Gooseneck for Notebook Laptop, Desktop, PC and MAC Computer + On/Off Setting (14 LED, Black)
9% OffProduct Information
| Price: | 149.99 |
| Manufacturer: | Plustek |
| Requirements: |
|
| Pros: |
|


Gadgeteer Comment Policy - Please read before commenting
Does it scan credit cards and drivers licences? Nowaday we need to scan various forms of ID while visiting customers.
i just want to instal the name card scanner after instal driver still it say that scanner is not connected but can scan the A4 papper
pls let me kmow how to solve
Hej
Jeg håber på denne måde at få hjælp, da min mappe med cd-er er tabt og ikke kommet til veje kan jeg ikke bruge min scanner mere jeg mangler driver og hvad der ellers høre til, scanneren har s/n 574158023221.
Håber at i kan hjælpe
Med venlig hilsen
Preben
Judy,
What is your favorite portable scanner type today? I too need it to scan genealogy. Have you found a pen type that works well?
Is there a downside in that this kind can’t do book pages? Lastly, does this type curl the original papers?
Thanks!
Obviously you love this gadget!
What do you do if you want to scan a page from a book?
Pete
my scanner worked perfectly. suddenly just stopped. It does not take the paper. what to do ?
can i know the price of this scaner and it use which waltage 220-60 Hz, or 100 – 50 Hz. ?
hi i got this type of scanner but dont hahe a cd to install